• stem+node ceramics
  • HOME
  • Food Recipes
  • About
  • Contact
Menu

The Lovely Crazy

Street Address
City, State, Zip
Phone Number

Your Custom Text Here

The Lovely Crazy

  • stem+node ceramics
  • HOME
  • Food Recipes
  • About
  • Contact

Chocolate Covered Peanut Butter Date Balls

June 12, 2021 Colleen Stem
IMG_5841.jpg

This is me here trying to be nice and make a sweet little treat for the mr. And to prove to him (without him knowing) that he really does like dates because really, every one does they just might not know it.

Why do I care if he likes dates or not? Well I don’t think I really care but the past few weeks I have been making batches of trail mix with all sorts of goodies (dried fruits and nuts ) and have been chopping up dates and throwing them in as well. He’s been picking around the dates because he thinks they are gross. And that is just not true. He just doesn’t understand. So I made him understand. And understand he did when I made a batch and he ate them al within a day. Don’t like dates my ass.

These little chocolate covered peanut butter balls are freaking awesome. I would describe them as tasting like a soft, chewy, more nutty peanut butter cup and who doesn't want that? Plus they take little to no hands on time, require no oven, and all you need are just a a few ingredients. Win win win!

Are these little sweet peanut butter date balls made of love? Of course. Are they vindictive? Maybe a little but I don’t really care because they are awesome and everyone loves them. Even if they say they hate dates.

Now to the peanut butter date balls!

IMG_5696.jpg

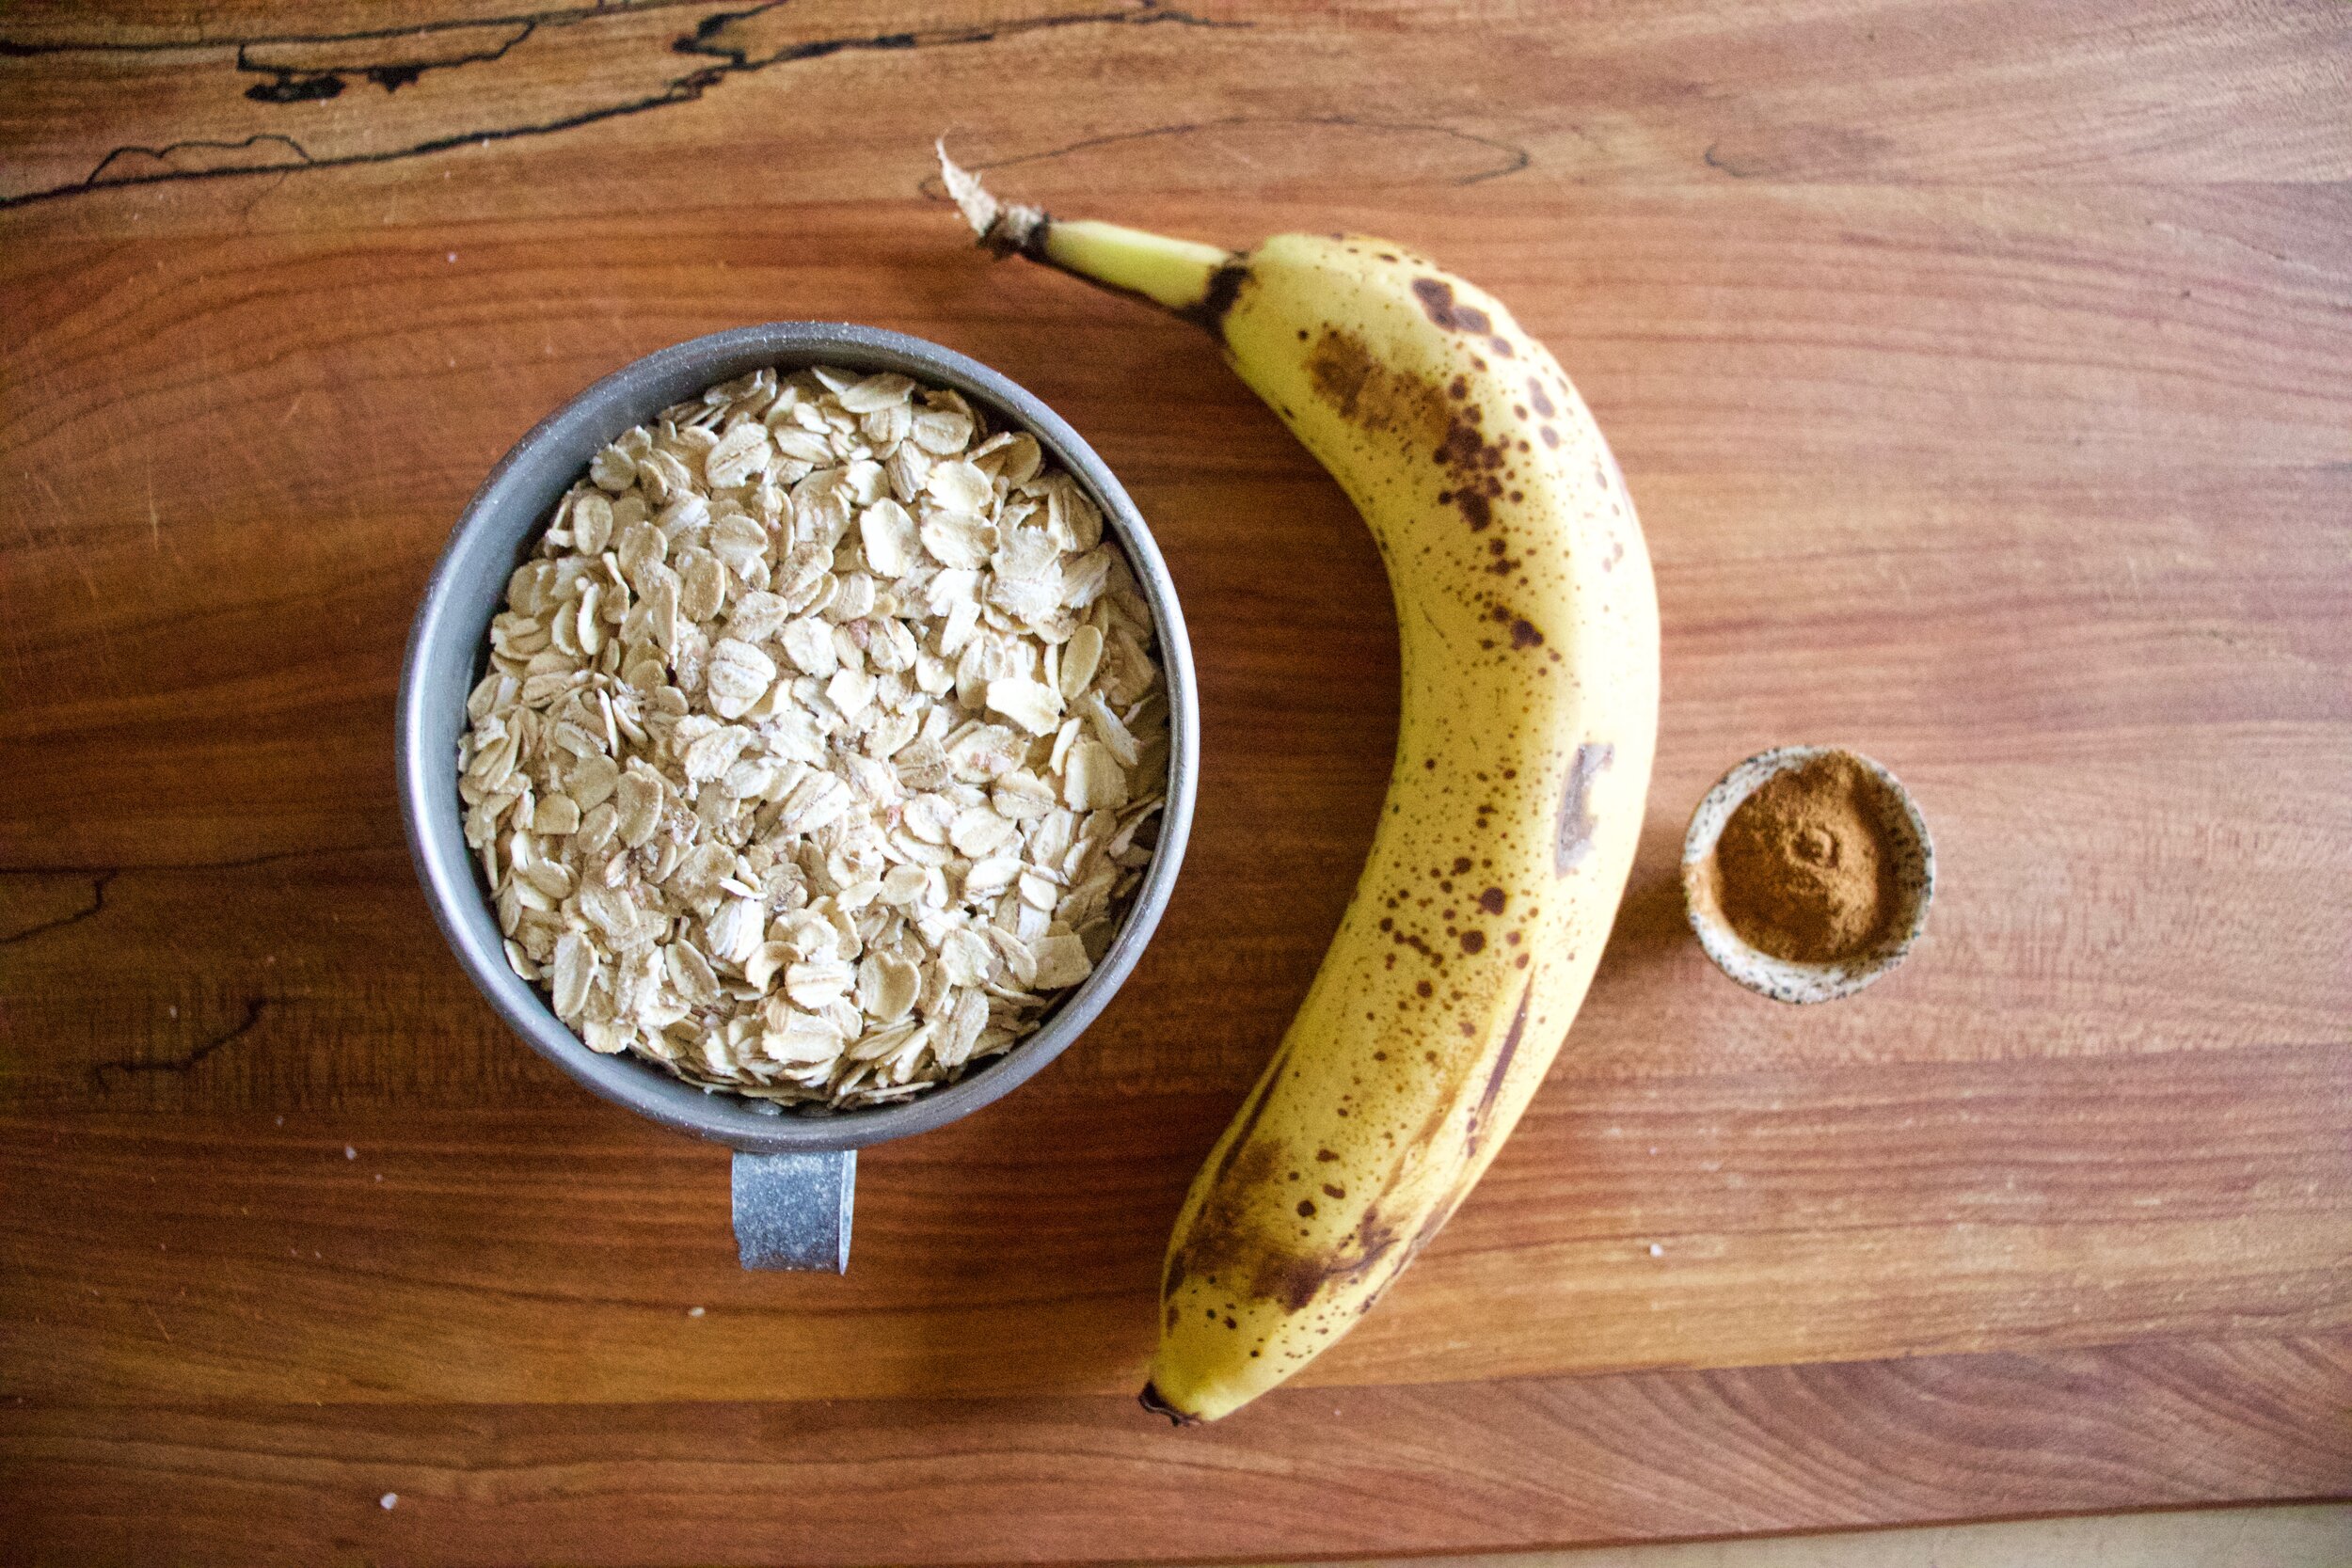
The stuff. Pitted delget dates, oats, peanut butter, chocolate chips, a little coconut oil, and flaky salt.

IMG_5698.jpg

Soak the dates in hot water for a few minutes to make sure they are really soft.

IMG_5707.jpg
IMG_5724 2.jpg

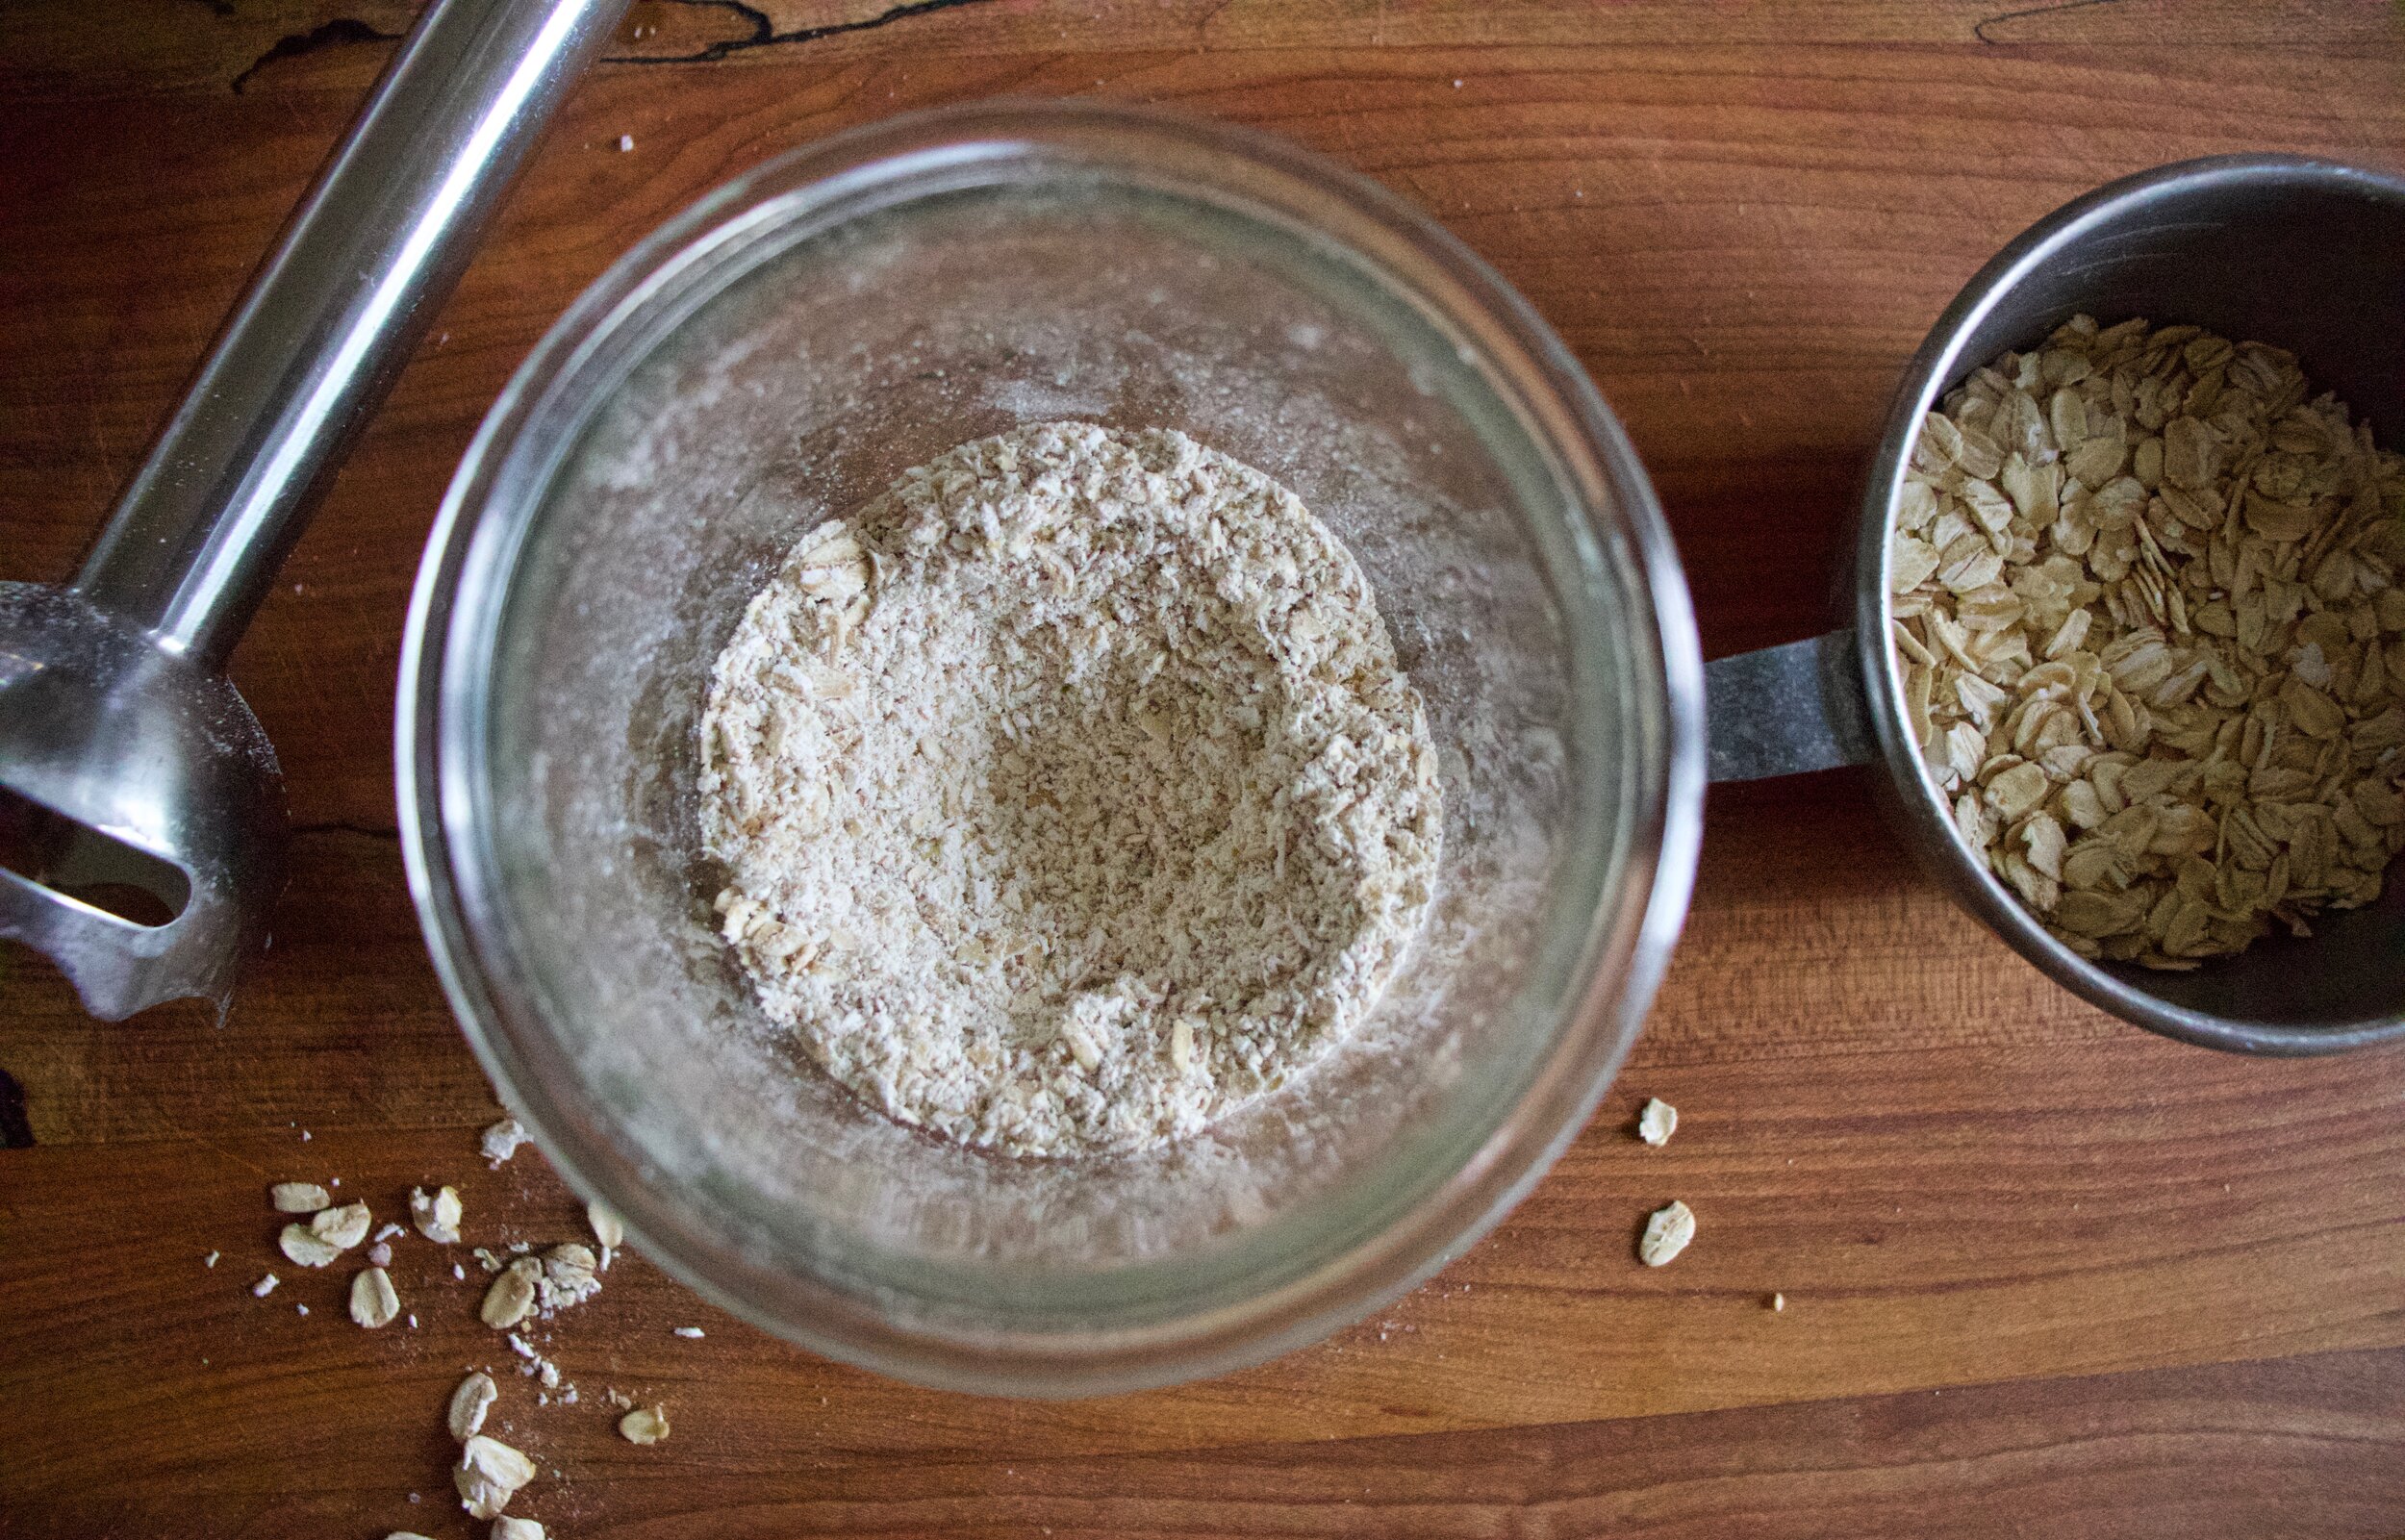
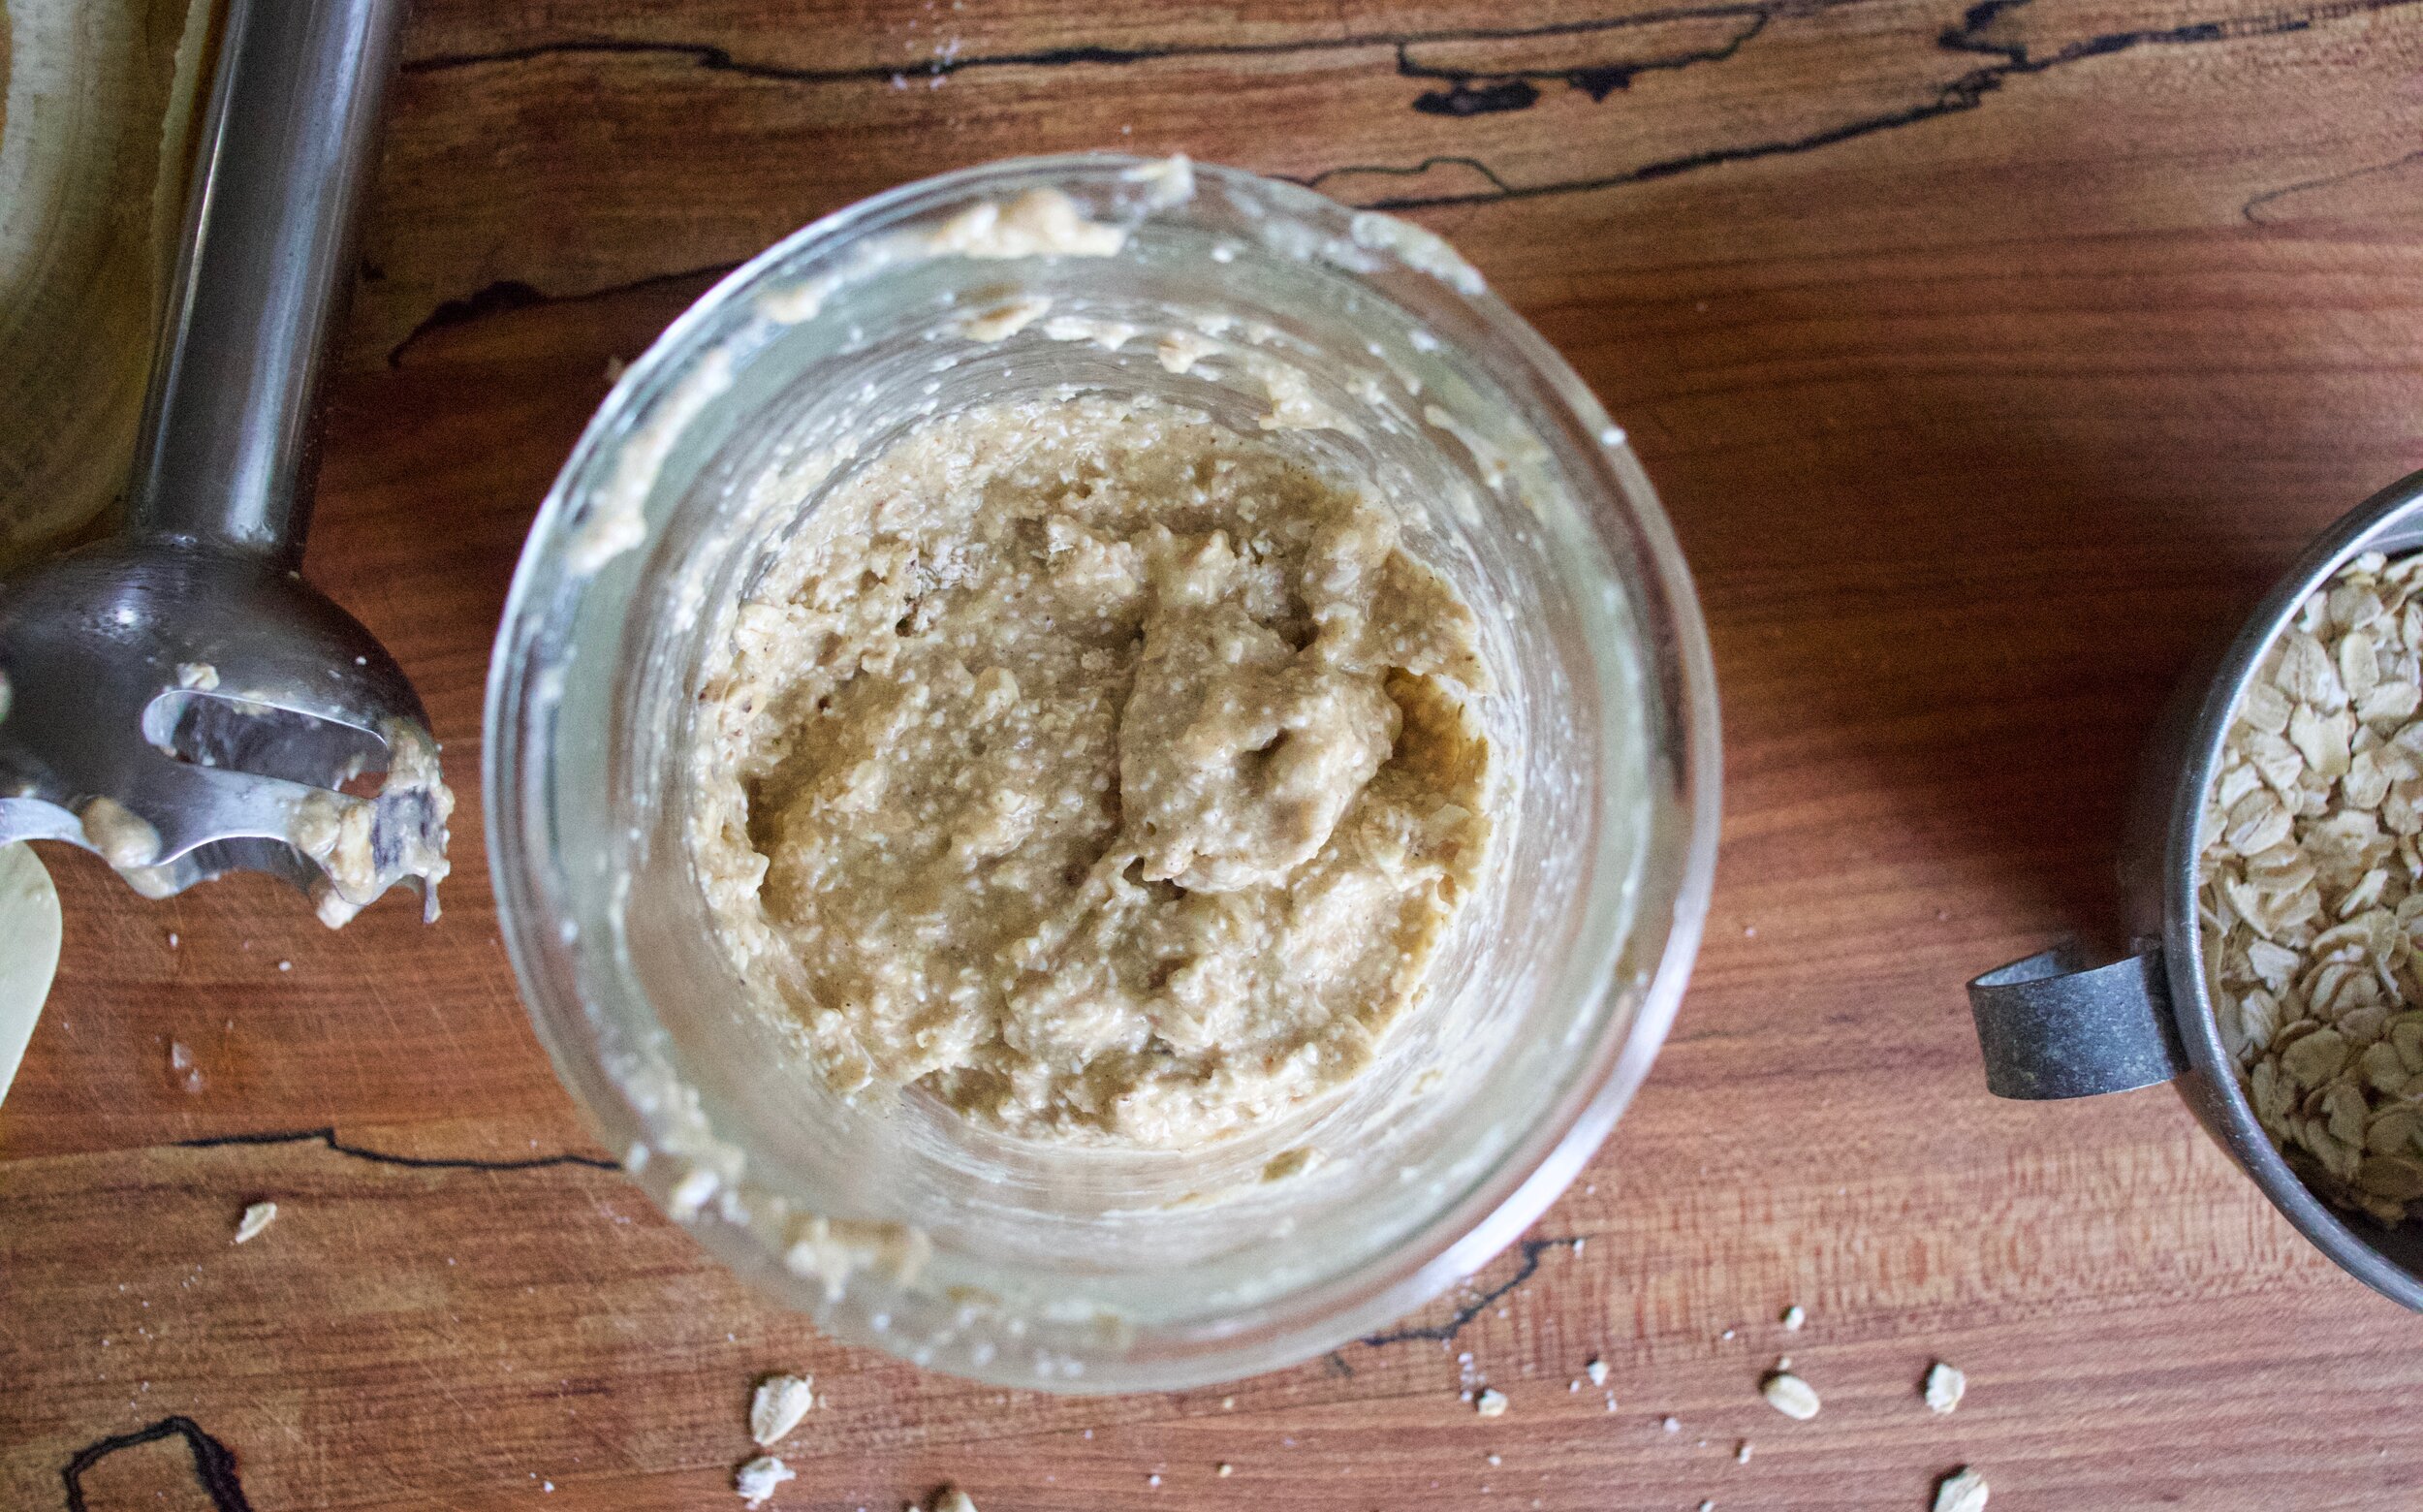
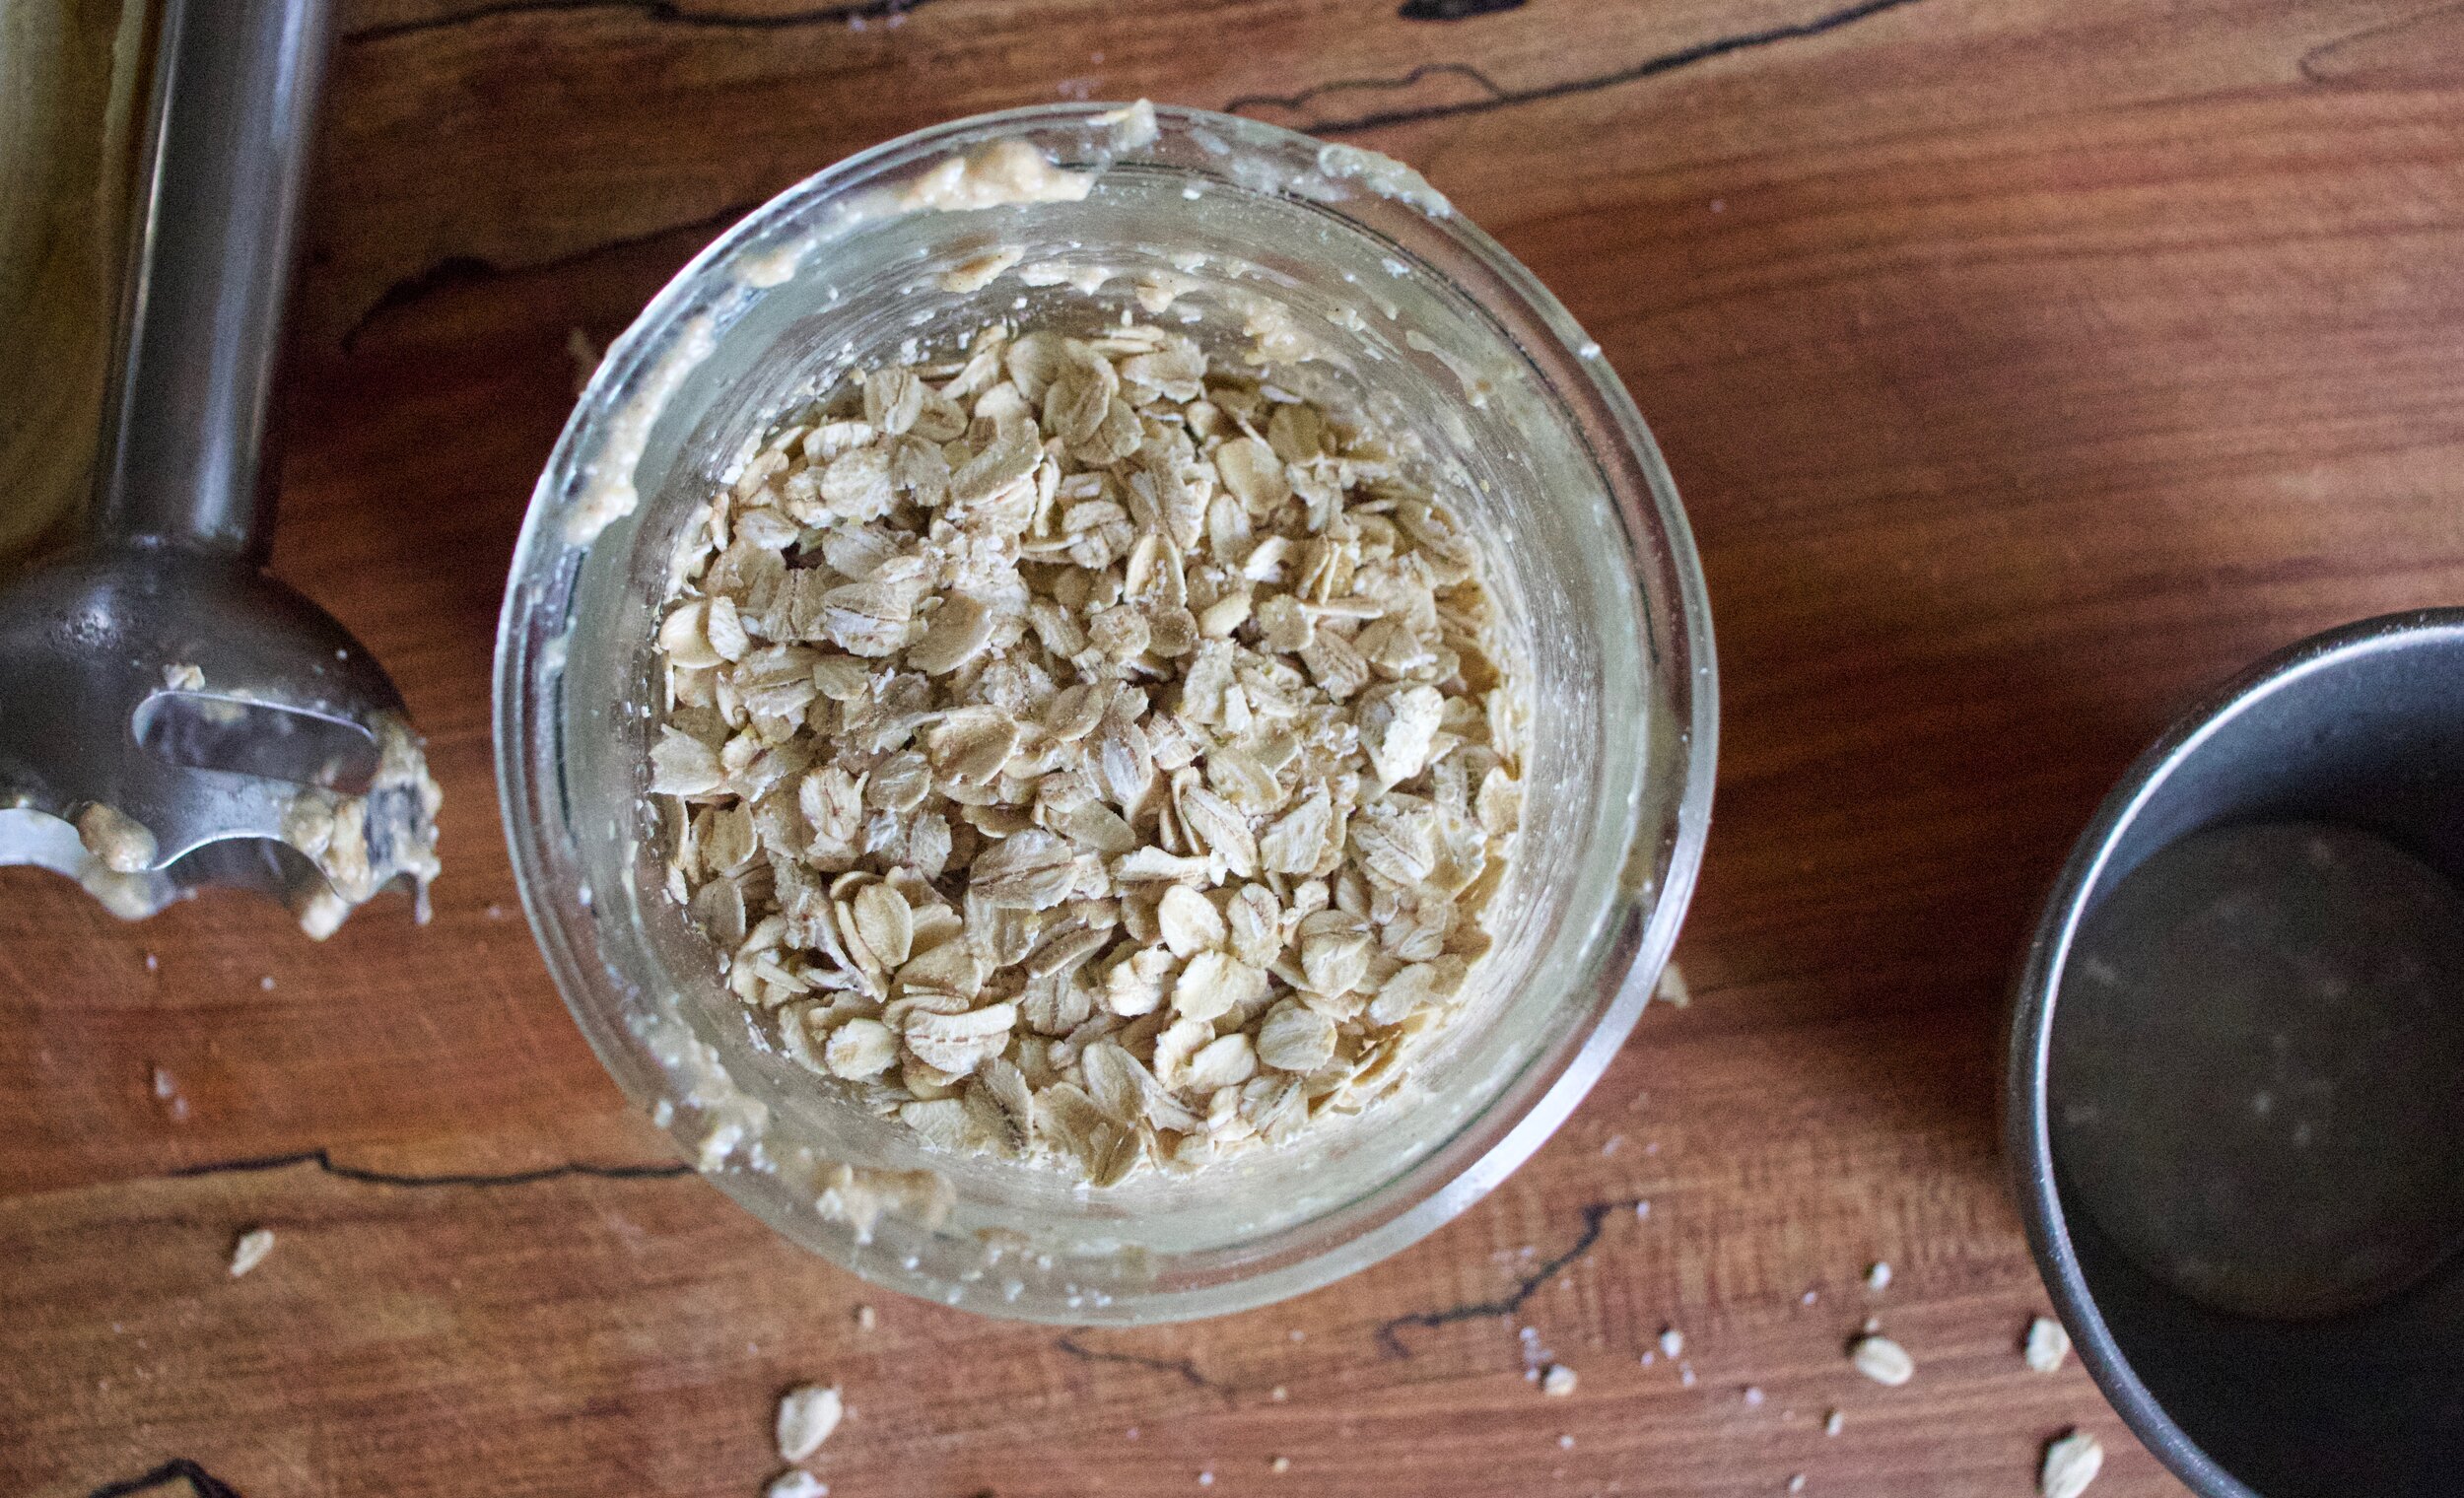
Then you place dates, peanut butter, and oats into a food processor and blend unit la smooth stick dough forms.

IMG_5726.jpg

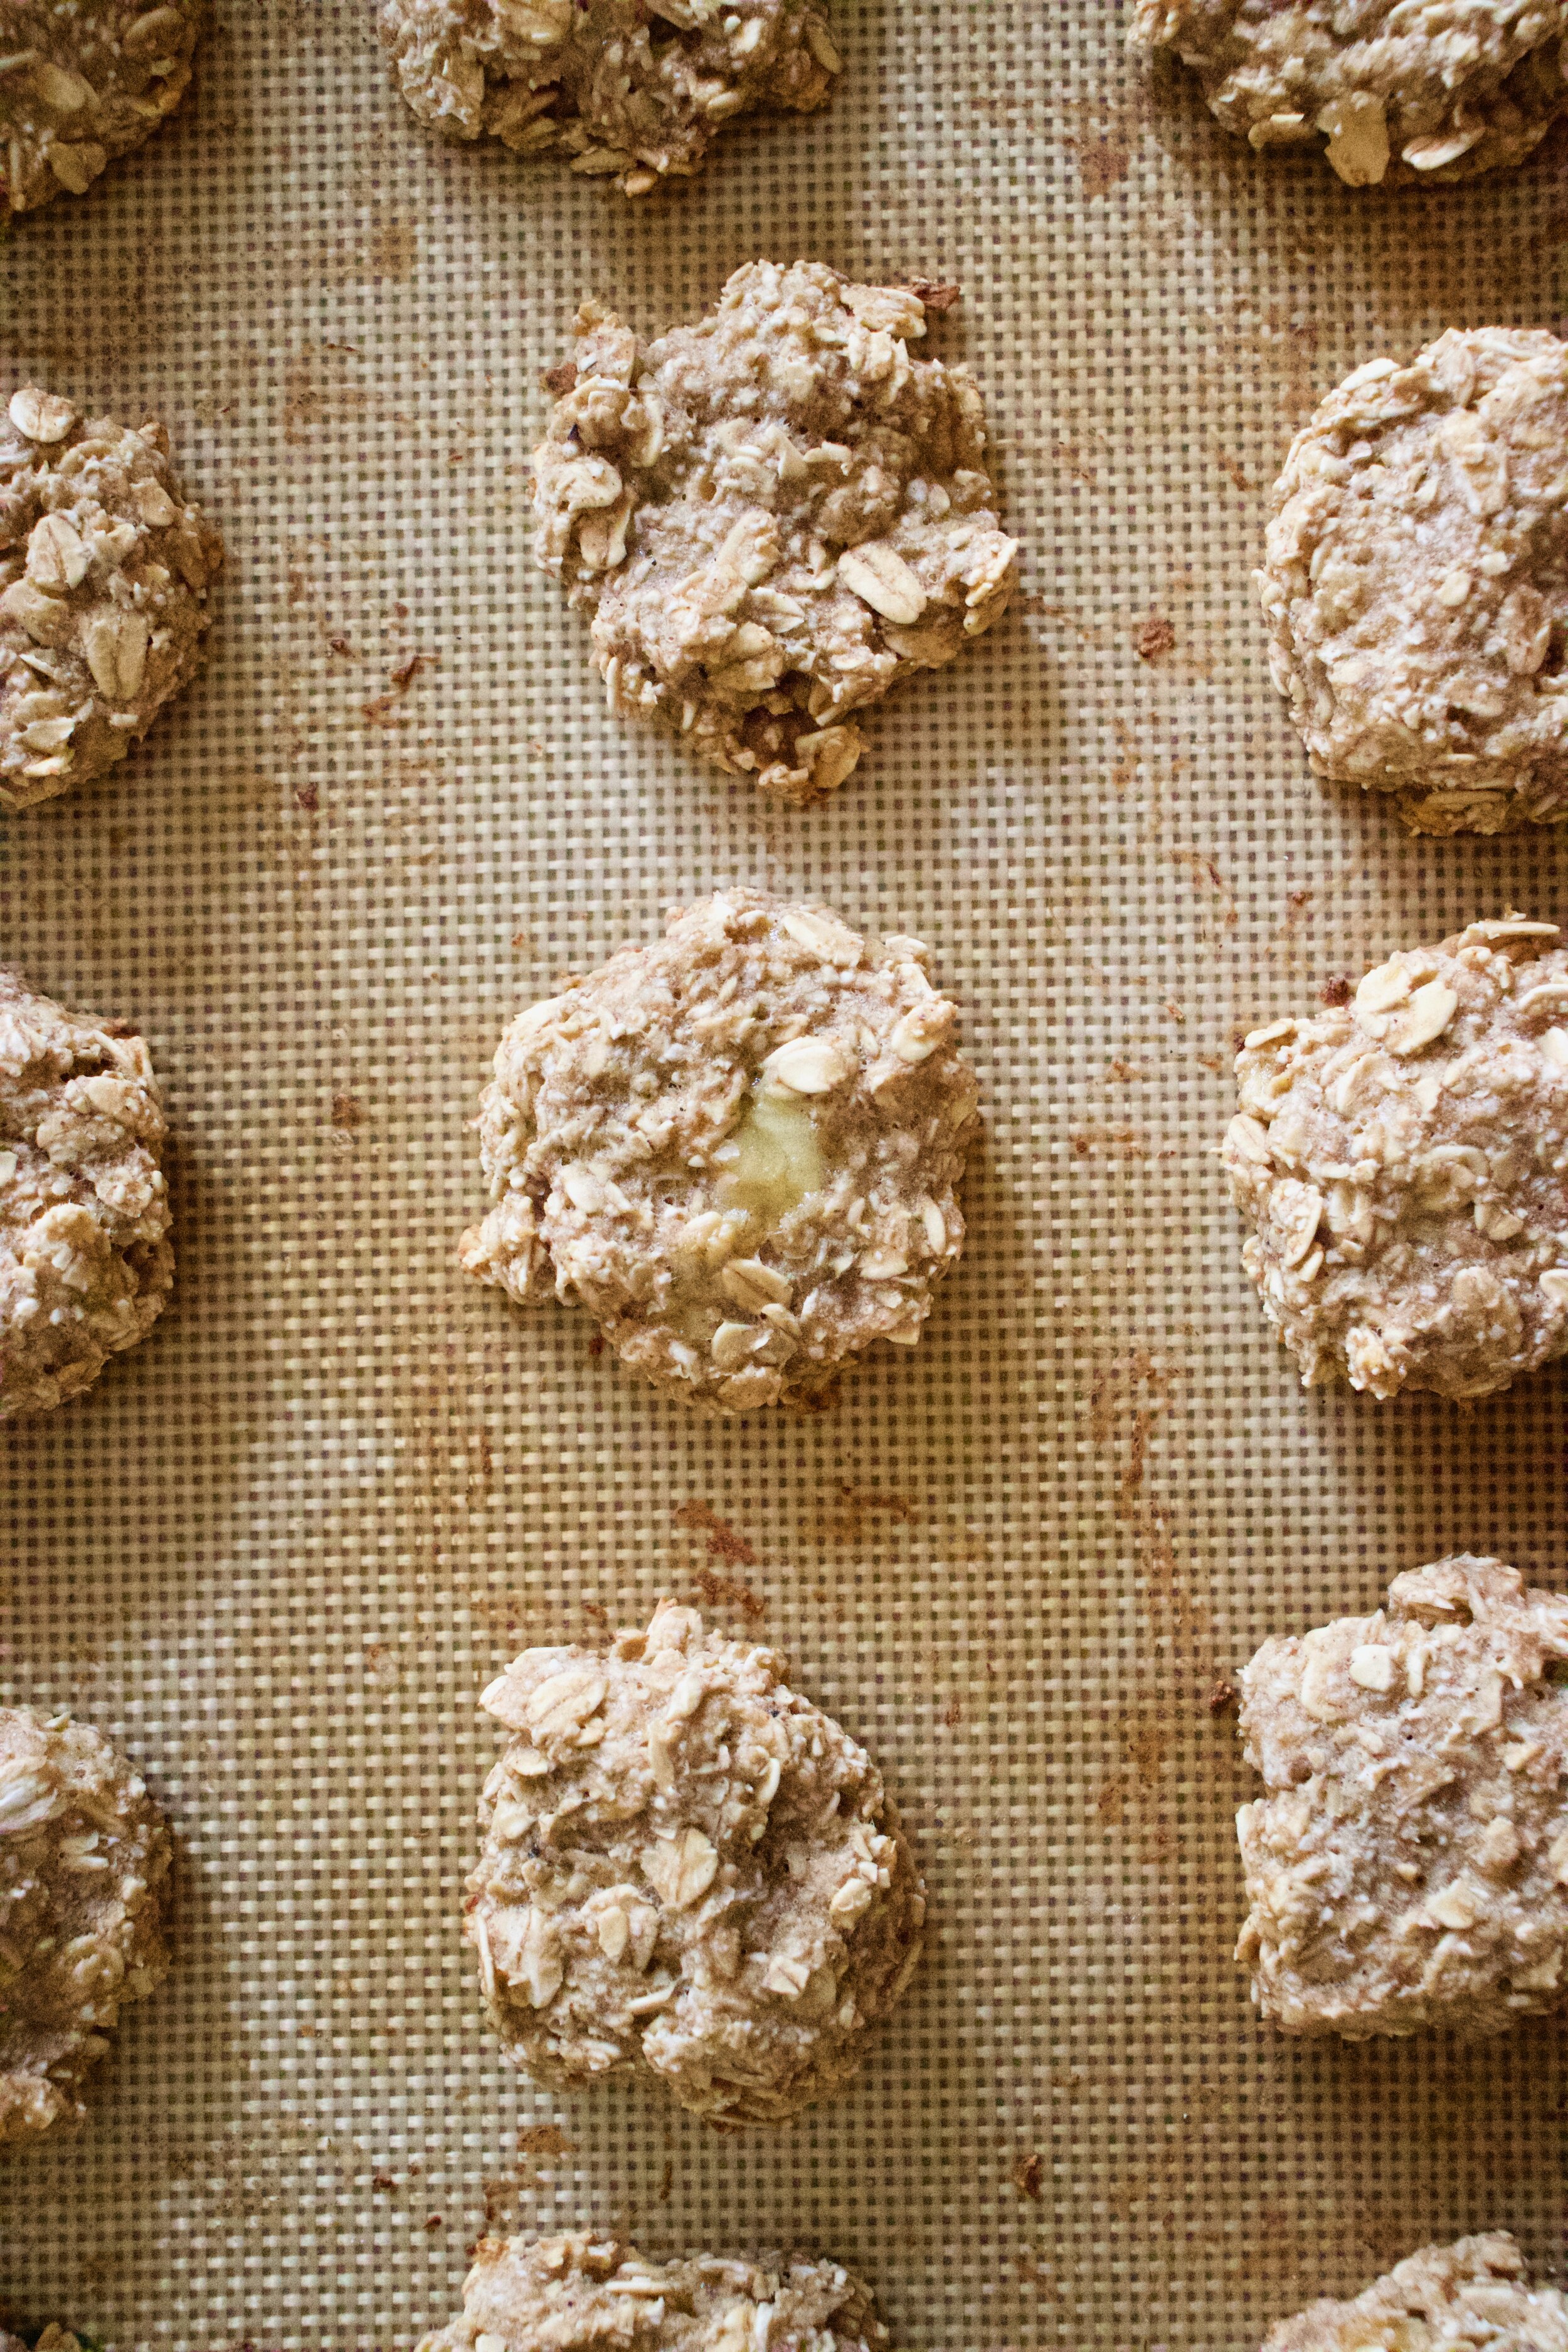
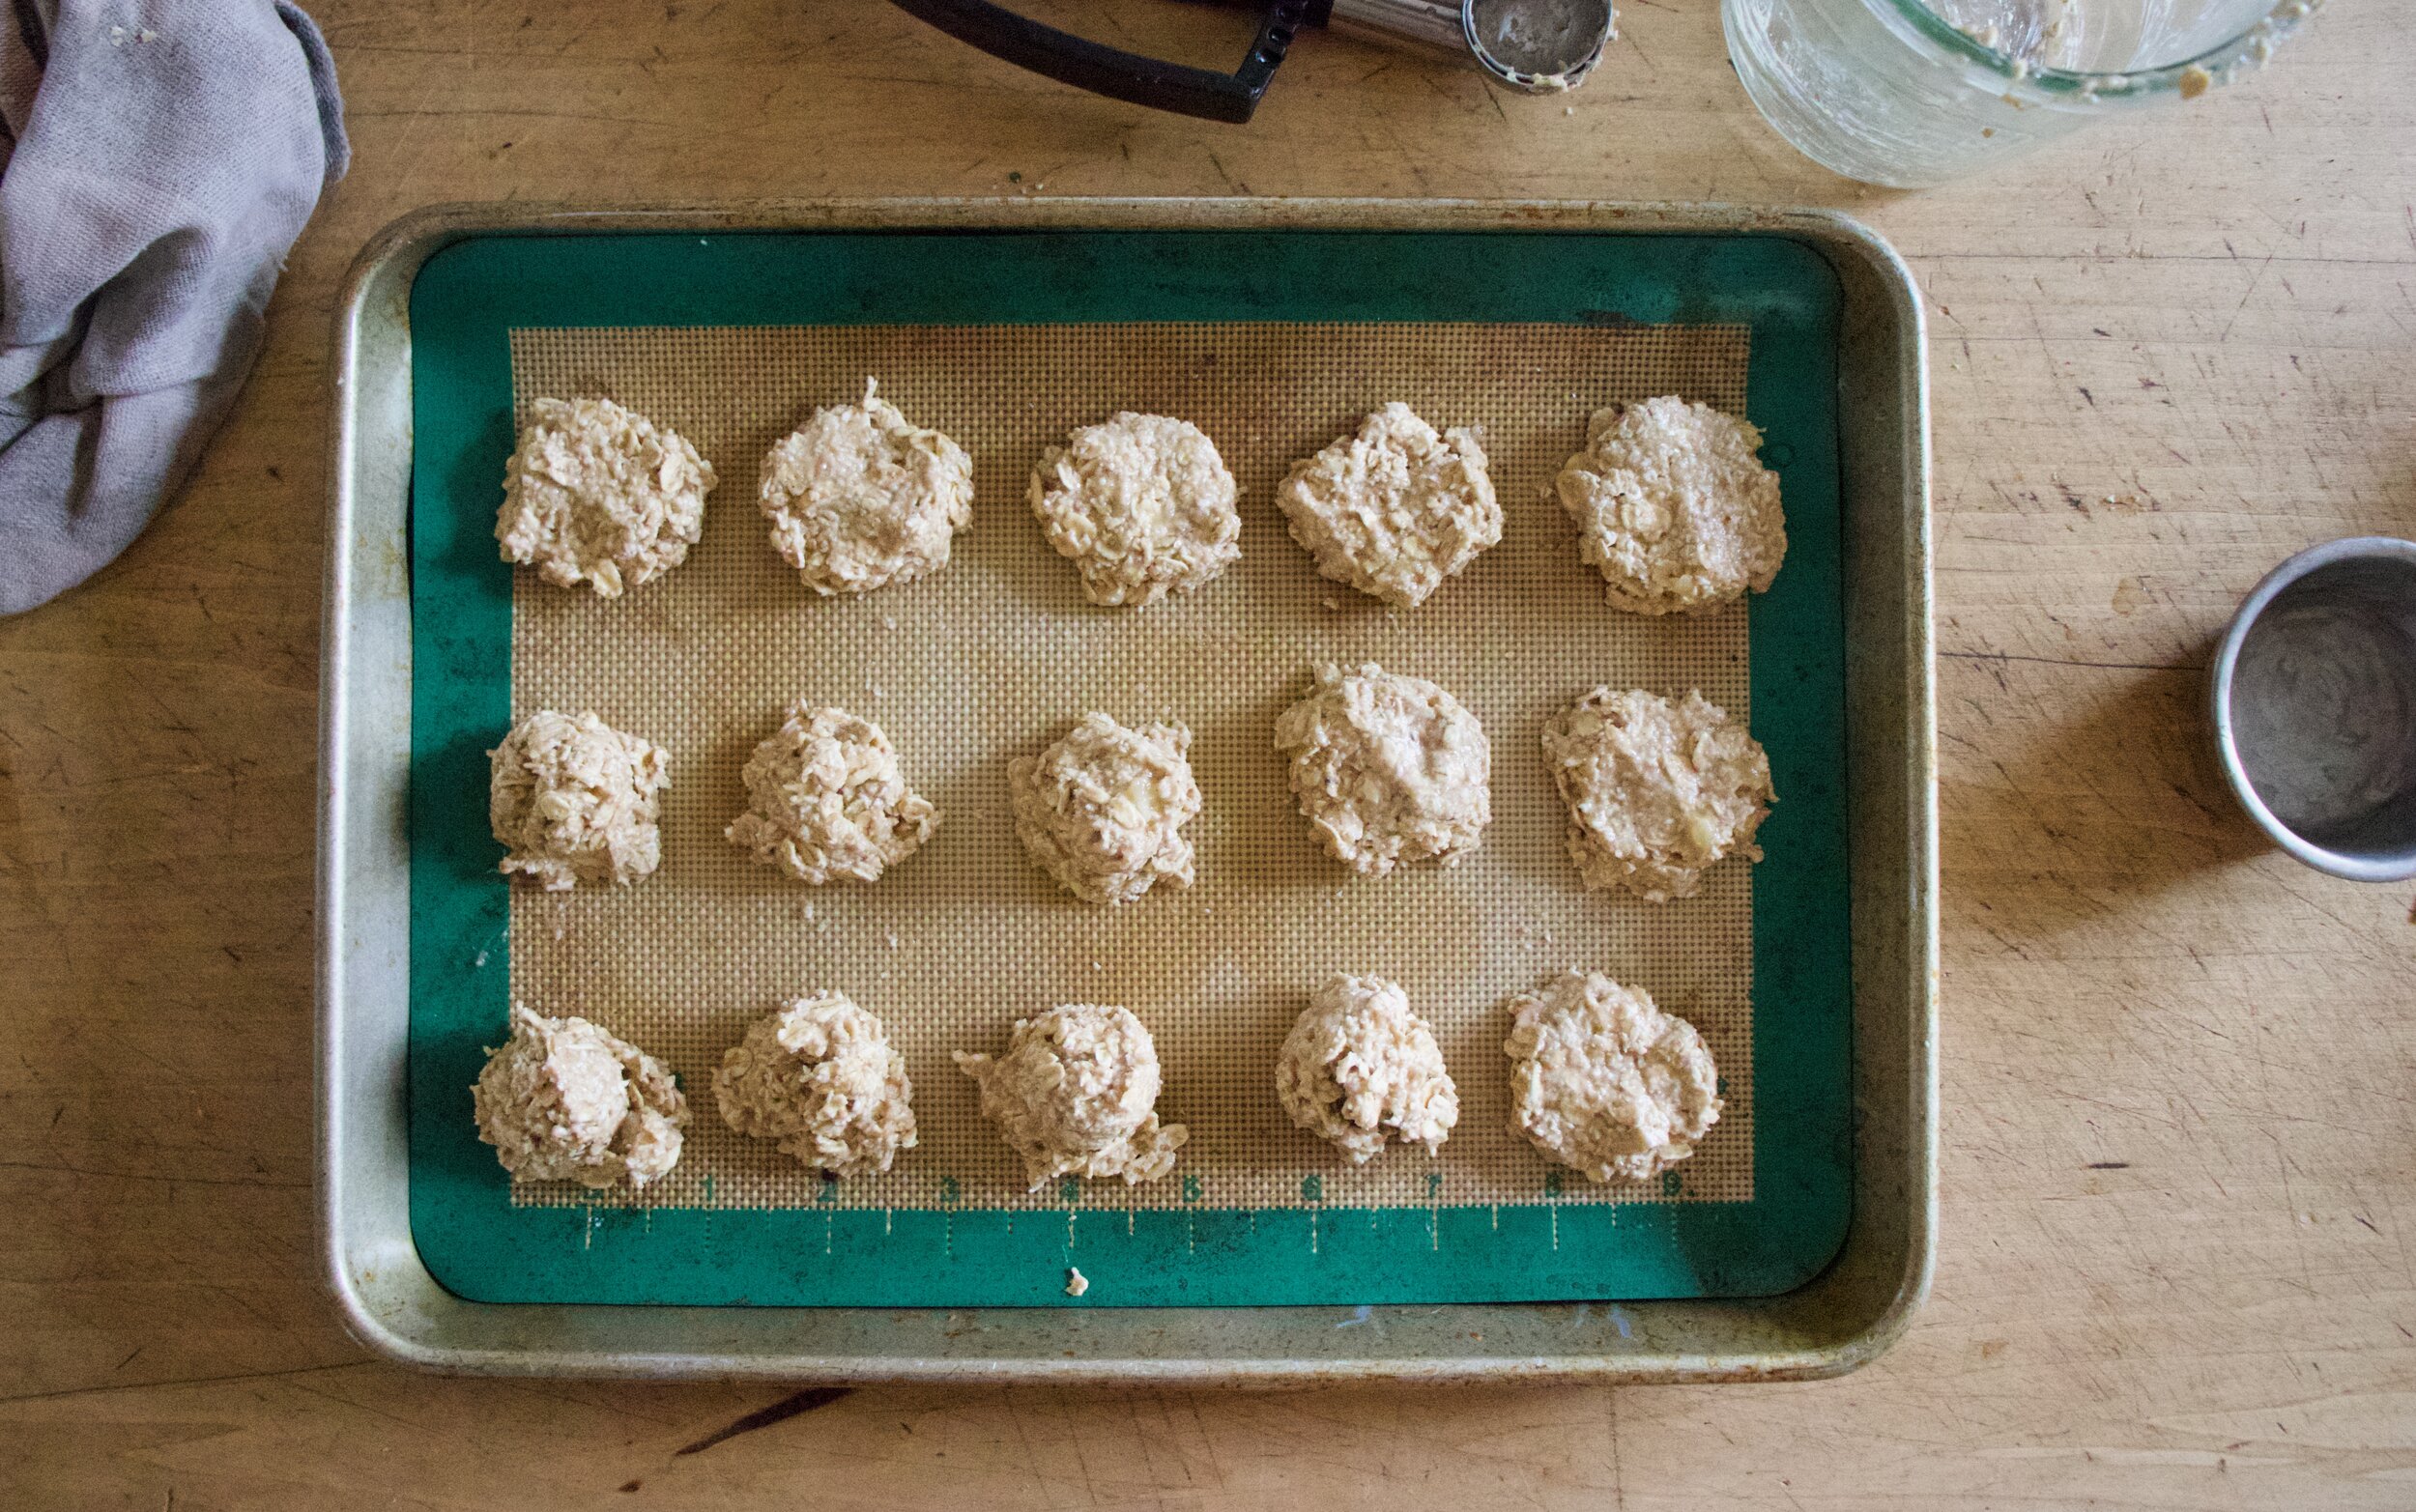
Scoop and roll dough into balls and place into freezer for 1/2 hour or so to firm up.

IMG_5738.jpg
IMG_5744 2.jpg

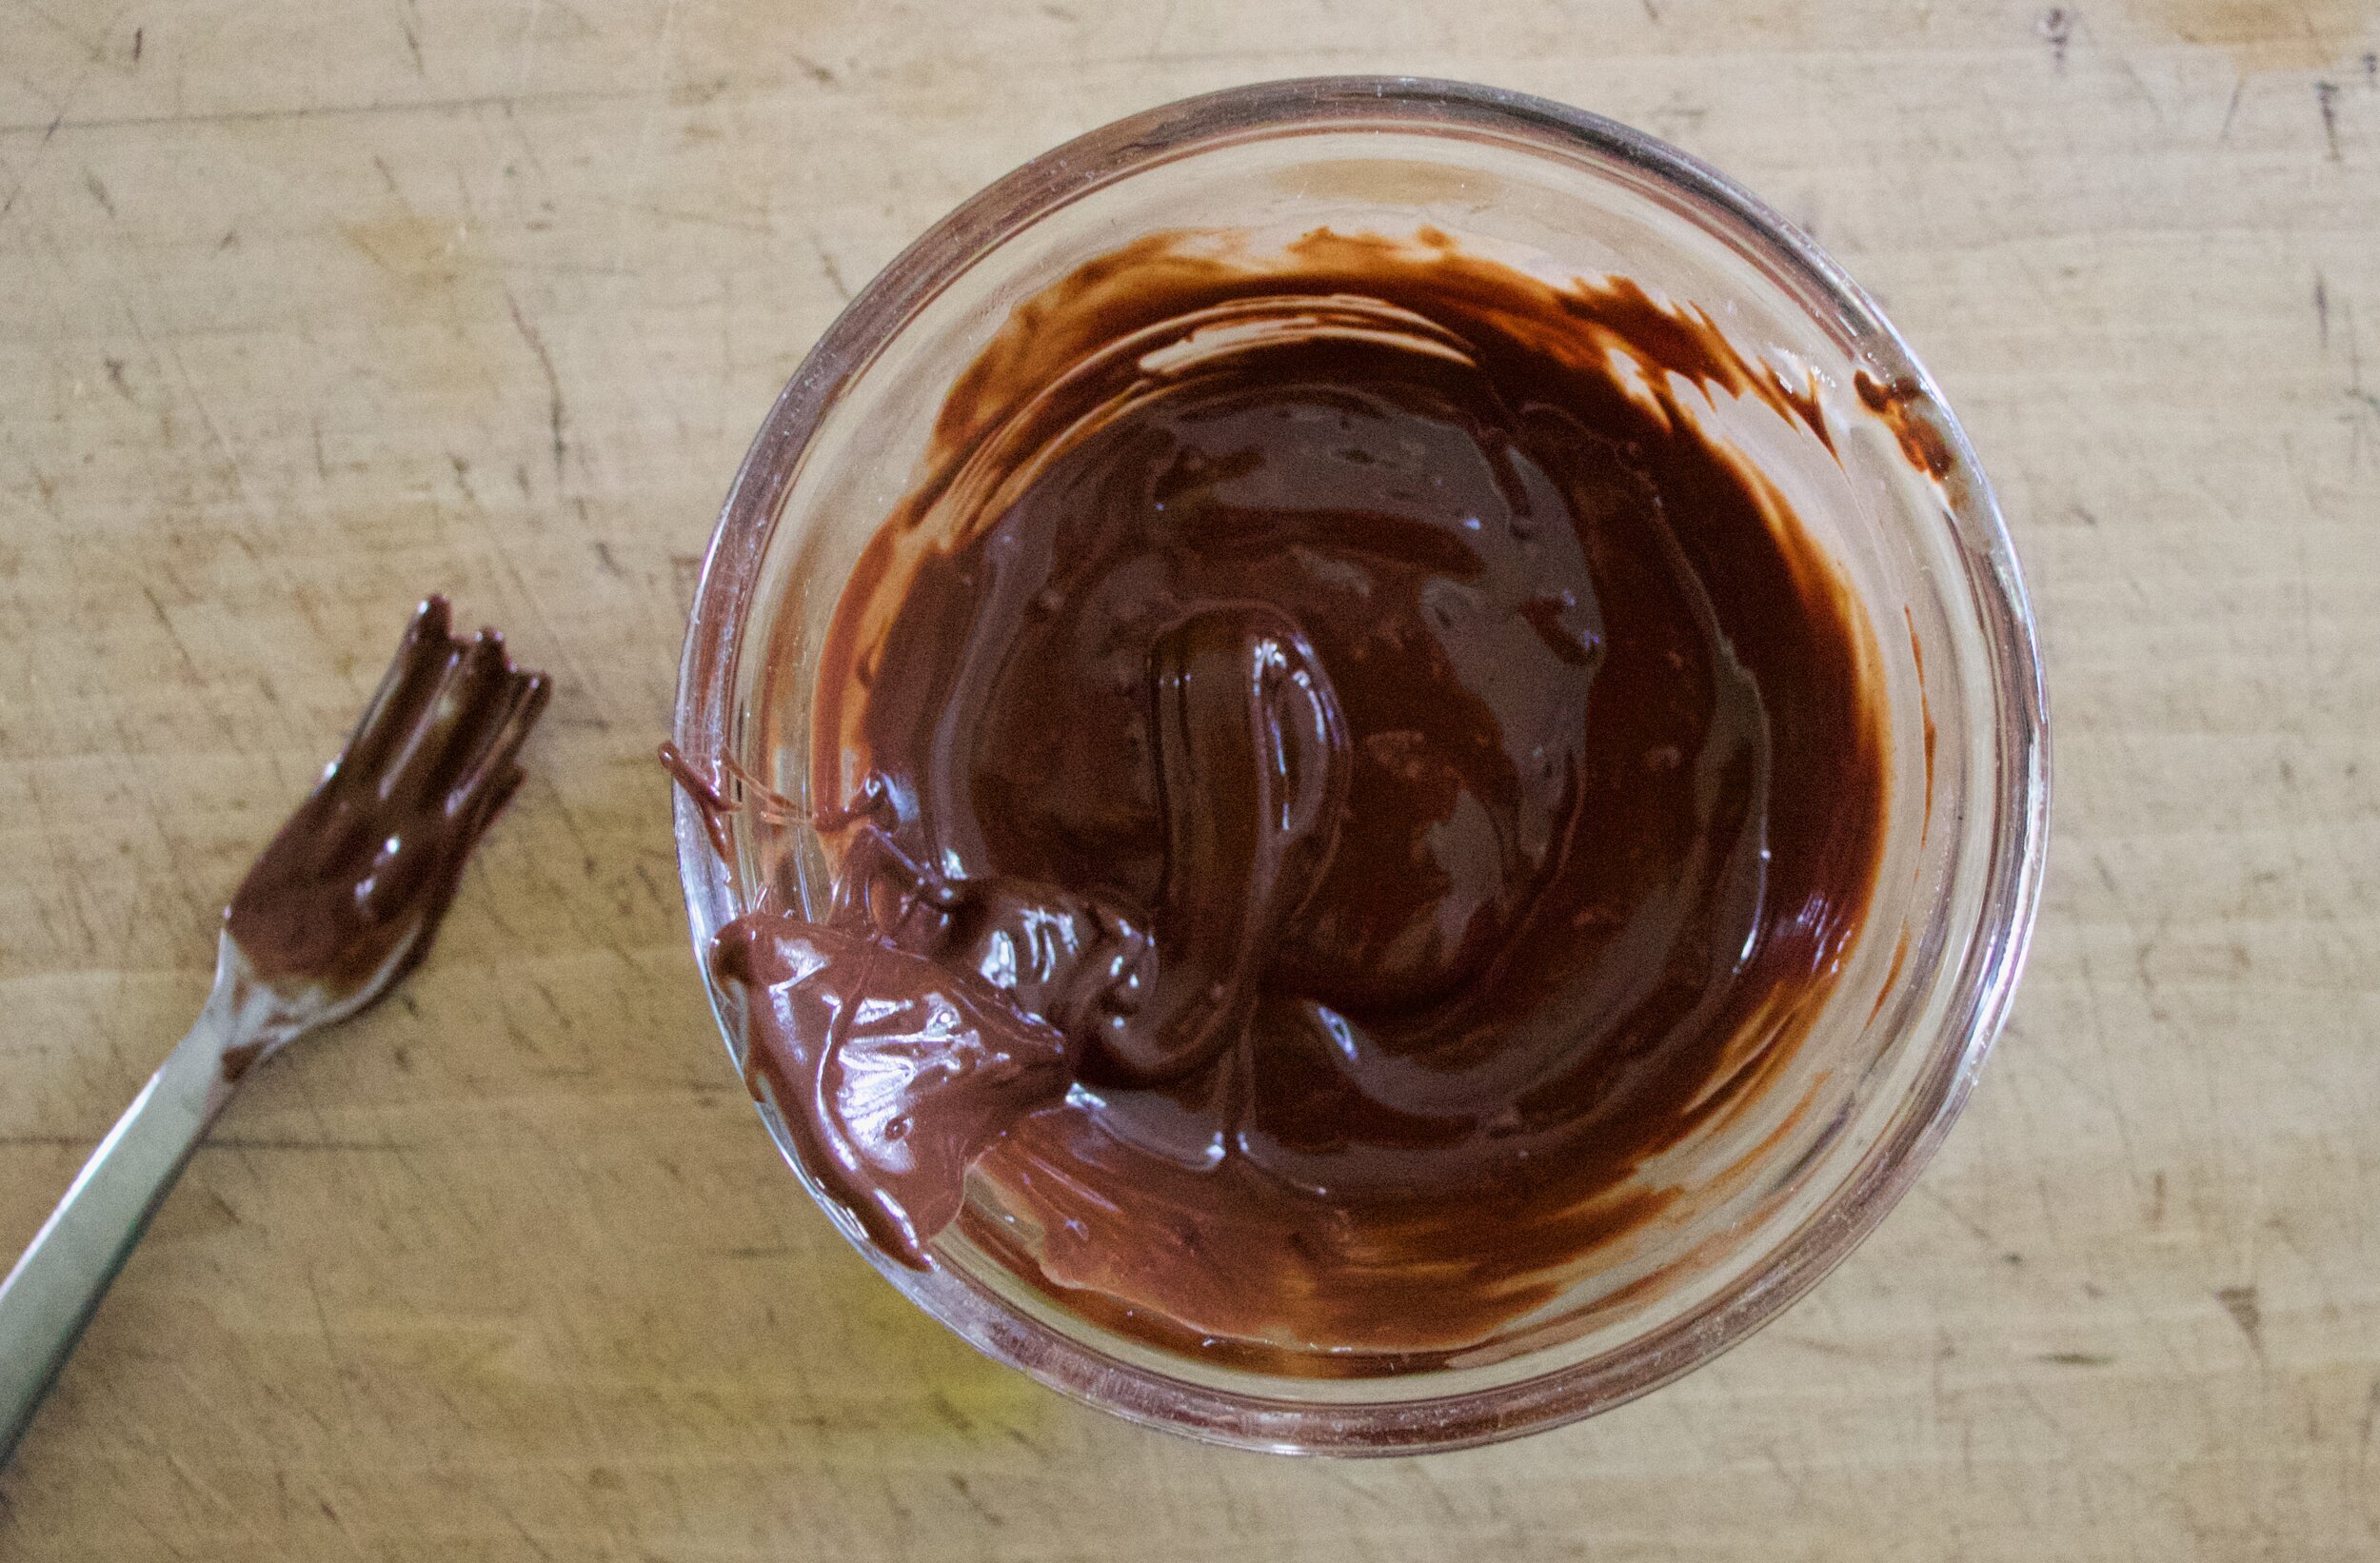
And melt the chocolate with the coconut oil until smooth.

IMG_5751.jpg

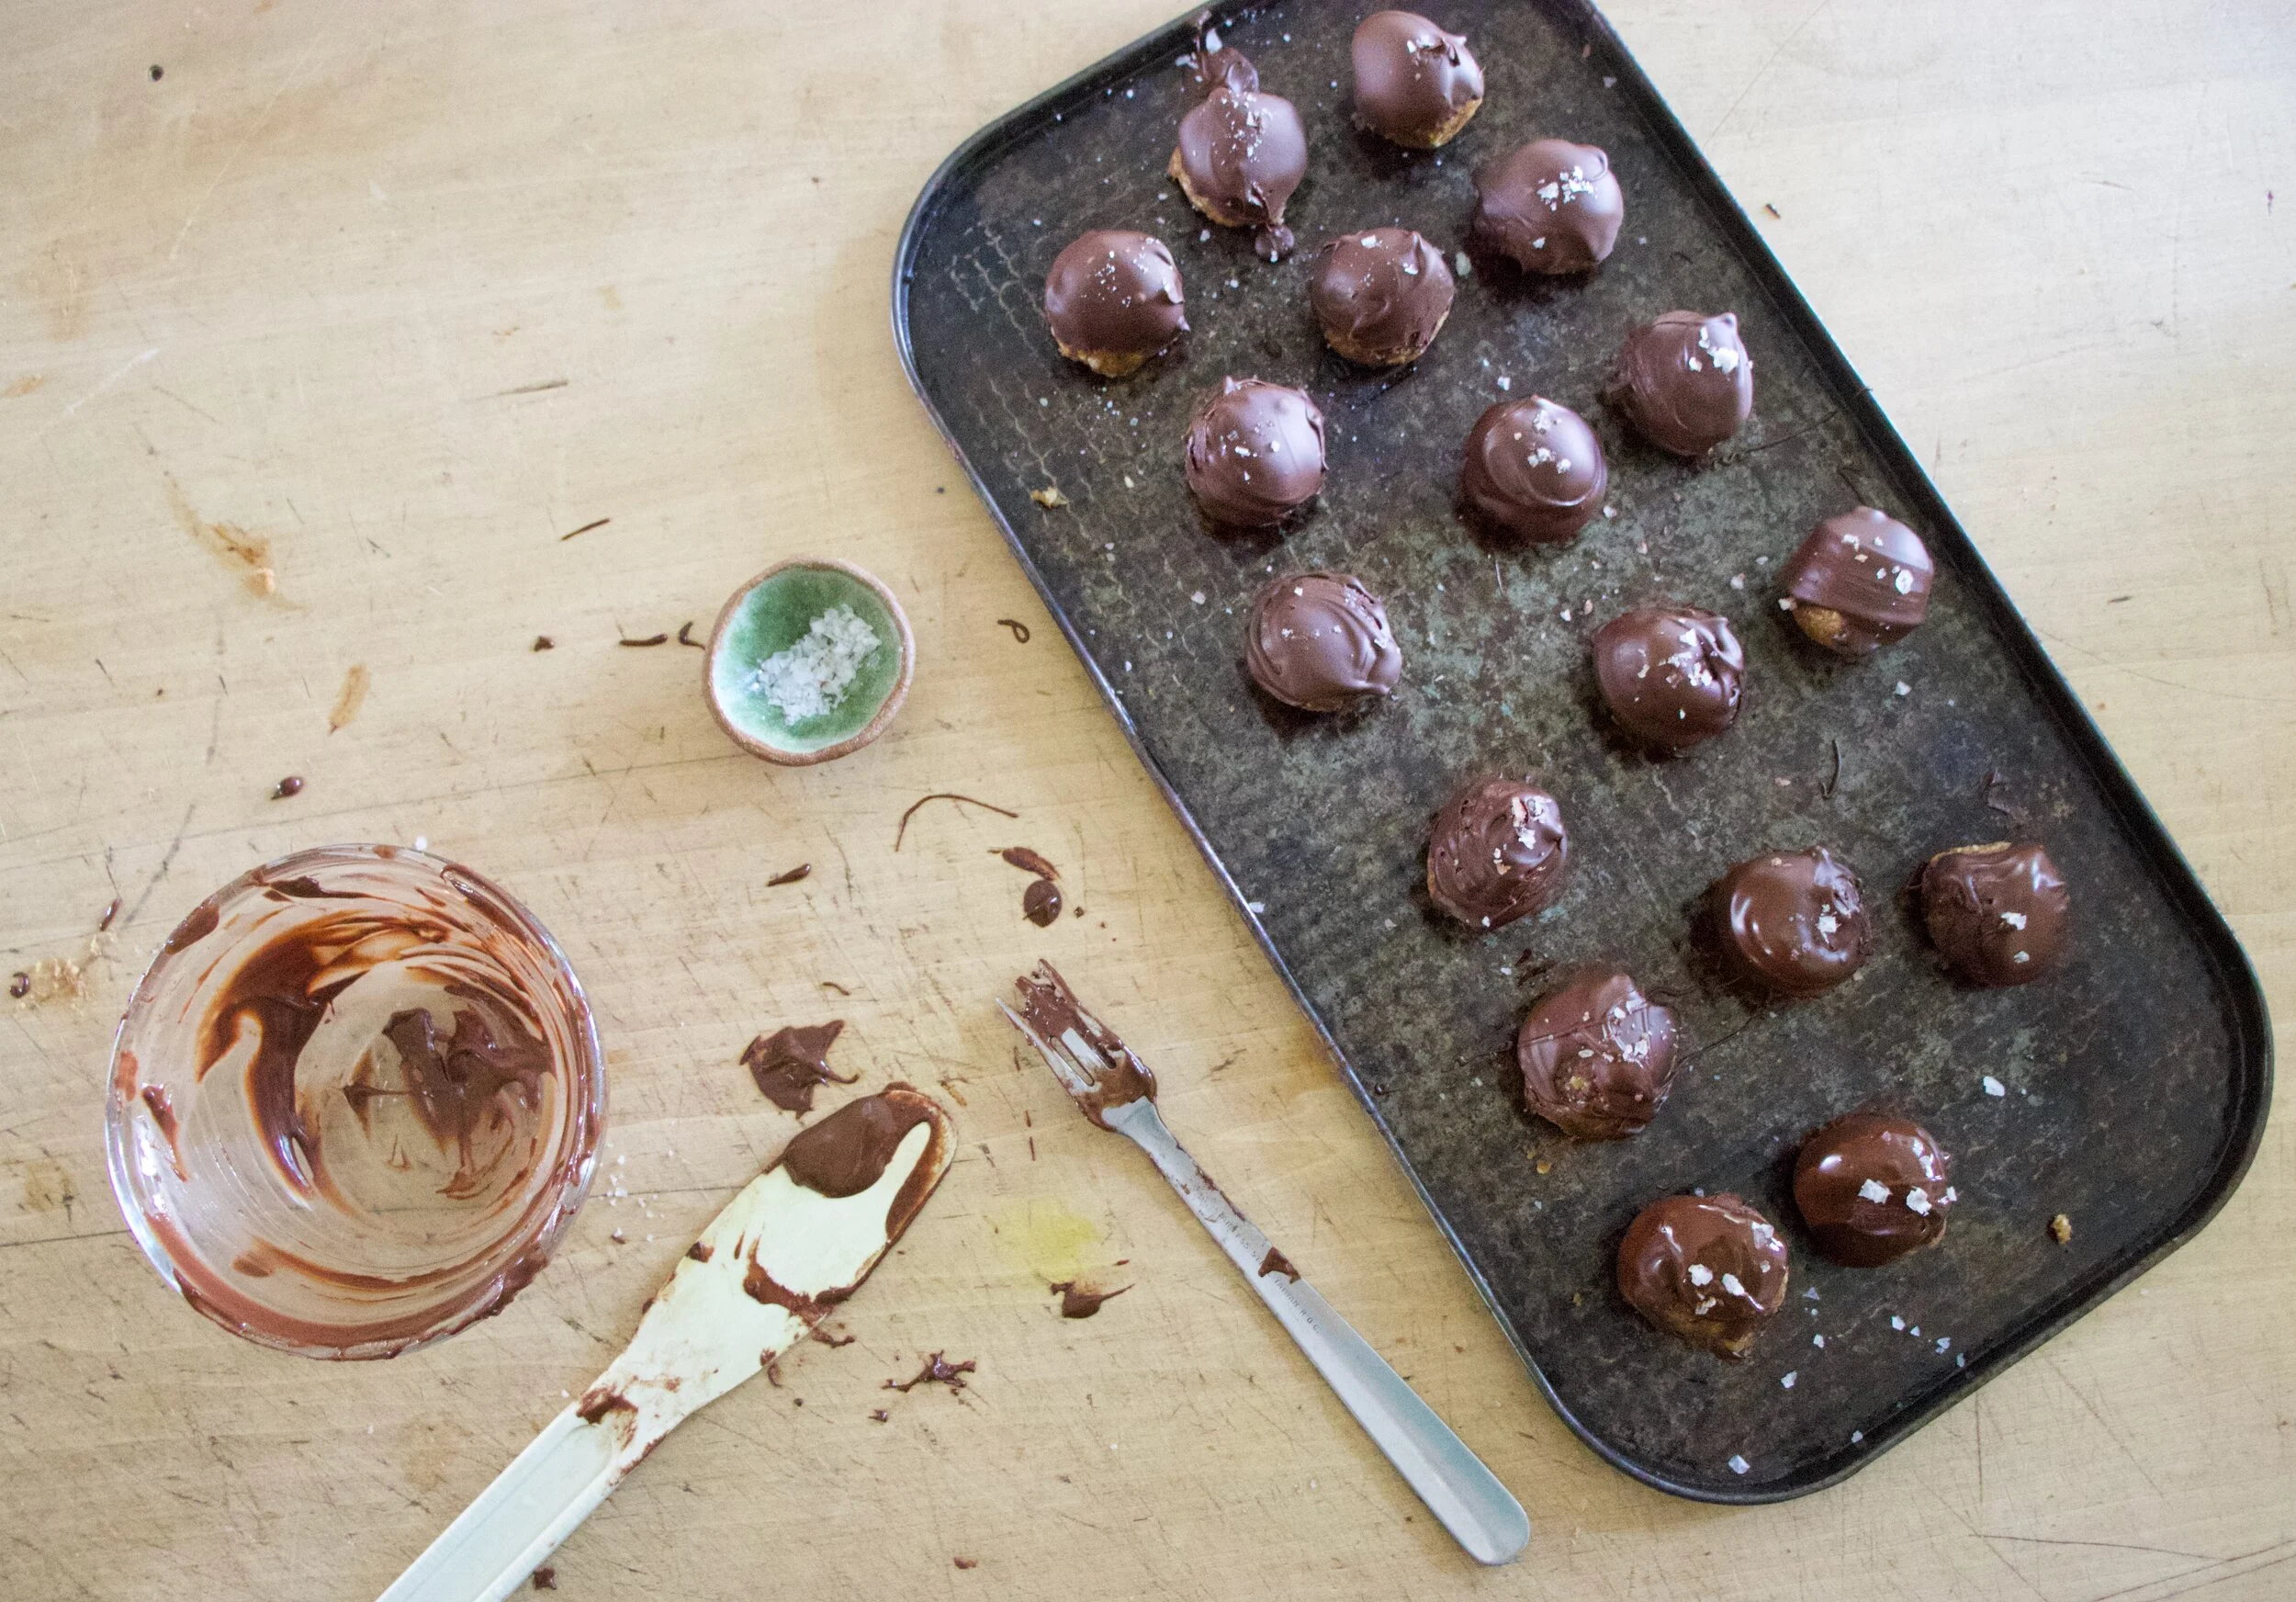
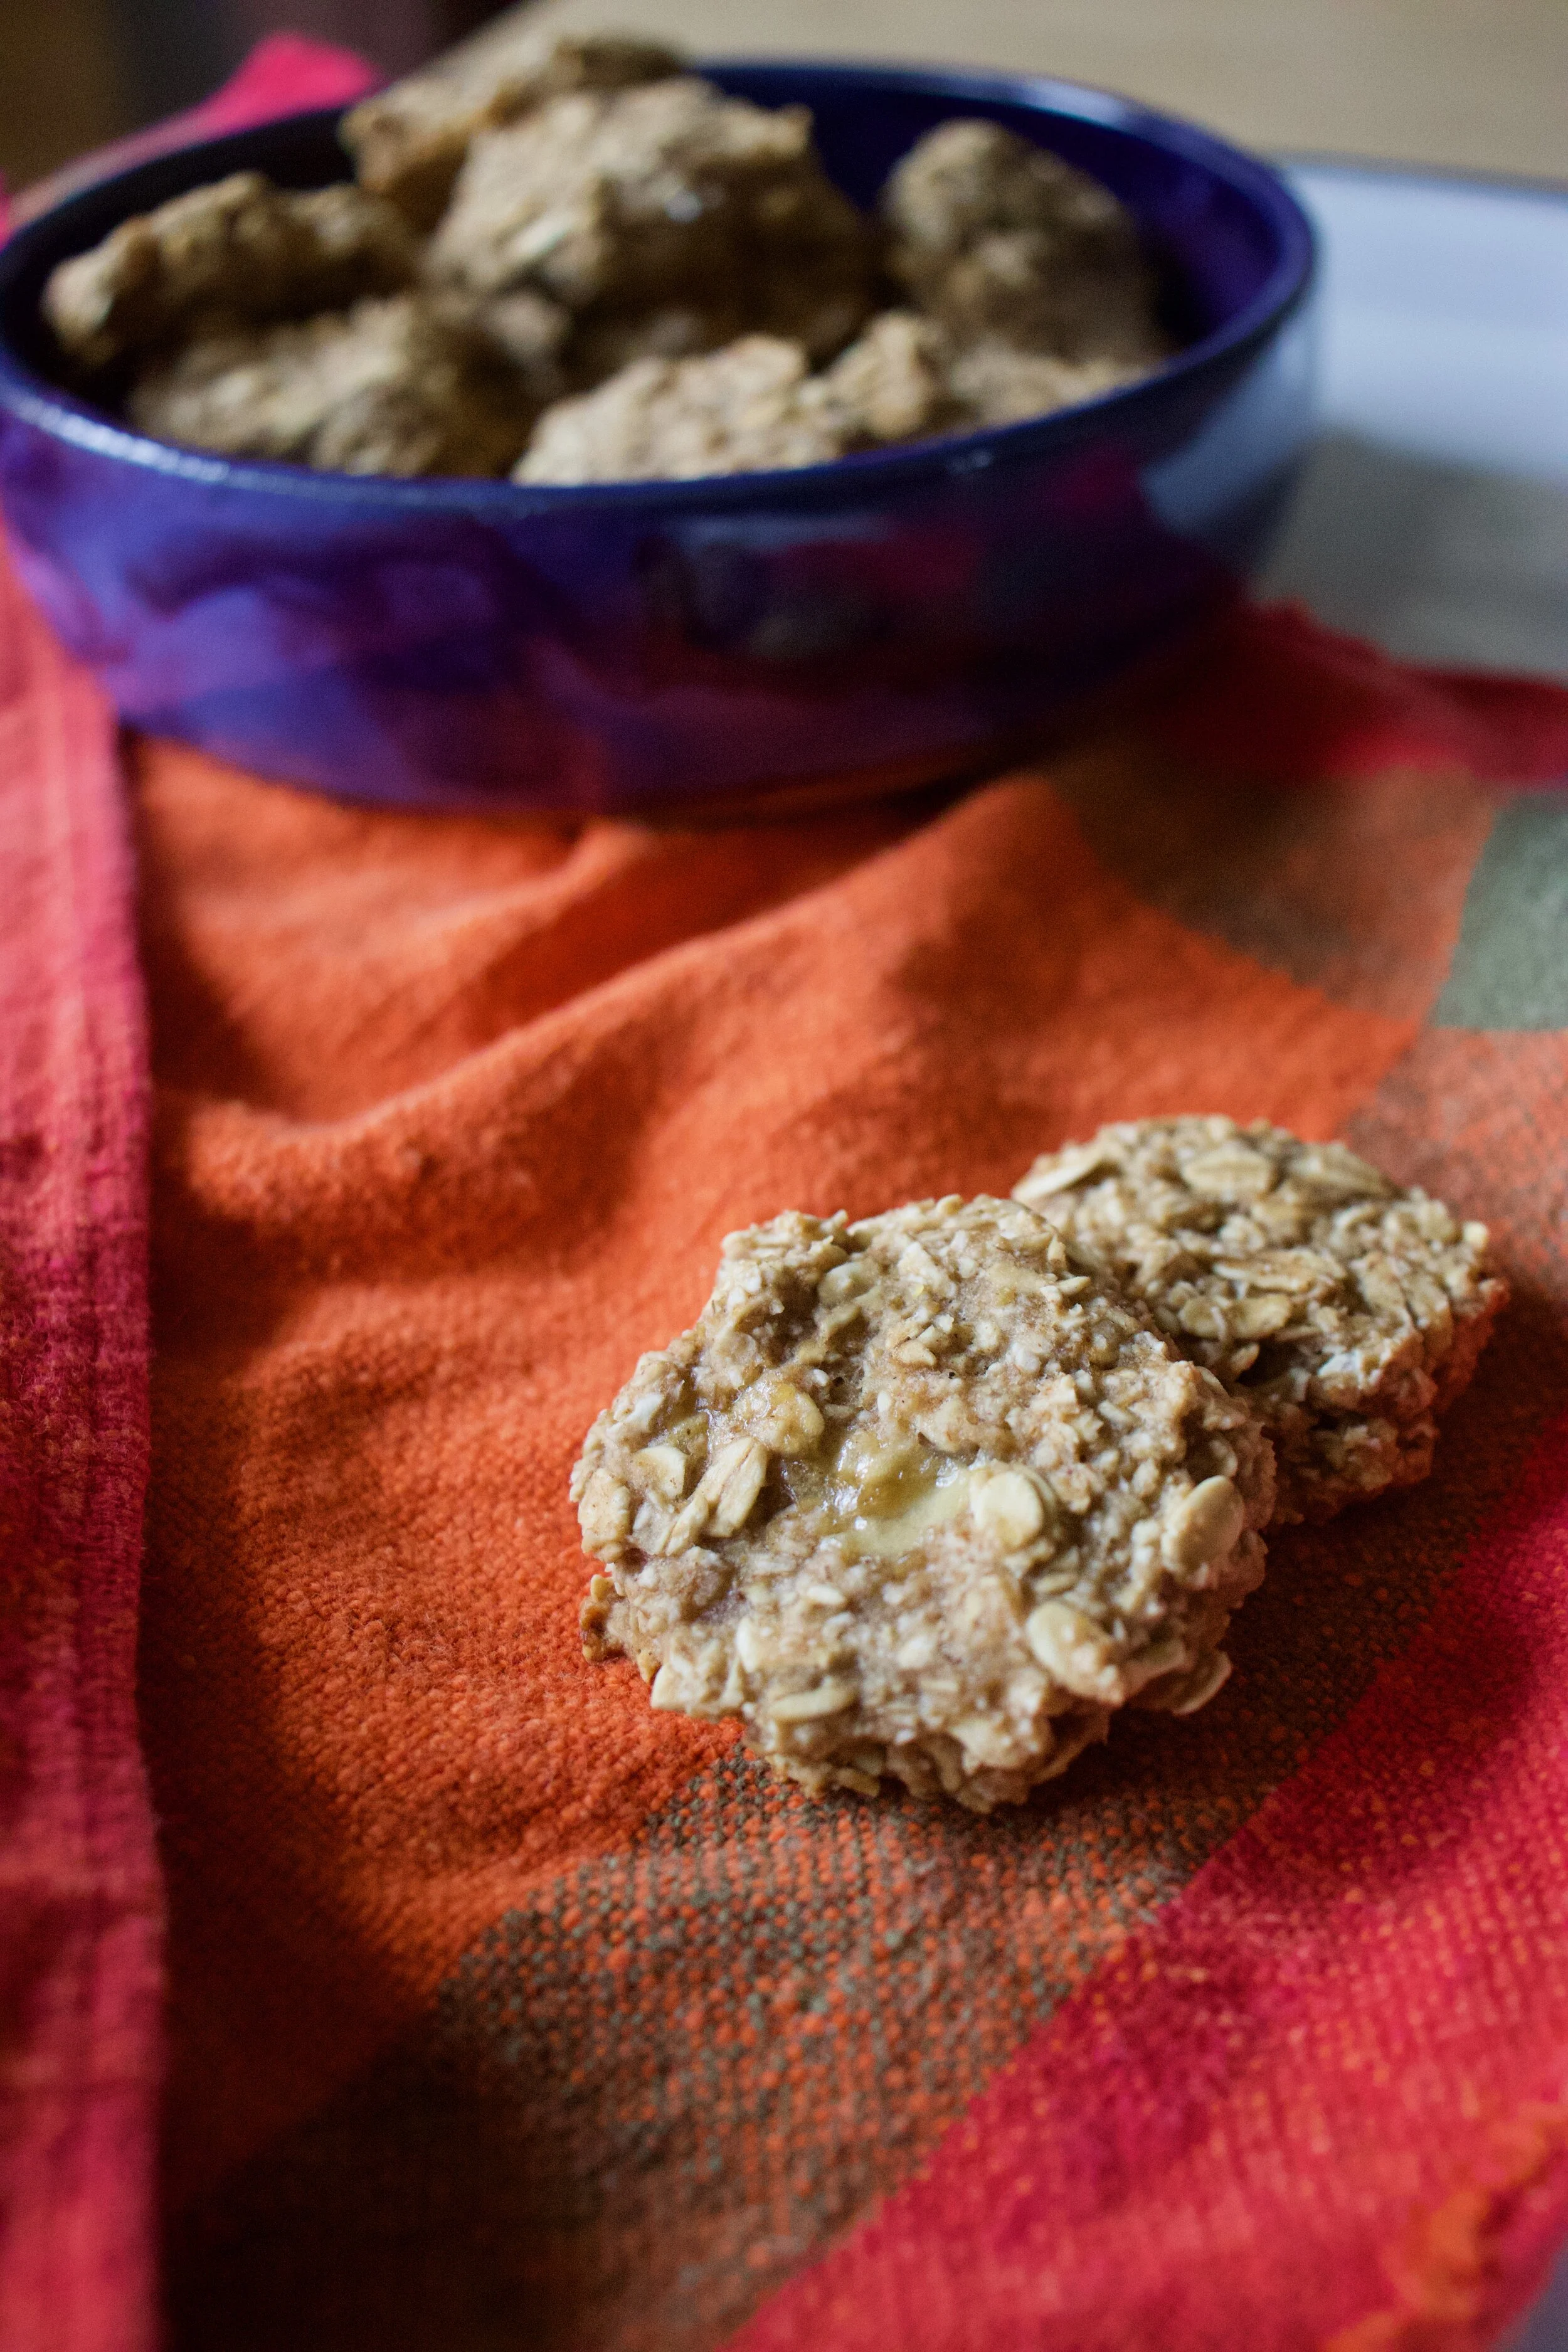
Once chocolate is melted, remove balls from freezer and start dipping them into chocolate. After a few are covered, sprinkle the tops with a few flakes of salt before he chocolate hardens.

IMG_5827.jpg

And that is it. Place balls in a airtight container and keep in freezer. Eat whenever. And you will eat them fast because, BECAUSE! dates are delicious.

-C


Chocolate Covered Peanut Butter Date Balls

makes 12-16 balls

  • 20 pitted delget dates ( You can use medjool but they are twice as expensive and sweeter., and bigger so only use 12 or so)

  • 1/2 cup old fashion oats

  • 1/3 cup peanut butter

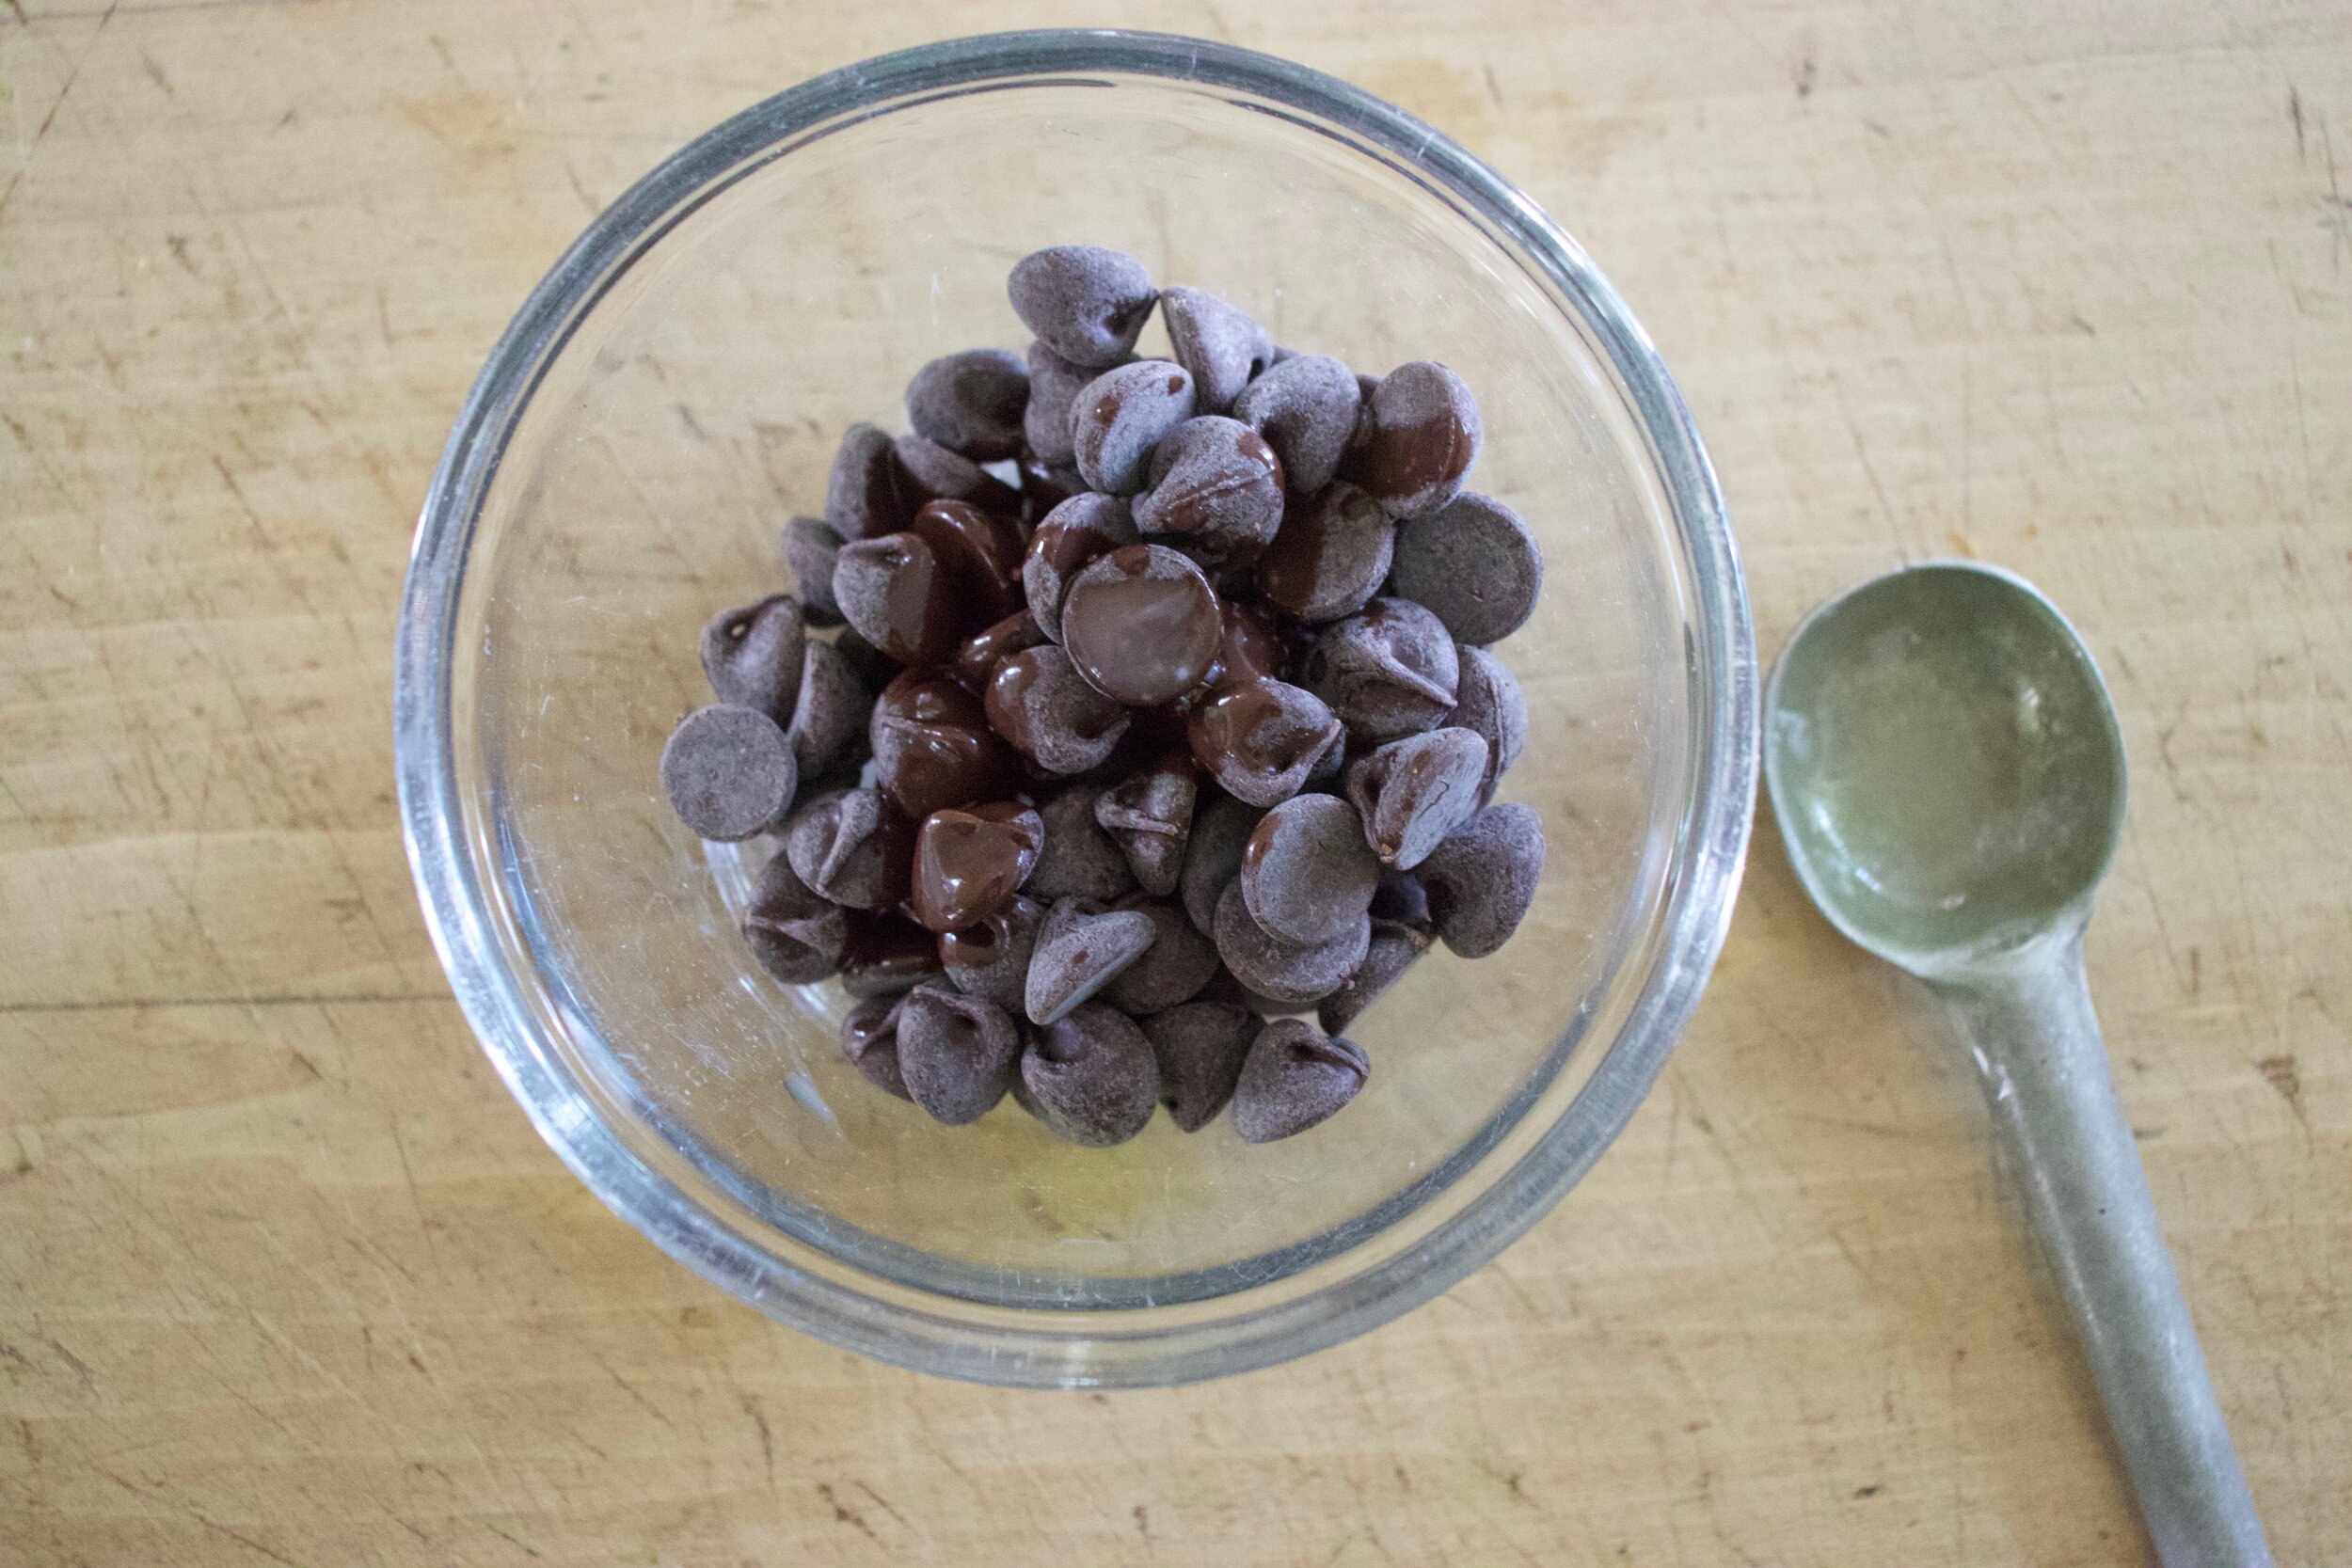
  • 1/3 cup chocolate chips

  • 1 teaspoon coconut oil

  • flaky sea salt

Start by soaking dates in hot water for 5-10 minutes until they soften a bit. Drain water and place the dates, oats, and peanut butter into a food processor. Pulse then blend until a everything is all blended smooth and a sticky dough forms. You are going to have to stop a few times to scrap the sides down. Once dough forms, take a spoon or scooper and scoop out the dough into 12 equal sized balls. With take each ball and roll around to make smooth and place on a plate or a baking sheet. Once all balls are scooped and rolled, place in freezer for 1/2 hour to firm up.

Right before taking the balls out, add coconut oil to chocolate chips and melt either in microwave (15 second intervals until melted) or on stove. Grab frozen balls (they don’t get hard, just firm), and start dipping them into the chocolate. After doing 2-3 three, sprinkle the tops with a couple flakes of sea salt.

Once all balls are covered( eat one) place in the freezer in air tight container until you want to eat them.

They should be good for a least a month in the freezer but I wouldn't know for sure seeing as these were gone the day after I made them. Both times.

In Vegan, snack, Raw, quick and easy, fruit, Dairy Free, Gluten Free, cookies, candy Tags Chocolate Covered Peanut Butter Date Balls, dates, vegan, gluten free, simple, no bake, frezzer, freezer, balls, oats, plant based, snack, energy, raw
1 Comment

Baked Caramelized Onions

May 1, 2021 Colleen Stem
IMG_5004.jpg

Two basis reasonable reasons I made oven baked caramelized onions. First, winter farm share has whittled down to just a hug basket of onions and greens (end of season) so I have a shit ton of onions. And second is I turned the heat off a few weeks ago but on these cool damp spring days, which I love, I get a little cold. I am not one to turn the heat back on, I just turn to the oven and bake stuff instead.

I was cold, have a basket of onions, and was hungry. So I caramelized onions. And I will probably do it again today because holy crap, I forgot how delicious these things are! I mean seriously, when was the last time you ate yourself some caramelized onions? They are like candy, but like a savory sweet candy that lights up your mouth hole and keeps you wanting to shovel more and more into your face. I made a skillet of 4 giant onions. I think I ate 3 of them (I gave the mr a scoop on his lentils for dinner, but then ate the rest). And I am not sorry about it.

So If you are hungry (but can wait for a little while), cold but don’t want to turn the heat back on, and/or have a shit ton of onions, well friend, this one is for you.

To the oven baked caramelized onions!

IMG_4899.jpg

The stuff. Onions, vinegar, salt, water, pepper, and a little oil/

IMG_4905.jpg

The hard part. Cut up onions pretty thinly. I used a mandolin but if you don’t have one, a knife will do. Just cut as evenly as you can.

IMG_4917.jpg

Toss all the onions into a oven safe skillet, add in a pinch of salt, some vinegar an water and that is that. Pop into the oven and bake. It will take close to 2 hours so just even 1/2 hour or so give the onions a little stir.

IMG_5005.jpg

And there you have them. A pile of the most delicious onion situation. Now how you eat them is up to you. I love them on just about anything but I also pretty much at all of these with a fork straight from the pan.

You do you.

-C


Baked Caramelized Onions

  • 4 large onions (any variety)

  • 1/4 -`/2 cup wine or apple cider vinegar

  • 1 cup water

  • 1 teaspoon oil

  • 1 hefty teaspoon salt

  • pepper

Preheat oven to 350

Remove skins from onions and either with at knife or a mandolin, thinly slice all the onions evenly.

Grab a oven safe skillet or baking dish and light coat with the oil. Place all the onions into skillet.. Add in water and vinegar (use the greater amount for a little more tang) and sprinkle with about a teaspoon of salt.

Place skillet in oven and baked for 1 1/2- 2 hour, mixing every 1/2 hour until onions have reduced to about 1/4 of the volume and are golden brown and caramelized.

Remove form oven. Season with pepper to taste.

Eat anyway you want like on a salad, on a veggie burger, mixed into a lentil bowl or straight up just eat them with a fork.

Left overs (what left overs?) are good in fridge for about 4-5 days.

In Vegetables, Vegan, side dish Tags Baked Caramelized Onions, onions, allium, easy, slow baked, vegan, gluten free, dairy free
Comment

Chili Lime Jicama Slaw

April 24, 2021 Colleen Stem
IMG_4889.jpg

I don’t know about you but springtime has got me wanting to eat all the things that are fresh and bright and not super heavy. Things like big salads are on the top of my list. Or slaws like this jicama slaw. It is A+ and perfect for springtime munching.

Jicama. Maybe you have heard of it, maybe not. It is a vegetable, a tuber to be precise. And it tastes like a crunchy, juicy, not sweet apple, but also kind of reminds me of kohlrabi. And it slightly nutty, with a hint of potato? Just know it is delicious. You might have even had it and not even been aware of it, in say a salad or maybe spring rolls. Anyway, if you haven’t had it, it is definitely worth trying like in this slaw which is basically just jicama with cabbage, carrot and onion tossed in a cumin chili lime situation. It is fresh and crunchy and spicy and filling and all the things that I want be eating right now.

What we have it a really dang tasty and a quick toss together situation. What more can we ask for?

To the jicama slaw!

IMG_4860.jpg

The stuff. A small jicama, a carrot, a hunk of red cabbage, chili powder, cumin, a lime, red wine vinegar,a little maple syrup, and salt and pepper.

IMG_4865.jpg

Cumin, chili, maple, and vinegar go into a big bowl and get mixed around. Pop the bowl into the microwave if you can and heat it up for like 30 seconds, just o take a bit of the rawness of of the spices.

IMG_4872.jpg

Now peel the jicama. Use a sharp knife and carefully peel away the brown skin from the white flesh. Do not leave any of the skin on cause it is not good to eat!

IMG_4877.jpg

Once the jicama is peeled, grab a mandolin and julienne it (or cut into thin matchsticks with a knife). Then julienne the carrot and shredded the cabbage and onion.

IMG_4879.jpg

Dump all the veggies into the bowl with the spices then add in the juice of the lime and a pinch of salt and pepper.Toss around until evenly combined and coated.

IMG_4897.jpg

There you have it. Chili lime jicama slaw. Now you eat it. As a side to any dish you wish or just as it is, a big bowl of goodness.

-C


Chili Lime Jicama Slaw

Serves 3-4 (as a side)

  • 1 medium Jicama (around 3 cups julienned)

  • 1 small carrot

  • 1 small onion

  • a small hunk of red cabbage

  • a lime

  • 3/4 teaspoon cumin

  • 3/4 teaspoon chili powder

  • 1 teaspoon maple syrup

  • 1 tablespoon red wine vinegar

  • salt and pepper

Place cumin, chili, maple, and vinegar into a large bowl. Mix around and pop into the microwave for 20-30 seconds just to heat it up a bit and remove some of the rawness of the spices.

Peel the jicama. Do it with a knife (so carefully) and remove all of the tough brown skin away from the white flesh. (Do not eat skin..It can make you sick). Now either with a mandolin of a knife, julienne the jicama along with the carrot. Use a thicker setting for the jicama and a thinner one for the carrot. Shred or thinly slice up the cabbage and onion as well. Toss all the veggies into the bowl with the spices. Squeeze in the juice of the lime, add a pinch or two of salt and some black pepper and toss around until everything is evenly combined and coated.

You can eat it right away but It taste better when it has had a chance to sit for a little while.

Serve cold along with anything. Or eat on it’s own. Store left overs in fridge for up to a week.

In quick and easy, Raw, salad, Vegan, Vegetables Tags Chili Lime Jicama Slaw, jicama, slaw, raw, salad, plant based, grain free, gluten free, dairy free, vegetable, fresh, spring, easy, chili lime
Comment

Banana Oat Cookies

April 17, 2021 Colleen Stem
IMG_4771.jpg
IMG_4755.jpg
IMG_4846.jpg

These are my cookies. I share yes, but mainly make them for my own personal pleasure. Just oats and banana, well cinnamon and salt, but basically just oats and banana. And what a fine fine cookie they make. Soft and a little chewy and taste just like banana bread and a just really freaking tasty. And what I really love to do with these cookies is make a batch and stick them in the freezer. Sometimes a little frozen cookie action is all a person can ask for , you know?

Anyways, these are the simplest of simple cookies that you really can make. And sure, some might argue that maybe they are not even really cookies but why do we care? They are frantic, easy to make, taste amazing and yes, are healthy and breakfast approved. A few cookies for breakfast? Yup, and we can be happy about it.

Now to the cookies!

IMG_4699.jpg

The stuff. Oats, a ripe banana, some cinnamon, and a pinch of salt.

IMG_4706.jpg
IMG_4711.jpg
IMG_4716.jpg
IMG_4726.jpg

Place about a third of the oats into a bowl or food processor and blend for a few seconds until oats become a chunky flour texture. Add in the banana(peeled) and the cinnamon and blend until incorporated. Next add in the rest of the oats and just mix together with a spoon until completely the mixtures is completely incorporated.

IMG_4733.jpg

Let the mixture sit for a few minutes will you preheat the oven.

IMG_4744.jpg

Once oven is preheated scoop ball of dough onto a lined baking sheet . With your fingers or a fork, squish each one down a bit flat. Note. These cookies do not spread at all.

Pop cookie into oven and bake for 14-16 minutes or until golden brown.

IMG_4764.jpg

Out of the oven and ready to go.

IMG_4770.jpg

Cooling on a rake cause that what cookies need to do. And then you eat them cause that is what you need to do.

-C


banana oat cookies

Makes about a dozen smaller cookies

  • 1 very ripe bananas

  • 1 1/3 cups oats

  • a pinch of salt

  • 1/2 teaspoon cinnamon (optional)

Place about a third of the oats and the pinch of salt into a food processor or bowl (if using a hand blender) and blend until the oats have become a chunky flour texture. Add in the banana and blend until incorporated. Next add in the rest of the oats, and the cinnamon and mix together with a spoon unitl completely incorporated.

Let mixture sit while you preheat oven to 350

Once oven is preheated, scoop dough onto a parchment or splat mat lined baking sheet. Using your fingers or a fork, gently flatten each cookie (they will not spread). Place cookie into oven and bake for 14-16 minutes or until golden brown. Remove from oven and place on wire rake to cool.

Eats for a snack, a dessert, breakfast, lunch or dinner. Great smeared with a little peanut butter or chocolate. Also I love to store them in freezer. Something about a frozen banana cookie…

In cookies, fruit, Gluten Free, Dairy Free, quick and easy, Vegan Tags banana oat cookies, 2 ingredient cookies, healthy, vegan, gluten free, dairy free, oil free, fruit, no sugar, snack, breakfast cookie, simple, oatmeal, baked oatmeal
Comment

Sweet Potato Steaks on Arugula and Kale with Pea Avocado Cream

April 10, 2021 Colleen Stem
IMG_4654.jpg

All I want to do is eat fists fulls of arugula. Ok, maybe that is not all I want to do, but it is something that I have been doing a lot. I have always really like arugula but as of right now, it is my top choice green!

Anyway, big green salads are all I want to eat because it is spring and all and greens are the best in the spring. But I still am eating a lot of roots and will be eating them for a few more weeks unit winter farm share dies down. And because it is the end of the season, the choice of roots is dwindling and we basically get a bucket of carrots, beets, and sweet potatoes. Lots of sweet potatoes, which by the way, I am not made about. And greens, We get lots of greens!

So my new favorite salad comes to fruition. Thick cut sweet potato steaks on a bed of fresh spring arugula and kale toped with a thick creamy avocado pea situation and some toasted walnuts for flair and crunch. I mean, is your mouth watering and your tummy grumbling yet?

Mine is but that is just how it always is.

Now to the steaks and salad!

IMG_4603.jpg

The stuff. A sweet potato, some arugula and tender kale, peas (frozen and thawed) half an avocado, some toasted walnuts, a lemon, and salt and pepper.

IMG_4609.jpg

Start by cutting the sweet potato into thick steaks. 4-5 same thickness slices if you may.

IMG_4612.jpg
IMG_4617.jpg

And no roast up the sweet potato steaks. Just place hem onto a baking sheet and pop them into a hot oven. Bake for 2-30 minutes, flipping over after 15-20 minutes. Once tender, remove from oven and set aside.

IMG_4629 2.jpg
IMG_4632.jpg

While sweet potatoes are baking, make pea avocado cream. Place peas and avocado into a blender or cup if using a hand blender along with the juice of the lemon and about a tablespoon of water. And a small pinch of salt. Blend until smooth. Add more water a tablespoon at a time until you get a thick but pourable constancy.

IMG_4644 2.jpg

Now rough chop the kale and toss together with the arugula and place in a large salad bowl

IMG_4650.jpg

Place the sweet potato steaks on top of the greens. Note here that the sweet potato steaks can be hot, warm, or cold. The are good all the ways.

IMG_4653 2.jpg

Then top it all with the pea avocado cream. Toss on the toasted walnuts and add some more black pepper and that be that. Grab a fork and a knife if you wish and get to it.

So much goodness in the mouth!

-C


Sweet Potato Steaks on Arugula and Kale with Pea Avocado Cream

serves 1-2

  • 1 medium sweet potato

  • 1/2 cup frozen (and thawed) green peas

  • 1/2 of an avocado

  • a small lemon

  • 2 large handfuls of fresh arugula

  • 4-5 leaves of tender kale

  • 1/4 cup toasted walnuts

  • around 1/4 cup cold water

  • salt and pepper

Preheat oven to 450. Wash sweet potato and cut into 4-5 equal thickness slices. Place cut pieces on a baking sheet and sprinkle with salt and pepper and pop into oven. Bake for 25-30 minutes, flipping after 15 or until the sweet potato is tender. Remove from oven and let cool a bit.

While sweet potato is baking off, make pea avocado cream. Place the peas and avocado into a blender or cup if using a hand blender, add in the juice of the lemon and a pinch of salt. Blend until smooth. Add in a tablespoon or two (or more) to thin out until it is still thick but pourable. Also rough chop the kale and mix together with the arugula in a big salad bowl.

Once sweet potato steaks have baked and cooled off a little bit (you can eat them hot or cold so whatever temperature you want), place them on top of the greens then top with the pea avocado cream, sprinkle on toasted walnuts, more black pepper, and maybe a squeeze of more lemon if you have it.

Then grab a fork and knife and start eating.

In Vegan, Vegetables, winter, Spring, salad Tags Sweet Potato Steaks on Arugula and Kale with Pea Avocado Cream, Arugula, kale, sweet potato steaks, vegan, grain free, dairy free, gluten free, plant based, dinner, salad, roots, winter, spring, avocado, peas, walnuts, easy, heathy, quick, delicious, yummy
Comment
← Newer Posts Older Posts →
 

https://thelovelycrazy.squarespace.com/config#/|/about/

Me. Food Maker.Food eater. Woo HOO!

STEM+NODE  SMALL BATCH AND ONE OF A KIND POTTERY

stem+node ceramics


____________________

Subscribe

GET NEW POSTS IN YO EMAIL

You are AWESOME!!!


@thelovelycrazy 2014-2021