• stem+node ceramics
  • HOME
  • Food Recipes
  • About
  • Contact
Menu

The Lovely Crazy

Street Address
City, State, Zip
Phone Number

Your Custom Text Here

The Lovely Crazy

  • stem+node ceramics
  • HOME
  • Food Recipes
  • About
  • Contact

Sweet Corn and Blueberry Cake with Lemon Blueberry Glaze

September 4, 2021 Colleen Stem
IMG_7366.jpg
IMG_7397 2.jpg
IMG_7379.jpg

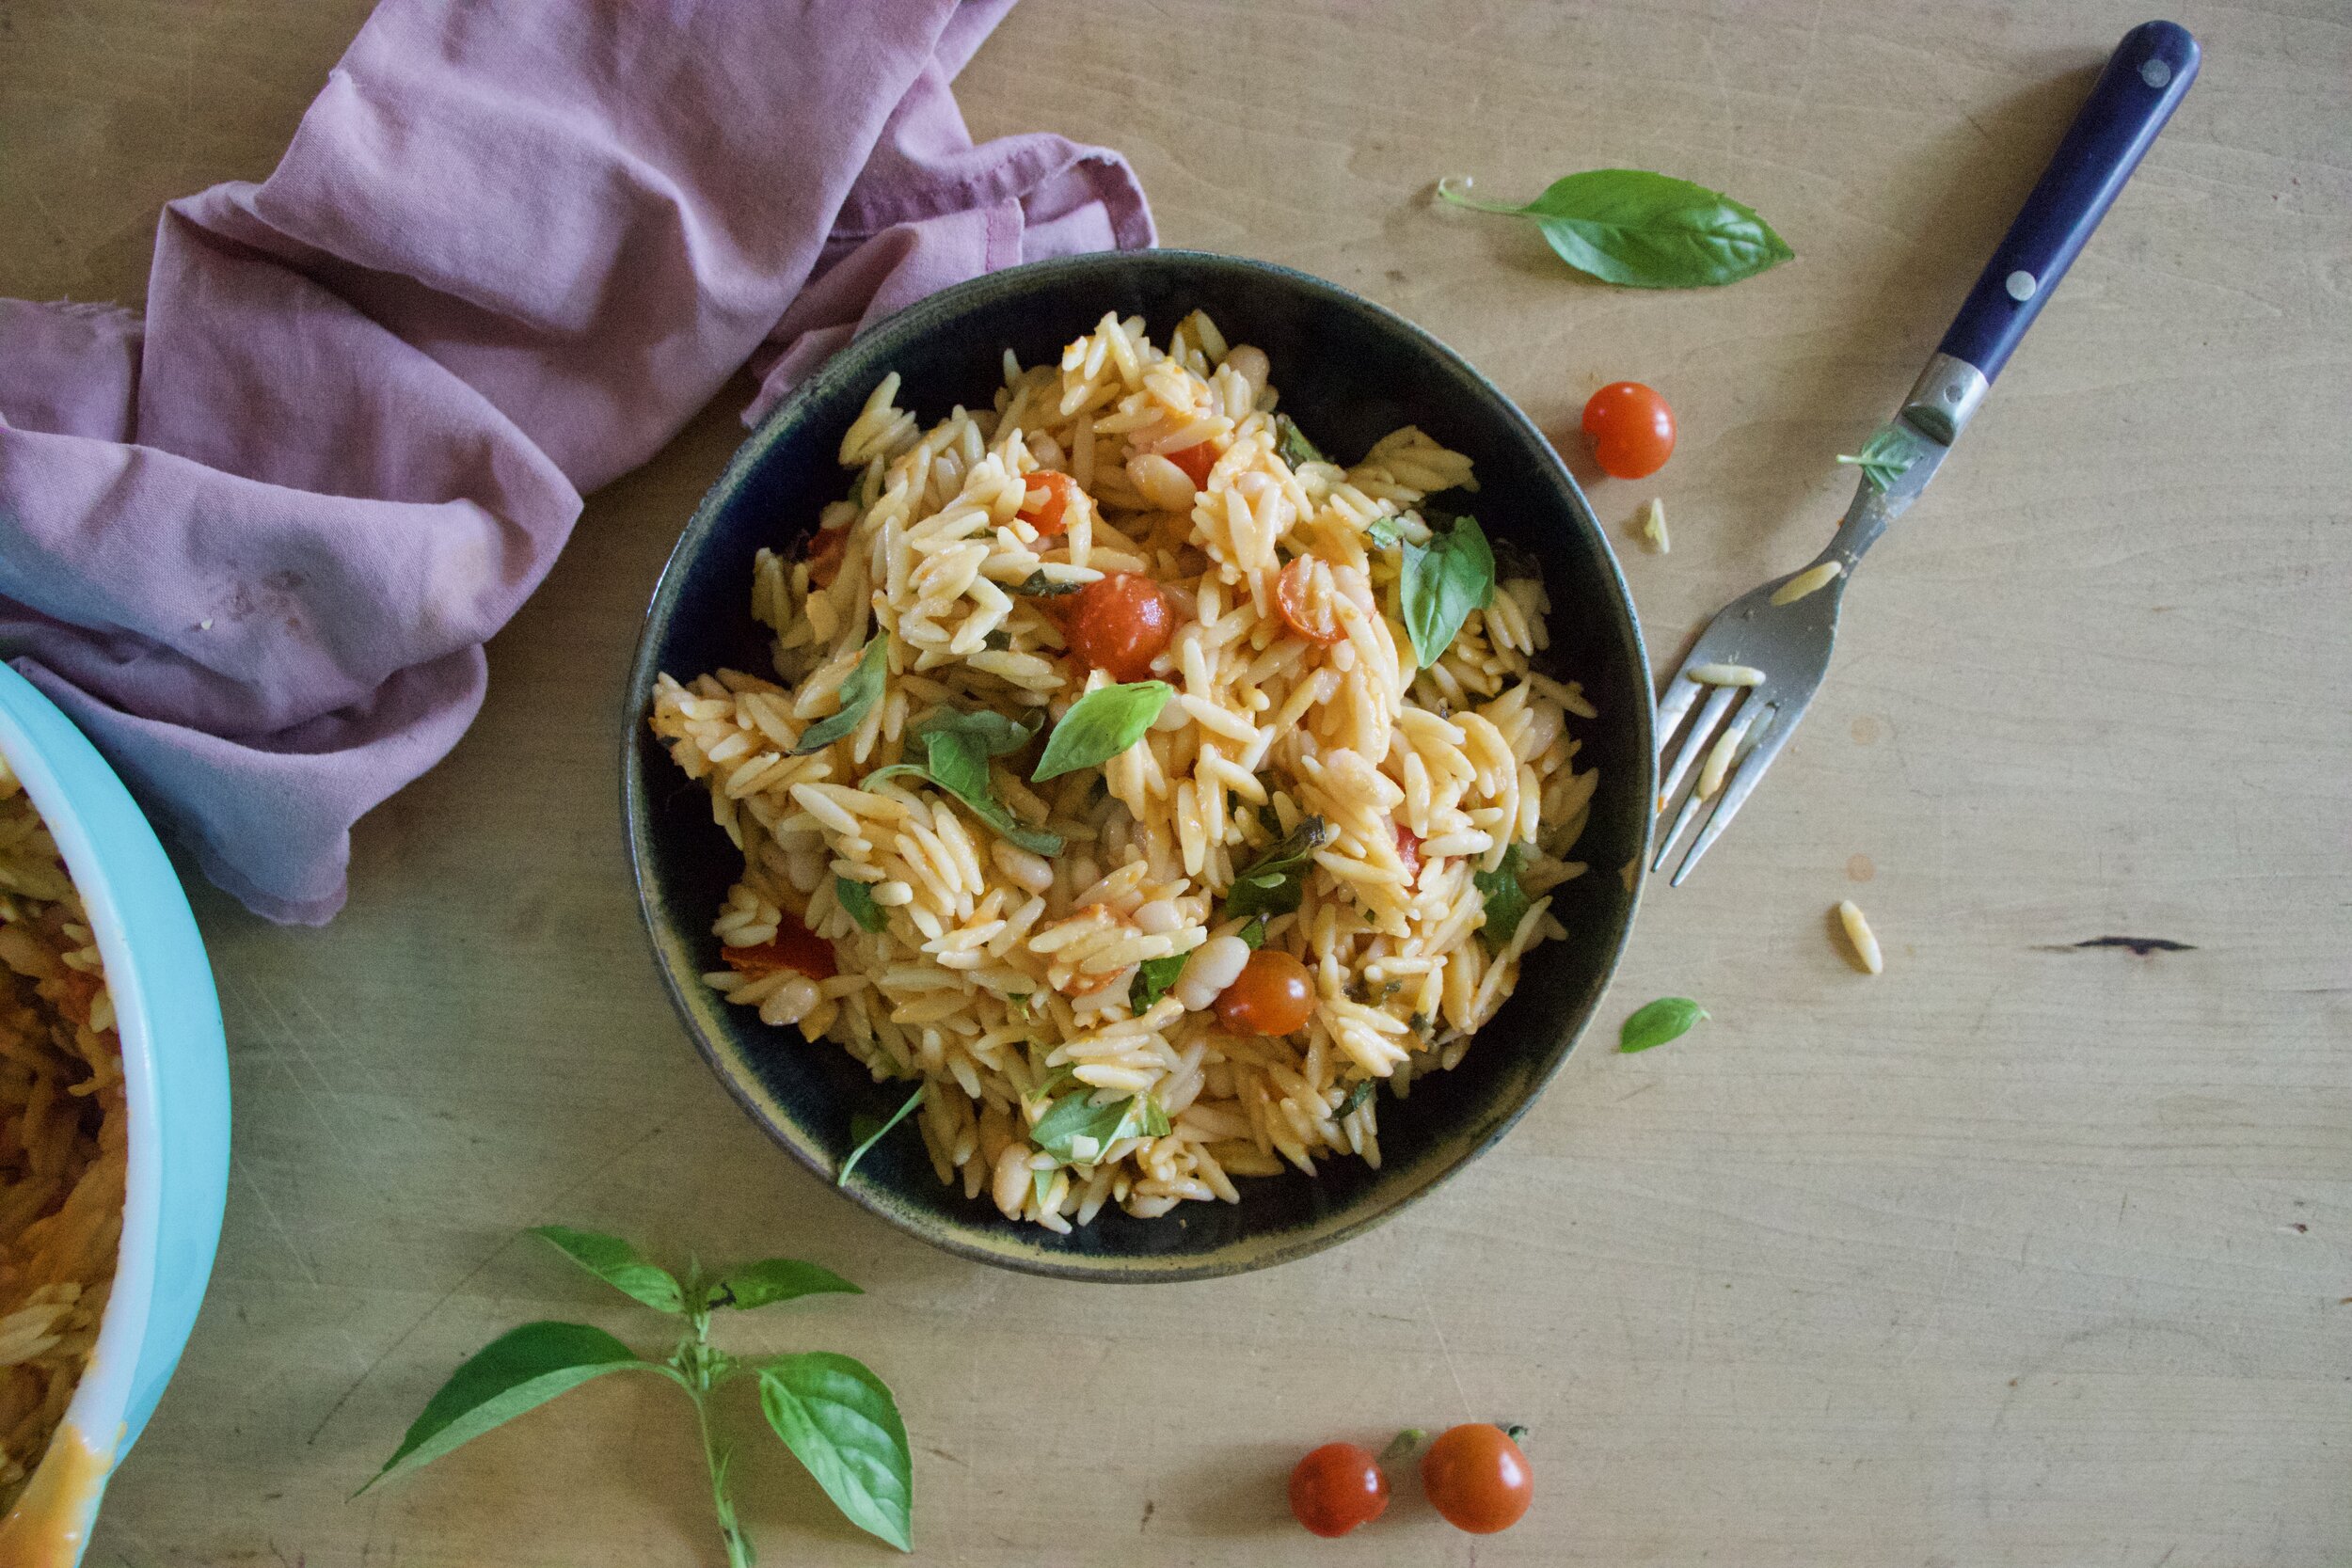
Do you really need a reason to make cake other then you want cake or you just want to bake something? Nope. Cake is a anytime event. Make it when you want it, or like me, want to not think about anything other than that. Making cake.

This cake. Made it with what I have too much of at the moment, which is corn. And while I love fresh corn on the cob, I, as one person, cannot eat the 12 ears that I have been getting weekly at farm share. So besides trying to eat as much of it myself, (the mr won’t eat corn on the cob and the little haven’t been over in a bit cause they are sick) so I give it to people or I make it into things, like cake.

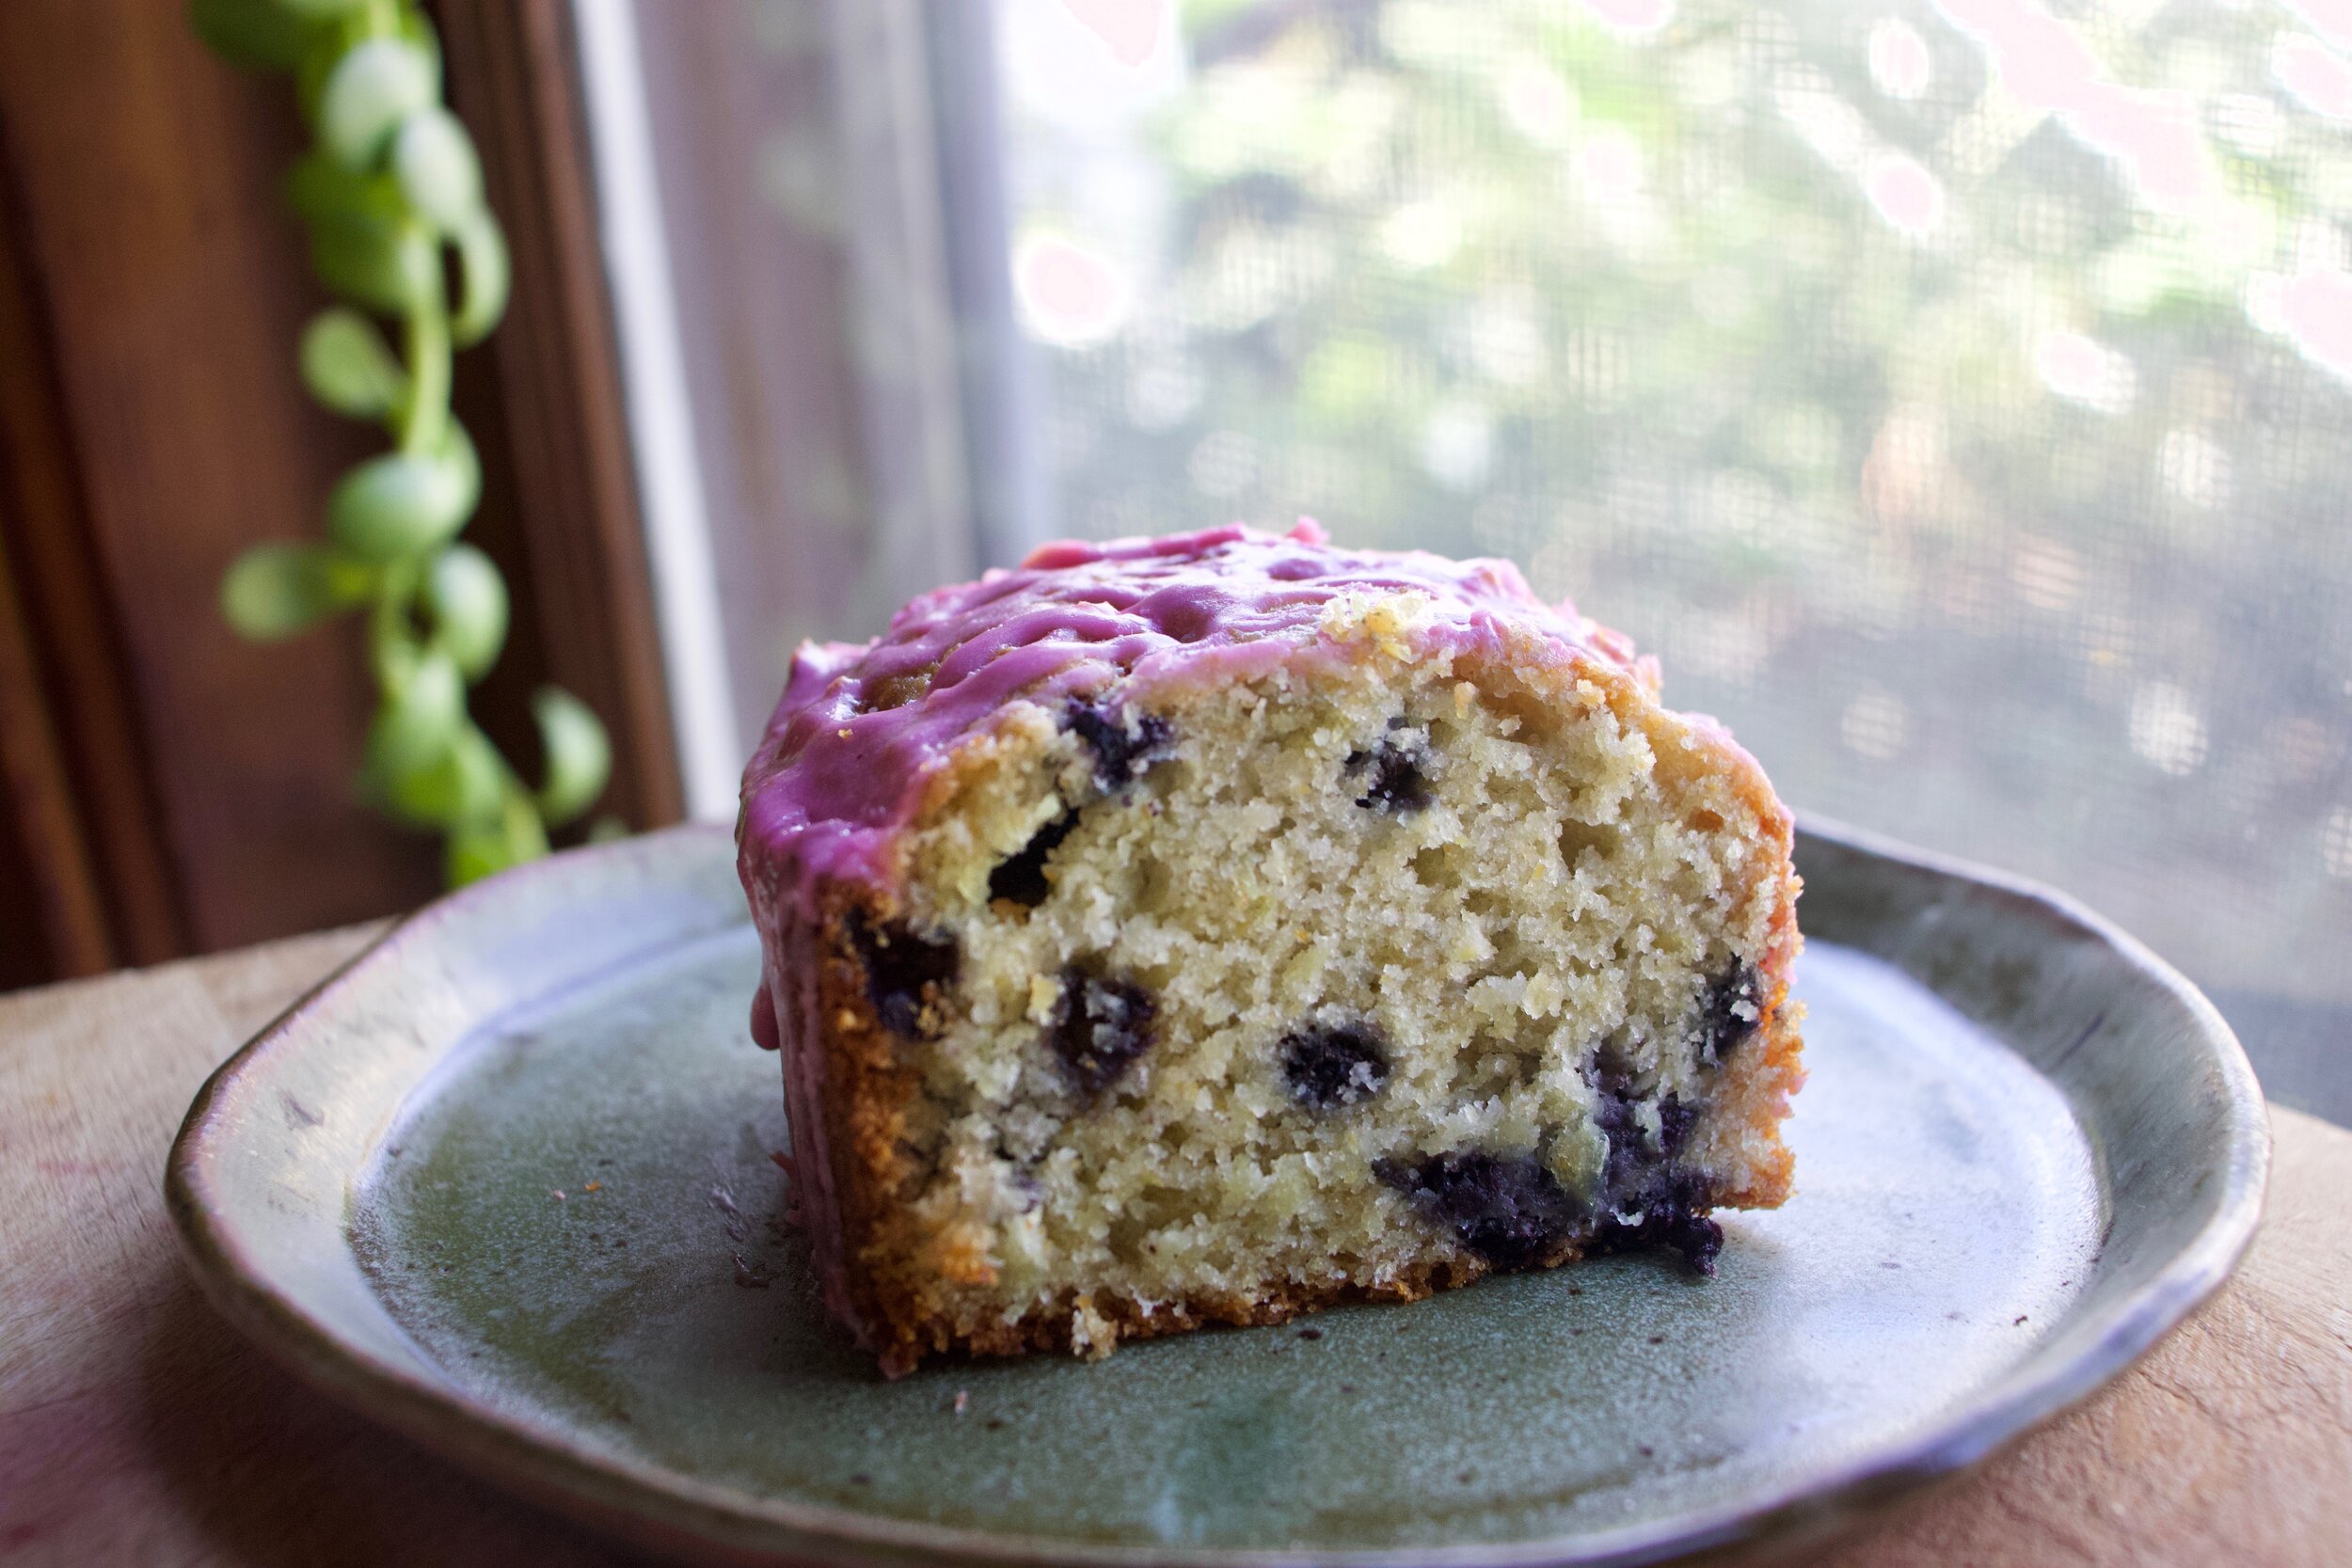
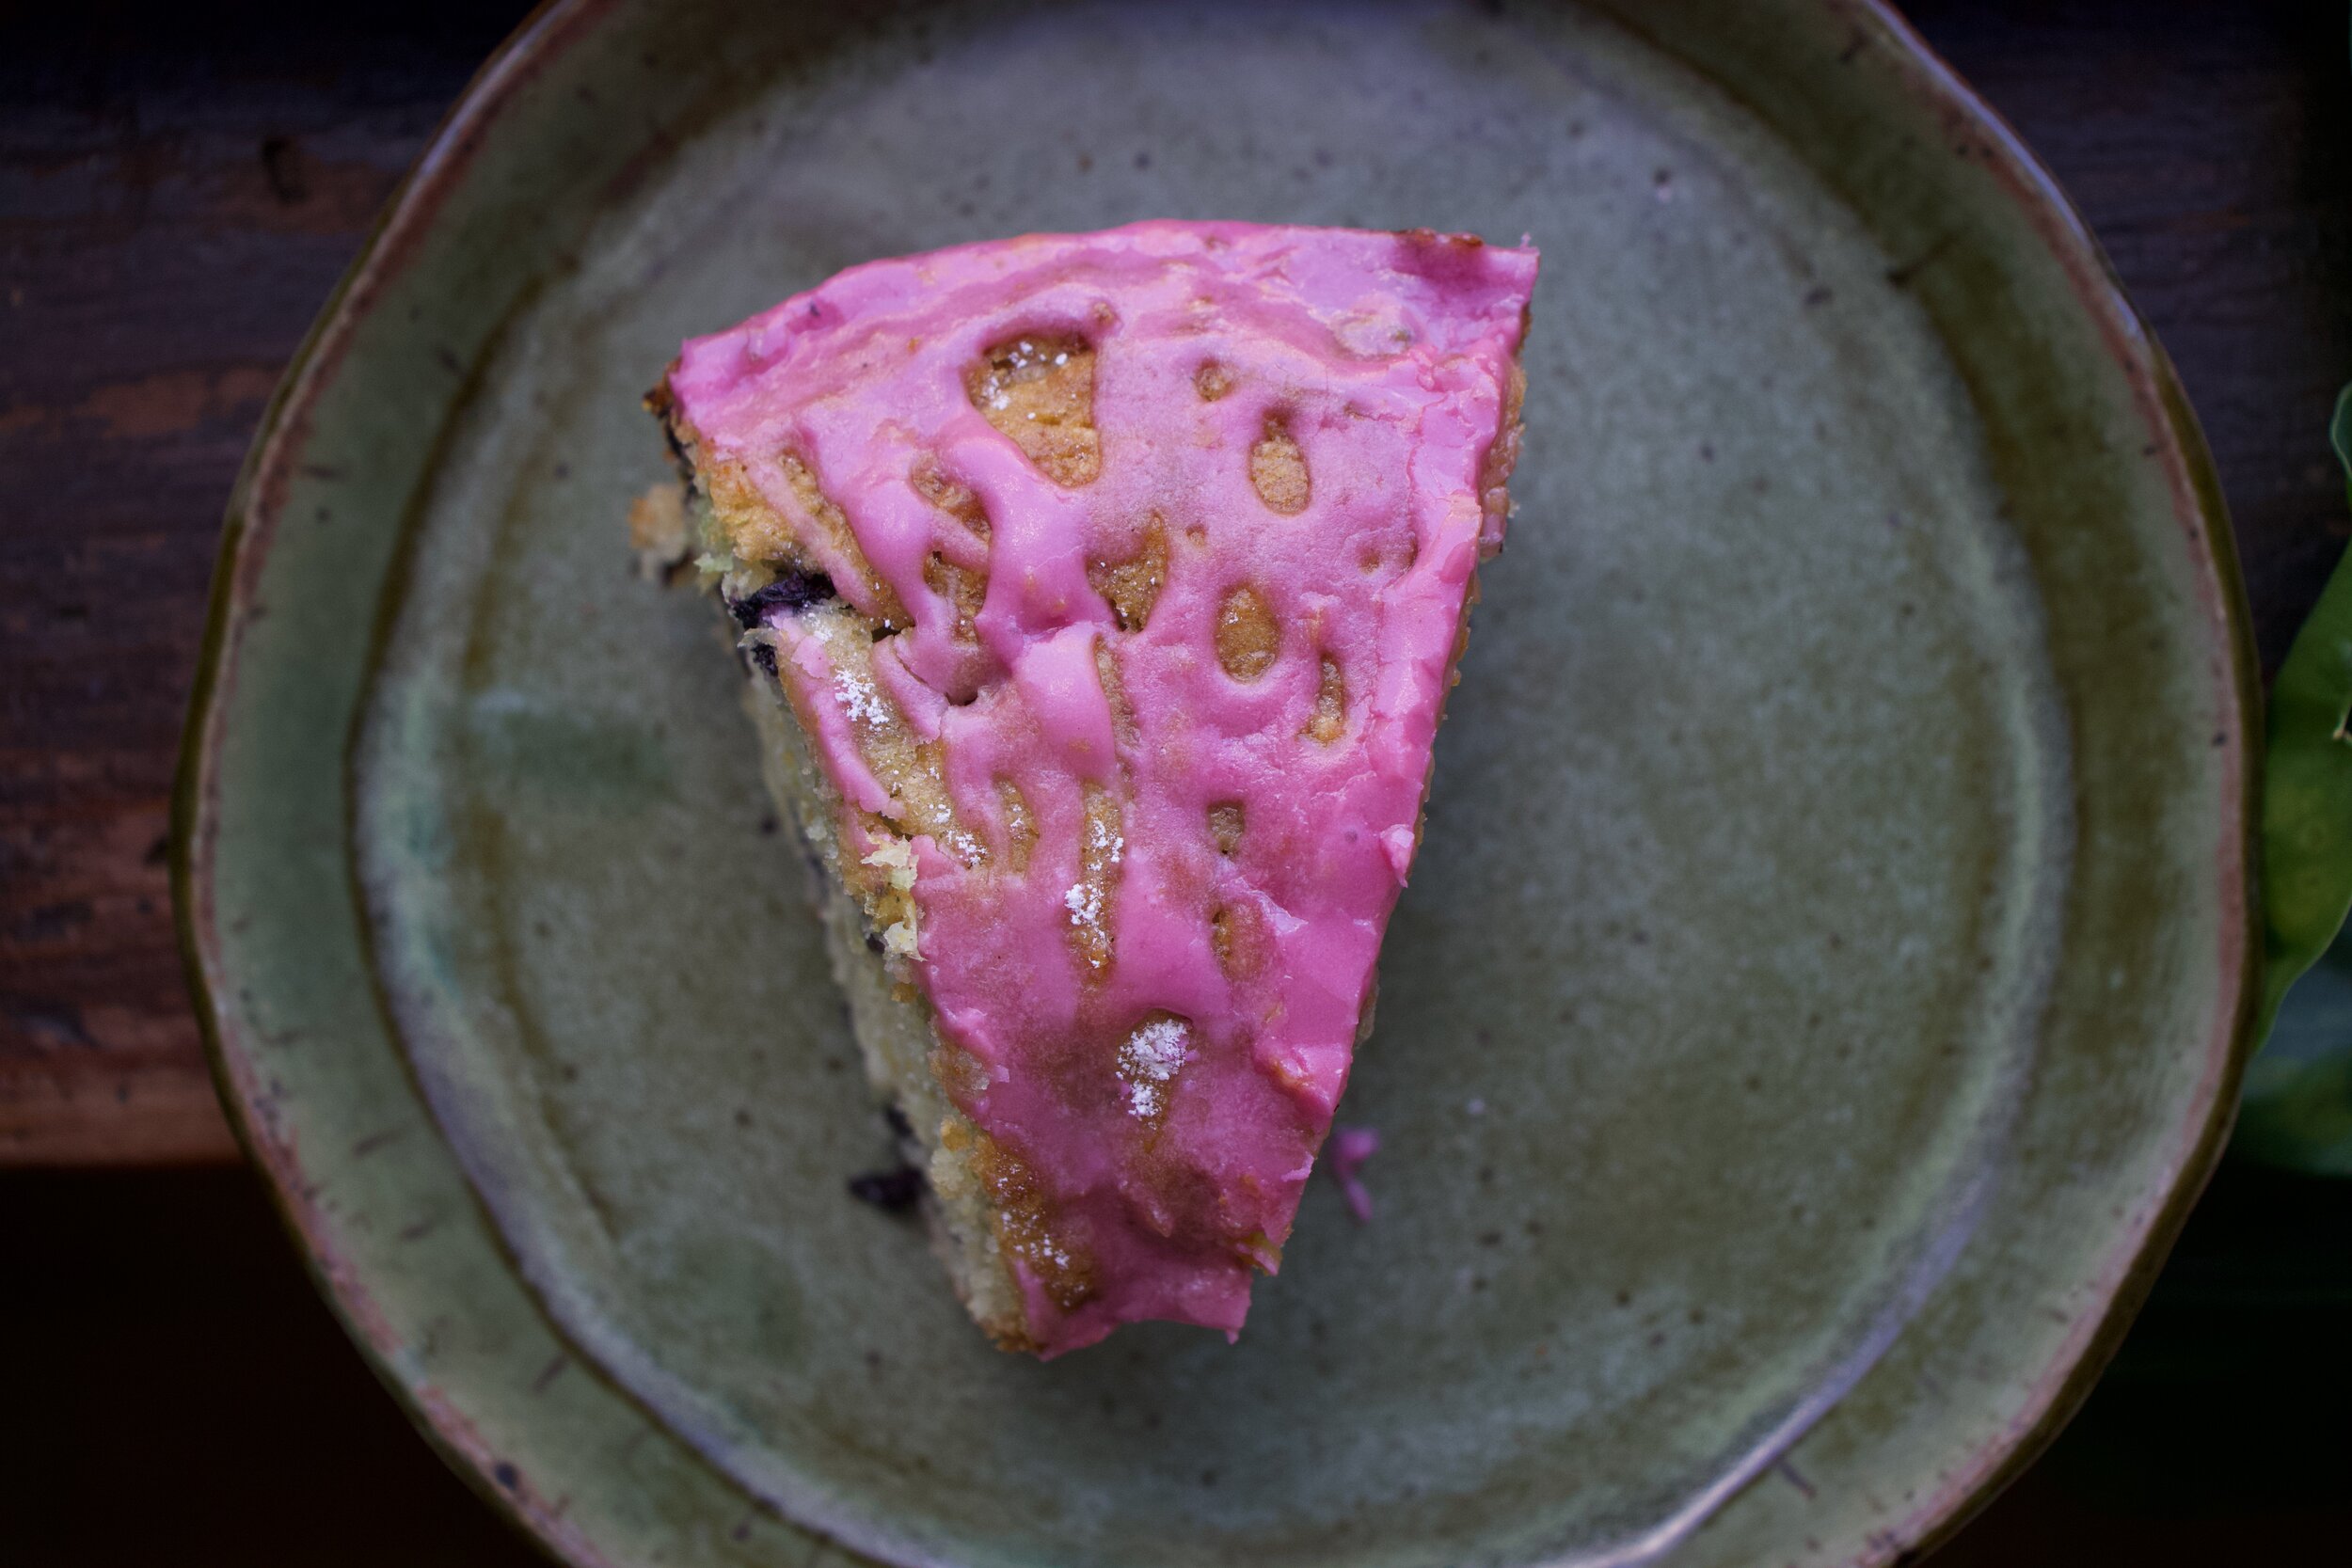
Add in blueberries and a bright pinkish purple lemony glaze and you got yourself a cake that is all sorts of delicious. Fresh corn makes itself known without being overly corny. The blueberries are, as always, right there to taste like a good berry should. Then it’s topped with a nice bright lemony blueberry glaze. A cake fit for a party or a bbq or a good old sit on the back porch while hiding from the world while eating cake, type of cake. Eat it for breakfast, eat it for lunch, eat it whenever the heck you want because, well because you can. And should.

Now to the cake!

IMG_7186.jpg

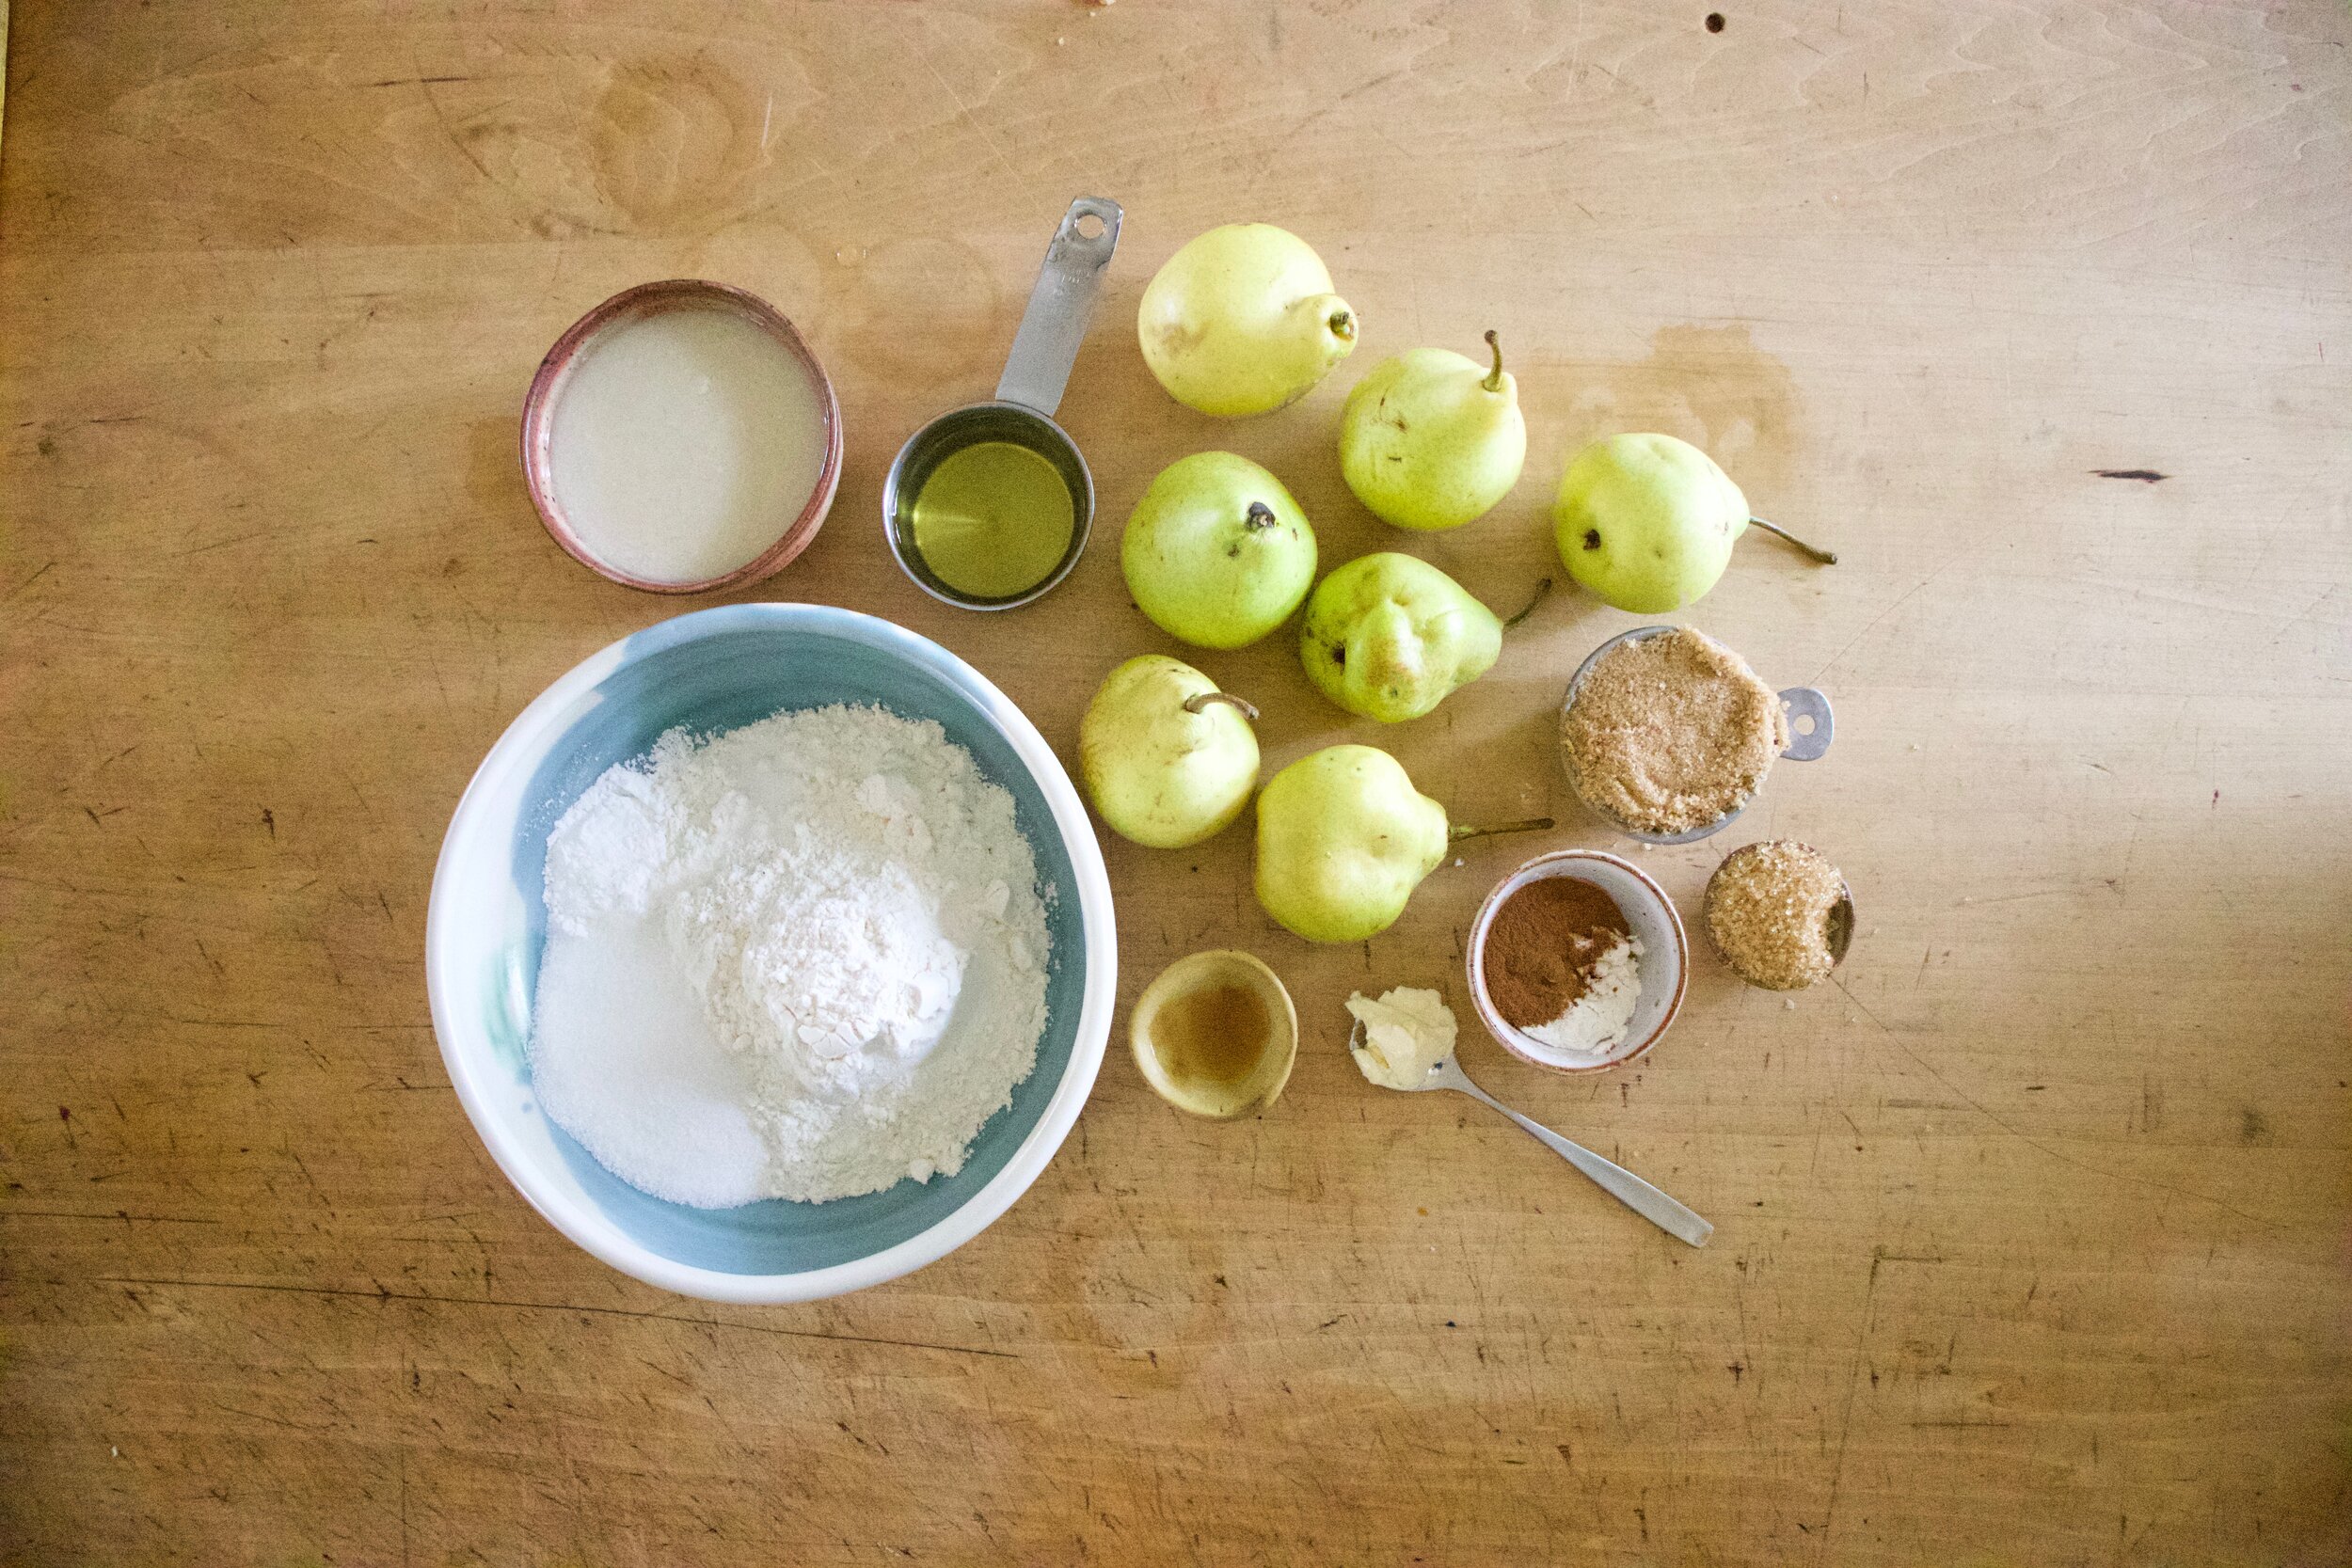
The stuff. Fresh corn and frozen but thawed blueberries. Flour, baking soda and powder, salt, and cornmeal. Oil, plant milk, sugar, and apple cider vinegar. And lastly powdered sugar, a little plant butter, and a lemon.

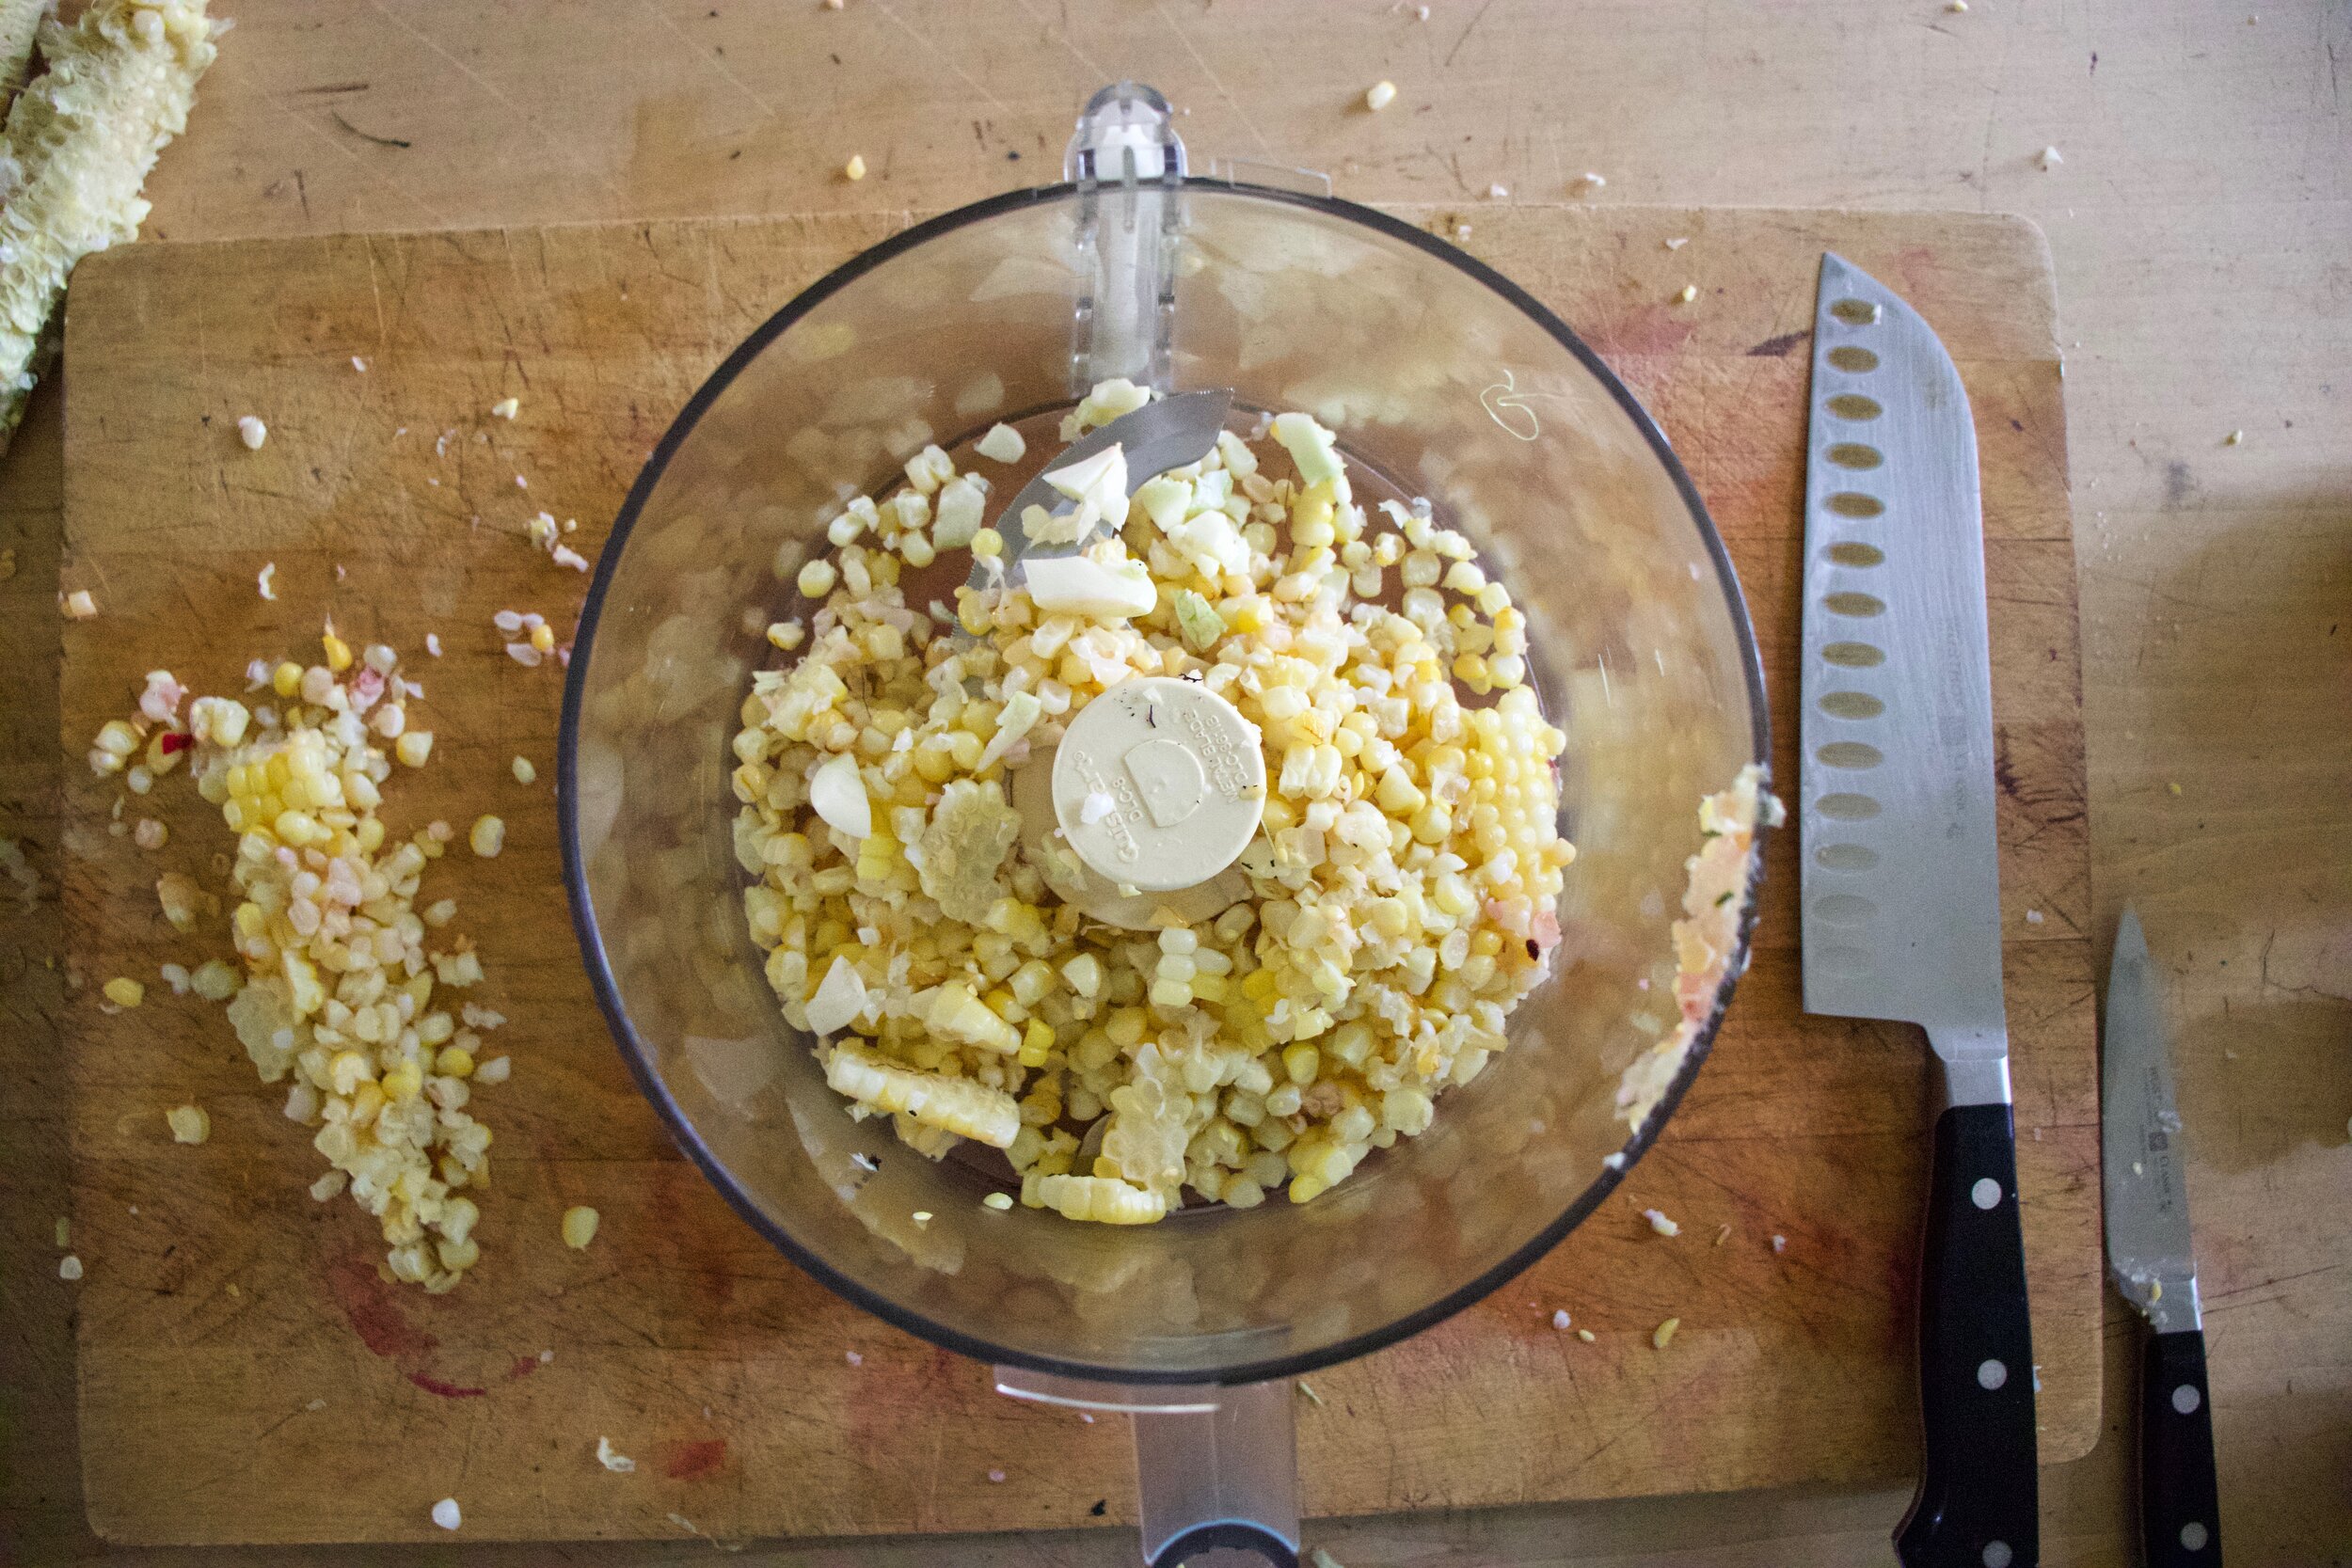
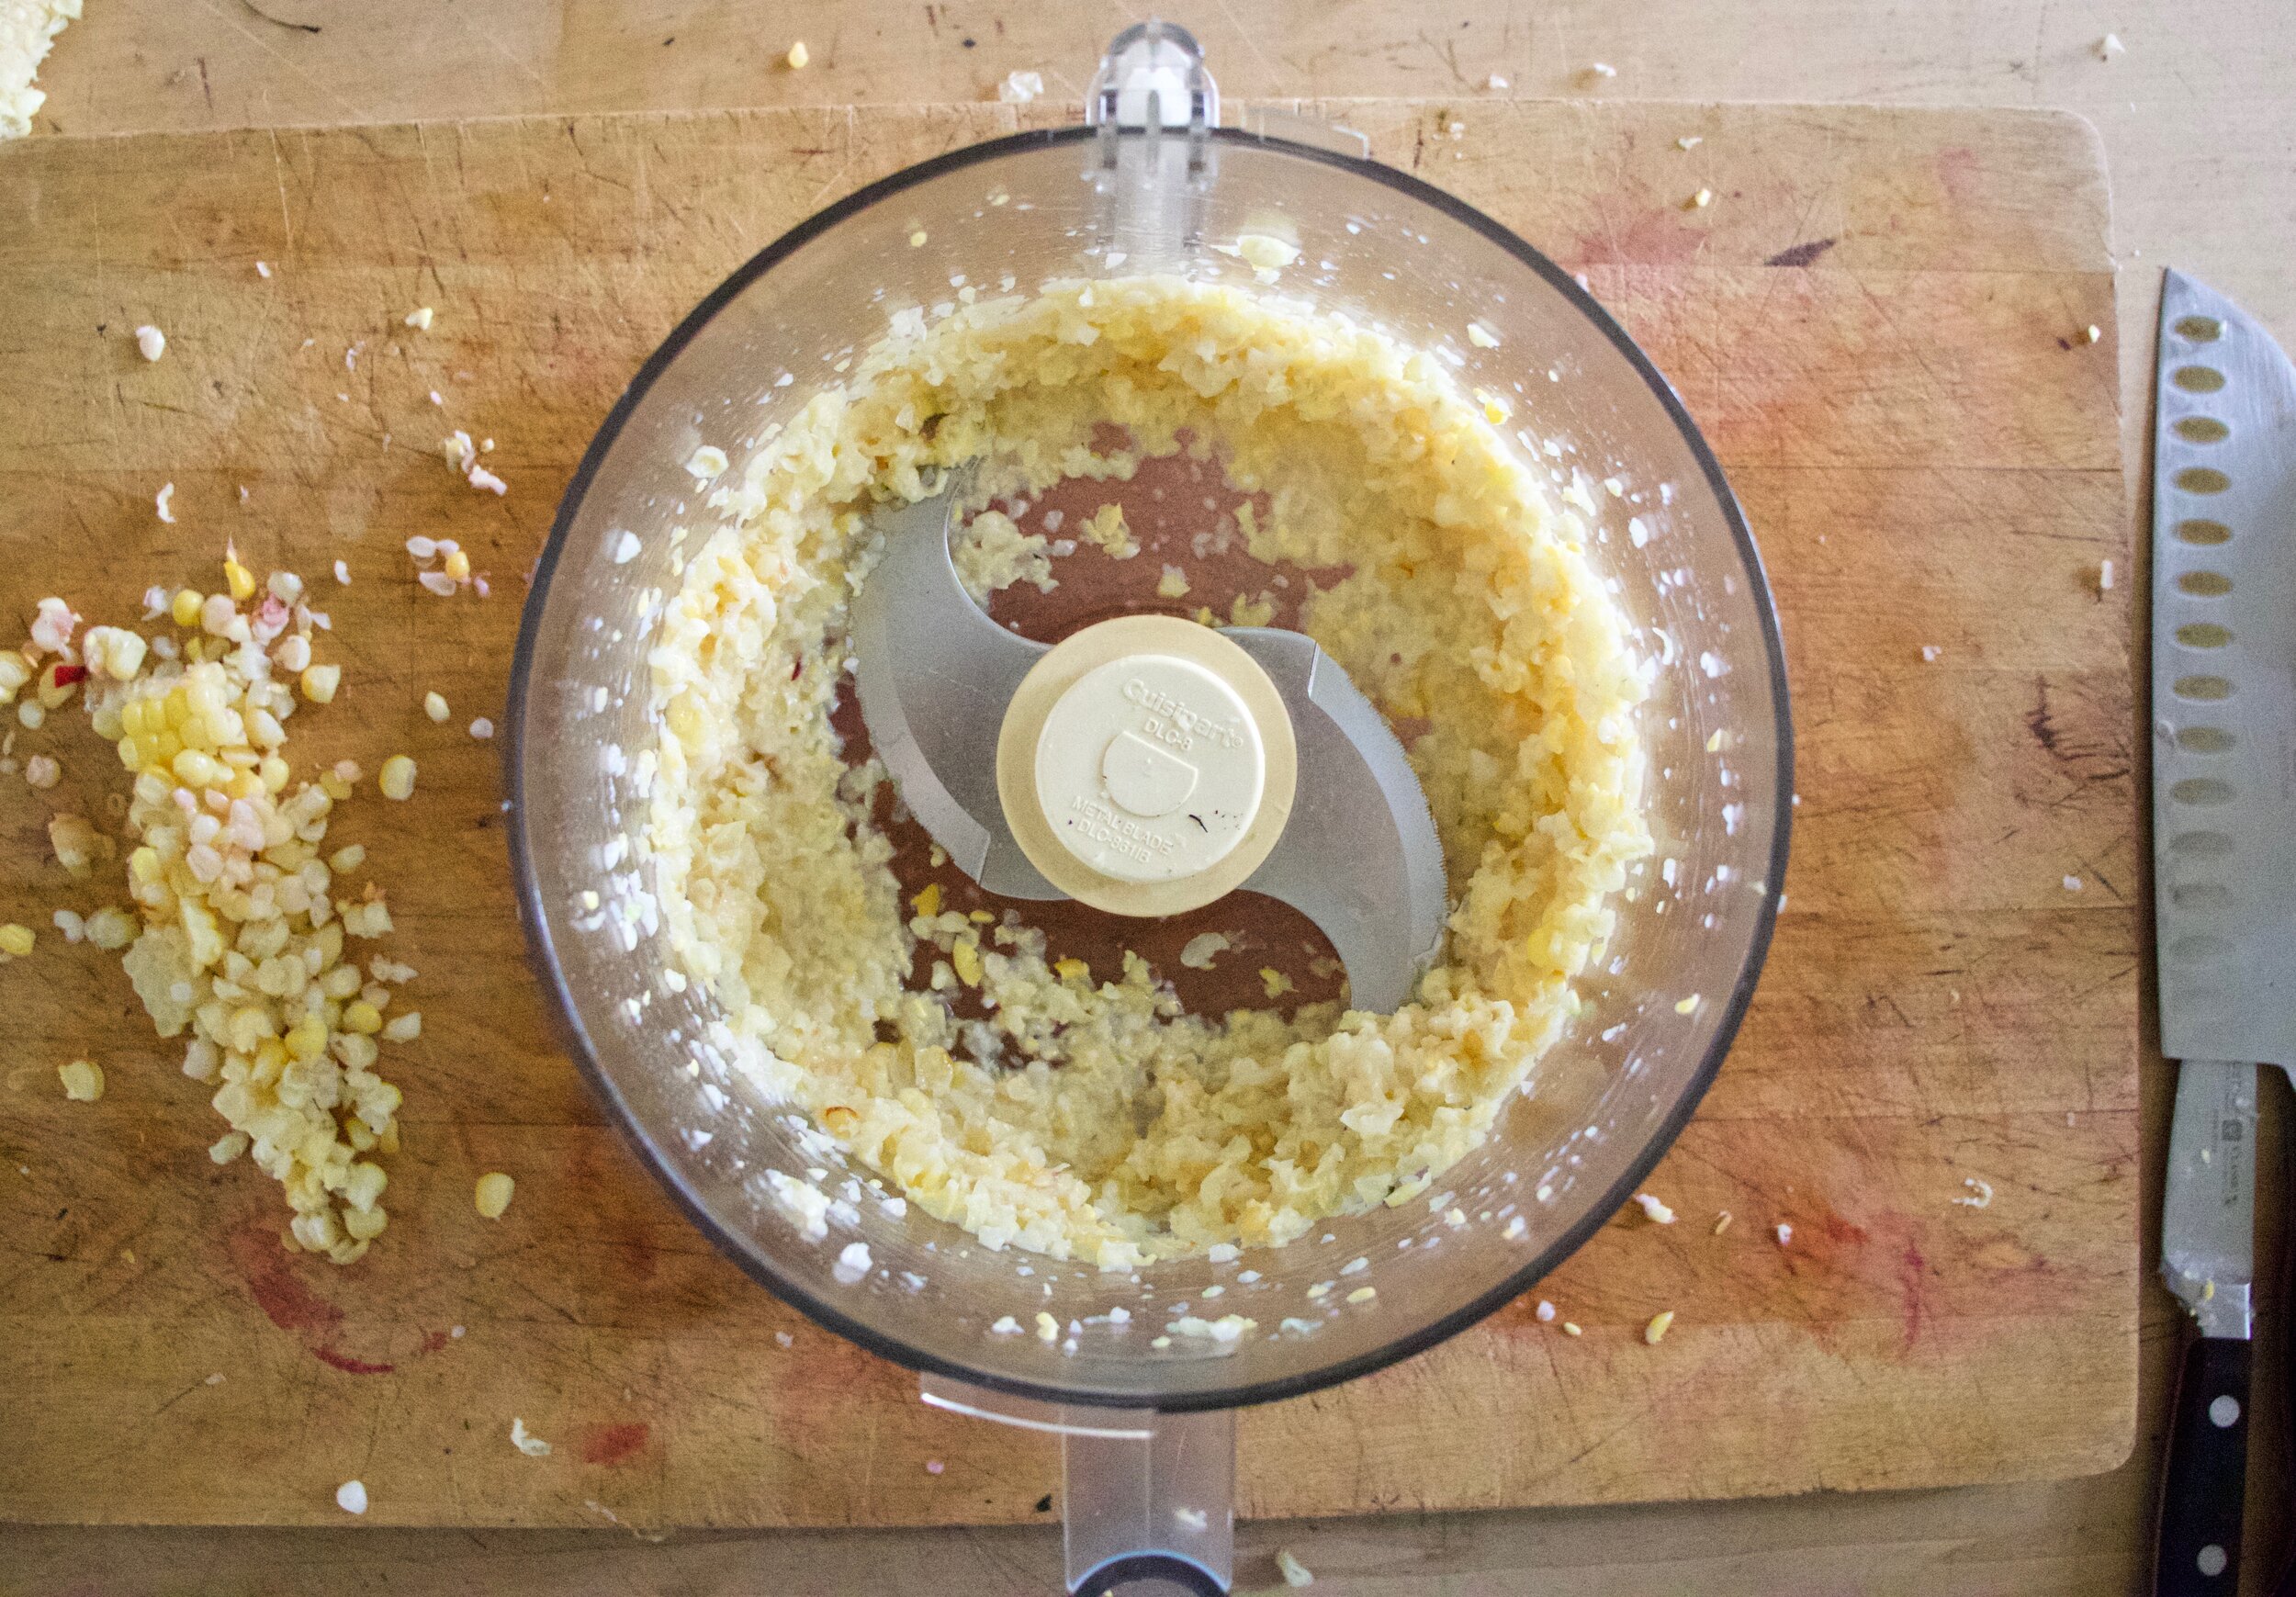
Start by cutting the corn off the cob.

IMG_7193.jpg
IMG_7209.jpg

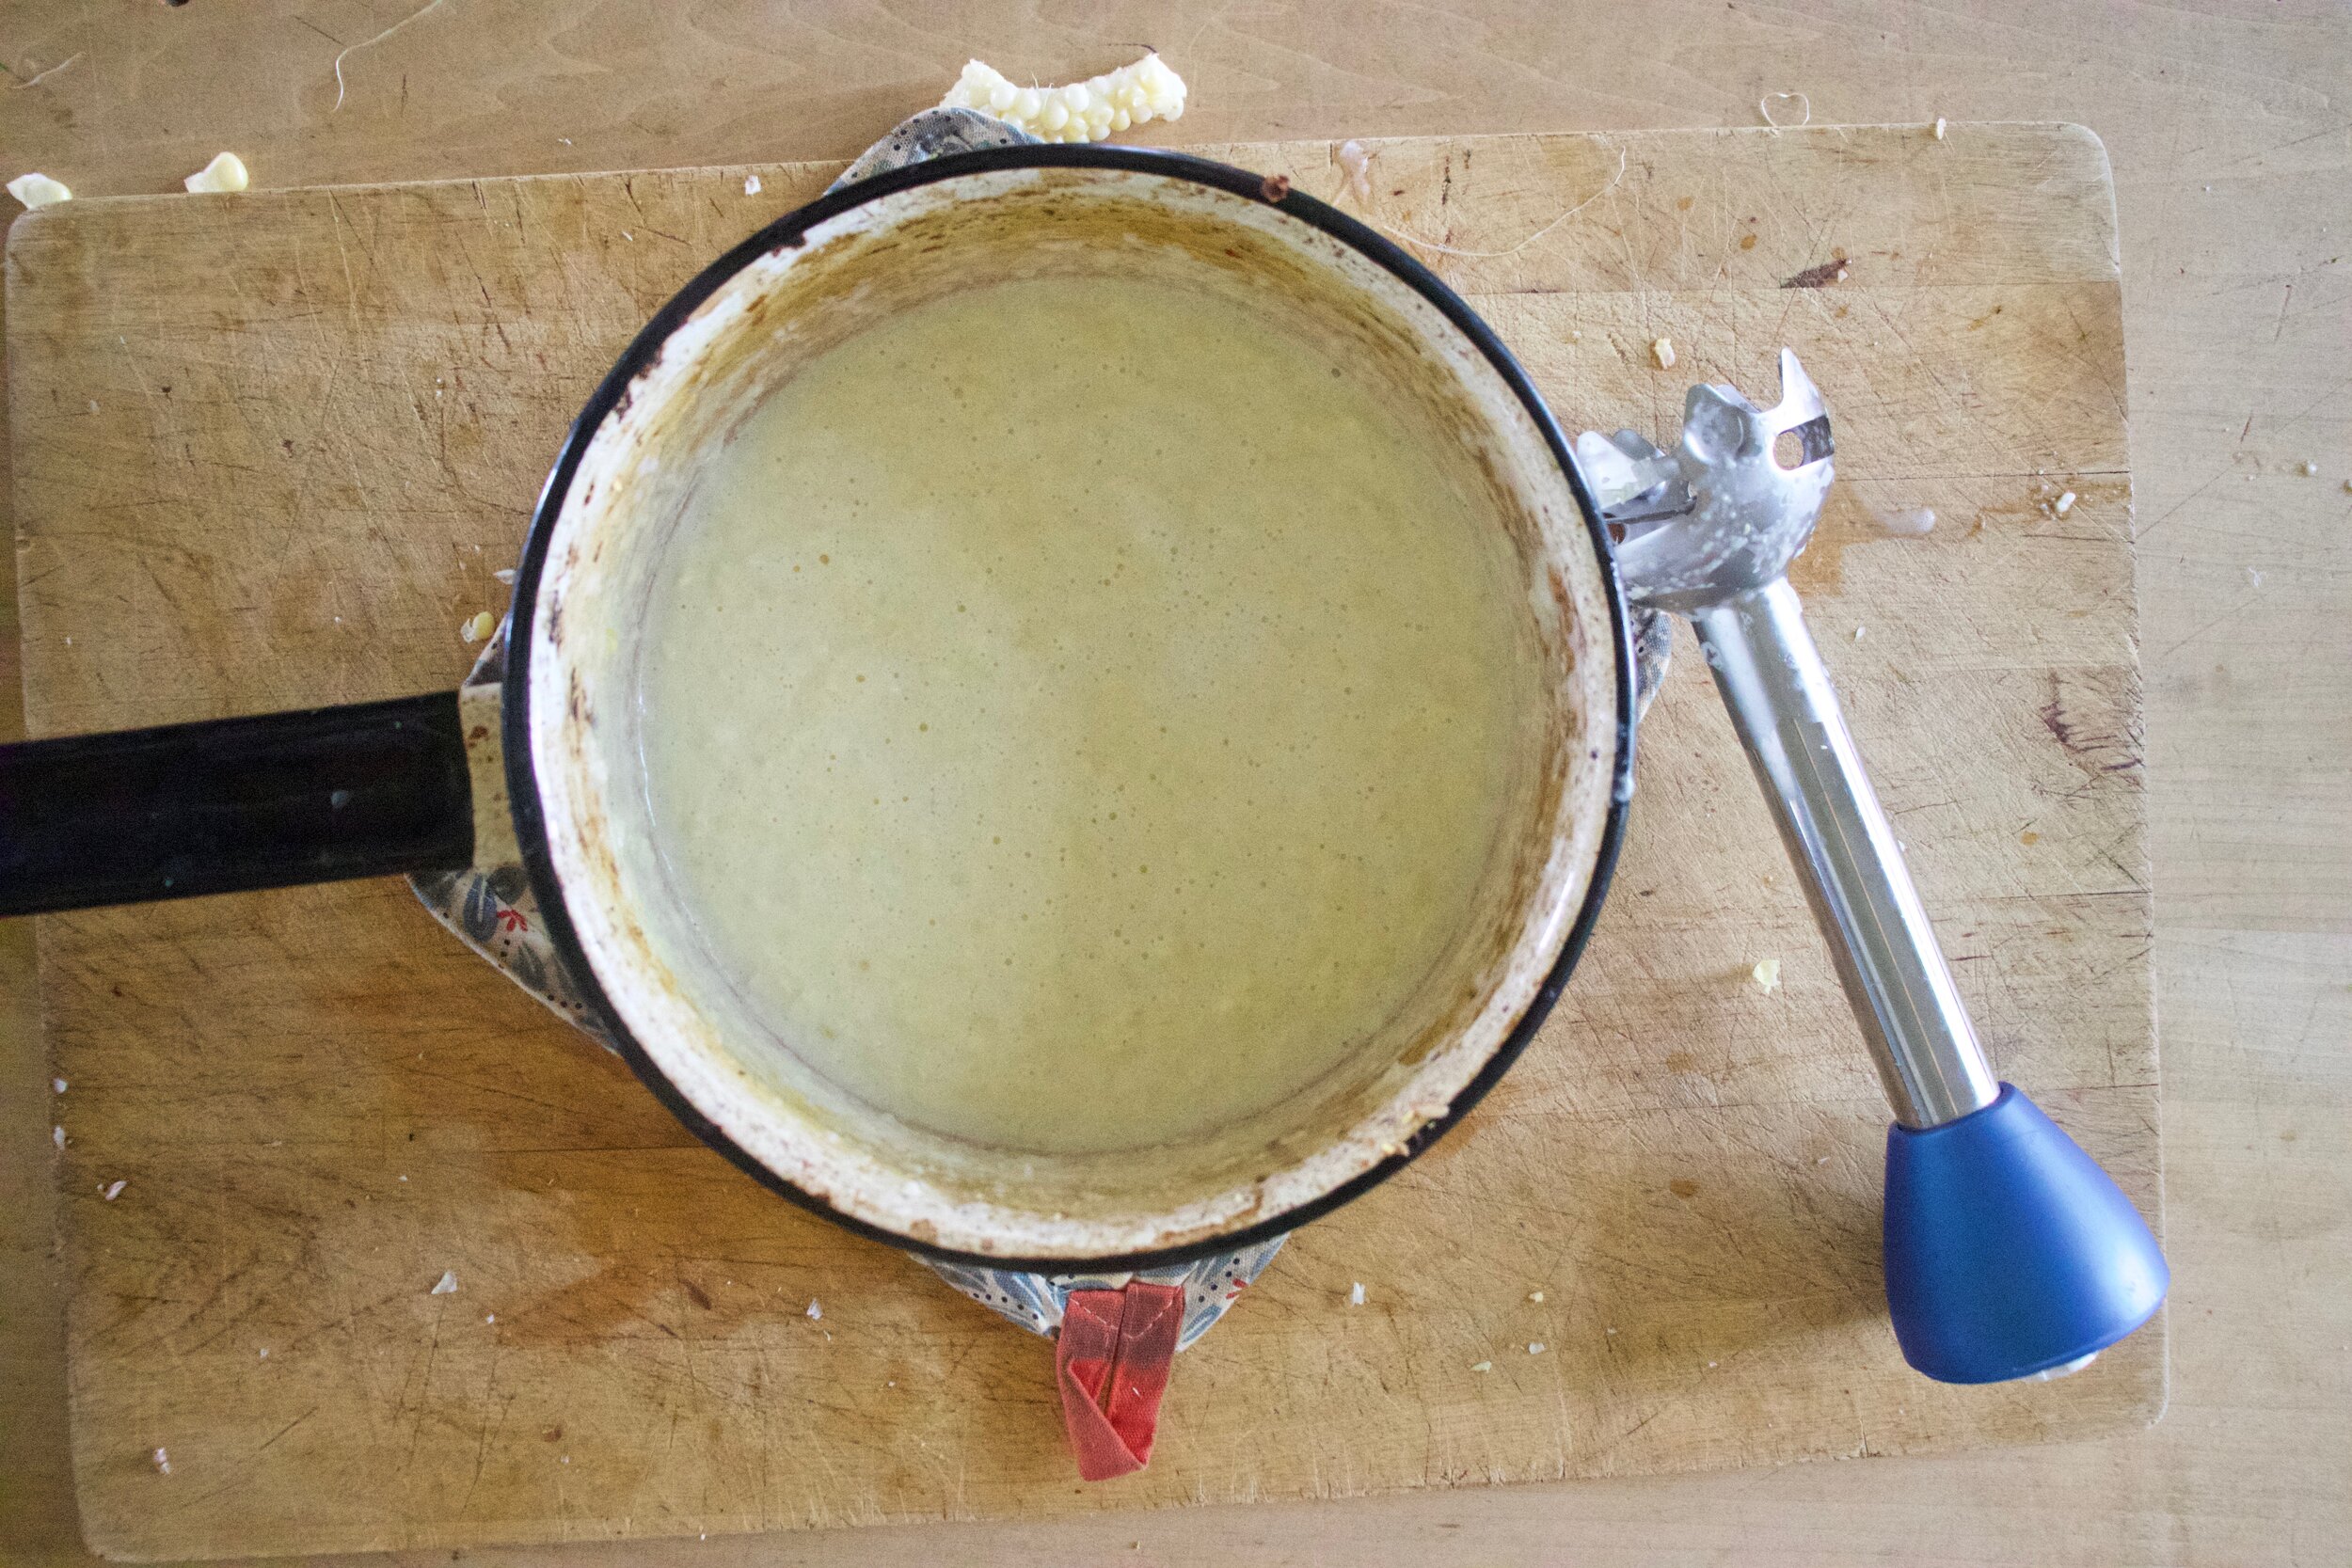
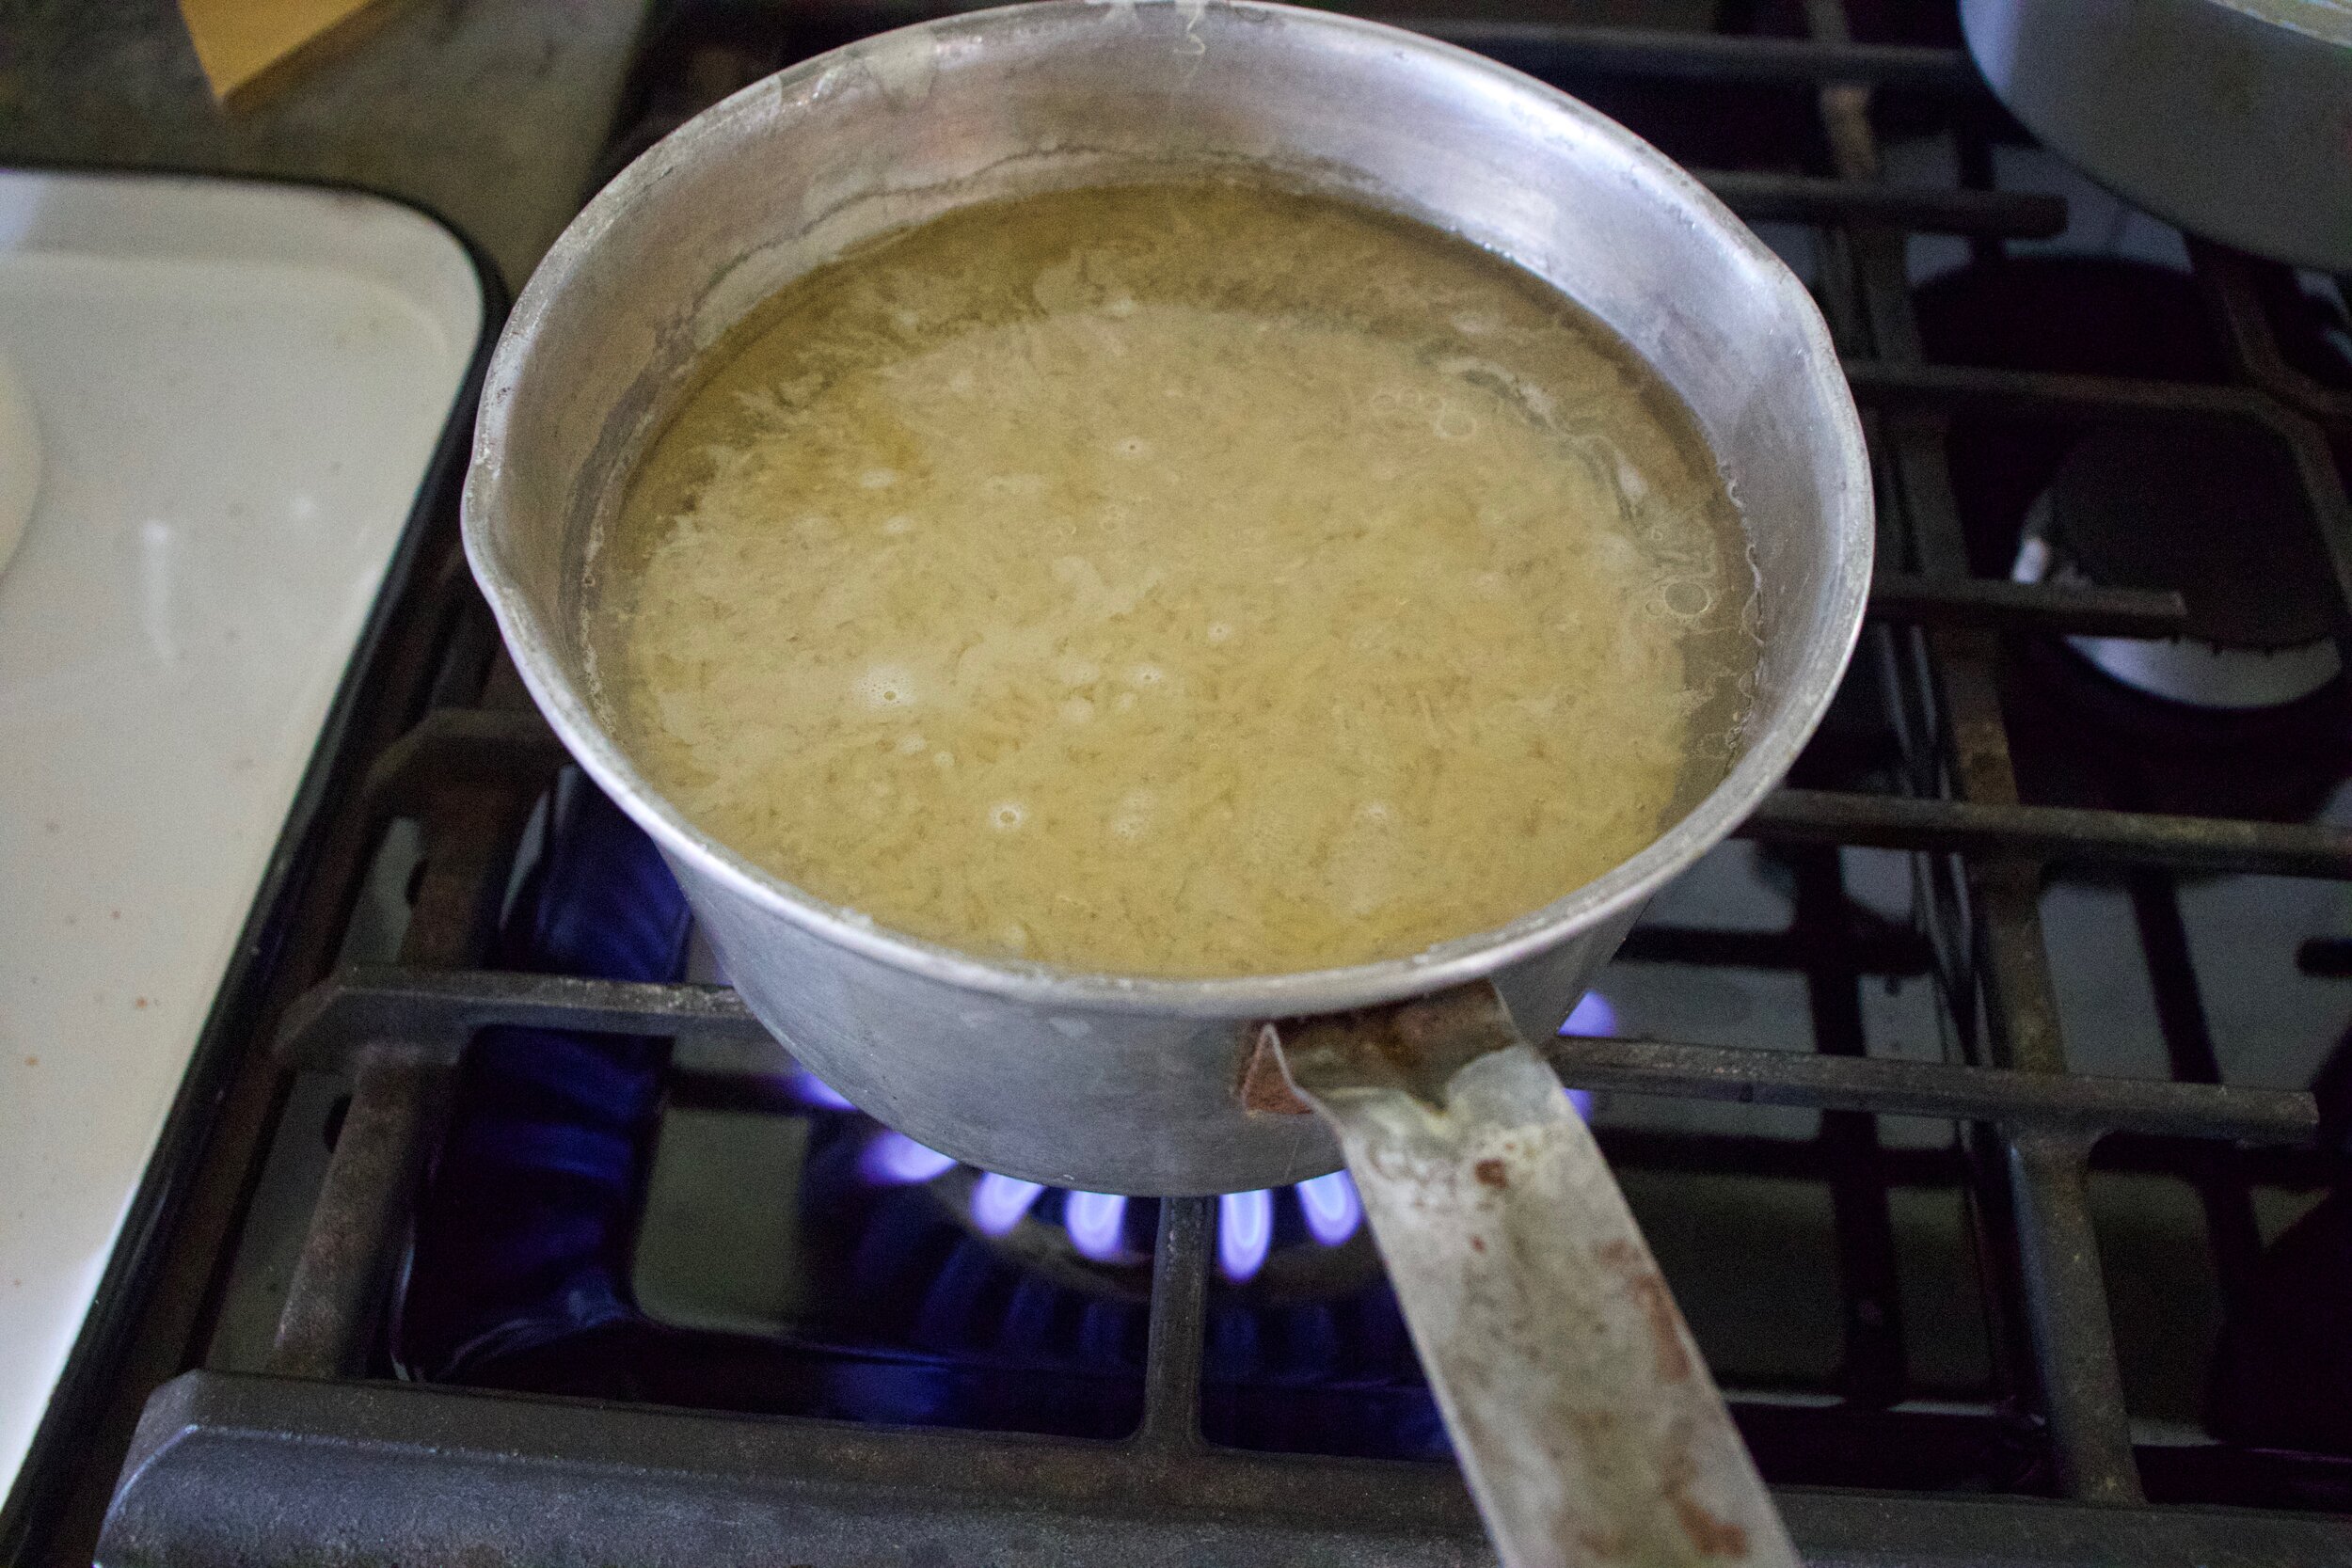
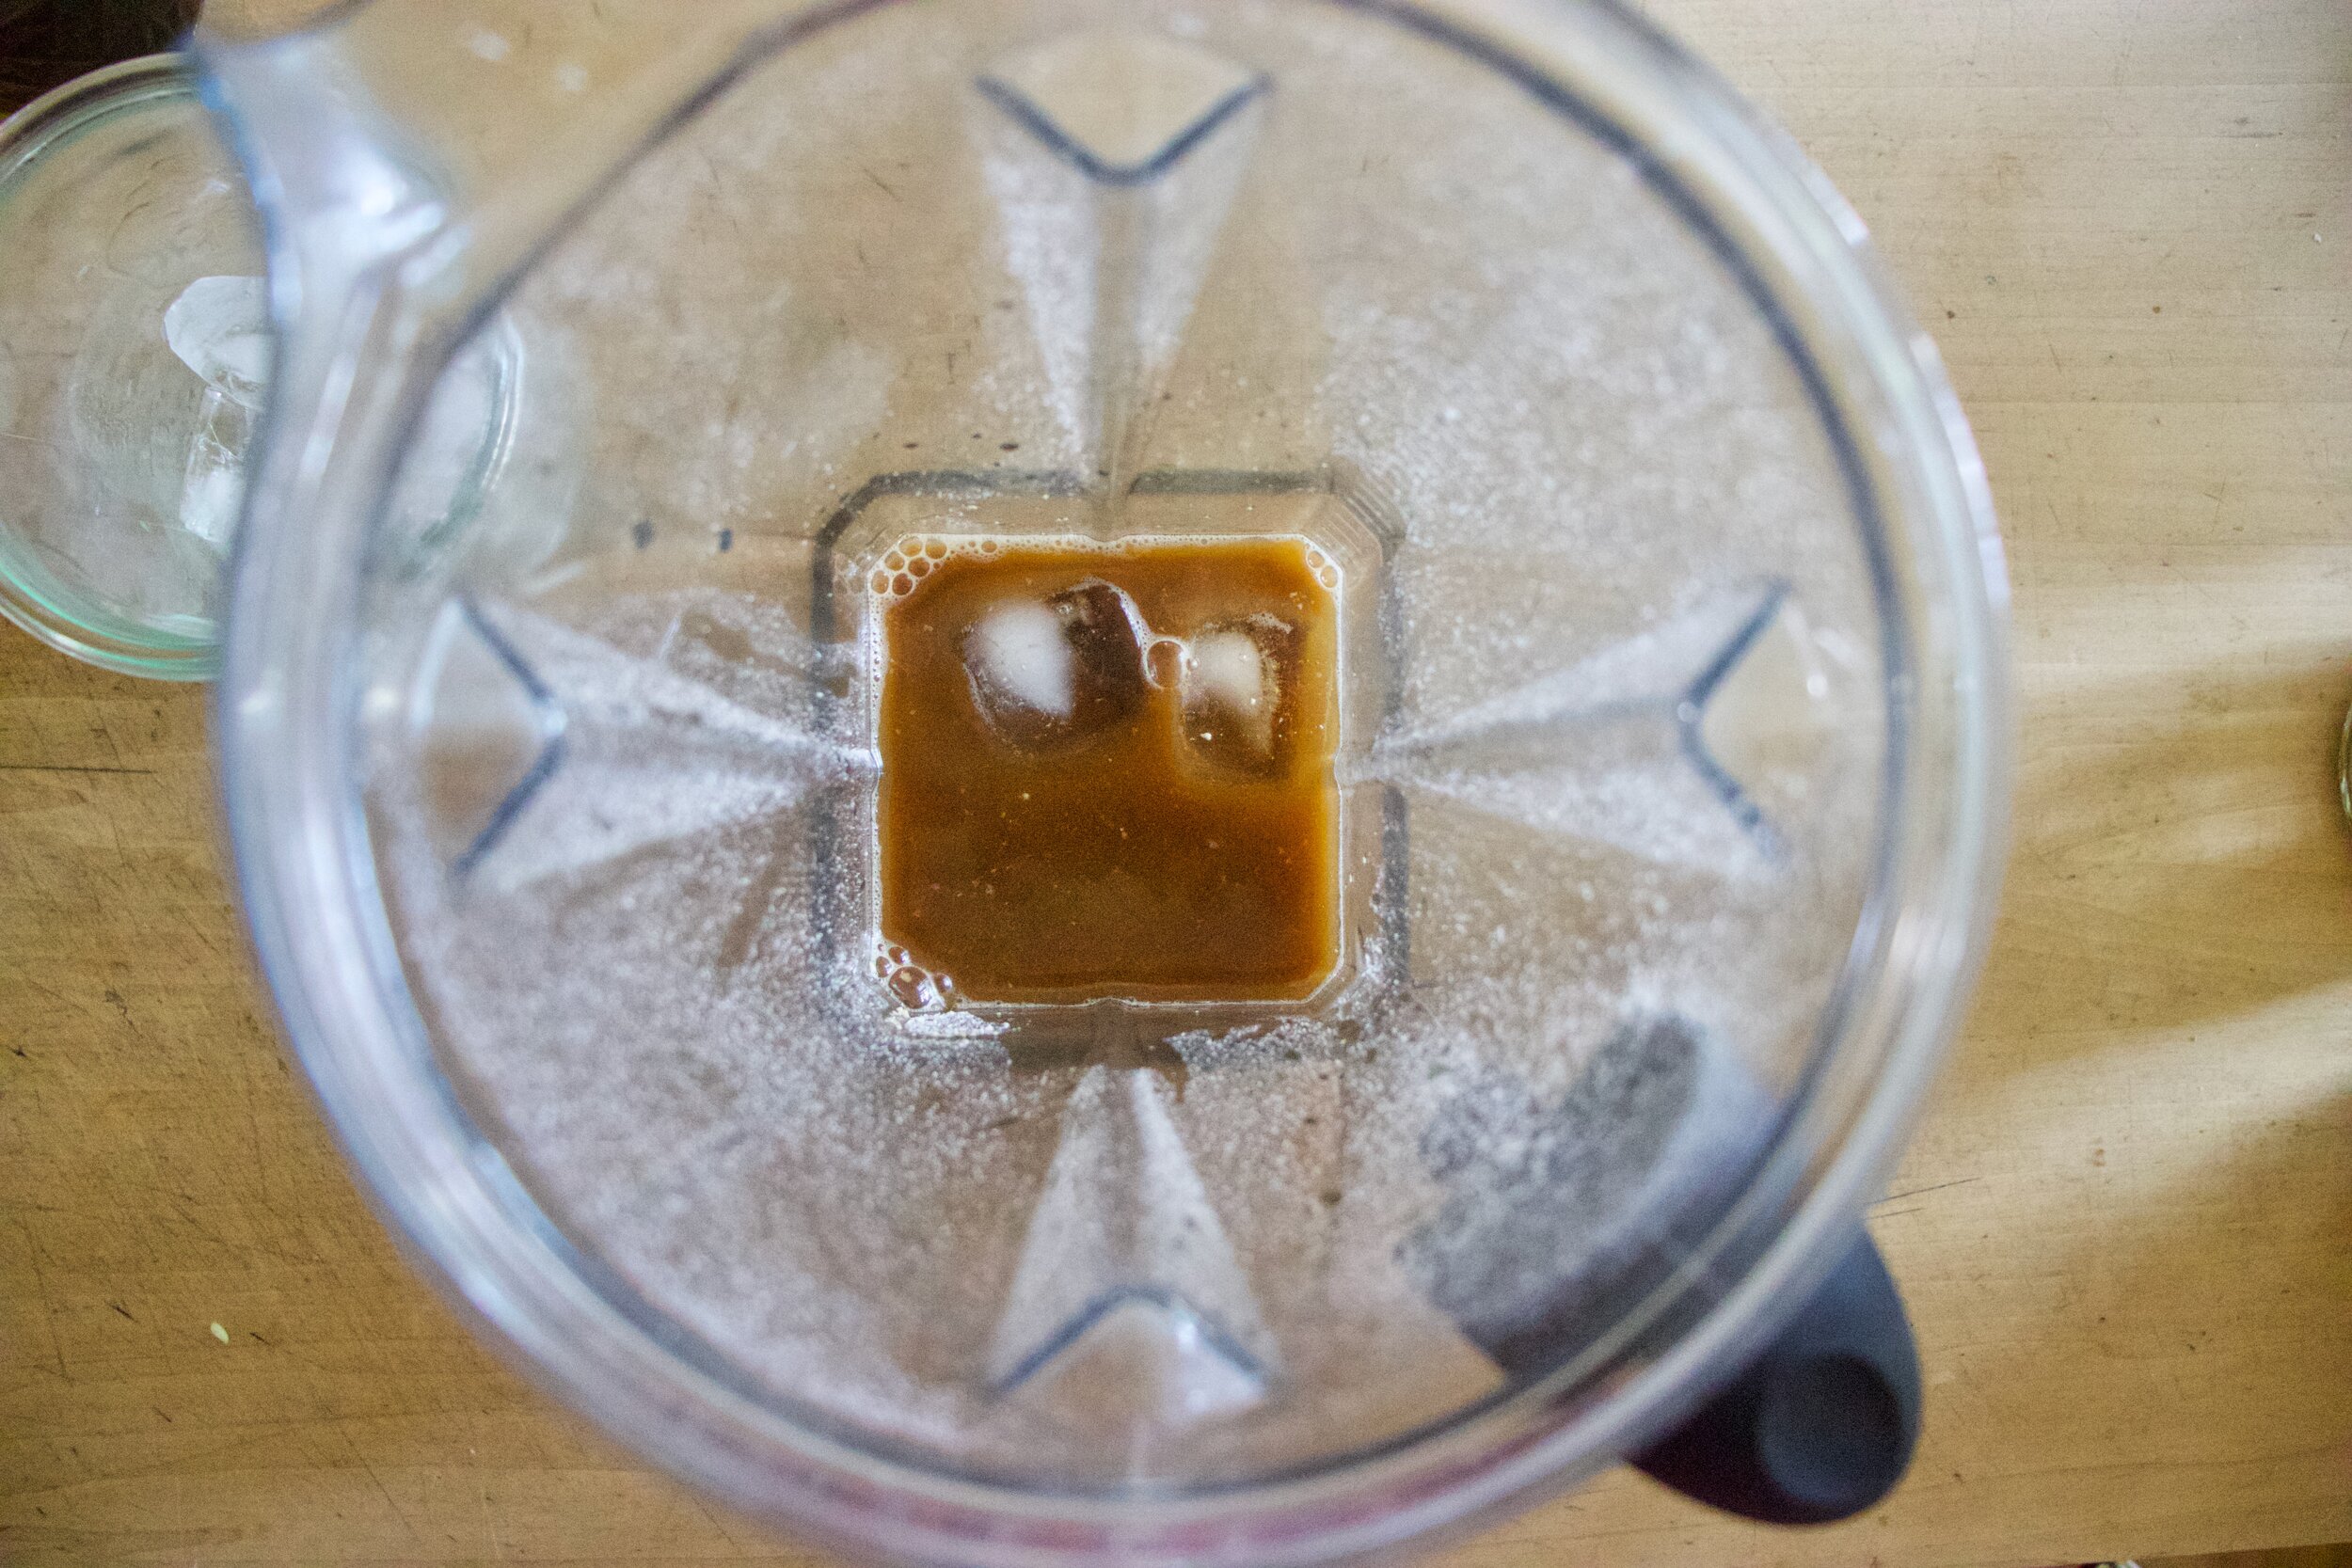
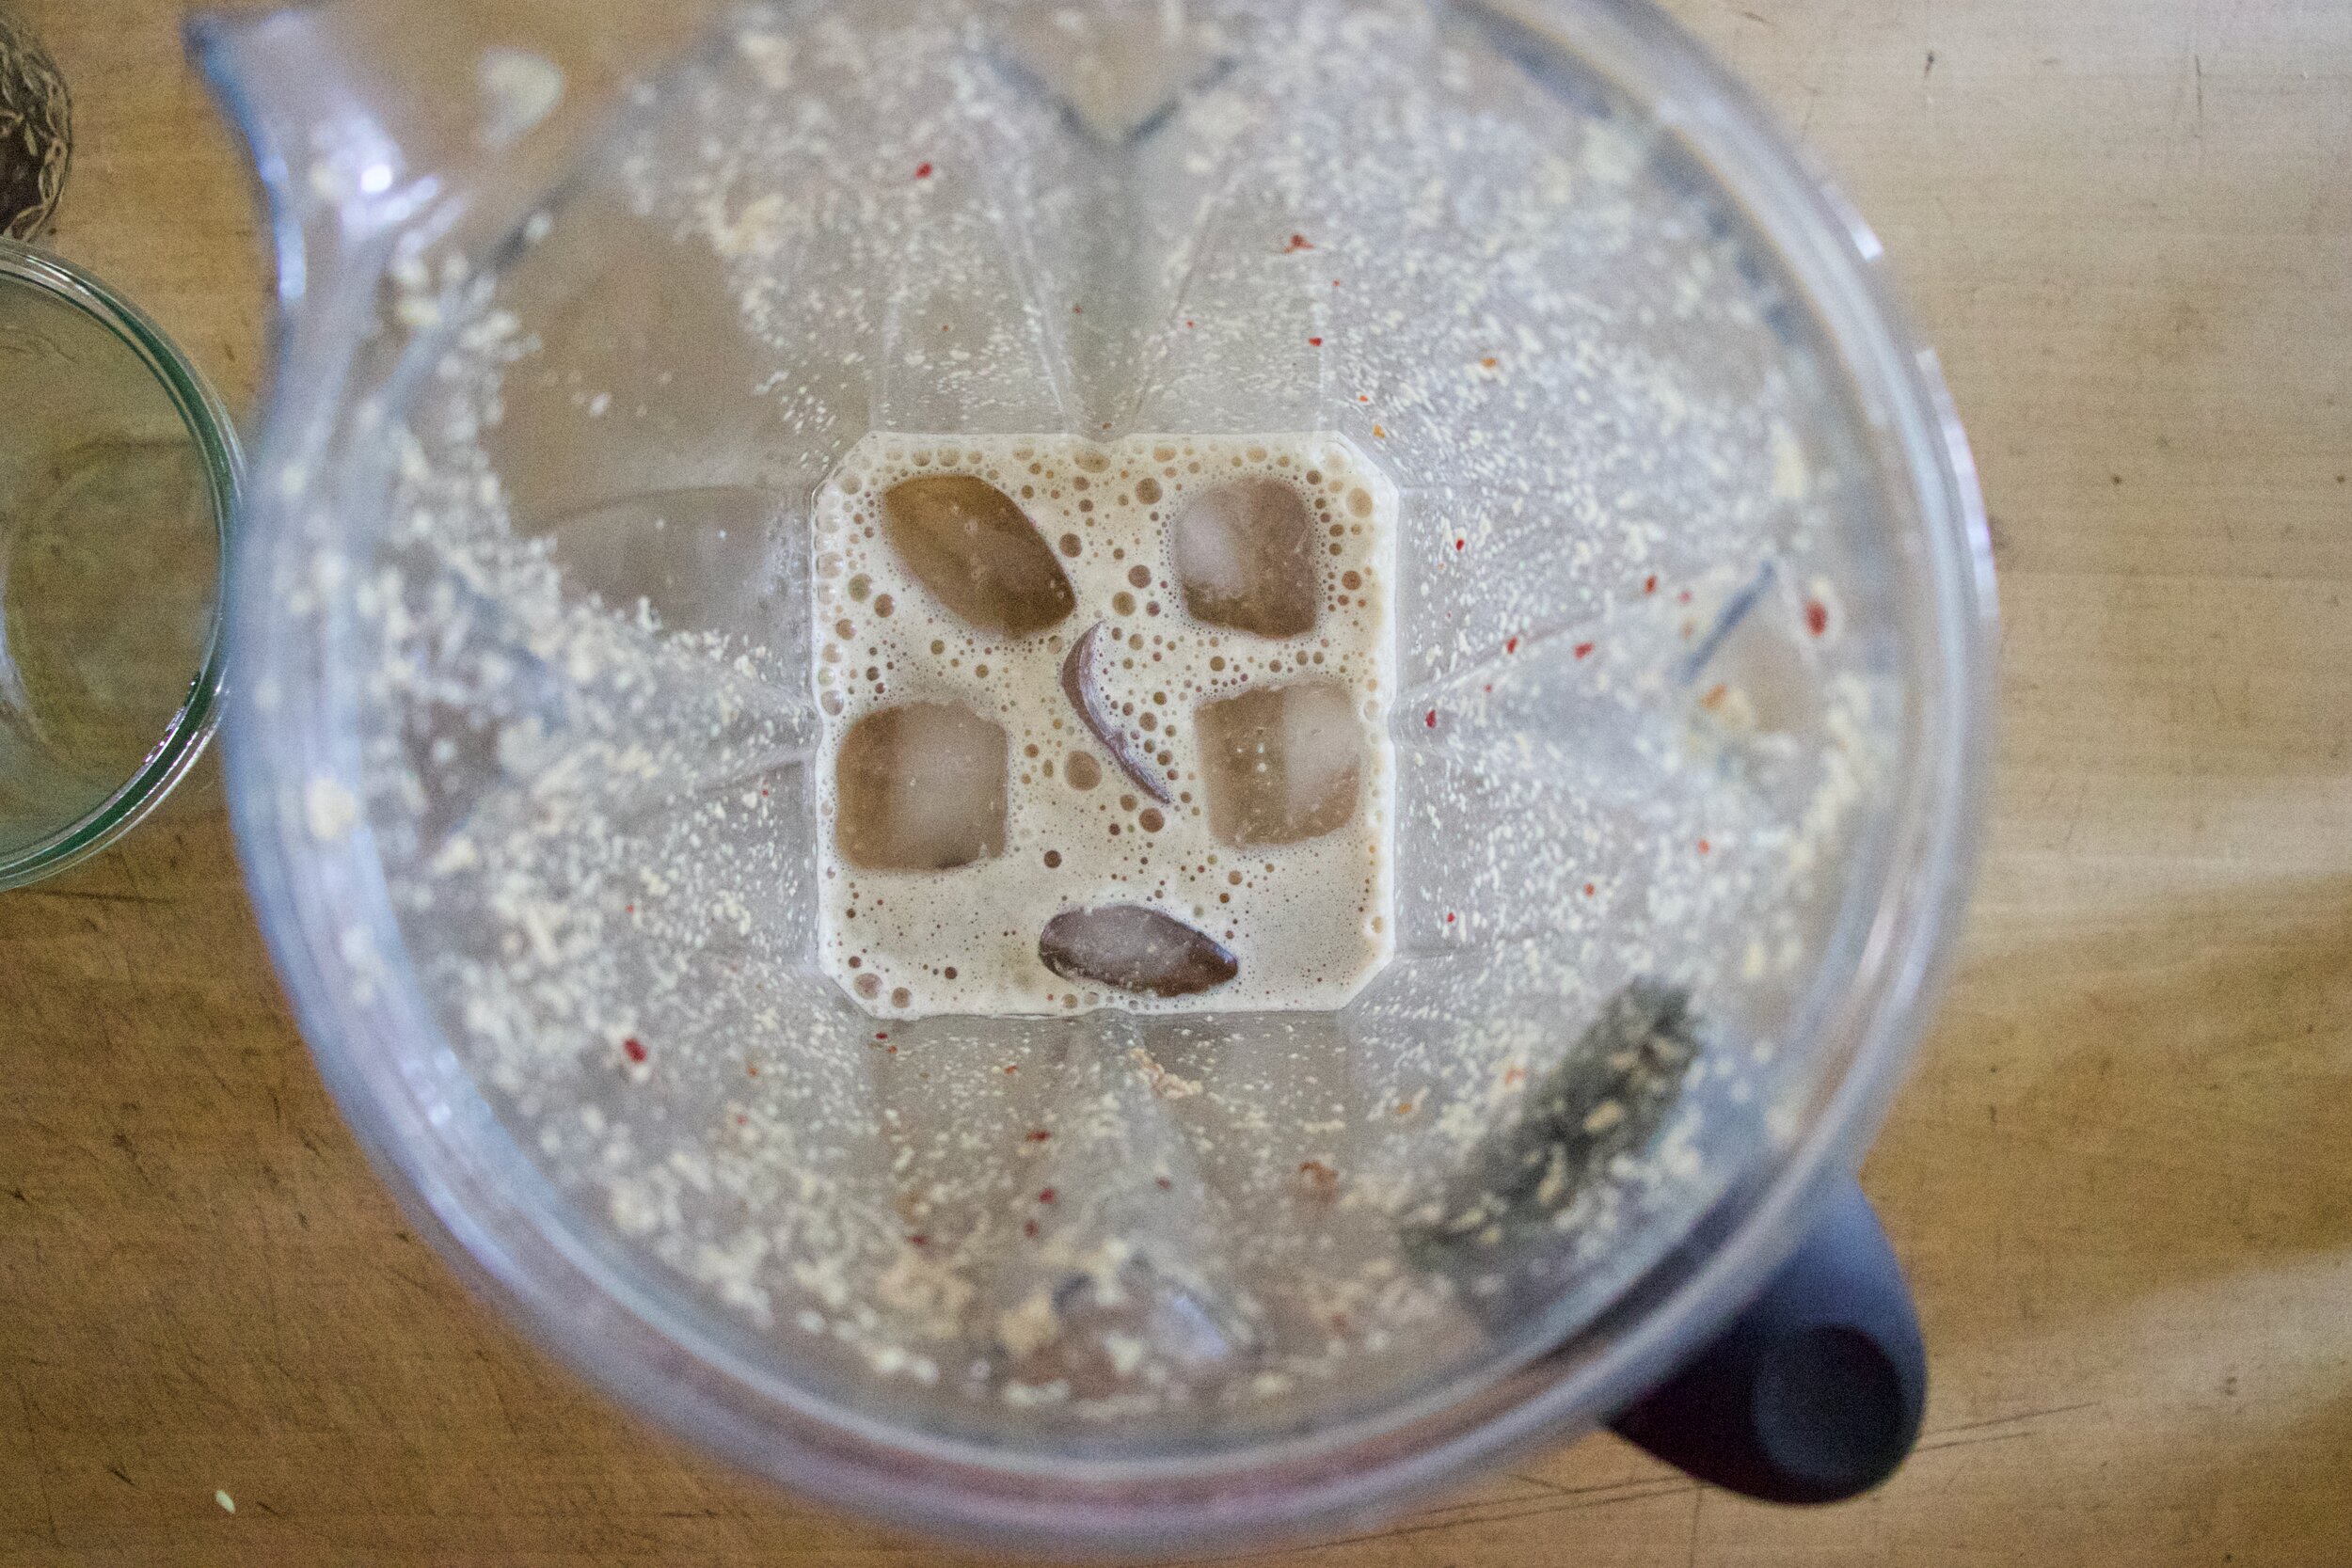
Dump corn and milk into a pot. Bring to a boil then cook for a few minutes. Let cool for minute then puree the mixture. It might be slightly chunky but thats all good.

IMG_7214.jpg

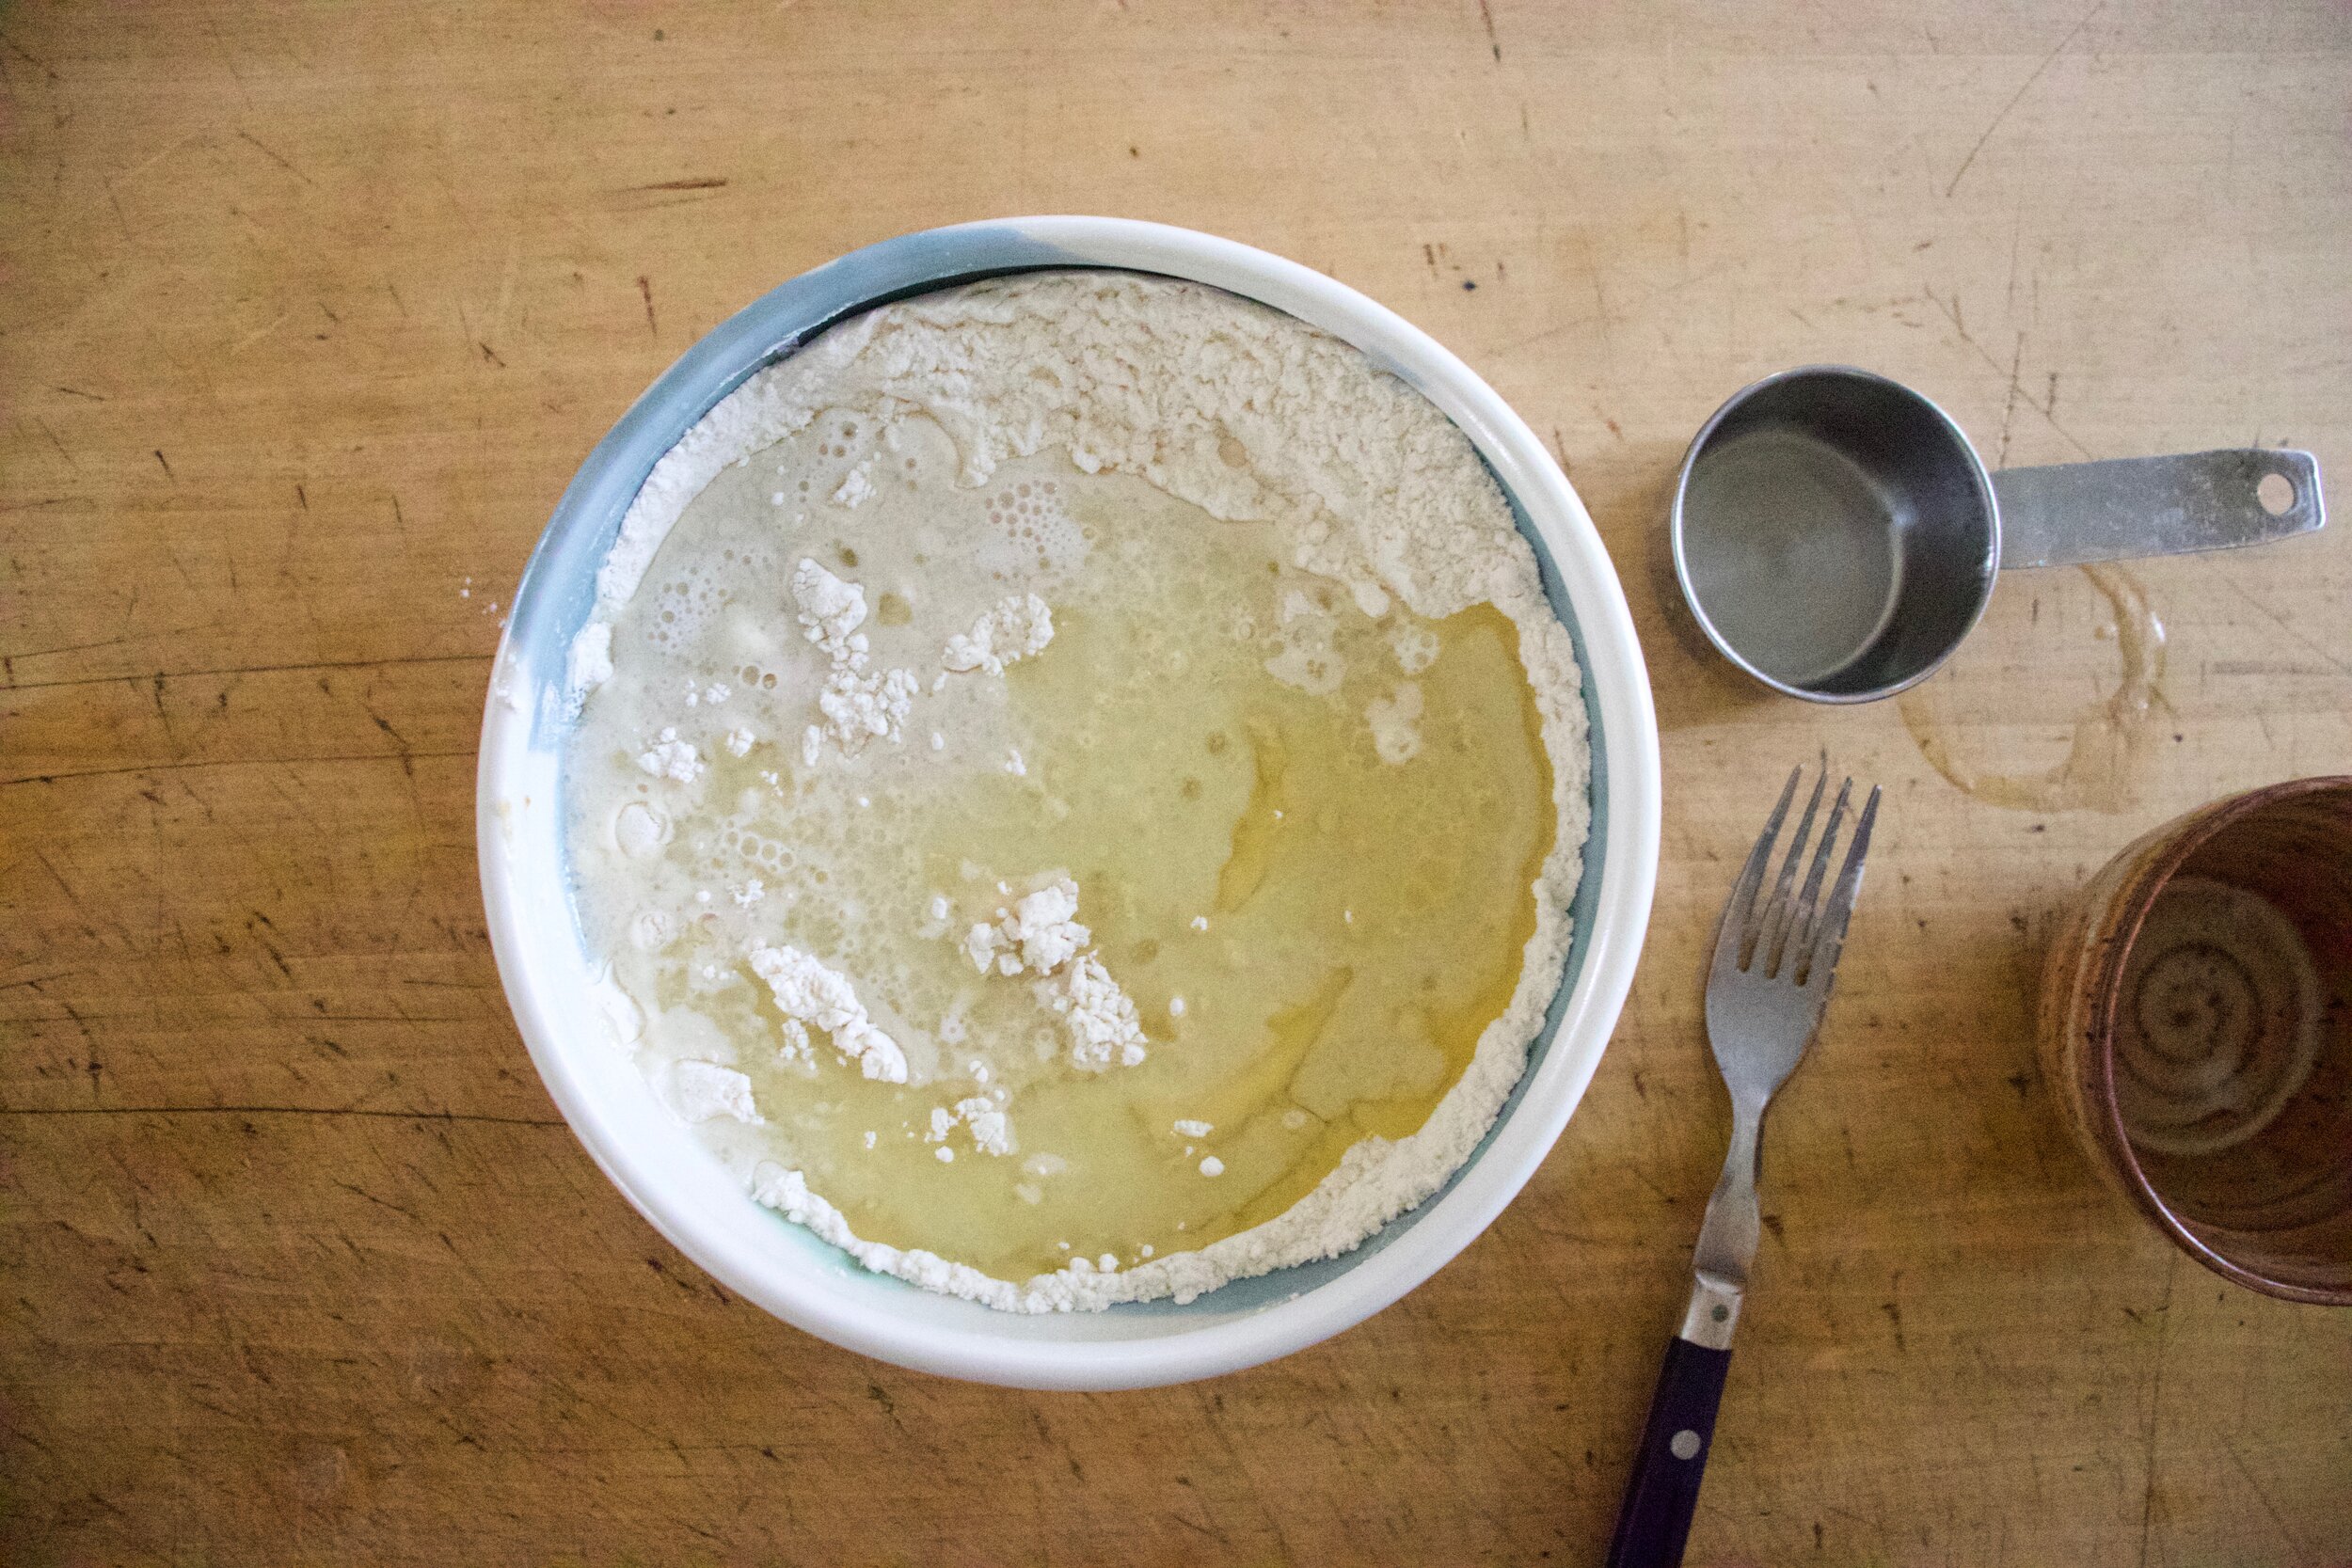
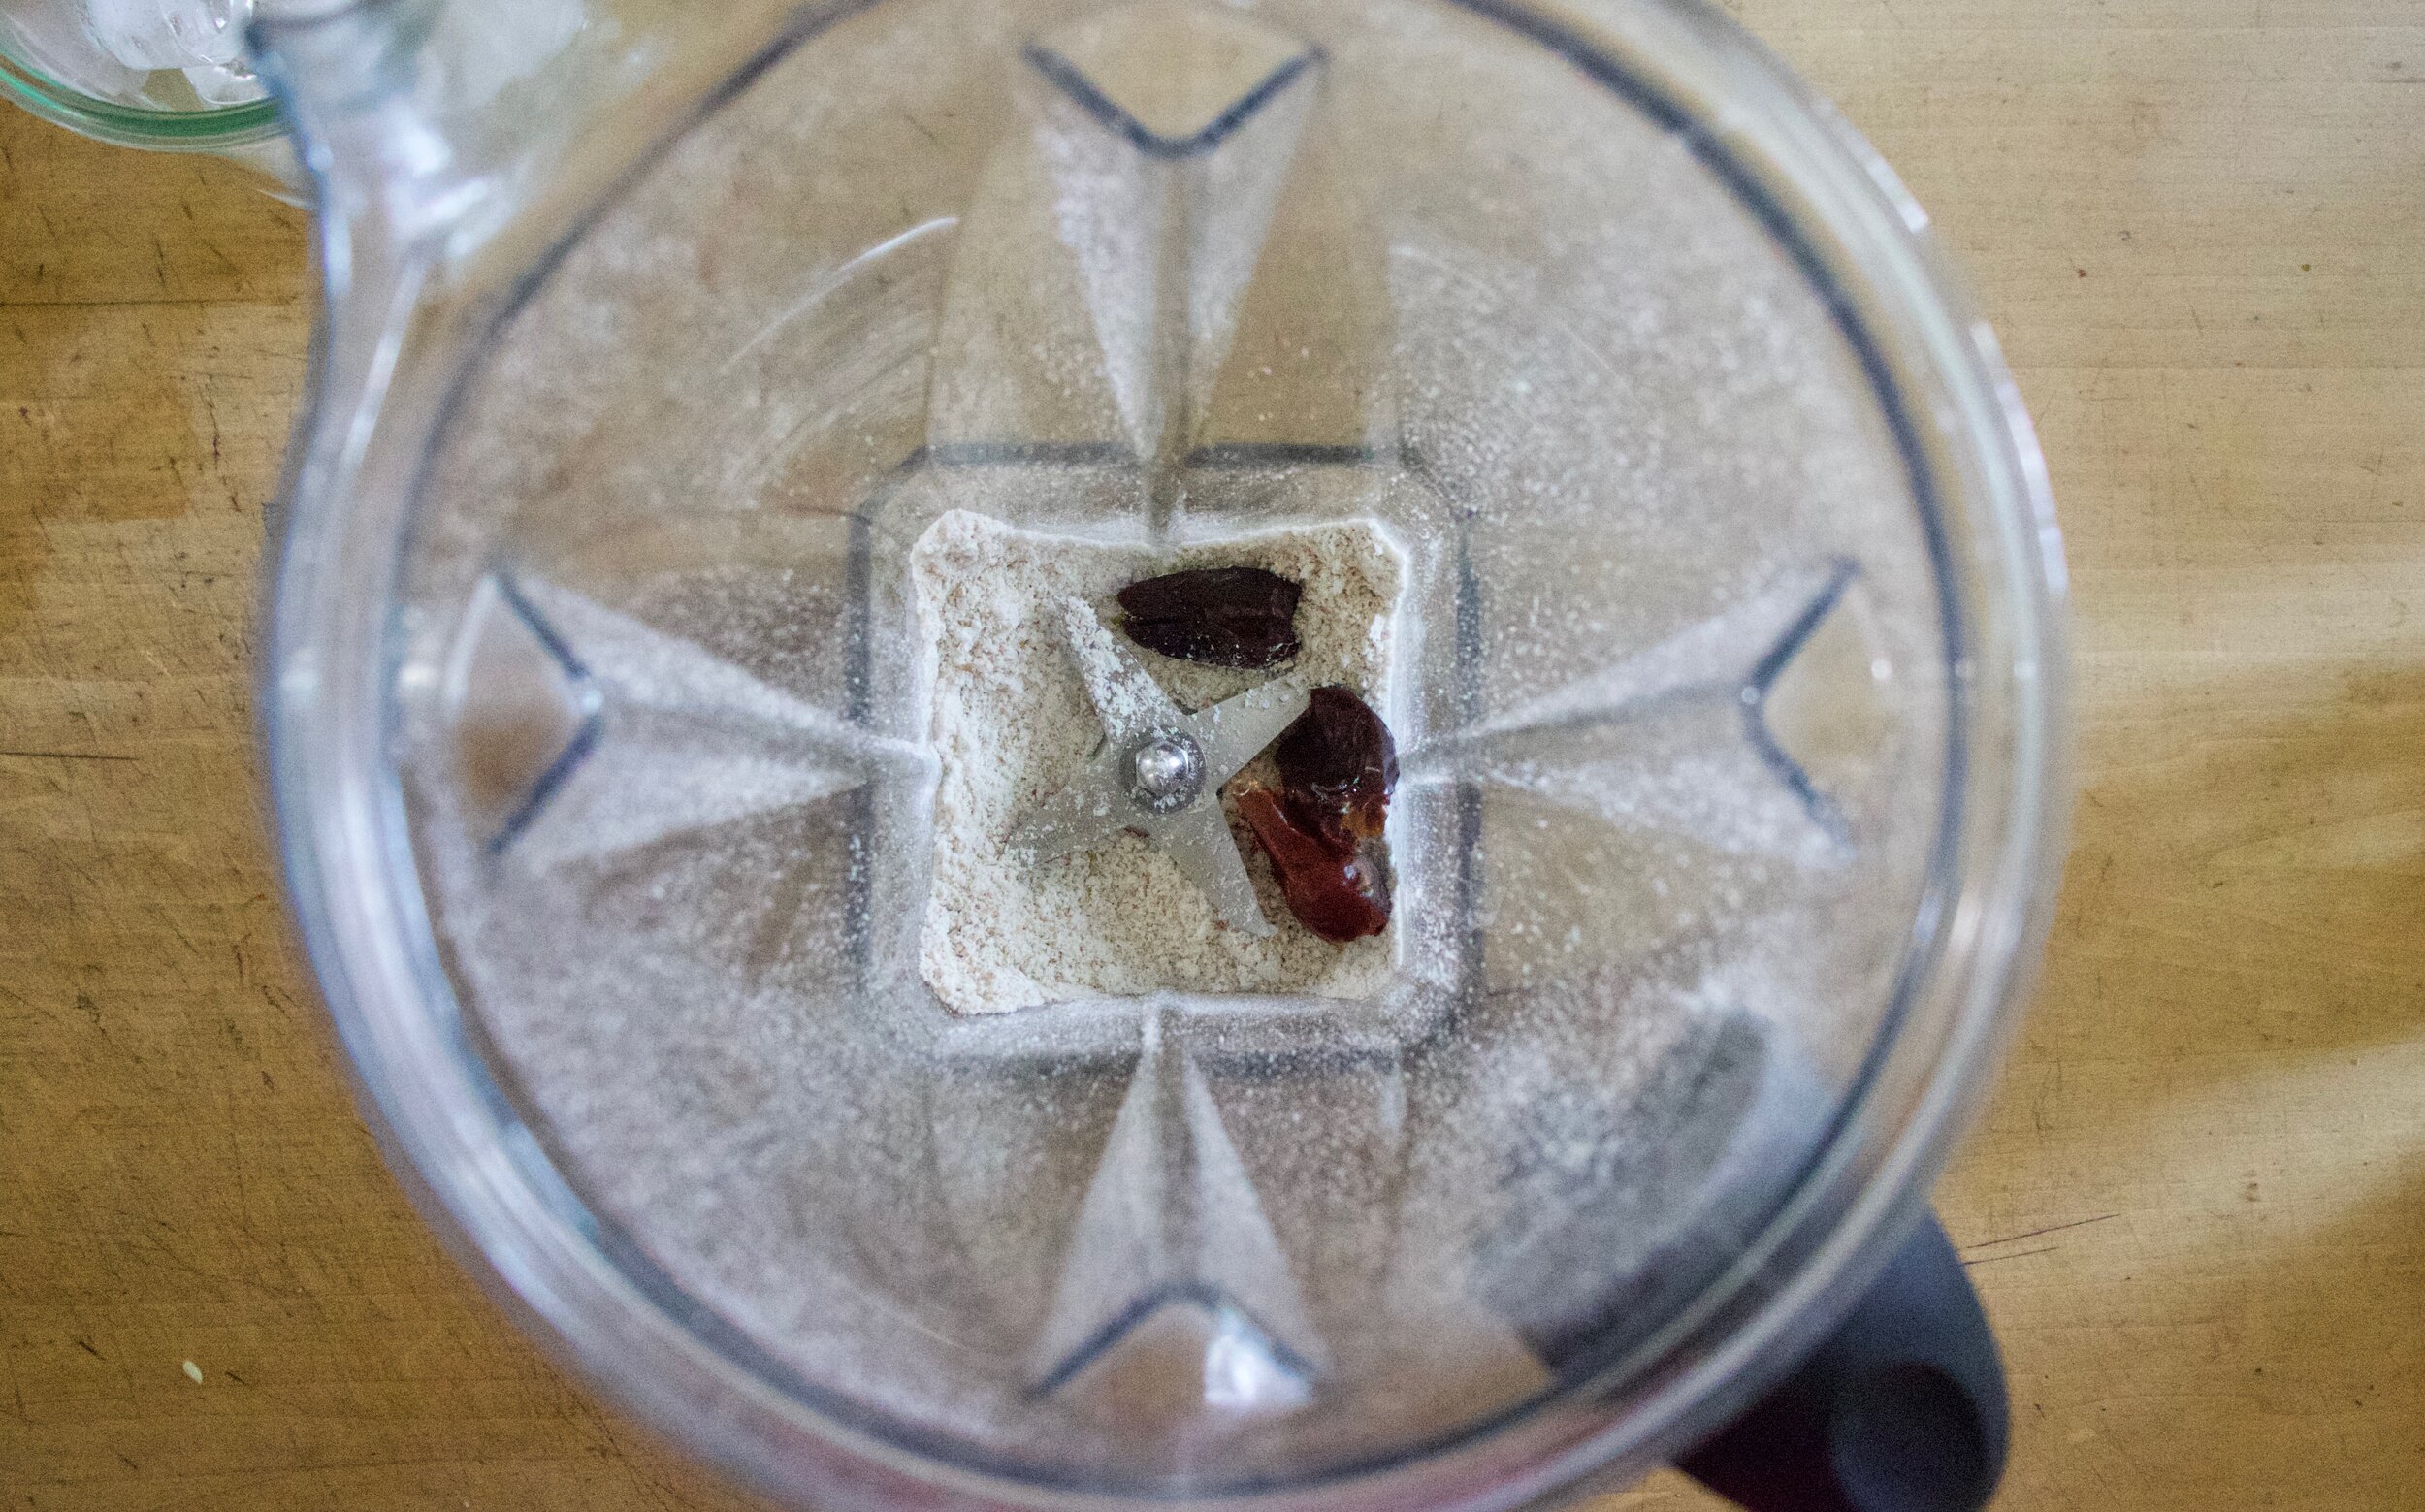
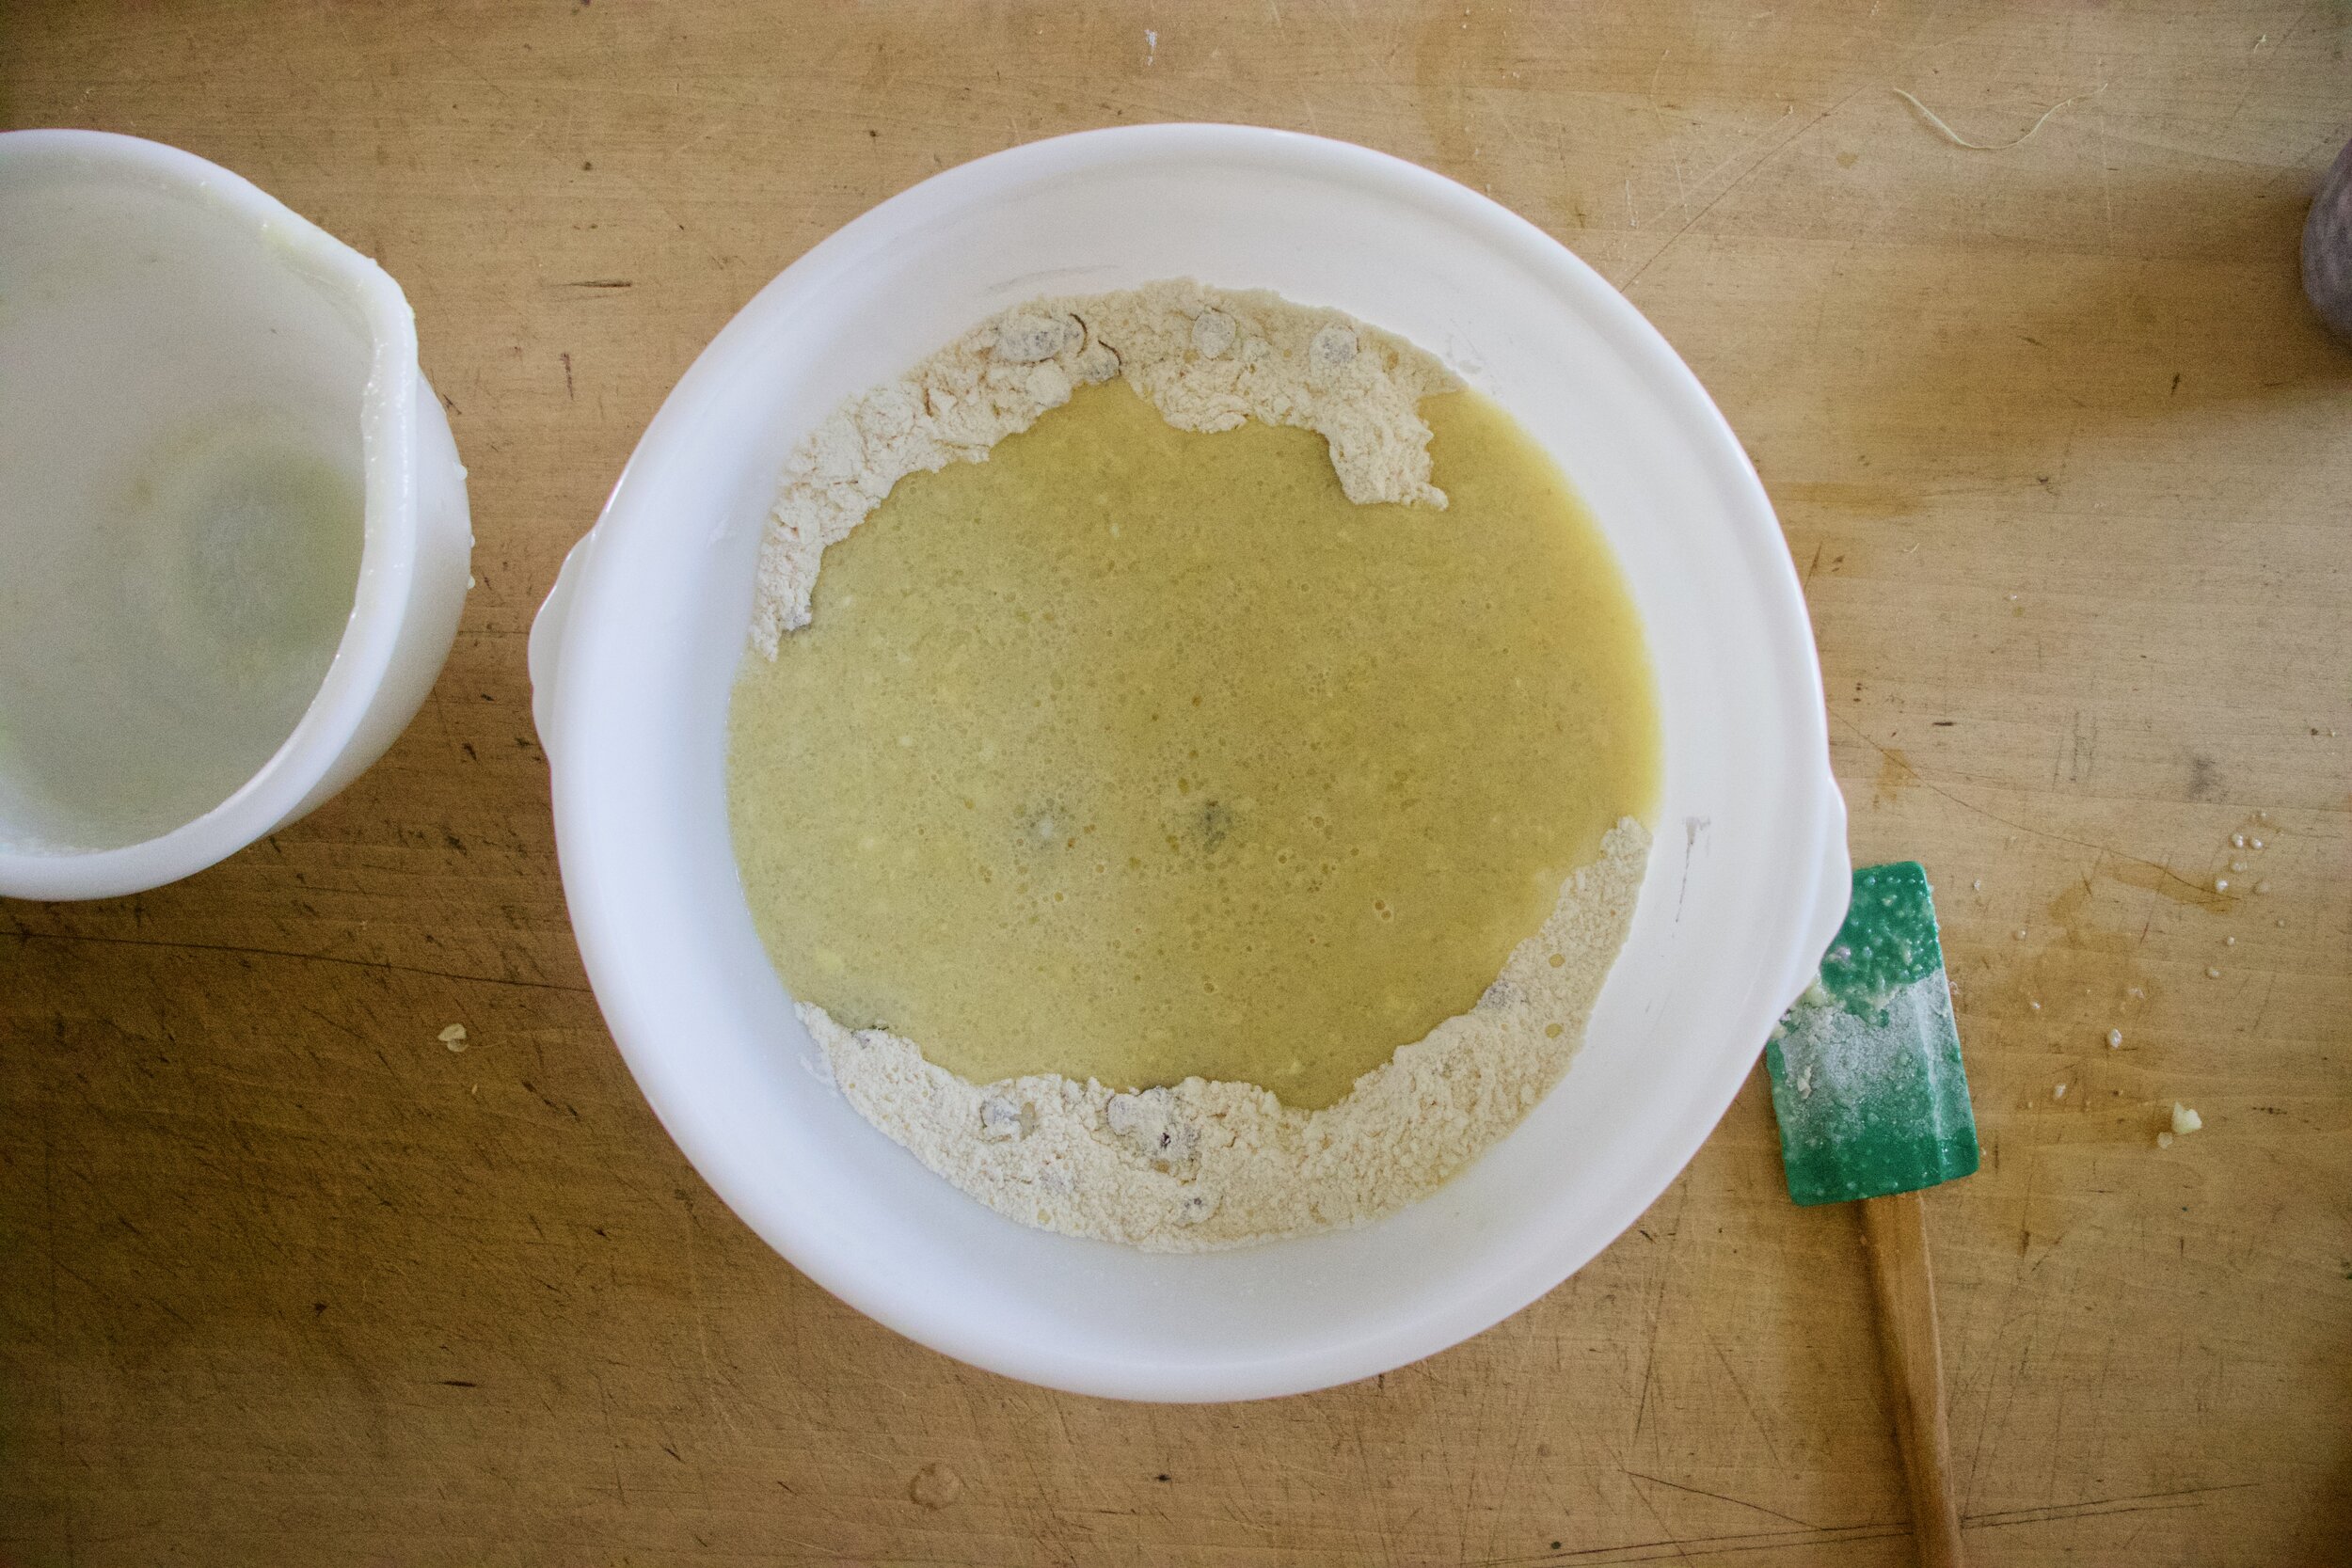
Pour warm corm mixture into a bowl with the oil, sugar and vinegar. Mix until combined.

IMG_7225 2.jpg
IMG_7227.jpg
IMG_7231.jpg
IMG_7240 2.jpg

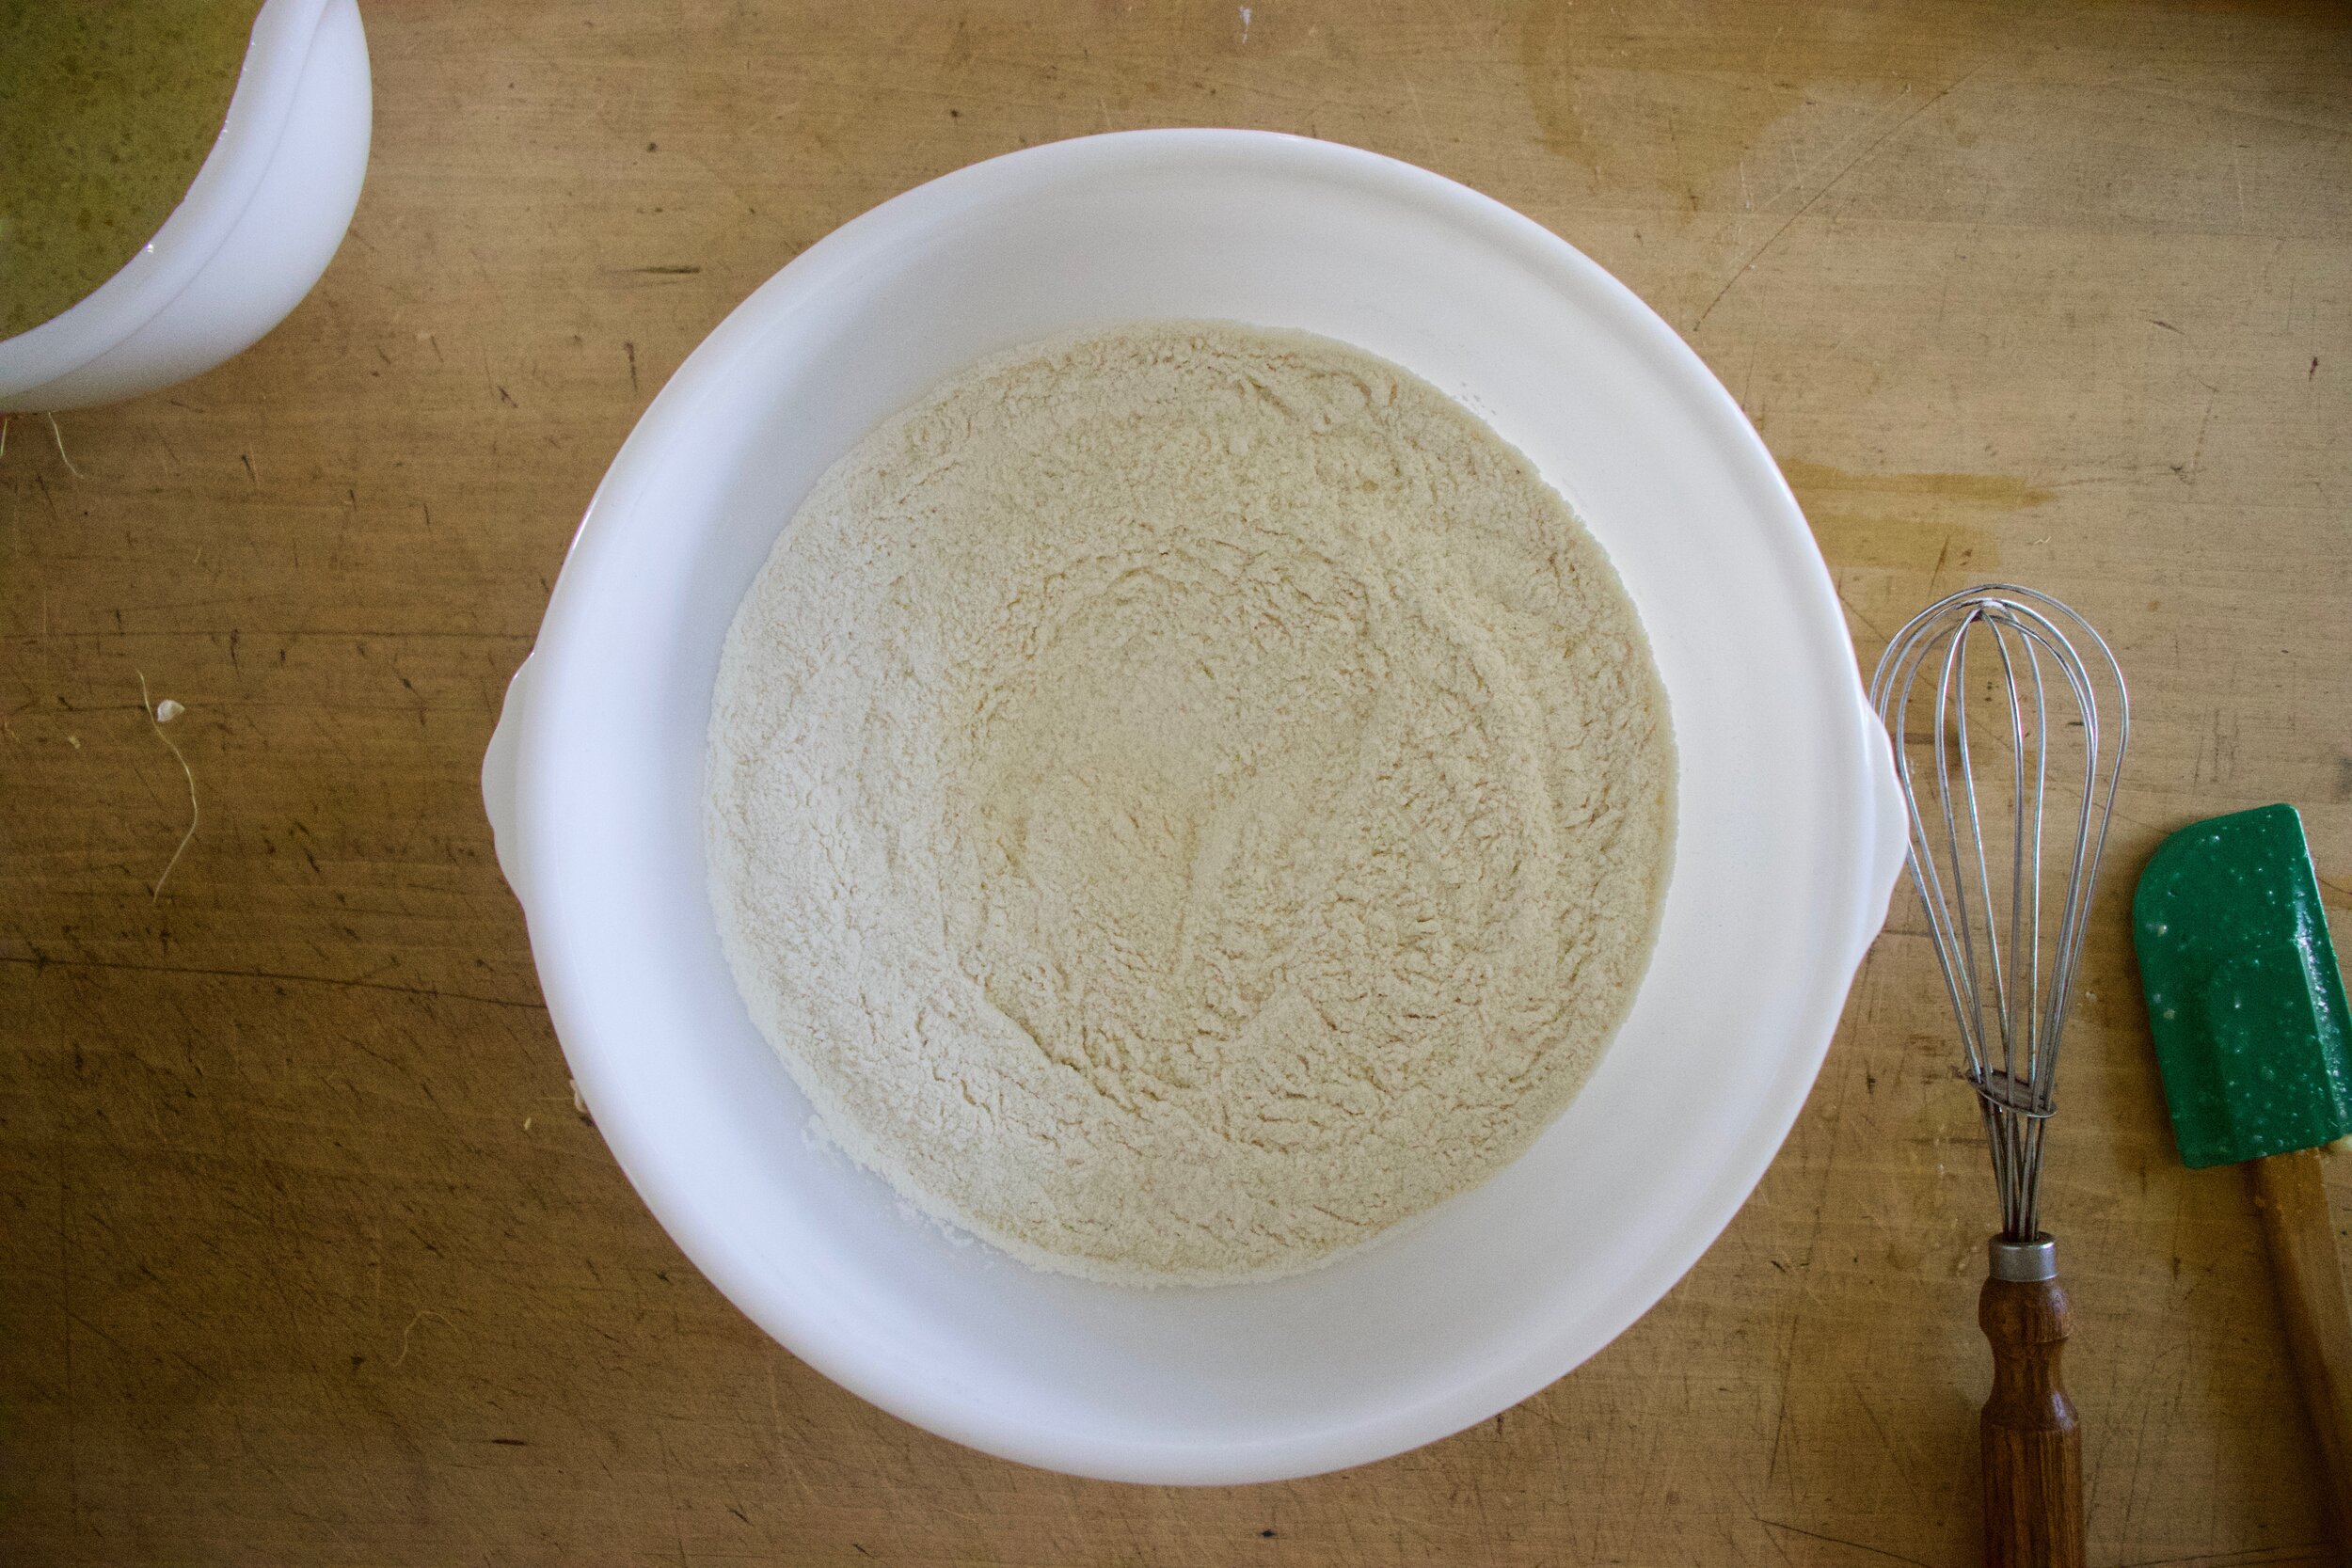
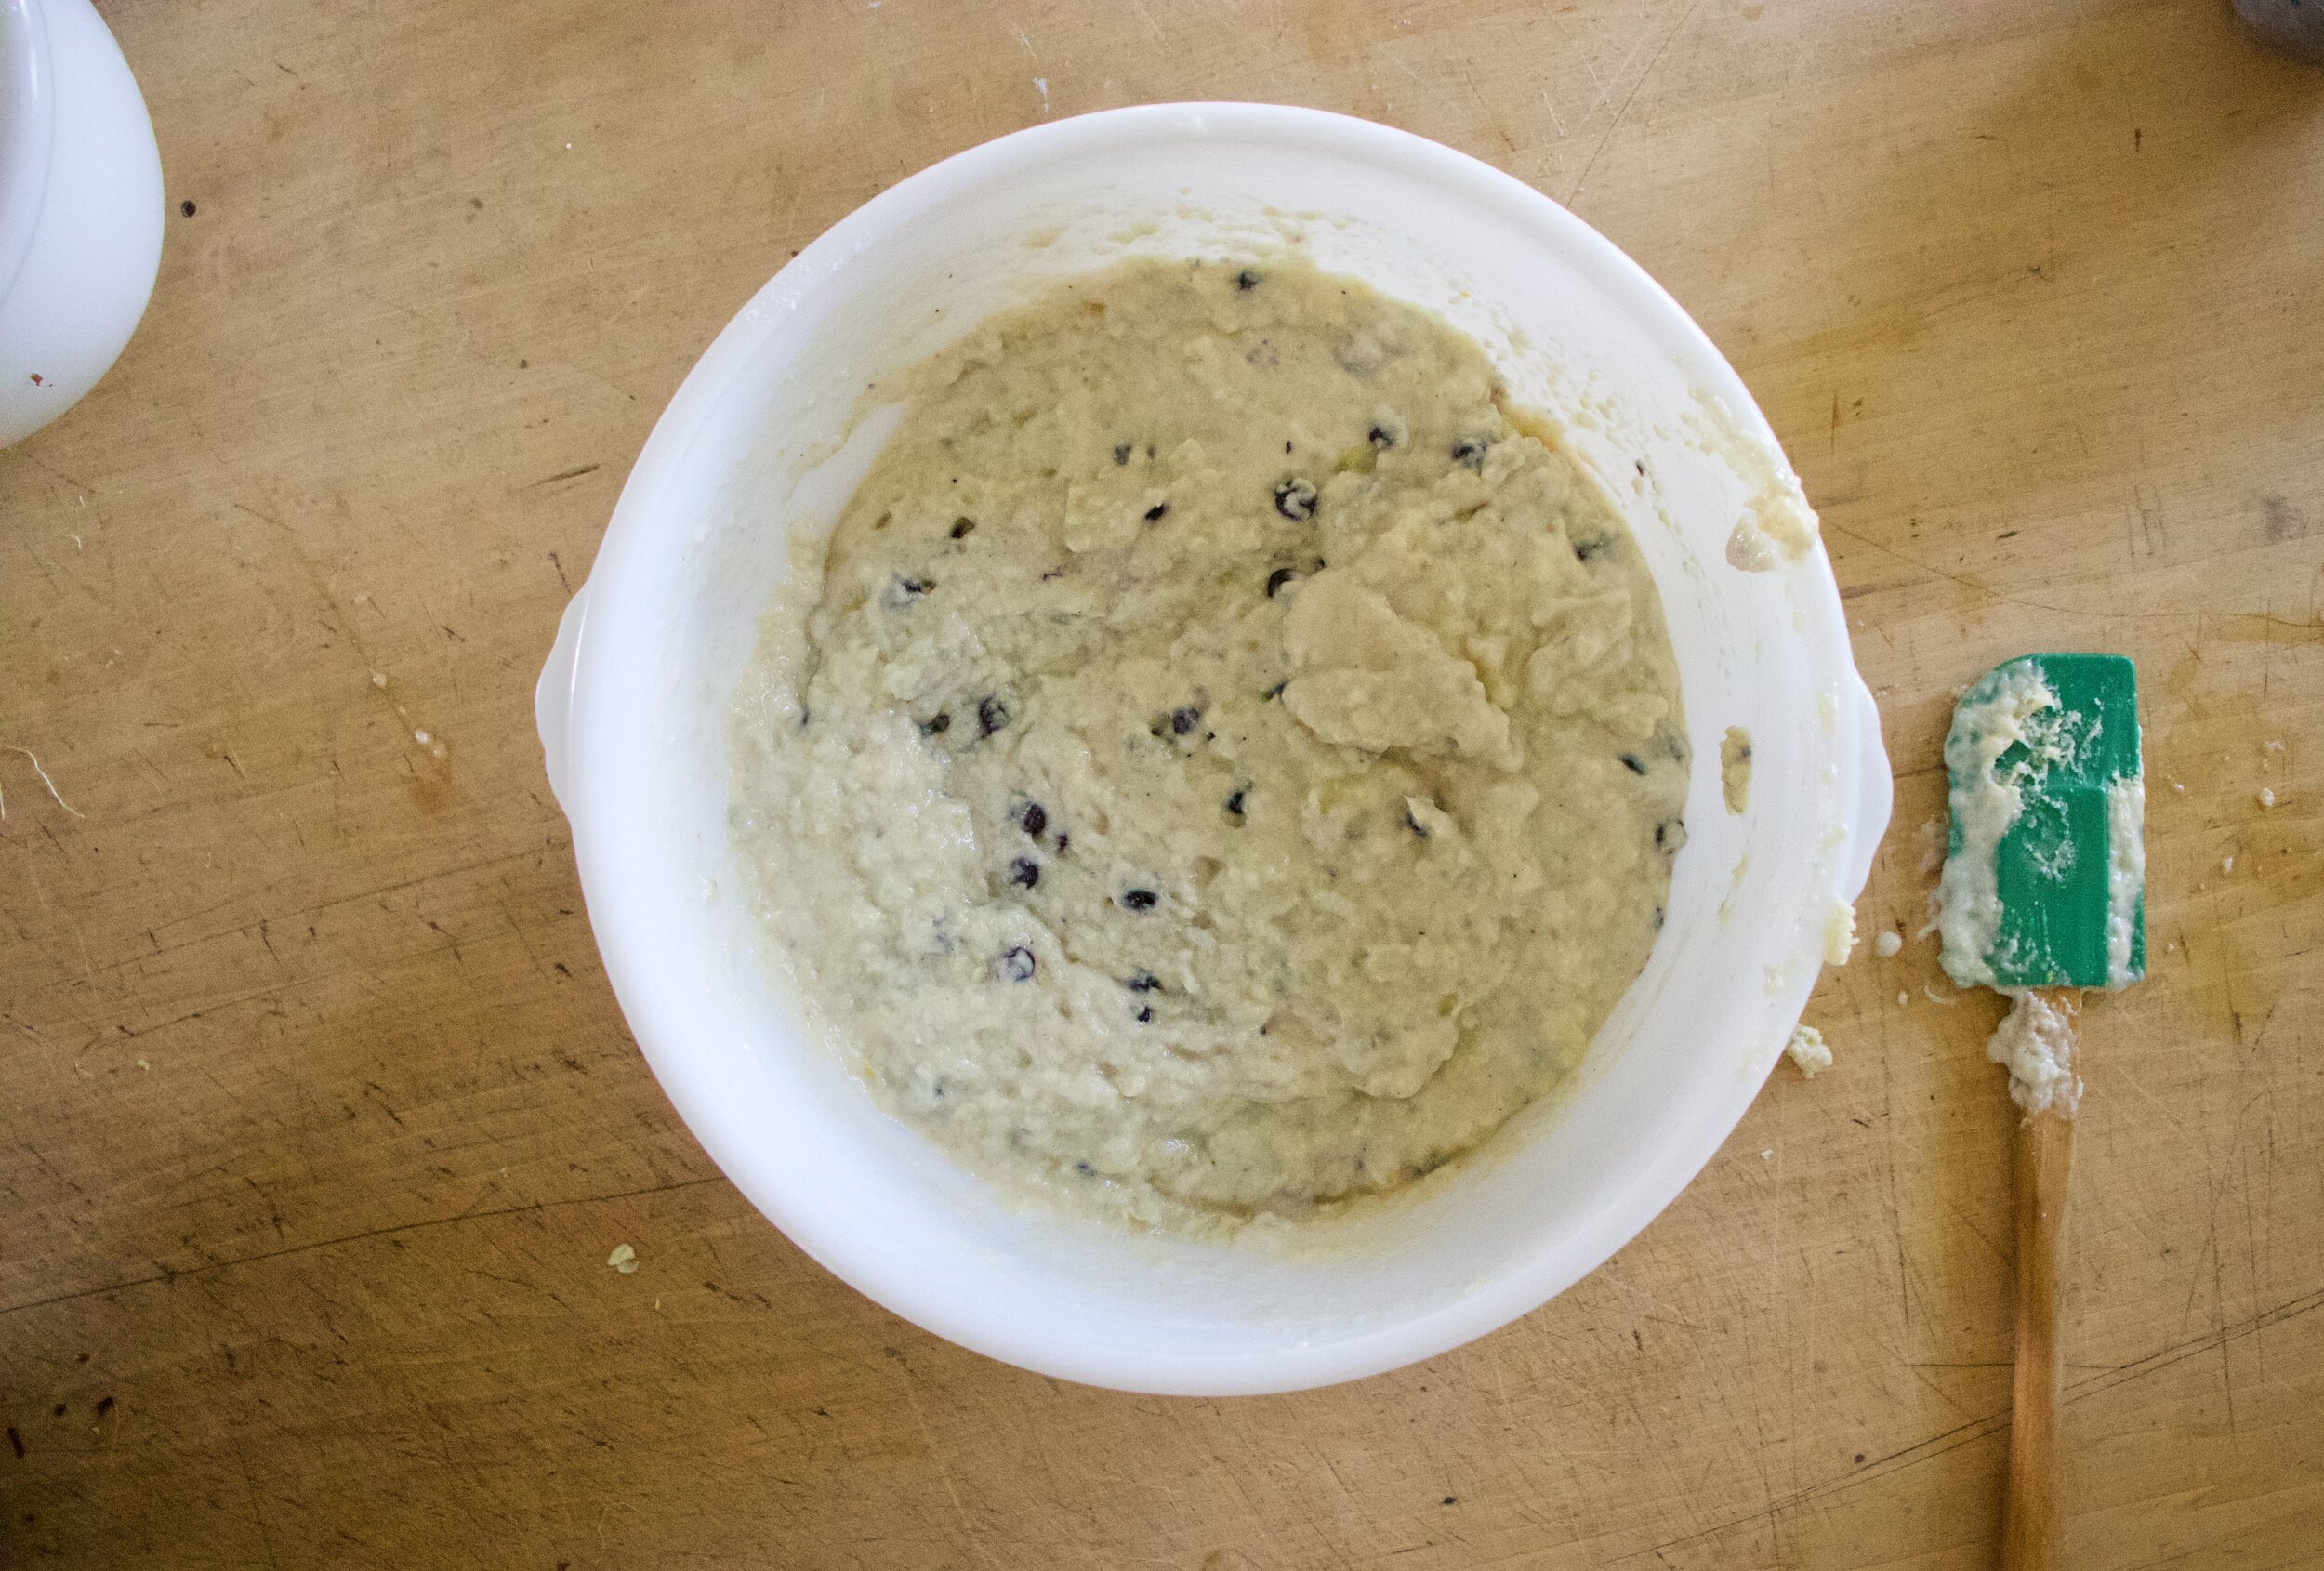
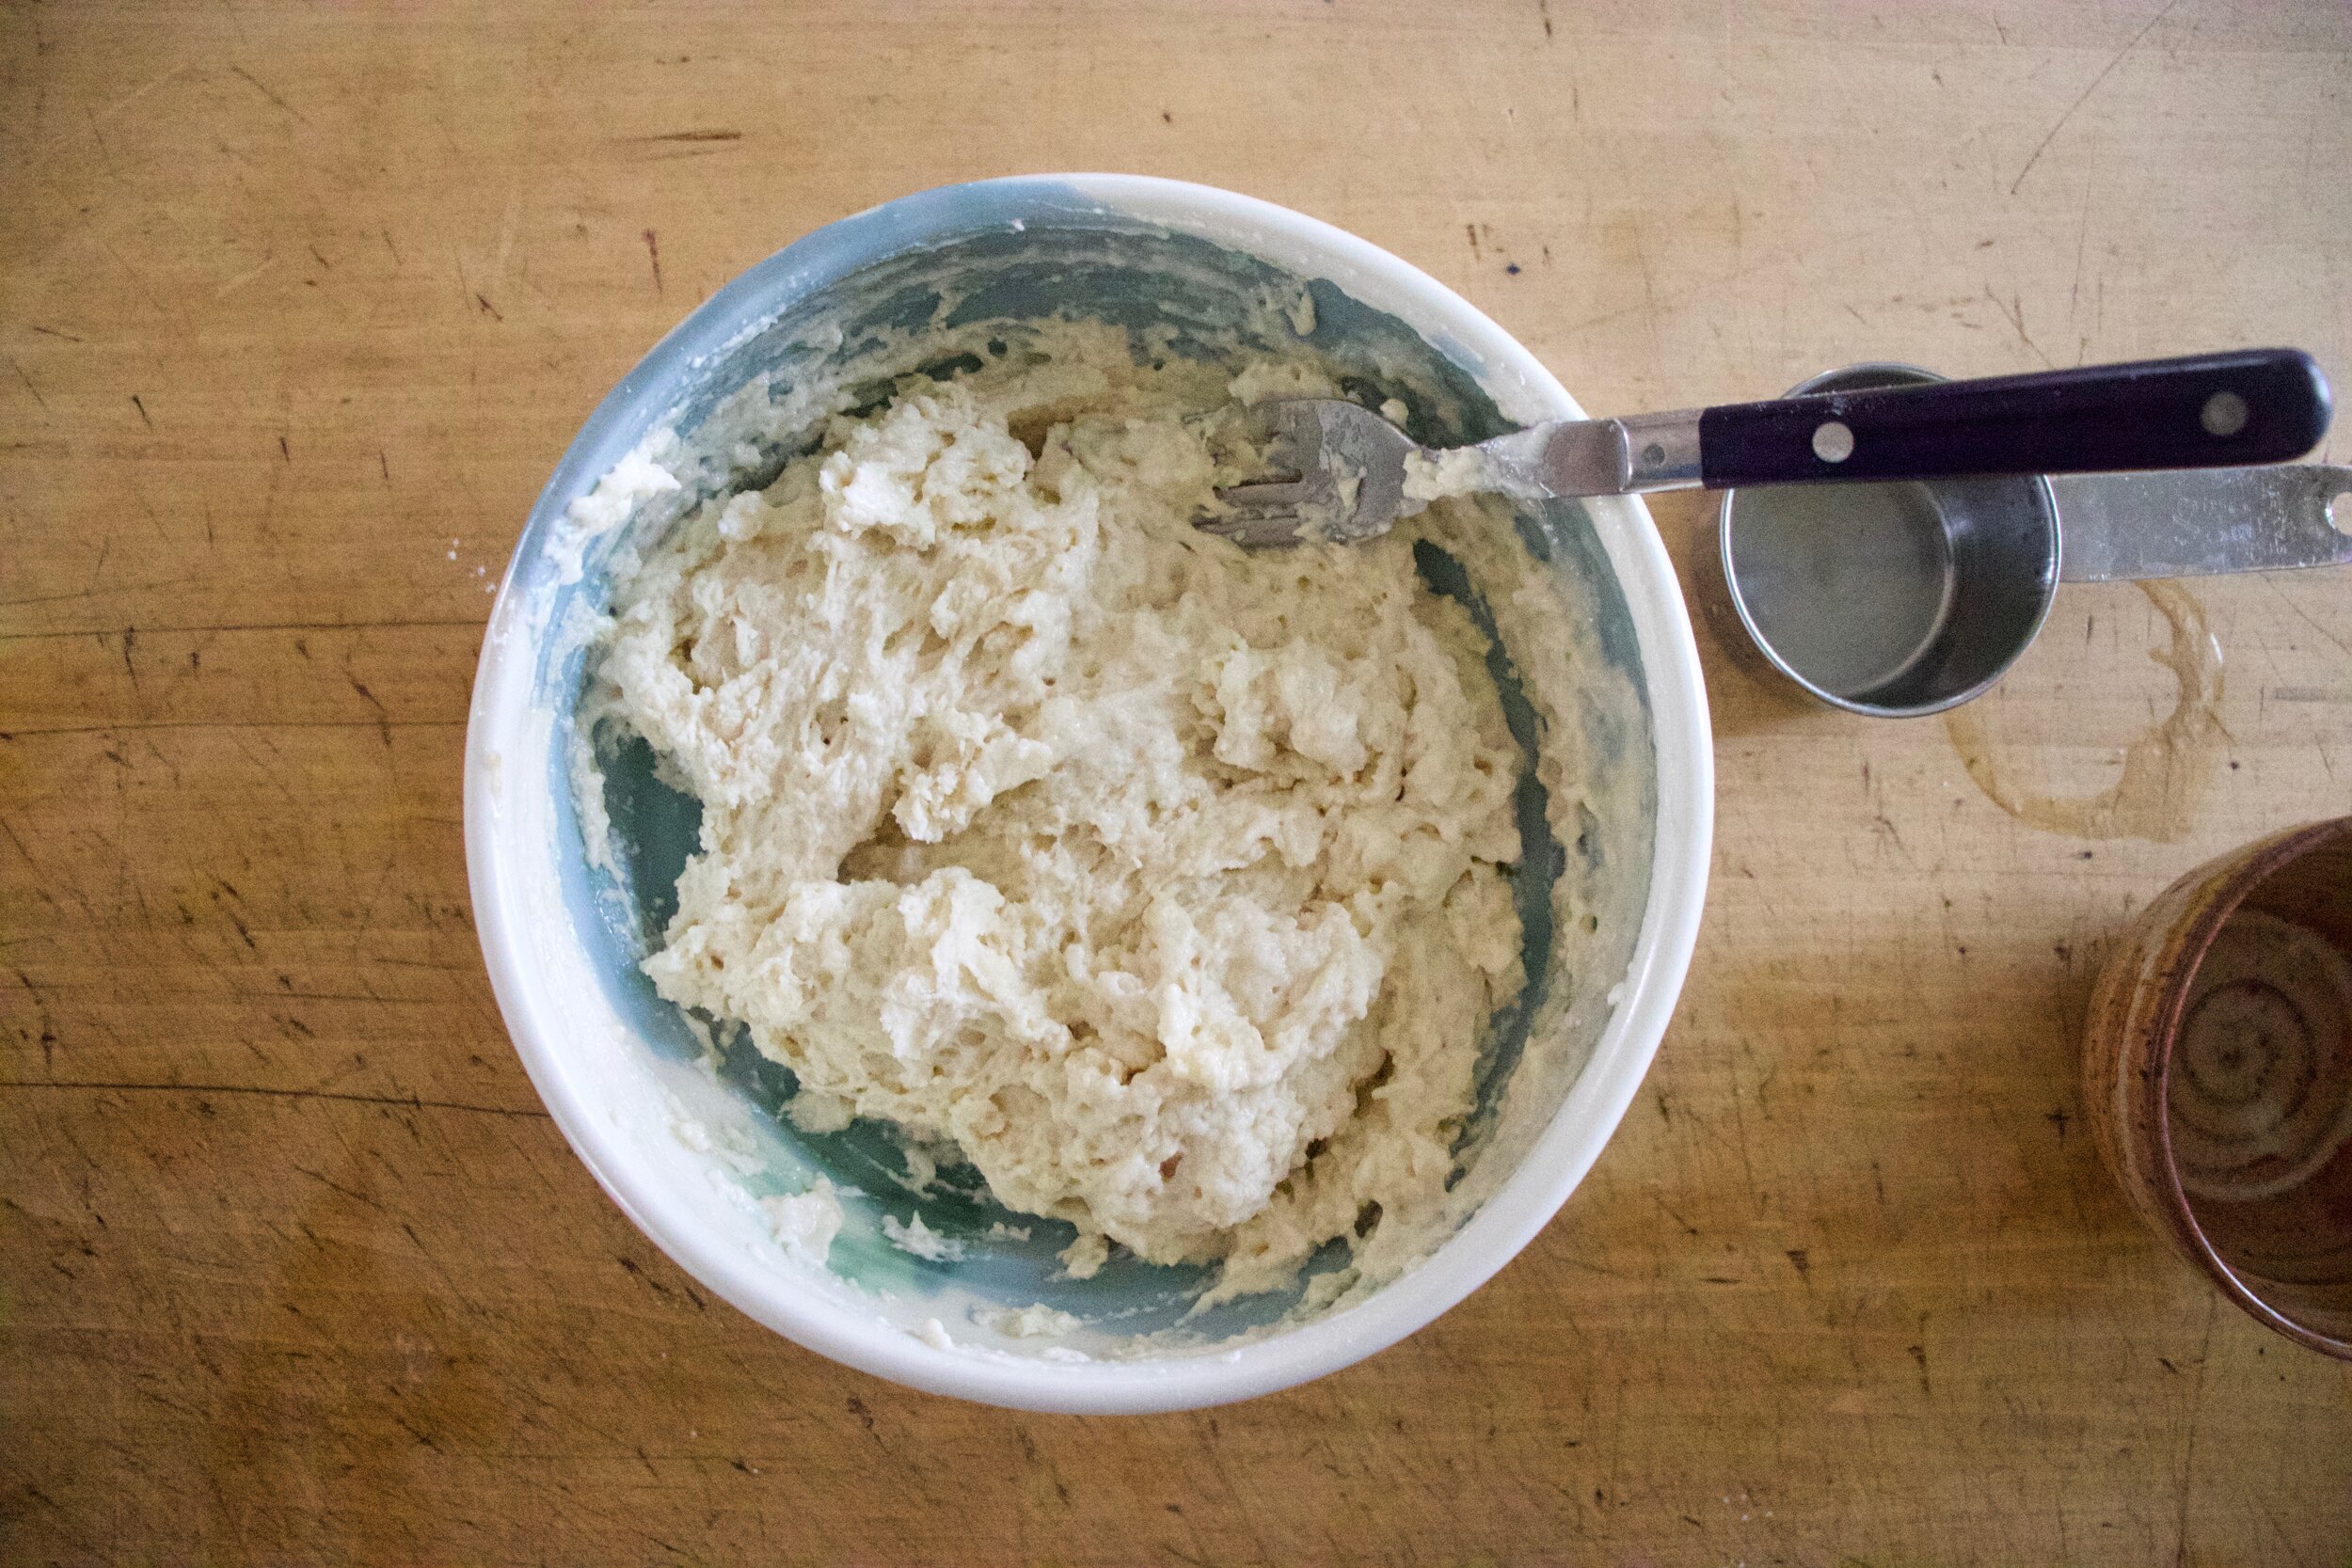
In a large bowl mix together all the dry ingredients. Toss in the blueberries and coat with the mixture then fold in the wet mixture until everything is incorporated.

IMG_7244.jpg

Pour batter into a well greased bundt pan and pop into the hot oven.

IMG_7255.jpg

After 45-50 minutes it be done. Once cooled enough to handle, pop cake out of tine and place on a wire rack to cool.

IMG_7272.jpg
IMG_7278.jpg

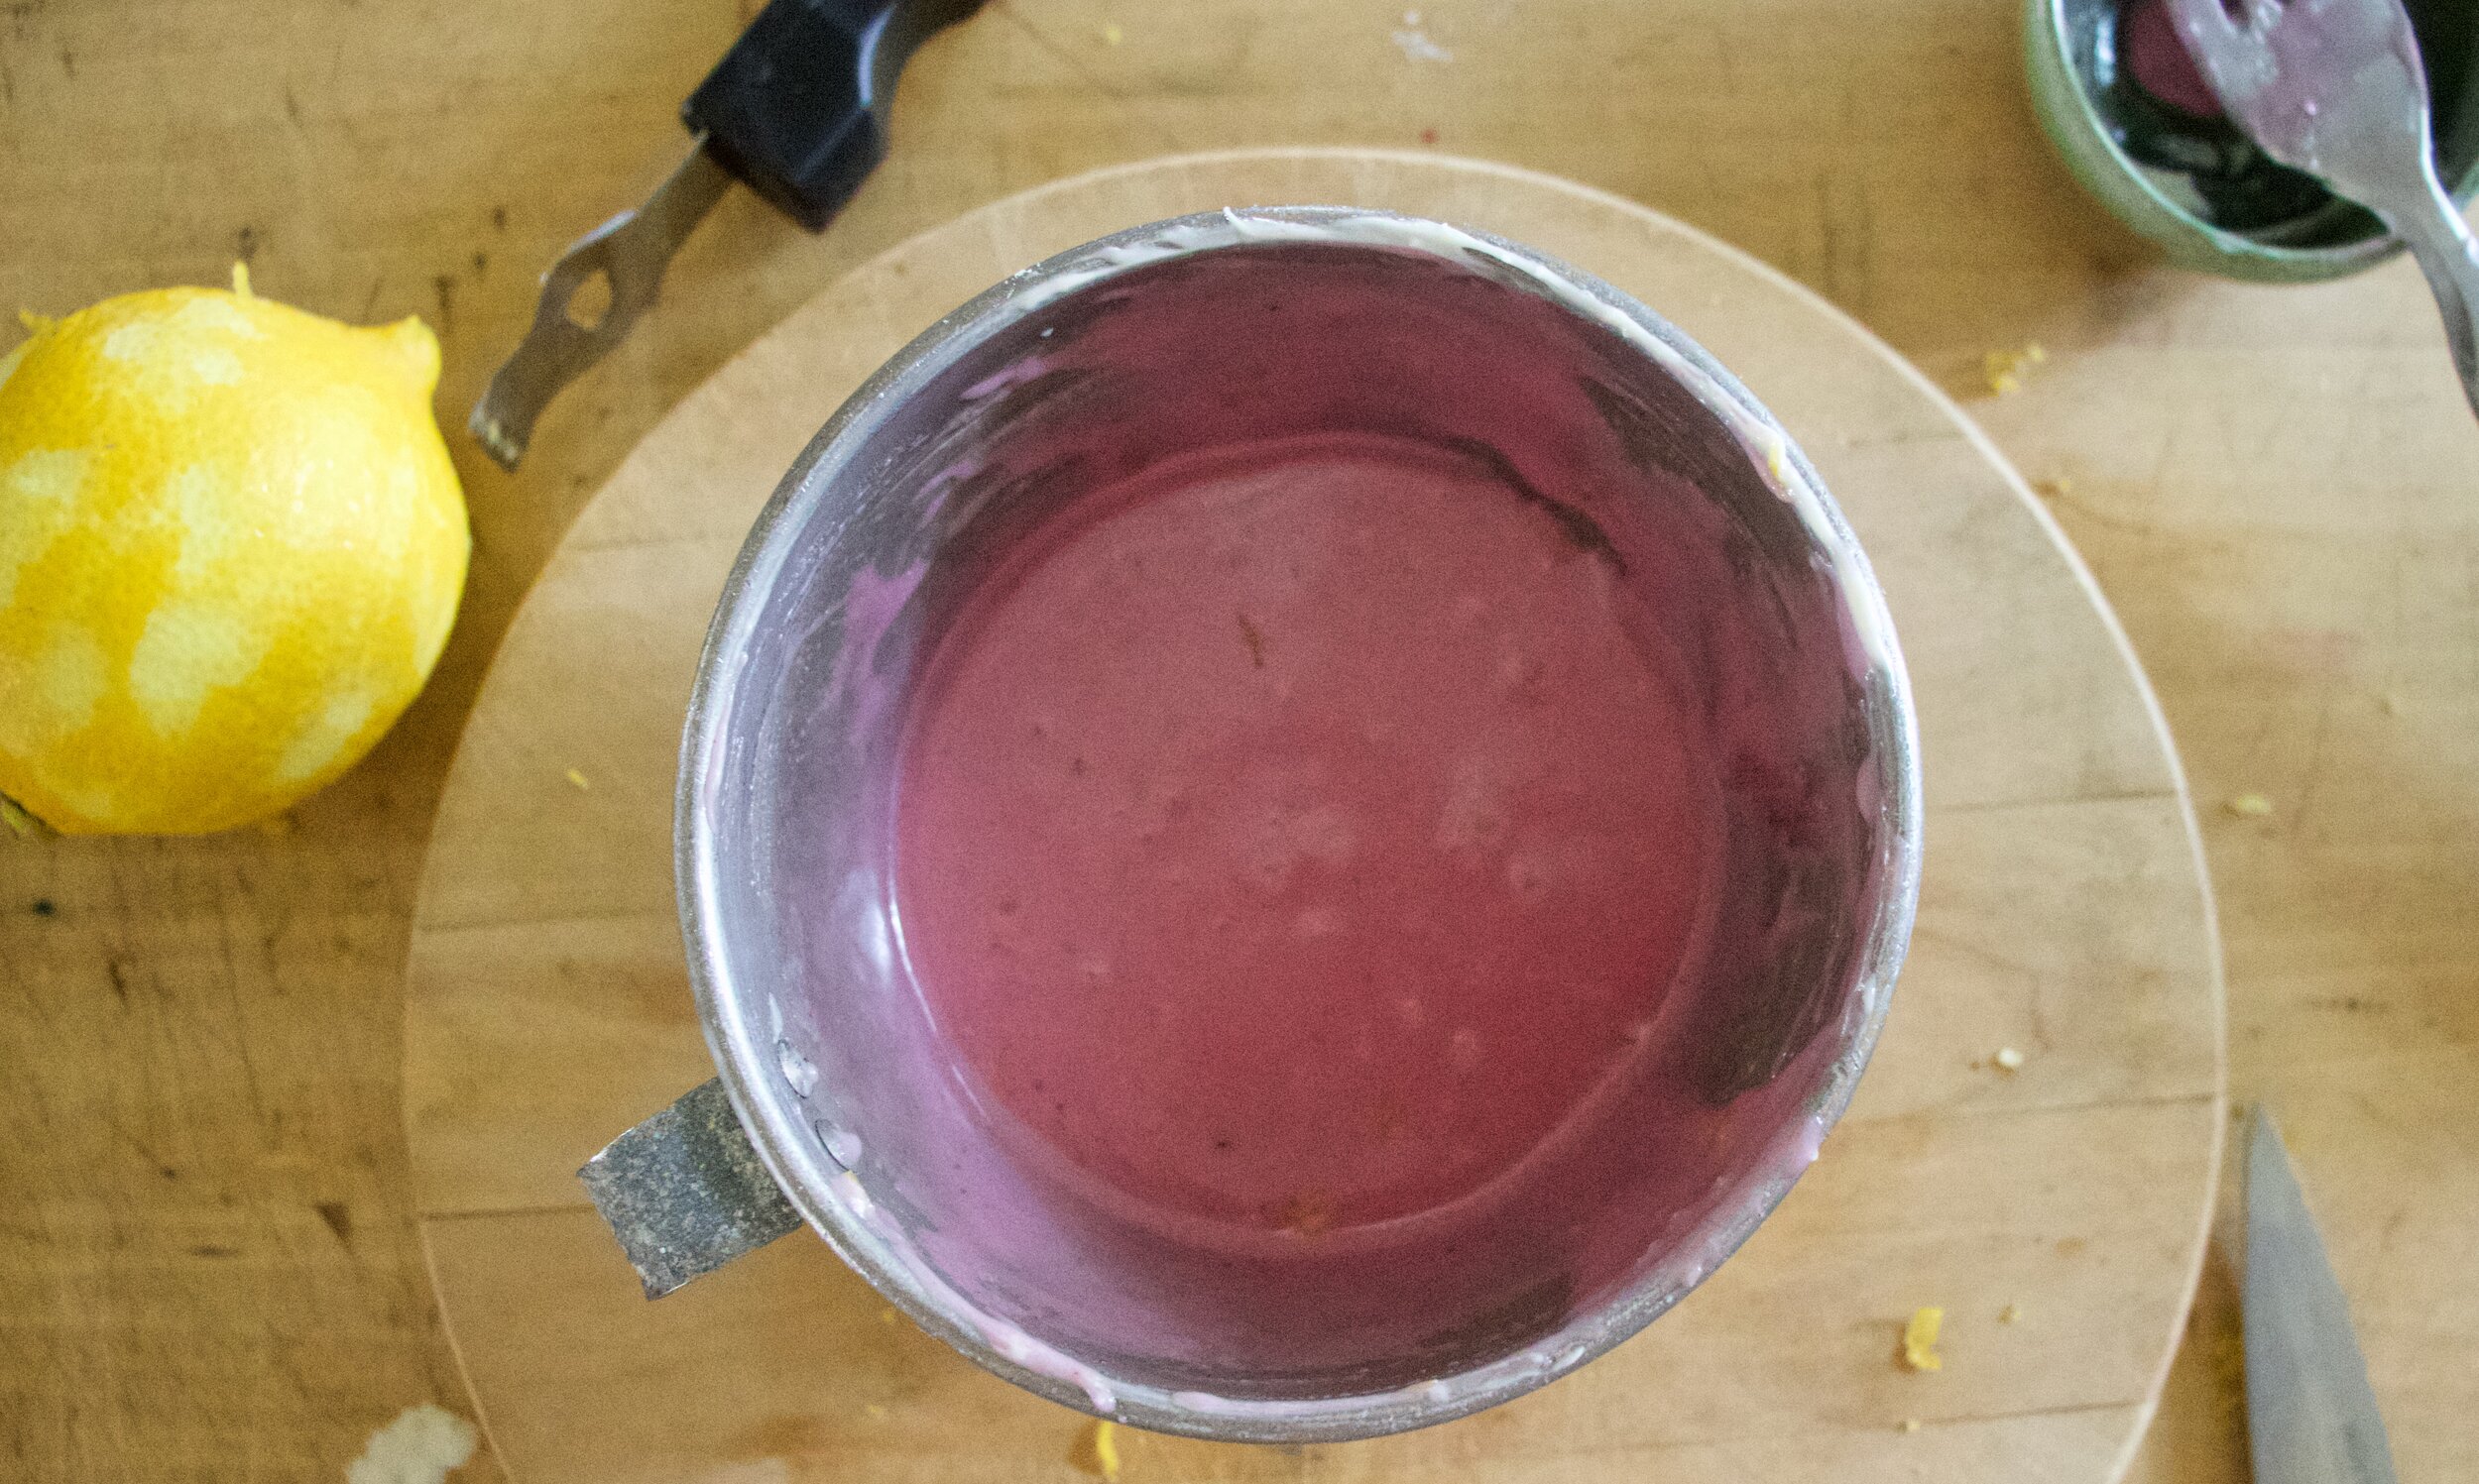
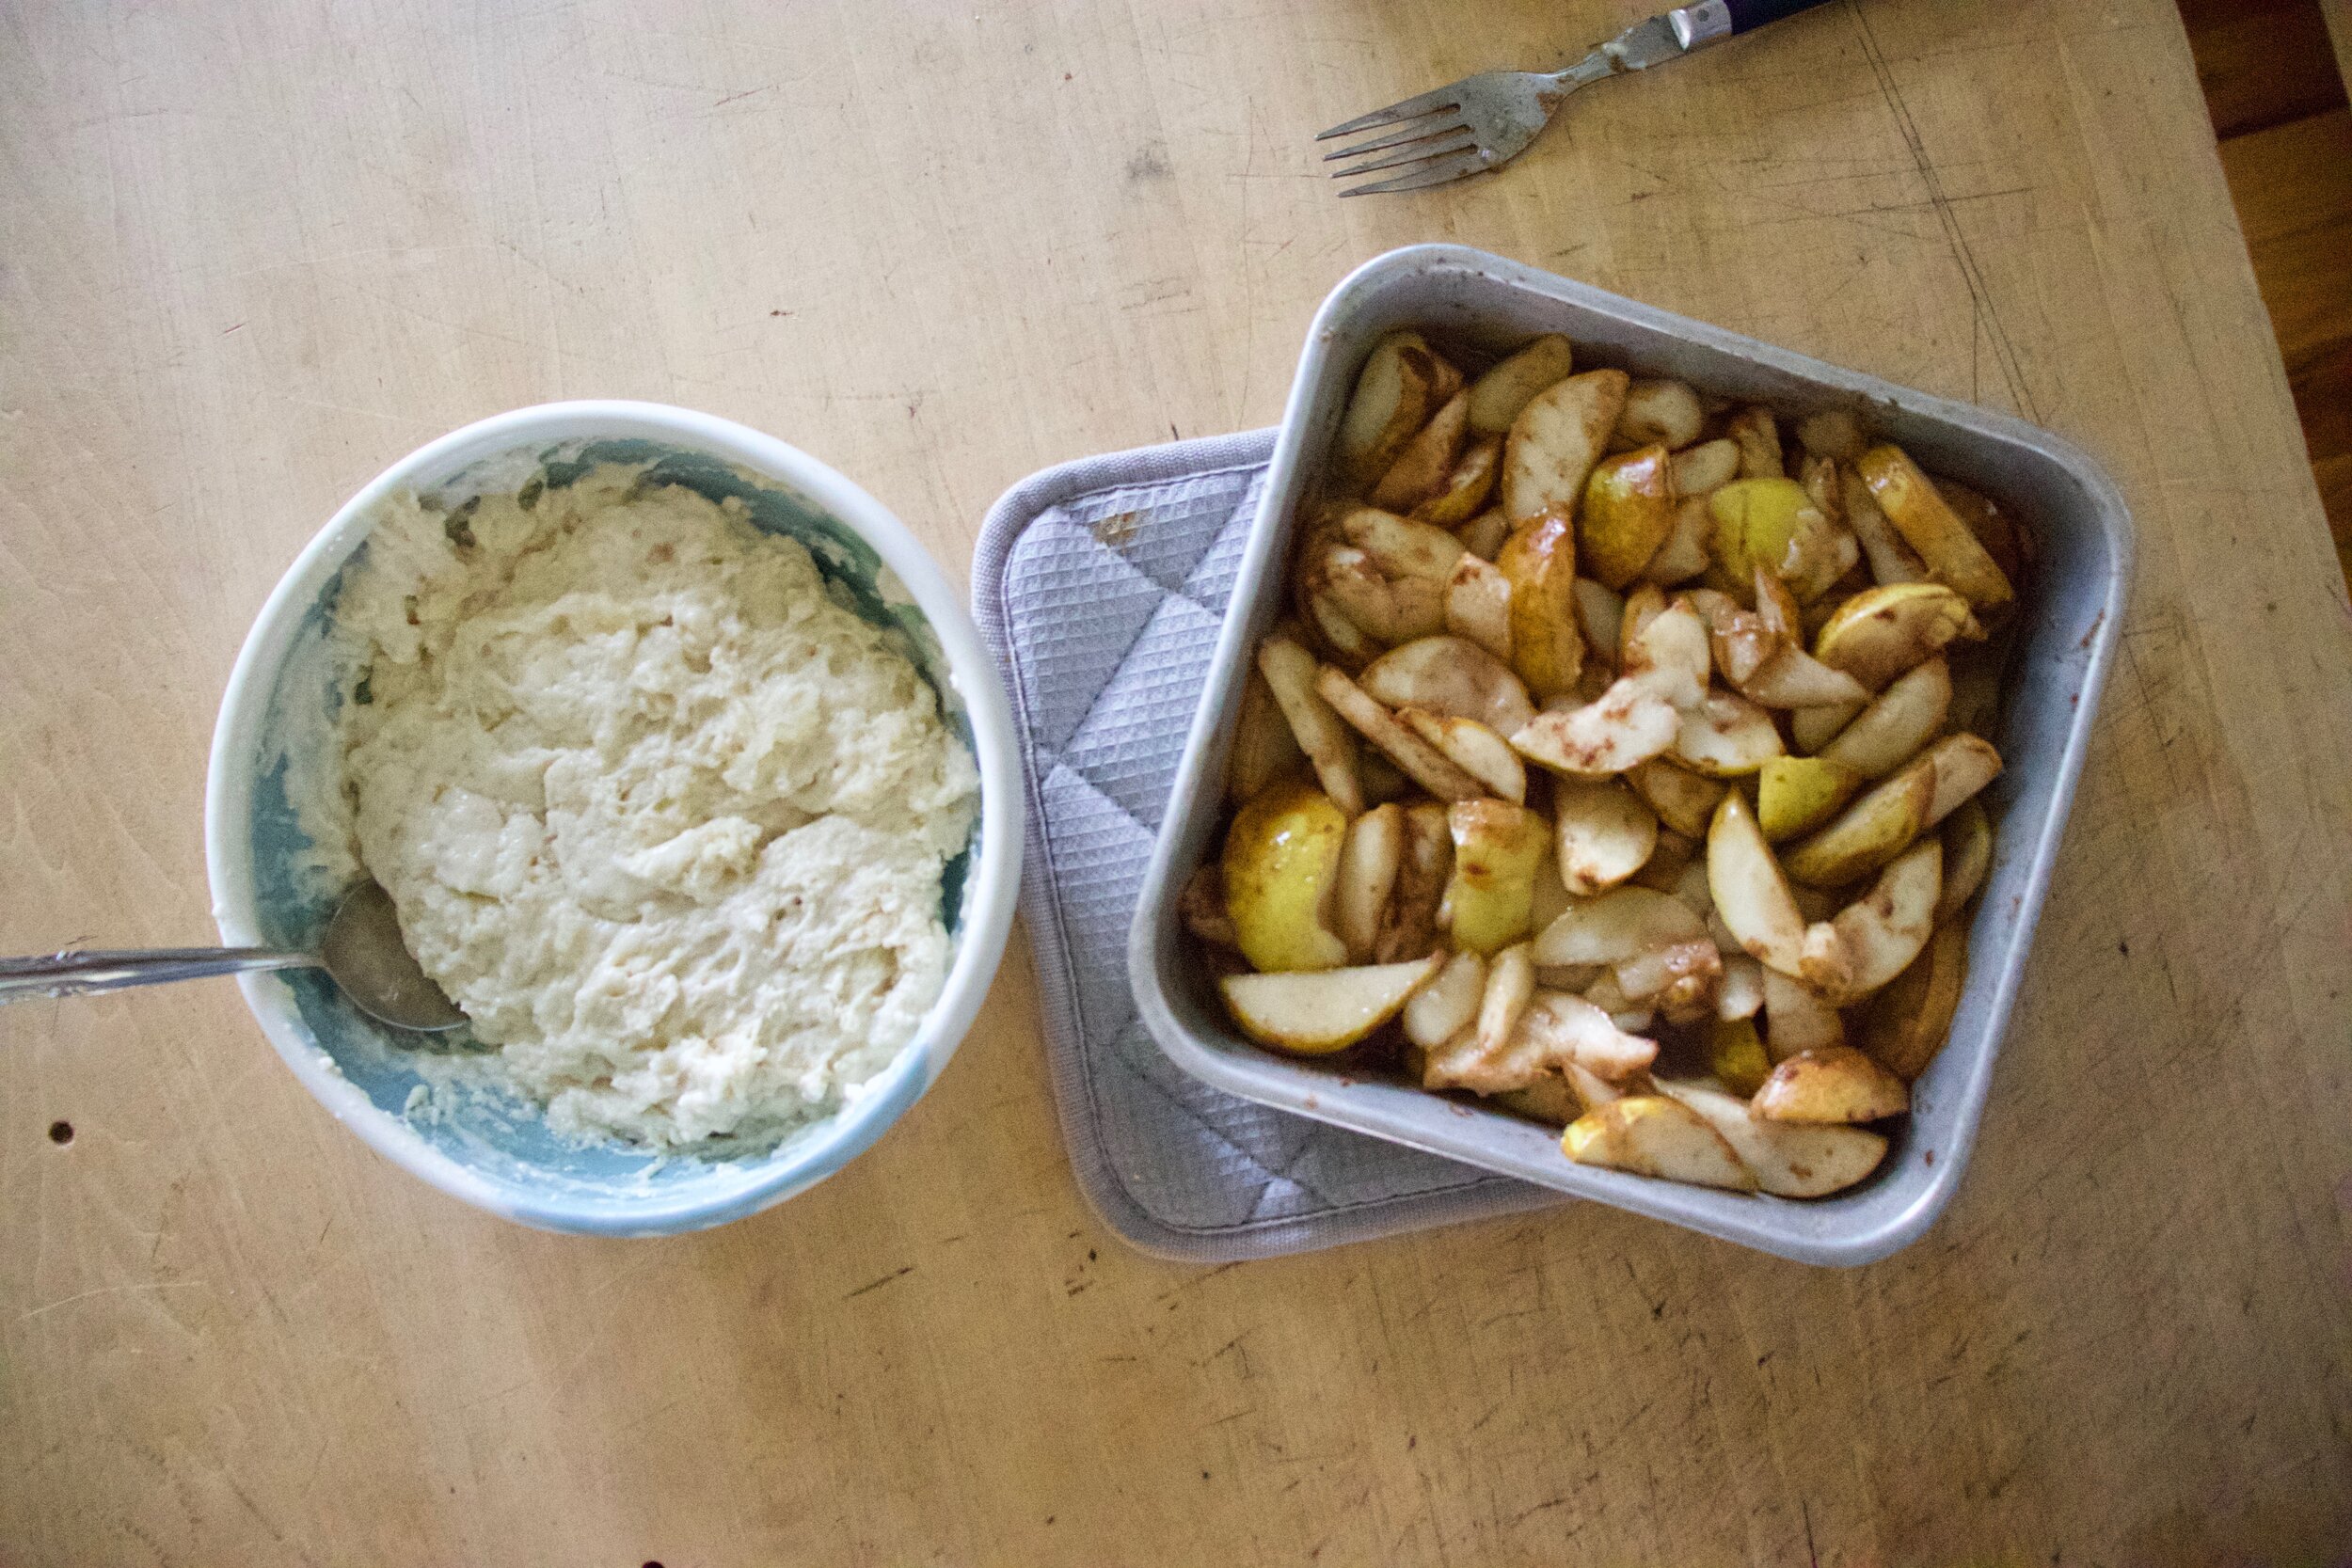
In the meantime make the glaze. Powdered sugar, zest of the lemon, and a little of the juice left over from the defrosted blueberries. Mix until completely combined and the glaze is pourable but not too thin.

Once cake is cooled, pour on the glaze. And yes, you want to you it to drip down the sides cause it looks cool.

IMG_7364.jpg

And then you eat the cake.

-C


Sweet Corn and Blueberry Cake with Lemon BLueberry glaze

makes a bundt cake

The cake

  • 2-3 cobs of fresh corn (2 cups corn kernels)

  • 2 cups all purpose flour

  • 1/2 cup cornmeal

  • 1 cup plant milk

  • 1/2 teaspoon salt

  • 1 teaspoon baking powder

  • 1 teaspoon baking soda

  • 1/2 cup neutral oil

  • 3/4 cups white sugar

  • 1 tablespoon apple cider vinegar

  • 1 cup frozen and thawed and stained blueberries (reserve the juice)

    the glaze

  • 1 1/4 cup powdered sugar

  • 1tablespoon vegan butter

  • zest from a lemon

  • juice left from frozen blueberries

Preheat oven to 375

Remove corn kernels from cobs until you have 2 full cups. Place corn into a pot with the milk and bring to a boil, reduce heat to medium and cook for about5 minutes. Turn heat off and let cool a few minutes then either pour mixture into a blender or use as hand blender and blend until semi smooth.

In a medium bowl mix the sugar, oil, vinegar, and warn corn mixture together until completely incorporated.

In a large bowl mix together all the dry ingredients. Toss the drained blueberries into the dry mixture until covered then pour and fold in the wet mixture until everything is just incorporated. Do not over mix!

Grease a 10-12 inch bundt pan then pour mixture in. Level it out with a spatula the n pop the bundt into the oven to bake for about 45-50 minute or until a nice deep golden brown and when poked with a tester, it comes out clean. Once bakes, remove from oven, let cool enough to handle, then pop cake from bundt tin and place on a wire rack to cool.

In the meantime make the glaze. Mix together the soft butter, powdered sugar, zest from the lemon, and a tablespoon or two of the blueberry juice until completely combined and is of a pourable, but not to thin consistency. It too thin, add a little more powdered sugar. Too thick, a little more blueberry juice.

Once cake is cooled, drizzle the glaze all over the top, letting it drip down the sided.

And that is that, You eat it now.

Store left overs in airtight container or cake dish for 3-4 days at room temperature. If it is busting hot out, maybe stick in the fridge.

In cake, Vegan Tags Sweet Corn And Blueberry Cake With Lemon BLueberry Glaze, plant based, corn, blueberry, cake, bundt, summer, vegan, dessert, food, recipe, fresh, local
Comment

Tomato Basil and White Bean Orzo Pasta Salad

August 28, 2021 Colleen Stem
IMG_7155.jpg
IMG_7160.jpg

Another heatwave. I tell you what, If I never live through another 90 + degree day, it will be too soon.

What to eat during a heat wave? Well maybe you don’t care and have air conditioning in your kitchen so you cook whatever. I don’t have air conditioning and after a few days of boiling temps, there is no freaking way I am turning on the oven. I can barely turn on the stove top to boil water, but I did, I boiled water, I just did it early in the morning before the temperatures starting rising again. (A pro tip for you.) That is one of the great things about pasta salad, you can make the pasta ahead of time. You can even make the whole salad in the morning and then you don’t have to do a damn thing when it comes to dinner besides lifting a fork to your face, which I know can be a feat when all you want to do is melt, or slap at something, but still.

This pasta salad, well it is not you everyday pasta salad. It has beans, fresh basil, and a dressing that is made by blending up the most delicious seasonal tomatoes until rich and creamy and dumped all over the orzos. . It is probably going to be the best tasting pasta salad you will ever eat. The thing is, you really need to make it soon because sure you can get tomatoes all year round but don’t do that. Do yourself a favor and make it now while the tomatoes are plentiful and at their peak of deliciousness. And also you don’t have wait for a heatwave to make it. This is a good meal to have at the ready all throughout tomato season, and just in case, a heat wave.

Now to the pasta salad!

IMG_7072.jpg

The stuff. Just picked tomatoes, some fresh basil, cooked navy beans, orzo pasta, olive oil, red wine vinegar, garlic, and salt and pepper.

IMG_7078.jpg

Rough chop tomatoes into small pieces. Also peel and dice garlic into small pieces.

IMG_7082.jpg
IMG_7083.jpg

Place the tomatoes, garlic, and a good pinch of salt into a blender (I used a hand blender) and blend unit smooth. Add in the vinegar and oil and bend until the mixture starts to emulsify and becomes smooth and creamy.

IMG_7098.jpg
IMG_7106 2.jpg

Cook and strain pasta as instructed. Keep in on the al dente side.

Chop up basil into thin ribbons or whatever.

IMG_7115.jpg
IMG_7116.jpg
IMG_7124.jpg

Then dump pasta into a large bowl. Add in cherry tomatoes ( I cut mine in half) and beans. Dump in half the sauce and mix around then mix in the chopped basil.

If you are eating it right away, add in the rest of the sauce. If you are keeping it for later, place pasta and sauce in fridge and a before you are planning on serving it mix in the remaining sauce.

IMG_7134.jpg

Looks so good right! Season with salt and pepper to taste and then you know…

IMG_7168.jpg

Grab a bowl and eat it. Probably should grab a from too, eating this with your hands might get messy.

Stay cool friends!

-C


Tomato Basil and White Bean Orzo Pasta Salad

serves 2-3 as a meal or more as a side

  • 2 cups dried orzo pasta (12 oz)

  • 2 large heirloom tomatoes (about 2 cups chopped)

  • 1 1/2 cups cherry tomatoes (or chopped tomatoes)

  • 1/3 cup olive oil

  • 2 tablespoons red wine vinegar

  • 1 1/2 cups cooked and drained white beans ( I used navy but any white bean will do)

  • 1 cup packed basil leaves

  • 2 cloves garlic

  • salt and pepper

Start with making the tomato dressing. Rough chop the 2 large tomatoes into smaller pieces and peel and chop garlic. Place the tomatoes in a blender (or a large jar if using a hand blender) with the garlic and a good pinch of salt and a little pepper. Blend until smooth. Add in the vinegar and oil and continue to blend until the mixture becomes thick and creamy. Taste and add more salt and pepper if needed .

Prepare orzo pasta as instructed on package (make it al dente)

Grab basil and chop into smaller pieces.

Once orzo is cooked and drained, dump it into a large bowl. Add in the beans and cherry tomatoes (slice in half if they are on the large size) and pour in half if the tomato sauce. Mix unit incorporated. Toss in the basil.

Now if you are going to eat right away mix in remaining sauce. If you plan on refrigerating and eating later, save the remaining half of the sauce and mix it in right before serving.

Store left overs in fridge for up to 5 days.

In beans, dinner, quick and easy, salad, side dish, summer, Vegan Tags Tomato Basil and White Bean Orzo Pasta Salad, tomatoes, summer, heirloom, vegan, salad, pasta, easy, make ahead, heat wave, fresh, basil, no bake, beans, plant based, pulses, healthy, bbq, orzo
Comment

Pear Cobbler

August 21, 2021 Colleen Stem
IMG_6973.jpg
IMG_6998.jpg
IMG_7024.jpg

My neighbor has a couple pear trees and every year, for a few weeks in August, every time I pass his house (I walk by it like 5 times a day) he jumps out at me asking if want some pears. I always say yes, even if it is just one or two. How can I pass up free pears?

The last batch of pears I got from him were a little on the meh side, like at the point were you wouldn’t really enjoy eating them raw but are still good for baking which is fine by me and the reason I made a cobbler. Well that and the mr asked me to. (#1 girlfriend here!)

So here is it. A pretty basic pear cobbler which is to say a pretty fantastic pear cobbler. It is like a pear pie but with a biscuity top instead of a pie crust. And thats it, nothing fancy, just straight up pear goodness.

You know you want it so just make it.

Now to the cobbler.

IMG_6904.jpg

The stuff. Pears, flour, sugar, baking powder, salt, plant milk, oil, noise sugar, cinnamon and alittle more flour, apple cider vinegar, and little plant butter.

IMG_6906.jpg

clean, core, and slice up pears.not to small and roughly the same size.

IMG_6914.jpg
IMG_6919.jpg

Butter a baking, dump in the pears and toss with sugar, cinnamon, and a little flour. Place in oven while preheating to start the pears cooking.

IMG_6927.jpg
IMG_6928.jpg
IMG_6933.jpg

Now biscuits. Mix all the dry together then add in the oil and milk, Gently fold just until the wet and dry are incorporated . Place mixture in fridge while pears cook.

IMG_6947.jpg

Once the oven is preheated and the pears have had a time to cook a bit, grab the cold biscuit dough from fridge and carefully grab the pears from the oven.

IMG_6953.jpg

Drop biscuit dough on top of the hot pears, sprinkle with the raw sugar, and pop it the whole shebang back into the oven for another half hour or so.

IMG_6970.jpg

Out of the oven looking all fine and shit.

IMG_6995.jpg

And the you eat it.


Pear Cobbler

serves 6ish people

For filling

  • 4 large or 6-7 smaller pears

  • 1/4 cup brown sugar

  • 1 1/2 teaspoon cinnamon

  • pinch salt

  • 2 teaspoons flour

  • 1 tablespoon apple cider vinegar

  • 1 teaspoon vegan butter (to grease pan)

    for biscuits

  • 1 3/4 cups all purpose flour

  • 2 teaspoon baking powder

  • 3 tablespoons white sugar

  • 1/2 teaspoon salt

  • 1/3 cup neutral oil (or olive if you want)

  • 2/3 cup of plant milk

  • 1 tablespoon raw sugar

Clea, core and slice up pears. Grease a square ( 8x8 or a little larger) baking pan with the butter and dump the pears in. Add the vinegar , brown sugar, 2 teaspoons flor, and the cinnamon into the pan and toss around until the pears all all coated. Place the pan into the oven and start to preheat to 425 degrees.

Once pears are in oven, make biscuits. Mix all the dry together then add in the oil and milk. Gently fold the wet with dry just until incorporated (don’t over mix or they will be tough). Place dough in fridge,

One oven is preheated, let pears cook for about another 8ish minutes the carefully remove pan from oven. Grab biscuit dough from fridge and carefully drop clumps of dough on top of hot pears. Sprinkle with the raw sugar n then pop pan back into oven, redoing heat to 400.

Bake for 30-35 minutes or until biscuits are a nice deep golden brown.

Remove from oven, let cool far a few minutes, then dig in.

Left overs can be stored in the fridge, covered, for a few days and eaten cold or reheated.

In biscuits and such, cobblers and crumbles, desserts, fruit, Vegan Tags vegan, plant based, pear cobbler, cobbler, pears, fruit, dessert, easy, fall, pie, breakfast
Comment

Coffee Oat Frappuccino

August 14, 2021 Colleen Stem
IMG_6882.jpg

This stupid freaking hot humid heat, it makes me hate everything (of at least very strongly dislike). I don’t know how to deal but I am trying. One thing I am doing is to just eat and drink everything cold.

Now I am not typically a cold coffee drinker (I love ice coffee but find that whenever I drink it I can’t pace myself and if is gone in like 2 seconds. I need more time, like at least 2 minute with my coffee. So I always go hot. What I should do is drink a hot and and iced at the same time but that is just crazy talk. And I have done that.), but this coffee thing I made is making me want to drink all the coffee frozen. It’s coffee which is my life blood, creamy but not like thick and gross, and cold, which right now is a life necessity. A real damn treat especially when just looking outside makes me want to smack the sun. Shit do I hate this nasty weather but what I don’t hate is this coffee, in fact I am obsessed with It and it’s all I want to eat/drink for the rest of the heatwave.

Now to the cold coffee oat frappuccino!

IMG_6832.jpg

The stuff. Strong brewed cold coffee, oats, ice, and a couple really soft sticky dates.

IMG_6840 2.jpg
IMG_6844 2.jpg
IMG_6845.jpg
IMG_6847.jpg

Start with the oats in the blender ans blend until a flour consistency. Add in the dates (use whatever sweetener you want) and half the ice and half the coffee. Blend until frothy. Add in the rest of coffee and ice and blend for like 30 more seconds.

IMG_6854.jpg

Its now blended and icy and delicious and you can drink it now but. If you can do it, stick the whole blender in the freezer or pour the frap into a cup and stick in freezer for an hour or so because it can get even icy-er.

Pull the blender out (or pour slightly more frozen frap back into blender) and blend for another 30 seconds. It is now super icy deliciousness.

IMG_6884.jpg

Pour into glasses and drink. It’s to only thing you need to drink/eat for the rest of the summer.

-C


Coffee Oat Frappuccino

makes 1

  • 12 oz of brewed coffee (cold or even frozen)

  • 12-14 normal sized ice cubes

  • 1/3 cup old fashion oats

  • Sweetener of choice like 2-3 soft dates , a couple teaspoon of maple syrup, or sugar

Place oats into blender and blend until flour consistency. Add in sweetener or dates and like half the coffee and half the ice cubes. Blend until mixed. Add the rest of coffee and ice and blend until completely incorporated.

Now either drink it as is (which is delicious) or for an even more icy consistency, place the blender (or pour the frap into a large cup) into the freezer for an hour of so. Then take it back out and and blend until a smooth frozen treat.

And then drink that right away.

In frozen, drinks, Vegan, summer Tags Coffee Oat Frappuccino, vegan, ice coffee, coffee, frozen, smoothie, plant based, sugar free, dairy free, drink, beverage, summer, summer '
Comment

Roasted Corn Hummus

August 7, 2021 Colleen Stem

How much hummus is to much hummus to eat? Seriously, how much? Because I eat A LOT of hummus, like hummus everyday, sometimes (all the time) even multiple times a day. And not just a little bit. Give me a bowl of it, any sized bowl, and see what I can do.

And I like just about any hummus, but with that said they are not all created equally. Homemade is almost always the superior, (although there are some brands that I really really like), freshly made is best, heavy on the lemon is a bonus, and some kind of mix in is always appreciated.

Roasted corn hummus. Oh boy did I attack this one. A base of a traditional creamy hummus in all it’s glory, blended up with freshly picked and freshly roasted sweet corn. When whipped up together it creates a soft, almost fluffy, creamy mixtures of all the goodness. It is so freaking good and is probably going to be my repeat hummus for the foreseeable future (until the corn stops growing). It really is a stand out. The mr and the littles even loved it and that is something.

To the hummus!

IMG_6735.jpg

The stuff. Freshly roasted corn on the cob, cooked chickpeas, tahini, some garlic cloves ,a lemon, salt, pepper and red pepper flakes , ice cubes, and a little olive oil.

IMG_6745.jpg

Basically the only work to do. Cut corn from cob.

IMG_6748.jpg
IMG_6751.jpg
IMG_6760.jpg
IMG_6754.jpg

Add corn and garlic to food processor and pulse for a minute, scrapping down sides a few times. Add in the chickpeas, tahini, juice of the lemon, ice cubes, and red pepper flakes. Blend until nice and smooth. And that is it. Taste and add more salt and pepper if needed.

Scoop it all into a bowl and eat the hummus any way you see fit.

-C


Roasted Corn Hummus

makes about 3 cups

  • 2 roasted cobs of corn (2 cups cut from cob)*

  • 2 cups (or 1can) cooked and drained chickpeas

  • 1/3 cup tahini

  • 2 cloves garlic

  • a lemon

  • 3 ice cubes

  • salt and pepper

  • 1-2 teaspoons red pepper flakes

  • olive oil (optional to drizzle on at the end)

*There are many methods to cook corn so you can cook it any way you want. I just wet the corn still in the husk and pop it into a really hot oven or about 25 minutes.

Start by removing corn from the cob. Place corn and garlic into food processor and pulse for a minute, scraping down sides a couple times, until pretty blended up. Add in chickpeas, tahini, the juice from the lemon, ice cubes, and a good healthy pinch of salt and pepper and as much red pepper flakes as you want. Blend until smooth. Taste and add more salt and or pepper if needed.

Scoop into a bowl or container and drizzle with olive oil if desired.

Eat right away with cut up veggies, smeared in pita, with a spoon, or any other way you want to eat it.

Left overs can be stored in airtight container in fridge for a few days but really, who has left over hummus?

In Vegan, summer, pulses, hummus Tags Roasted Corn Hummus, corn, gluten free, vegan, fresh, summer, hummus, homemade, home Made, easy, spread, dip, dinner, plant based, protein
Comment
← Newer Posts Older Posts →
 

https://thelovelycrazy.squarespace.com/config#/|/about/

Me. Food Maker.Food eater. Woo HOO!

STEM+NODE  SMALL BATCH AND ONE OF A KIND POTTERY

stem+node ceramics


____________________

Subscribe

GET NEW POSTS IN YO EMAIL

You are AWESOME!!!


@thelovelycrazy 2014-2021