• stem+node ceramics
  • HOME
  • Food Recipes
  • About
  • Contact
Menu

The Lovely Crazy

Street Address
City, State, Zip
Phone Number

Your Custom Text Here

The Lovely Crazy

  • stem+node ceramics
  • HOME
  • Food Recipes
  • About
  • Contact

Black eyed Pea-Sweet Potato and Tangerine Stew

January 1, 2022 Colleen Stem
IMG_8495.jpg
IMG_8524 2.jpg

I guess black eyed peas are good to eat on New Years because they bring you good luck or money or something. I have heard this and a lot of other food traditions but I don’t really do New Years so I have never really actively thought about what I consume on the day. But when I went to ponder my bean selection ( I have so many varieties) I figured what the hell, why not make the stew I was about to make into a good luck black eyed pea stew. I mean I was already making it (I was leaning towards black beans) but If there is a chance that eating these delicious beans will give me a little extra luck (and or money) this year, well by all means I’ll take it. And the stew because that is really what I was after.

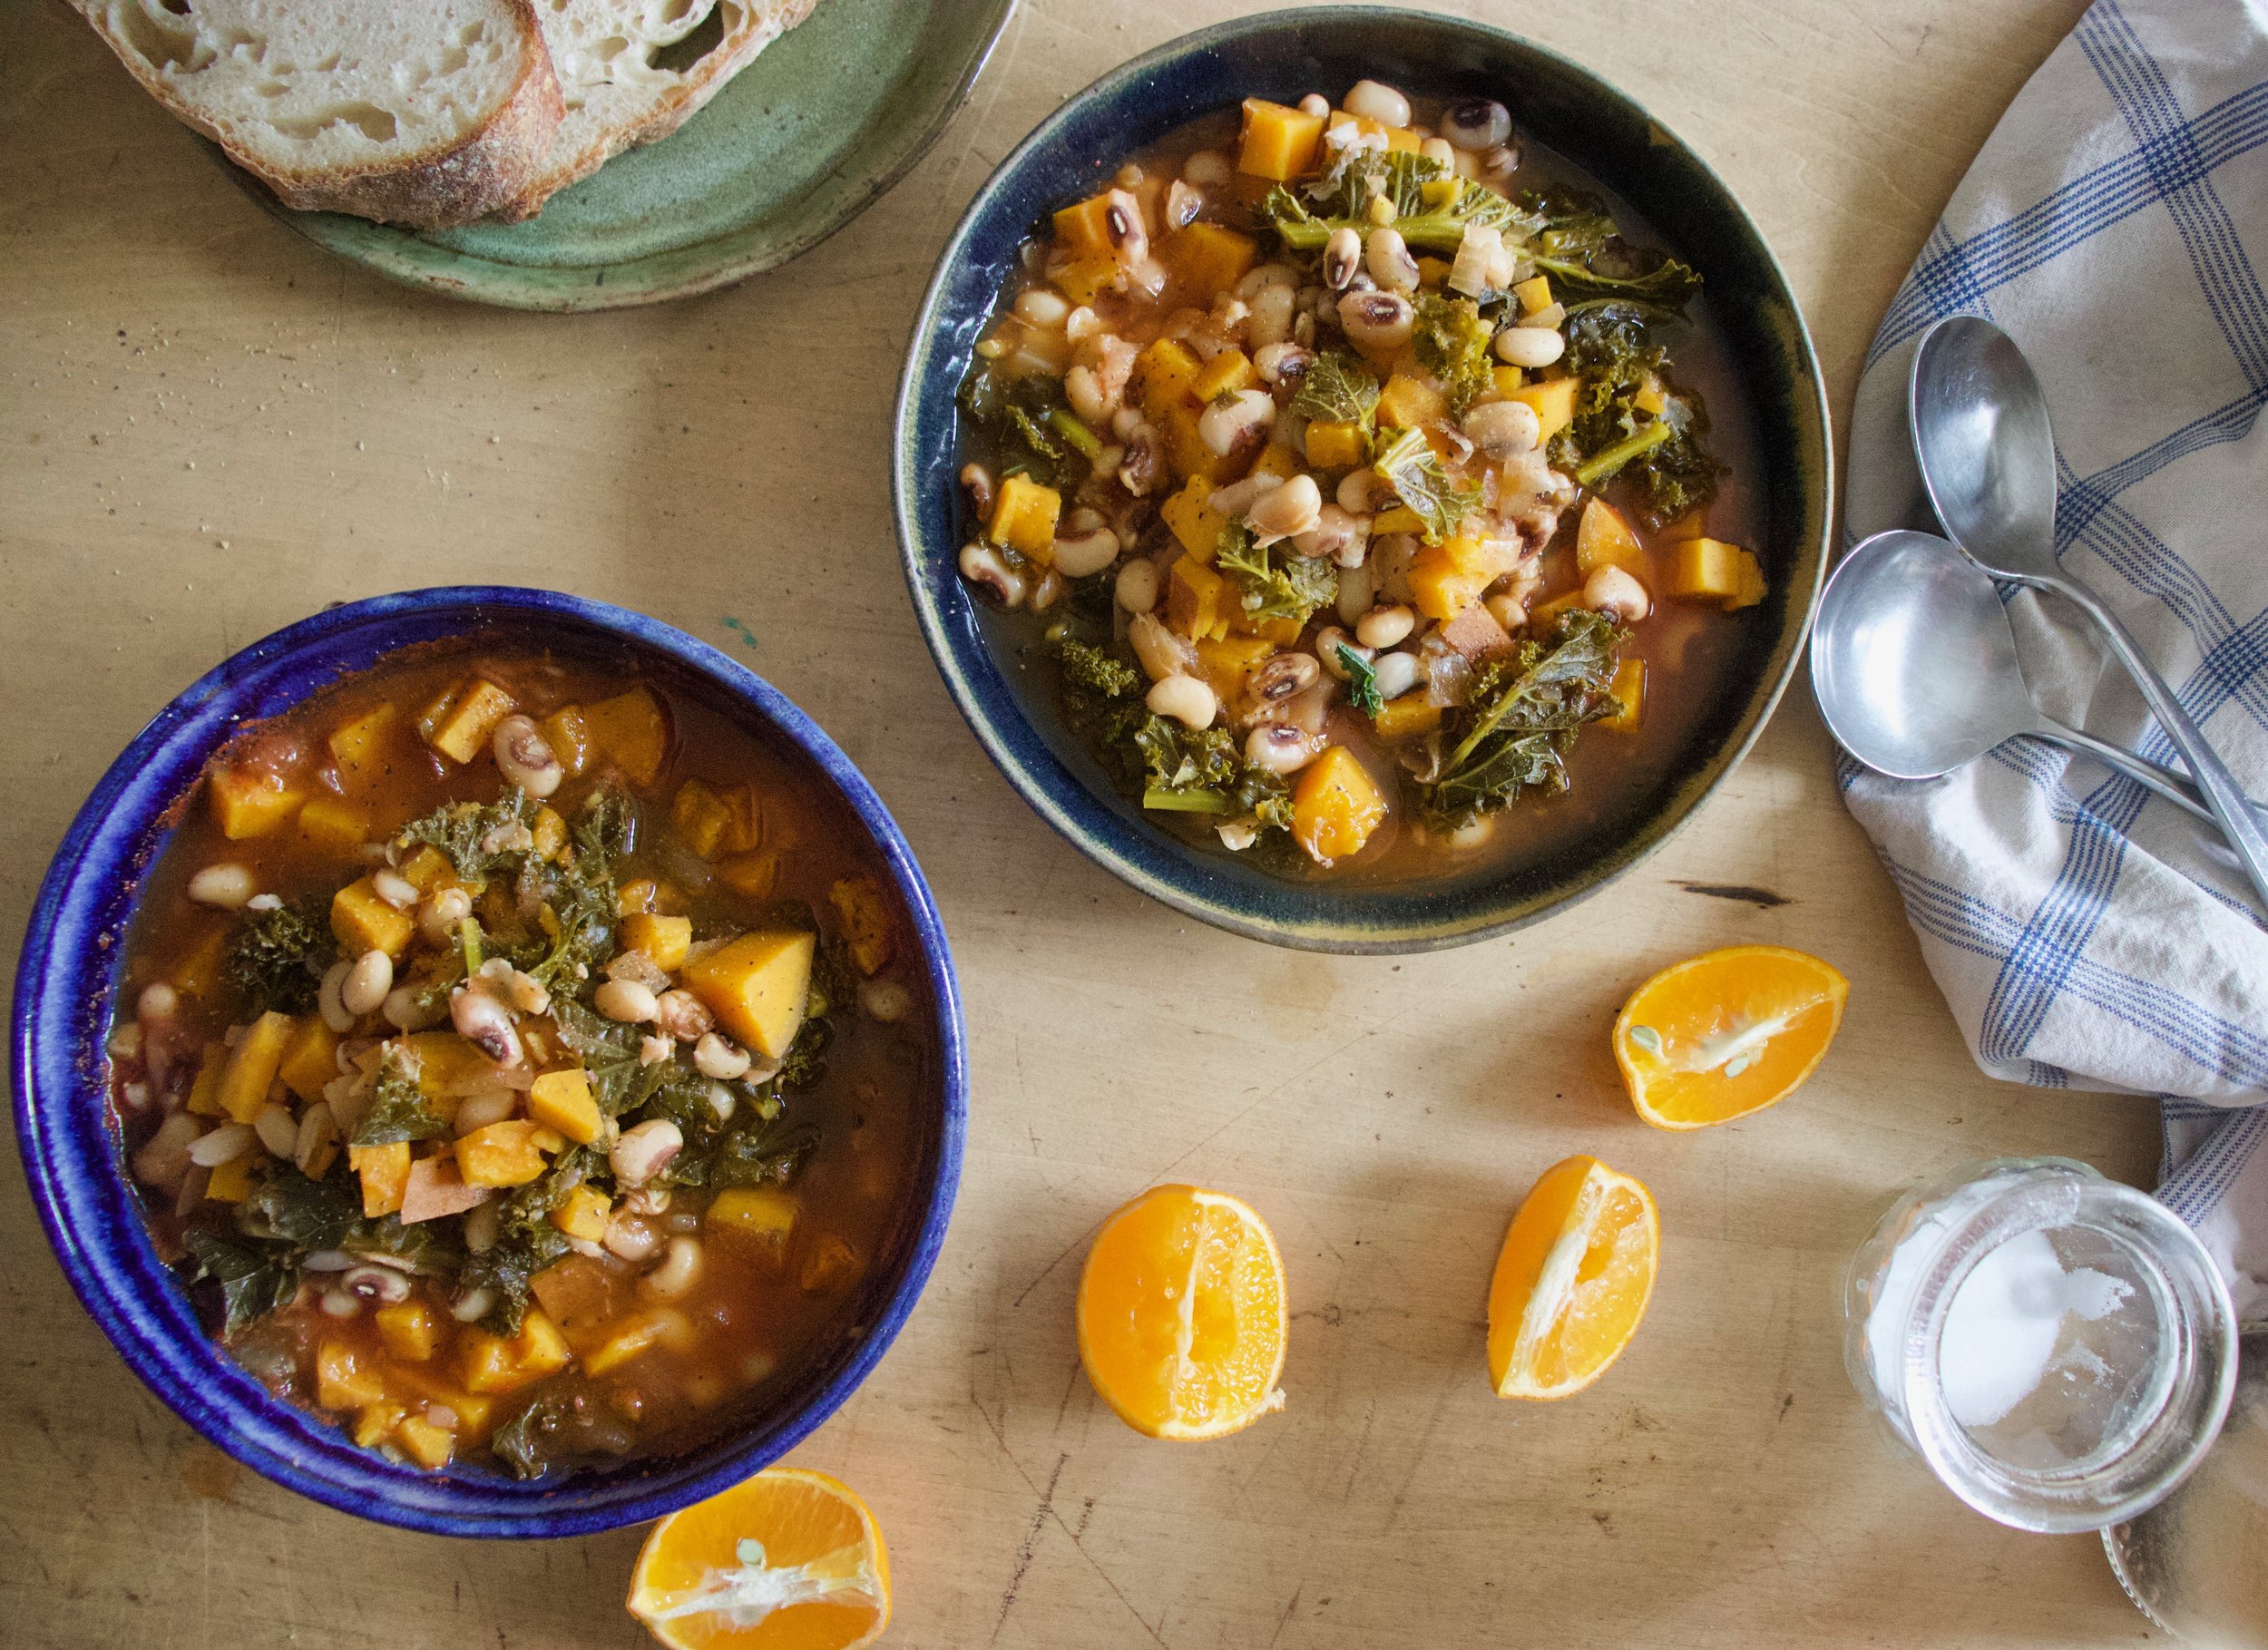
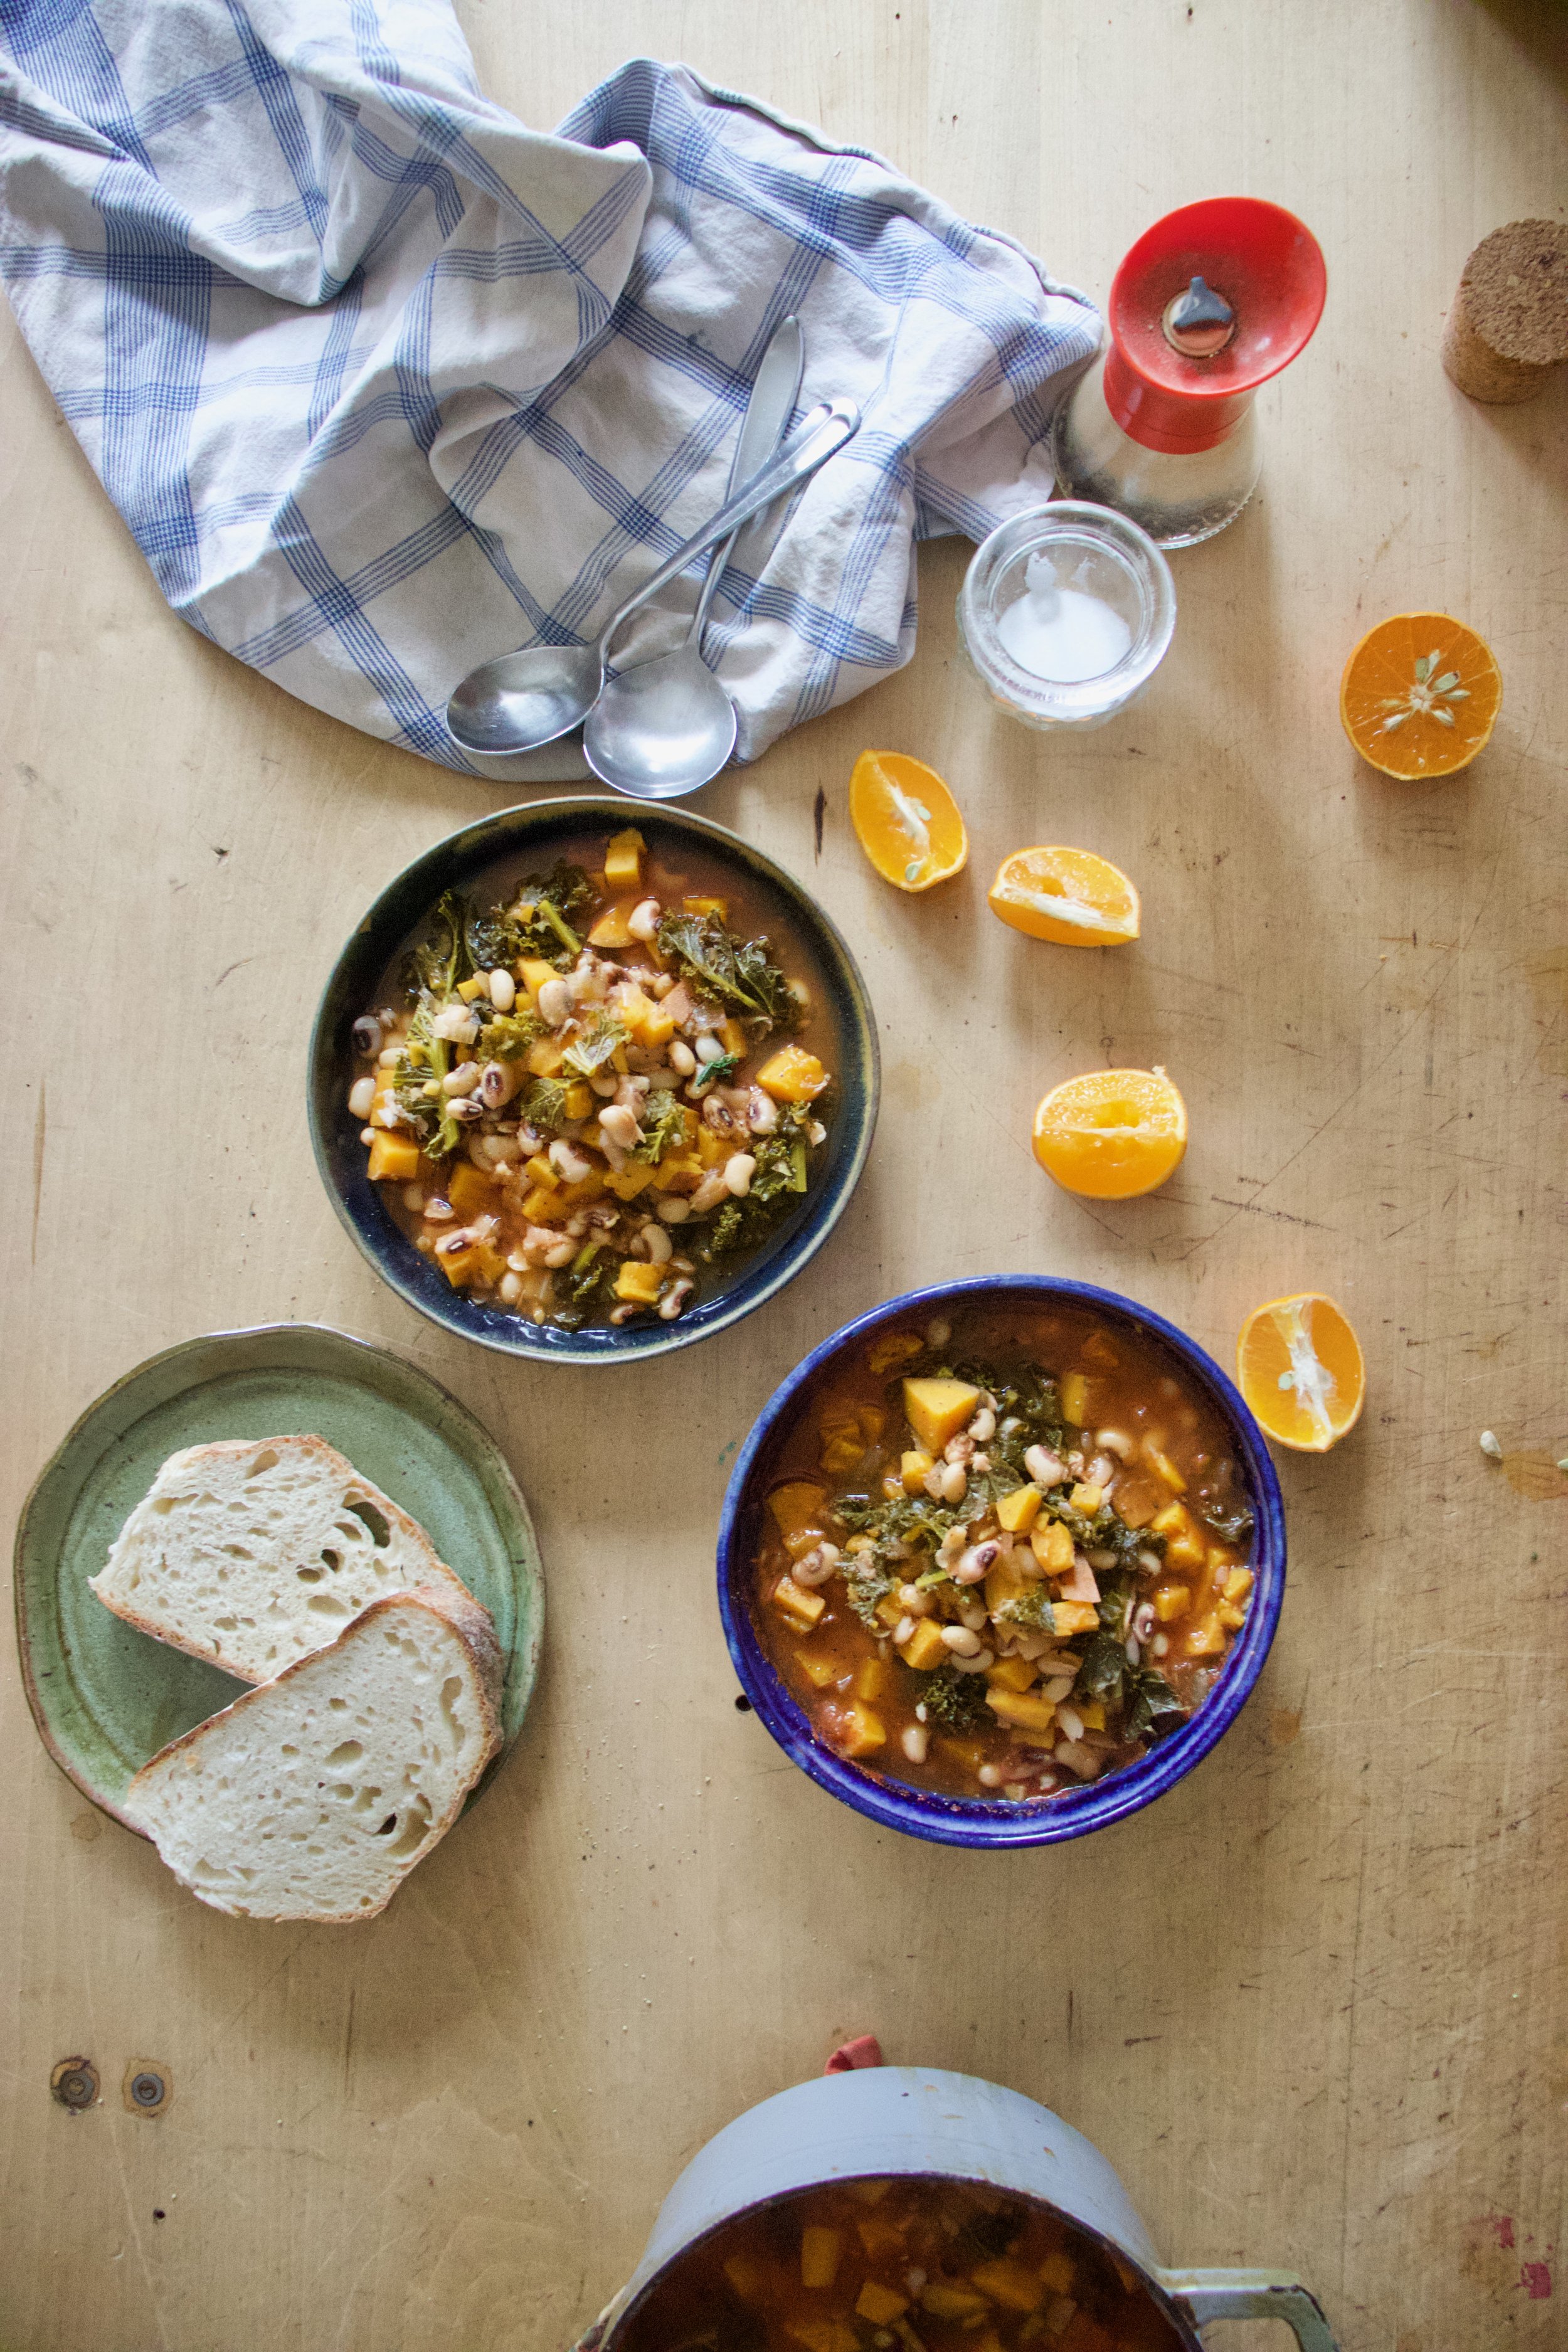
This stew. It is thick and creamy from the sweet potato and beans, bright and light from the ginger and tangerines, and hearty because it is stew. It is a perfect stew situation to eat on any given day but especially nice on a cold winter evening. And I guess on New Years. Like today.

Now to the black eyed pea stew!

The stuff. Cooked black eyed peas. a sweet potato, some kale, a few tangerine, an onion, some garlic and ginger, tomato puree, and salt and pepper.

IMG_8403.jpg
IMG_8413.jpg

Start with chopping up the onion, mincing the garlic and ginger, and dicing up the sweet potato.

IMG_8410 2.jpg
IMG_8425 2.jpg
IMG_8430 2.jpg
IMG_8436.jpg

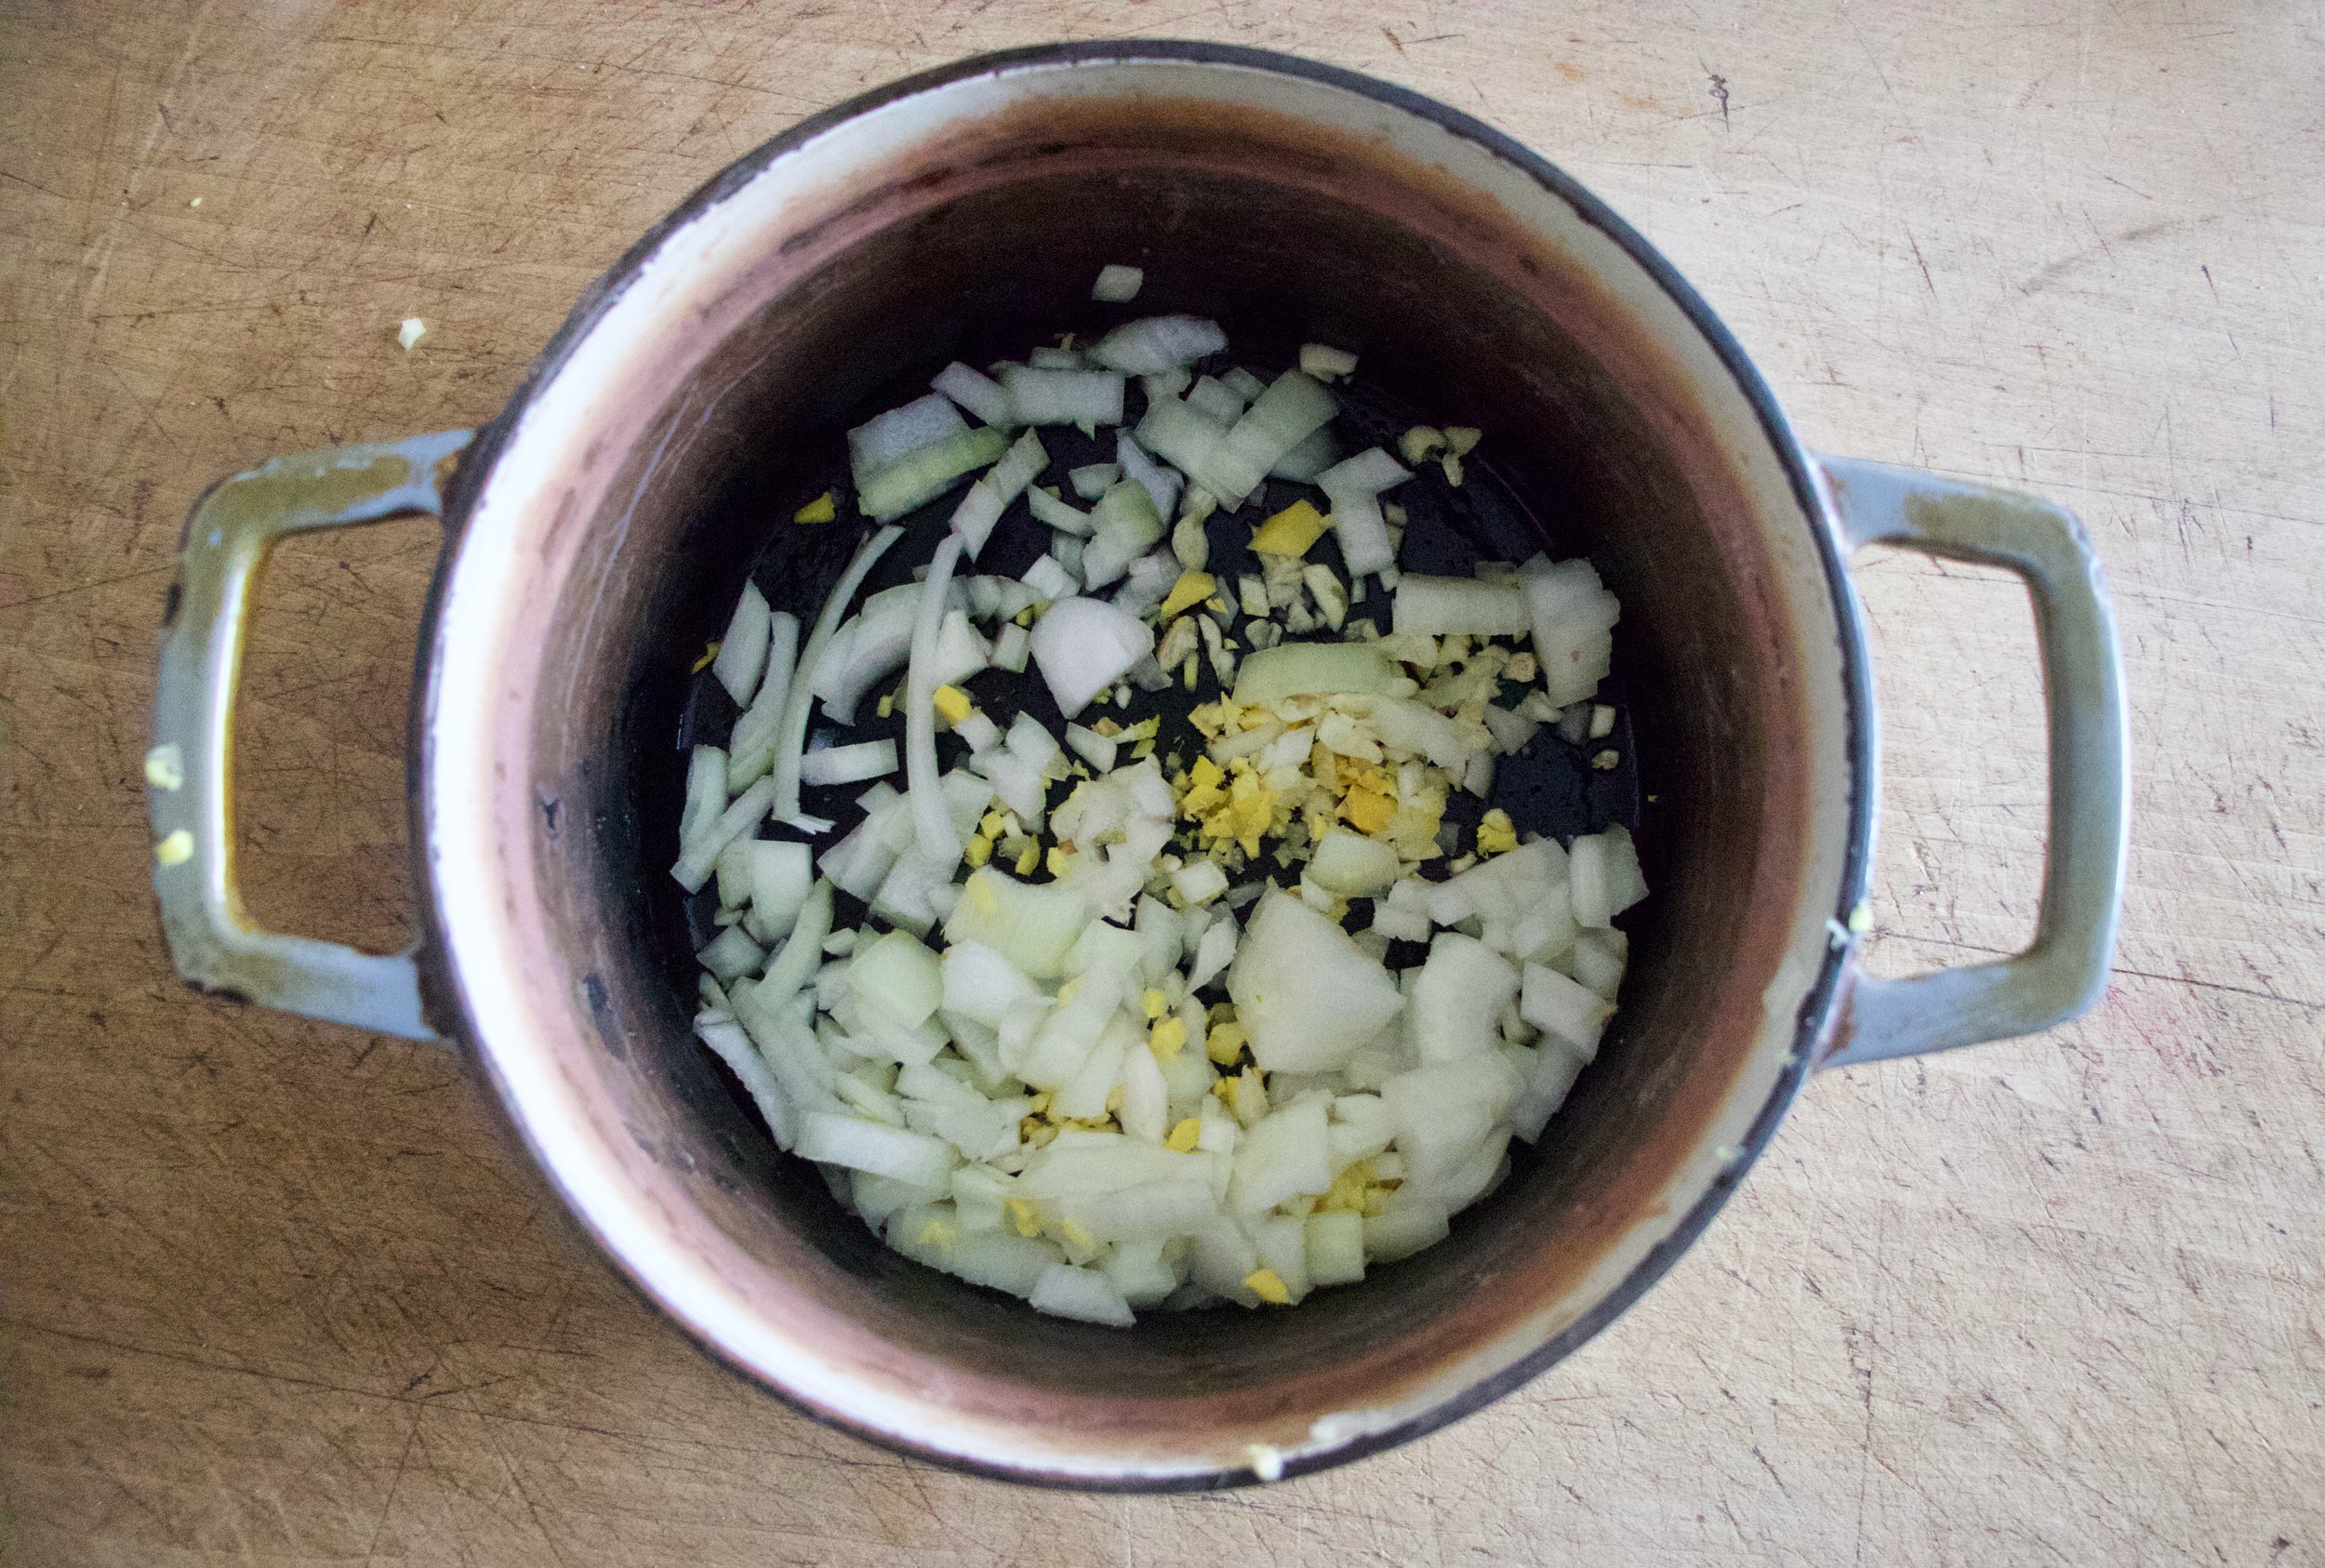
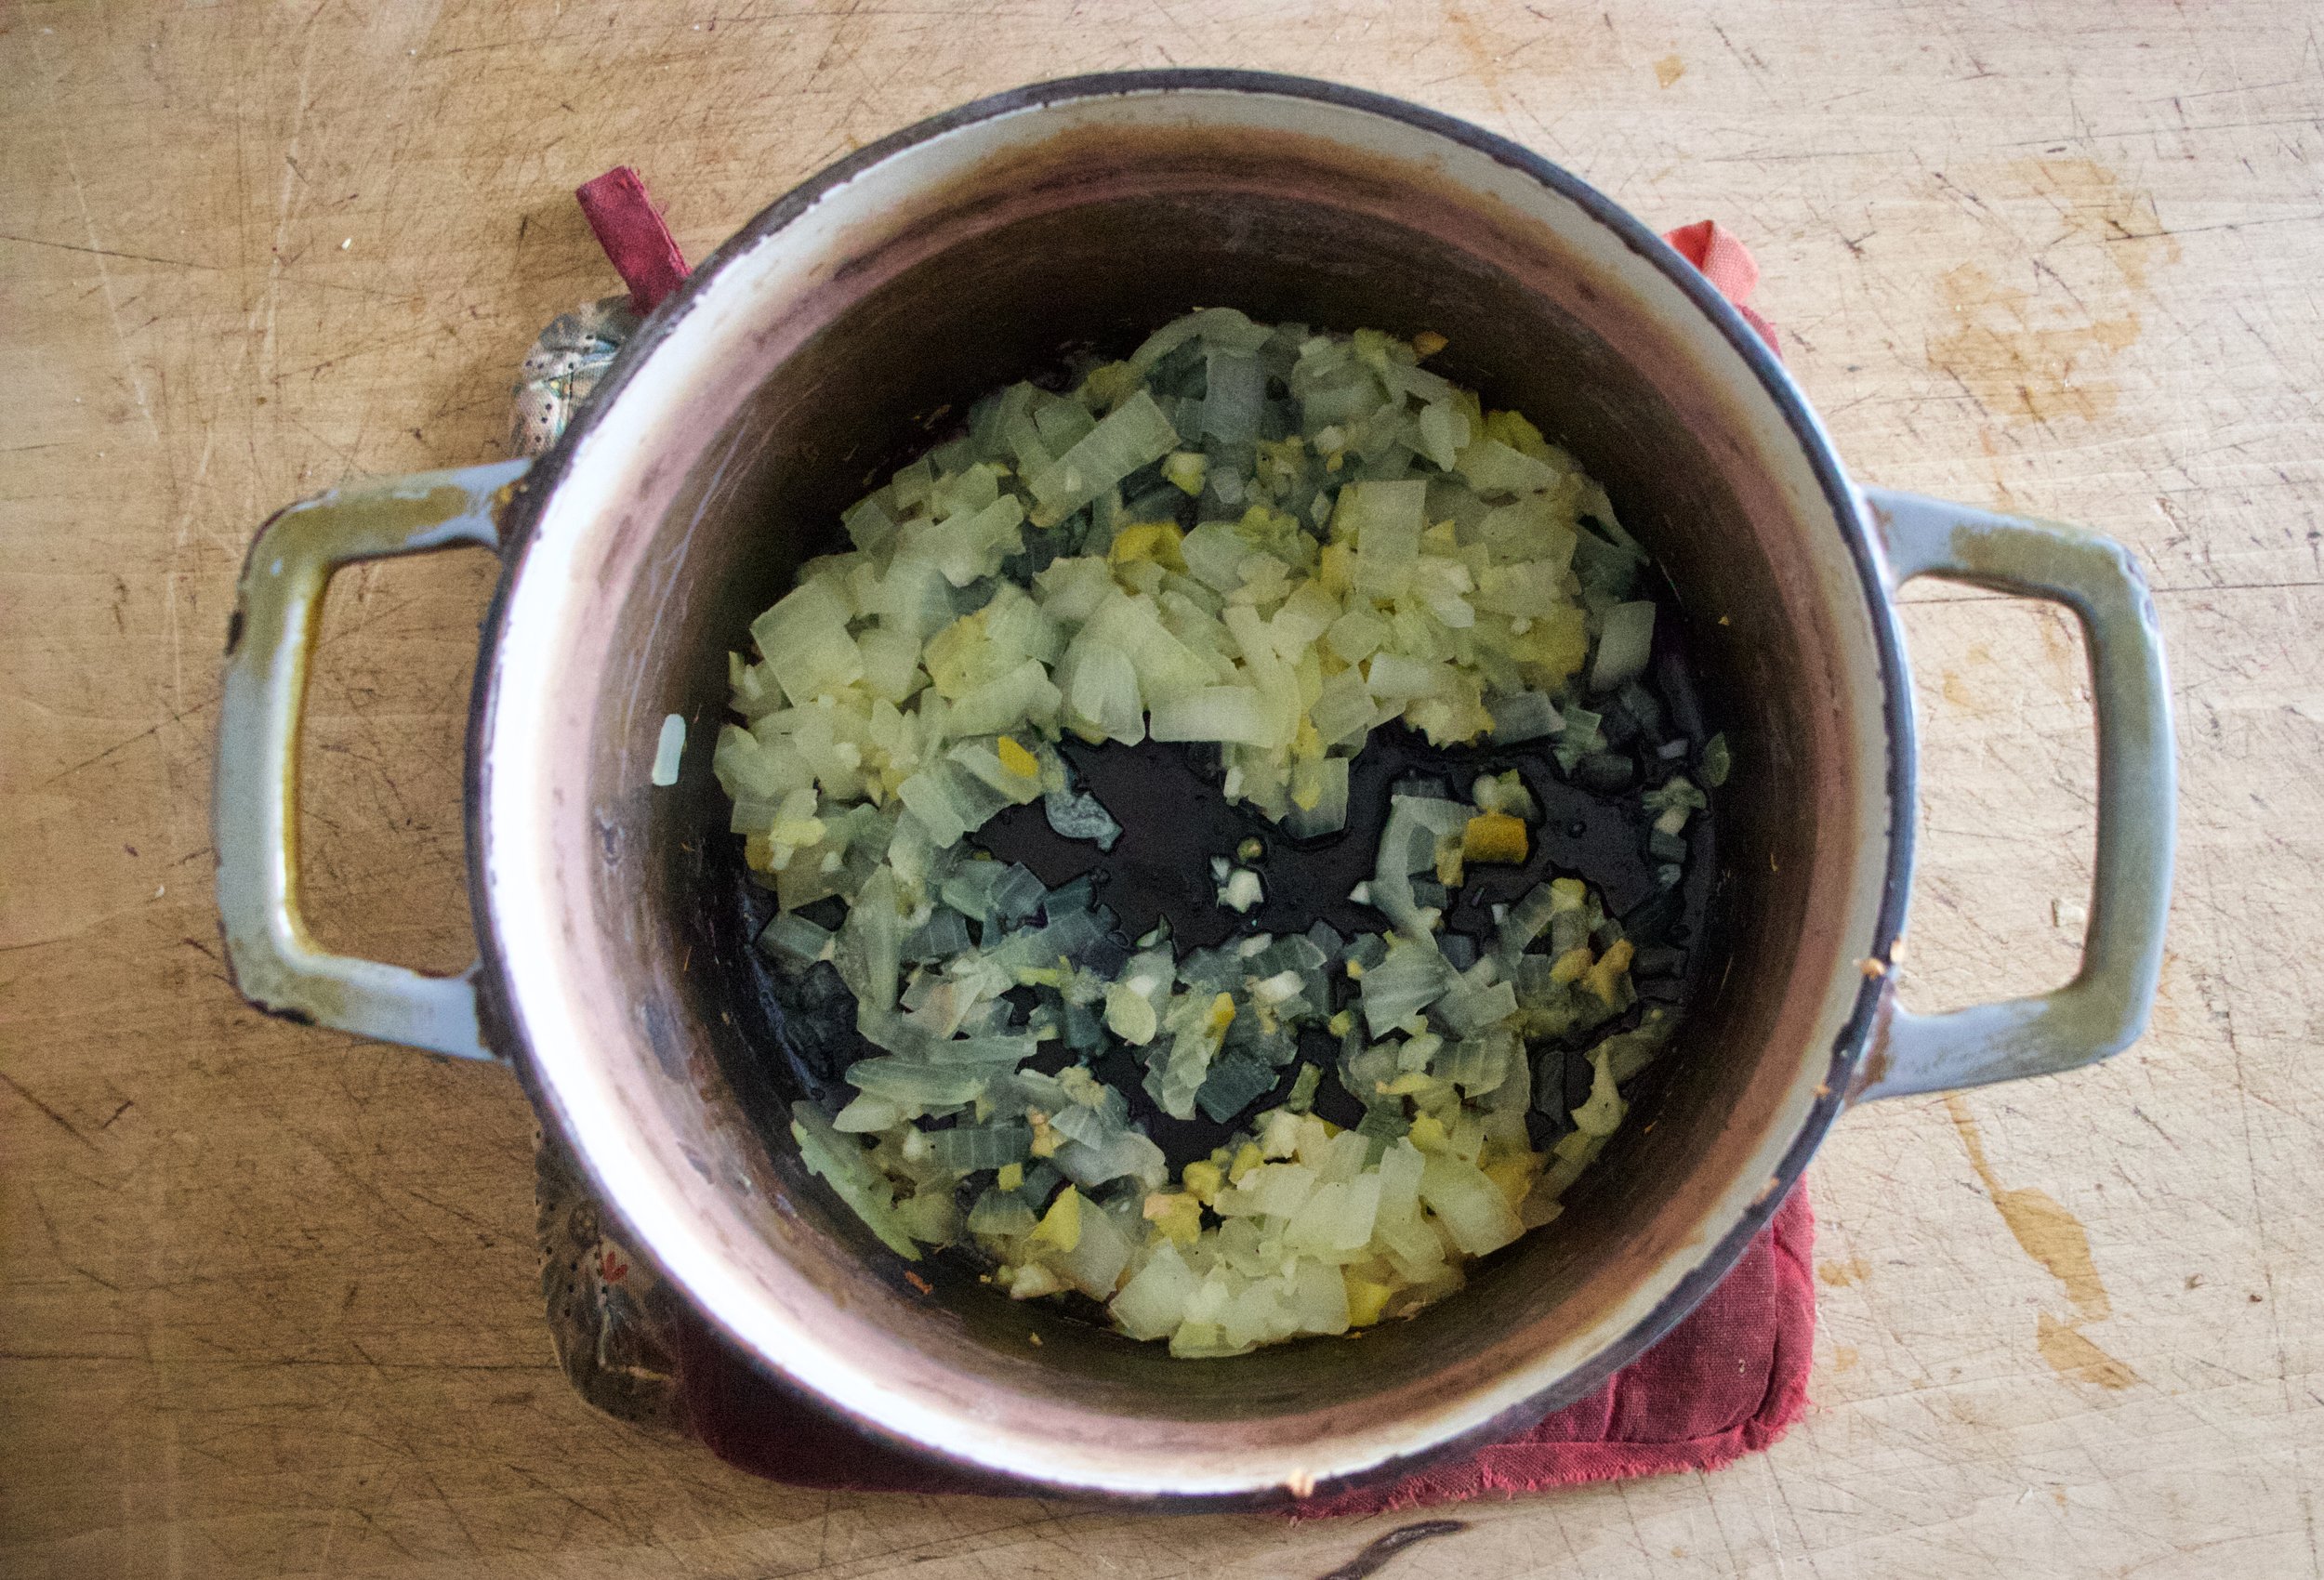
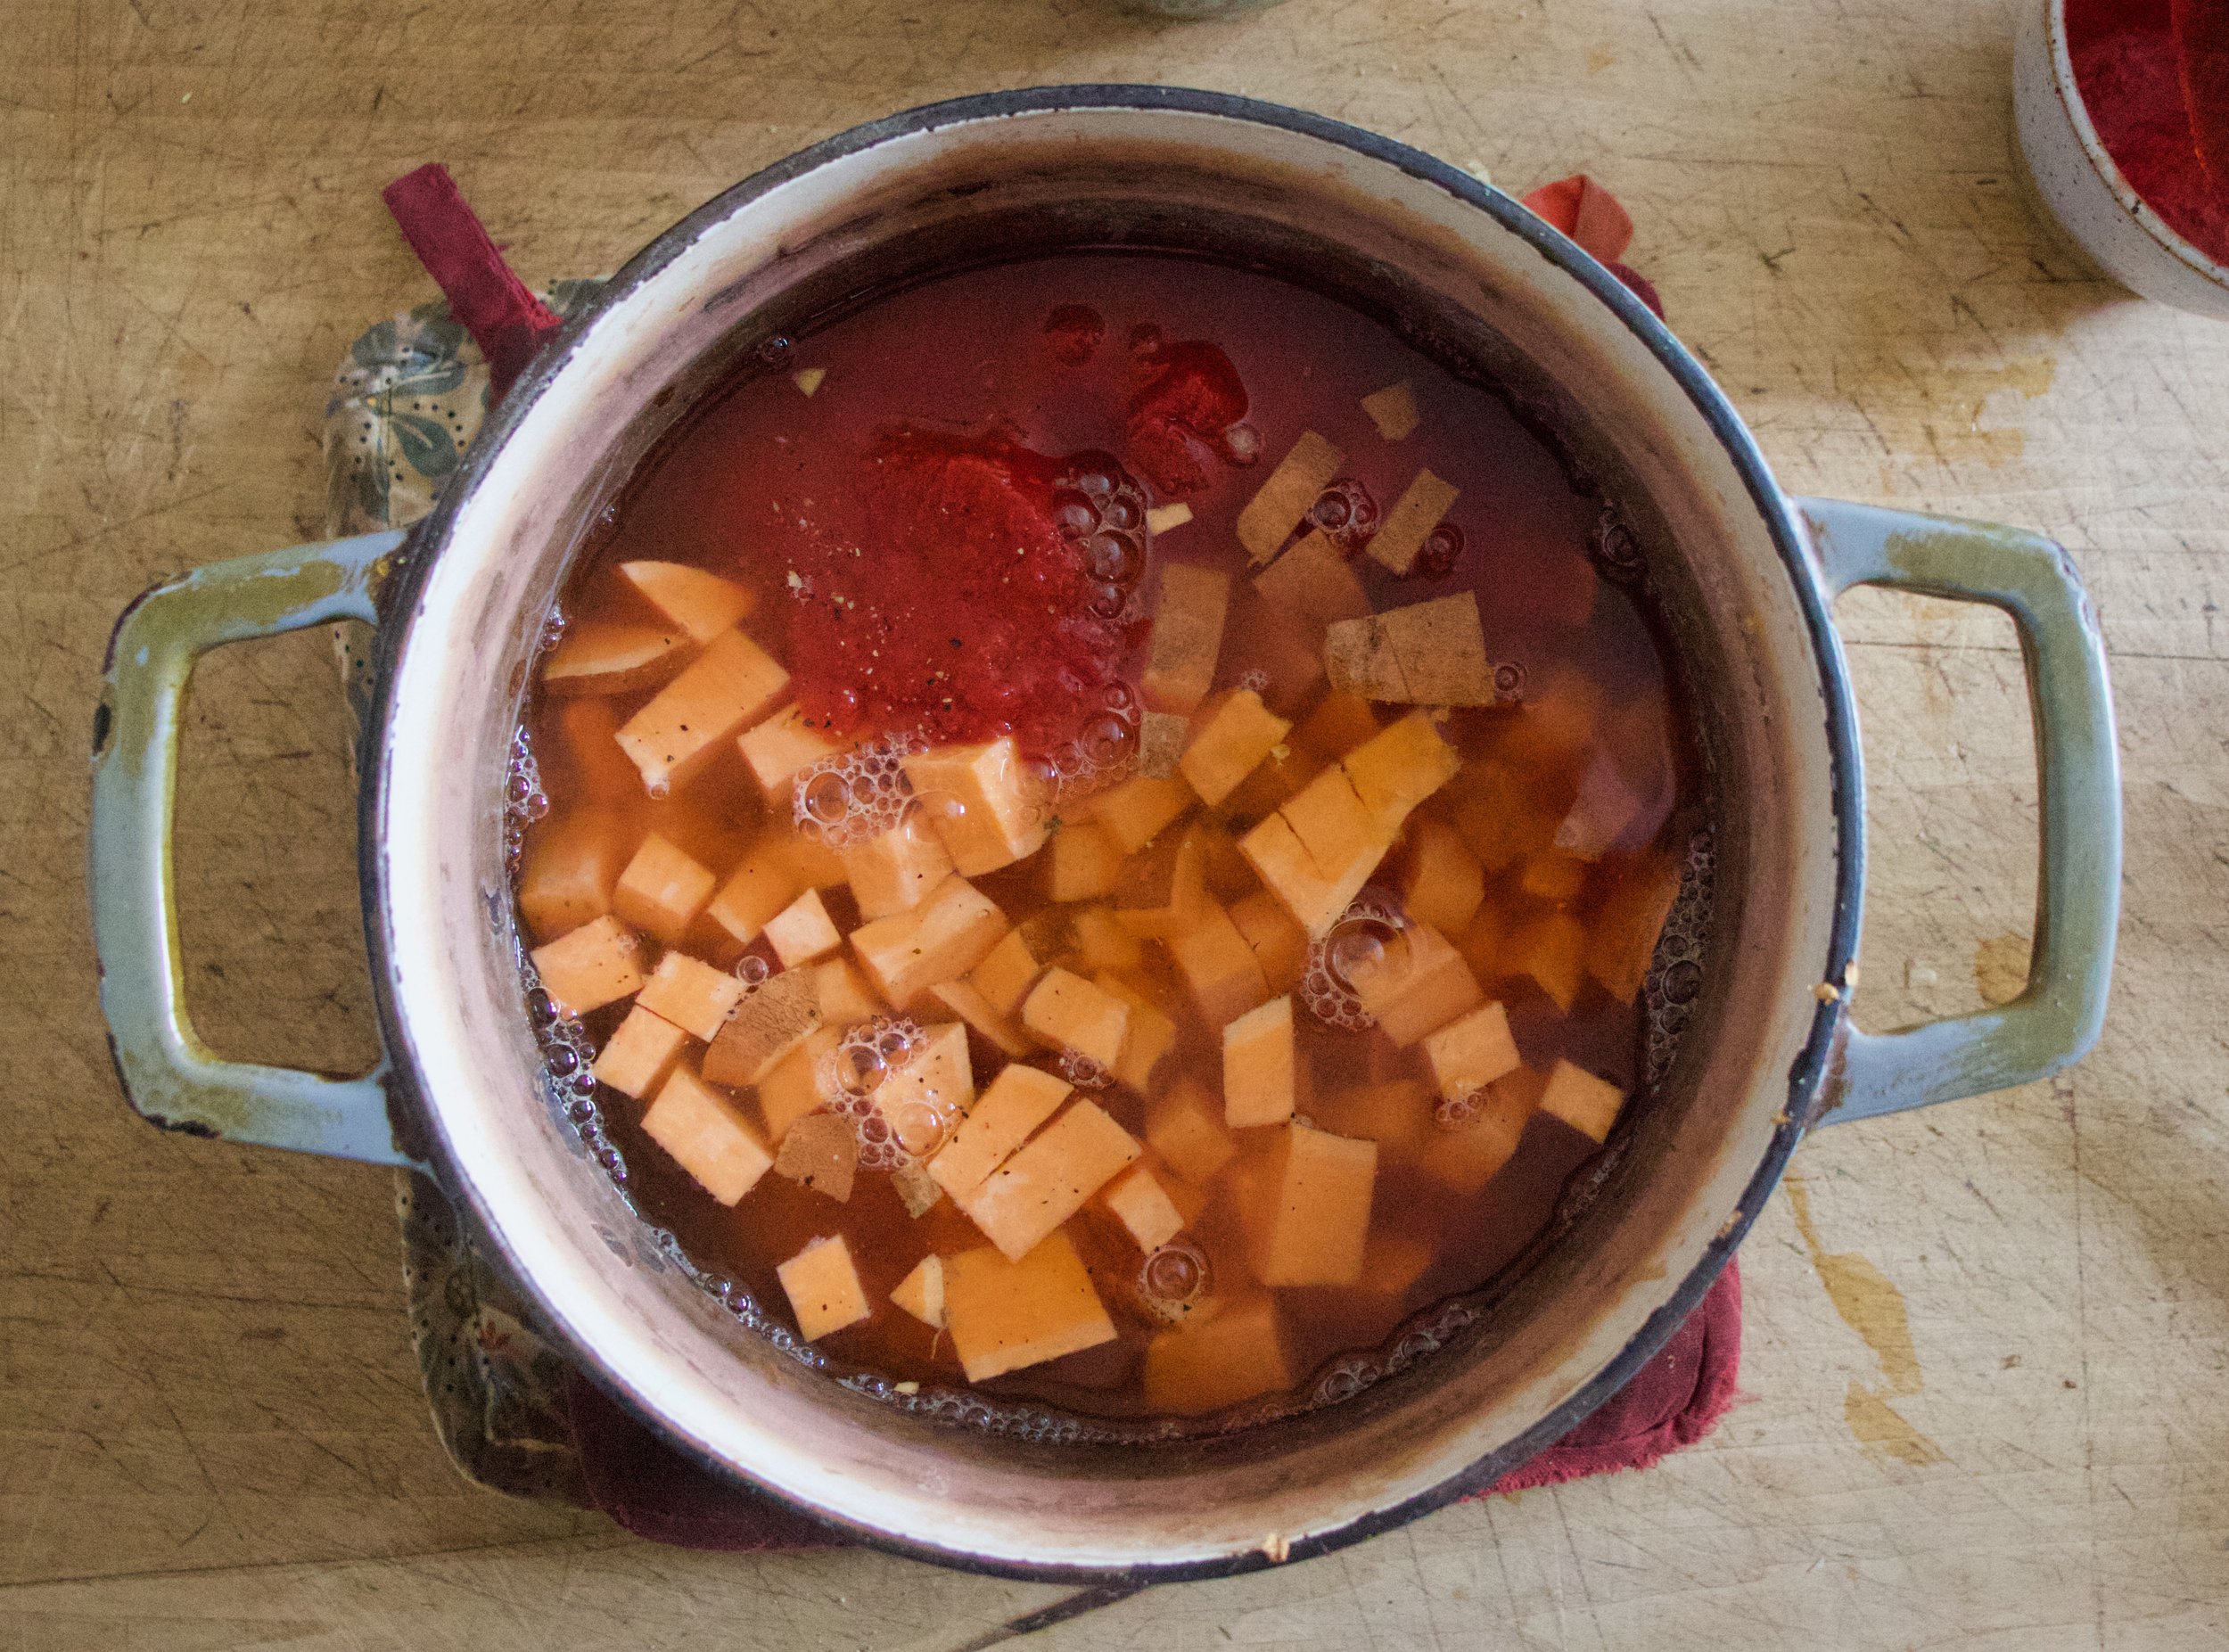
Toss the onion, garlic, and ginger into a big pot and add in a splash of water or oil and a pinch of salt. Place on medium heat ans cook until tranlucent and fragrant. Add in the sweet potatoes, tomato puree, and enough water to completely submerge it all. Keep on medium heat and cook until sweet potties are fork tender. Add more water if needed.

In he mean time chop up the kale.

And juice the tangerines.

Once potatoes are tender, add in the black eyed peas, the kale and the tangerine juice. Add more water to completely submerge again. And keep on medium high heat and cook for another 10-15 minutes or went everything is all melded and cooked together.

Like this. A pot of good goodness.

All that is left is to scoop the stew into blows and eat it. Squeeze more tangerine juice on top too, it makes it nice.

Good luck all year long!

-C


Black eyed Pea-Sweet Potato and Tangerine Stew

  • 2 cups cooked and drained black eyed peas

  • 1 medium sweet potato

  • 2-3 tangerines

  • 1/2 cup tomato puree

  • 1 small onion

  • 2 cloves garlic

  • 1/2 inch fresh ginger root

  • a few leaves of kale, chard, or collard greens

  • 4-6 cups water

Start by dicing up onion and peeling and mincing up the garlic and ginger. Place into a large pot with about 1/4 cup of water or a splash of oil and stick on stove on medium heat. Cook the mixture for 5-8 minutes or unit fragrant and translucent. While that is cooking dice up the sweet pot into small 1/2 inch cubes then add them into the pot once onion mixture has cooked, along with the tomato puree and enough water to completely submerge in all. Stir and and keep on medium heat and cook for another 20 or so minutes or until the sweet potatoes are fork tender.

Chop up kale and juice tangerines.

Once the sweet potato is tender add in the rinsed and drained black eyed peas, the chopped kale, and the tangerine juice. Add a sprinkle of salt and pepper and more water to submerge it all again and keep on medium heat. Cook for another 20 minutes so that all the flavors have time to meld and turn into a great pot of stew. Depending on your preference for thickness, cook down more for thicker stew, or add more water to keep it brothy.

Once cooked, scoop into bowls, season with more salt and pepper, and if you have an extra tangerine, squeeze a little more fresh juice on top.
In soups/stews/chilis, Vegan Tags Black eyed Pea-Sweet Potato and Tangerine Stew, beans, vegan, soup, chili, plant based, stew, food, recipe, delicious, dairy free, easy, cities, citrus, pulses, dinner
Comment

peppermint candy cane sugar cookies

December 18, 2021 Colleen Stem
IMG_8347.jpg
IMG_8388.jpg

When is the last time you have eaten a candy cane? I feel like I never see people actually eating them, that they use them more as decorations on the tree. And as I say that I realize I am thinking of adults. I never see adults eating candy canes. The littles, well they have stripped my tree bare of the candy many of times. They will, and enjoy eating anything and everything that contains sugar. Especially if you can suck it into a sharp object and I guess that probably makes candy canes are the perfect candy. Ha!

Anyway I forgot to buy candy canes this year and I was planning on adding one to each of my Christmas cards (cause I am an adult!). Sure I could and can still go to the store and get them but I decided cookies are better so I just made candy cane cookies instead band which I think are way better.

These cookies are essentially just sugar cookies with peppermint extract, dyed a little, and twisted into canes. They are fun to make, smell really good, and eaten by littles and adults alike. I would know. Out of 24 candy cane cookies I had made to give out with my cards, I think I ended up with a handful left. The littles came over and ate them all. And the mr too. Oh well, whatcha gonna do?

Now to the candy cane cookies!

The stuff. Sugar, plant butter, oil, peppermint and vanilla extract, flour, baking powder, salt, a flax egg, and some red food coloring.

IMG_8277.jpg
IMG_8281.jpg
IMG_8283.jpg
IMG_8287.jpg

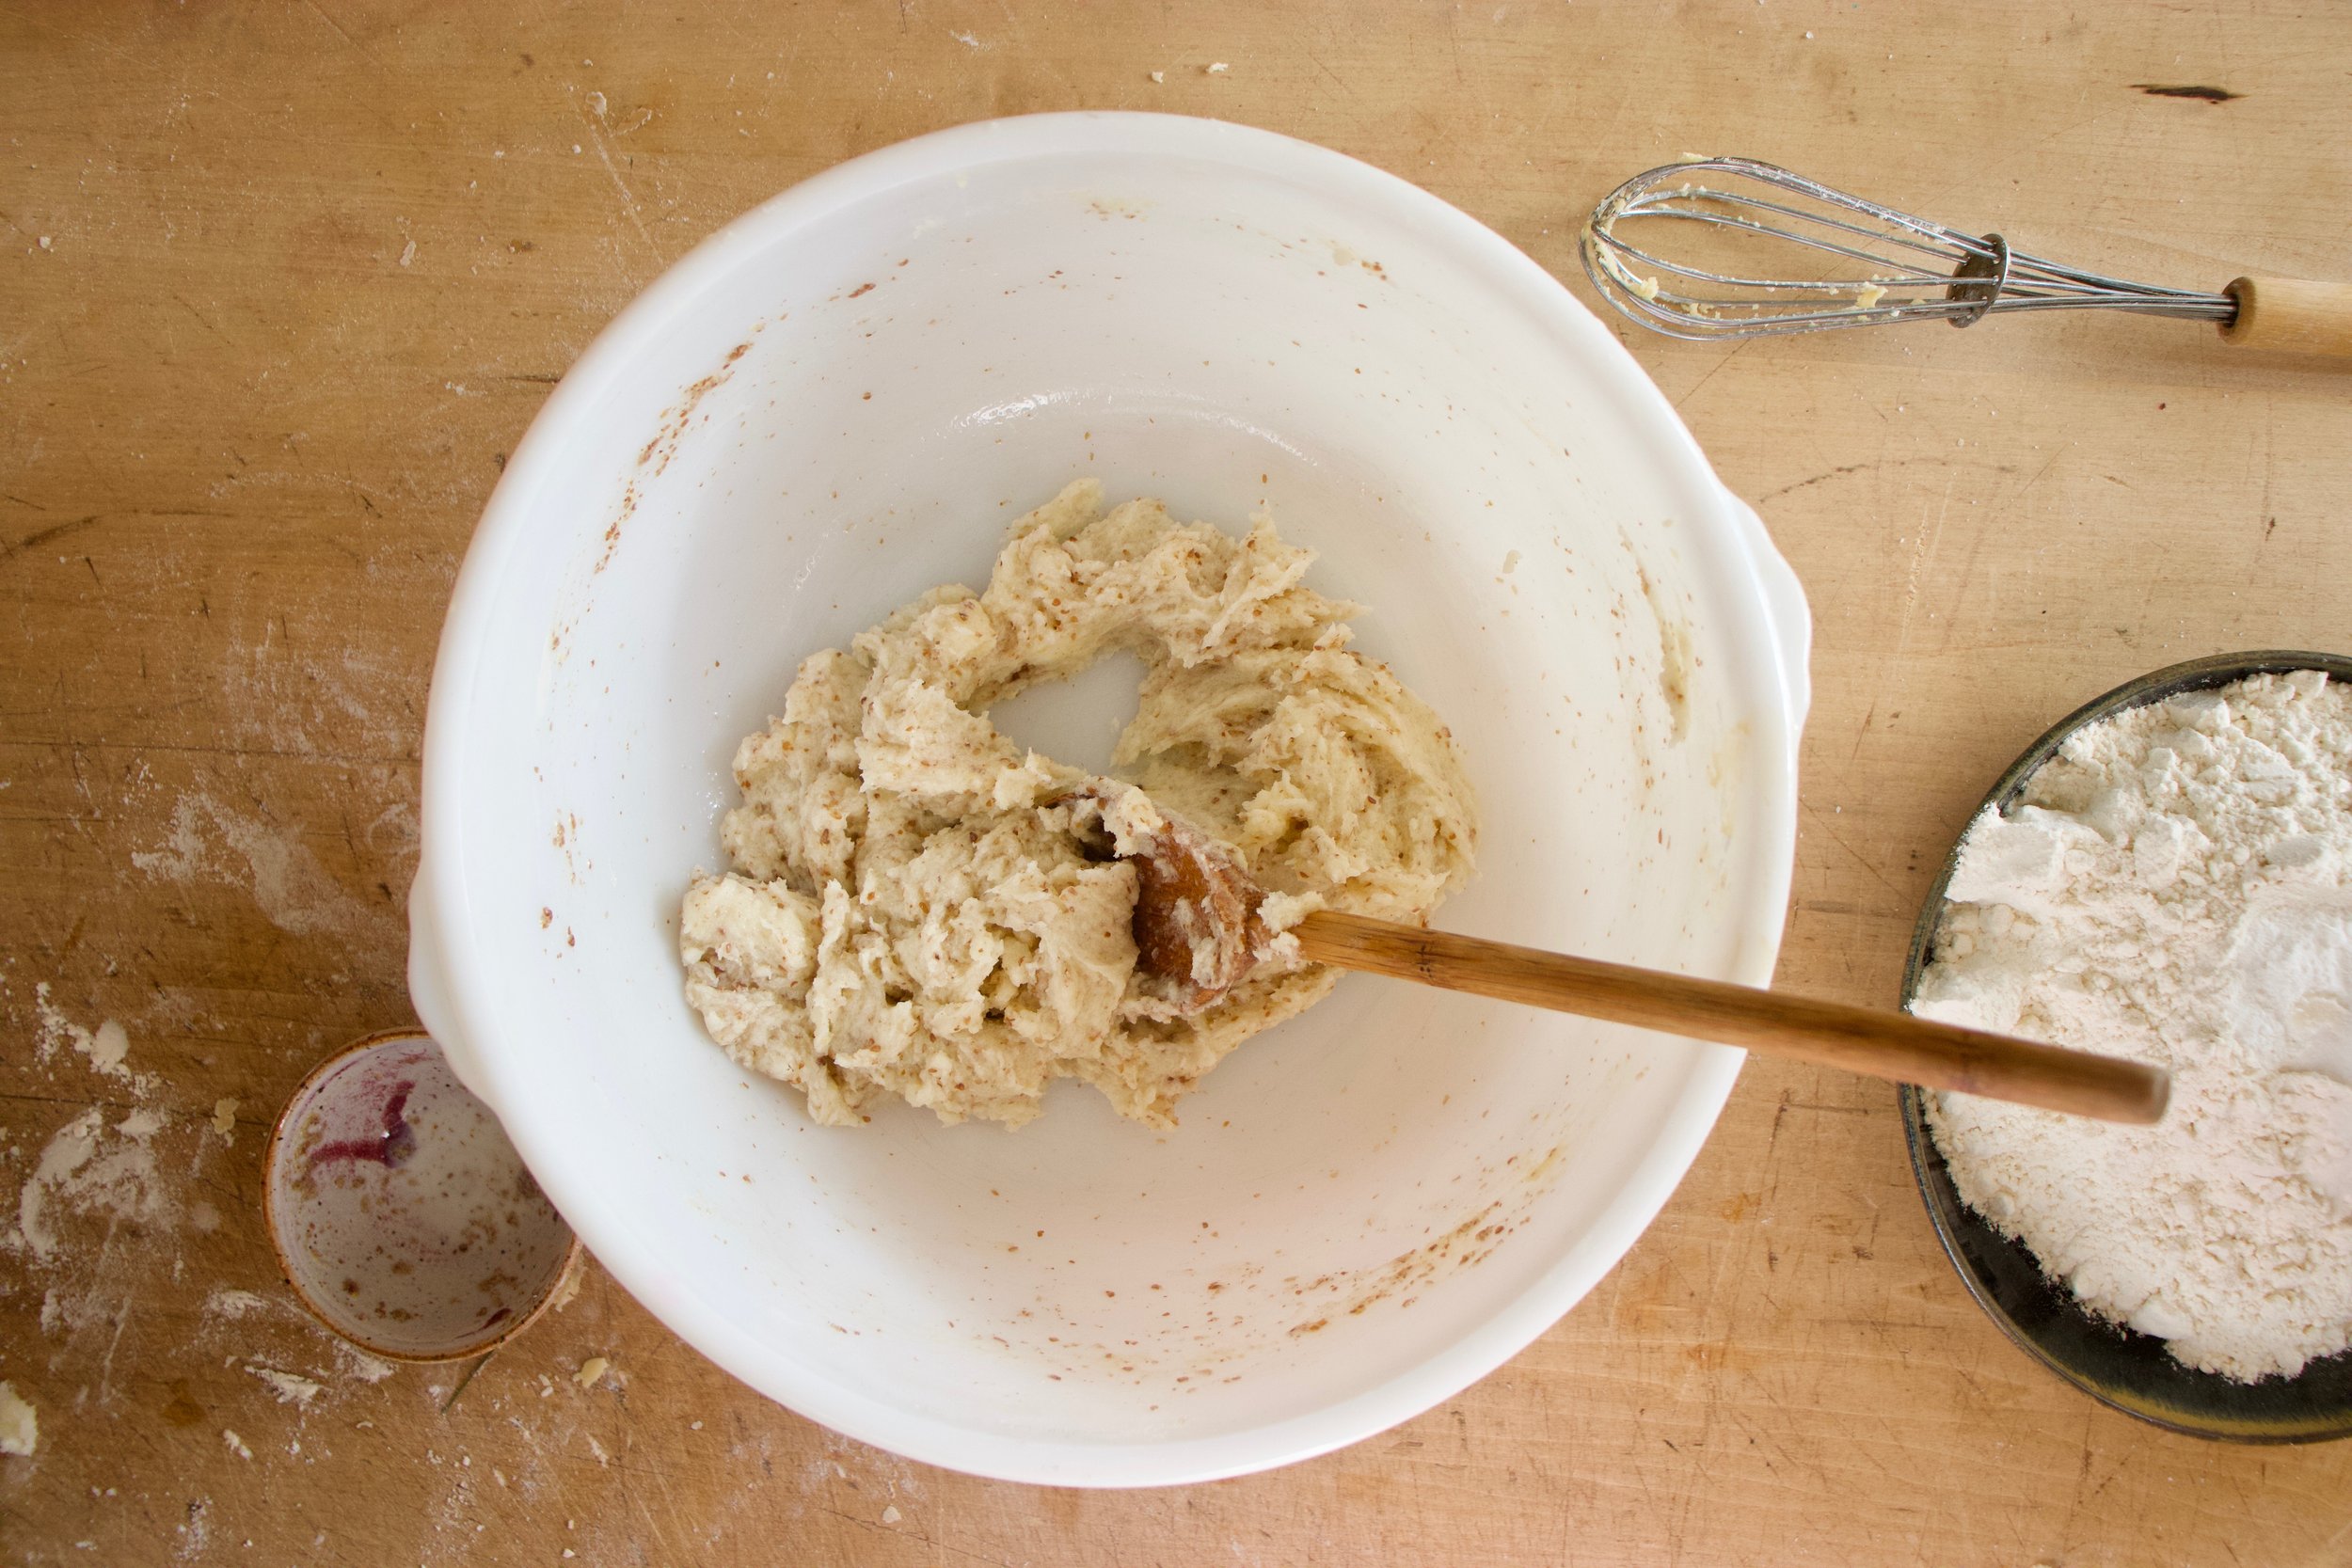
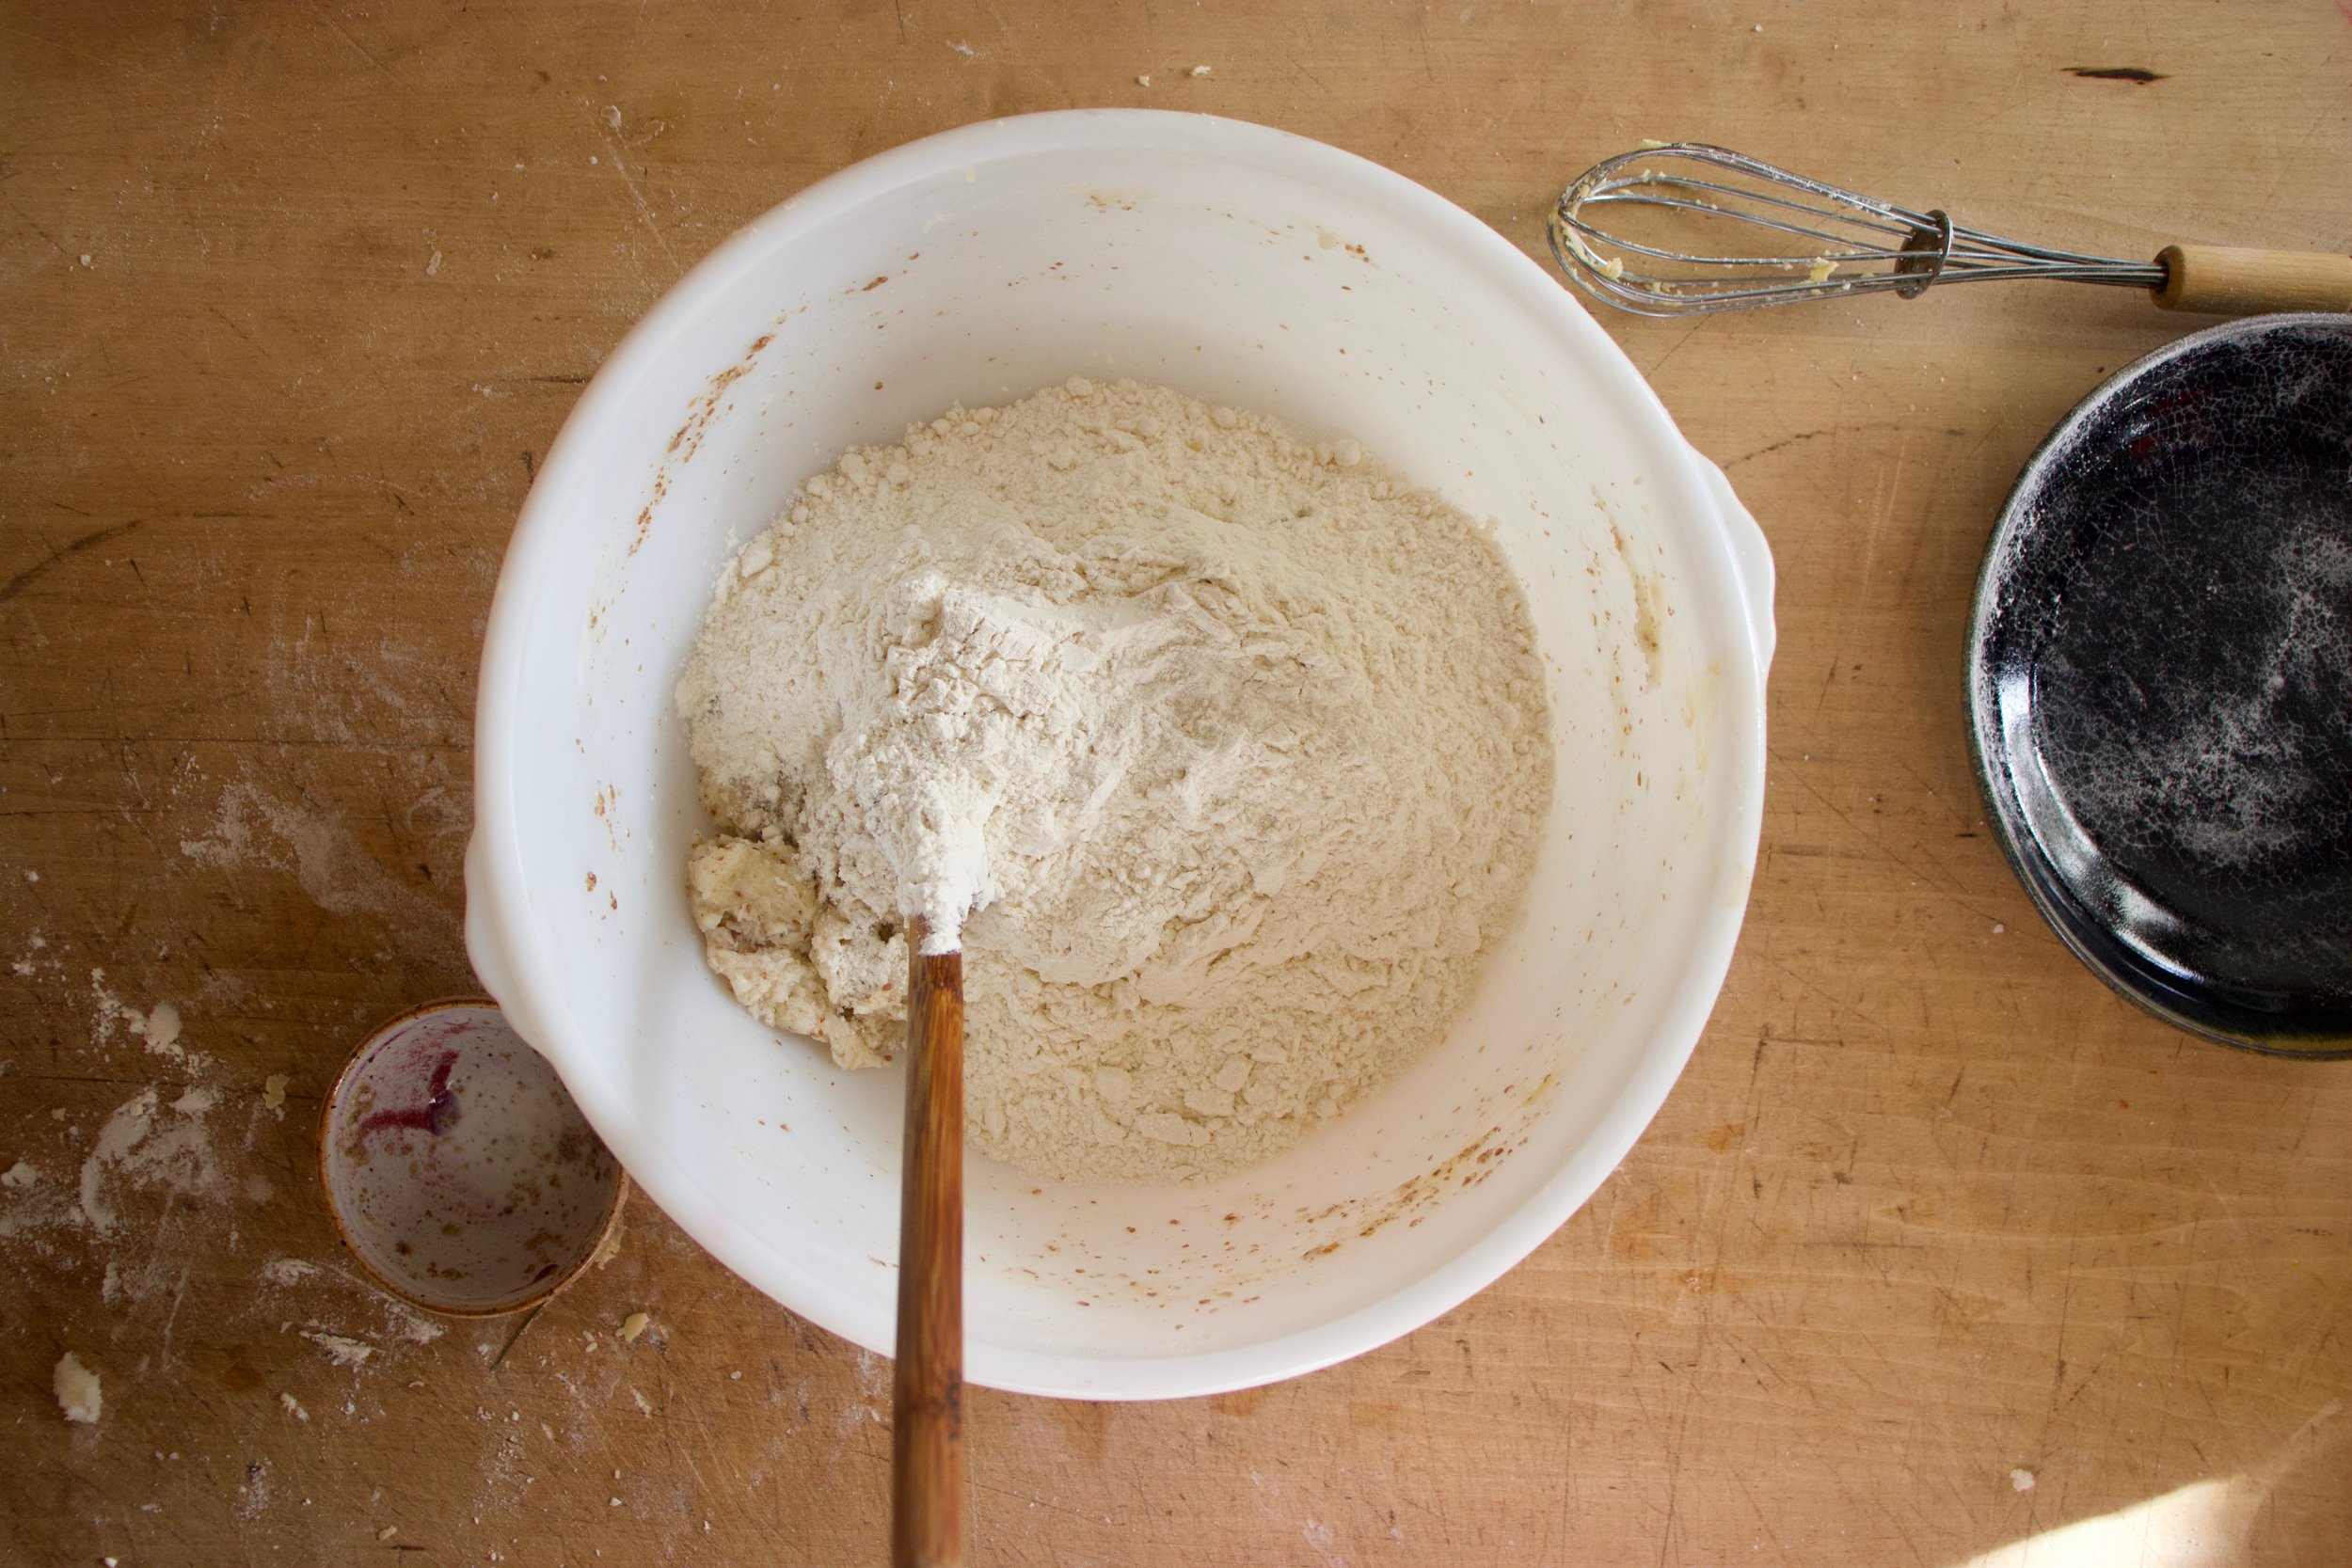
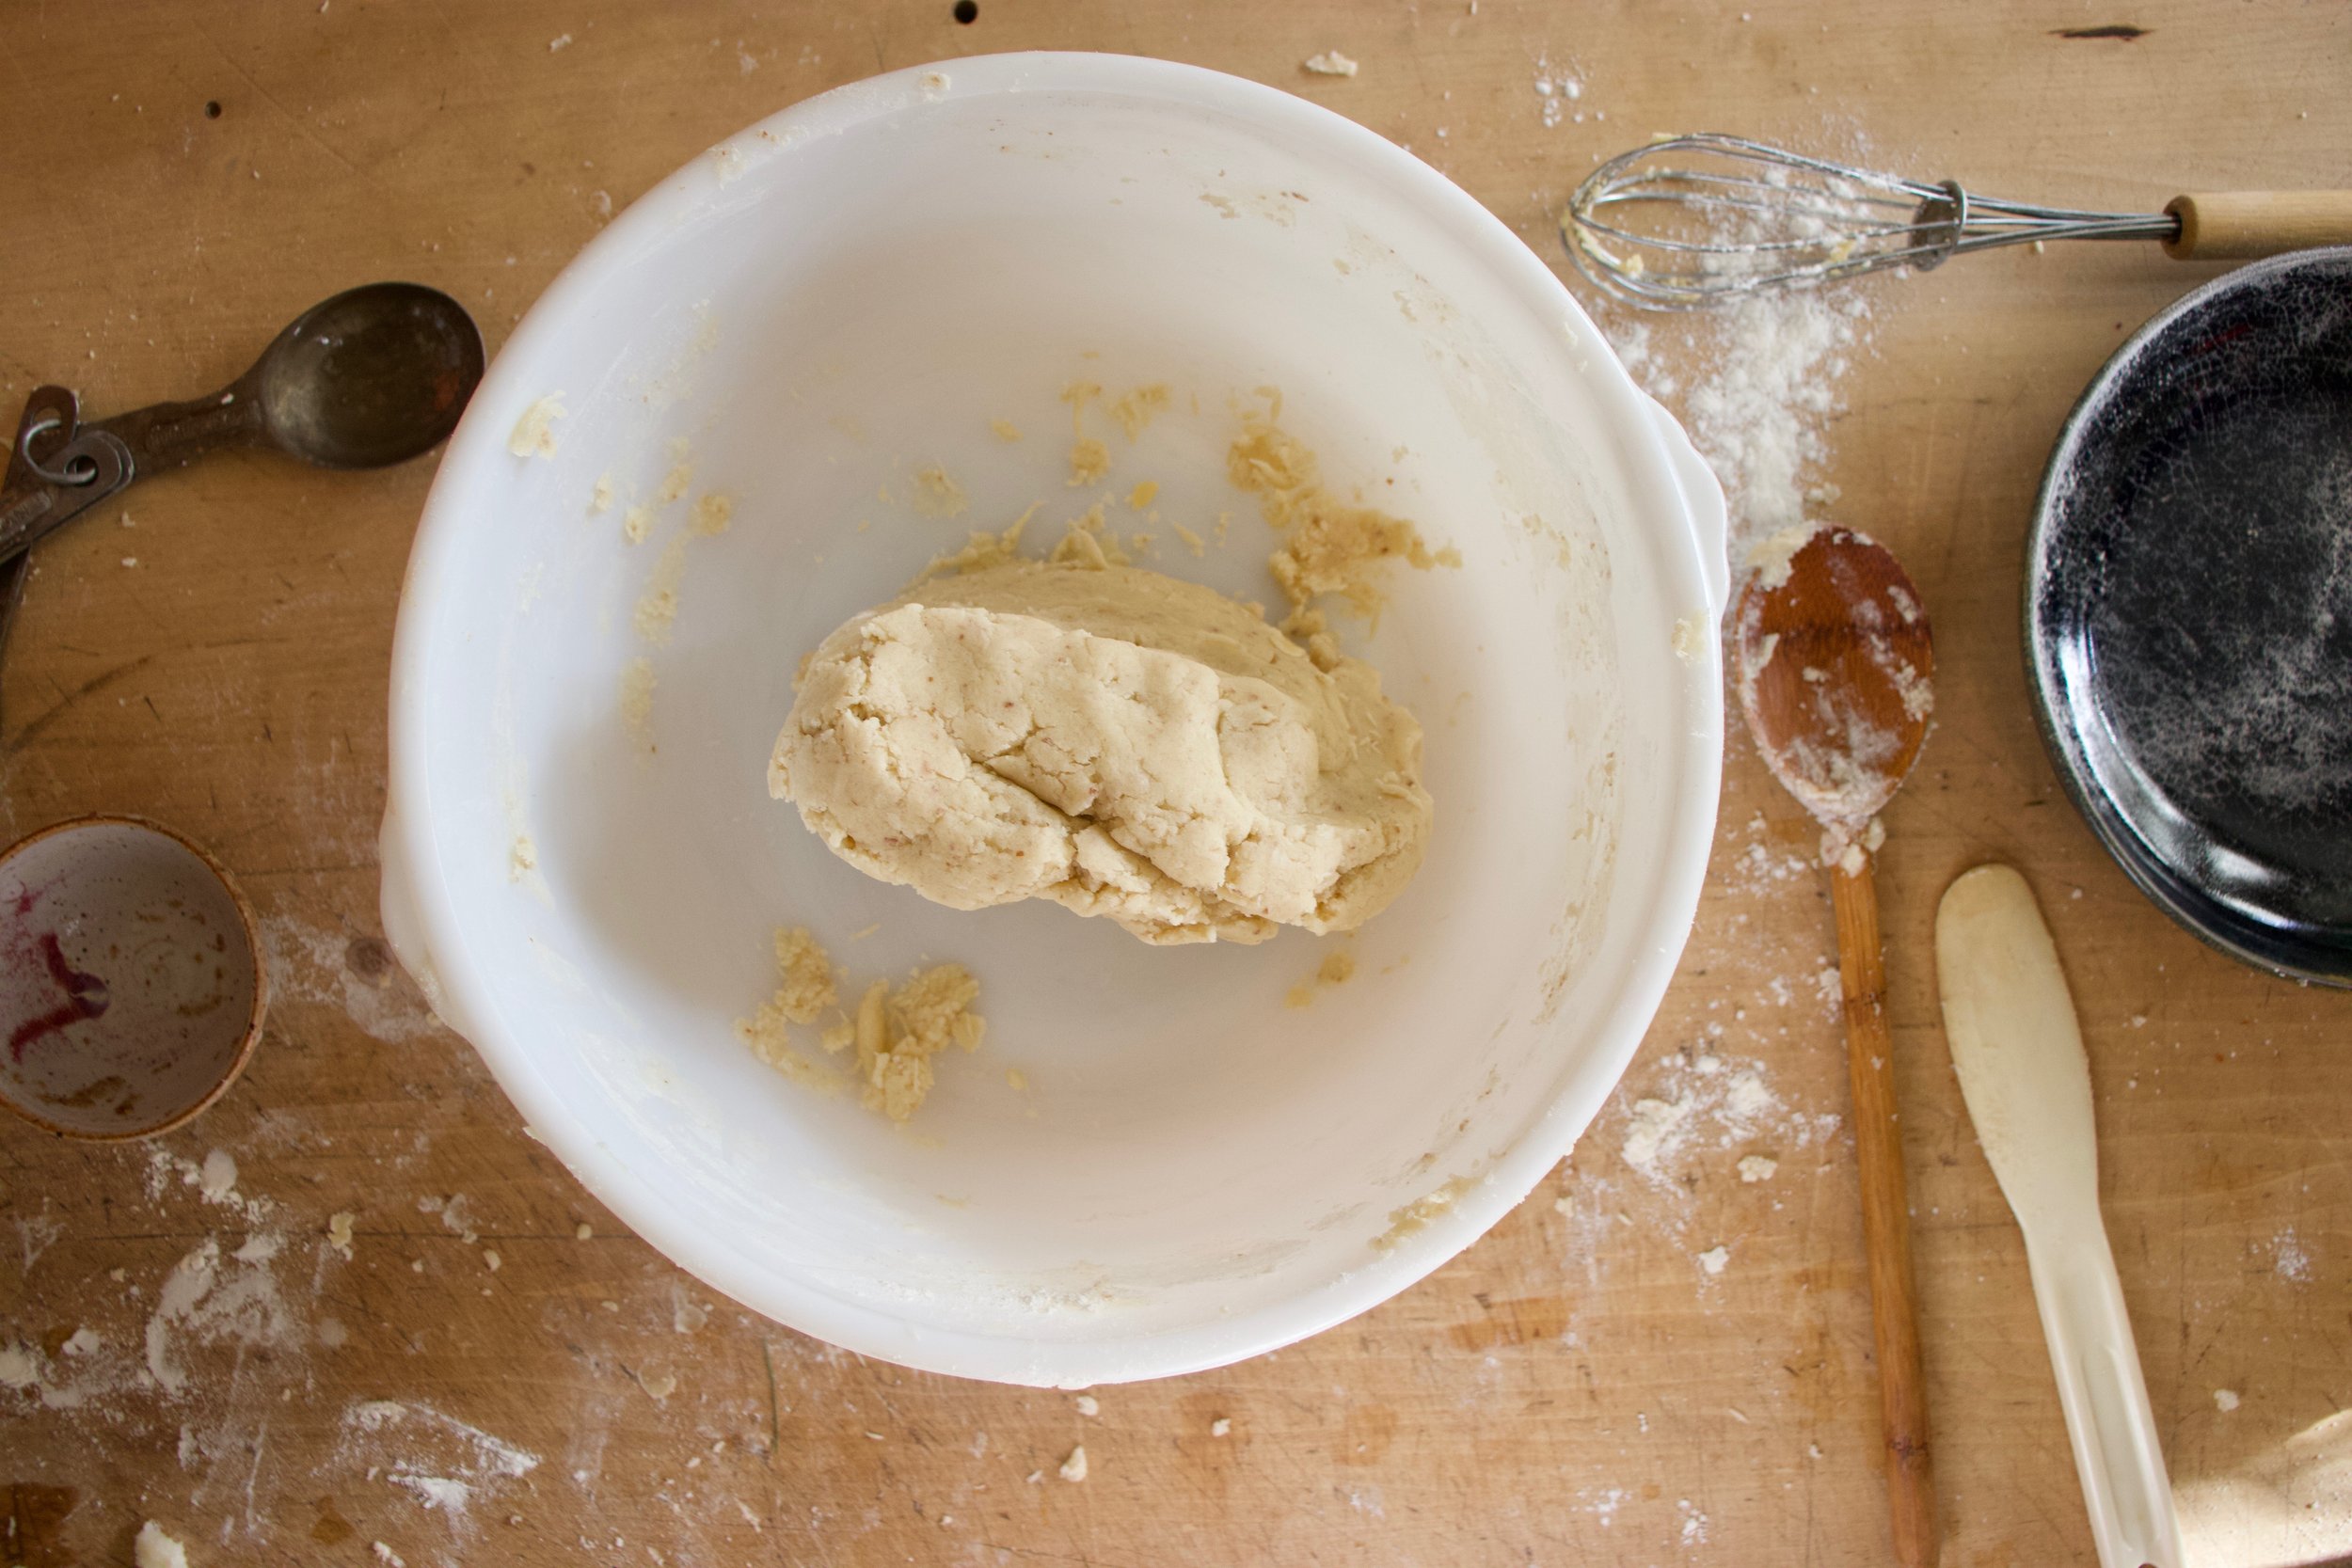
Make cookie dough. Creamy together the sugar, butter, oil, and extracts until light and fluffy. Then add I the lax egg and mix until combined. The dry then goes into bowl and gets mixed with a spoon until it is just easier to use your hands and knead the mixture until a dough forms. Once a dough, let it sit for a few minutes.

IMG_8291.jpg
IMG_8295.jpg

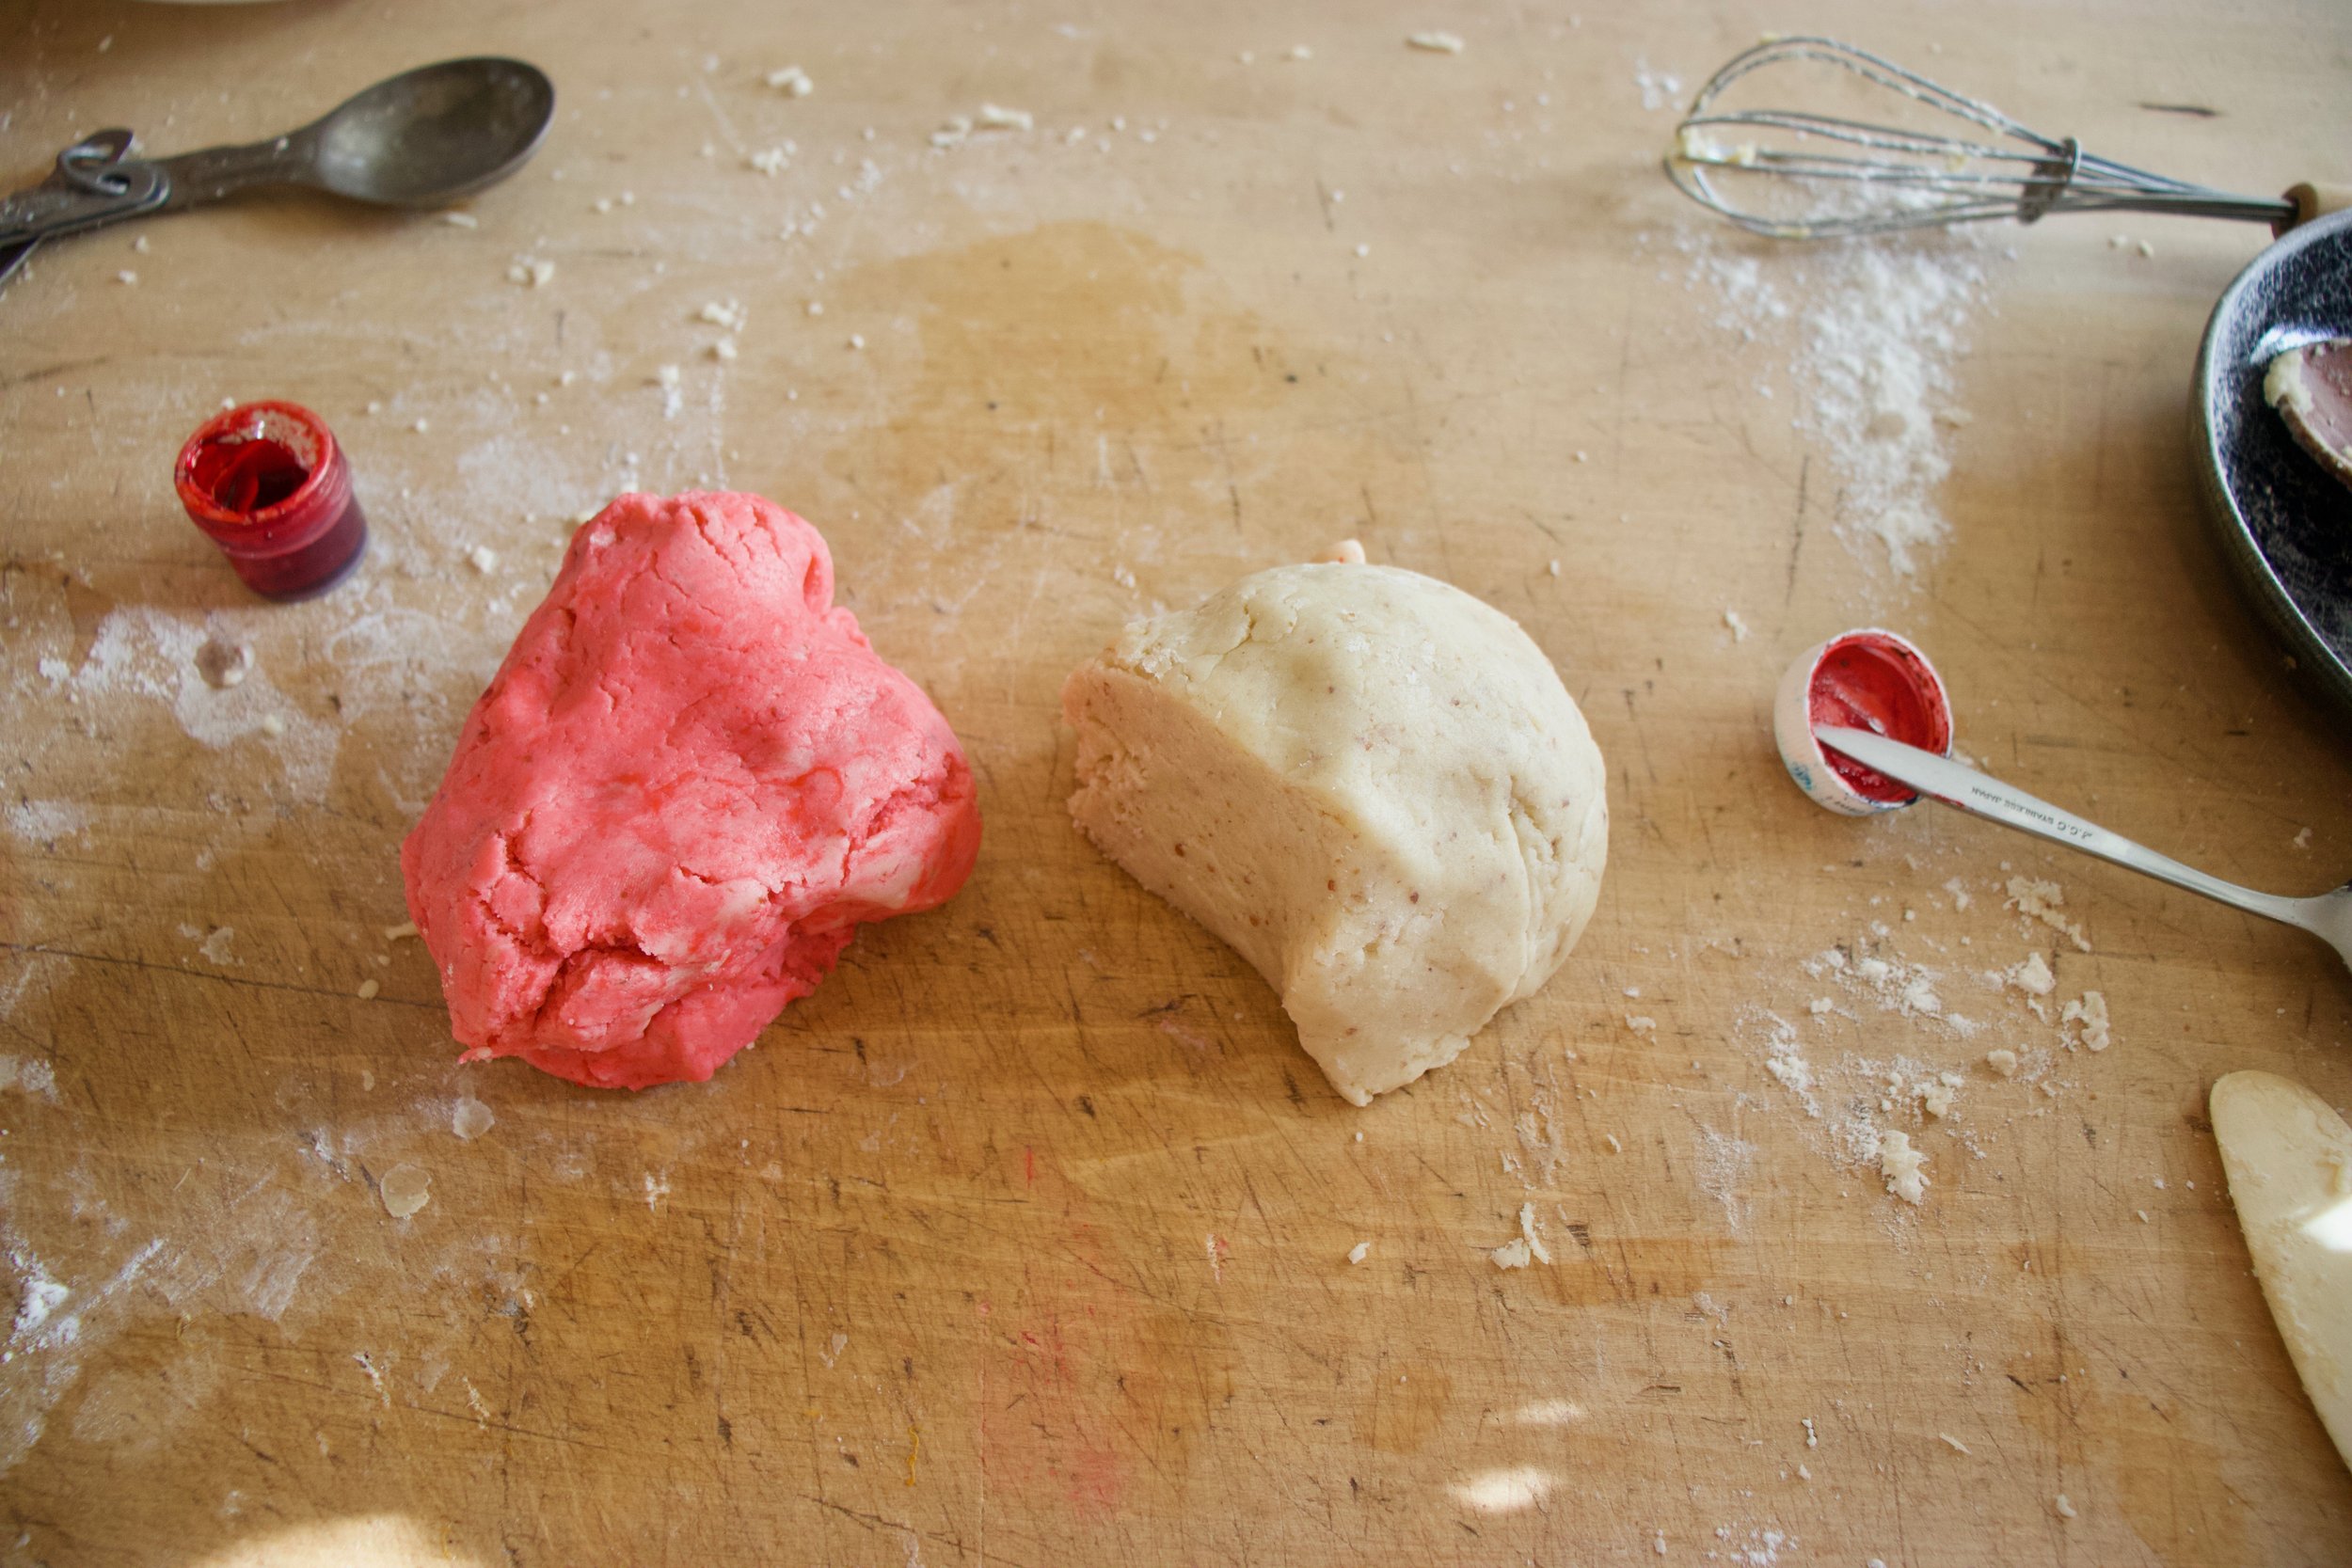
After resting, take dough and on a lightly floured surface, cut in half. Take half and set aside and the other knead red dye into it. How red you make it is up to you.

Now take a chunk or red and white and roll each piece out into 1/2 inch thick ropes that are the same length. Place ropes next to each other and kind of squish them together.

Cut a section of the rope (about 4-5 inches long) and then twist the dough until it resembles the twist of a candy cane. Then shape it into a cane.

Also, if you doughs start o get a little misxd up, well that is quite all right. They will still look like candy canes and people will still eat them.

Place canes onto a baking sheet and pop into a hot oven.

Out of the oven, smelling all like a candy cane cookie should.

Move them to a wire rack to cool and if you just so happen to have a handful of white chocolate chips on hand that you want to melt down and drizzle on top, well then you should do that too.

Make some cookies!

-C


peppermint candy cane sugar cookies

makes about 2 dozen

  • 2 cups all purpose flour

  • 3/4 cups white graduated sugar

  • 1/2 cup (one stick) vegan butter

  • 2 tablespoon neutral oil

  • 1 flax egg (1 tablespoon ground flax seed plus 4 tablespoons plant milk or water)

  • 1/2 teaspoon baking powder

  • 1/2 teaspoon salt

  • 1 teaspoon vanilla extract

  • 1 1/2 teaspoon peppermint extract

  • red food coloring

  • 1/4 cup white chocolate chips (and teaspoon coconut oil optional)

In a large bowl mix together the sugar, butter, oil, vanilla, and peppermint oil until light and fluffy. Add in flax eg and mix until combined then add in the flour, baking powder ask salt ans mix with wooden spoon until it is easier to just knead it together with you hands until a firm dough forms. Let dough rest for 5-10 minutes

Preheat oven 350

Take dough and divide in half. One half dye red, as red as you like, and leave the other half white. Now take a chunk of each color and roll into a rope about 1/2 inch thick and the same length. Place the ropes next to each other and kind of squish together to form one rope then gently start to twist the dough until it resembles a candy can twist. Cut a section any length you want ( I recommend about 4-5 inches) and place on a baking sheet, curling the top to look like a candy cane. Once you have assembled a baking sheets worth, place in oven and bake for 122-13 minutes or until the cookies are barely golden brown on bottom.

Once baked remove from oven and place on wire rack to cool. If you want, melt white choclate and coconut oil in microwave for 20-30 seconds or until almost melted. Stir together until completely melted and drizzle onto cookies.

Now eat some cookies. Or give them to you people. Or some of both.

Cookies are best for about a week at room temperature in airtight container.

In cookies Tags peppermint sugar cookies, cookies, peppermint, candy cane, vegan, dessert, christmas, holiday, white chocolate, easy, fun, winter
Comment

Maple glazed sweet potato cookies

December 11, 2021 Colleen Stem
IMG_8161.jpg
IMG_8244.jpg

If you are not making cookies right now then what are you even doing?

But seriously, I think that December is basically a month long cookie baking marathon and we all should be participating by baking up a least one batch of cookies. If not for yourself (although you really should be doing it for yourself) then for others. What better way to say something nice without saying anything at all then with homemade cookies? Cookie sharing is a language all on it’s own.

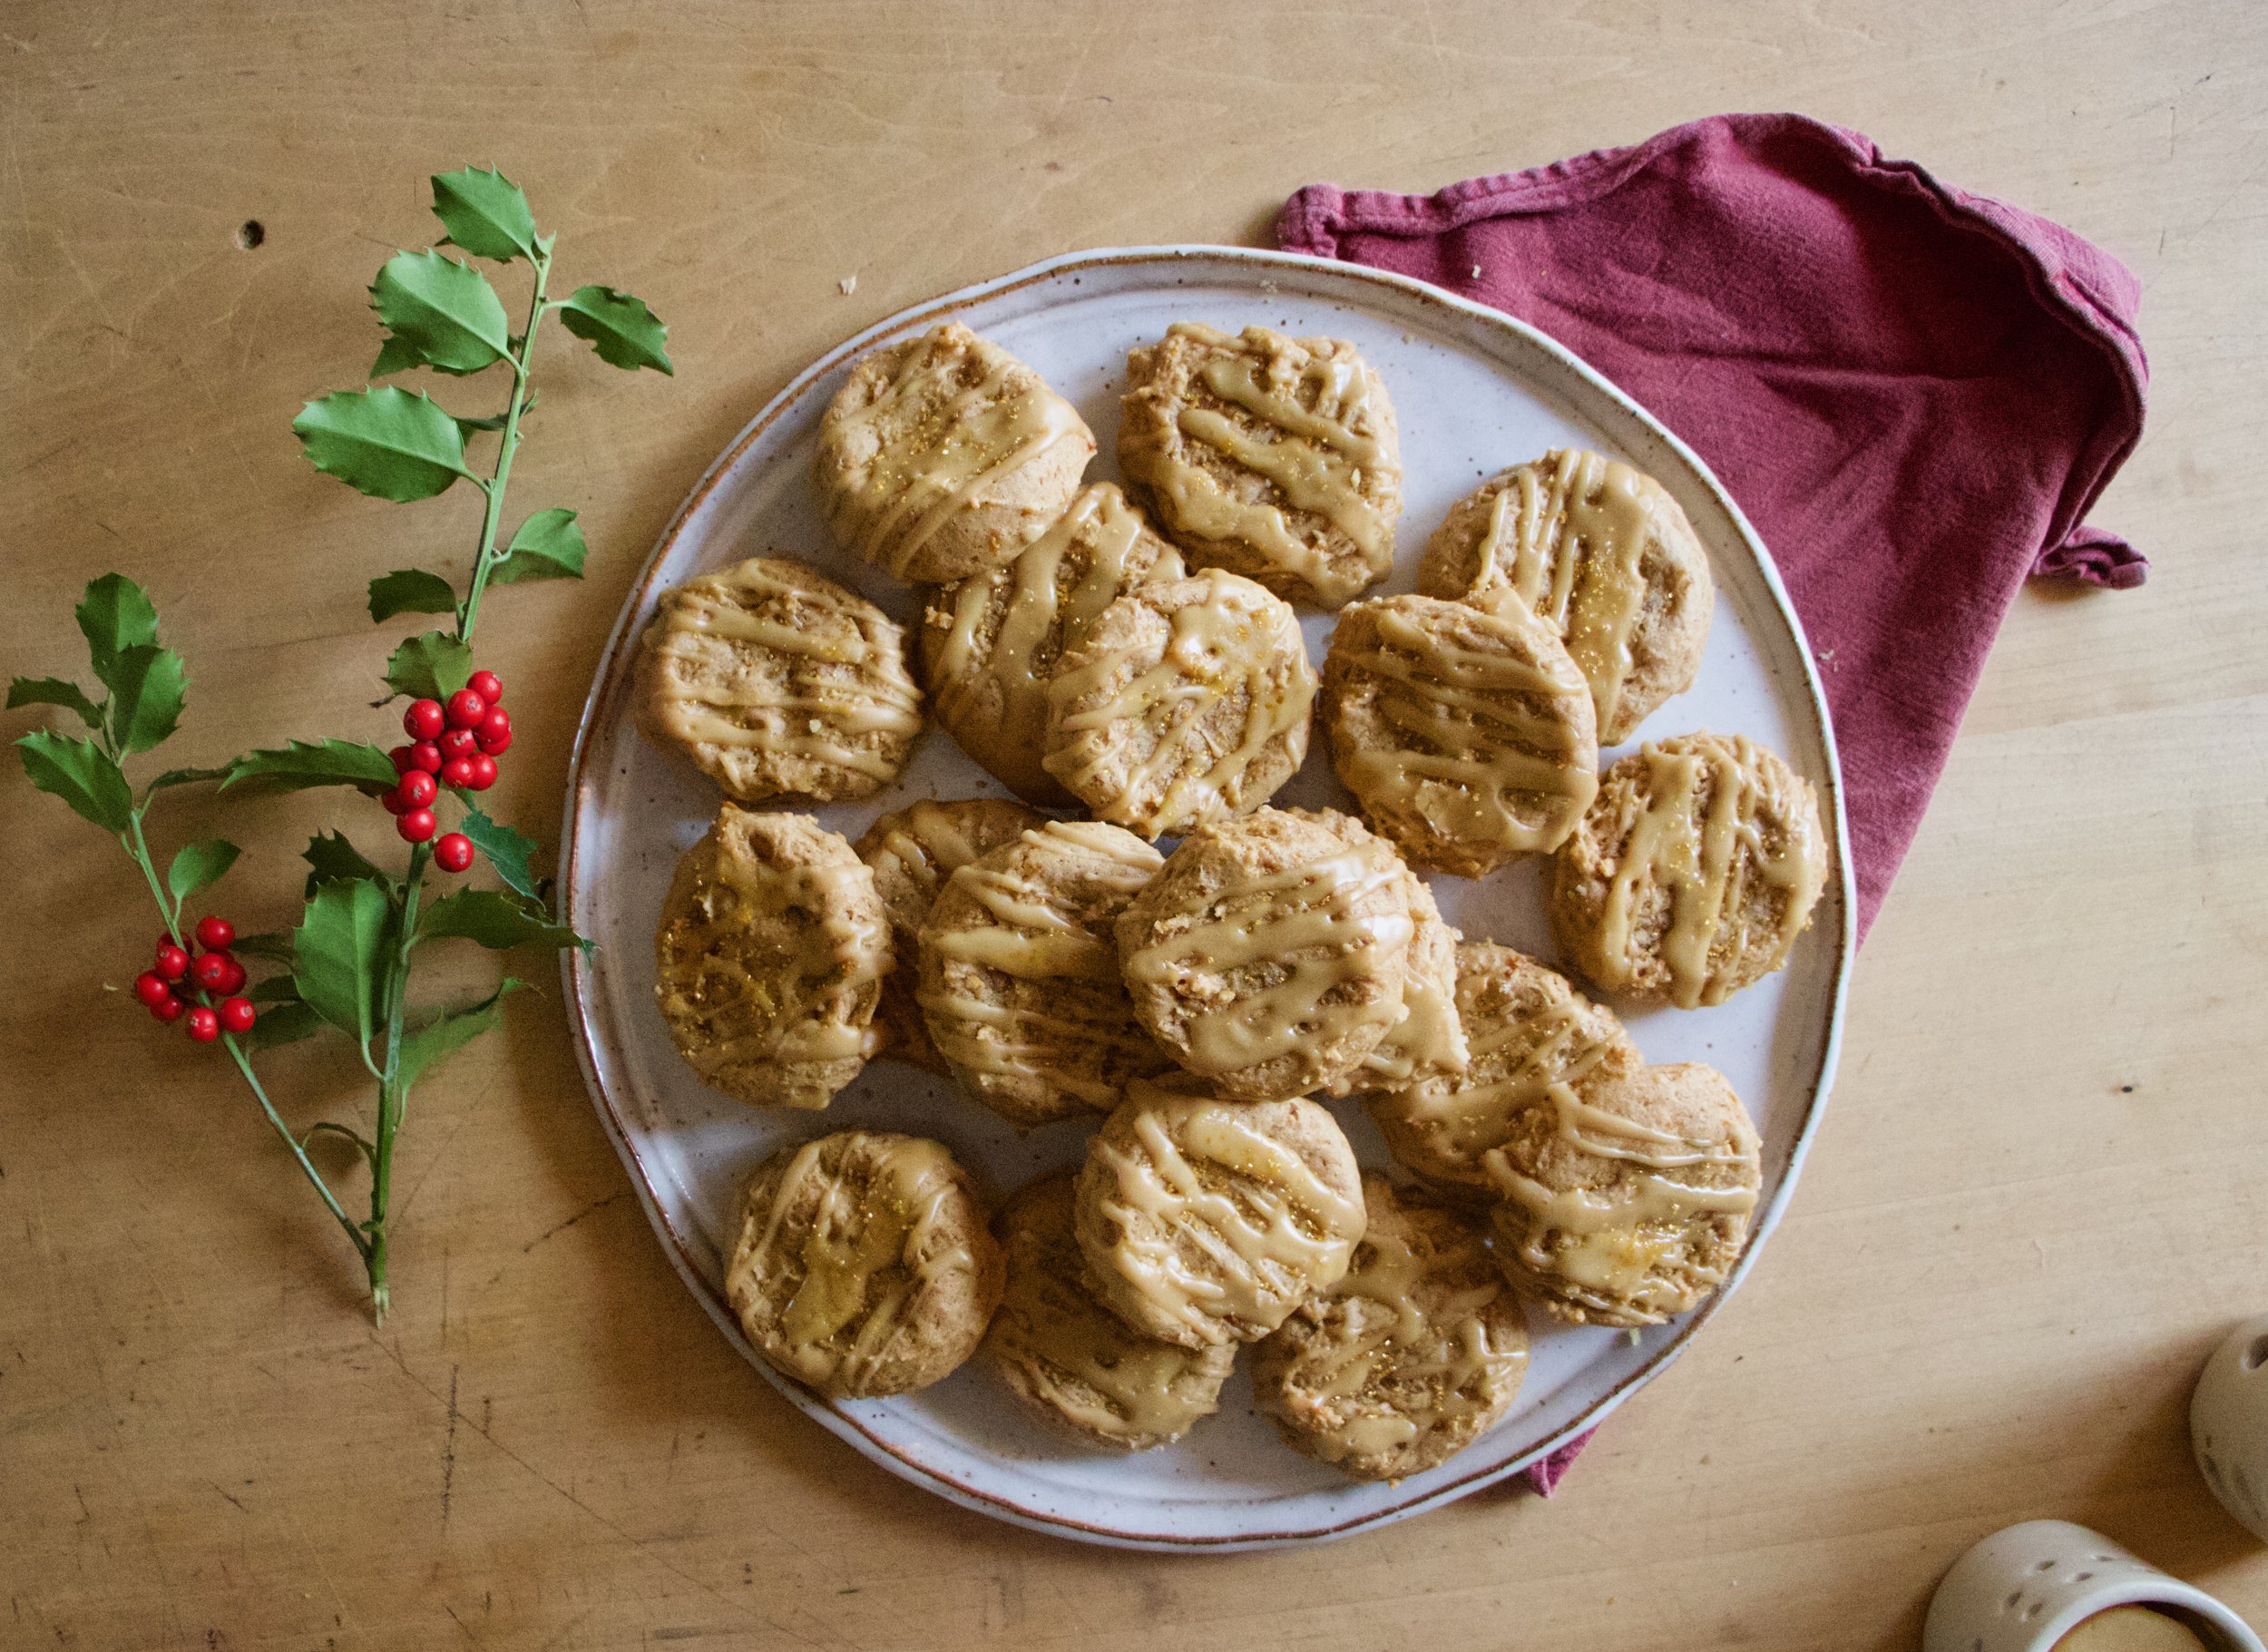
These here cookies are of the sweet potato kind, almost like pumpkin cookie, just a little less cakey and a little more sweet potatoy and are drizzled all over with a nice thick maple glaze that really just ties the hole cookie experience together. They are pretty simple to make, no extra steps or difficult anything. Just a spoon a scoop and the want and or need for a delicious cookie situation.

This cookie is going back into my baking marathon rotation next week when I go all out and bake like 6 batches of cookies .They were a hit and even requested so, you know, got to make the people happy. More like I have a couple extra sweet potatoes. HA!

Now to the cookies!

The stuff. Mashed sweet potato, flour, baking powder and soda, salt, cinnamon, brown sugar, coconut oil, vanilla, plant milk, powdered sugar, and last but not least, maple syrup.
IMG_8085.jpg
IMG_8101 2.jpg
IMG_8109.jpg
IMG_8114.jpg

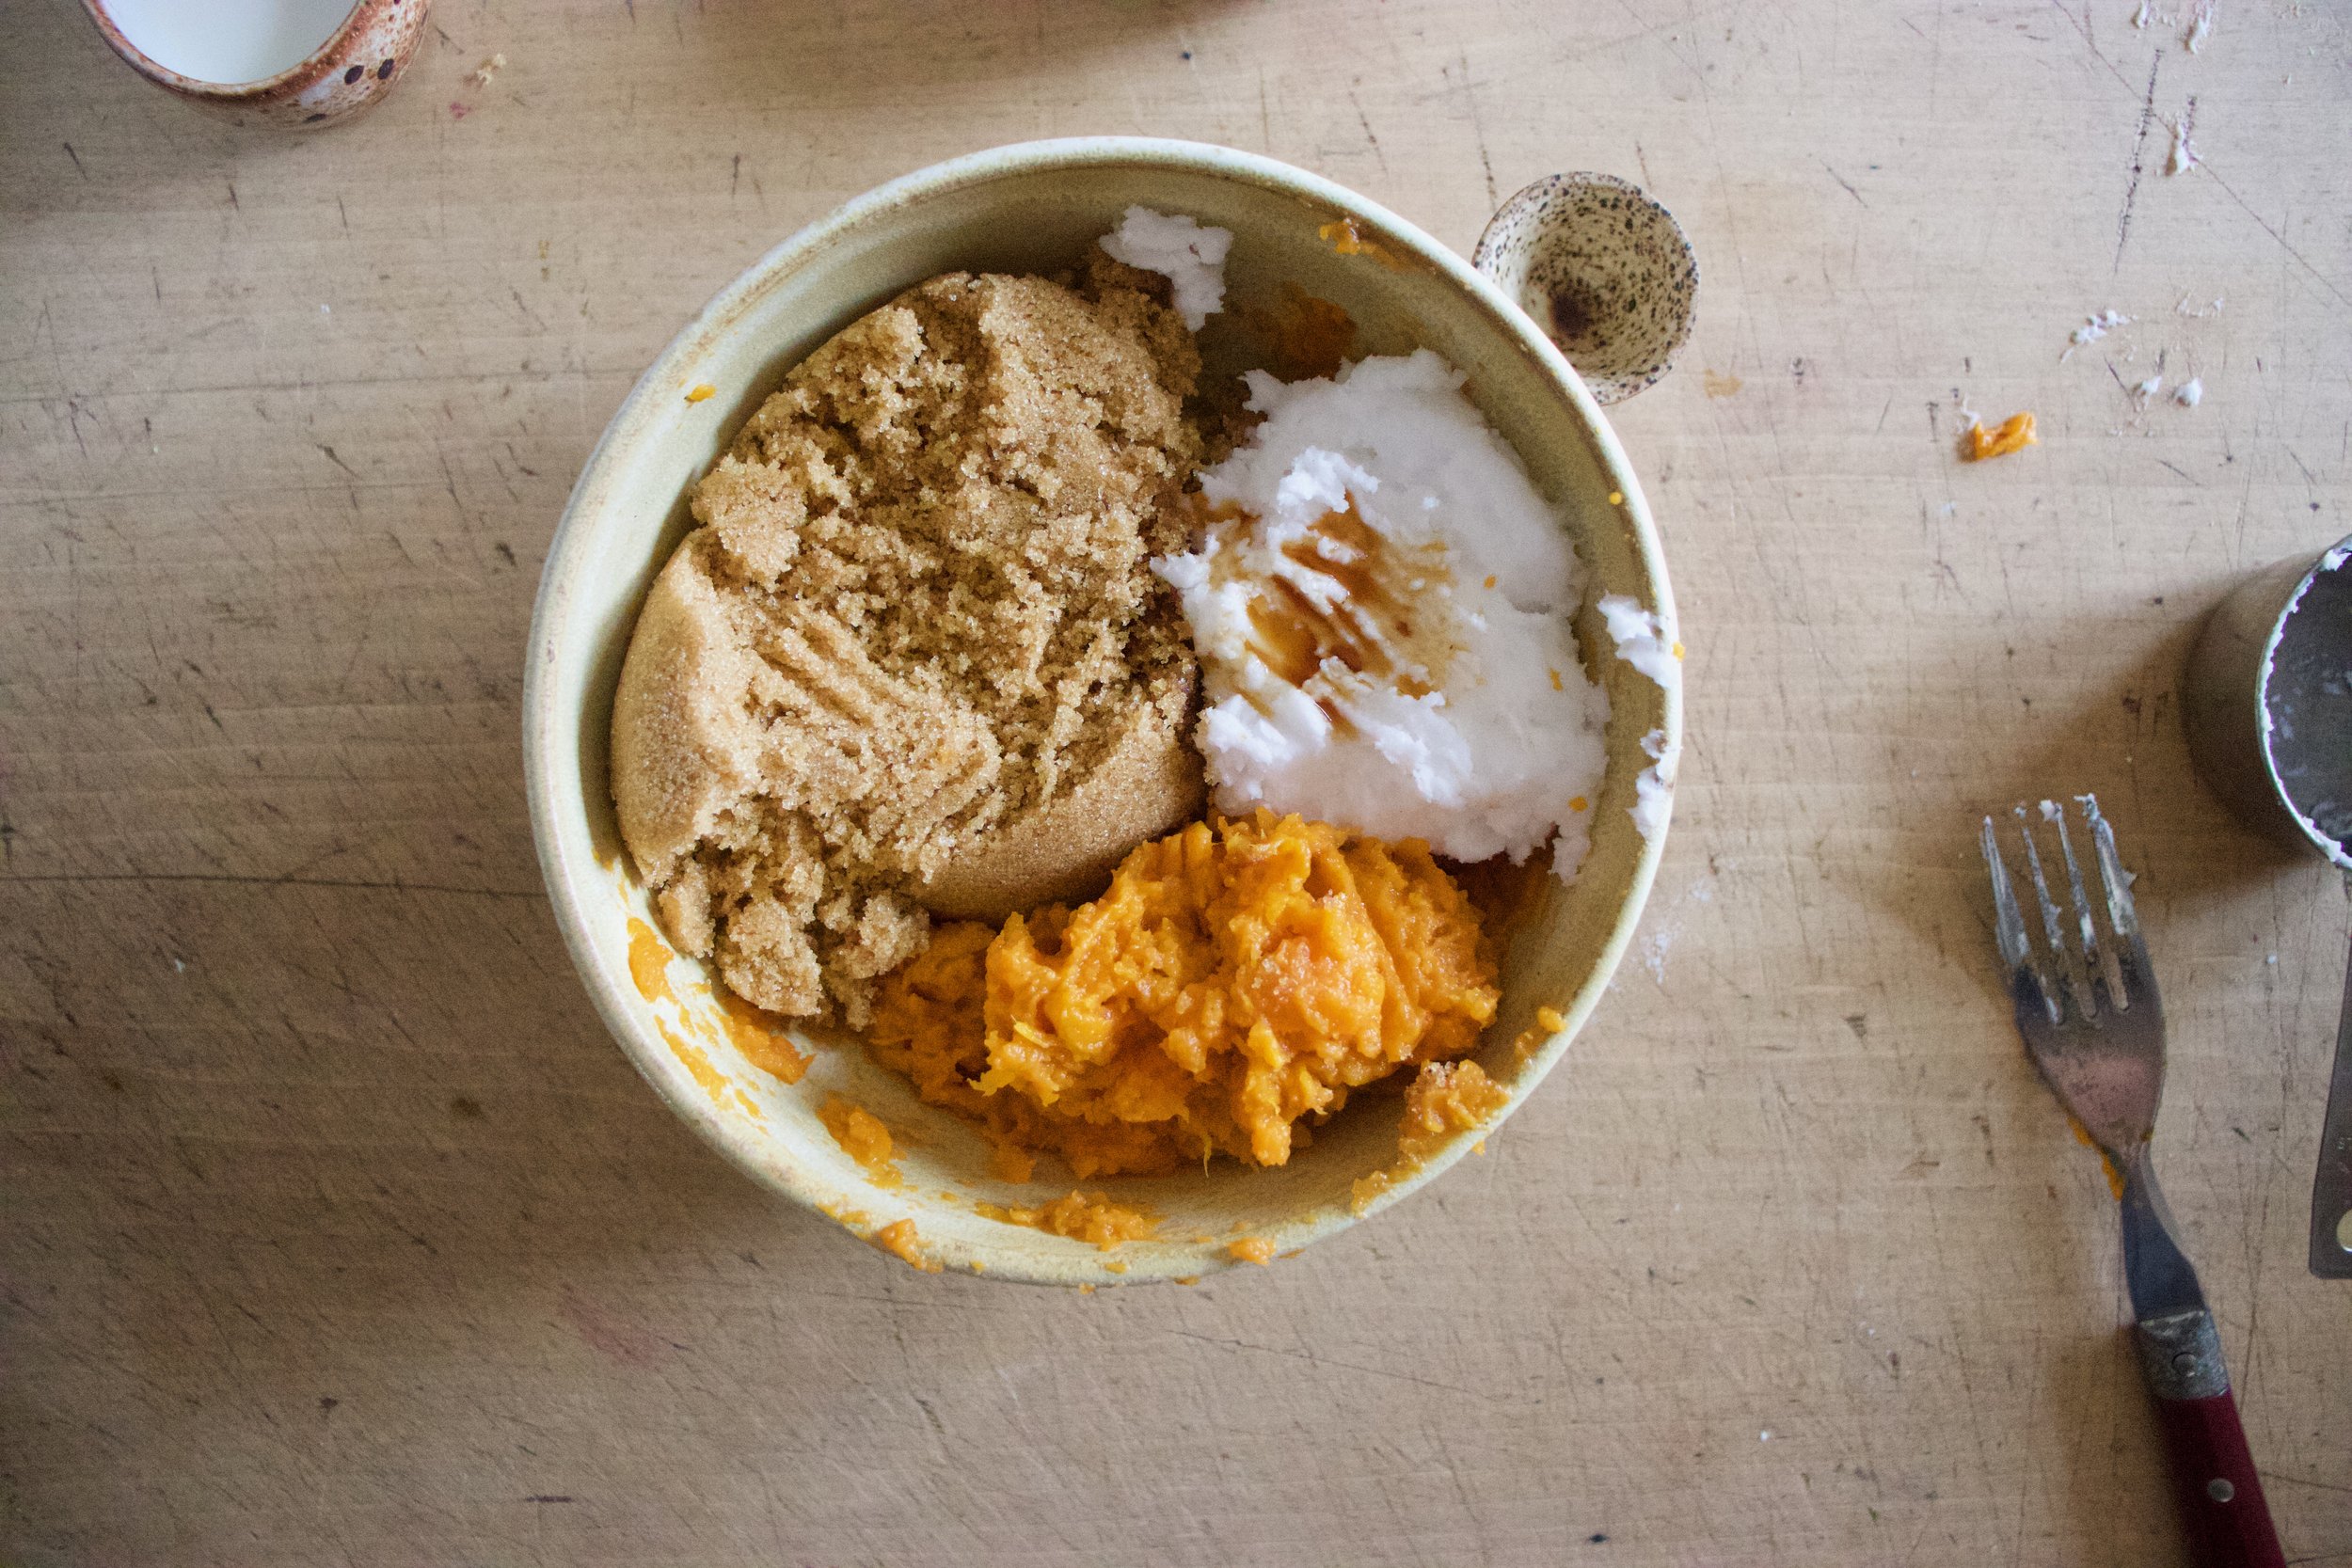
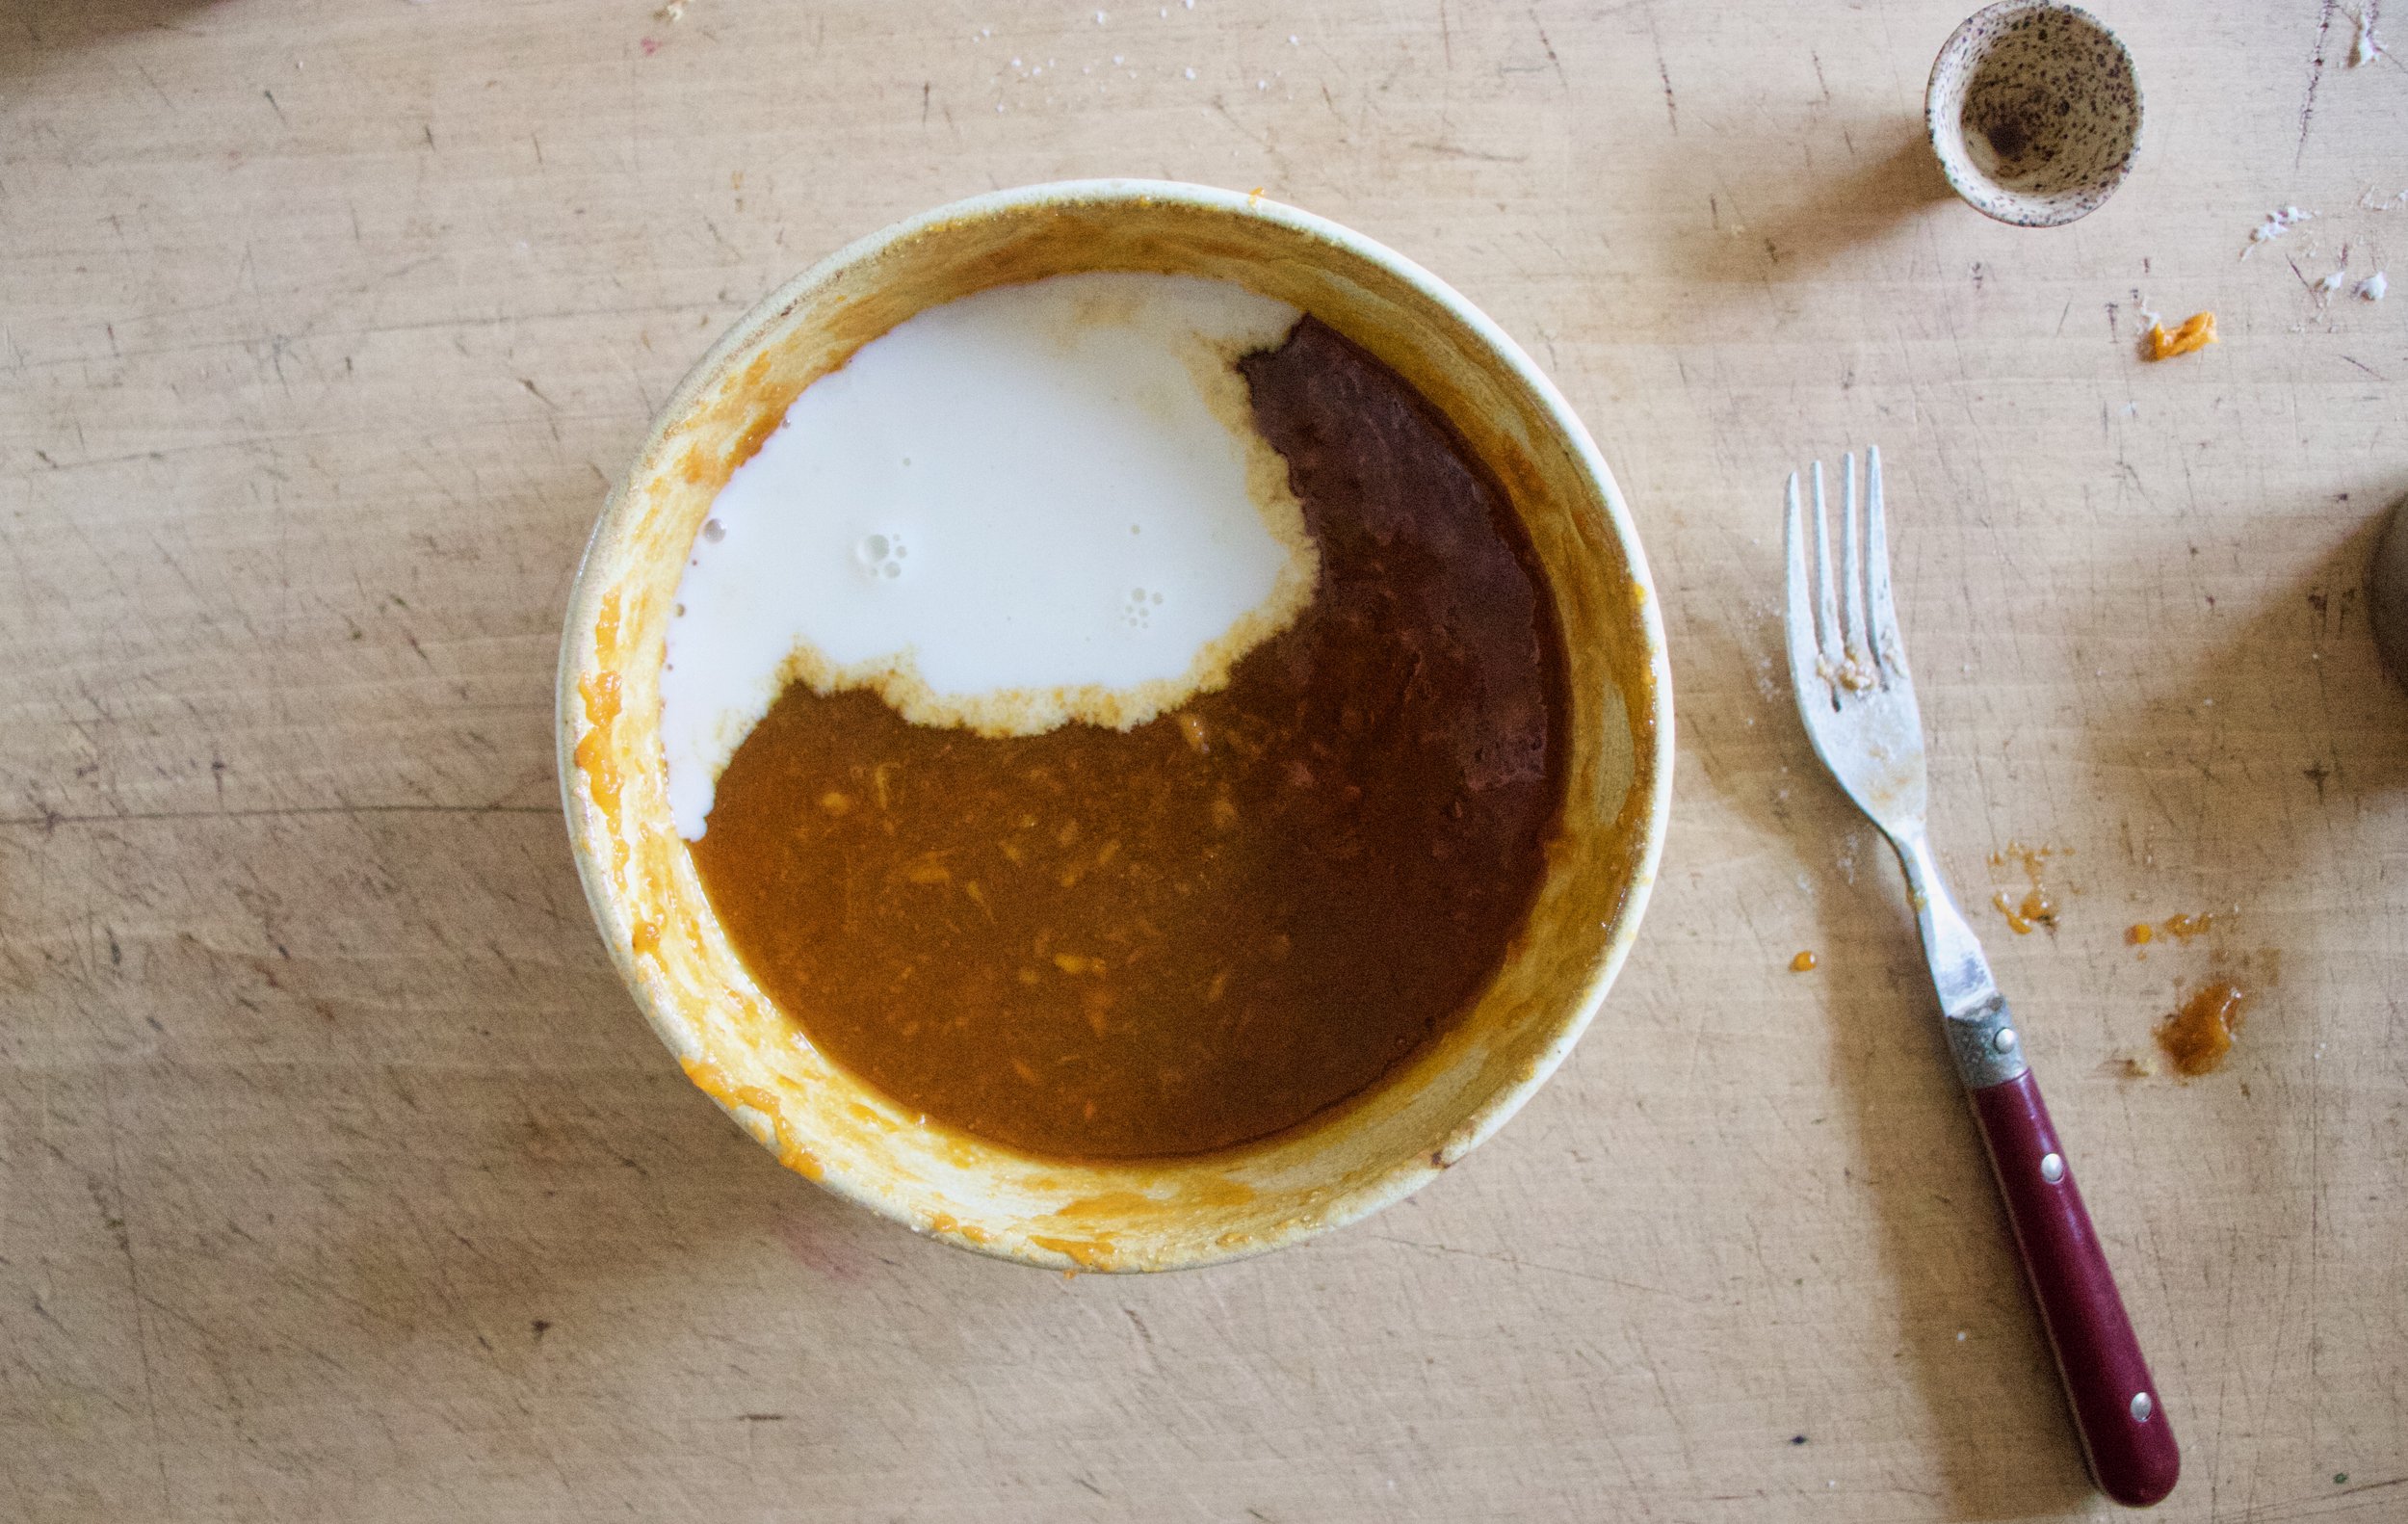
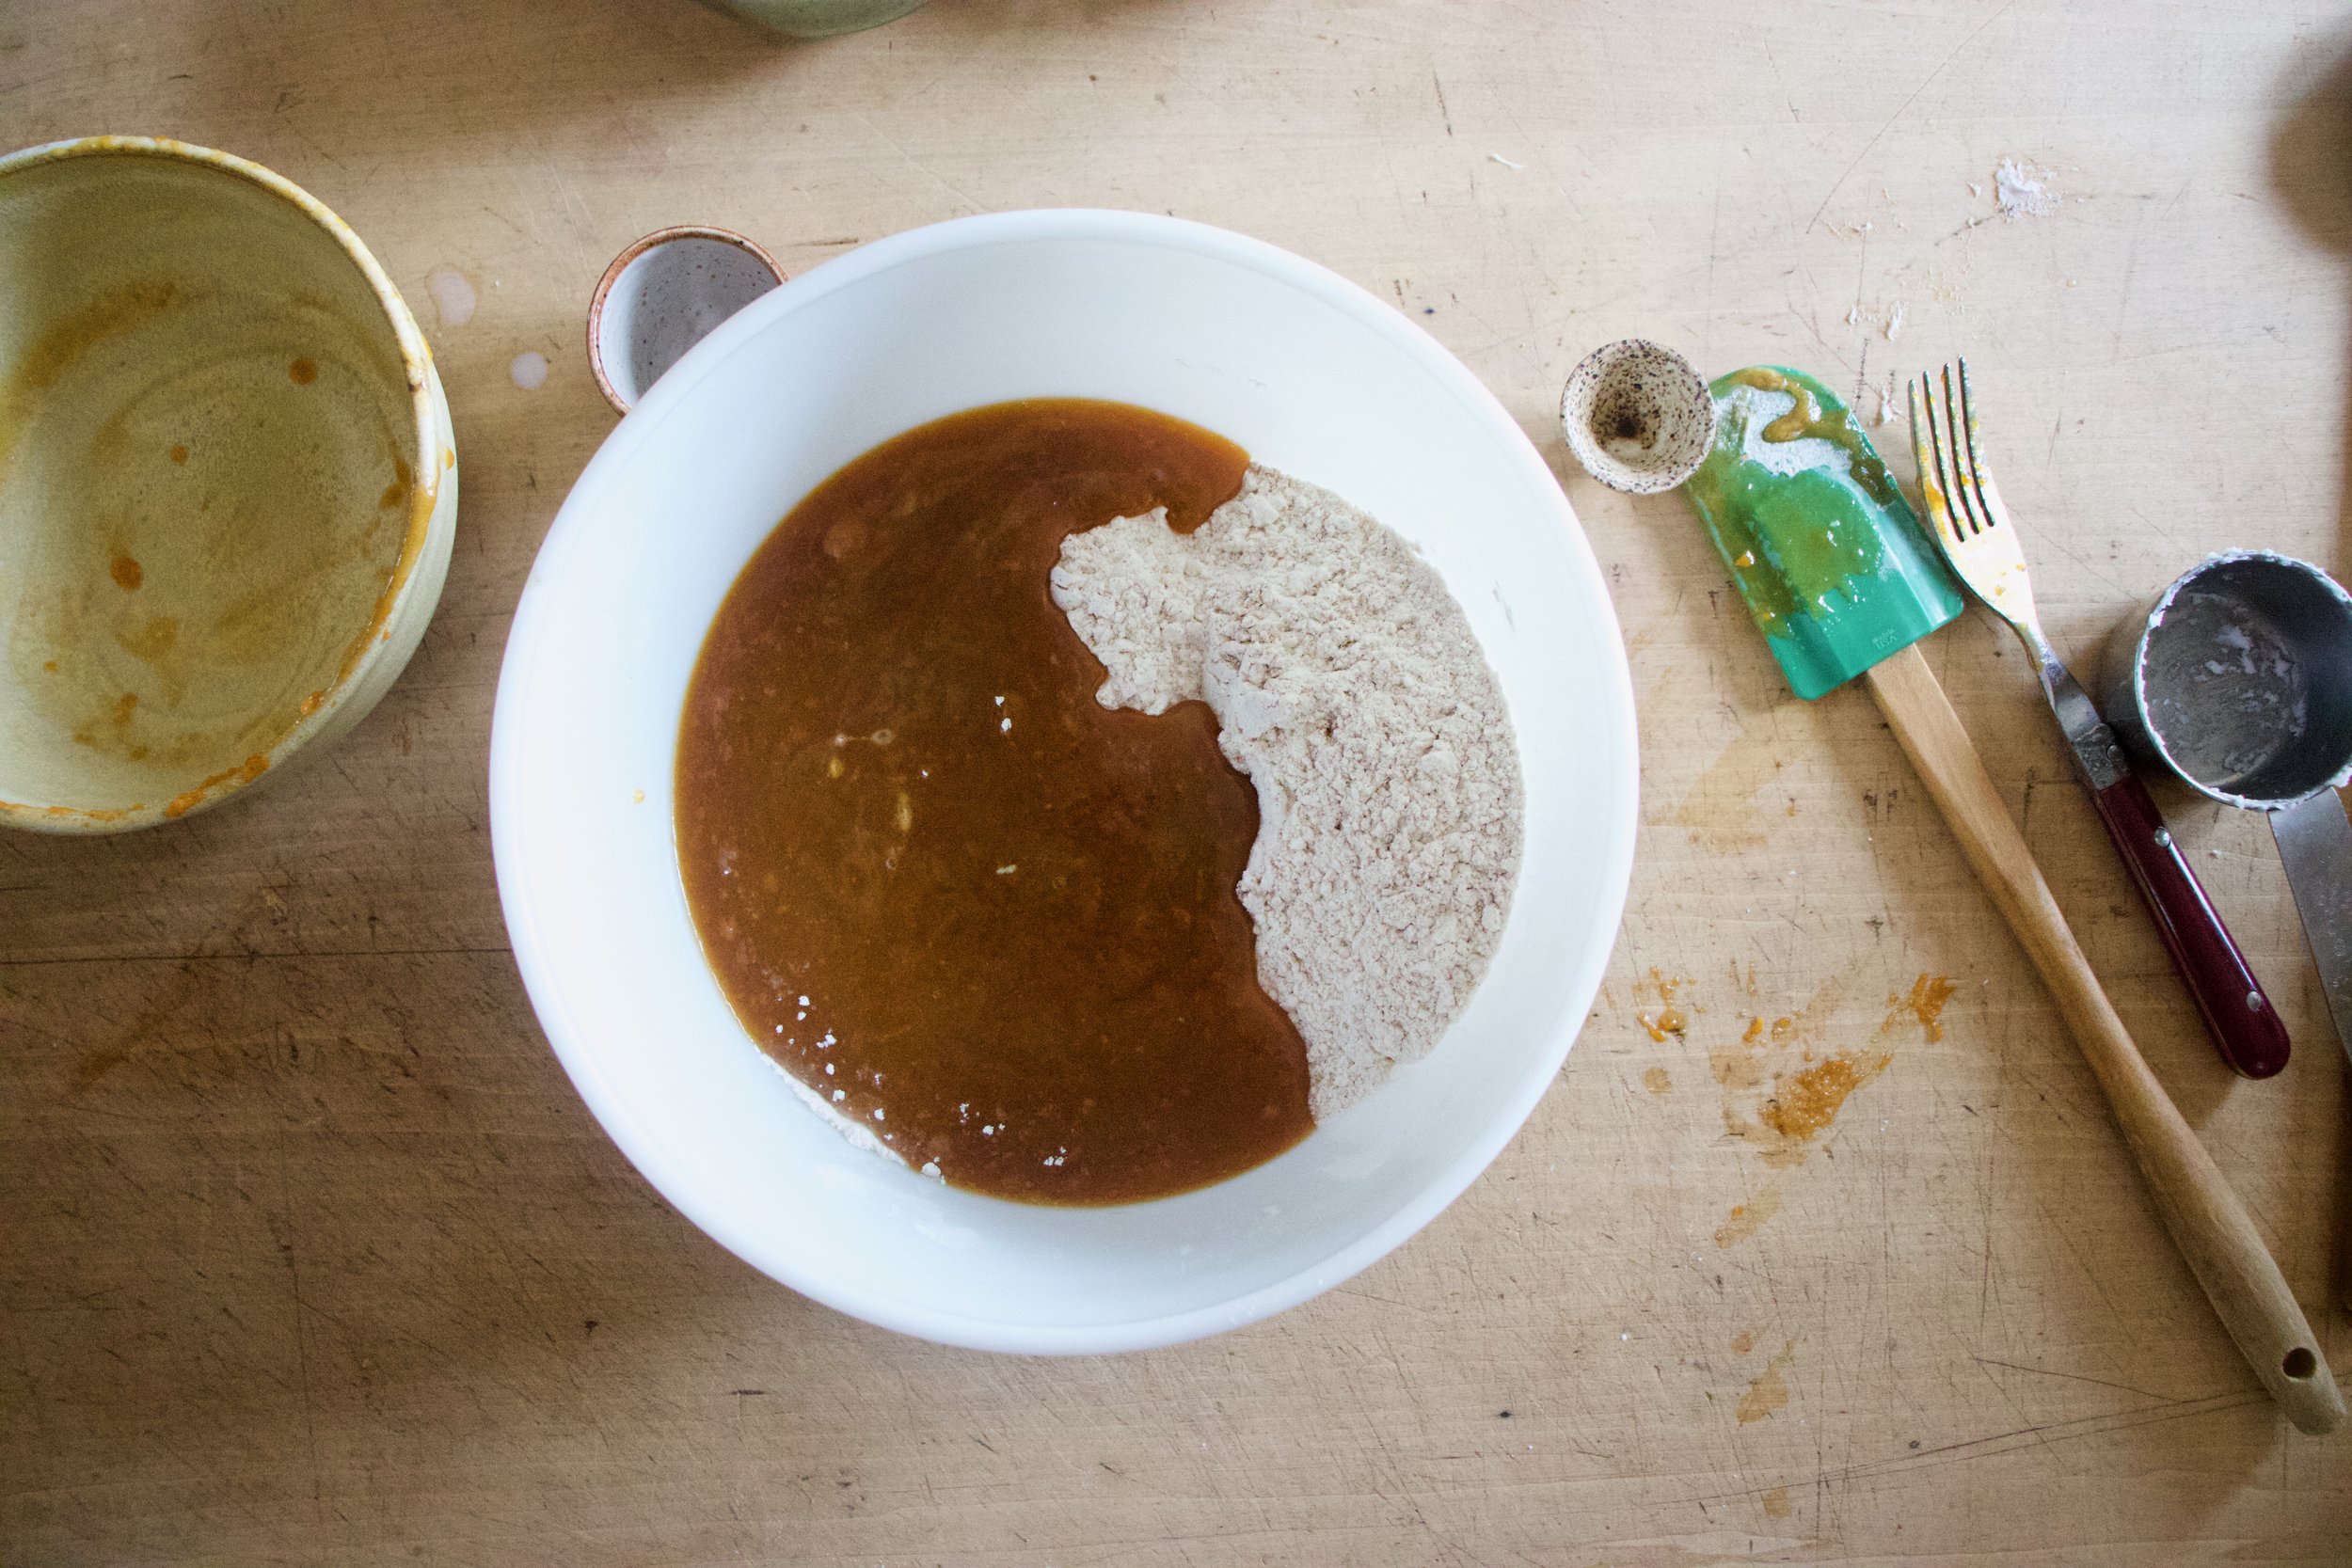
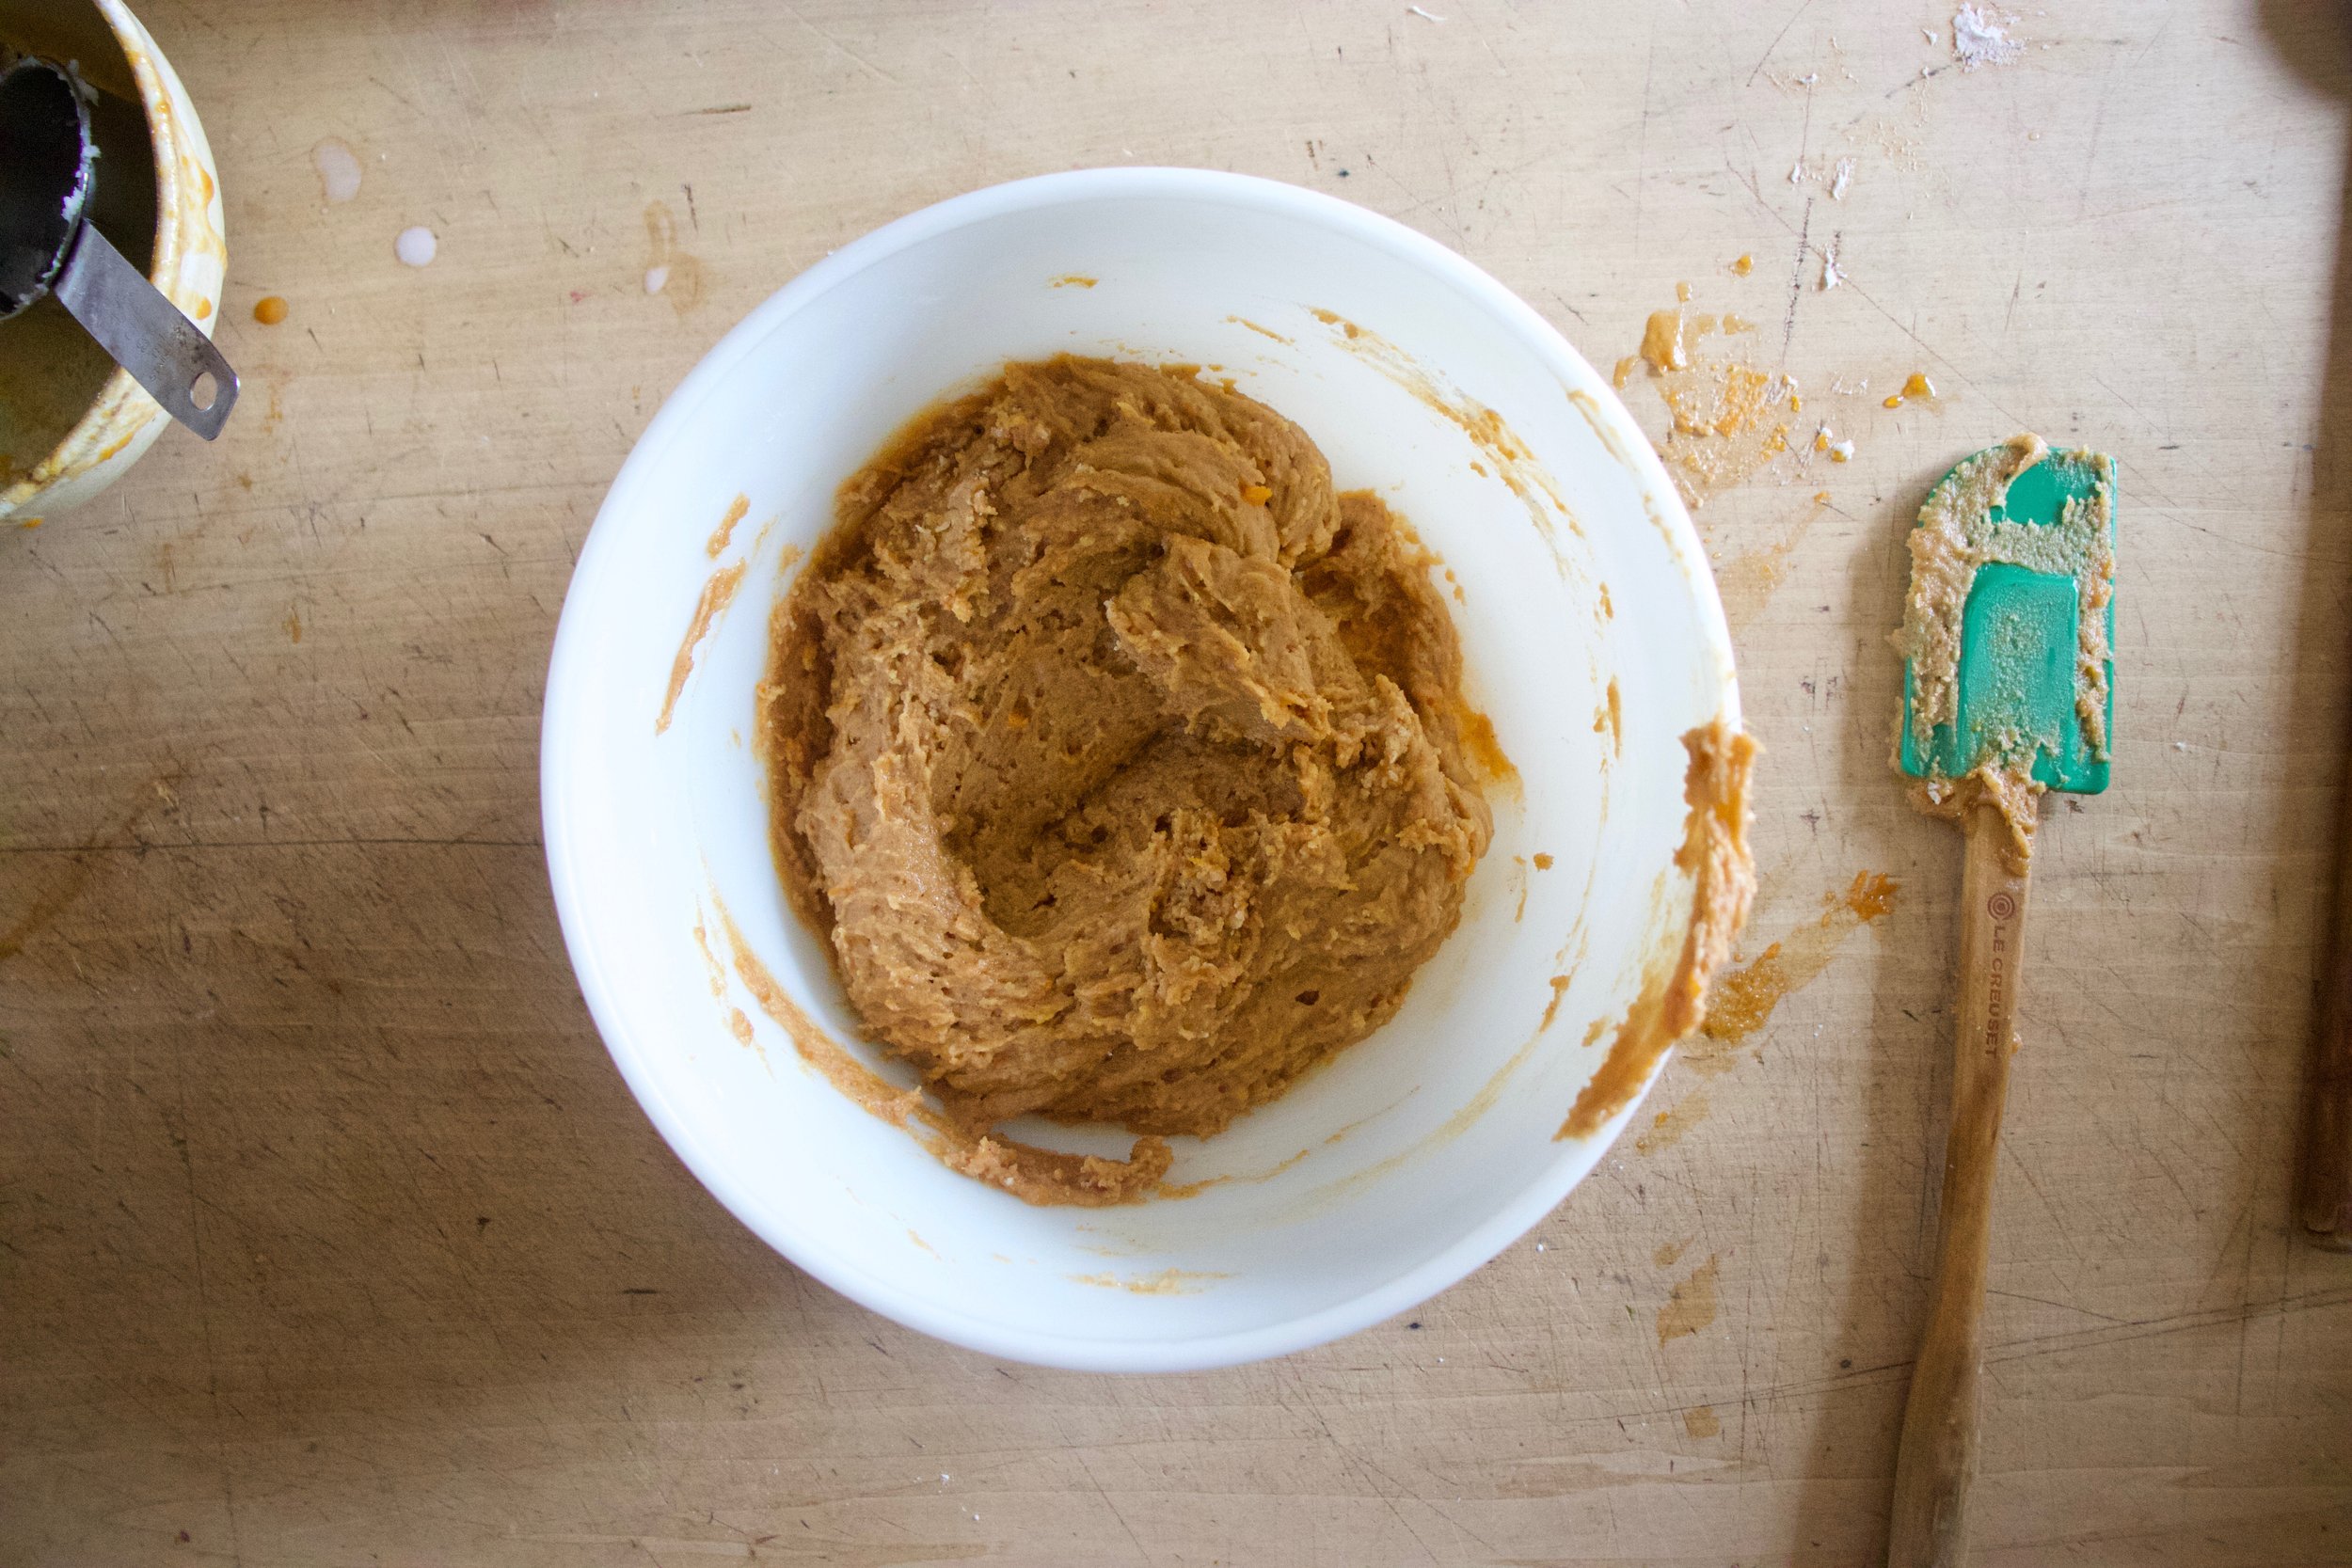
Start by mixing the dry ingredients together into a big bowl, Then mix the sweet potato, oil, sugar, vanilla, and oh the milk in a separate bowl. Once mixed and completely combined, dump the wet into the dry and gently mix until a combined and dough has formed.

Now scoop equal sizes amounts of dough onto a cookie sheet the pop them into a preheated oven.

Some minutes later they are done. Nic ans golden brown and slightly domed. A little trick I do is once they come out of the oven I right away take two fingers and just slightly push he dome down a bit. It makes the cookies a little less pillowy and more chewy.

And then place them on a wire rack to cool.

IMG_8138.jpg
IMG_8142.jpg

In the meantime make the maple glaze. Mix maple and powdered sugar together until completely combined and is thick put still pourable.

Once cookies have cooled, drizzle on the maple glaze. And if you are feeling like it, add a little sprinkle situation. I added gold sparkly granulated sugar. It was a good idea.

As for the rest, you know what to do. Eat. share, eat some more. Do you.

-C


Maple glazed sweet potato cookies

maskes about 20

  • 2 cup all purpose flour

  • 1/2 reason baking soda

  • 1 teaspoon baking powder

  • 1/2 teaspoon salt

  • 3/4 cup sweet potato mash

  • 3/4 cup brown sugar

  • 2 teaspoons cinnamon

  • 1 teaspoon vanilla

  • 1/3 cup melted but cooled coconut oil

  • 2 tablespoons maple syrup (real shit please )

  • 3/4 cup powdered sugar

  • 1-2 teaspoons plant milk

Preheat oven to 350

In a large bowl whisk together the flour, baking soda and powder, salt, and cinnamon. In a separate bowl mix together the sweet potato mash, brown sugar, and coconut oil. Once completely combined add in the vanilla and milk and mix.

Pour wet ingredients into the dry and mix until combined and a dough forms. Scoop equal sized ball of dough and place on a baking sheet. The cookies will expand but not a lot. When the sheet is full, place into preheated oven and bake cookies for 10-12 minutes or unit they have puffed and turned a nice golden brown. Remove cookies from oven and very gently give each cookie a little smoosh, just to get rid of the dome. Transfer cookies to a wire rack to cool.

While cookies are cooling make glaze. Mix powdered sugar maple, and 1 teaspoon milk together until completely combined and glaze forms into a thick yet pourable consistency. If it is too thick add in a splash more of milk.

Once cookies are cooled, drizzle on maple glaze. And if you want, add a sprinkle situation before the glaze sets and hardens .

Eat.

Cookies will be good for about a week in an airtight container at room temperature. They also freeze amazingly.

In cookies, Vegan Tags sweet potato cookies, cookies, vegan, maple glazed, plant based, simple, easy, holiday, food, cookie, snack, desert, dairy free, egg free
Comment

Roasted Celeriac and Squash with Apples and Onions

November 13, 2021 Colleen Stem

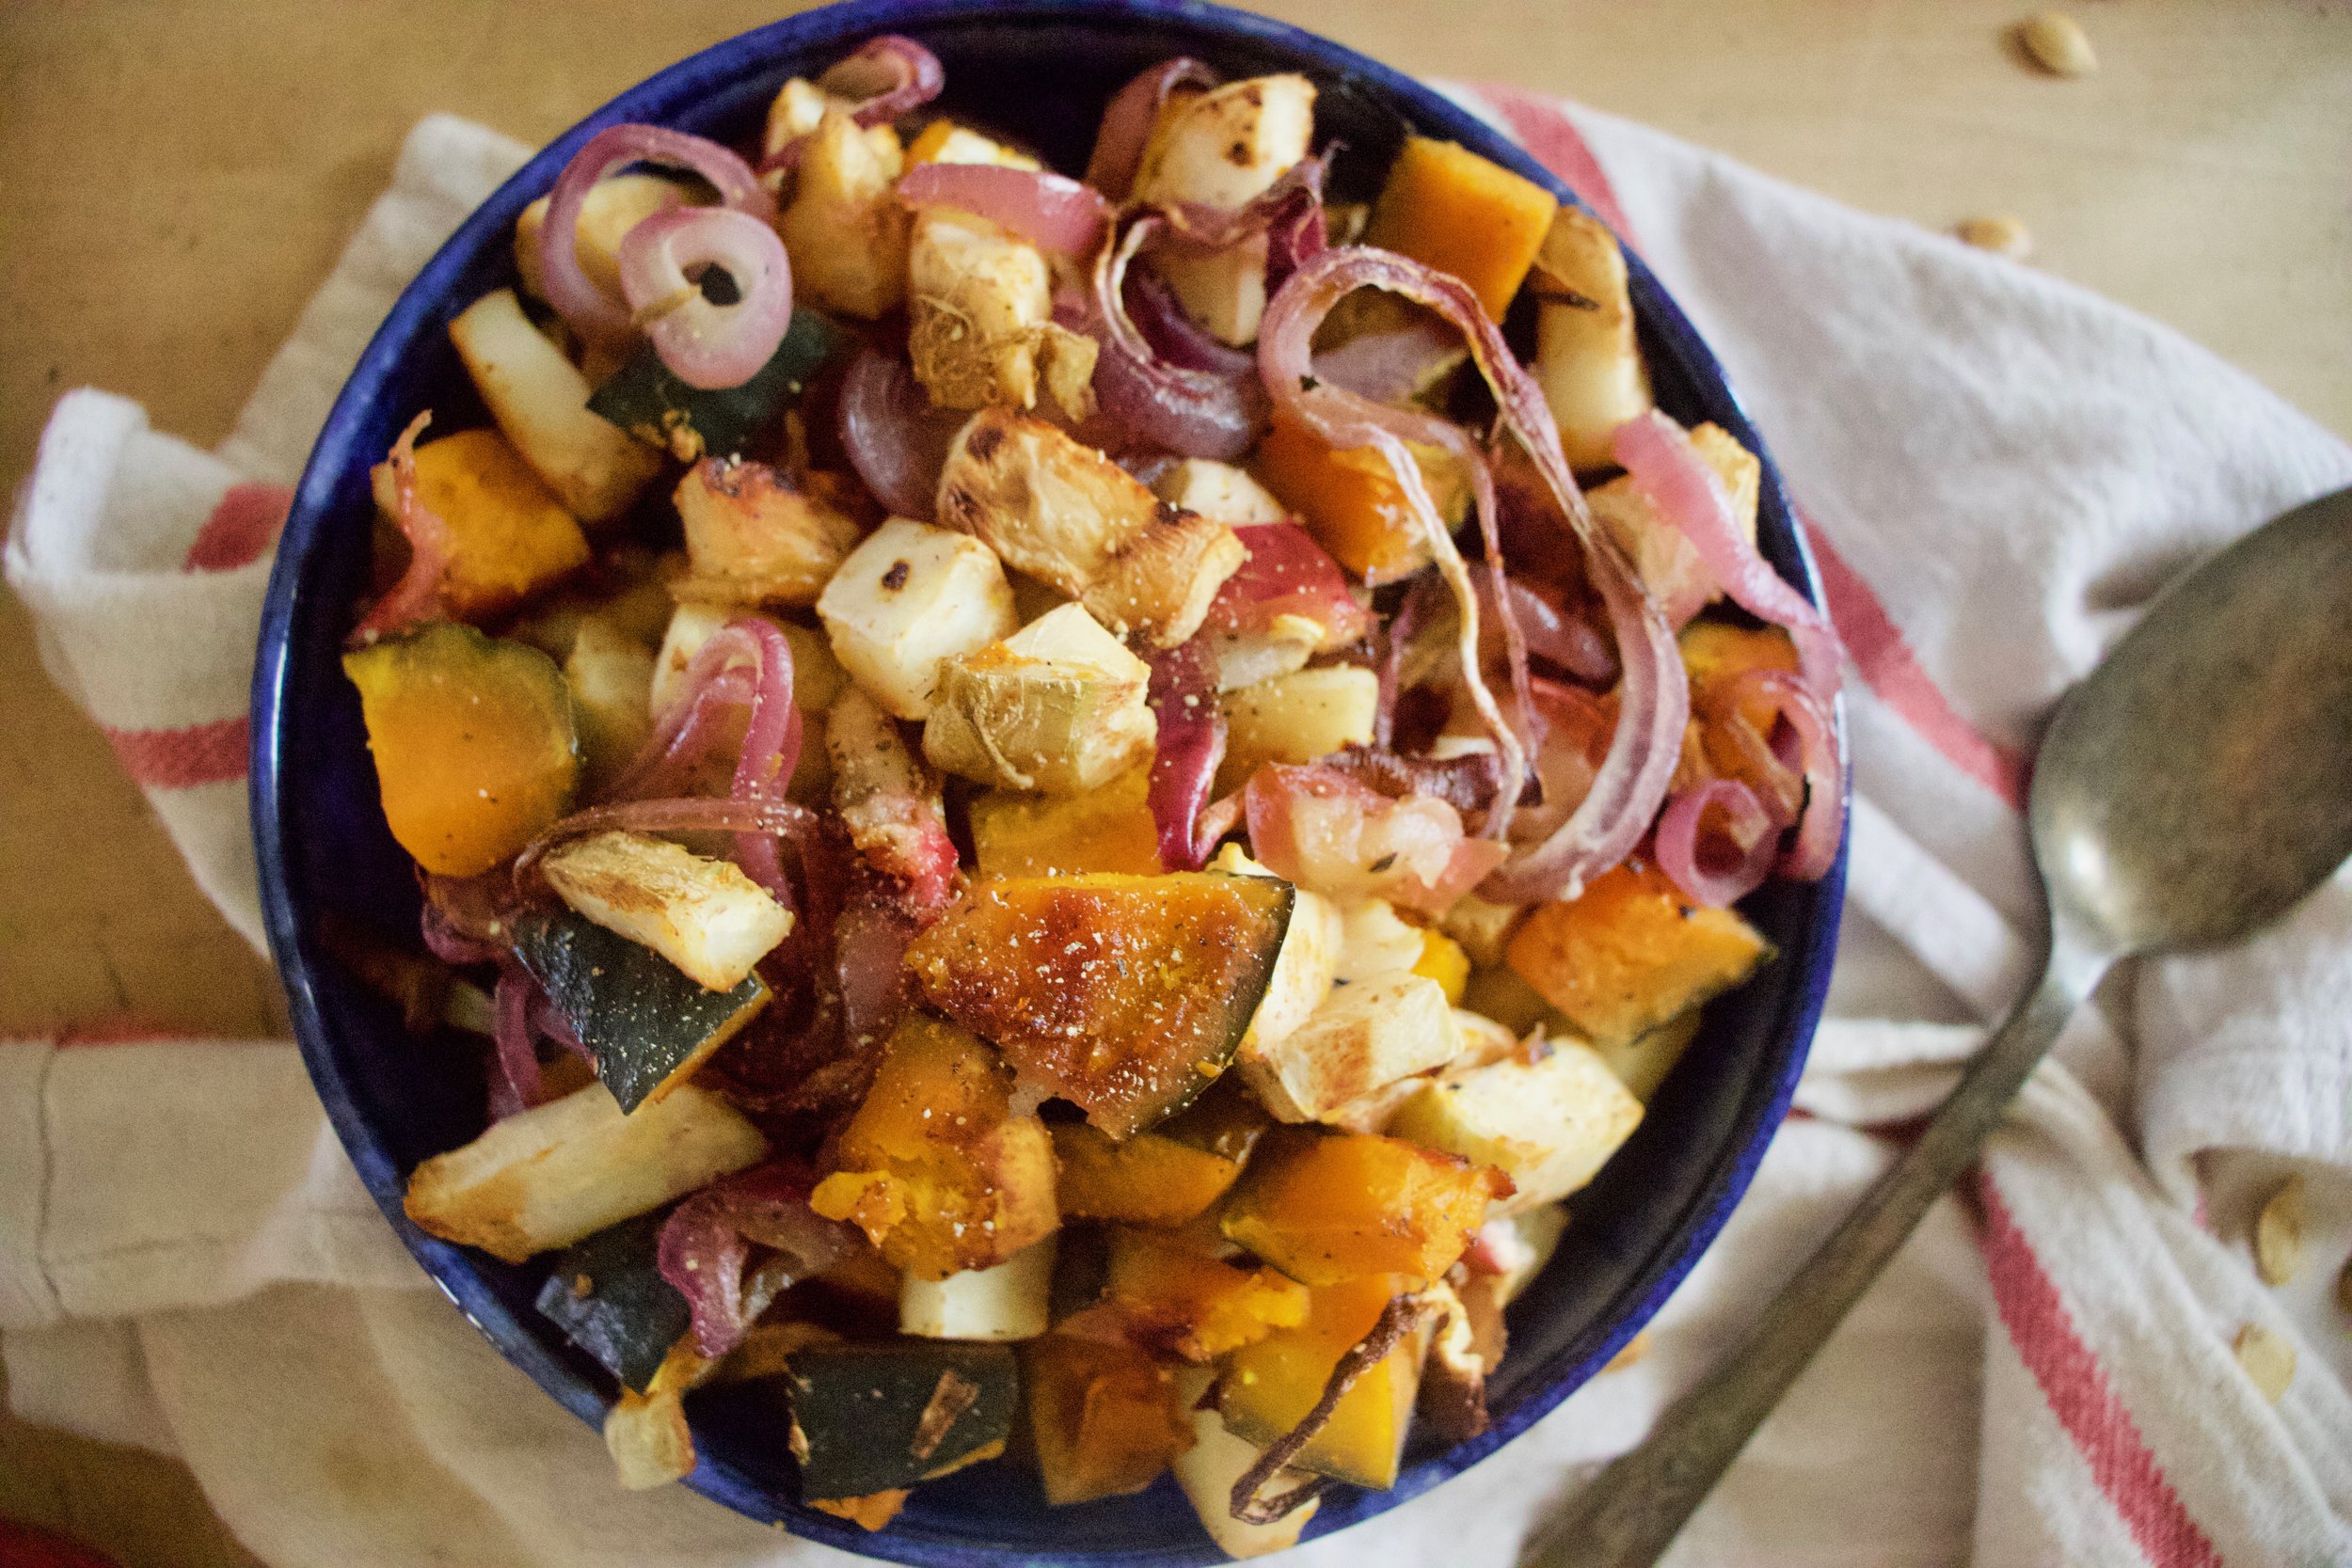
One of my most favorite root veggie has arrived in the farm share…Celeriac, also know as celery root and nothing has made me happier (with like food stuff)!. I know a lot of people do not know the deliciousness of the root and that makes me a little sad for them, but hopefully this simple little recipe inspires you to go get some and try it. Yeah sure it looks a little crazy, a little gnarly, but what do looks got to do with t? Celeriac taste like the best celery/apple/potato all mixed together but only better. And when it is roasted it gets nice a soft and just so freaking tasty. When I pick up my share, I make sure to get enough celeriac to eat a whole bulb a day.

So now that we all know how amazing celeriac is, we can roast it with some other amazing stuff. Squash, apples, and onions. All tossed together. All roasted til tender. All super delicious on their own but maybe even better together. A easy little dish that is perfect to make for a quiet evening at home, a mid day snack, breakfast, or to place on the table at any holiday meal. It is that versatile and really, you don’t need to have a specific reason to make it, just do. You won’t be sorry.

Now to all the roasted things!

The stuff. A large celeriac bulb, a small kobocha squash, a couple apples, a couple onions, apple cider vinegar, and salt and pepper.

IMG_7804.jpg
IMG_7805.jpg
IMG_7810.jpg
IMG_7823 2.jpg

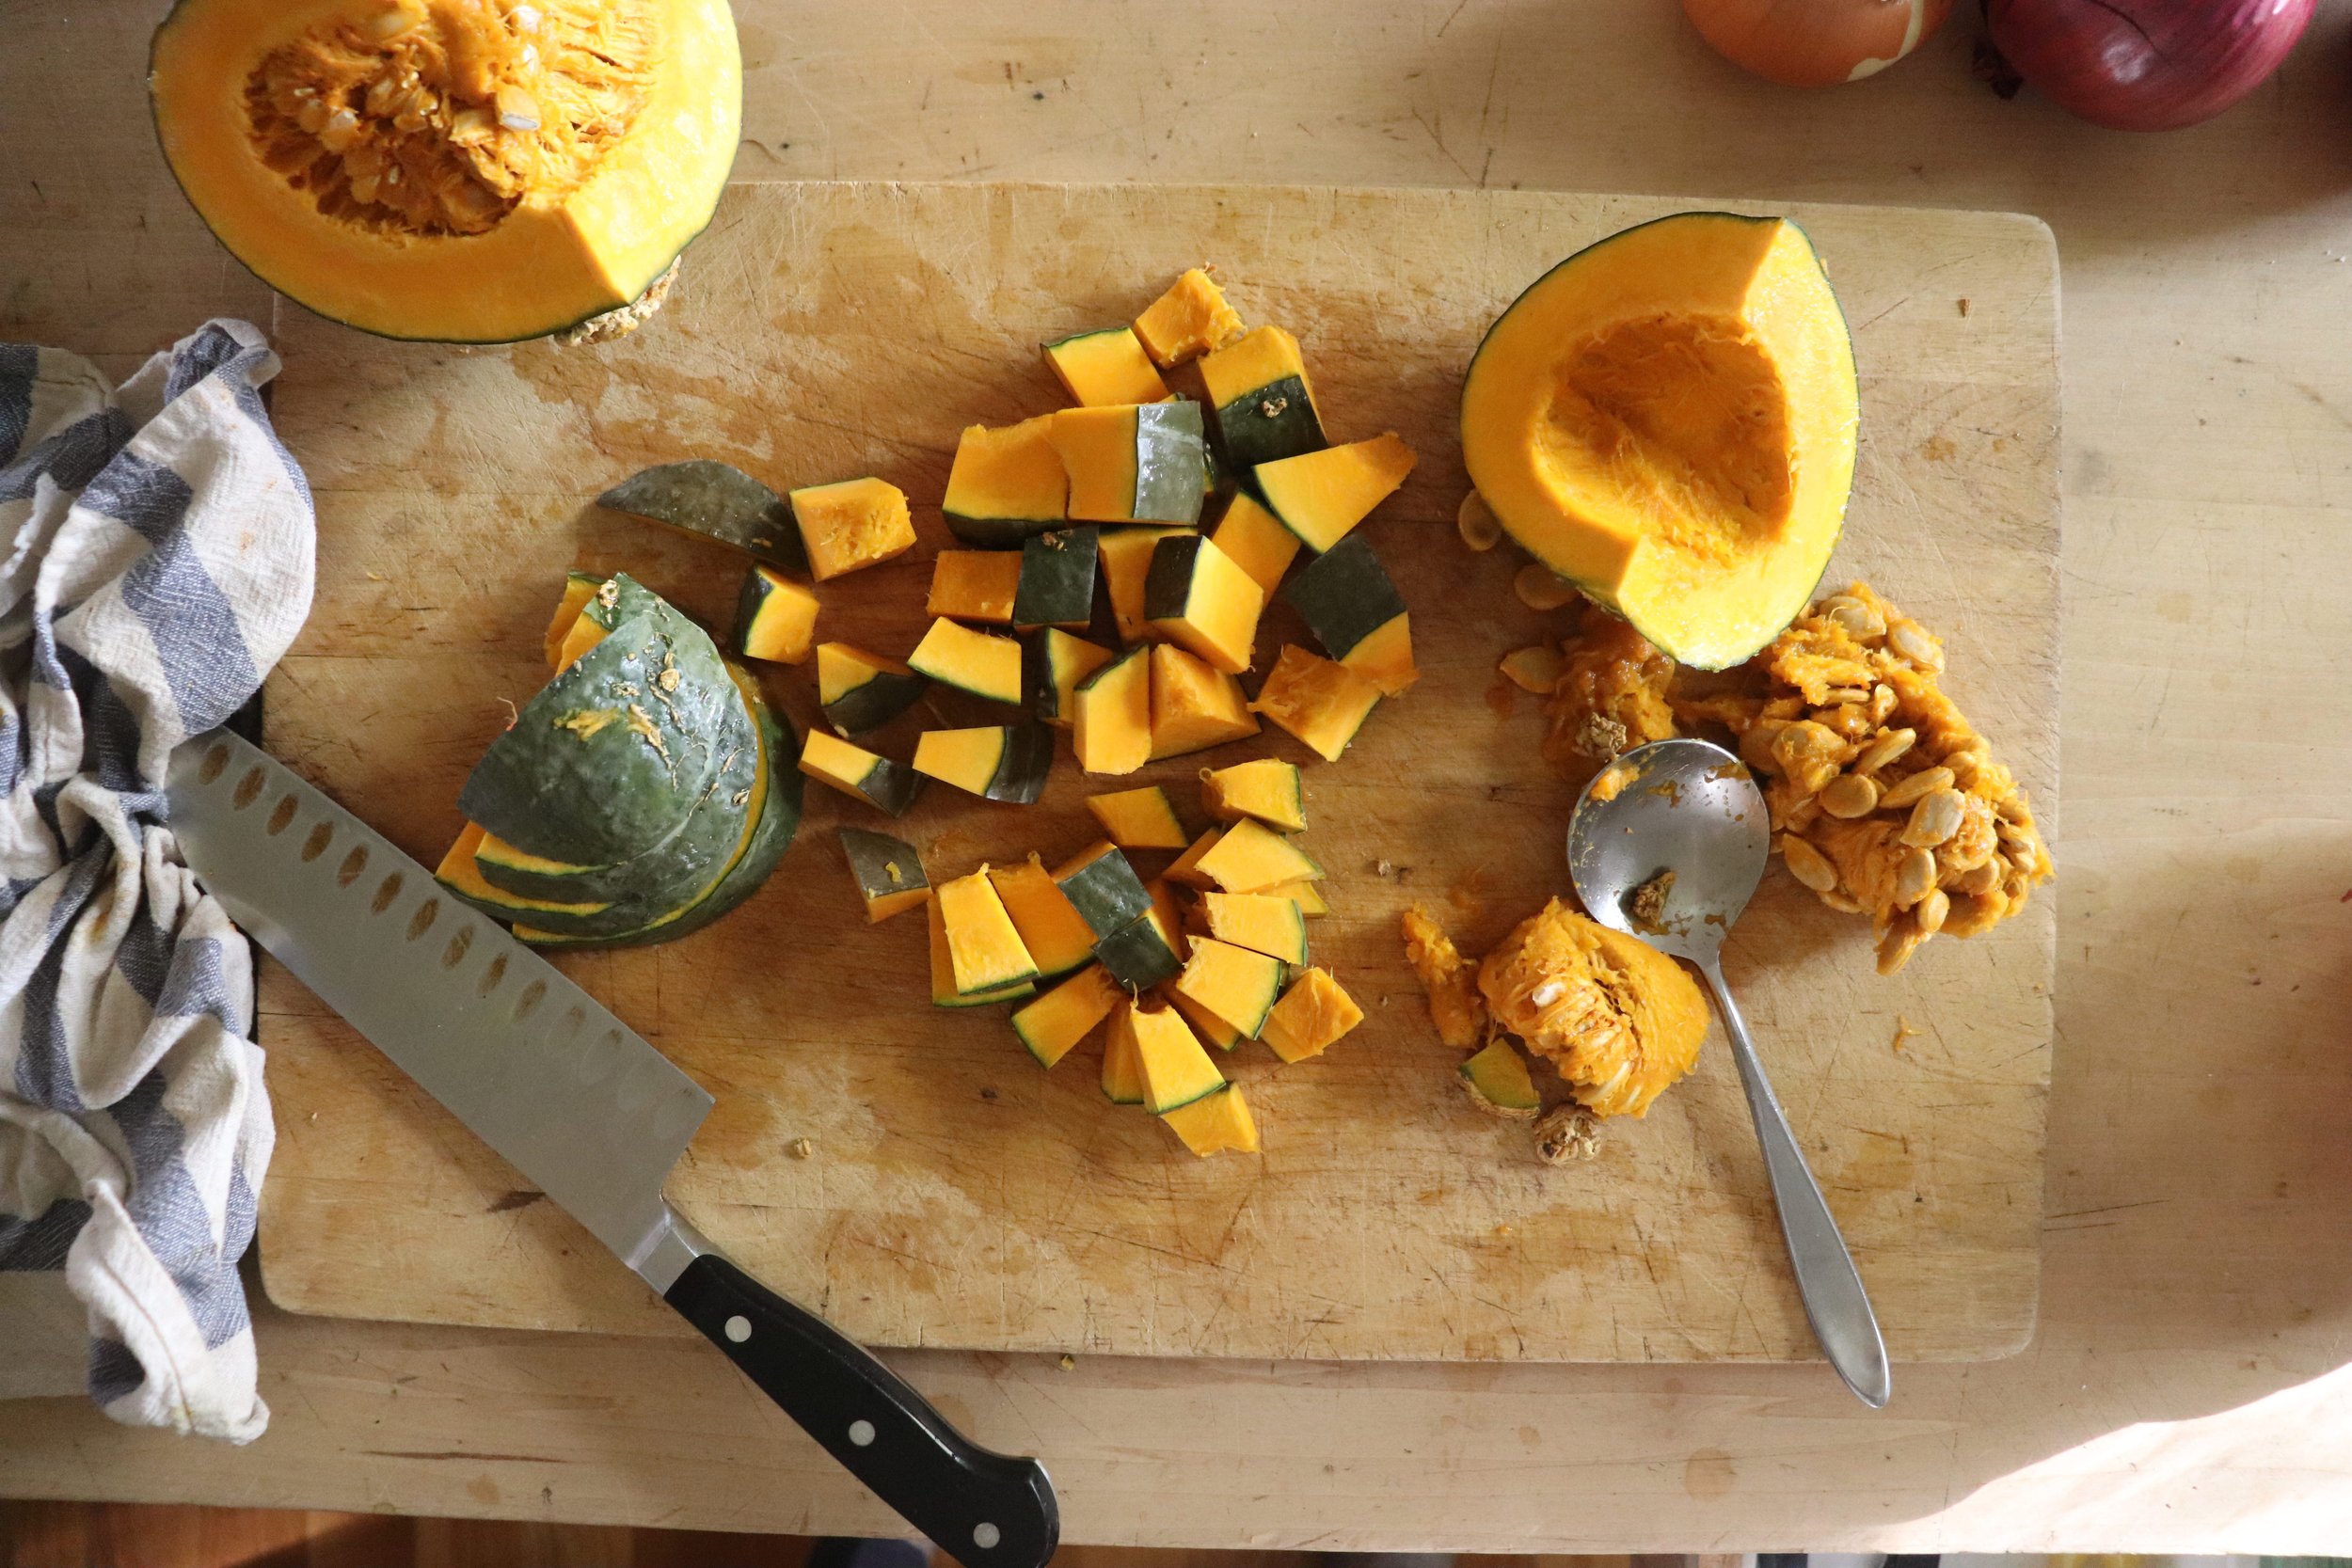
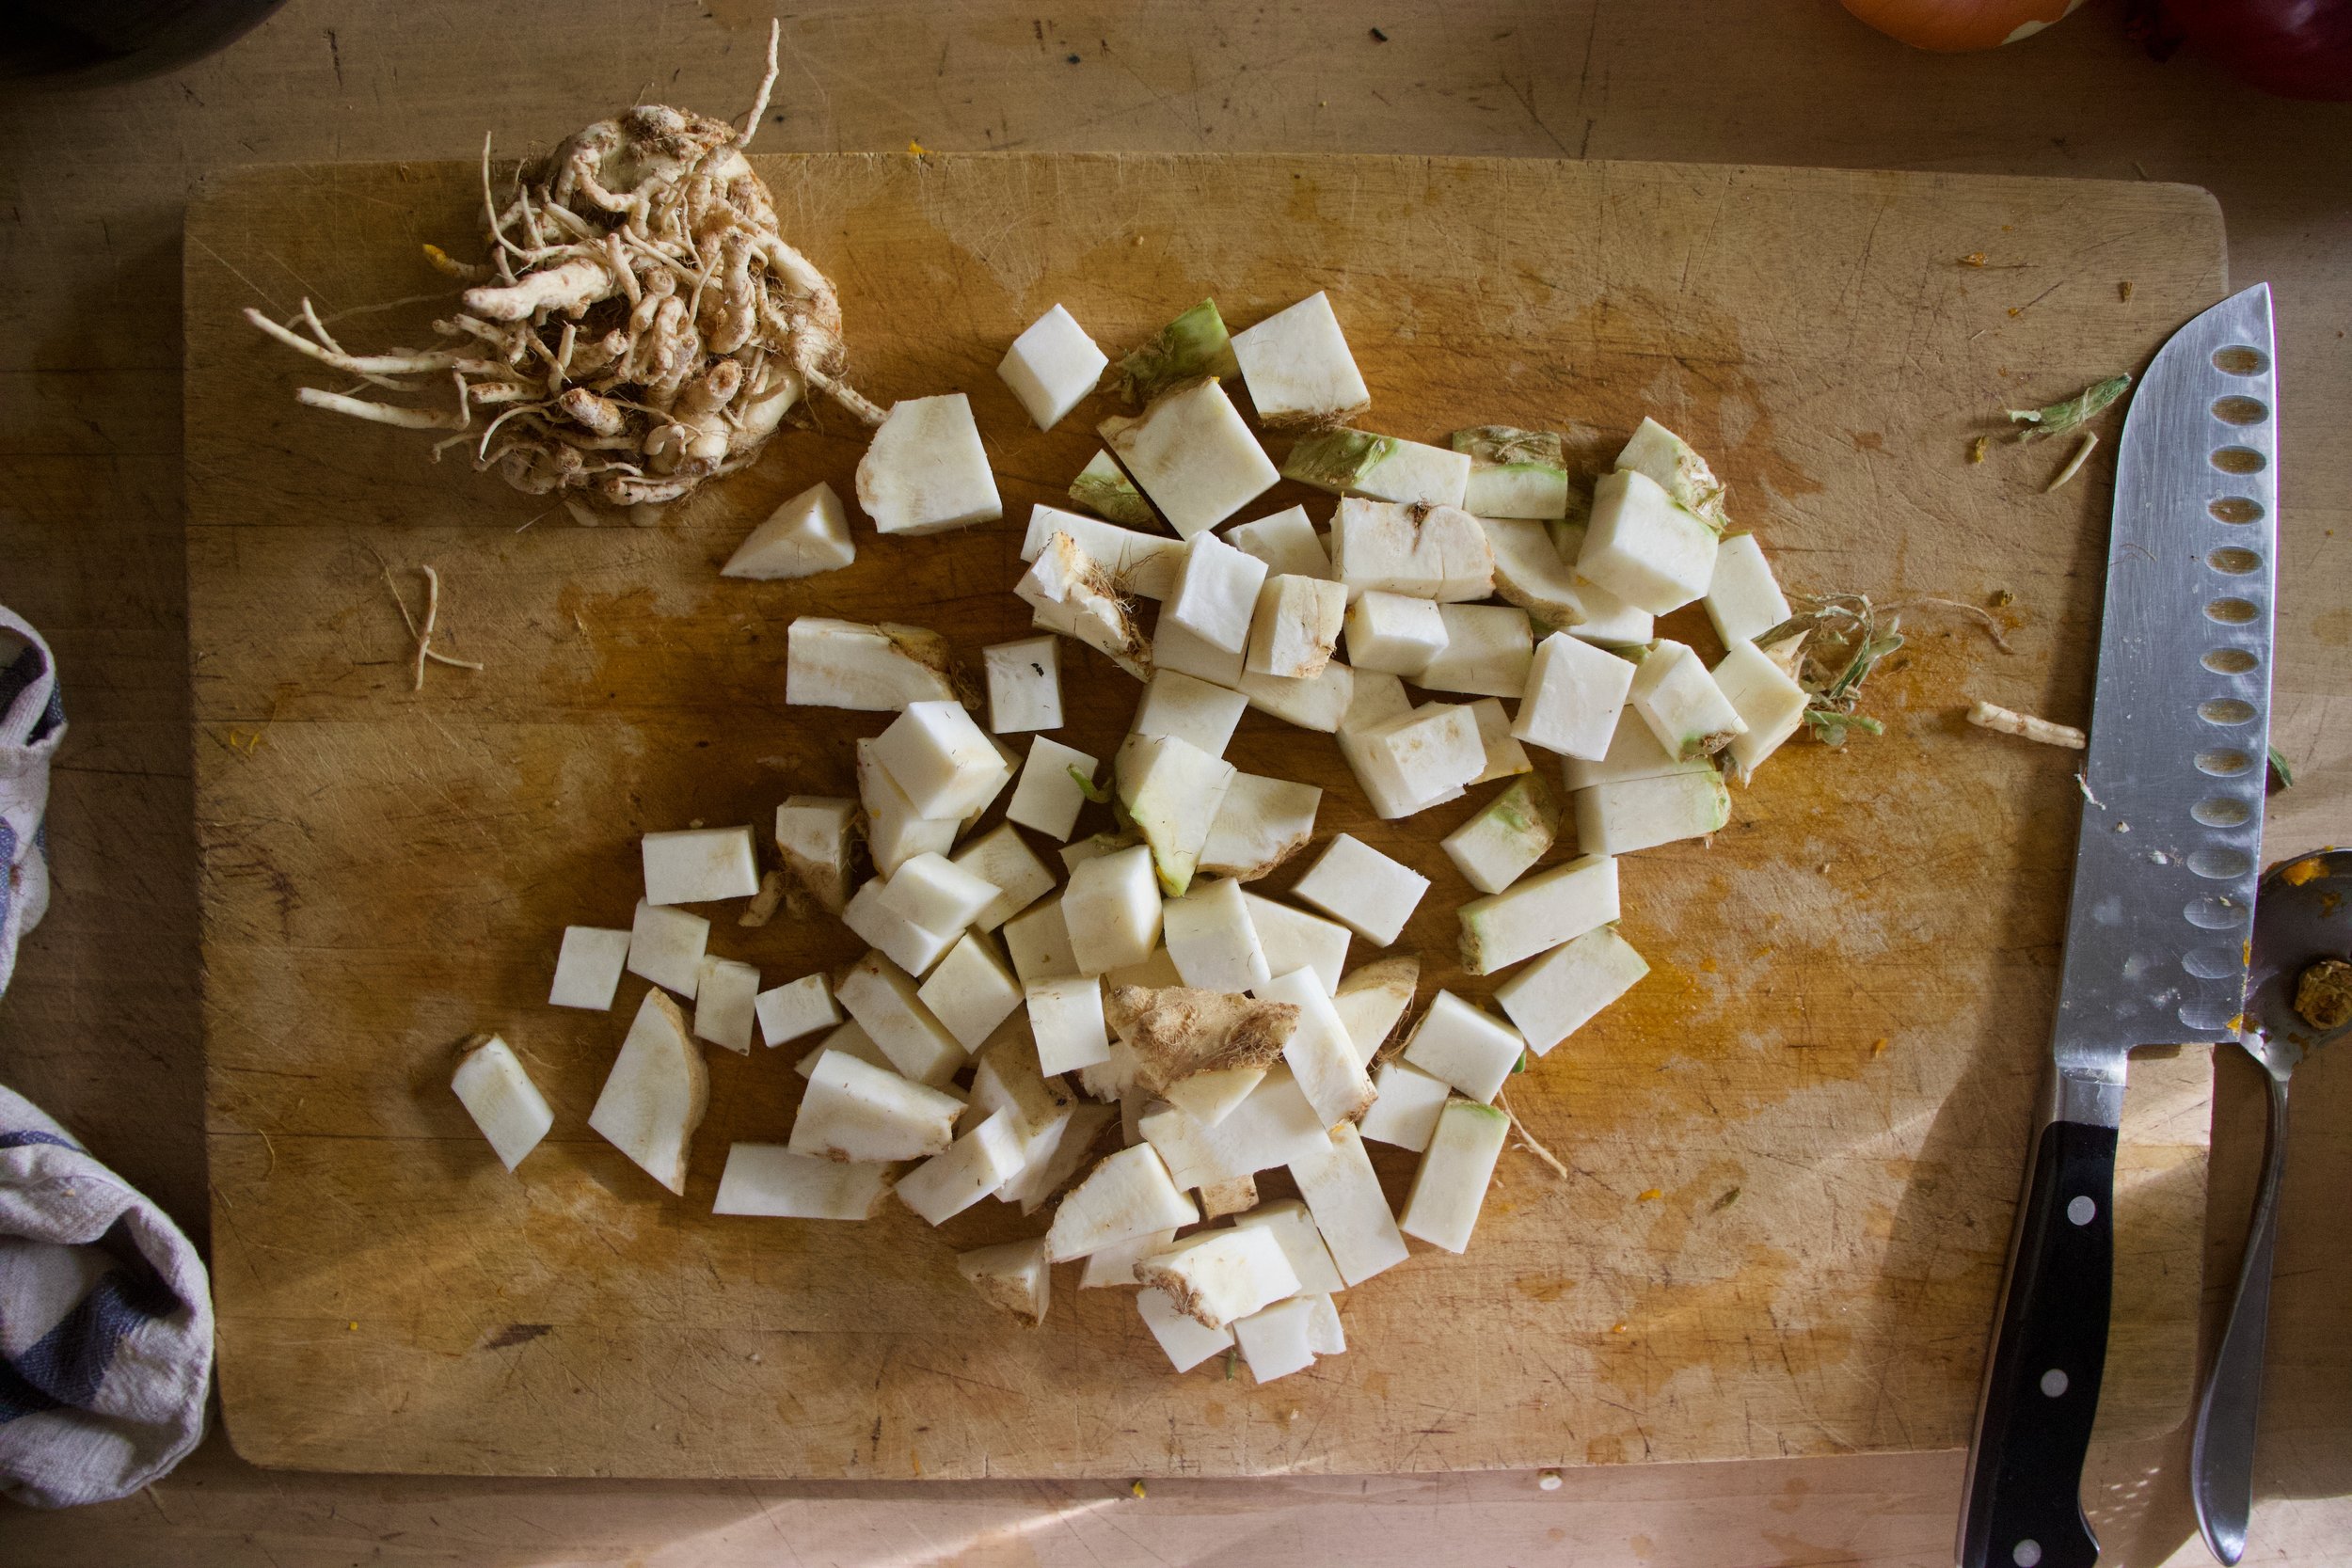
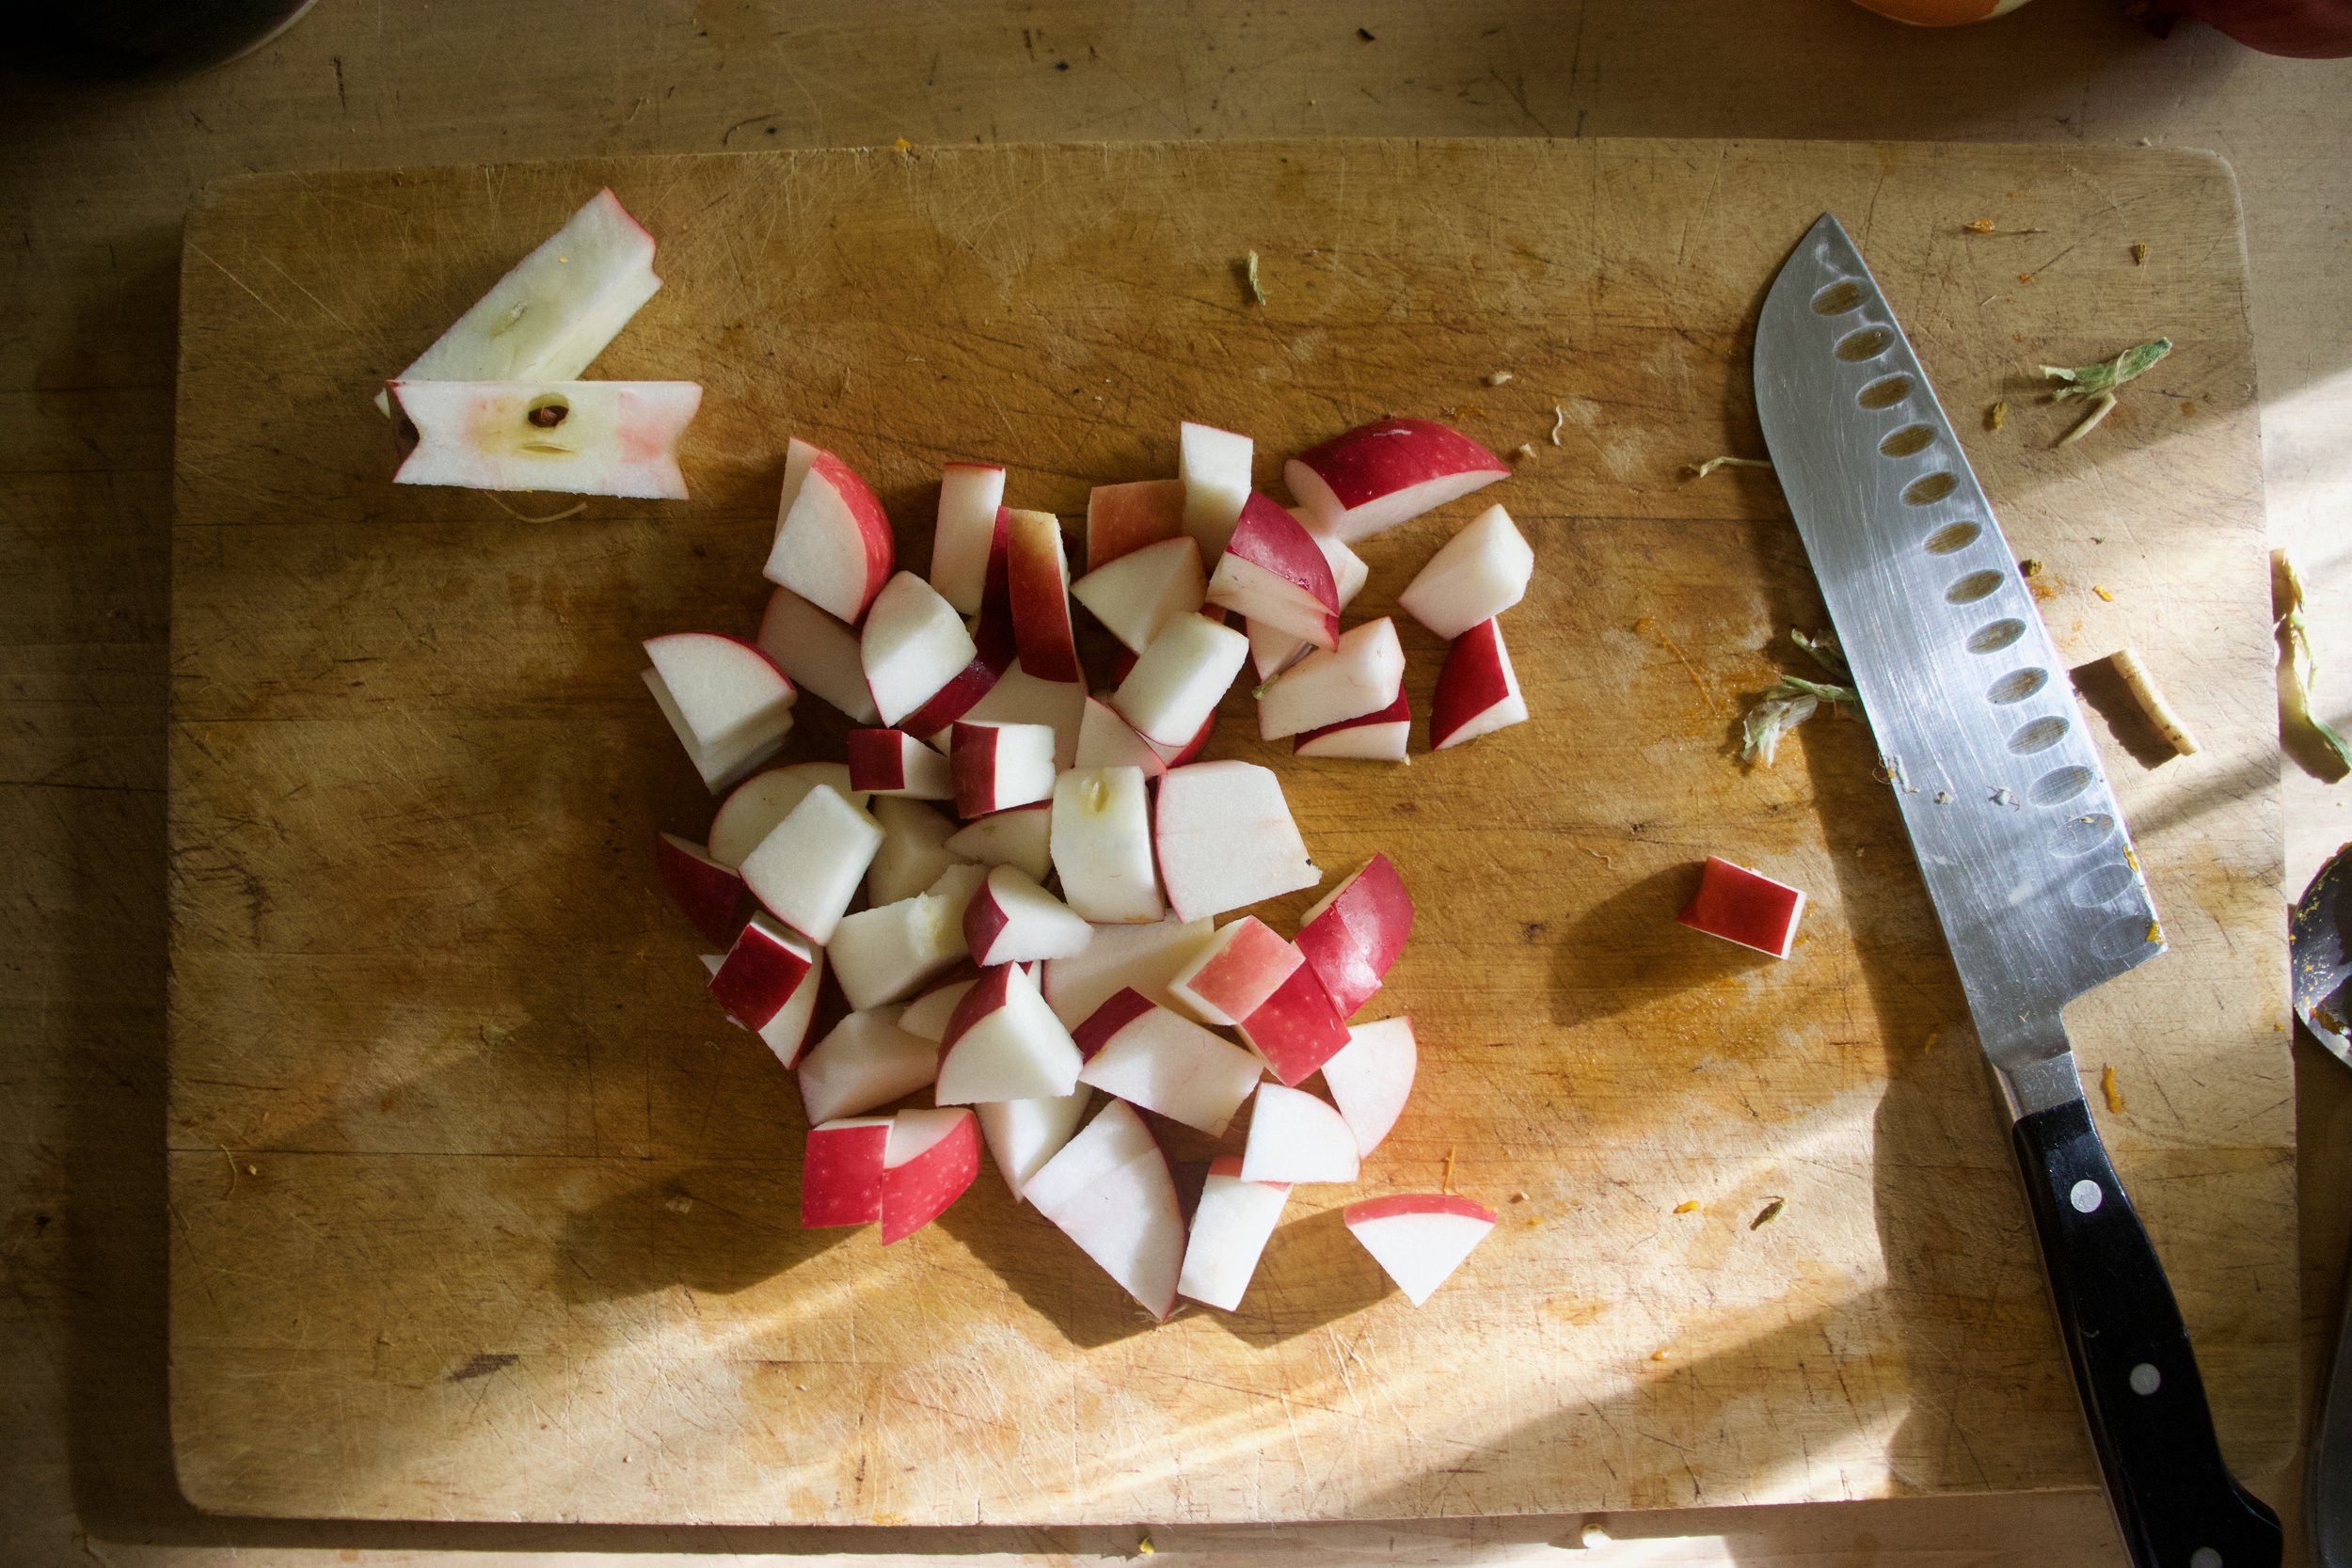
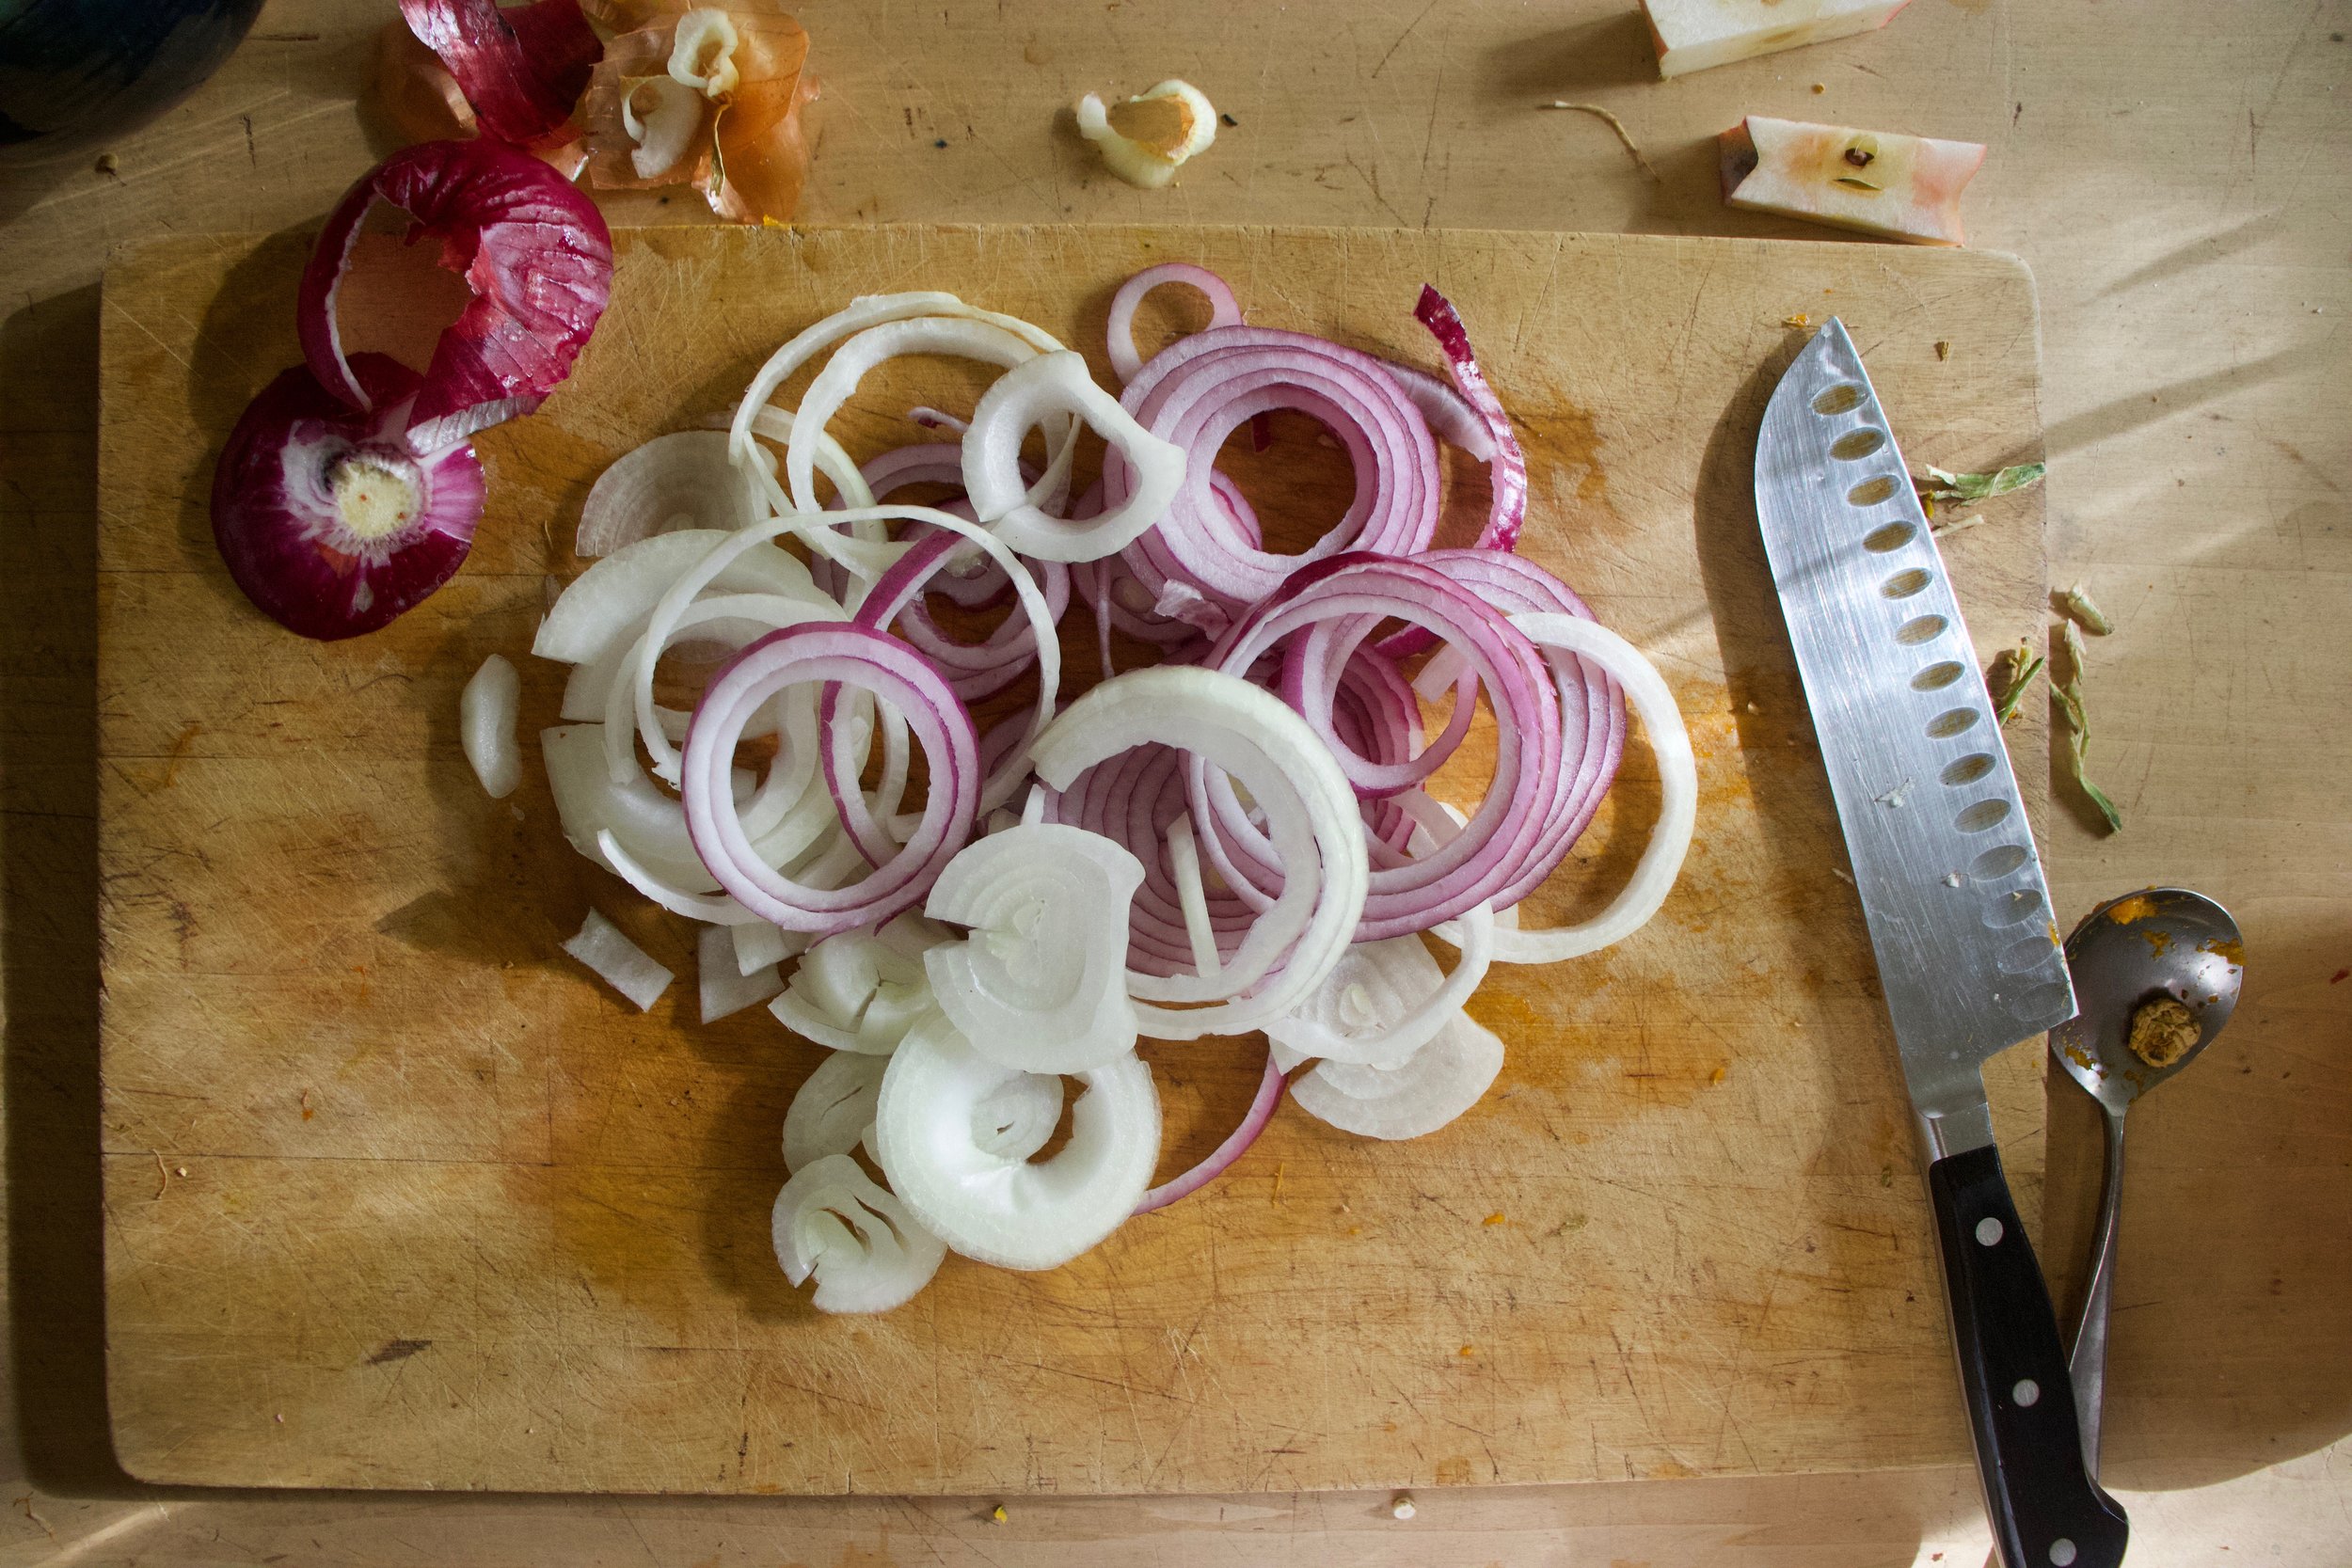
First thing is to cut everything up. Cube the squash, celeriac, and apple to about the same size and the onion just cut into rings.

Toss all the cut up stuff onto a lightly oiled sheet pan, toss with a tablespoon or so vinegar and sprinkle a pinch of salt and pepper and place in the oven. Roast for about 1/2 hour, but flipping and drizzling another tablespoon or so of vinegar all over about 20 minutes in.

Roasted and done. Taste and season with more salt and pepper if needed.

Now scoop it all into big bowl and serve it or just eat it all to your very own face like I did. No shade in that.

-C


Roasted Celeriac and Squash with Apples and Onions

  • 1 large bulb (softball sized) of celeriac

  • a small winter squash (can use any variety. I used kabocha)

  • 2 medium apples (I used Macs)

  • 2 onions. Red, yellow, or one of each

  • salt and pepper

  • A couple tablespoons of apple cider vinegar

Preheat oven to 425

Grab squash and cut in half. Remove seeds then cut into cubes about 1/2 and inch thick. Grab celeriac and peel it if you want (I do not peel it) then cut into cubes the same size ad the squash. Now the apples. Cut in half, remove seeds, and cube. And lastly grab onions and slice into 1/2 thick rings.

Toss together all the cut up stuff and place onto a lightly oiled baking sheet and sprinkle with a couple tablespoons of vinegar and a pinch of salt and pepper. Stick the pan into the hot oven and roast for around 20 minutes, removing to give everything a flip and drizzle on another tablespoon of vinegar, then place back in oven for about another 10 minutes or so or until everything is lightly browned and fork tender.

Remove form oven and transfer into a big bowl. Serve right away or at room temperature or heck, it taste freaking awesome cold too.

Tags celeriac, celery root, vegan, vegetable, thanksgiving, fall, side, side dish, snack, healthy, plant based, dairy free, gluten free, squash, winter, apple, onion, easy, simple, fast, food52, bon appetite
Comment

Beet Focaccia

October 30, 2021 Colleen Stem
IMG_7745.jpg
IMG_7757.jpg

This is me trying to get into the holiday spirit (and also trying to keep my kitchen warm. We have’t turned the heat on yet), but I think I might be thinking of the wrong holiday. Whatever. Pink bread can be spooky and Halloweenie right? And it really doesn’t even matter cause it is bread and pink and awesome so no holiday needed to eat it.

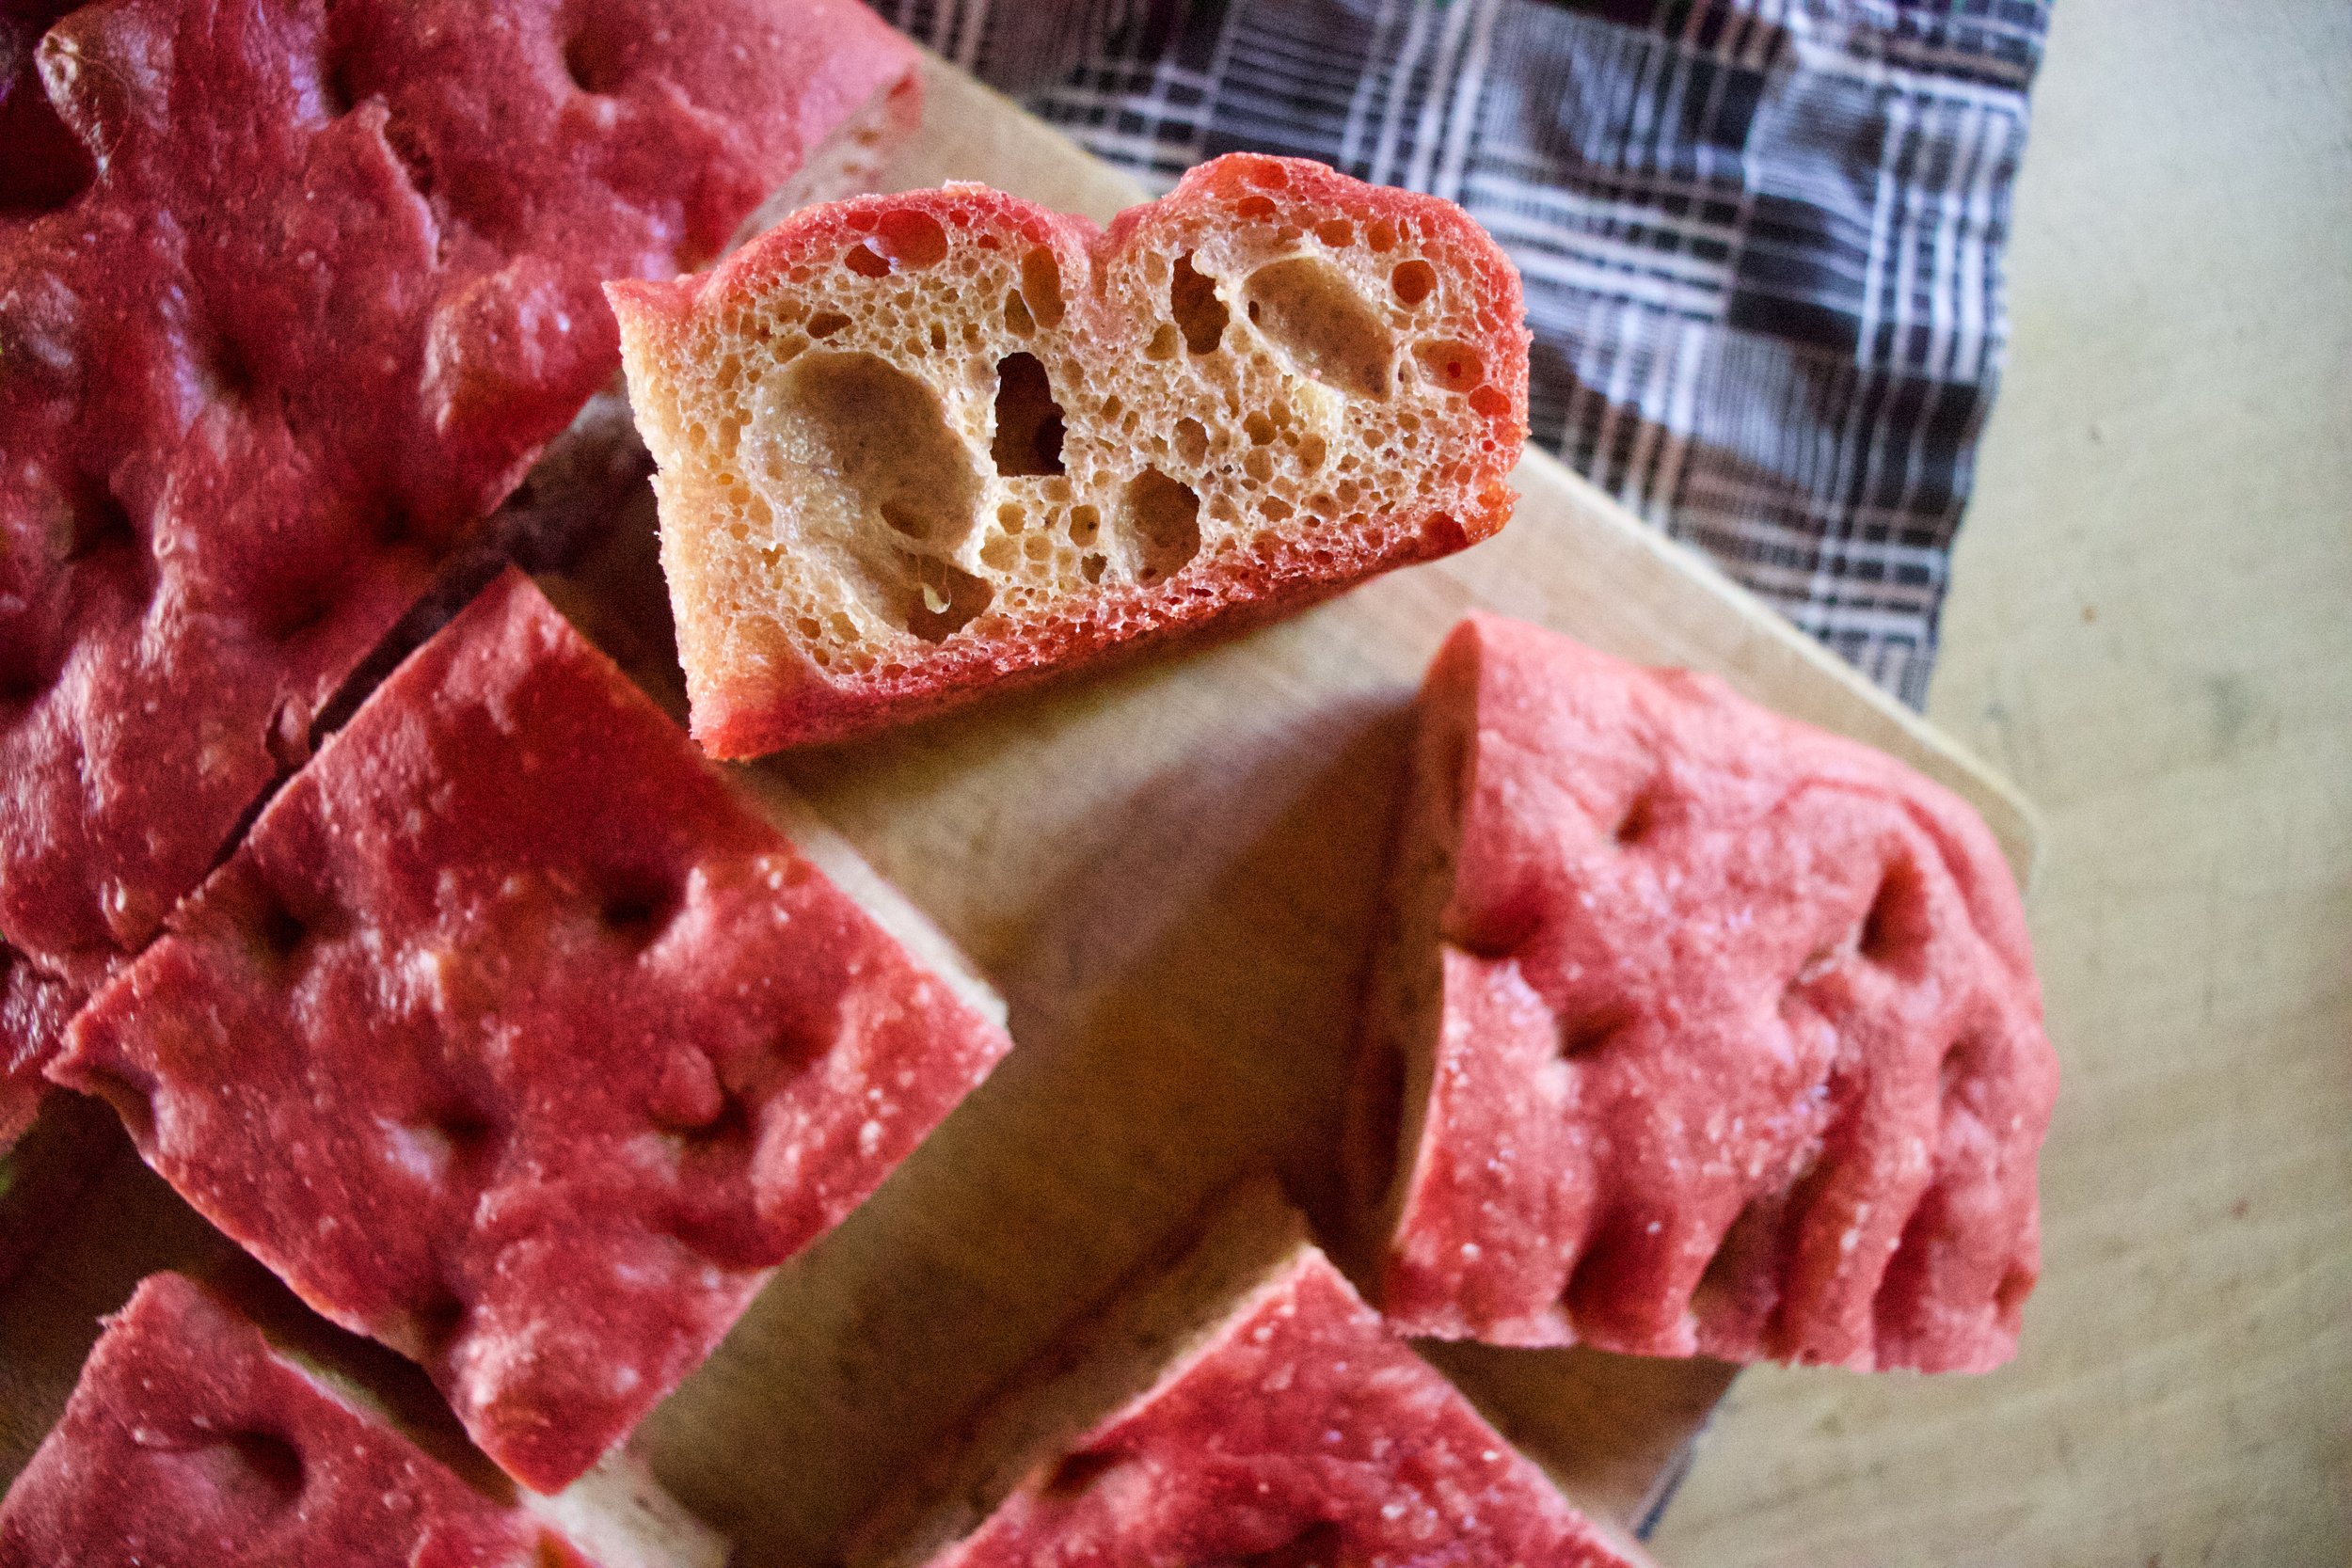
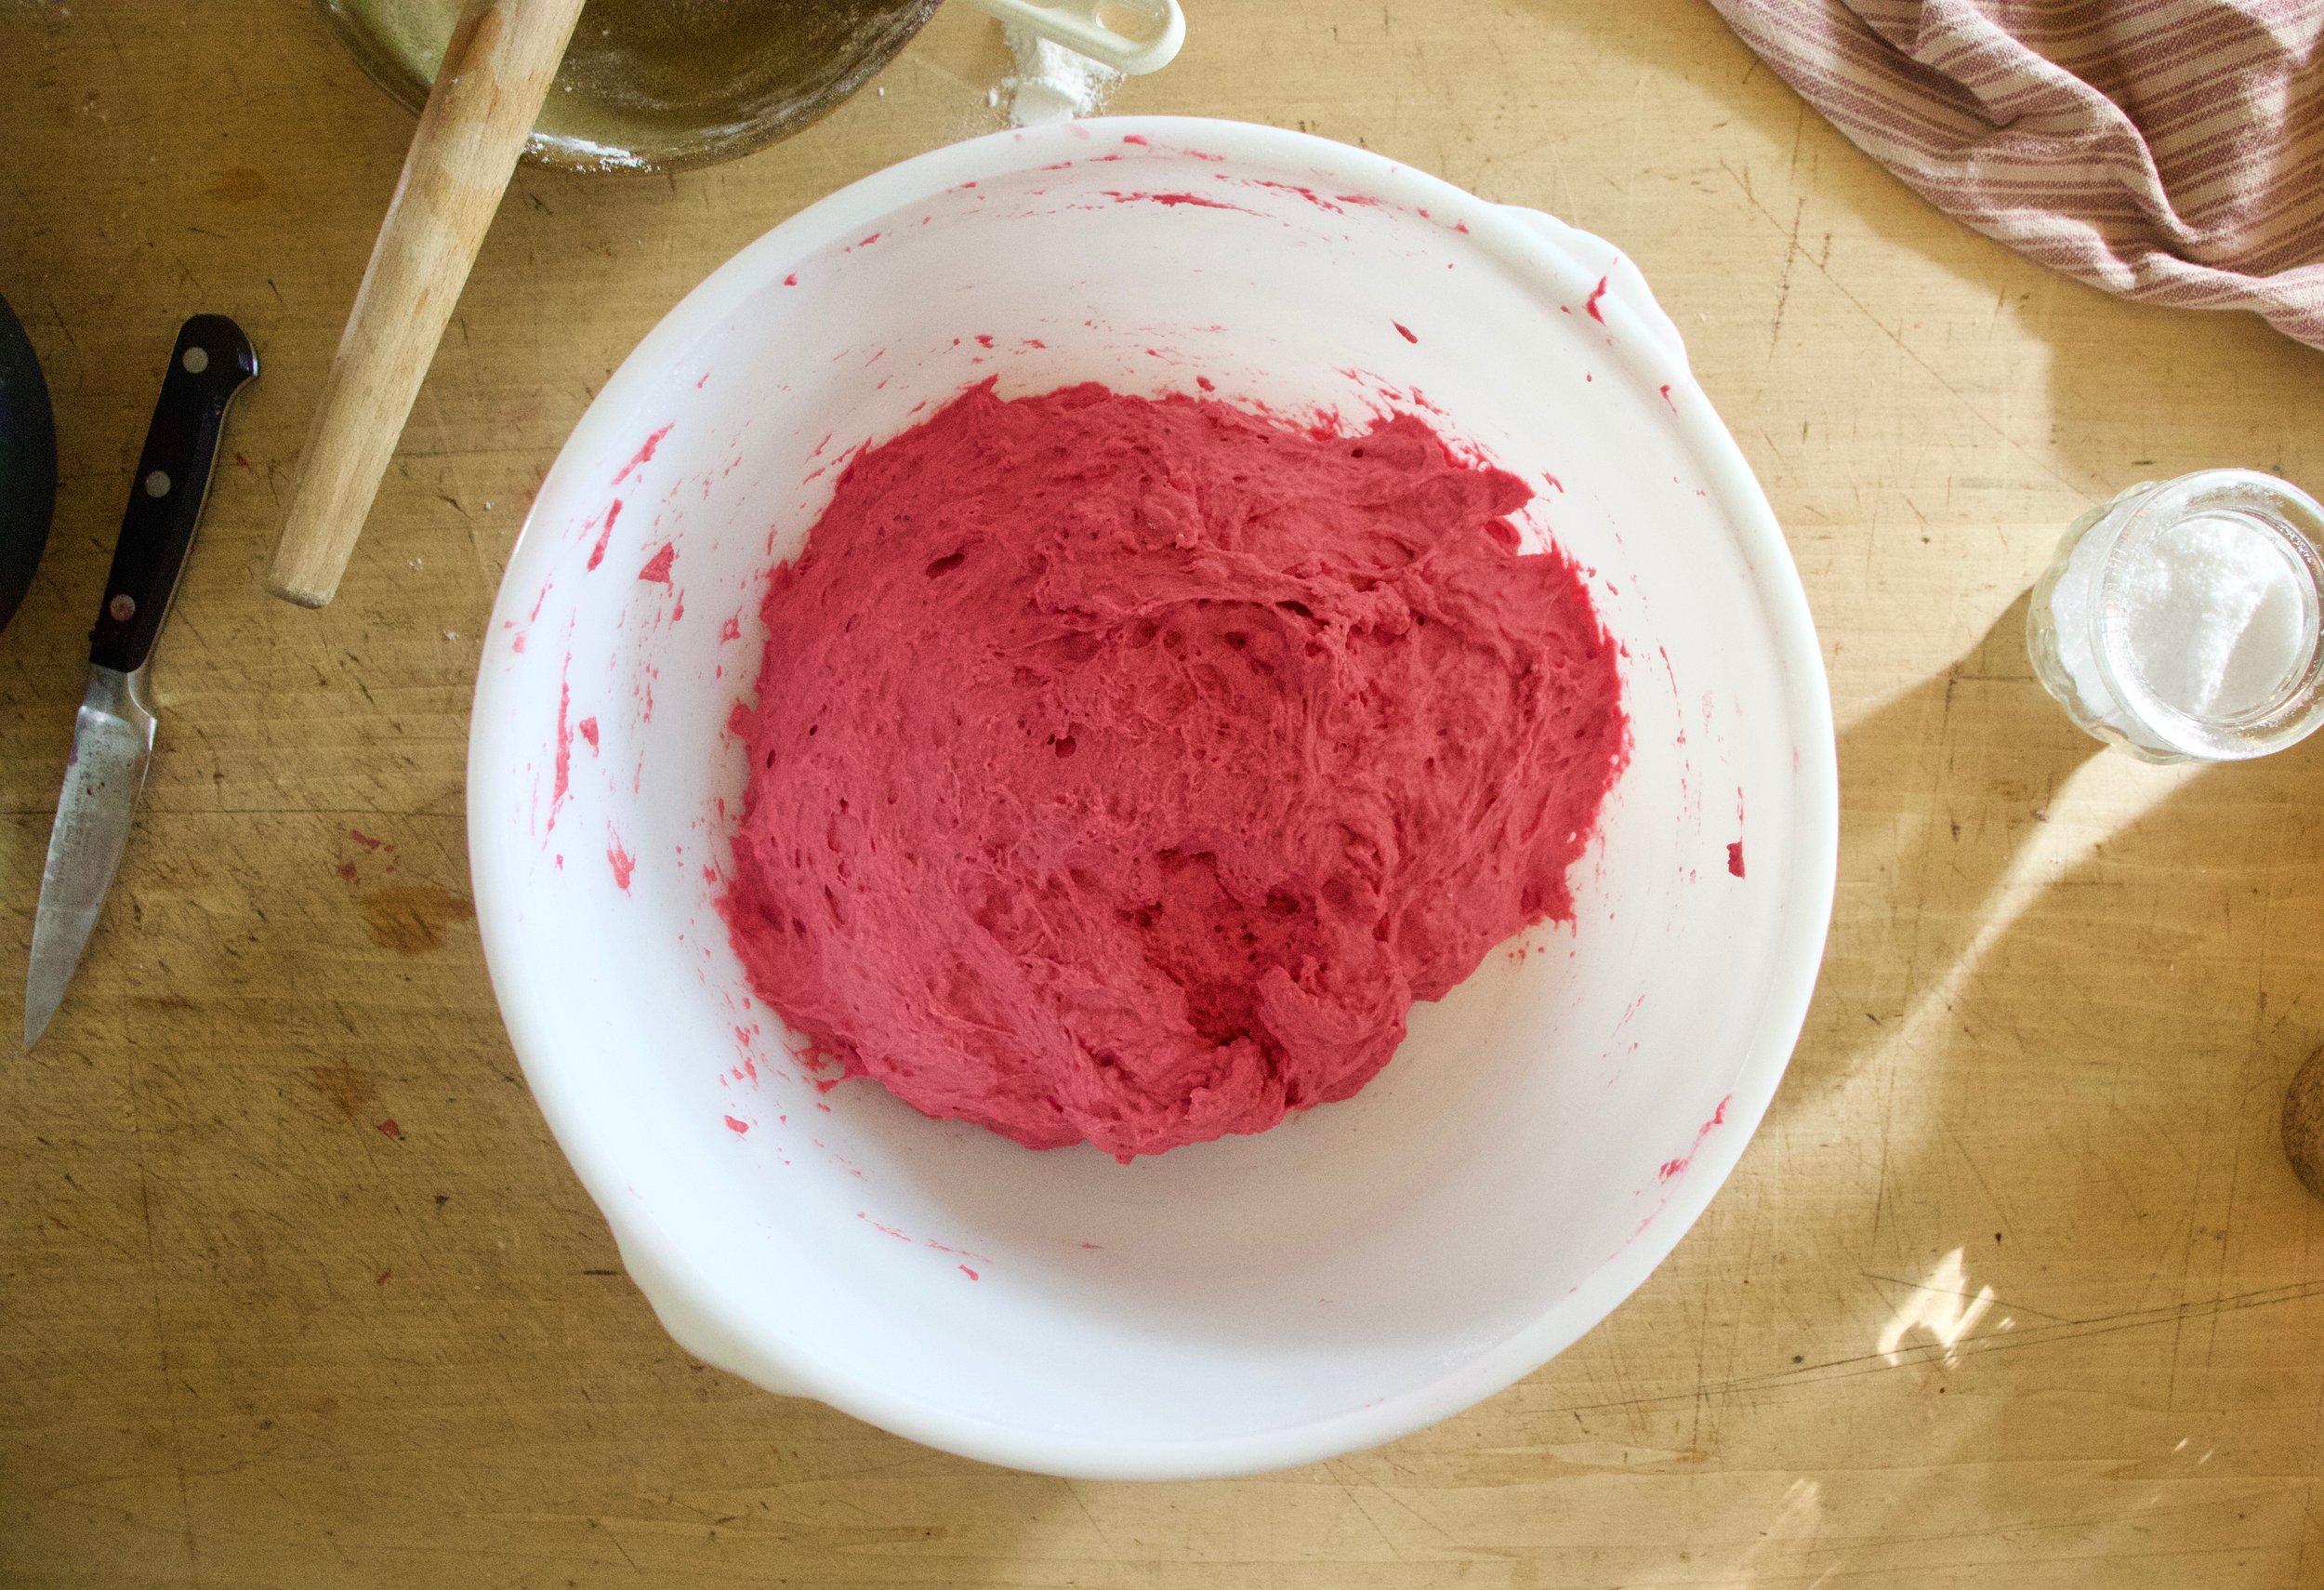
So this focaccia is pink because it is made with pureed beets and before you go and say anything, no it doesn’t really taste like beets. It tastes like amazing bread with a soft tender interior and a nice crispy crust that might have a very slight earthiness to it that only makes it better. It is simple and delicious and again, pink. That is it.

Now you want to make it and all you need is a few beets, flour, yeast, salt sand oil then you are good to go. What a nice little weekend baking project for the last few days of October. And if the pink bread creeps anyone out, well all the better!

Now to the beet focaccia.

The stuff. Roasted beets, flour, yeast. salt, water, and there should definitely be olive oil in this picture.. I don’t know where it went.

First, peel your roasted beets (or roast them and then peel them) The skin should come right off and a little left over skin is fine. Oh and make sure you eat left over skins. They are fanatic.

IMG_7672.jpg
IMG_7682.jpg

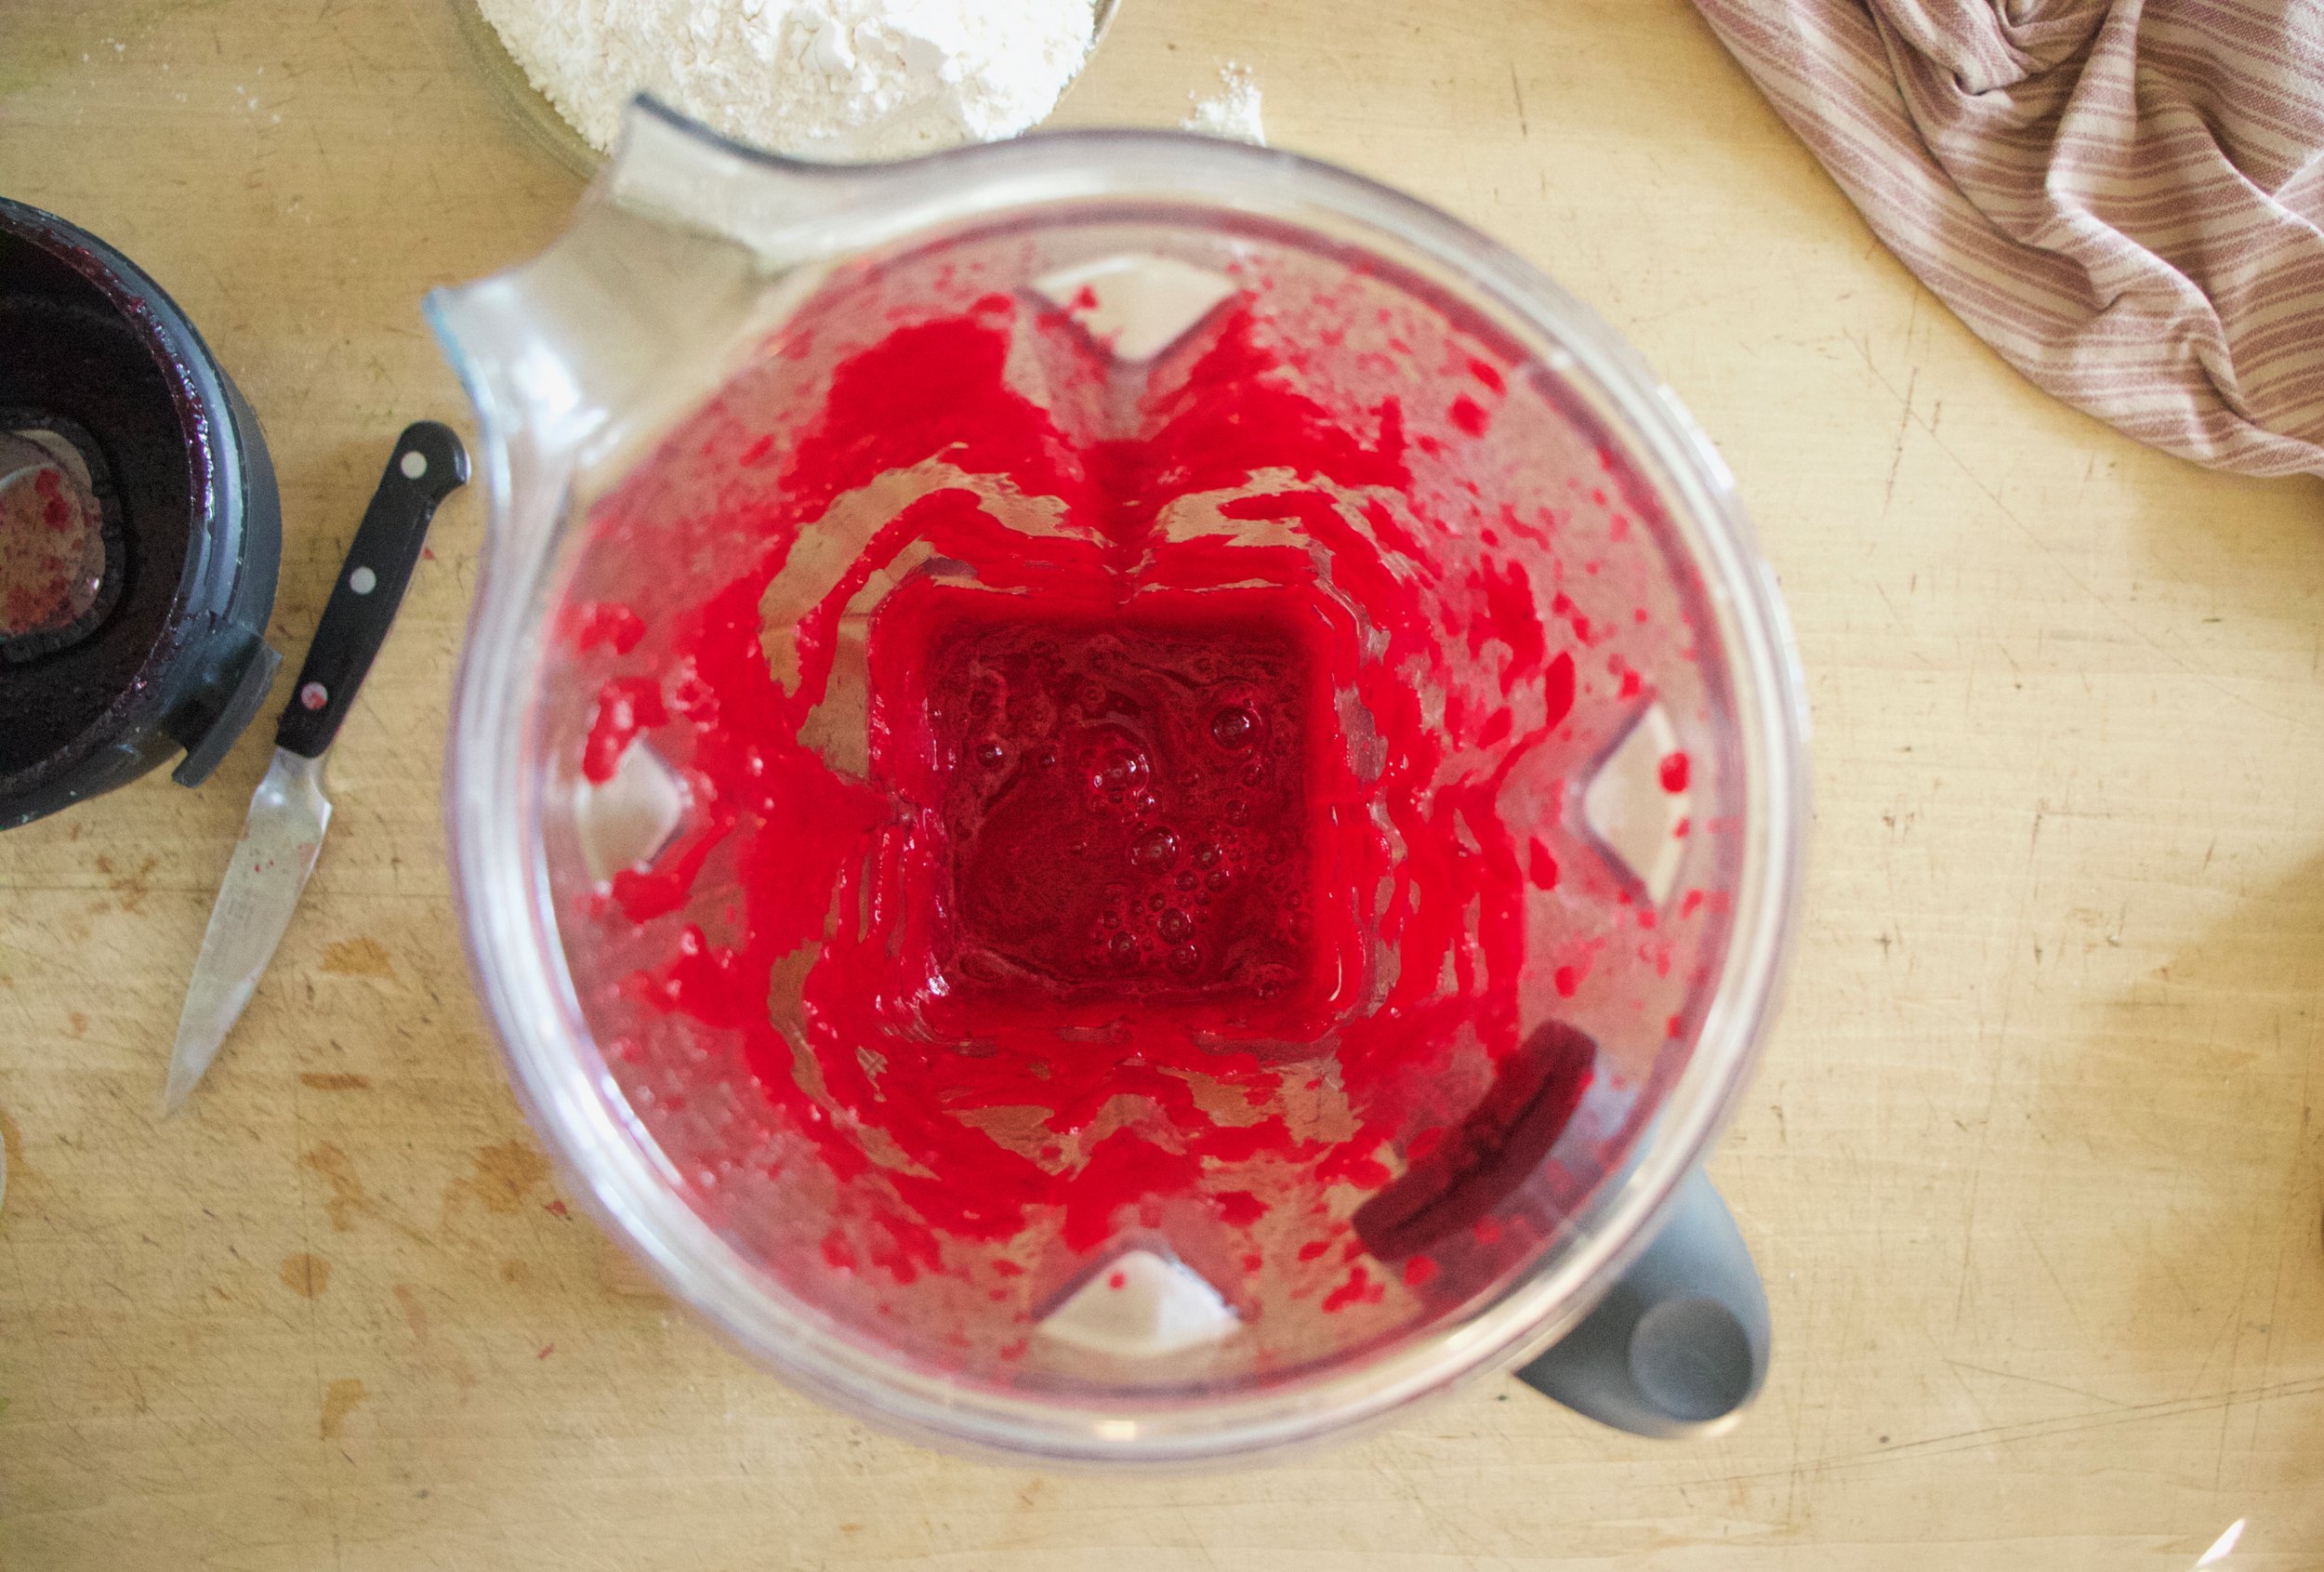
Now puree the skinned beets unite smooth.

IMG_7684.jpg
IMG_7690.jpg
IMG_7694.jpg

Pureed beets and water go into a big bowl along with the yeast and get mixed around. Then add in flour and a little salt and mix until a shaggy dough is formed. Cover and left rise.

Risen dough.

IMG_7714.jpg
IMG_7721.jpg

Grease baking sheet and add a puddle of olive oil to the middle. Scrap dough into the oil and gently smoosh and push dough into pan. Cove and let rest for another 1/2 hour and preheat oven.

Once dough has rested, drizzle more oil on top and dimple the dough with your fingers. Sprinkle the top with some good salt and pop into the hot oven and bake for about half an hour.

Done!

Pink and pretty and all sorts of good. Focaccia at its finest!

Now cut it up and eat it!


Beet Focaccia

makes a 9x13 inch loaf

  • 4 cups all purpose flour

  • 2 teaspoons yeast

  • 1 cup pureed roasted beets (3-4 medium beets should do)

  • 1 cup warm water

  • 2-3 teaspoons salt

  • 3-4 tablespoons olive oil

If you haven't roasted your beets yet, do that. Just toss beets on a sheet pan and stick into hot (like 450 degree) oven for about an hour until tender.

Start with beets. If still hot from roasting, wait until cooled and peel off skin. Place peeled beets into a blender and blend until smooth. You should get about a cup if puree. Any extra, well you got yourself a snack

Place the cup of beet puree into a large bowl along with the warm water and yeast. Mix until combined. Add in a teaspoon of salt and the flour. Mix until a shaggy and wet dough forms and there is not dry flour left. Scrap all the dough into a ball and then cover bowl with a bowl and place somewhere warm to rise for an hour, to an hour and a half (longer if your kitchen is cold)

Once dough has doubled in size, preheat oven to 425

Grab a 9x13 sheet pan and grease with a butter or shortening (this helps with sticking) them drizzle 2 tablespoon of olive oil in the middle. Scrap the dough into the oil oil puddle the with oiled fingers gently smoosh the dough into the pan. Cover again and le dough rest and poof up again for about 30 minutes.

The oven should be nice and hot and when you check the dough it should have poofed up a bit and spread little. Drizzle another tablespoon of oil on top of dough and with oiled fingers, dimple the dough. Press nearly to the bottom of the pan but be gentle about it to try and not knock all the air out. Once dimpled sprinkle the top with a teaspoon or two of good course or fishing salt and pop into the oven. Bake for about a 1/2 hour or until the top is starting to brown. Remove the bread from oven and let cool a few minutes in pan then transfer to a wire rack to cool some more. Or just cut into it warm and eat it.

Focaccia is best eaten within a day or two but freezes well.

In bread, Vegan, Vegetables Tags Beet Focaccia, Focaccia, beets, pink, bread, King Arthur flour, flour, easy, yeasted, spooky, vegan, roots
Comment
← Newer Posts Older Posts →
 

https://thelovelycrazy.squarespace.com/config#/|/about/

Me. Food Maker.Food eater. Woo HOO!

STEM+NODE  SMALL BATCH AND ONE OF A KIND POTTERY

stem+node ceramics


____________________

Subscribe

GET NEW POSTS IN YO EMAIL

You are AWESOME!!!


@thelovelycrazy 2014-2021