• stem+node ceramics
  • HOME
  • Food Recipes
  • About
  • Contact
Menu

The Lovely Crazy

Street Address
City, State, Zip
Phone Number

Your Custom Text Here

The Lovely Crazy

  • stem+node ceramics
  • HOME
  • Food Recipes
  • About
  • Contact

Almond Crusted Tofu

January 29, 2022 Colleen Stem
IMG_0184.jpg
IMG_0193.jpg

Are you a tofu person? I am very much a tofu person. I know that some people still think tofu is not so great or that it doesn’t taste like much or my favorite, that it doesn't taste like meat. And with that I say, well tofu isn’t meat so duh and yeah, it doesn't have a super powerful taste but it does taste good (especially really good fresh tofu) and tastes even better when you make it with tasty ingredients. But If you are a tofu person you already know that.

This tofu is good. I mean really really good. It is dredge and breaded in almonds and then baked until crispy., like a tofu nugget of sorts. I mixed mustard and vinegar into the dredge for some tang and added garlic and red pepper flakes to the almond coating to give it a bit more flavor but if you were feeling something different, say curry or Italian flavoring, well by all means, give it a go. I think the next time I make these (probably tonight) I am going to add a shit ton of cumin and chili powder and way more red pepper flakes. My stomach is rumbling already. And hopefully they will be to spicy for the mr so I don’t have to share. Its my craving. He can eat something else. Ha!

Now to the almond crusted tofu!

The stuff. A brick of firm tofu (which I have smooshed out a lot of liquid), whole almonds, and oats. Then there is flax meal, mustard, vinegar, almond milk, garlic powder, red pepper flakes, and salt and pepper.

Cutting up the tofu. Fist cut brick in half. Then turn each half on its side and cut into three equal pieces. flip back down each piece then can be cut into 4 triangles. And if you want to cut it up differently well then who am I to tell you otherwise.

IMG_0117.jpg
IMG_0123.jpg

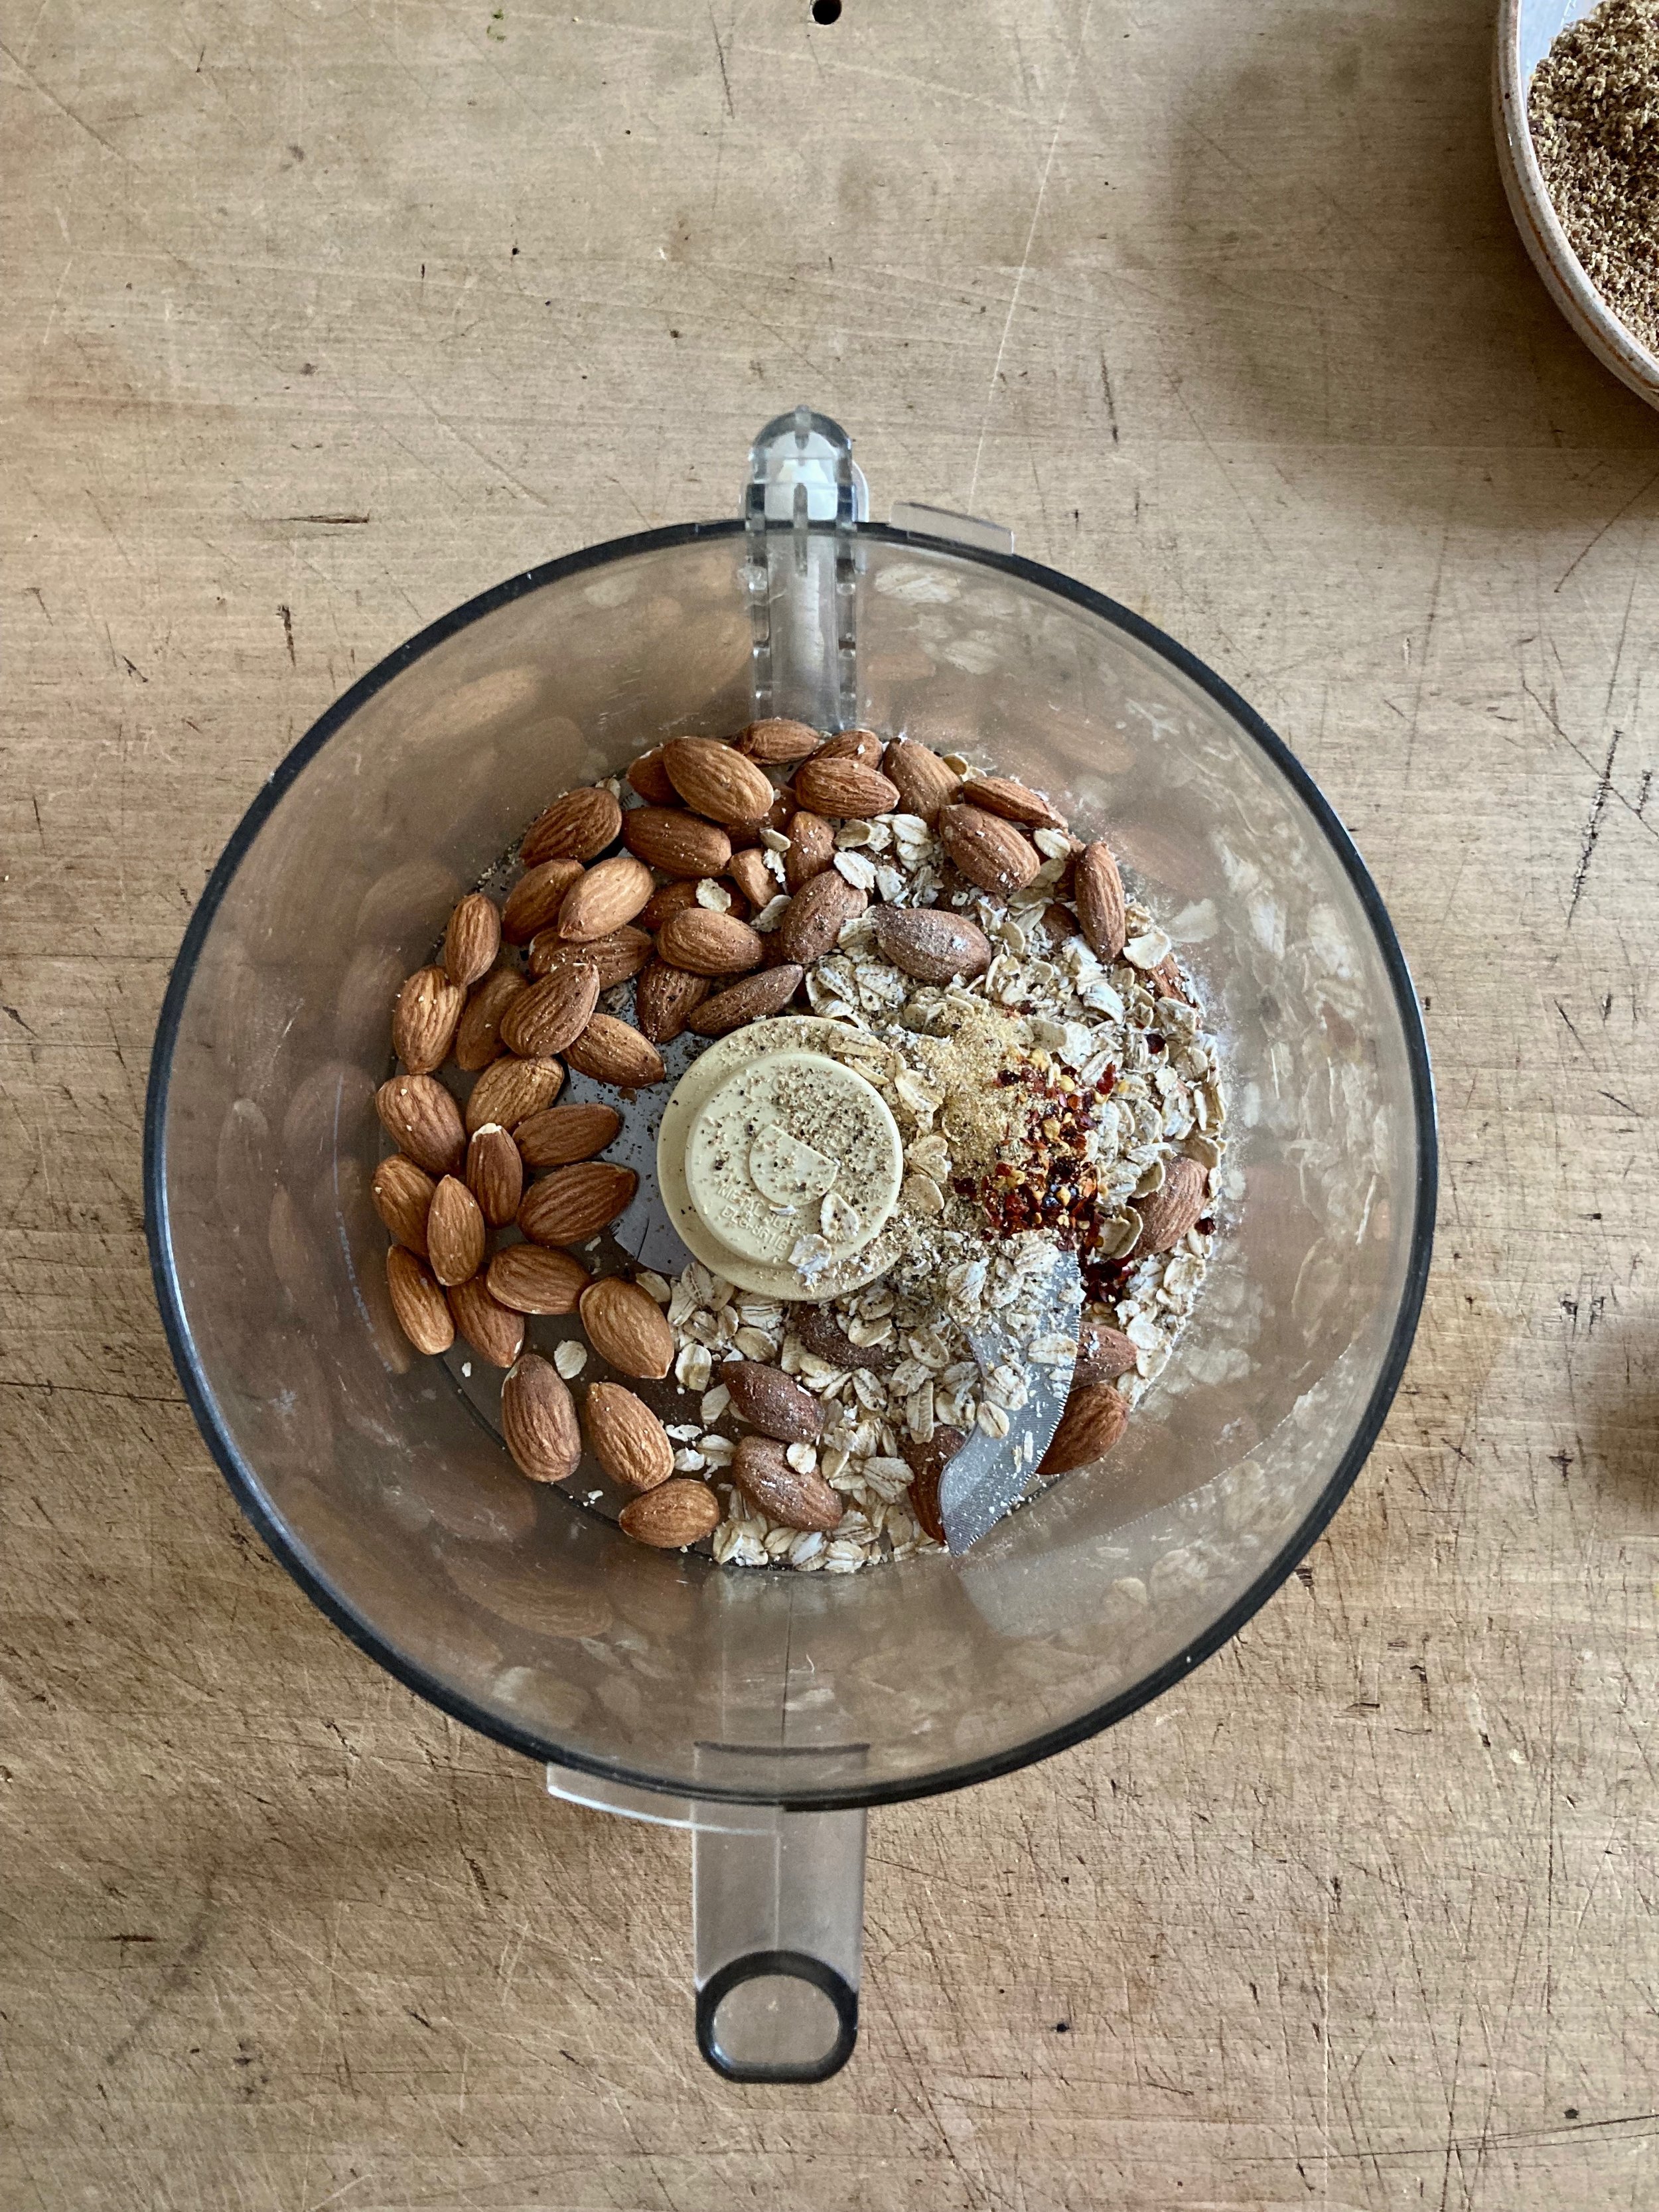
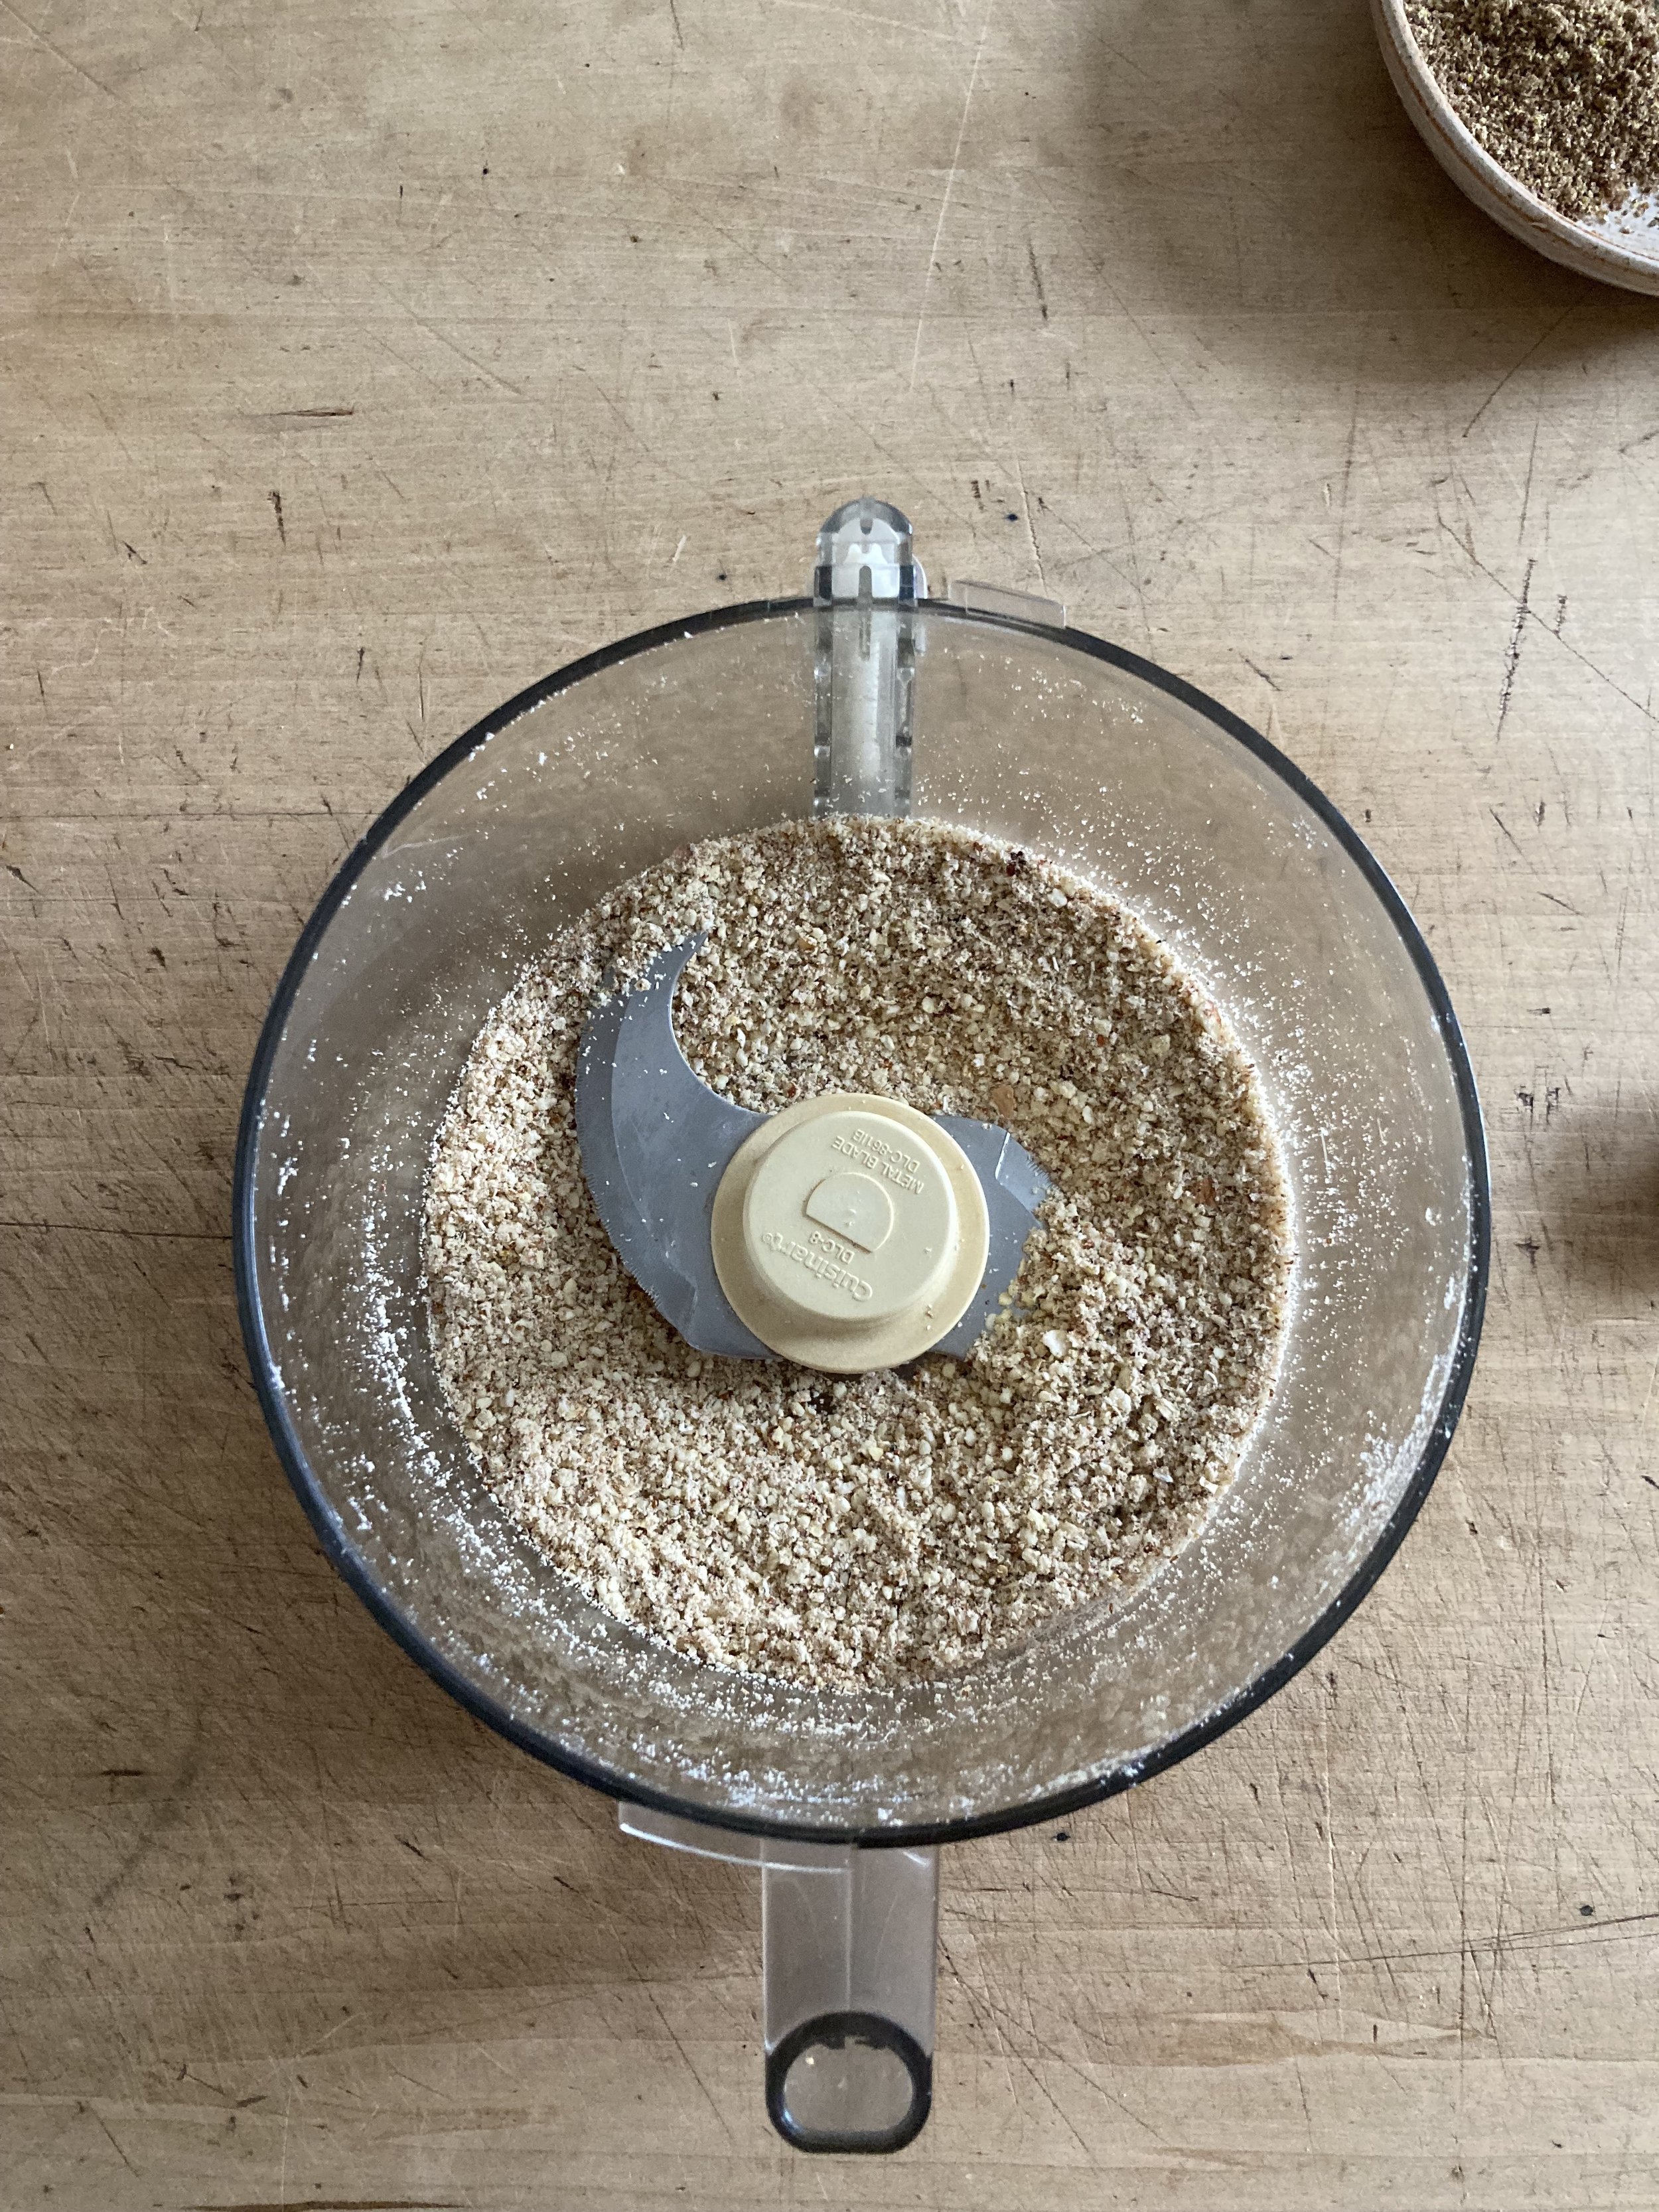
Make the almond crust mixture. Almond and oats along with garlic powder, red pepper flakes, and sat and pepper go into the food processor and pulses utlil a crumbly. You don’t want it to fine but also not to chunky. Think bread crumb consistency.

IMG_0127.jpg
IMG_0130.jpg

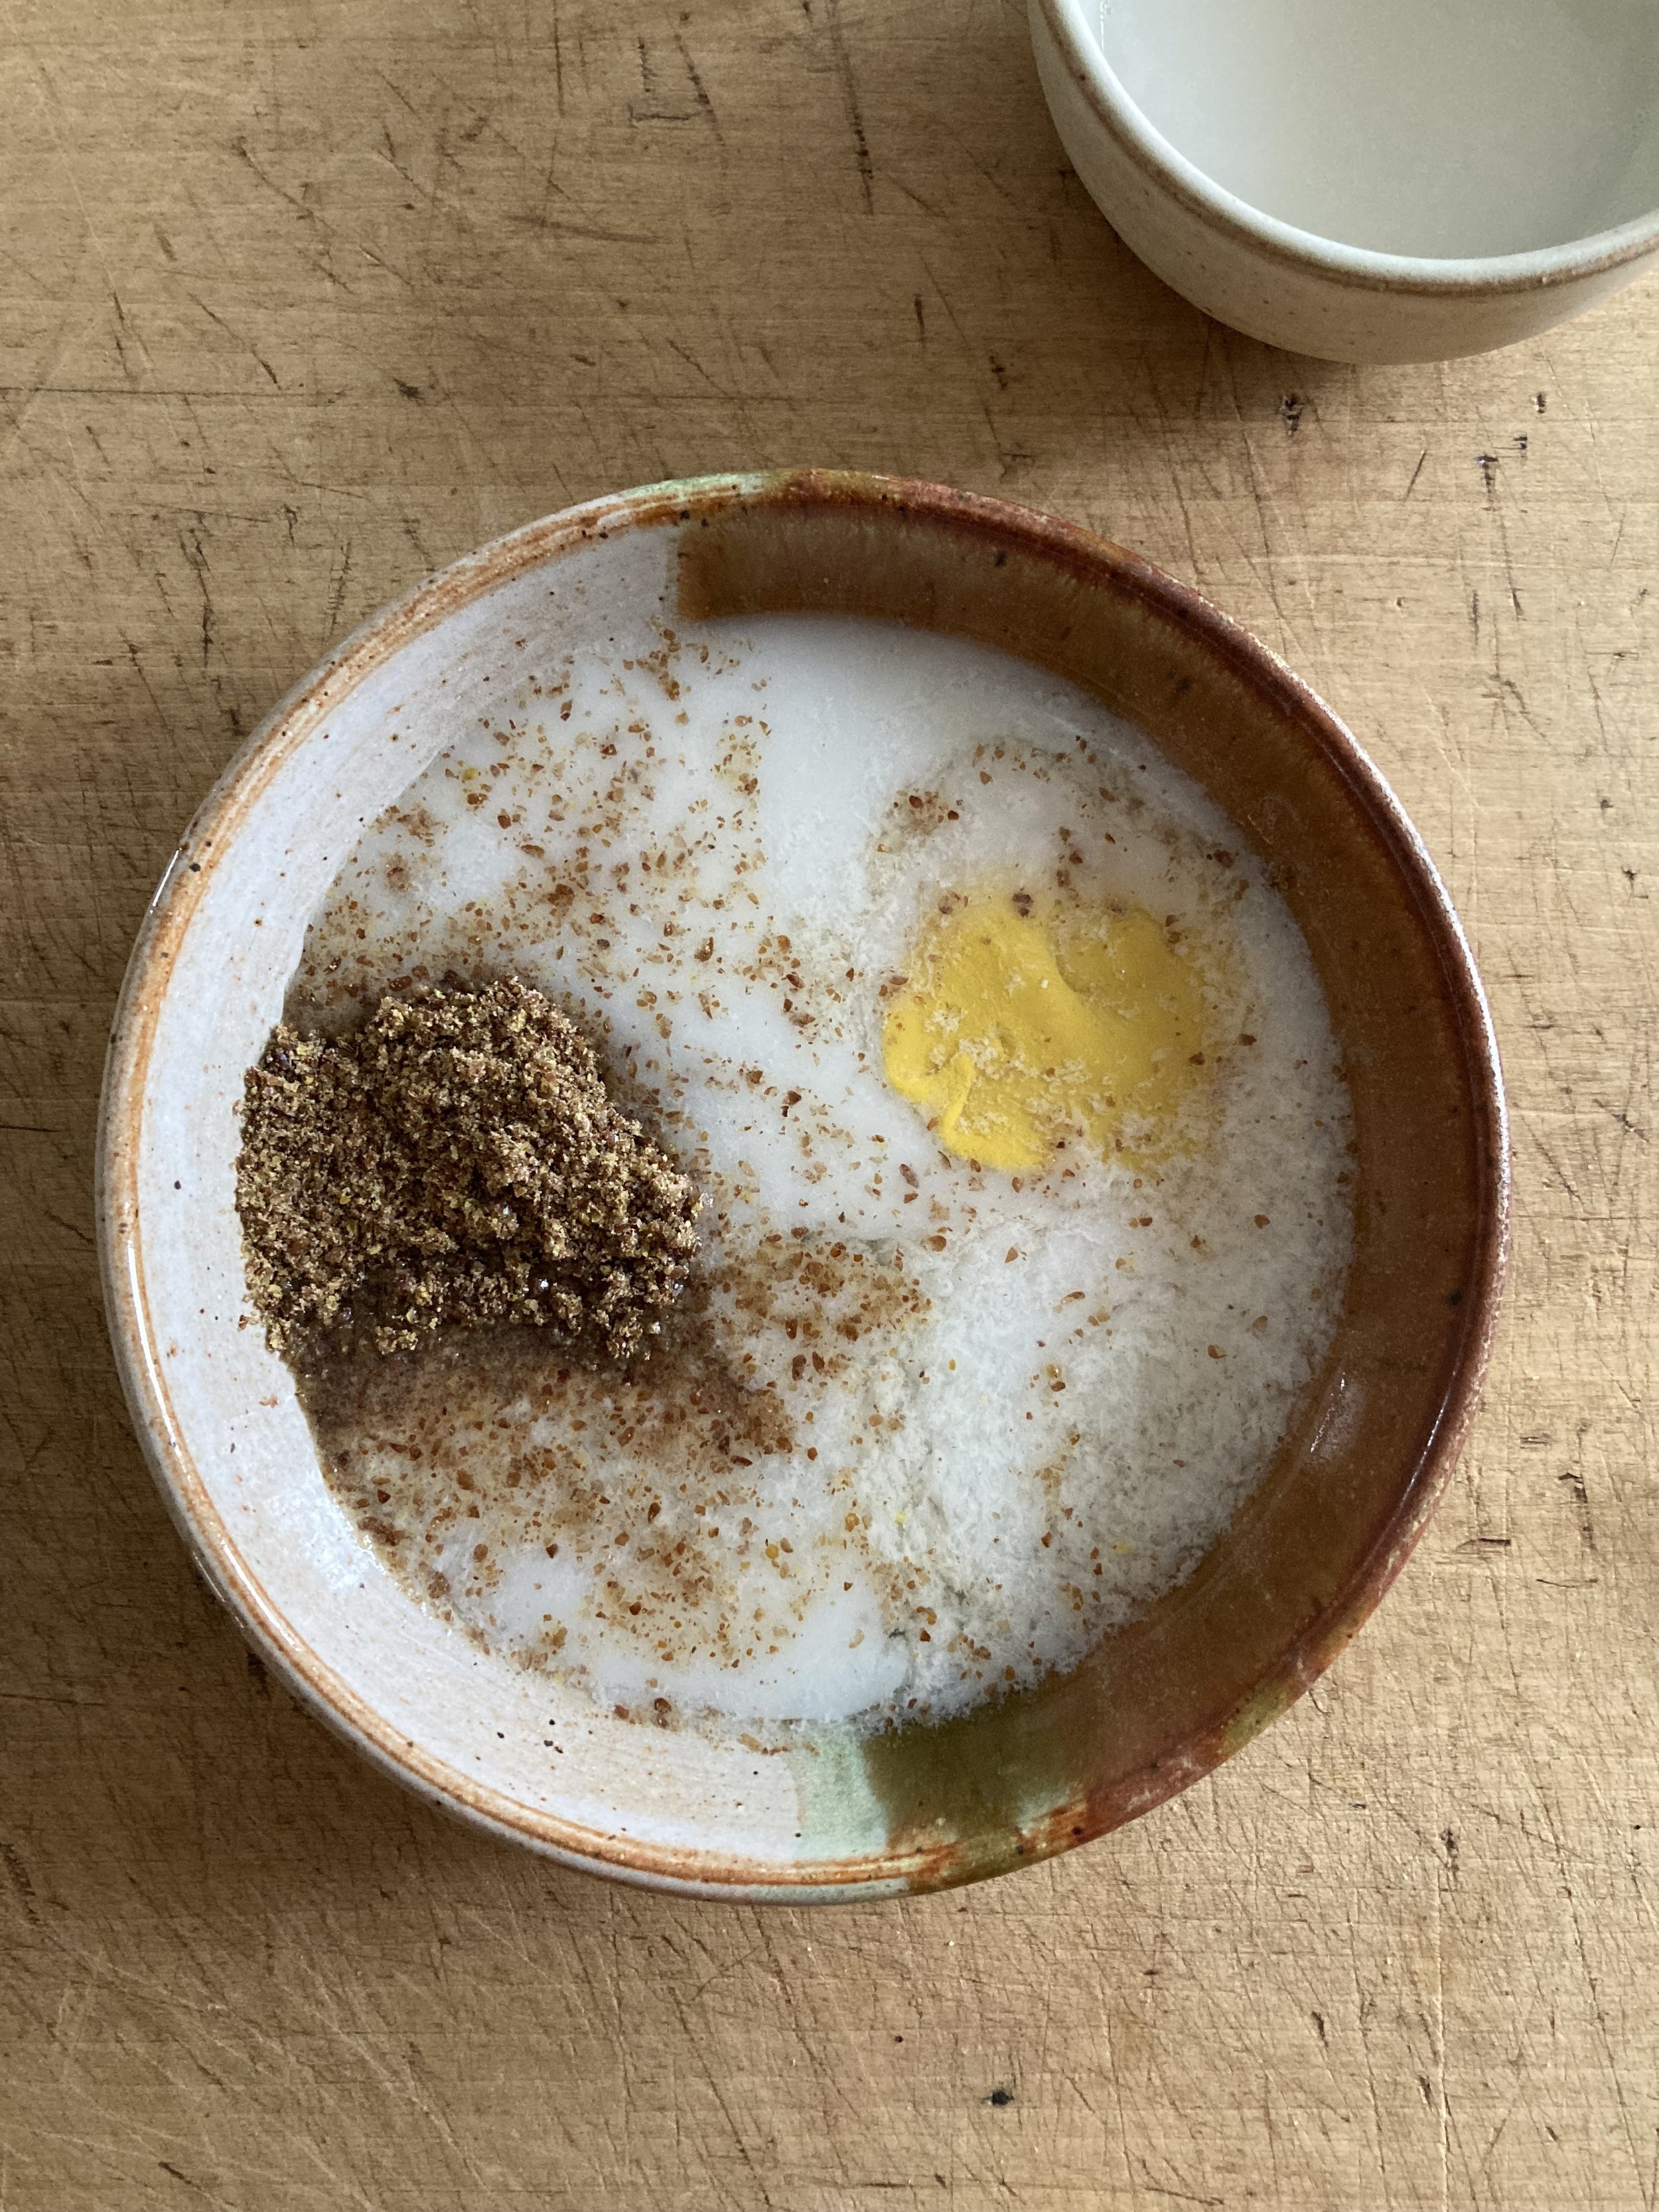
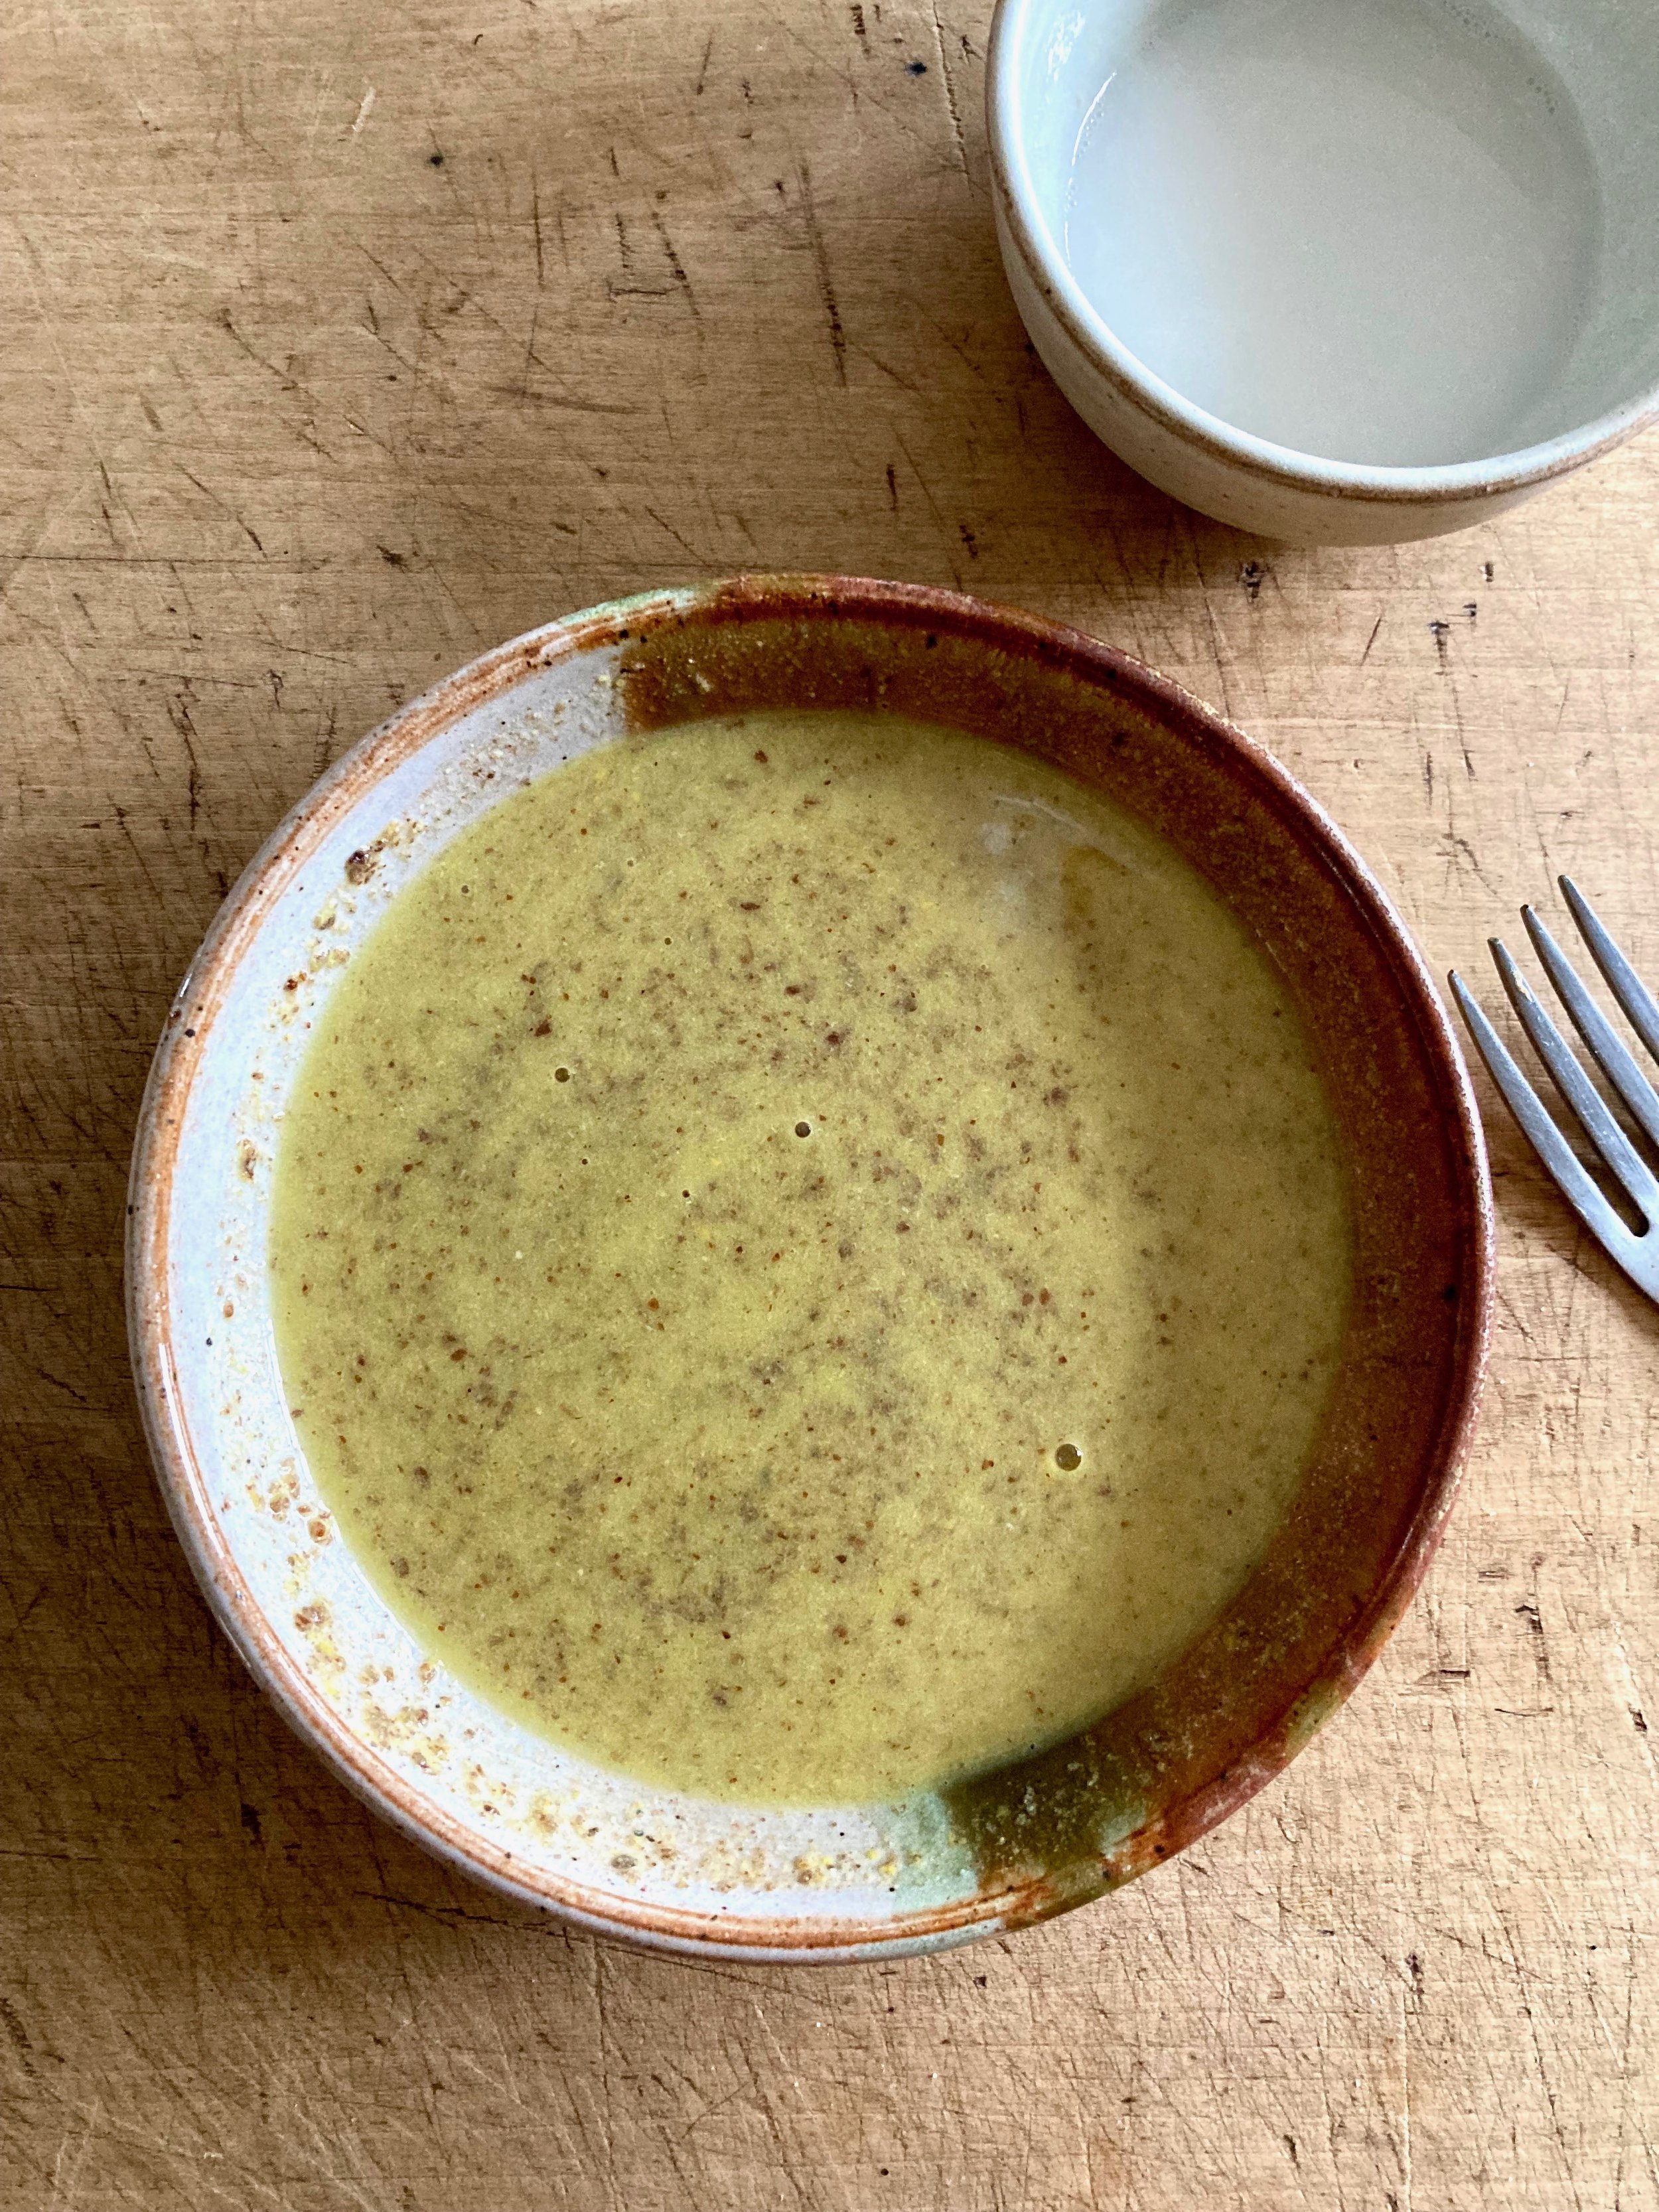
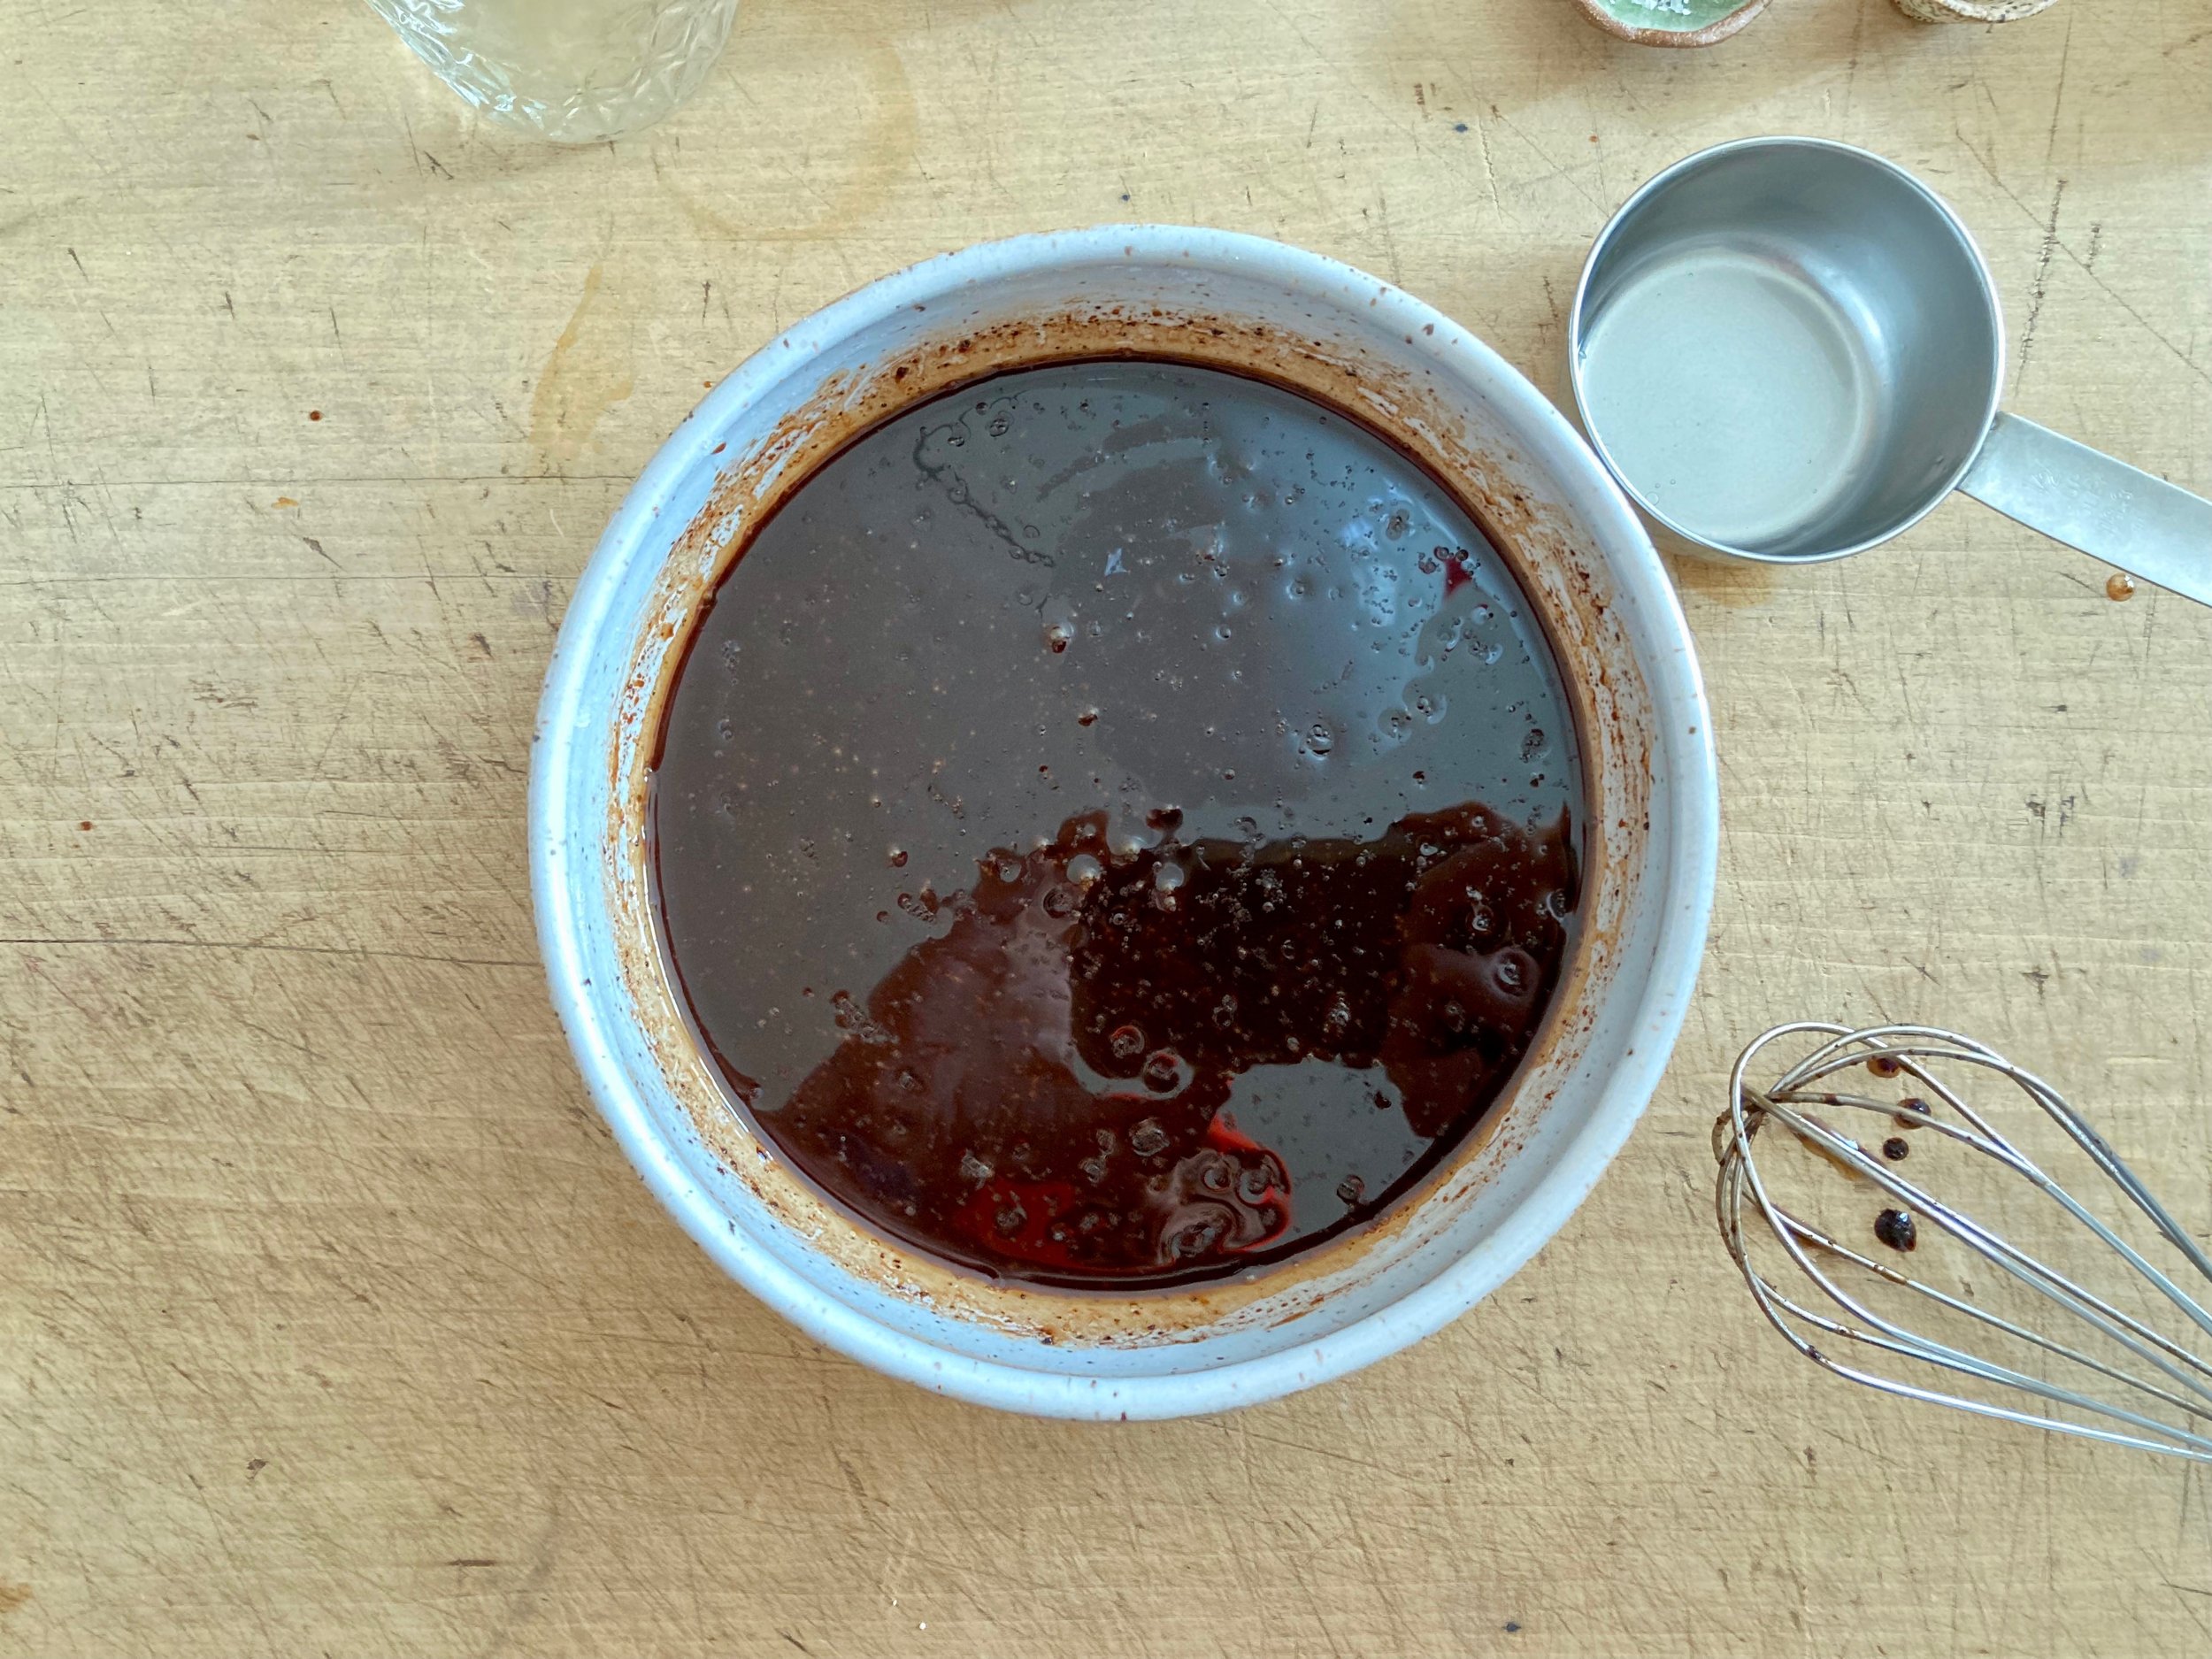
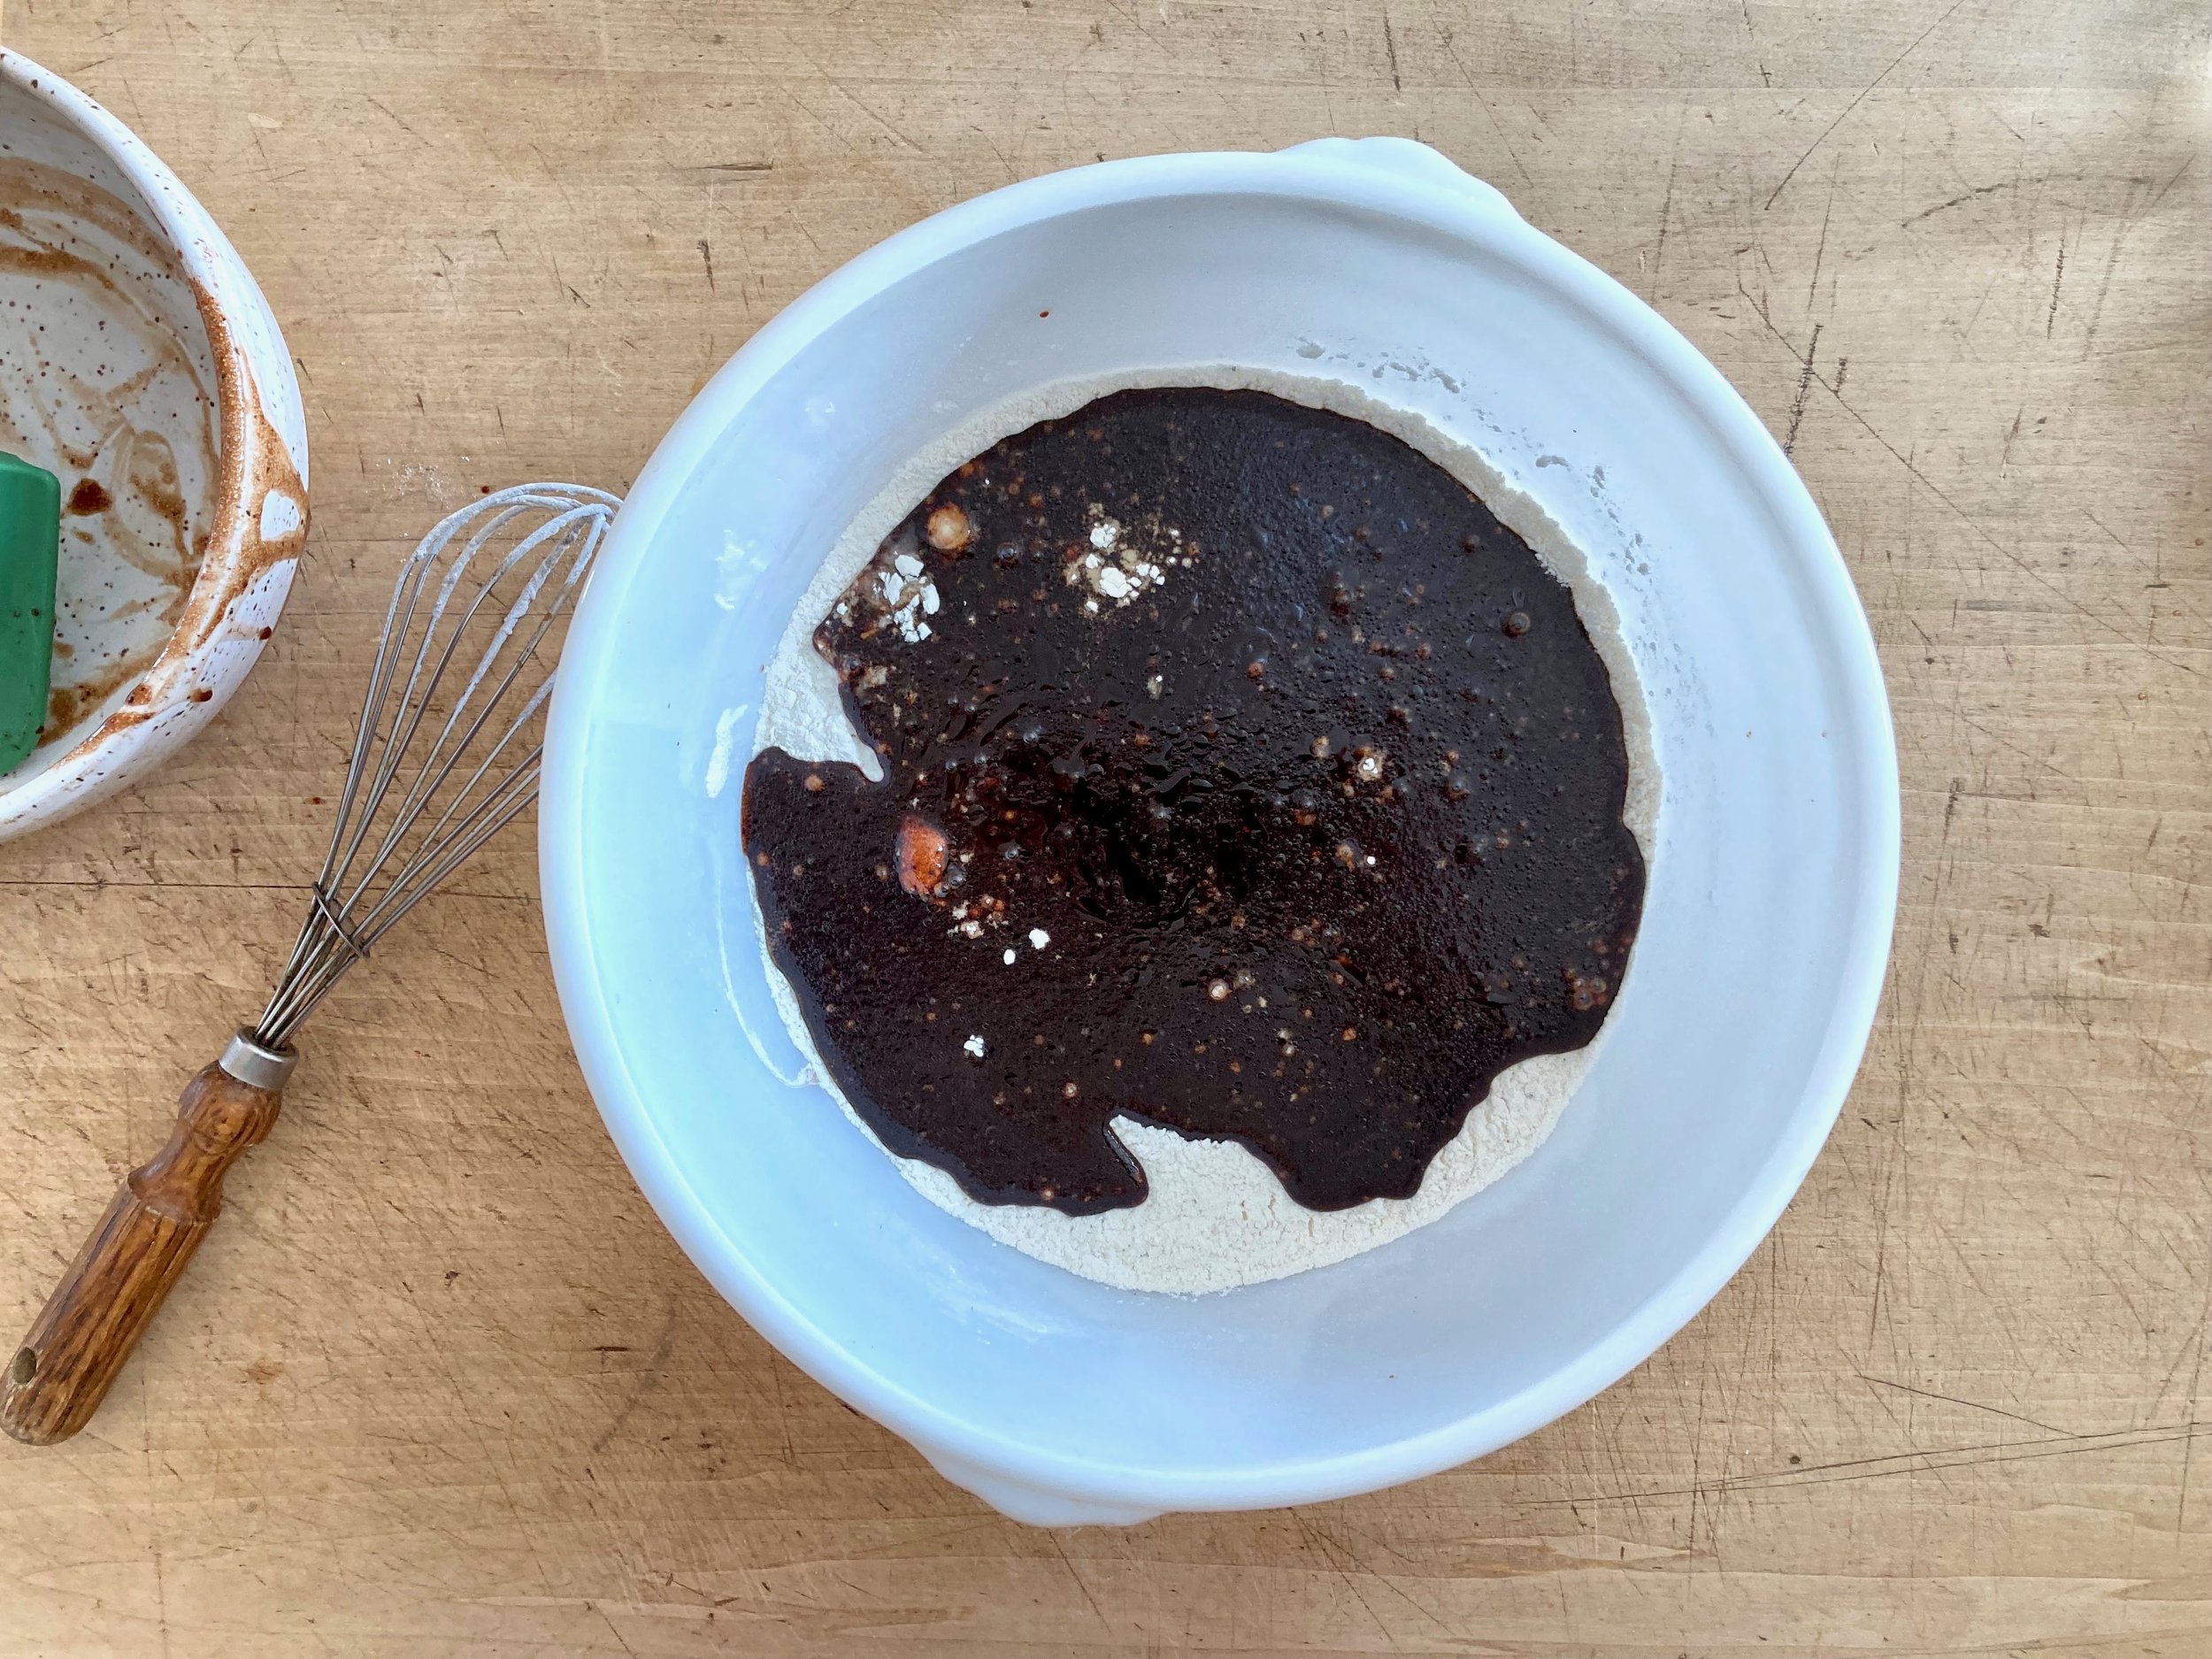
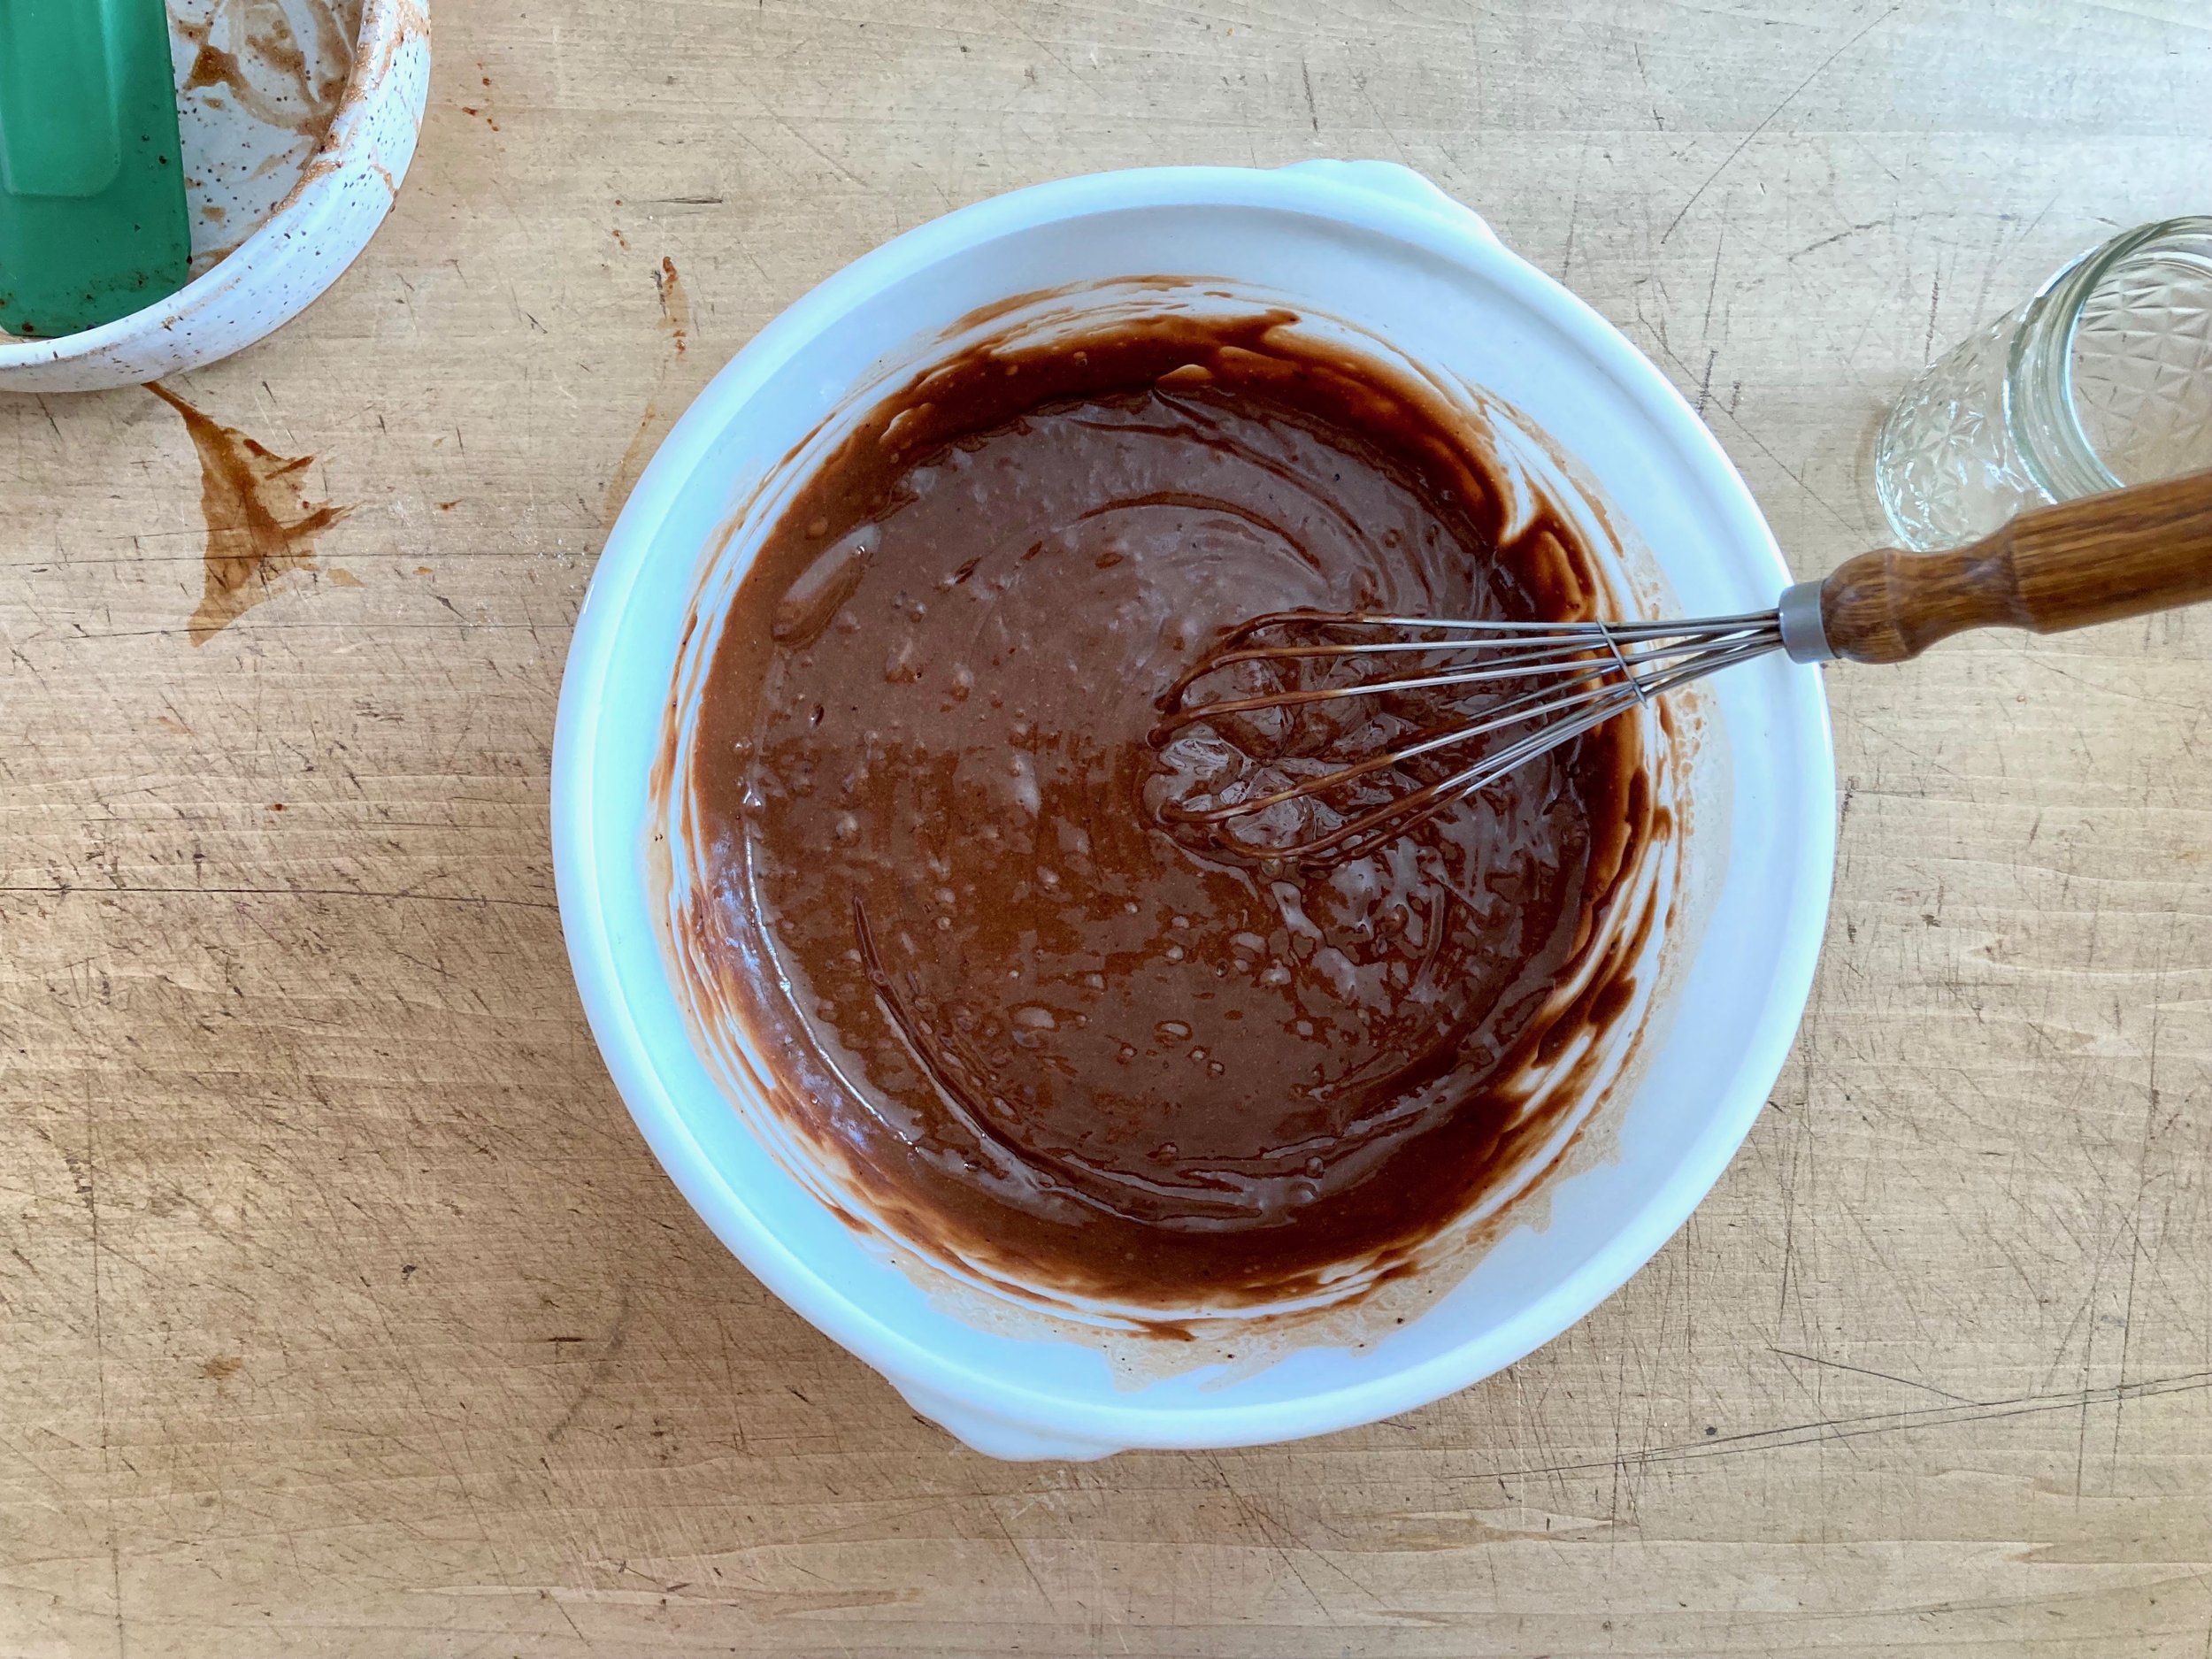
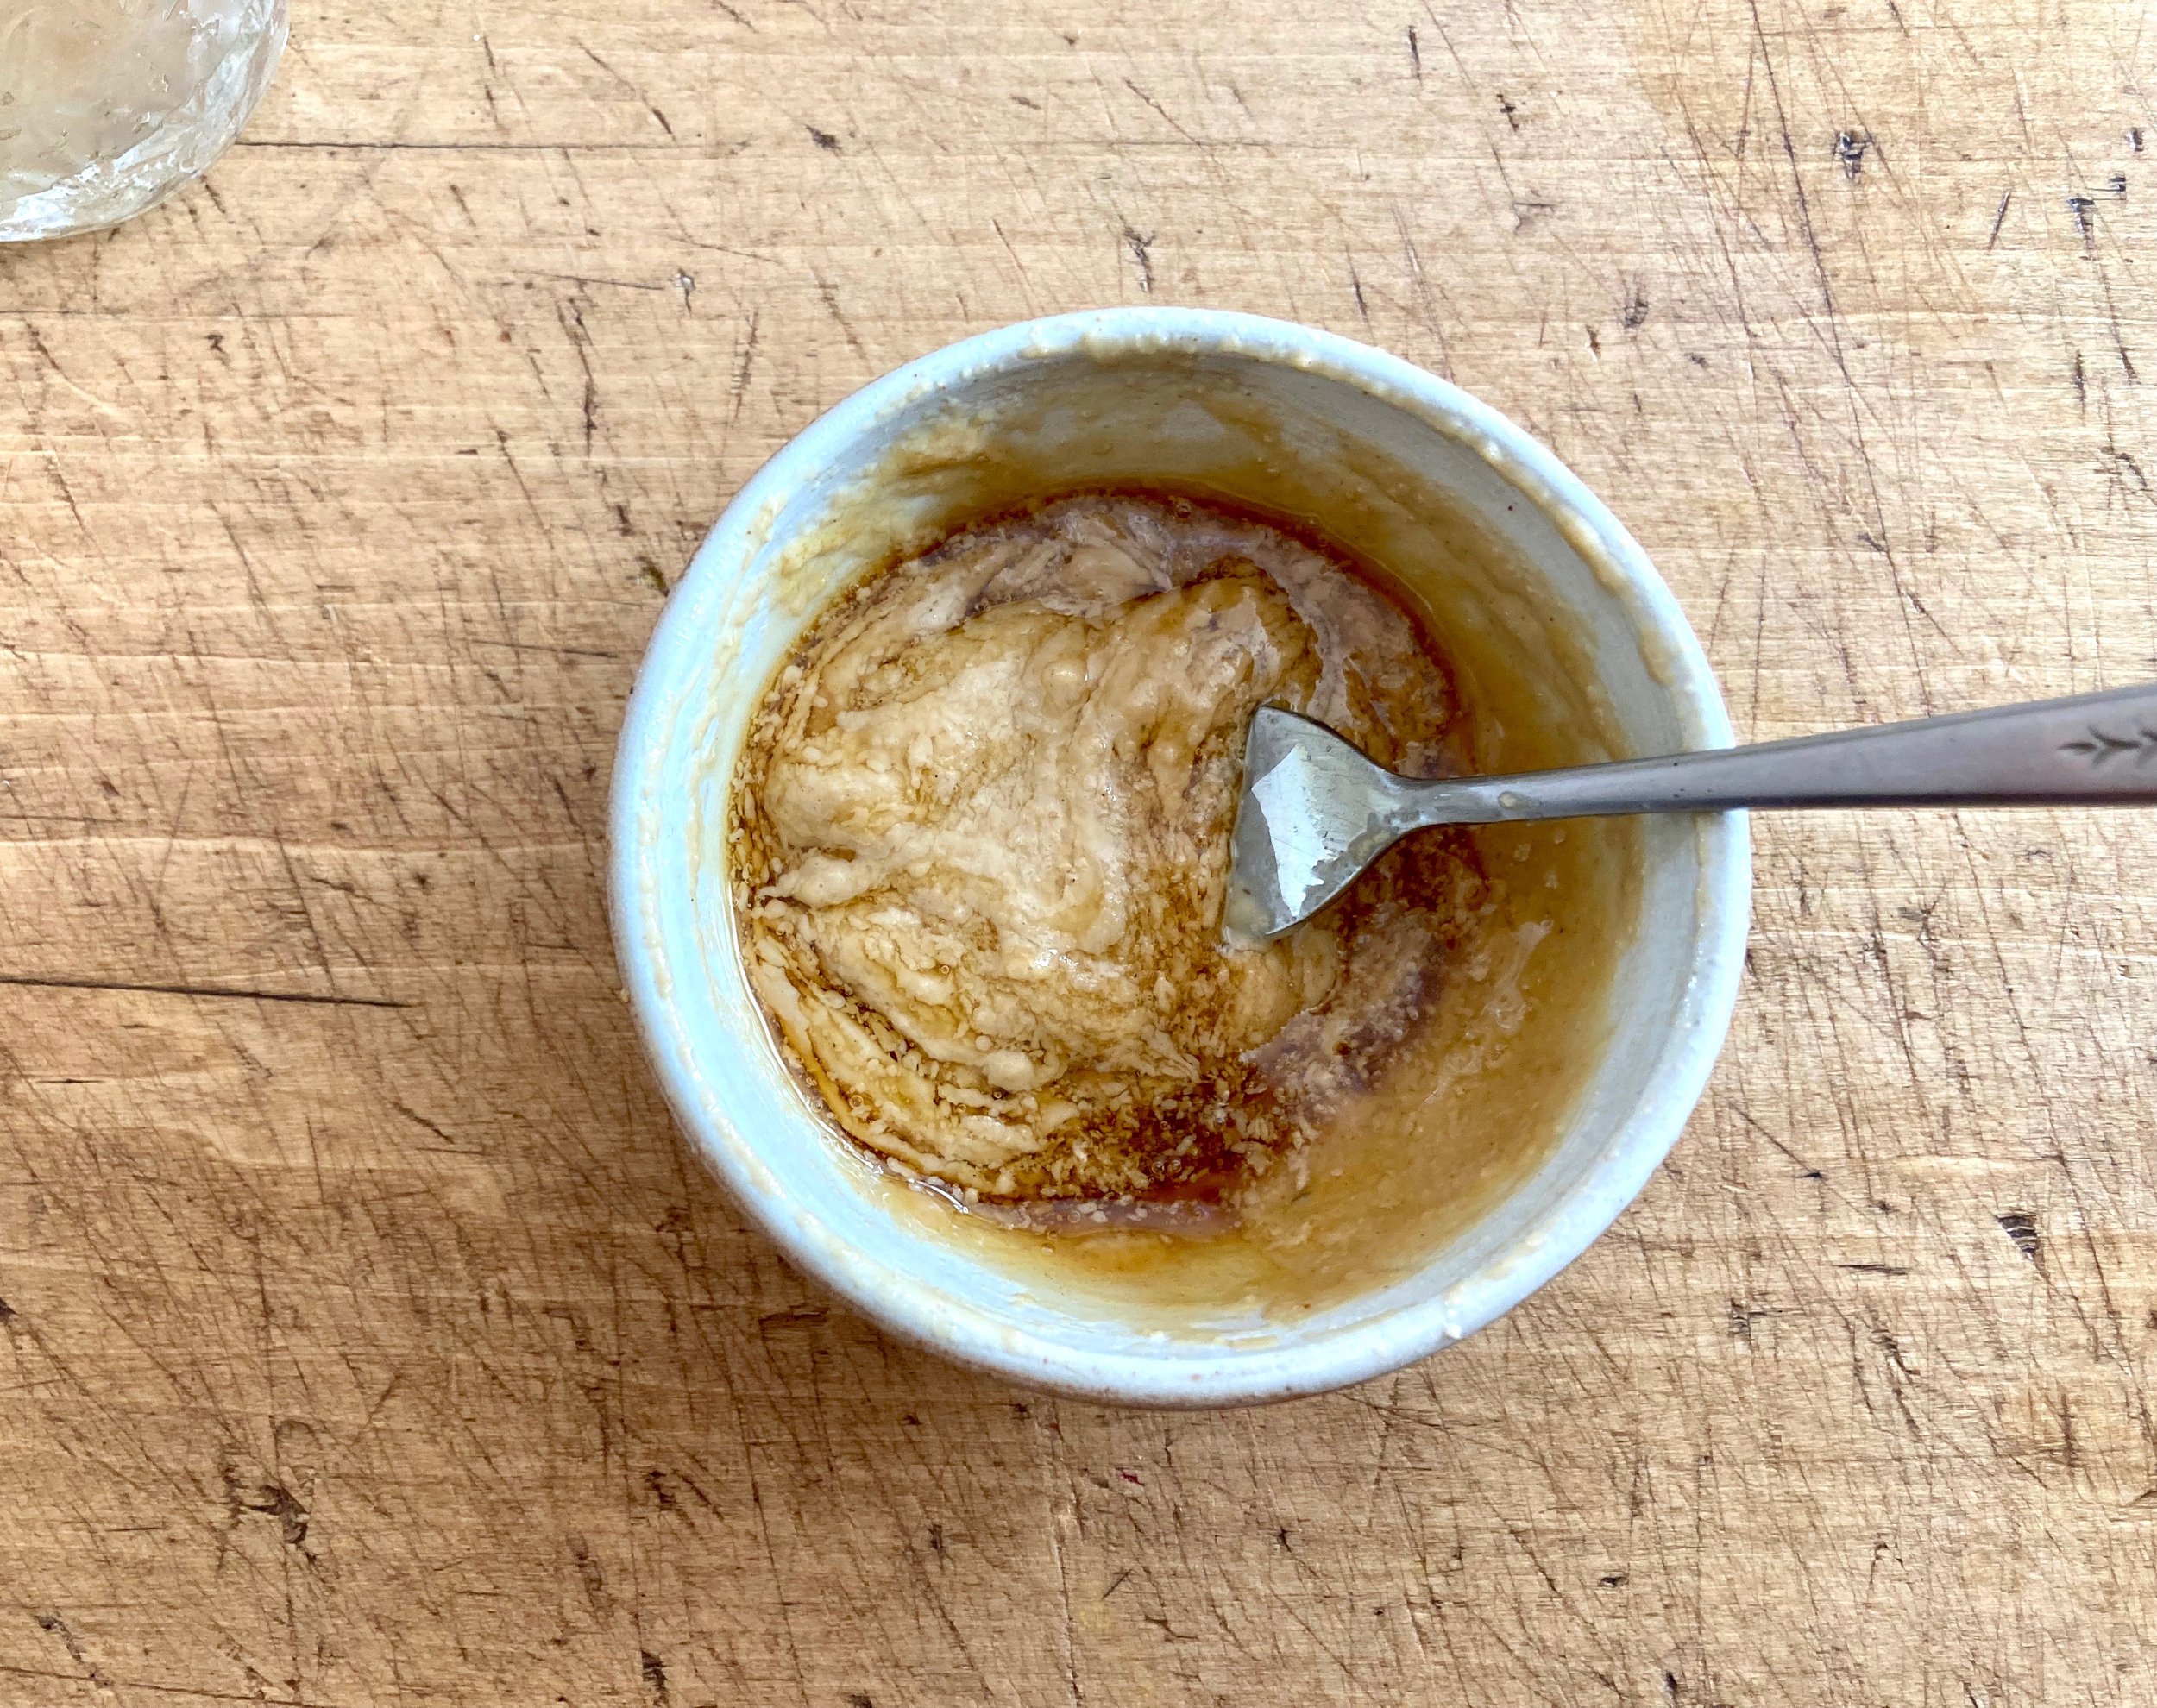
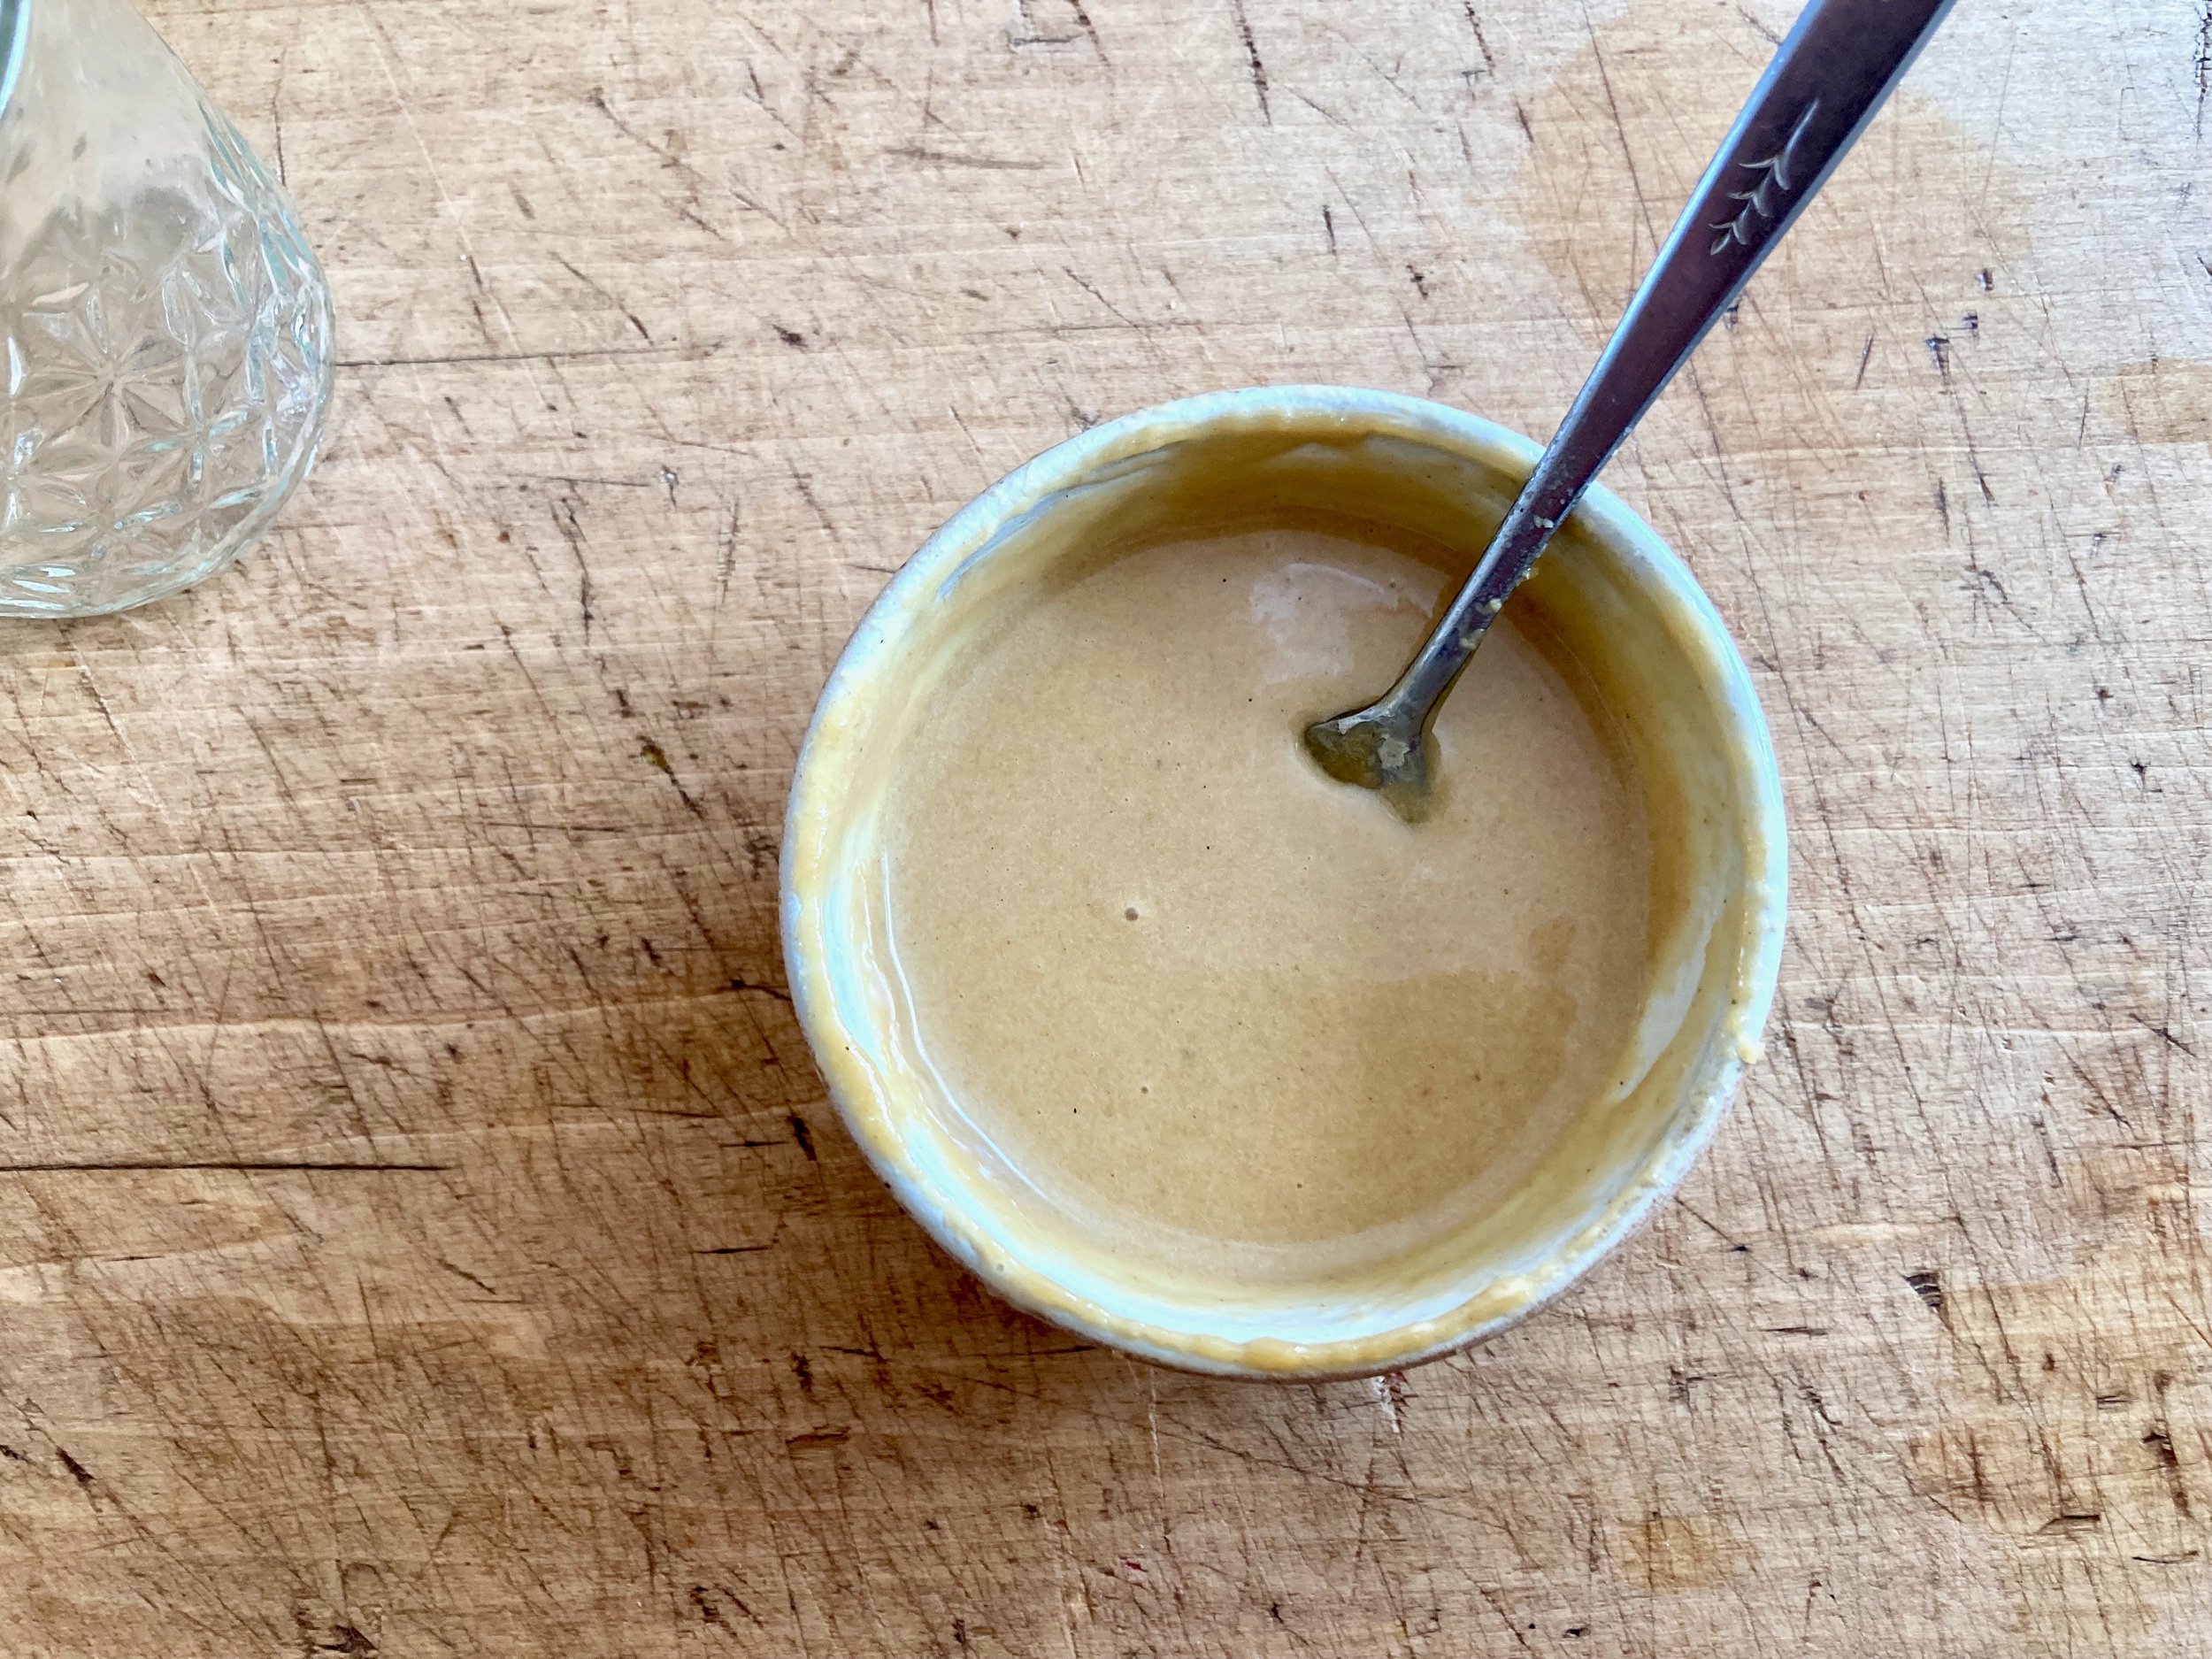
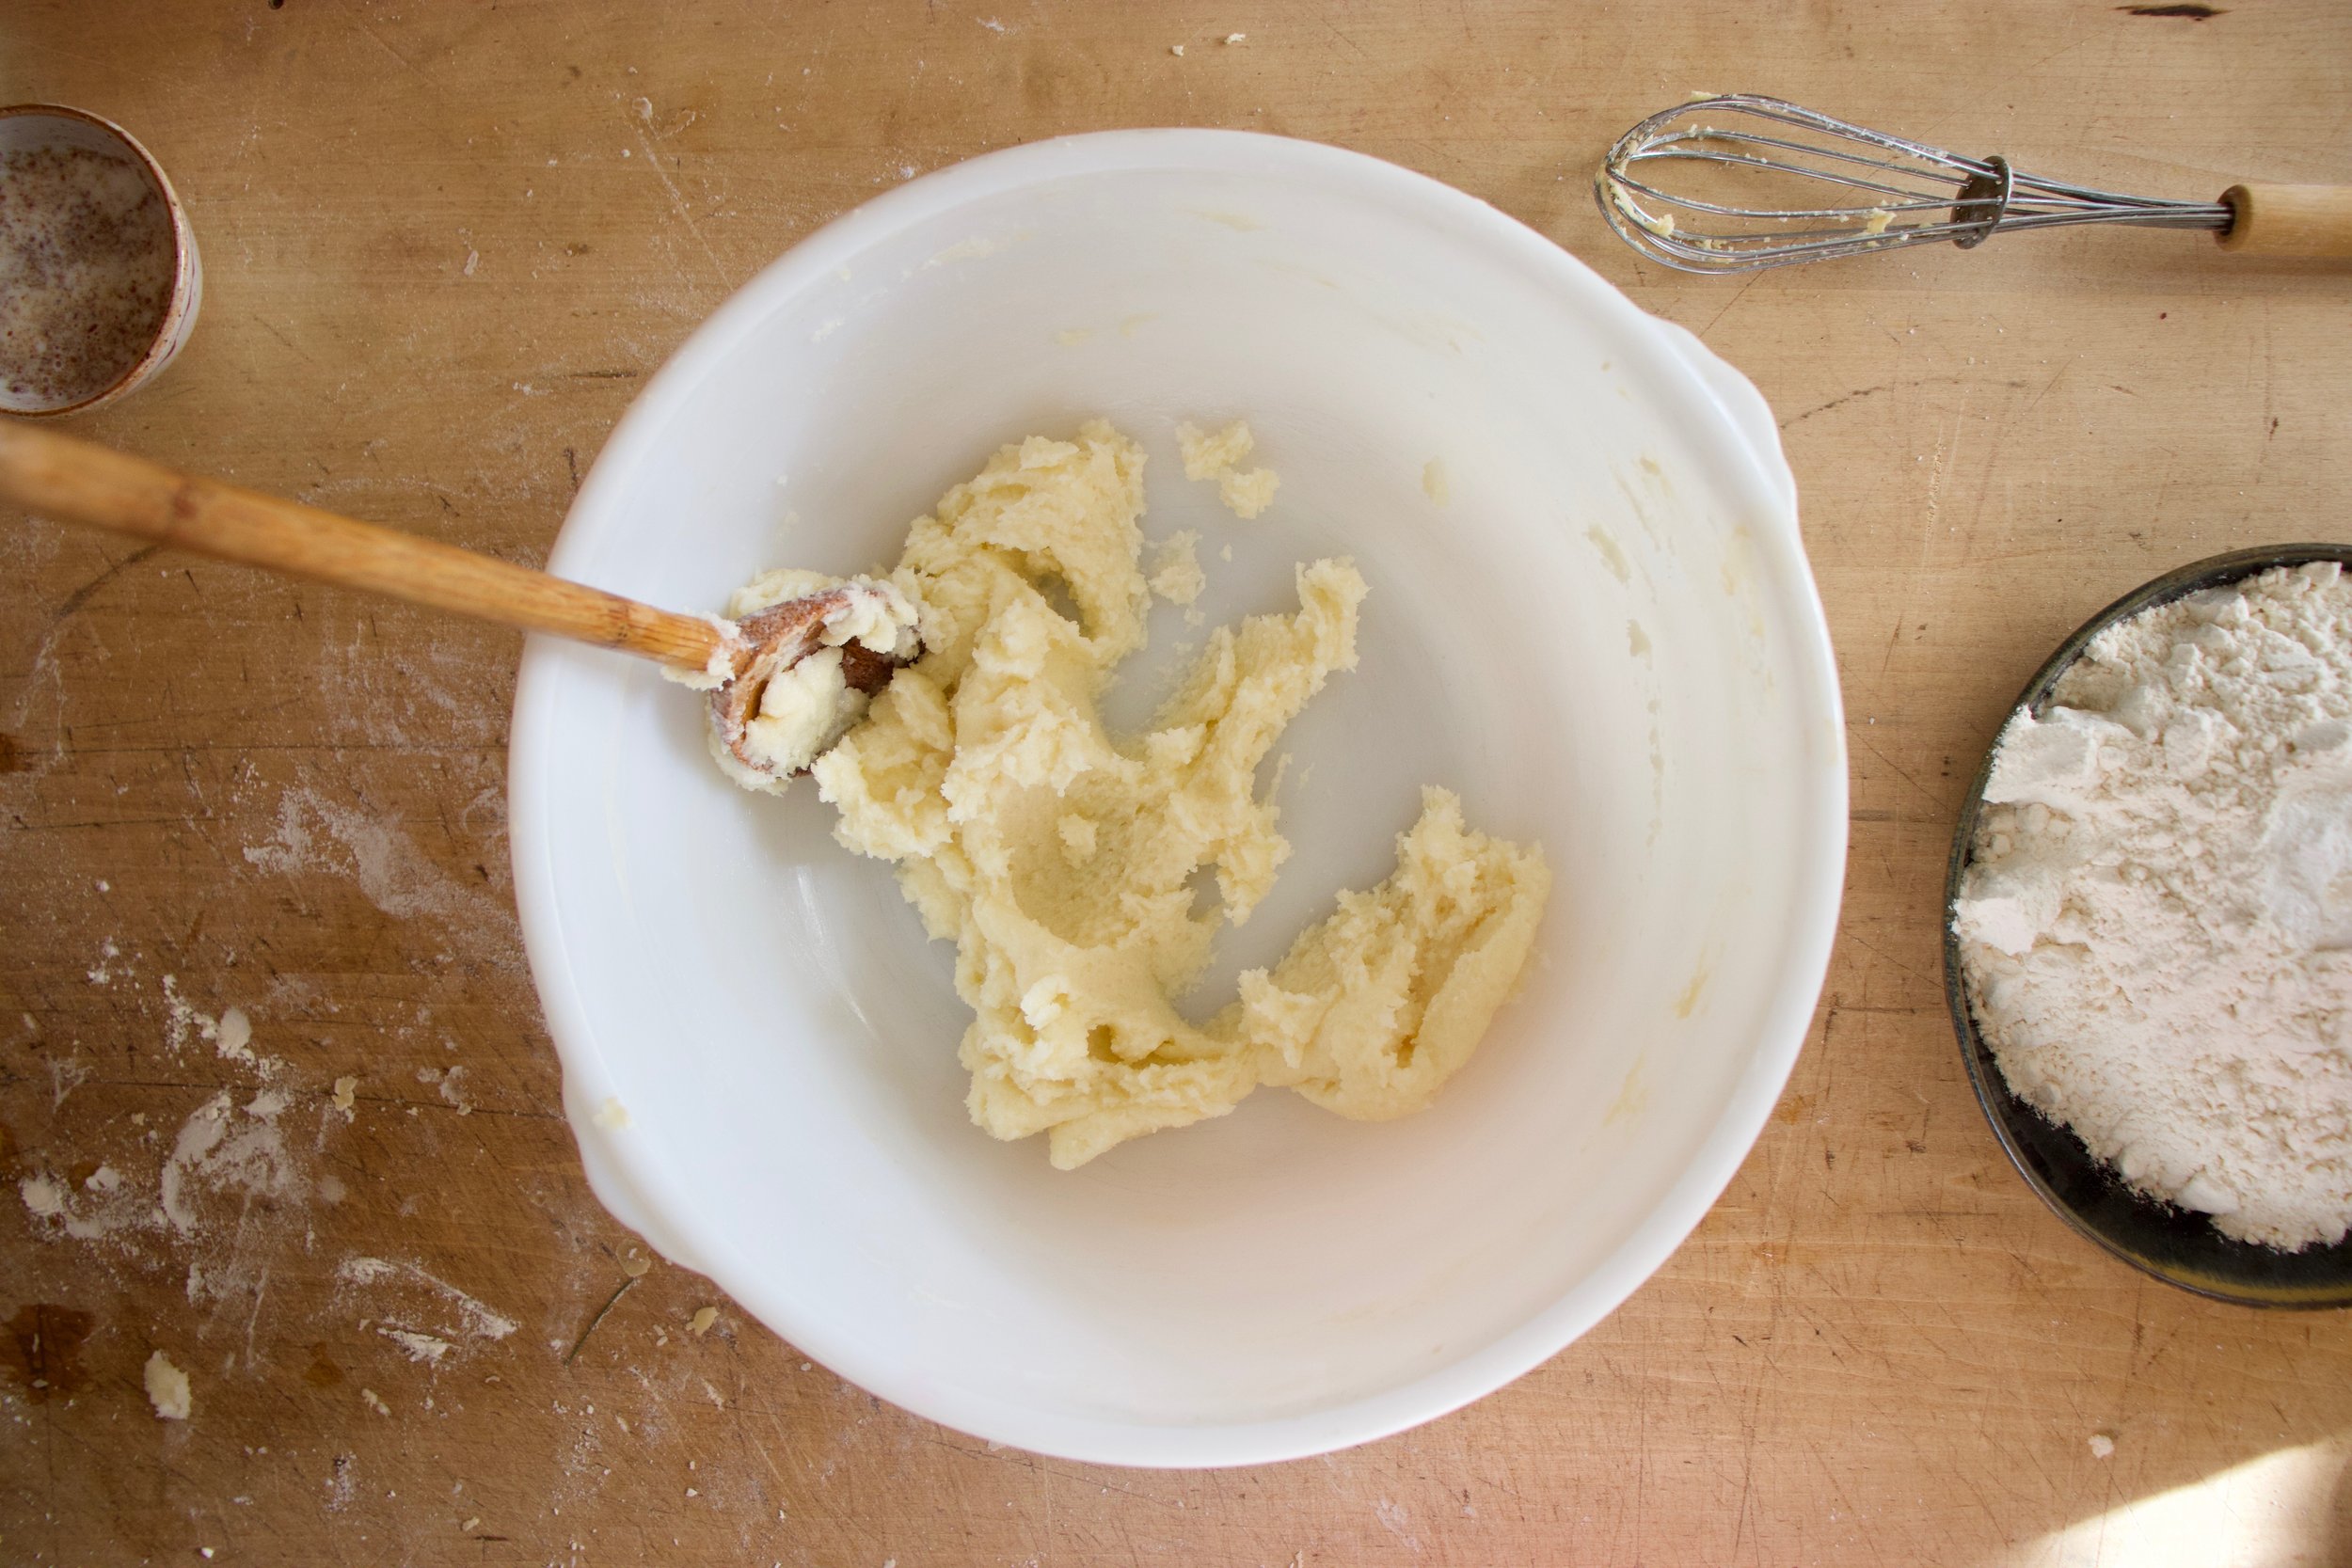
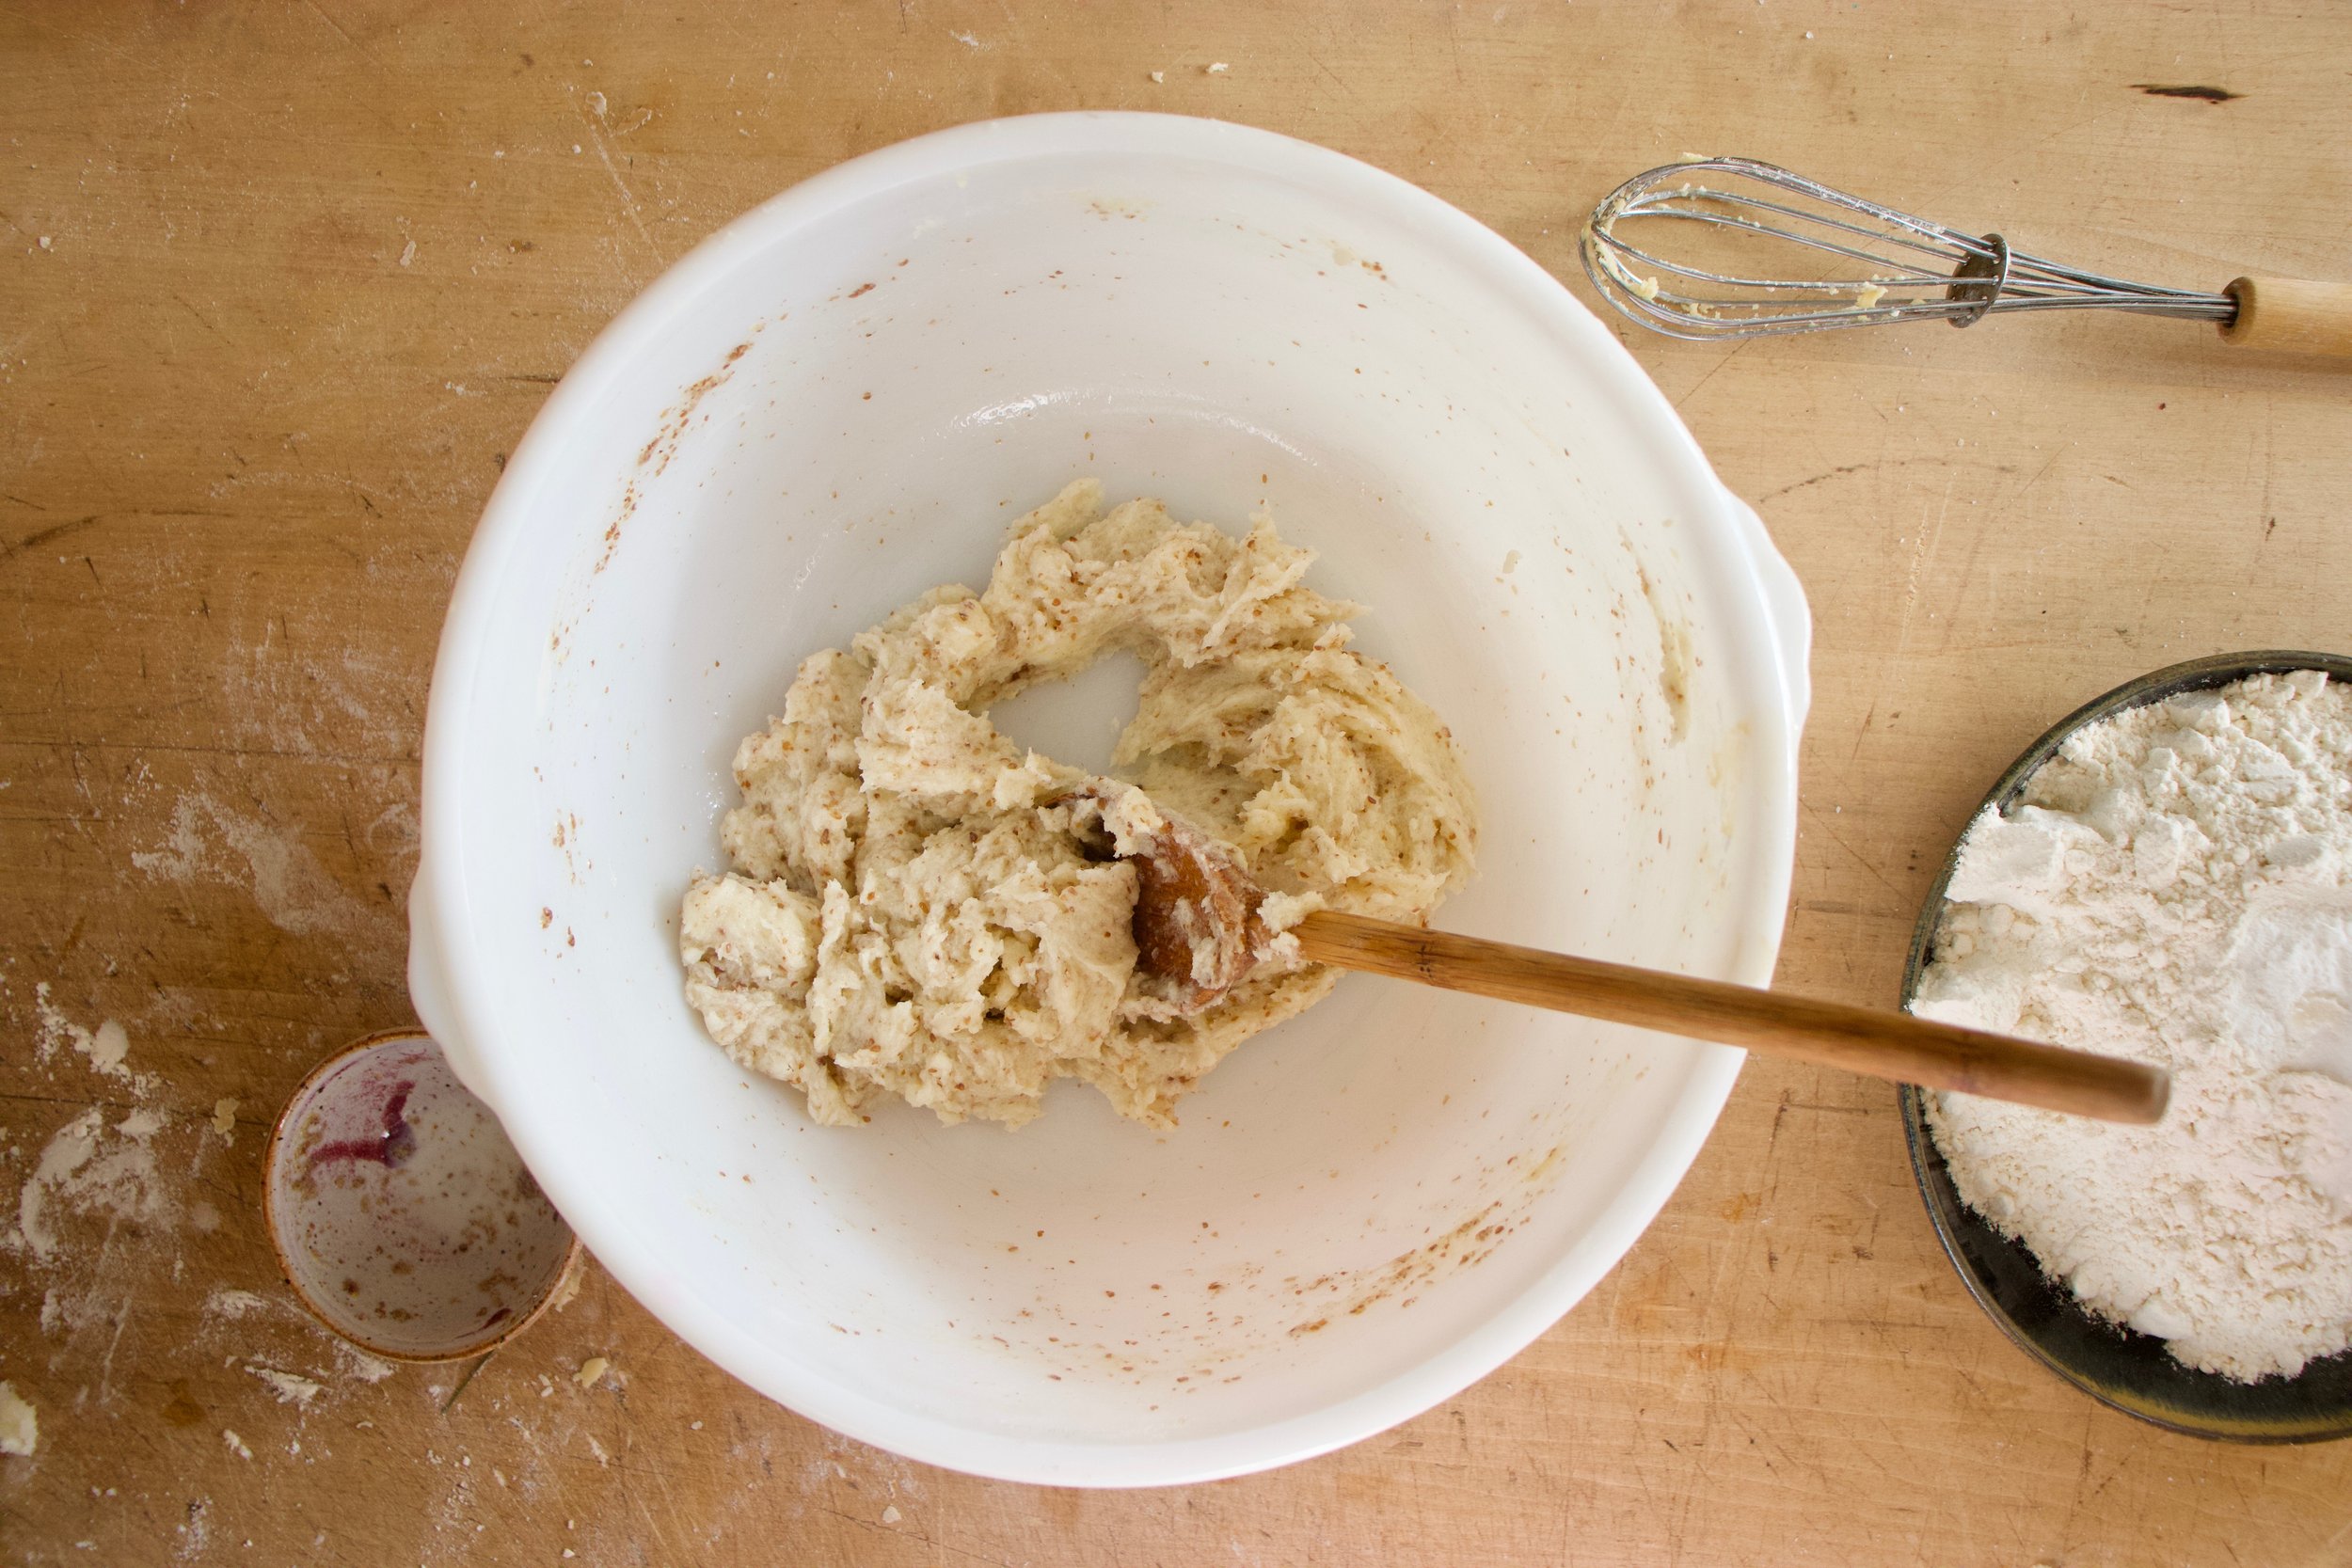
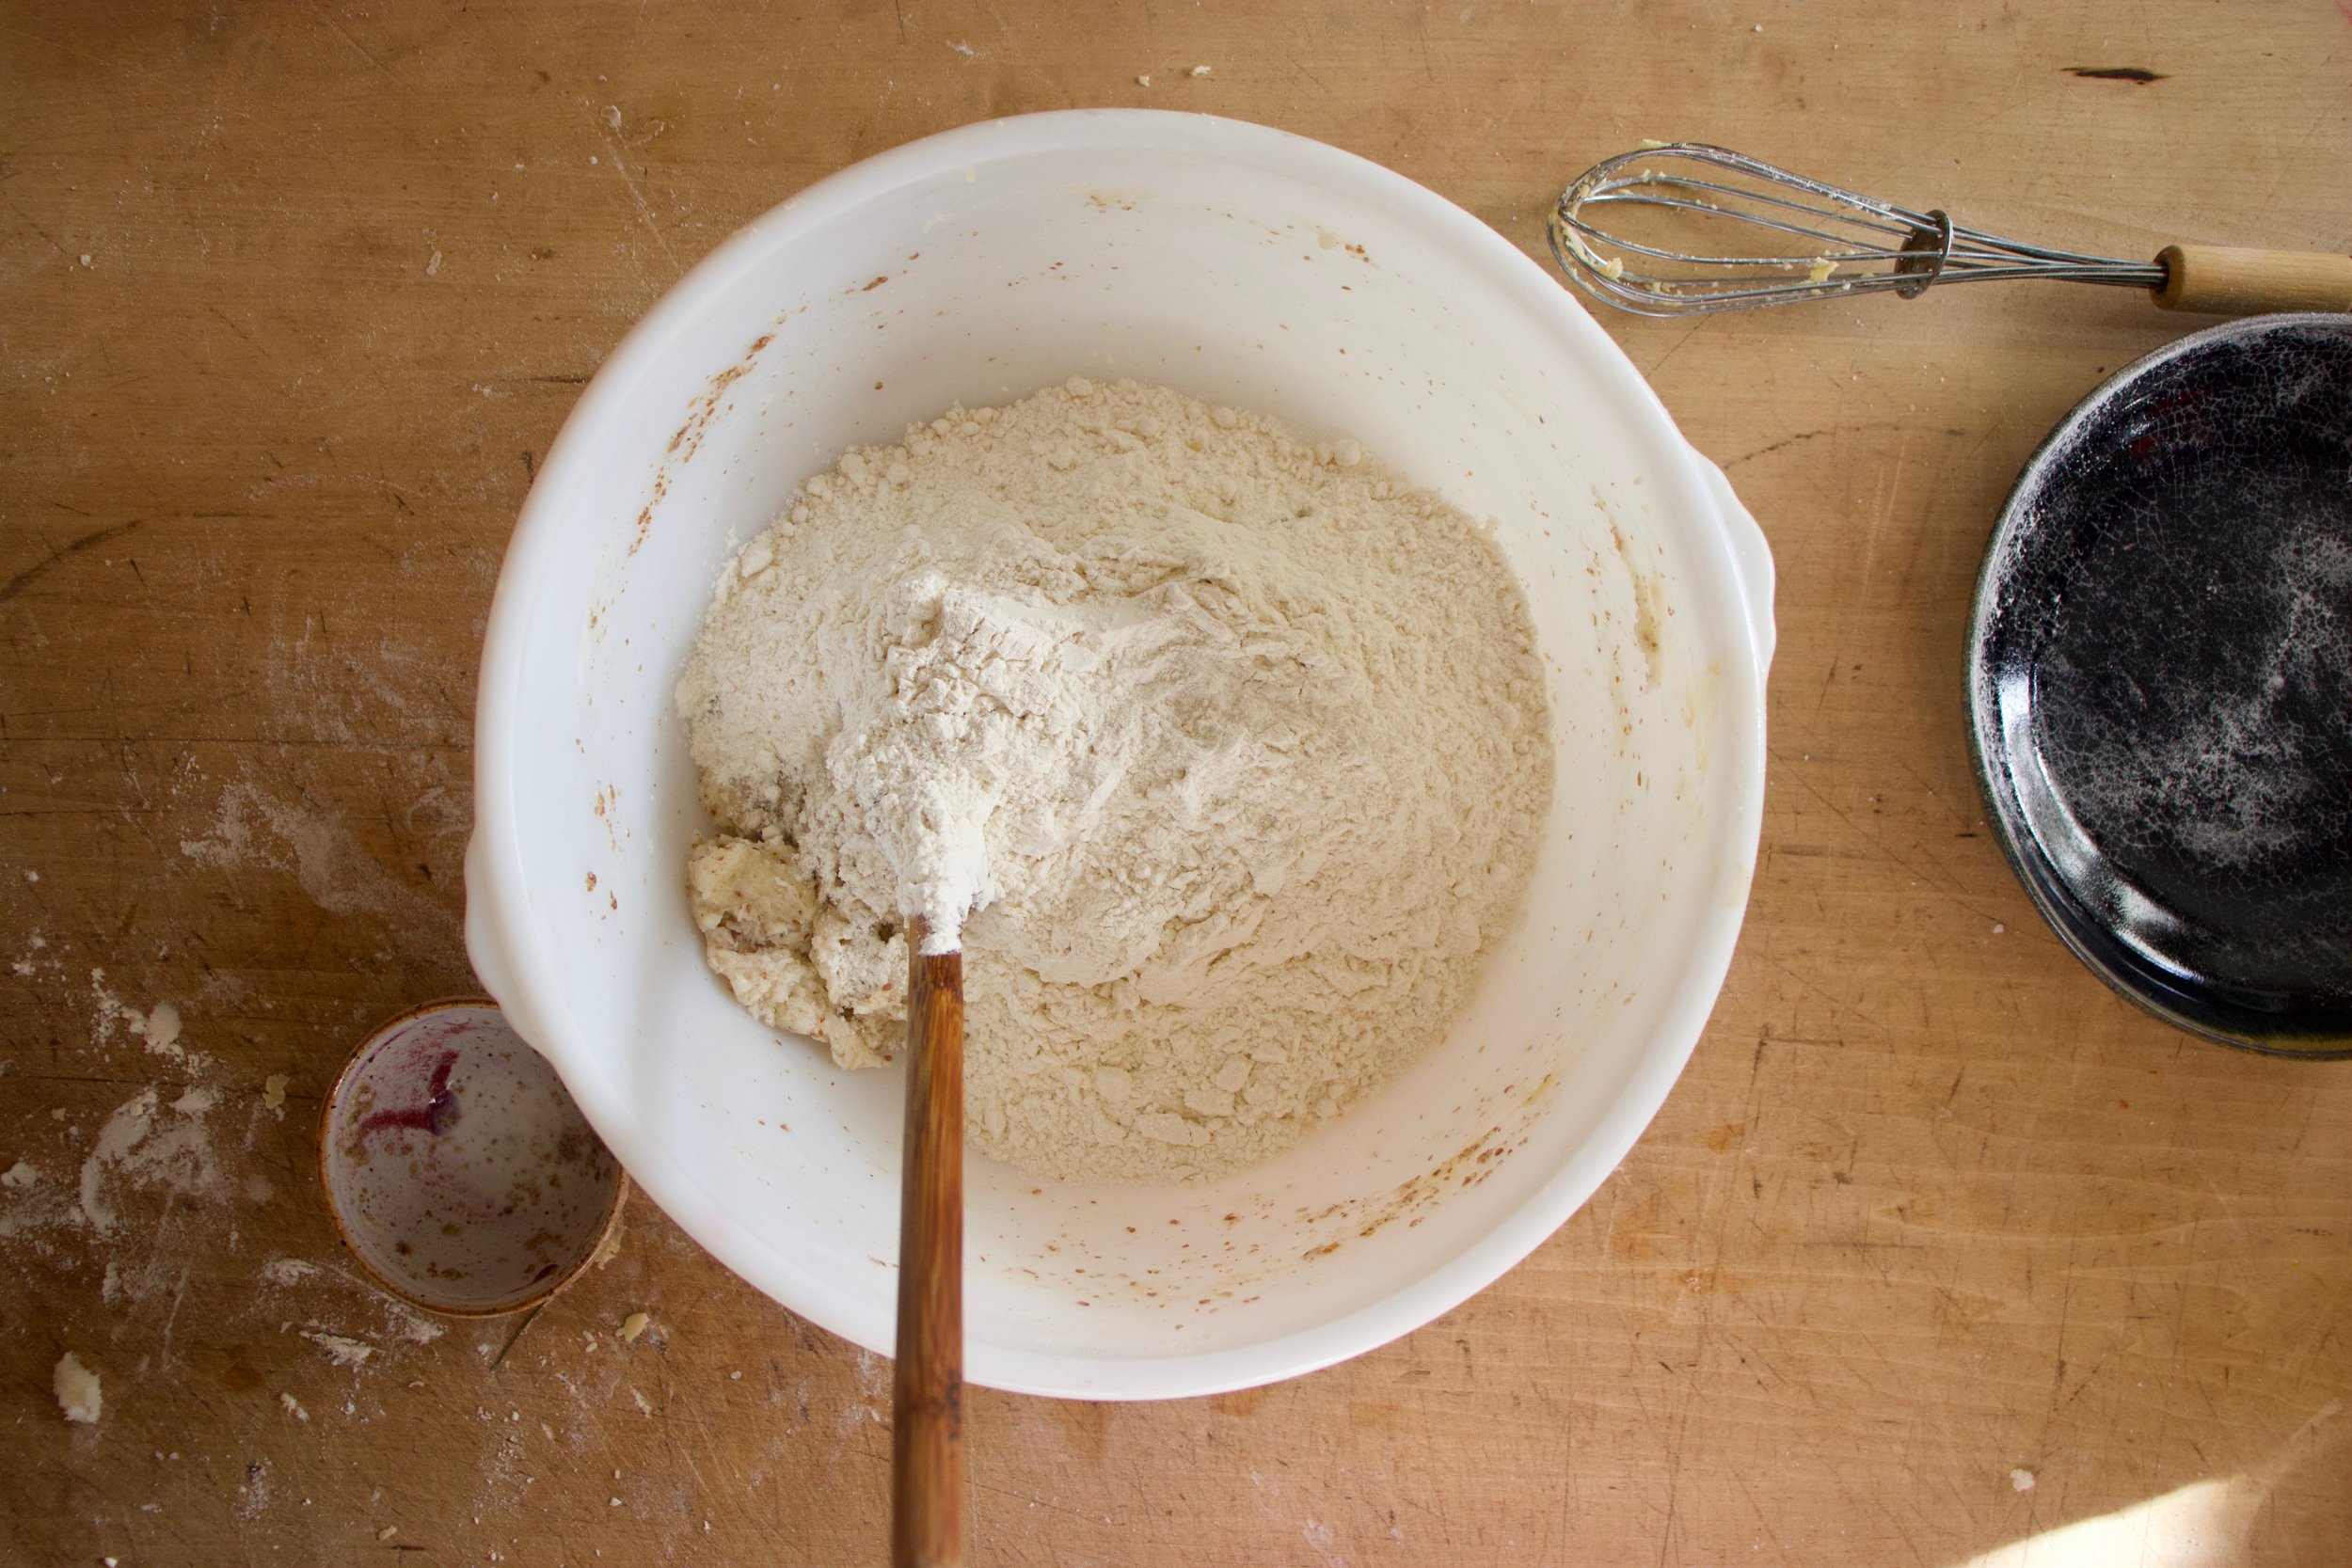
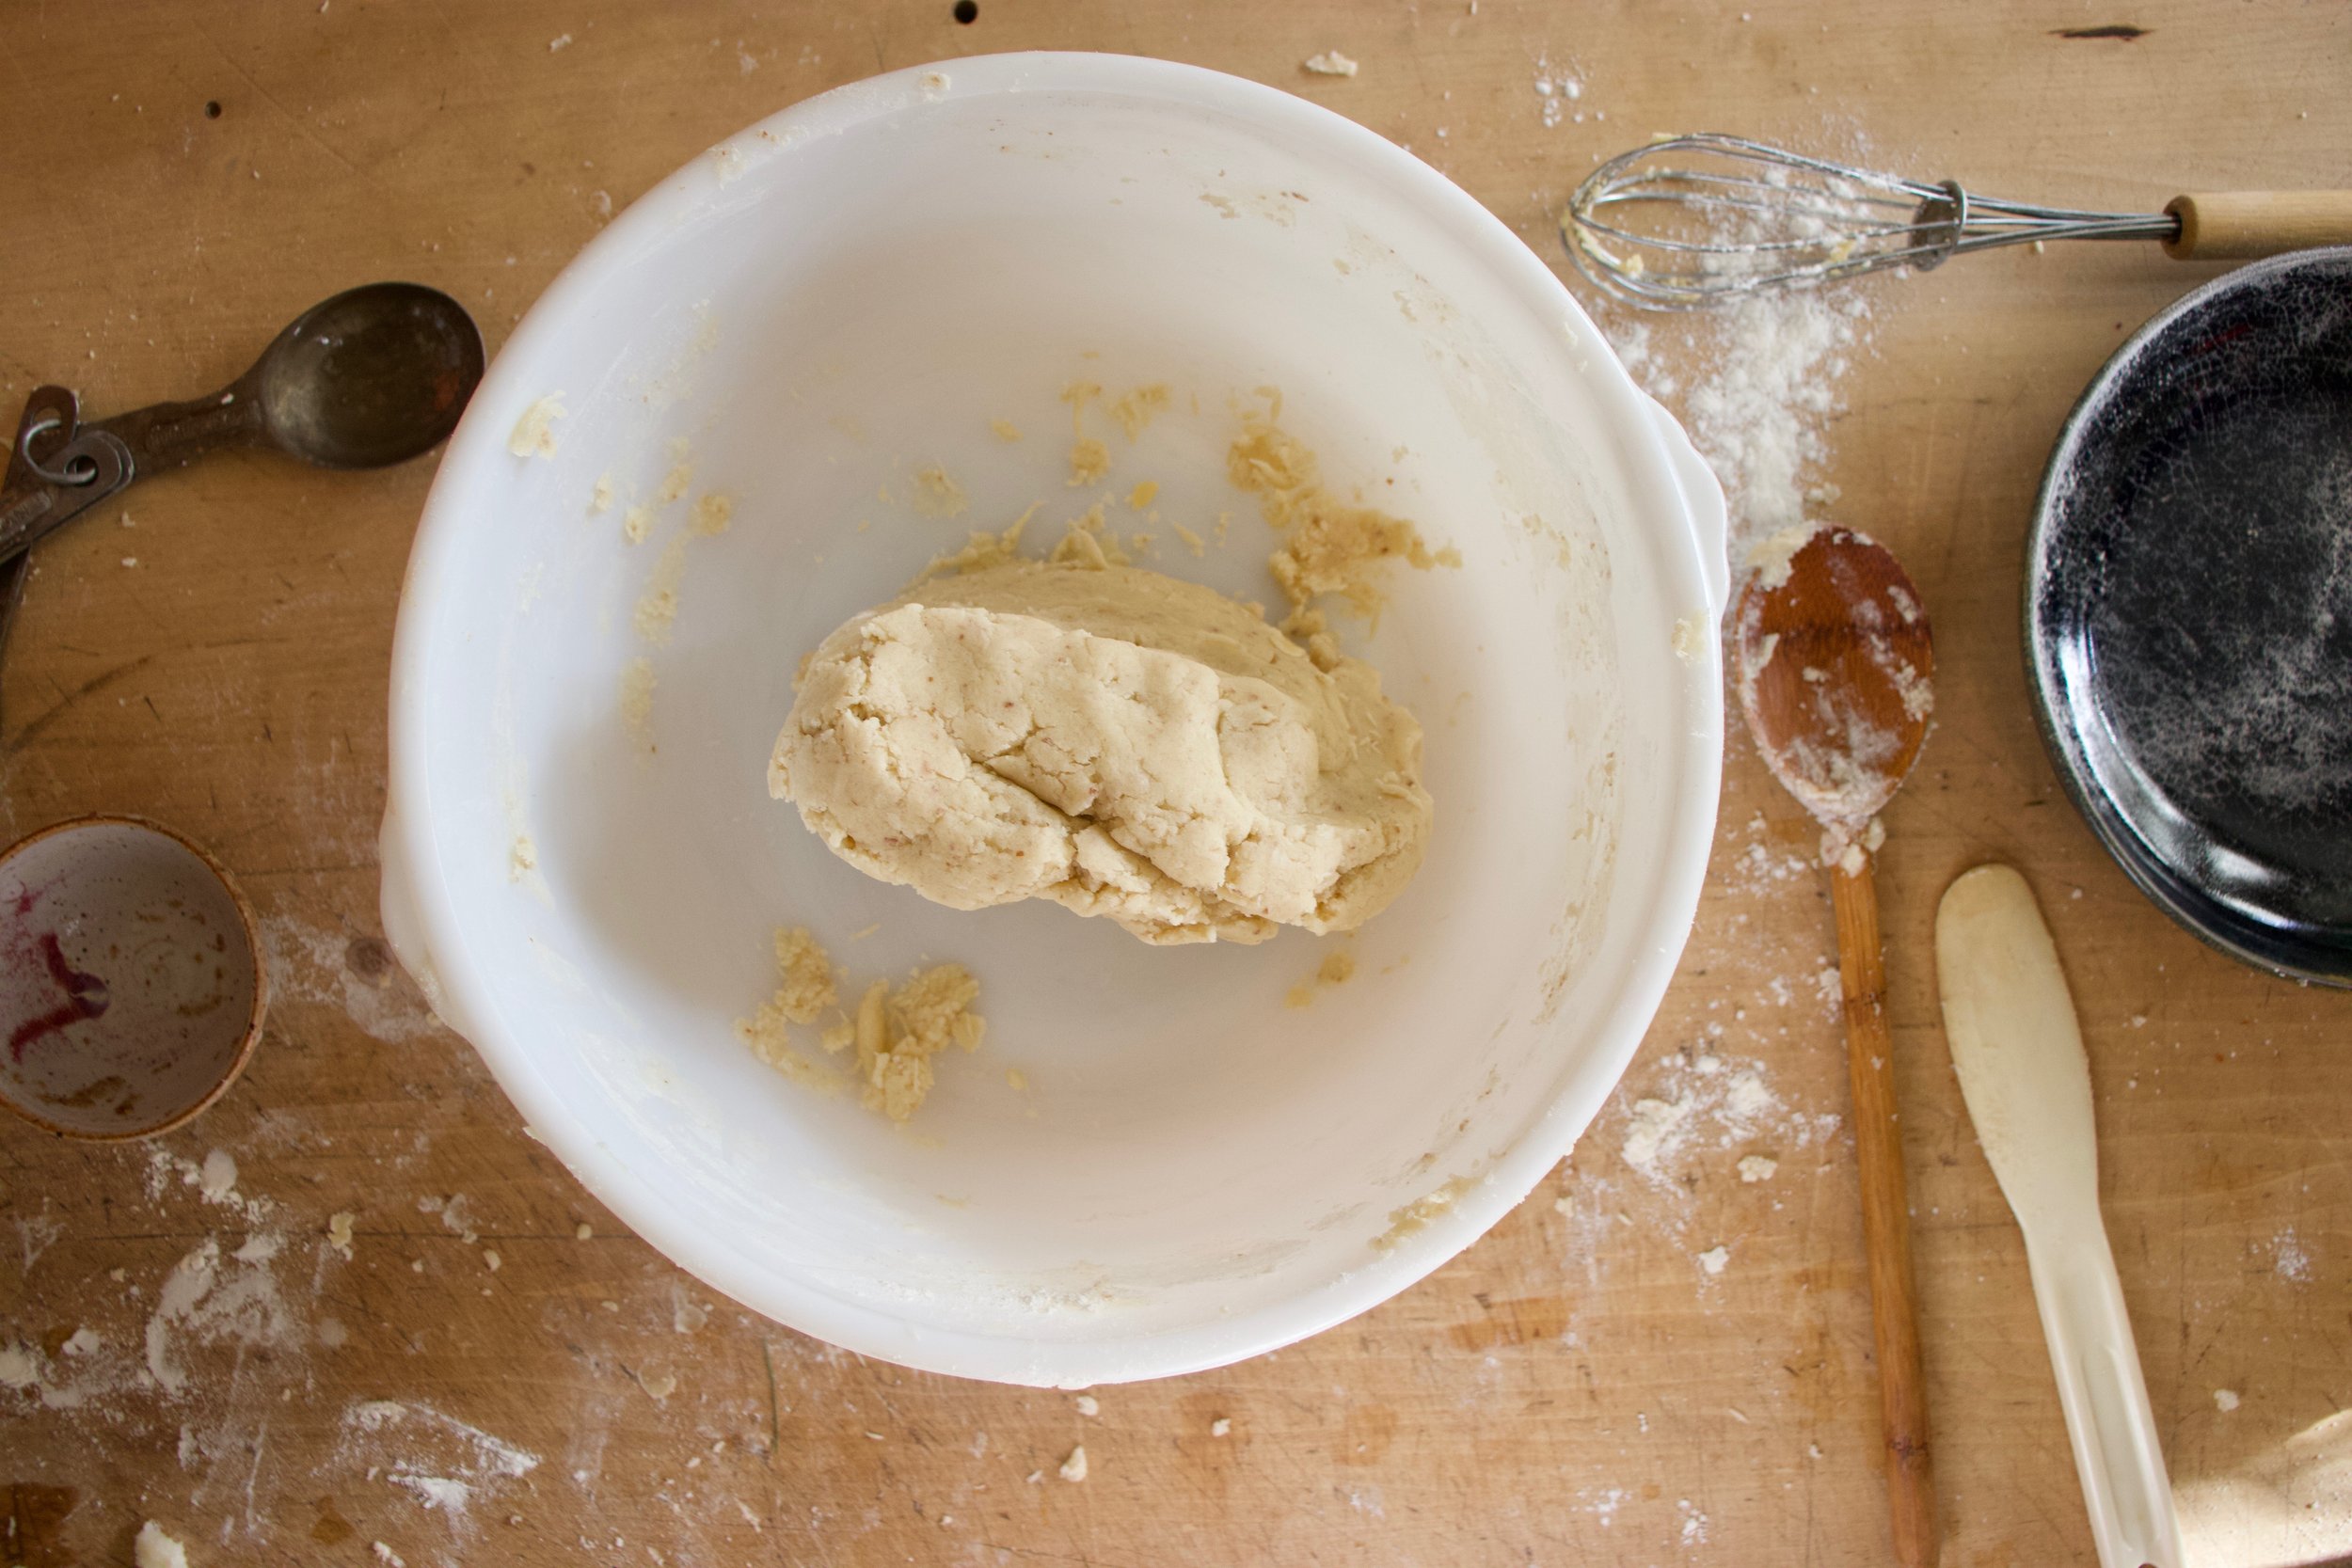
Now make the dredge. Combine mustard, flax, vinegar, and plant milk in a wide shallow bowl until completely combined. Let it sit for a few minutes to really thicken.

Now you are all ready to go.

IMG_0153.jpg
IMG_0158.jpg

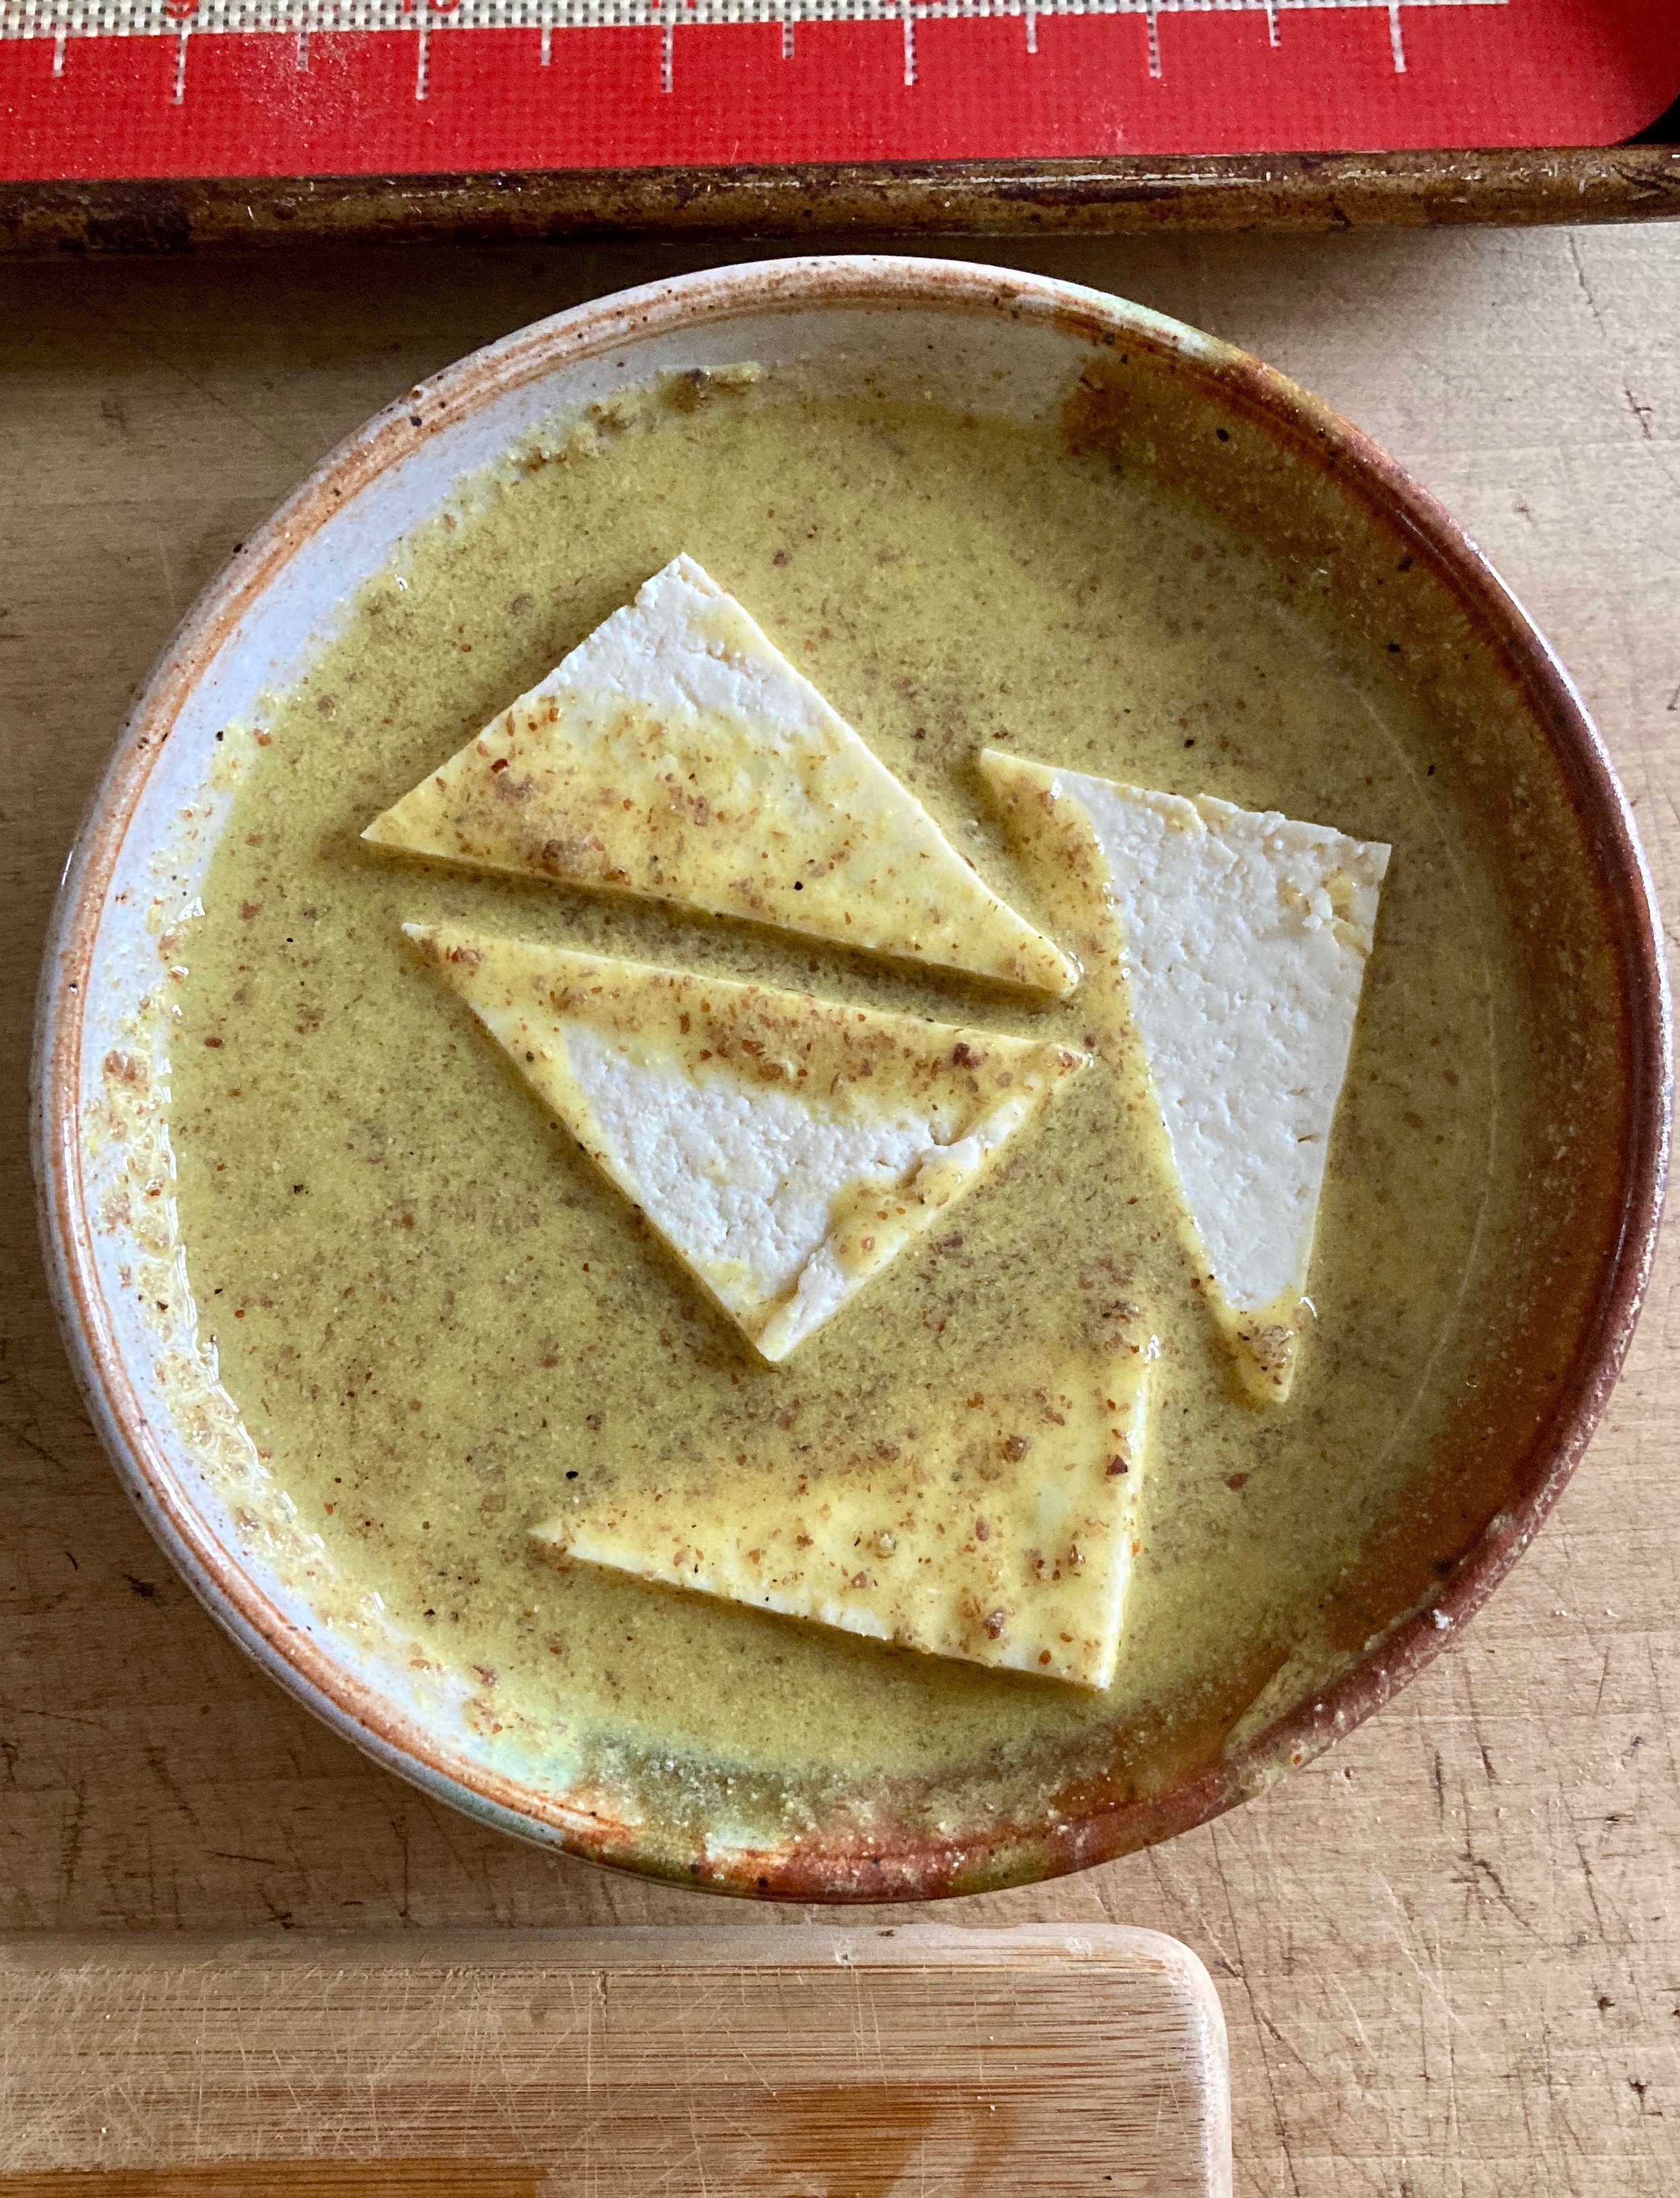
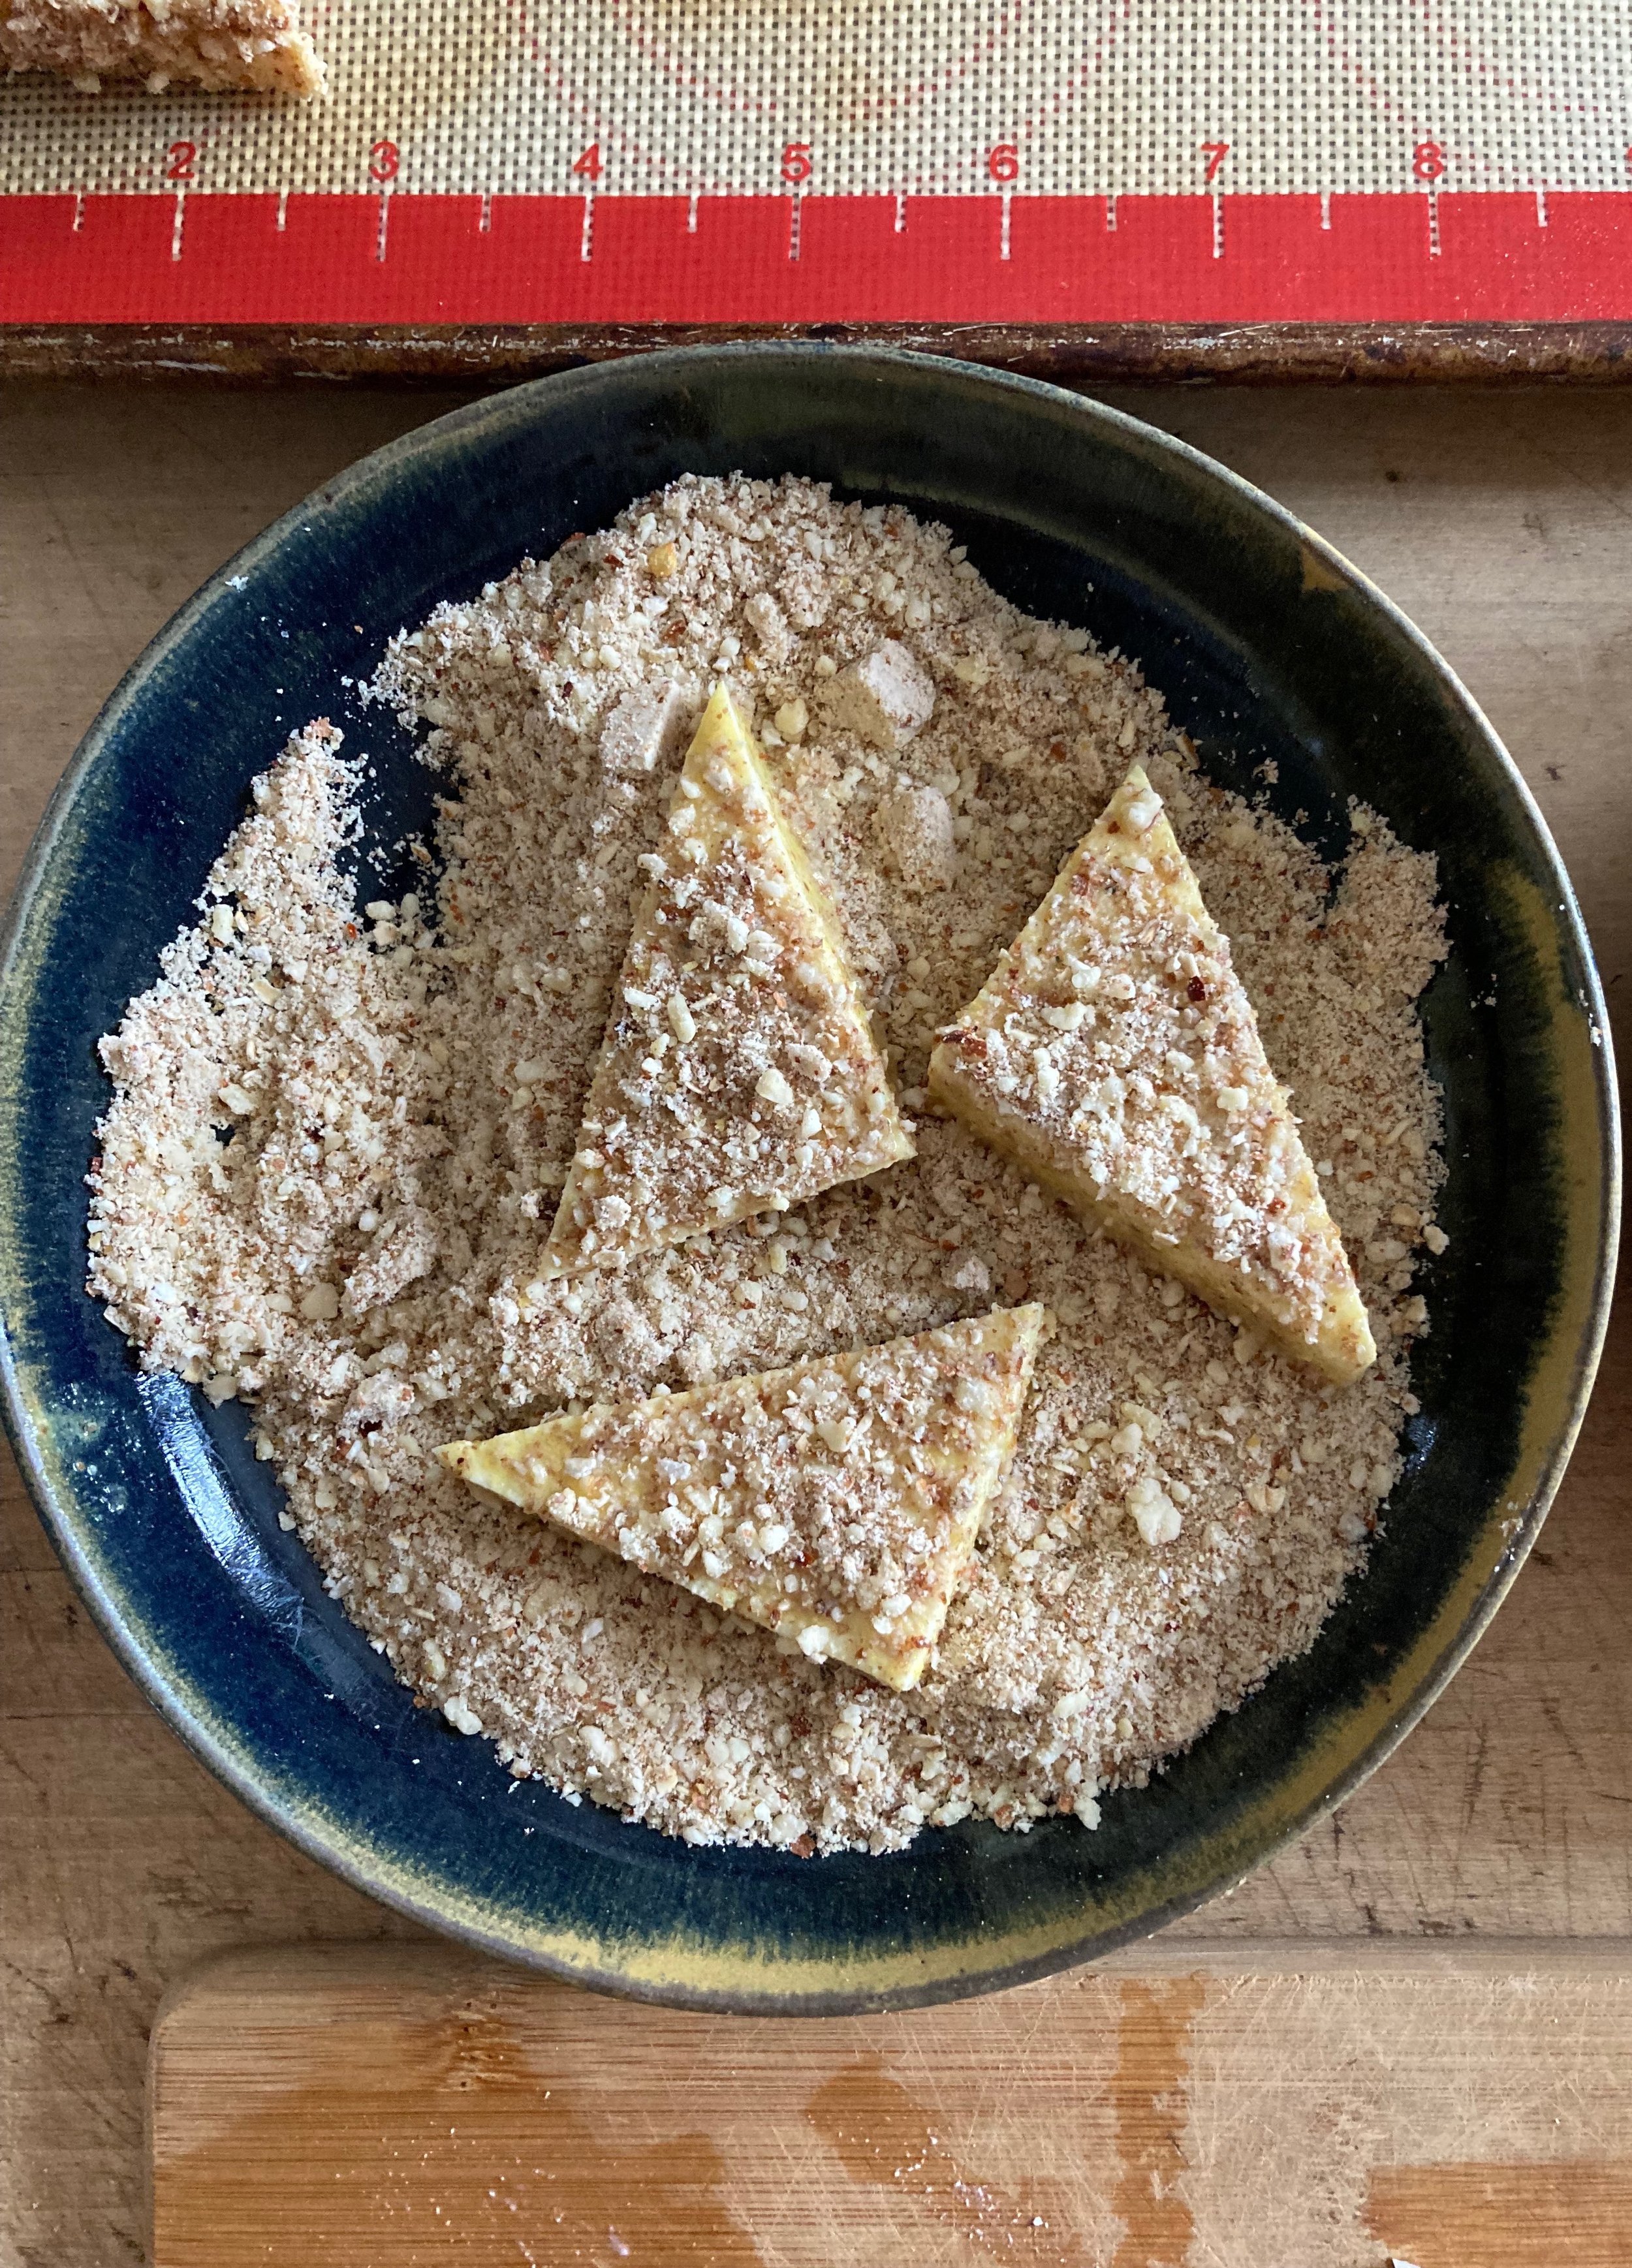
To coat the tofu just drag each piece through the wet mixture making sure it is evenly coated then drag with through the almond mixture.

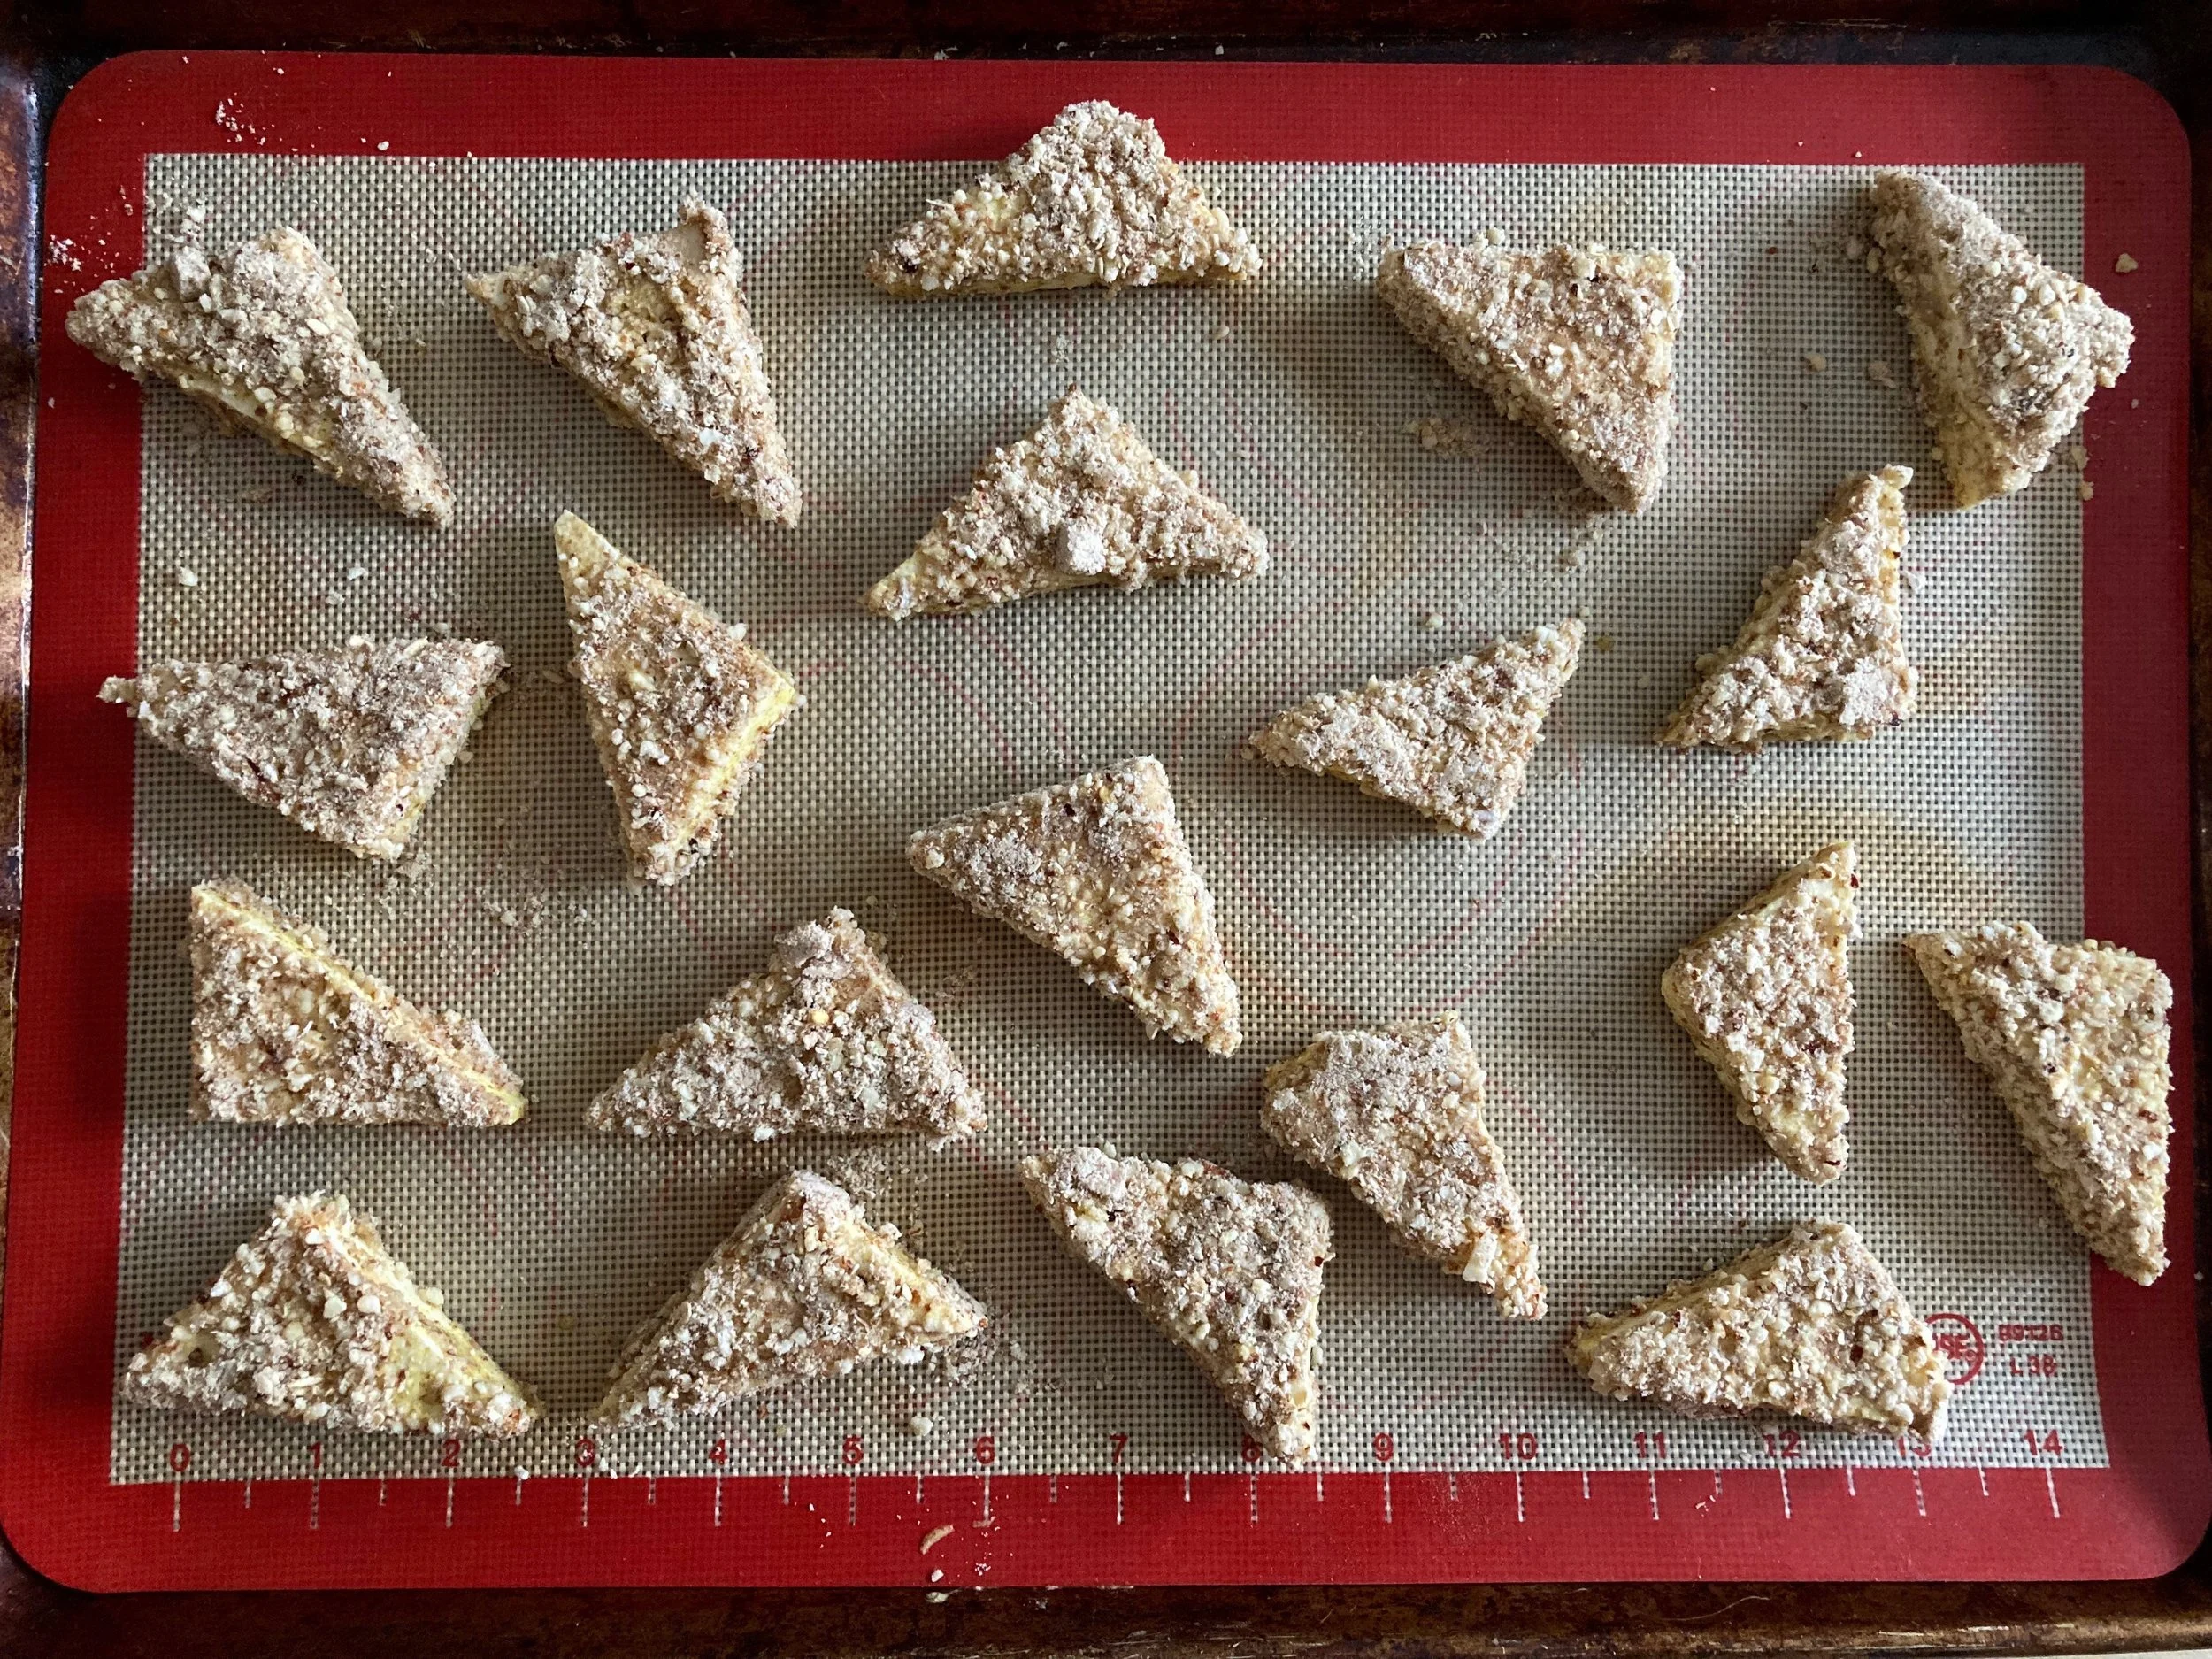
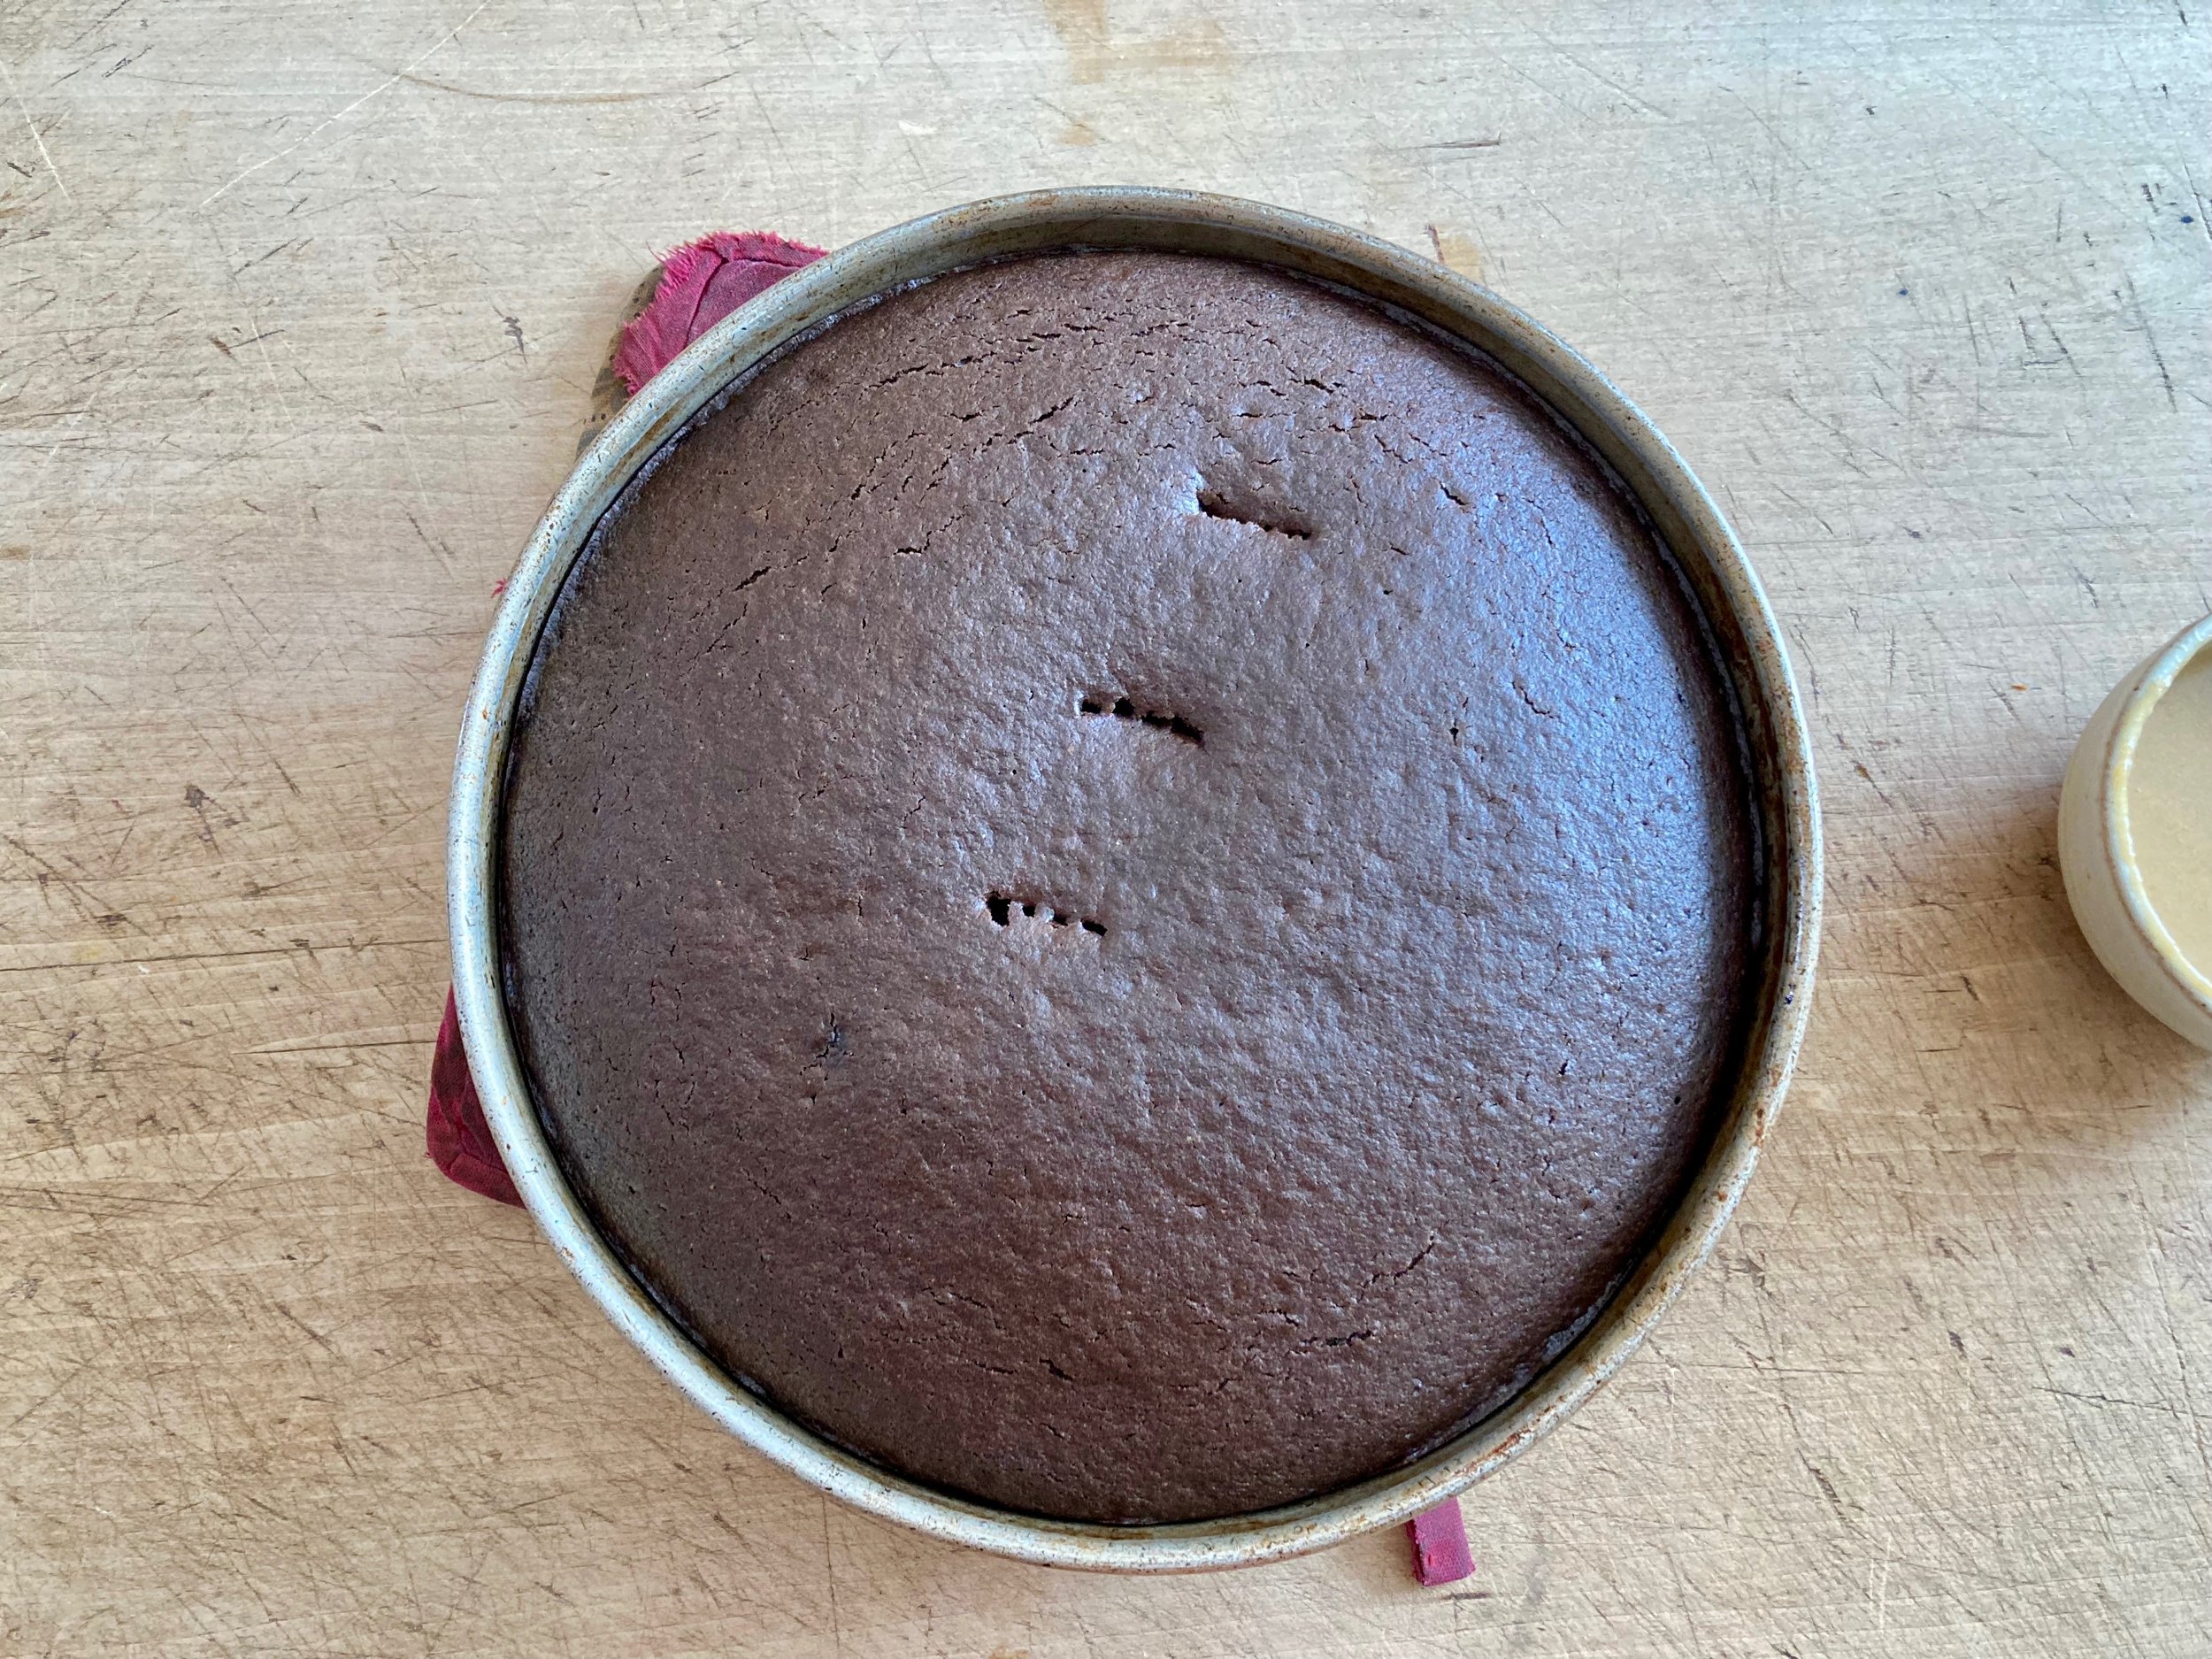
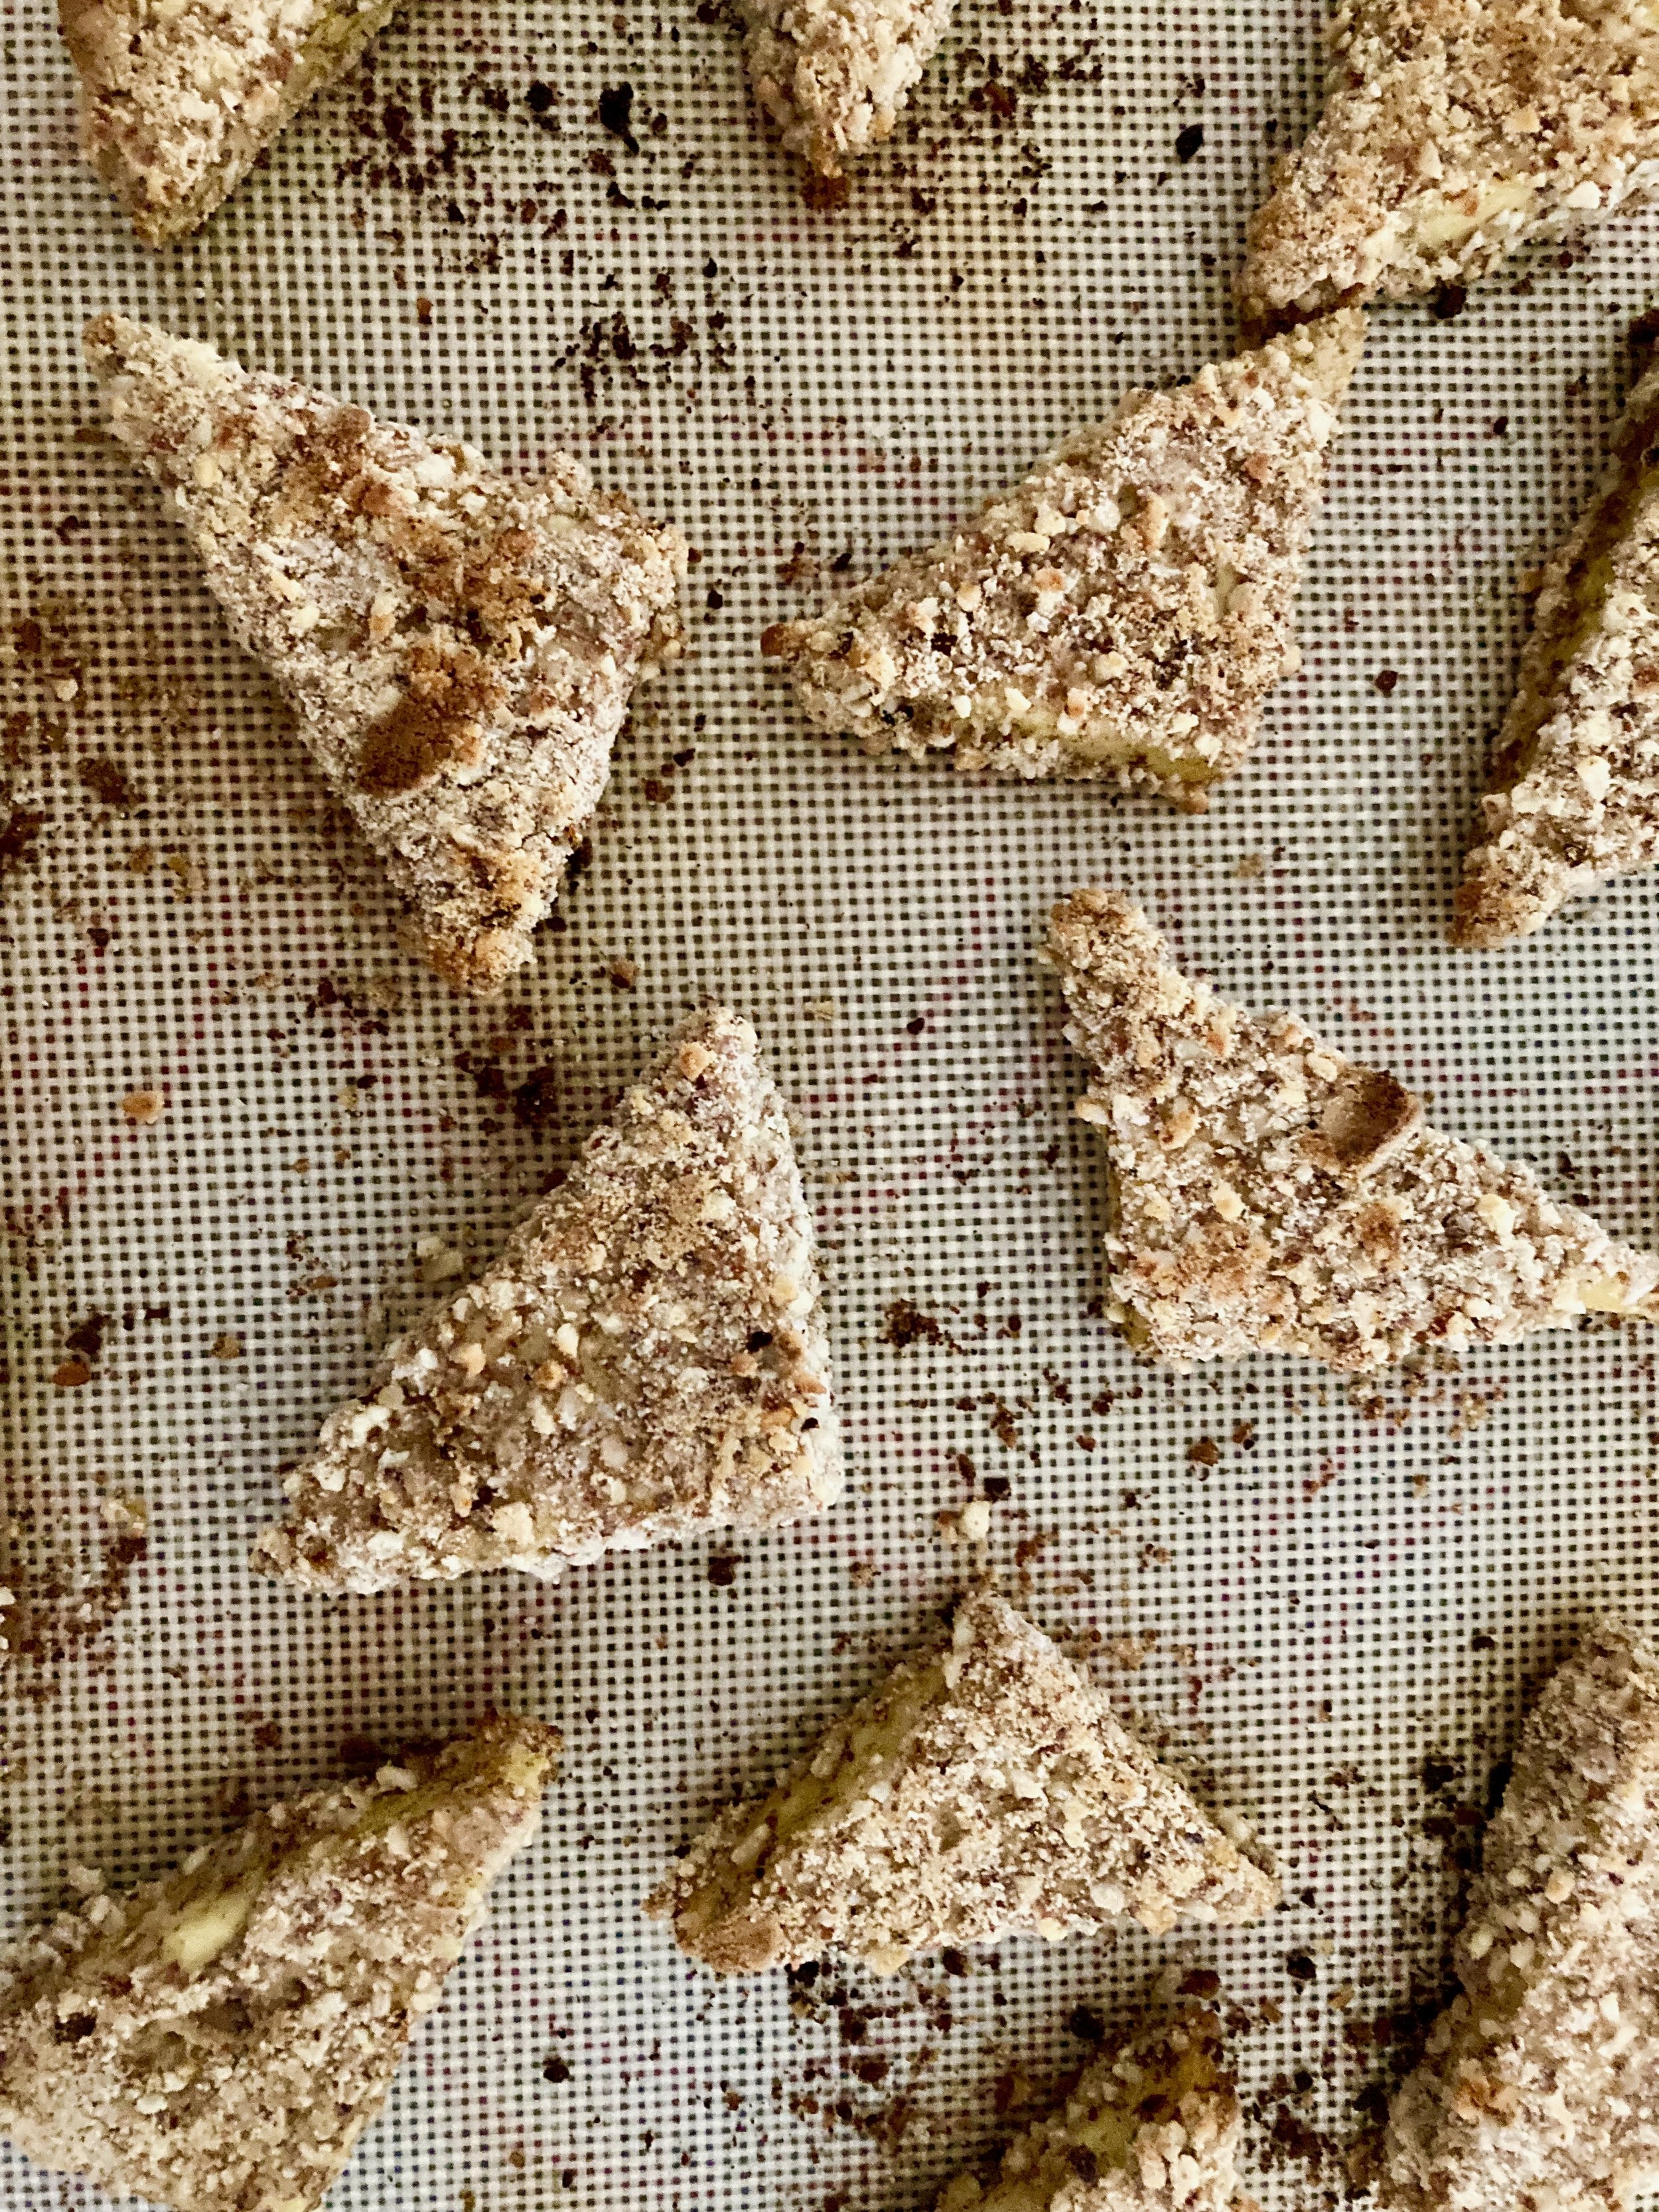
Once all the pieces are crusted and on the baking sheet pop it into the hot oven and bake. 20ish minutes at first then flip eat piece and another 10ish minutes after that.

Baked and crispy.

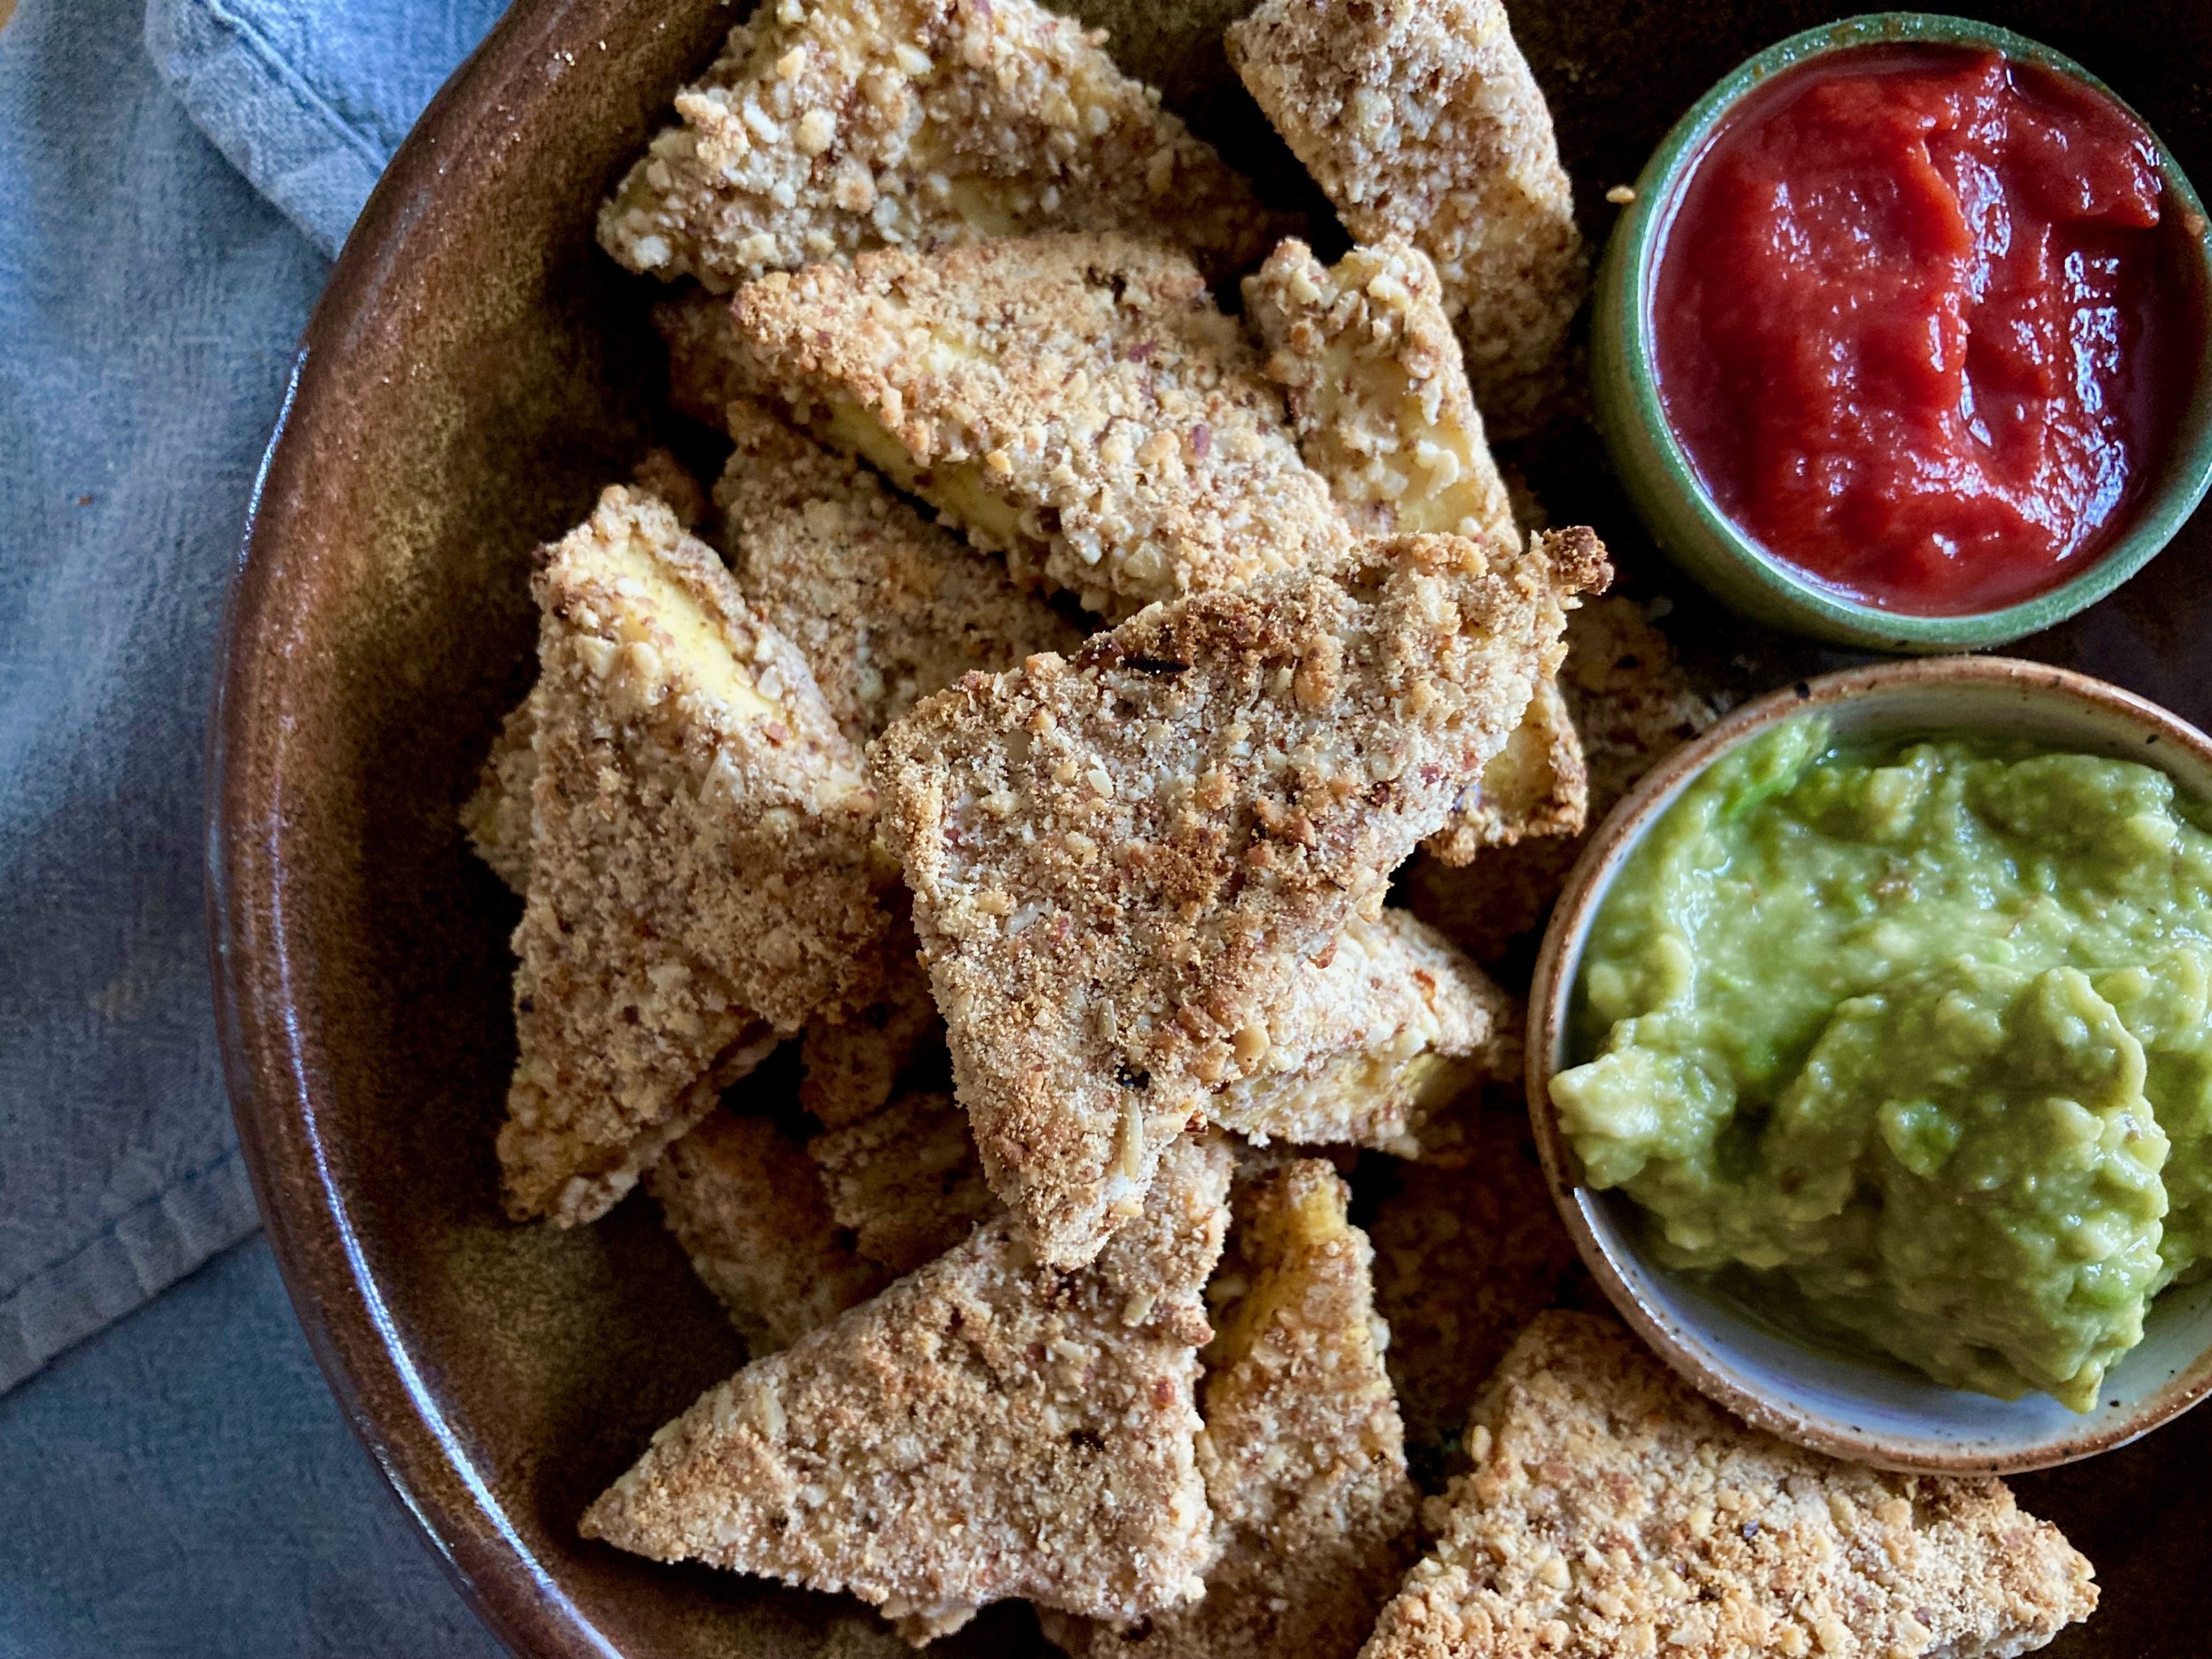
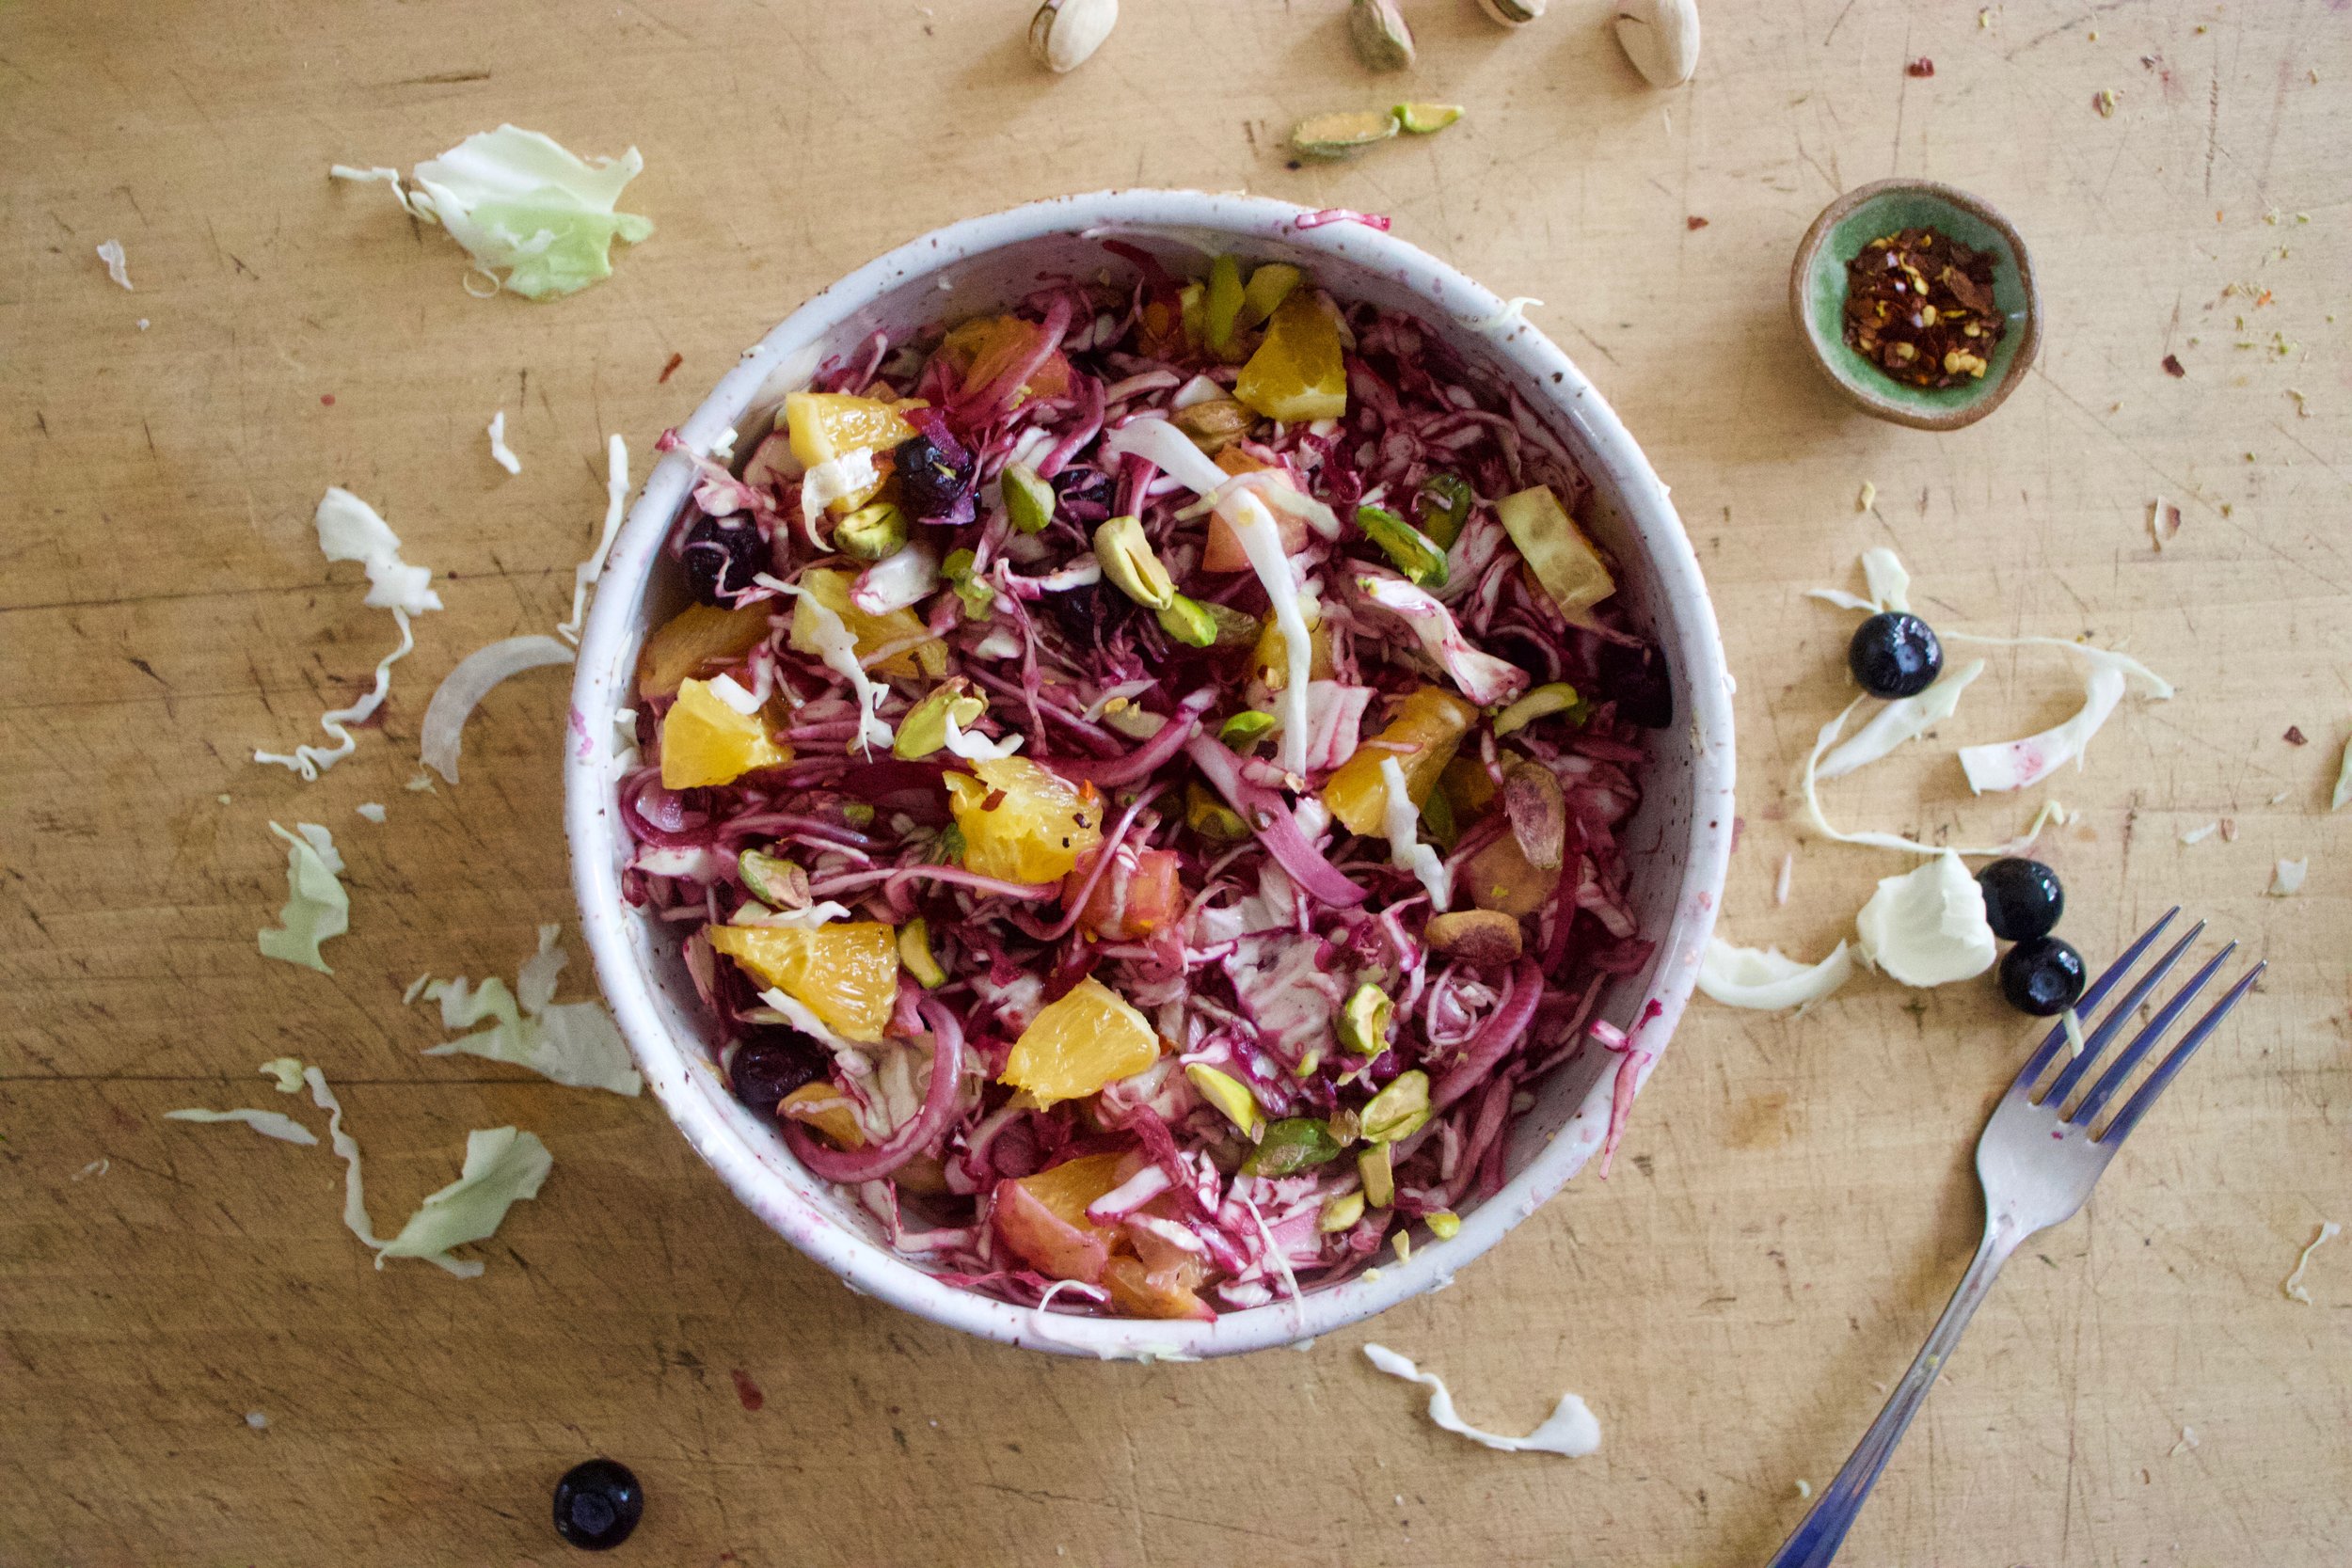
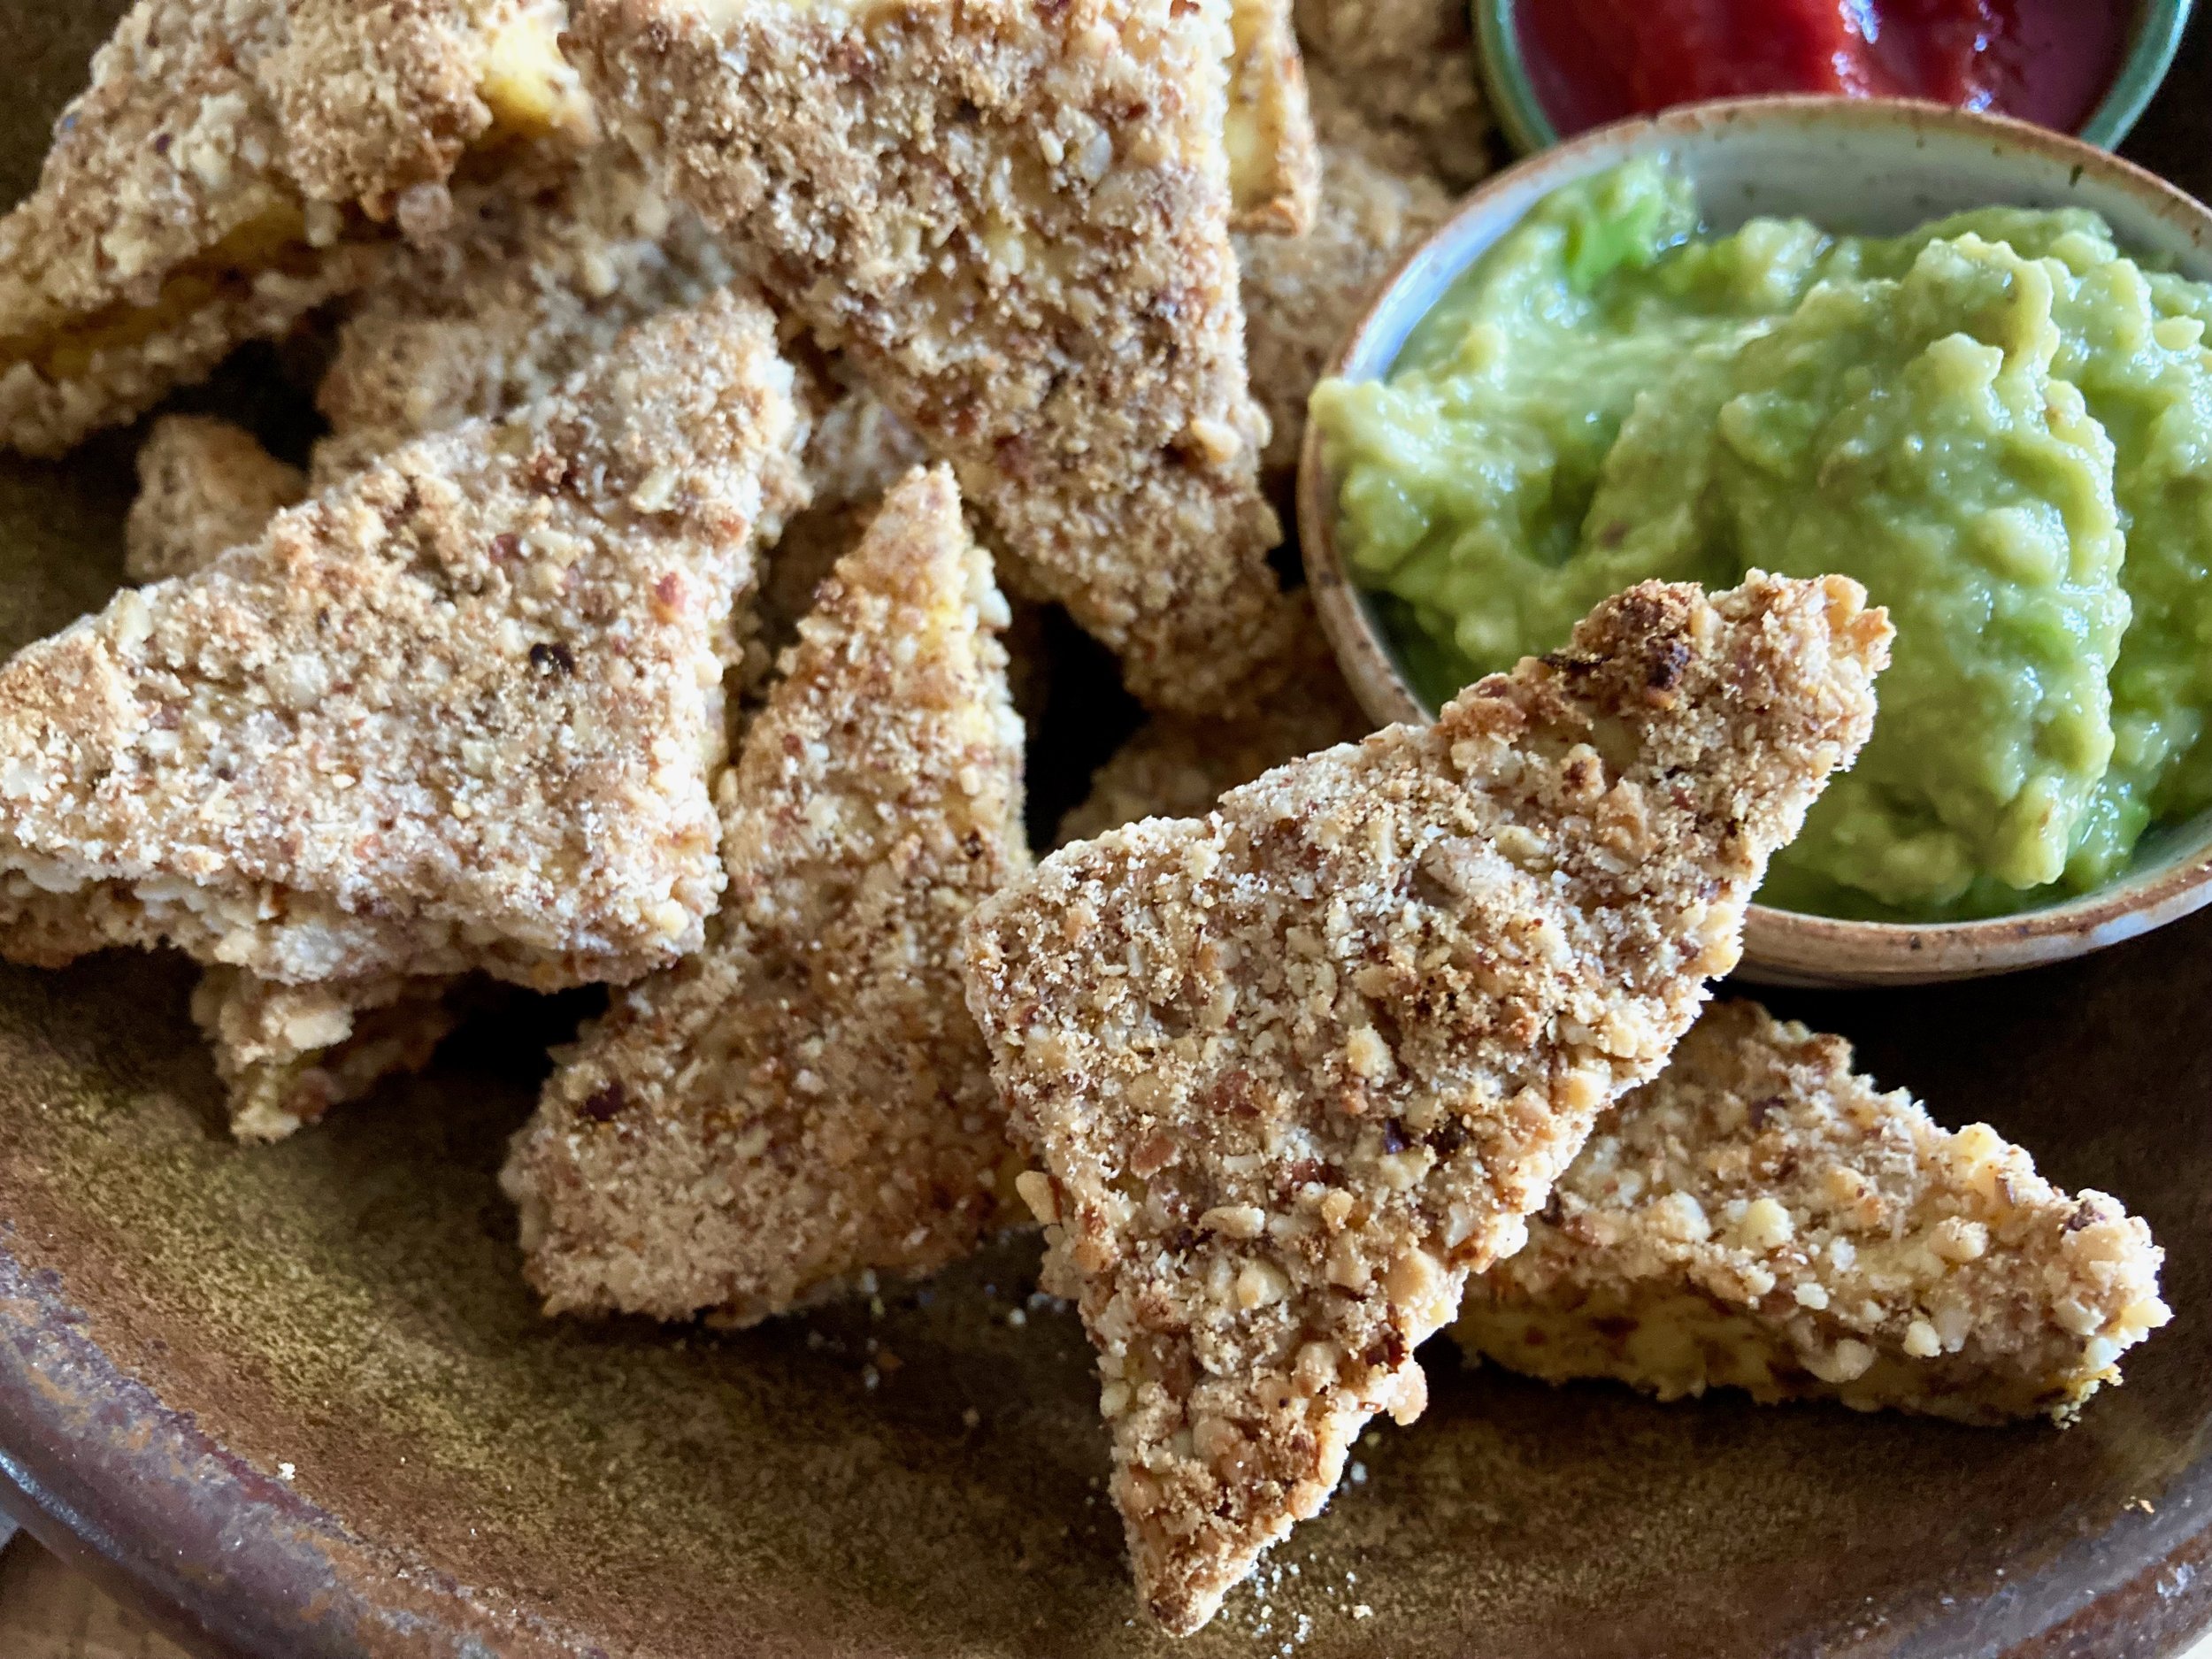
Now you eat. Grab some dipping situations (I grabbed some guac and tomato sauce) and get at it.

So good.

-C


Almond Crusted Tofu

makes 24 pieces

  • 1 brick firm or extra firm tofu

  • 1/2 cup almonds

  • 1/4 cup old fashion oats

  • 1/2 teaspoon red pepper flakes

  • 1 teaspoon garlic powder

  • 1/2 cup warm plant milk

  • 1 tablespoon apple cider vinegar

  • 1 tablespoon mustard

  • 1 tasblepoon ground flaxseed

  • salt and pepper

Preheat oven to 450

Remove tofu from package and gently press out as much liquid as you can. Cut the tofu brick in half then flip each piece onto it’s side and cut each half into 3 equal pieces. Flip back down and then cut each third into 4 triangles. Or just cut the tofu into 24 each sizes pieces of your choice. Set aside on a dry towel.

Make the dredge. Combine flax seed, mustard, vinegar, warm plant milk and a inch of salt and pepper in a shallow bowl until completely combined.

To make the almond crust place the almonds, oats, garlic powder, red pepper flakes and a good pinch of salt and pepper into a food processor and pulse for about a minute or so until the texture is a small crumb the consistency of semi fine bread crumbs. Pour into a shallow bowl.

When all parts are ready to go, line up the dredge, the almond mixture, and get a baking sheet ready with either a baking mate or a little oil to keep the tofu from sticking. Take each piece of tofu and dip it though the dredge making sure to evenly coat it and then lift it out and let the excess drip off. The drop the tofu into the almond mixture and gently toss flip ti coat each side. Place coated onto baking sheet.

Once all the tofu is coated place it into the hot oven.Bake for 20 minutes then flip each piece and bake for another 8-12 minutes or unit crispy.

Once baked, remove from oven, place on a plate and eat. Want something to dip it in? I recommend guacamole. and or tomato sauce. Mustard and hummus are also fantastic!

In tofu, Nuts, dinner, snack, Vegan Tags Almond Crusted Tofu, tofu, vegan, dinner, protein, plant based, healthy, almonds, nuts, oats, gluten free, dairy free, nuggets, breaded, flax, easy, delicious, soy
Comment

Carob Snack Cake with Tahini Maple Frosting

January 22, 2022 Colleen Stem
IMG_9911.jpg
IMG_9934 2.jpg

I made a snack cake and did so for a couple reasons. The first reason is cake and the mr loves him some snack cake so you know. Secondly is what else is there to do when you are basically suck inside because it is so cold that if you leave the house for more then15 minutes you are risking frost bite. (Ok so I have been going for my morning runs in the -20 degrees but that is different because I am running and getting relay hot. Once I come back I stay back.) It only makes sense to have the oven going for both reasons and who doesn’t want to get down with baked goods all winter.

Flavor wise, this snack cake is carob, not chocolate, although it looks like it. If you have never eaten carob it tastes somewhat chocolaty but way more fruity, less bitter, more sweet, more nutty. It is just really good. And it pairs really well with maple and tahini so that is the frosting situation. A cake of good flavors that is easy to throw together and you get to enjoy the residual heat from the oven…It is a no brainer. Basically what I am saying it that you should be making this cake. It only makes sense.

Now to the snack cake!

The stuff. Carob powder, flour, baking powder and soda, salt, oil, boiling water, vanilla extract, sugar, vinegar , tahini, and maple syrup.

IMG_9801 2.jpg
IMG_9803 2.jpg
IMG_9809 2.jpg
IMG_9811 2.jpg

Make the cake batter. Mix dry ingredients into a big bowl then in a separate bowl mix the oil, sugar, carob, vanilla. vinegar and boiling water together until completely incorporated. Dump the wet mixture into the dry and mix until incorporated.

Pour batter into a well greased and lined cake pan and pop into the oven to bake.

And baked it gets. Pop it out of the cake pan and place on wire rack to cool.

IMG_9821.jpg
IMG_9822.jpg

Now make maple tahini frosting. Just wish the two ingredients together with a fork and a splash or two of hot water until completely combined and creamy like frosting.

And frost cooled cake.

And for good measure add a sprinkle of sea solt and some sprinkles because why not.

And now you eat it because that is why you made the cake.

-c


Carob Snack Cake with tahini Maple Frosting

makes one 10 inch round

  • 1 1/2 all purple flour

  • 1/2 cup carob powder

  • 3/4 cup white sugar

  • 1 teaspoon baking soda

  • 1/2 teaspoon baking powder

  • 1/2 teaspoon salt

  • 1/2 cup oil

  • 1 cup boiling water

  • 1 teaspoon vanilla

  • 1/4 cup tahini

  • 3 teaspoons maple syrup

  • sea salt and sprinkles (optional)

Preheat oven to 375.

Grab a big mixing bowl and add in the flour, baking soda and powder, and salt and mix together. In separate bowl mix the carob, sugar, vanilla, vinegar, oil, and boil water together until completely incorporated and the sugar and carob start to dissolve. Pour wet mixture into dry and whisk until just incorporated. Pour batter into a well greased and parchment lined 10 inch round baking pan. (or a pan of similar size)

Place cake into oven and bake for 25-28 minutes , checking at 25 with a cake tester to see if it comes out clean.

Once baked, remove from oven, let cool for a minute in the pan, then pop out and finish cooling it on a wire rack.

To make the maple tahini frosting simply take the two ingredients and whisk them together with a tablespoon of hot water in a bowl with a fork until creamy. If the mixture seems to thick, add in another splash of hot water. The consistency should be a bit thinner then actually frosting, more like a thick glaze.

Once cake has cool frost it. Sprinkle top with a pinch of sea salt and add some sprinkles, if you want.

Then eat.

Left overs can be stored in airtight container for 5-7 days at room temperature.

In cake, Vegan Tags Carob Snack Cake with tahini Maple Frosting, carob, vegan, chocolate alternative, cake, snack, easy, vegan cake, dairy free, tahini, maple, bake, home made, chocolate
Comment

Blueberry Orange and Pistachio Cabbage Salad

January 15, 2022 Colleen Stem

Ever since the mr got a gigantic bag of pistachios from my Dad for Christmas he has been eating them almost every night and not once has he asked if I wanted some. And I know he has been trying to hide them in the pantry on me, (obviously he has failed since it is MY pantry) so I took some when he was not home. Does that make me an asshole? Maybe a little but I share ALL of my food with him so he can give up a couple small handfuls of nuts.

Anyway I made salad with my stolen pistachios. A big cabbage salad with orange and blueberries because they pair amazingly with pistachios and plus I want to eat all the citrus right now. The blueberries, well they go so well in a savory situation and I wanted them in there too. (Plus the the color from the berries makes the salad so pretty!) So I made the salad and it was delicious. I ate some but you know what? I ended up sharing my stolen pistachio salad with the mr. And he liked it too, especially the pistachios. And he didn’t ask if I took then from him so I took that as a invitation to take more… Thats what it means right?

Now to the blueberry orange and pistachio cabbage salad!

The stuff. Cabbage, frozen blueberries, a big navel orange, pistachios, an onion, salt and pepper, red wine vinegar, maple syrup, and red pepper flakes.

IMG_8641.jpg
IMG_8663.jpg

Start by adding the blueberries to a pot with the maple and a little water. Place on medium heat and cook until blueberries pop to the touch and the liquid has reduced to ta thin syrup like consistency.

IMG_8646.jpg
IMG_8651.jpg

While blueberries are doing that, grab cabbage and shred as thin as you like. Also grab onion and slice a thin as you can. Place both into a big bowl and sprinkle with salt and pepper and red wine vinegar.

Take orange and cut in half. Remove peel and pith from one half and cut into small segments.

IMG_8666.jpg
IMG_8670.jpg

Once the blueberries are cooked, dump the cabbage and onion mixture into warm pot. Squeeze the juice of remaining half orange and toss around until everything is evenly coated.

Dump it all back into the bowl and add the orange pieces and pistachios.

Toss around, add in a pinch of red pepper flakes and eat away.

-C


Blueberry Orange and Pistachio Cabbage Salad

  • 4 cups shredded cabbage (about 1/2 a head)

  • 1 small onion

  • 1 1/2 cups frozen blueberries

  • 1/2 - 1 cup water

  • 2 teaspoons maple syrup

  • 1 orange

  • 2 tablespoon red wine vinegar

  • 1/2 cup pistachios

  • salt and pepper

  • red pepper flakes (optional)

Start by placing blueberries into a medium pot with 1/2 cup of water and maple. Place on medium heat and cook for about 8-10 minutes or until the blueberries pop to the touch and the liquid has reduced to a thin syrup. Remove from heat.

Grab cabbage and shred or cut into thin pieces. Also grab onion and cut into thin rings. Place into a bowl, add in a good pinch of salt and pepper and the vinegar and toss around. You can do this while the blueberries are cooking,

Now take the tossed cabbage and onion and dump into the pot of warm blueberries. Toss around unit everything is nice and purple and dump it all right back into the big bowl.

Cut orange in half and add the juice of one half. Take the other half and remove the peel and pith and cut remaining orange into small pieces.

Add orange and pistachios to the salad and toss. Season with more salt and pepper if needed and add a pinch or so of red pepper flakes.

Eat.

Can be serves warm or cool and left overs only taste better. Store in fridge in fridge for up to 5 days.

In salad, fruit Tags Blueberry Orange And Pistachio Cabbage Salad, vegan, plant based, salad, slaw, berries, pistachio, orange, fruit, vegetable, grain free, gluten free, dairy free, healthy
Comment

Black eyed Pea-Sweet Potato and Tangerine Stew

January 1, 2022 Colleen Stem
IMG_8495.jpg
IMG_8524 2.jpg

I guess black eyed peas are good to eat on New Years because they bring you good luck or money or something. I have heard this and a lot of other food traditions but I don’t really do New Years so I have never really actively thought about what I consume on the day. But when I went to ponder my bean selection ( I have so many varieties) I figured what the hell, why not make the stew I was about to make into a good luck black eyed pea stew. I mean I was already making it (I was leaning towards black beans) but If there is a chance that eating these delicious beans will give me a little extra luck (and or money) this year, well by all means I’ll take it. And the stew because that is really what I was after.

This stew. It is thick and creamy from the sweet potato and beans, bright and light from the ginger and tangerines, and hearty because it is stew. It is a perfect stew situation to eat on any given day but especially nice on a cold winter evening. And I guess on New Years. Like today.

Now to the black eyed pea stew!

The stuff. Cooked black eyed peas. a sweet potato, some kale, a few tangerine, an onion, some garlic and ginger, tomato puree, and salt and pepper.

IMG_8403.jpg
IMG_8413.jpg

Start with chopping up the onion, mincing the garlic and ginger, and dicing up the sweet potato.

IMG_8410 2.jpg
IMG_8425 2.jpg
IMG_8430 2.jpg
IMG_8436.jpg

Toss the onion, garlic, and ginger into a big pot and add in a splash of water or oil and a pinch of salt. Place on medium heat ans cook until tranlucent and fragrant. Add in the sweet potatoes, tomato puree, and enough water to completely submerge it all. Keep on medium heat and cook until sweet potties are fork tender. Add more water if needed.

In he mean time chop up the kale.

And juice the tangerines.

Once potatoes are tender, add in the black eyed peas, the kale and the tangerine juice. Add more water to completely submerge again. And keep on medium high heat and cook for another 10-15 minutes or went everything is all melded and cooked together.

Like this. A pot of good goodness.

All that is left is to scoop the stew into blows and eat it. Squeeze more tangerine juice on top too, it makes it nice.

Good luck all year long!

-C


Black eyed Pea-Sweet Potato and Tangerine Stew

  • 2 cups cooked and drained black eyed peas

  • 1 medium sweet potato

  • 2-3 tangerines

  • 1/2 cup tomato puree

  • 1 small onion

  • 2 cloves garlic

  • 1/2 inch fresh ginger root

  • a few leaves of kale, chard, or collard greens

  • 4-6 cups water

Start by dicing up onion and peeling and mincing up the garlic and ginger. Place into a large pot with about 1/4 cup of water or a splash of oil and stick on stove on medium heat. Cook the mixture for 5-8 minutes or unit fragrant and translucent. While that is cooking dice up the sweet pot into small 1/2 inch cubes then add them into the pot once onion mixture has cooked, along with the tomato puree and enough water to completely submerge in all. Stir and and keep on medium heat and cook for another 20 or so minutes or until the sweet potatoes are fork tender.

Chop up kale and juice tangerines.

Once the sweet potato is tender add in the rinsed and drained black eyed peas, the chopped kale, and the tangerine juice. Add a sprinkle of salt and pepper and more water to submerge it all again and keep on medium heat. Cook for another 20 minutes so that all the flavors have time to meld and turn into a great pot of stew. Depending on your preference for thickness, cook down more for thicker stew, or add more water to keep it brothy.

Once cooked, scoop into bowls, season with more salt and pepper, and if you have an extra tangerine, squeeze a little more fresh juice on top.

In soups/stews/chilis, Vegan Tags Black eyed Pea-Sweet Potato and Tangerine Stew, beans, vegan, soup, chili, plant based, stew, food, recipe, delicious, dairy free, easy, cities, citrus, pulses, dinner
Comment

peppermint candy cane sugar cookies

December 18, 2021 Colleen Stem
IMG_8347.jpg
IMG_8388.jpg

When is the last time you have eaten a candy cane? I feel like I never see people actually eating them, that they use them more as decorations on the tree. And as I say that I realize I am thinking of adults. I never see adults eating candy canes. The littles, well they have stripped my tree bare of the candy many of times. They will, and enjoy eating anything and everything that contains sugar. Especially if you can suck it into a sharp object and I guess that probably makes candy canes are the perfect candy. Ha!

Anyway I forgot to buy candy canes this year and I was planning on adding one to each of my Christmas cards (cause I am an adult!). Sure I could and can still go to the store and get them but I decided cookies are better so I just made candy cane cookies instead band which I think are way better.

These cookies are essentially just sugar cookies with peppermint extract, dyed a little, and twisted into canes. They are fun to make, smell really good, and eaten by littles and adults alike. I would know. Out of 24 candy cane cookies I had made to give out with my cards, I think I ended up with a handful left. The littles came over and ate them all. And the mr too. Oh well, whatcha gonna do?

Now to the candy cane cookies!

The stuff. Sugar, plant butter, oil, peppermint and vanilla extract, flour, baking powder, salt, a flax egg, and some red food coloring.

IMG_8277.jpg
IMG_8281.jpg
IMG_8283.jpg
IMG_8287.jpg

Make cookie dough. Creamy together the sugar, butter, oil, and extracts until light and fluffy. Then add I the lax egg and mix until combined. The dry then goes into bowl and gets mixed with a spoon until it is just easier to use your hands and knead the mixture until a dough forms. Once a dough, let it sit for a few minutes.

IMG_8291.jpg
IMG_8295.jpg

After resting, take dough and on a lightly floured surface, cut in half. Take half and set aside and the other knead red dye into it. How red you make it is up to you.

Now take a chunk or red and white and roll each piece out into 1/2 inch thick ropes that are the same length. Place ropes next to each other and kind of squish them together.

Cut a section of the rope (about 4-5 inches long) and then twist the dough until it resembles the twist of a candy cane. Then shape it into a cane.

Also, if you doughs start o get a little misxd up, well that is quite all right. They will still look like candy canes and people will still eat them.

Place canes onto a baking sheet and pop into a hot oven.

Out of the oven, smelling all like a candy cane cookie should.

Move them to a wire rack to cool and if you just so happen to have a handful of white chocolate chips on hand that you want to melt down and drizzle on top, well then you should do that too.

Make some cookies!

-C


peppermint candy cane sugar cookies

makes about 2 dozen

  • 2 cups all purpose flour

  • 3/4 cups white graduated sugar

  • 1/2 cup (one stick) vegan butter

  • 2 tablespoon neutral oil

  • 1 flax egg (1 tablespoon ground flax seed plus 4 tablespoons plant milk or water)

  • 1/2 teaspoon baking powder

  • 1/2 teaspoon salt

  • 1 teaspoon vanilla extract

  • 1 1/2 teaspoon peppermint extract

  • red food coloring

  • 1/4 cup white chocolate chips (and teaspoon coconut oil optional)

In a large bowl mix together the sugar, butter, oil, vanilla, and peppermint oil until light and fluffy. Add in flax eg and mix until combined then add in the flour, baking powder ask salt ans mix with wooden spoon until it is easier to just knead it together with you hands until a firm dough forms. Let dough rest for 5-10 minutes

Preheat oven 350

Take dough and divide in half. One half dye red, as red as you like, and leave the other half white. Now take a chunk of each color and roll into a rope about 1/2 inch thick and the same length. Place the ropes next to each other and kind of squish together to form one rope then gently start to twist the dough until it resembles a candy can twist. Cut a section any length you want ( I recommend about 4-5 inches) and place on a baking sheet, curling the top to look like a candy cane. Once you have assembled a baking sheets worth, place in oven and bake for 122-13 minutes or until the cookies are barely golden brown on bottom.

Once baked remove from oven and place on wire rack to cool. If you want, melt white choclate and coconut oil in microwave for 20-30 seconds or until almost melted. Stir together until completely melted and drizzle onto cookies.

Now eat some cookies. Or give them to you people. Or some of both.

Cookies are best for about a week at room temperature in airtight container.

In cookies Tags peppermint sugar cookies, cookies, peppermint, candy cane, vegan, dessert, christmas, holiday, white chocolate, easy, fun, winter
Comment
← Newer Posts Older Posts →
 

https://thelovelycrazy.squarespace.com/config#/|/about/

Me. Food Maker.Food eater. Woo HOO!

STEM+NODE  SMALL BATCH AND ONE OF A KIND POTTERY

stem+node ceramics


____________________

Subscribe

GET NEW POSTS IN YO EMAIL

You are AWESOME!!!


@thelovelycrazy 2014-2021