• stem+node ceramics
  • HOME
  • Food Recipes
  • About
  • Contact
Menu

The Lovely Crazy

Street Address
City, State, Zip
Phone Number

Your Custom Text Here

The Lovely Crazy

  • stem+node ceramics
  • HOME
  • Food Recipes
  • About
  • Contact

Black Bean Tortilla Chips

May 5, 2018 Colleen Stem
IMG_1812 2.jpg
IMG_1840.jpg

The mr has a soft spot for tortilla chips. He doesn't get chips often, but when he does it is usually the super fried, super salty, in a plastic bag, tortilla chips. And I am ok with that because it is not often and the dude deserves chips when he wants them. But I hate how crappy they are for him, especially all the salt. So much salt that I can smell it in my mouth (yes, I said that right). So, as with everything else we eat in the house, I now make chips from scratch. (Slowly I have eliminated just about everything that is pre packaged and started making it myself. I think it's pretty much just the dried pasta and the mr's yogurt and cheese that I haven't gotten to.Yet.) This way he can eat his chips and I don't have to sit there tasting the smell and thinking about the crap that he is eating.  I know I say this a lot, but lets just take a minute here and acknowledge how I really am the best girlfriend ever. 

Ok, now about these chips. I have made plan tortilla chips a few times before and figured it was time for a twist.  In come black beans. Why, because I was pretty sure beans were going to be awesome, and lo and behold, I was completely right. Adding the beans take little to no more effort then making the chips without, and bonus here, more fiber and protein and good stuff going into a chip. Then they are lightly oil, lightly salted, and eaten without any guilt because I made them and they are the best. Seriously, the mr thinks they are amazing and doesn't miss those pre package ones a bit.  And sure, they might take a little time and minimal effort, but really they are super easy and the time and effort to make them is probably no more then going into a store, waiting in line to pay, and driving home to eat your chips. You can have these chip made in that amount of time. So you might as well just make them.

To the chips. 

The stuff. Masa harnia, black beans, water, salt, and a little oil. There should be a lemon or lime here too, but I forgot to stick it into the picture. Oops. 

IMG_1707.jpg
IMG_1710.jpg
IMG_1713.jpg
IMG_1716.jpg

Pretty easy.  Add the beans to a food processor and blend untill completely smooth. Add in the masa and pulse then gradually add in water until a dough forms. Stop and feel the dough. If it feels like play dough and comes together into ball easily, then you are good. If it is to wet, add a little more masa, to dry, more water.

IMG_1719.jpg

Dump the dough onto the counter and form into a ball. Place the doguh into a bowl and cover with a damp closer for 15-30 minutes to let the dough rest.

After the rest, divide the dough into 12 pieces and roll into balls. Place the balls onto a damp cloth and cover while you are making the tortillas so they don't dry out. 

IMG_1735.jpg
IMG_1741.jpg
IMG_1739.jpg

To flatten those balls into tortillas.  After doing this a bunch of times, I have a system that works the best for me.  I use a large ziplock bag (the plastic is a little thicker and easier to deal with, plus I don't use plastic wrap), a cutting board, and a rolling pin. Place a dough ball into the center of the bag then take the cutting board and press directly on top, placing all your weight onto it. It gets flat, but not flat enough so take the rolling pin and flatten some more. Then press the rolled out dough with the cutting board one last time. Carefuly remove from bag and place direrely onto a hot dry skillet. 

Cook each side 3-4 minutes or until it starts to get a few light brown spots. Once cooked, place on a plate or baking sheet. If I were just making tortillas, I would place then in between a kitchen towel to keep them warm, but because they are destined for chips and don't care. 

IMG_1758.jpg

Black bean corn tortillas. Hey, you could stop here and make a taco or something if you need to. Feel free to use a tortilla or two before using the rest to make the into chips. 

IMG_1769.jpg

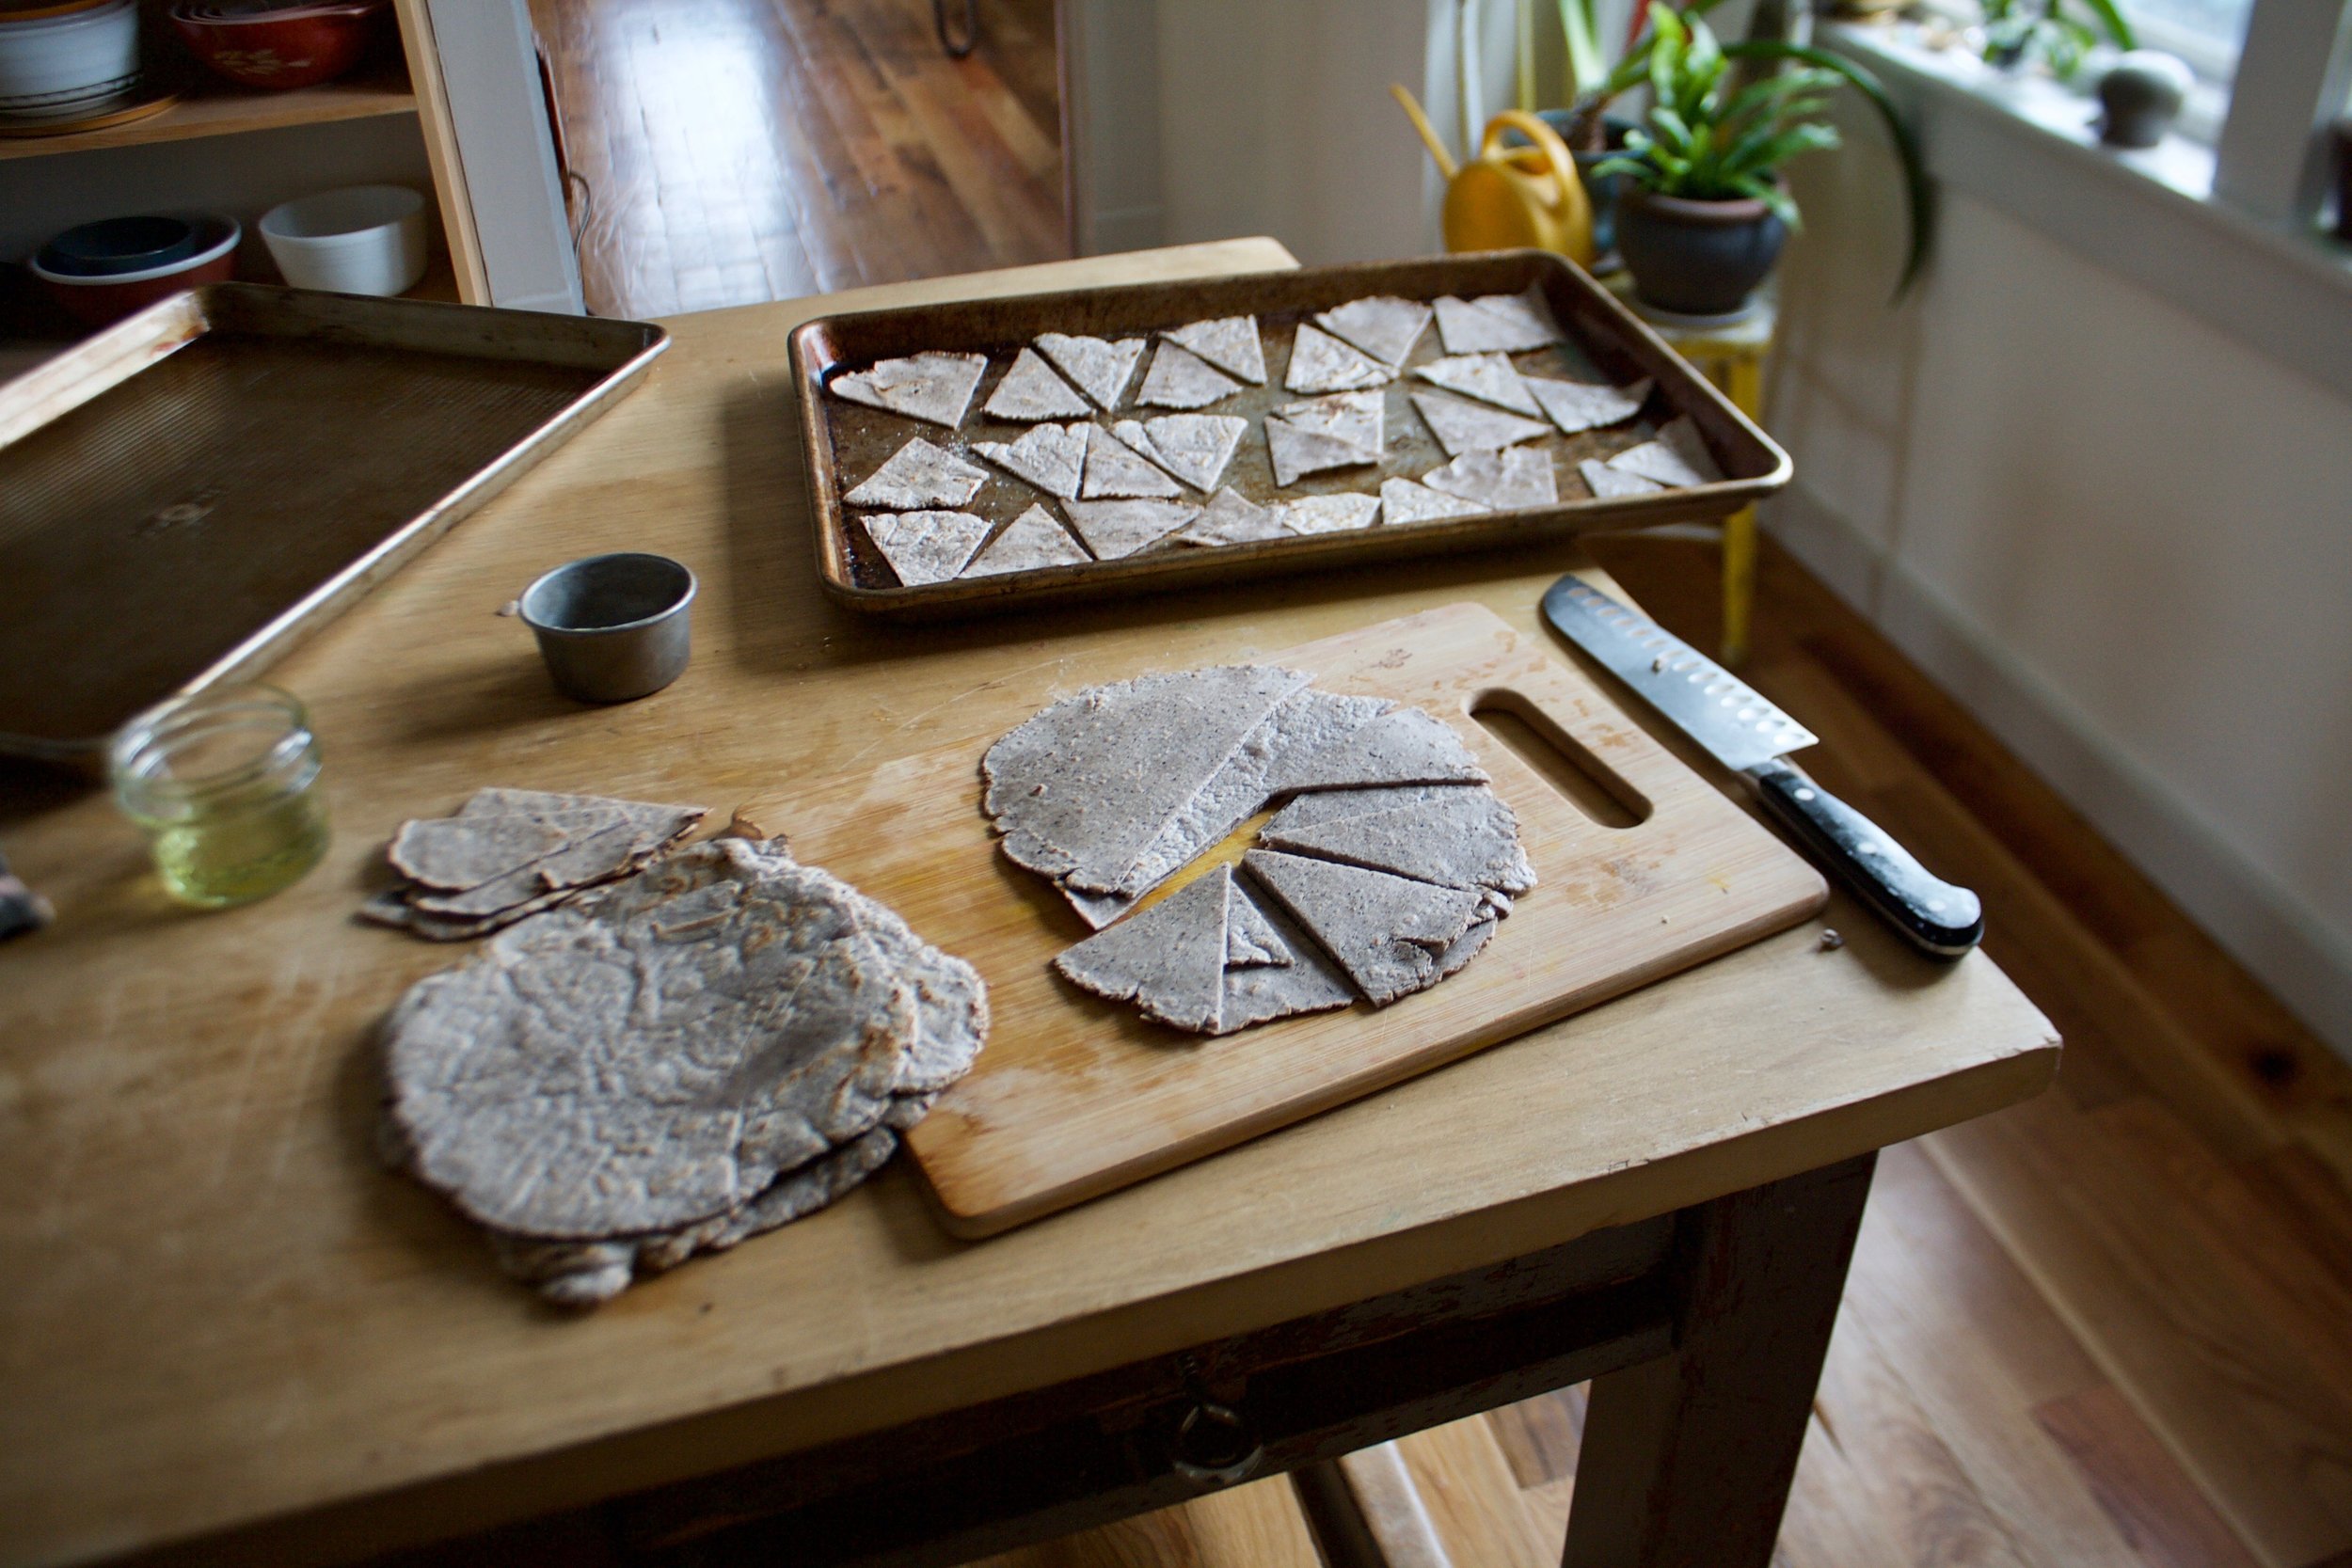
So chips. Grab baking sheets, oil, salt, a knife, and the tortillas. Take a few of the tortillas and oil them. (The easiest way I found to do this is to rub oil on with my hands then rub the oil onto the tortillas. ) Oil 3 at a time, stacked them on top of each other and cut into 8 triangles, 

Get as many of the triangles onto a baking sheet as you can, without overlapping.  Once all nice and tight, sprinkle the tops with salt and pop them into preheated oven. 

Pull the chips out of the oven when they are crispy and done (about 10 minutes) then squeeze a little lemon juice all over the chips. Toss around and pop the pan back into the oven for another minute or two just so the juice doesn't  leave the chips soggy.

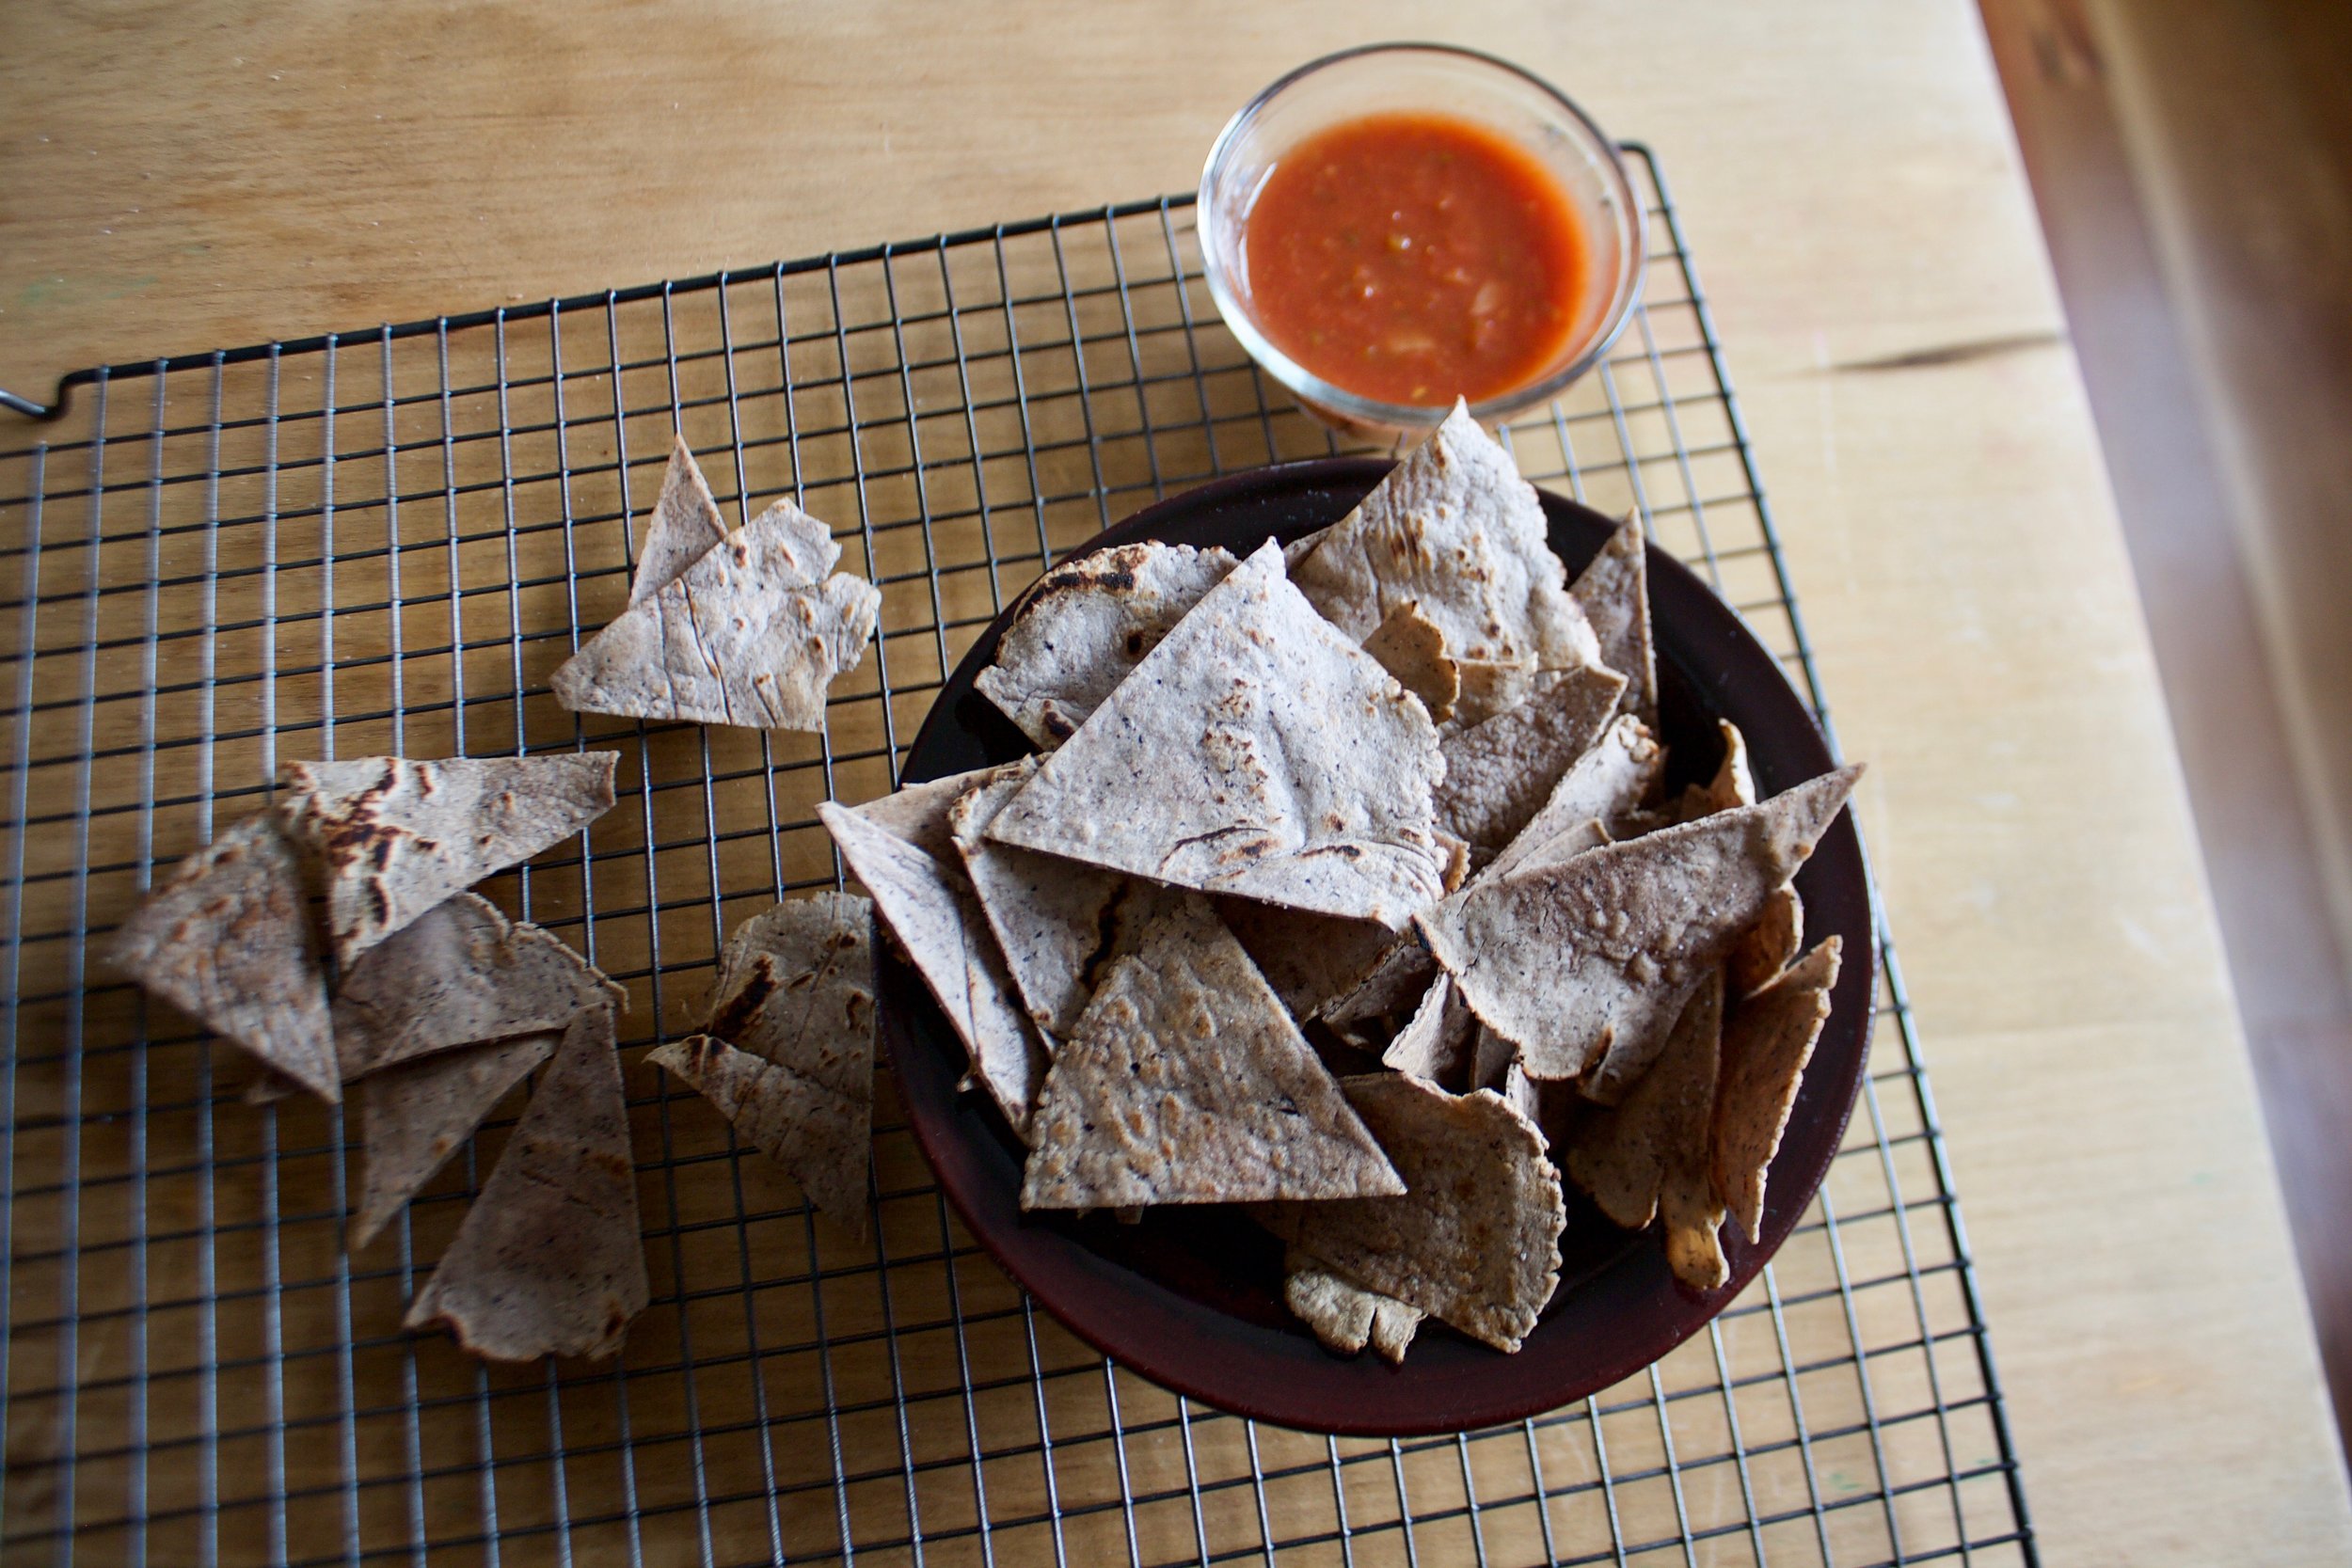
Dump cooked chips  onto a wire rack to cool. Eat as you work, you deserve it.

IMG_1837.jpg

Pile chips into a bowl, and serve with some salsa or guacamole or whatever you eat you chips with.  They are your chips. 

-C


Black Bean Tortilla Chips 

Makes 98 chips, or like a good sized bag worth

  • 2 cups masa harina 
  • 1 cup cooked black beans in bean juice
  • 1- 1 1/4  cups warm water
  • couple teaspoons neutral oil (I used grape seed oil)
  • 2-3 teaspoons salt
  • A lemon or lime

Beans go into a food processor and blended until completely smooth. Add in the masa and blend, slowly adding 3/4 cups water until a dough starts to forms.  Stop and check dough. It should feel like play dough and come together easilty onto a ball. If it feel wet, add in a couple of tablespoons more of the masa. If it is still too dry and crumbly, add in more water until it's to the right consistnacey. Dump dough onto counter and form in a ball. Place dough in a bowl and cover with a damp towel and let sit for abut 15-30 minutes.

Preheat a skillet on medium high heat on stove.

Once dough has rested, divide into 12 pieces and roll into balls. Place balls onto a damp towel and cover when not working with them. Grab a large ziplock bag, a cutting board, and a rolling pin. Take a dough ball and place in the center of the bag. Press down with the cutting board, placing all your weight on top. It got flat, but not flat enough. Continue to flatten out with the rolling pin until it is about  1/8 inch thick. Press again one last time with the cutting board. Gently remove from bag and place directly onto the hot skillet. Cook each side for 3-4 minutes or until it  starts to get a few light brown spot. Place cooked tortilla on a baking sheet or in between a kitchen towel. Repeat until all 12 dough balls are cooked into tortillas.

Preheat oven to 375

Working in 3's. dump a little oil onto your hand then lightly rub it all over the tortillas. Stack them on top of each other then cut into 8 wedged. Place wedges onto a baking sheet, get as many as you can onto sheet without any overlapping, then sprinkle with salt. to taste. If you have them, use multiple baking sheets.  Place in oven for about 10-12 minutes or until the chips are crispy. Remove and sprinkle lemon juice all over the chips. Toss around and place back into oven for a minute or two just until lth lemon juice evaporates. Remove and dump chips onto a wire rack to cool.

Eat chips. Any left over can be placed into a airtight container or bag and will last about 3-4 days. 
In 5 ingerdients or less, beans, Dairy Free, Vegan, snack, Savory, pulses, Gluten Free, crackers and chips Tags Black Bean Tortilla Chips, Masa harina, chips form scratch, cinco de mayo, cron chips, Vegan, Gluten free, plant based, beans, black beans, black bean chips, corn chips, snack, chips, dairy free, gluten free
1 Comment

Maple Cumin Popcorn

March 3, 2018 Colleen Stem

IF you are a Vermonter you probably have maple on the mind. You drive anywhere outside of the city and you start see all tubes and lines running through the woods attached to all the trees. And spring. The weather plays a huge part in sugaring so when the weather is right, people be talking. It's maple sugaring time around here so of course I am thinking maple thoughts. It is kind of hard not to.

The first thing that goes through my mind when I think about maple is that I think I want a small sugarbush on our land (the land we have yet to find and buy) We already know that we are going to have an apiary (bees and honey) so why not do maple too? The would keep us busy all summer through spring with sweet things. Summers with the bees then trudging through the cold waist high snow tapping trees and hanging out in a sugar house in the woods.. I think that it should be part of my life. Plus think about the possibilities of a name for a honey/maple farm. Let your mind take you there. 

Second thing I think about when I think about maple is how to eat it. Most people jump right to pancakes, maple on snow, or lattes. But then what? Not going lie, I do not have a sweet tooth, like at all. I do't eat pancakes covered in maple. I don't drink lattes, and the maple on snow thing got old in 5th grade.

But I do like popcorn. 

Maple popcorn. Sounds good right? But maybe a little too sweet so add in a savory component to balance the sweetness out, and that is where the cumin comes in.       Maple is earthy and sweet, and a tad bit smokey. Cumin is earthy and savory, and smokey as well.. The two together create a fantastical flavor combonation that is smokey sweet and savory and all so freaking good.  Added to popcorn, well it's right in all the ways that we need it to be.  

Now if the mr and I could just decide on a movie that we can both watch together... Probably just end up watching the Office instead. And we will each have our own bowls of popcorn. 

IMG_0635.jpg

The stuff. Air popped popcorn, maple syrup, ground cumin, vegan butter, and salt.

IMG_0644.jpg

Butter and cumin go into a pot to melt and activate the flavor of the cumin. 

IMG_0649.jpg

Once the butter is melted and the cumin is fragrant, the maple joins the pot party. Keep the pot on low and stir continuously for about 5 minutes until the syrup get a tiny bit thicker. 

IMG_0652.jpg

Maple cumin syrup ready to go.

Dump the popcorn on a large rimmed baking sheet. Grab the syrup and drizzle it all all over the popcorn. Toss it around, sprinkle with a a little salt and then pop it into the warm oven for 5-7 minutes to keep the popcorn from being soggy. 

IMG_0672.jpg

And then it's done. Dump it into a big bow and get ready to eat. 

IMG_0687.jpg

Sweet and smokey all in your mouth. This popcorn is sure to please.

-C


Maple Cumin Popcorn 

makes about 8 cups popcorn


  • 8-9 cups air popped popcorn
  • 1 tablespoon vegan butter
  • 1/3 cup real maple syrup (preferably from VT)
  • 1 tablespoon ground cumin
  • salt to taste

Preheat oven to 250.

Grab a large rimmed baking sheet and dump popcorn onto it.

Place cumin and butter in a small pot and place on low heat. Stir until butter is melted and you can start to smell the cumin. Add in the maple and continuously stir for about 5 minutes until it start to slightly thicken. Immediately drizzle the syrup all over the popcorn, toss it around, sprinkle with a little salt and then pop it into the oven for about 5-7 minutes to prevent the popcorn from becoming soggy.

Remove and let cool a minutes then dump popcorn into a big bowl. Grab a movie (because you know that is what you are doing) and get to the popcorn. 

Extra popcorn (but there will not be any) will last for a few days in a airtight container) 

In 5 ingerdients or less, Gluten Free, quick and easy, snack, Vegan, vermont Tags Maple, Real Maple Syrup, Maple Syrup, Vermont, Popcorn, Maple Cumin Popcorn, Cumin, Sweet and savory popcorn, maple kettle corn, vegan, gluten free, quick and easy, sweet and savory, popcorn
Comment

Ginger Lime Switchel

February 17, 2018 Colleen Stem
IMG_0286.jpg

Have you heard of switchel? A lot of people haven't so don't feel bad if you don't know what the hell I am talking about (like my computer. It keeps auto correcting switchel to switched). So switchel. It's basically a drink made from water and apple cider vinegar. But wait, don't grimace and click away, it's also has fresh ginger, lime, and maple syrup mixed in and is really really really freaking refreshing and tasty and just really good. I guess it was even used back I the day as a sort of sports drink, like Gatorade because it has all sorts of electrolytes and anti-inflammatory properties from the ginger.  Plus apple cider vinegar has got all sorted or health benefits, so it's a tasty treat with benefits. Who doesn't love the benefits? 

You can drink the switchel  straight up hot or cold, add it to seltzer for a bubbly soda like drink or even  mix some cocktails with it. I enjoy a nice cold glass when I am feeling thirsty but what I usually do it fill up half a  jar with boiling water, then fill the rest of the jar up with the cold switchel. It's a nice tangy, spicy, refreshing and warming drink that I look forward to every day. I even got the littles to try it.  One thought it to be nasty (can't win them all), but the other one really liked it too, so you know it's not just me that thinks it good. 

The stuff. Apple cider vinegar (the good stuff that is raw and has the mother), fresh ginger, limes, maple syrup, and water. 

IMG_0241.jpg

Fresh ginger is the best. Give it a little peel with a spoon, just to maximize gingerness exposure then chop into small pieces. 

IMG_0247.jpg

Ginger and water goes into big pot. Bring it to a boil then turn down to a high simmer for 10-15 minutes to really get the ginger infused into that water. 

After it's cooled a bit, strain the now ginger water into a pitcher or a big jar.

IMG_0277 2.jpg

Add in the vinegar, the juice of the limes and a bit maple syrup. Start off with a little maple, you can alway add more later if needed. 

After the switchel has some time in the fridge to cool (at least 2 hours, but I like it best when it's sat overnight) grab a glass ,some ice cubes, and a slice of lime. It's go time. 

IMG_0303.jpg

A drink to you my friends

-C


Ginger Lime Switchel

Makes bout 6  cups 

  • 1/2 cup raw apple cider vinegar (with the mother. Braggs is a popular option) 
  • 5-6 inch piece of fresh ginger 
  • 2 limes
  • 5 1/2 cups water
  • 1-4 tablespoons maple syrup 

With a spoon, gently peel ginger . Not perfectly, just get some of the skin off. Chop it into small pieces and place it into a large pot with the water. Bring to a boil then let simmer for 10-15 minutes. Strain ginger water int a large pitcher or jar.

Add in the apple cider vieager, the juice of the limes, and a tablespoon or two of maple syrup. Give it a good stir then place in the fridge until cold (about two hours but overnight is best) 

When it's cold, give it a good stir again, taste, and if it needs more maple, add it in. And then it's ready.

You can drink it on ice, maybe add some seltzer to it, or mix it into some fancy cocktail. It can also be reheated for a nice spicy warming treat. 

In 5 ingerdients or less, drinks, medicinal, quick and easy Tags Ginger Lime Switchel, Switchel, Ginger, lime, vinegar, drink, healthy, elixer, vegan, gluten free, medicinal, refreshing, thirst quenching, hot or cold, tonic, drink when you're sick, apple cider vinegar drink
Comment

Jam Heart Hand Pies

February 10, 2018 Colleen Stem
IMG_0193.jpg
IMG_0143.jpg
IMG_0100.jpg

I have had a shit ton of rhubarb in the freezer all winter and the other day I just needed it gone so I made a big old batch of rhubarb jam. I was actually saving the rhubarb to make the mr a pie for his birthday, but that was like 2 months ago and he ended up with ice cream sandwiches and that is why the rhubarb was still there. Oops. But now we have rhubarb jam. And I think I was feeling a little guilty about not making the pie so I, like the nicest girlfriend in the entire universe (self proclaimed yes, but so so true), used that jam to make little hand pies. And in the shape of hearts no less because hearts are amazing and it doesn't hurt that it is Valentine Day next week.  

 Valentines Day. What does that even mean? I think the primary meaning of Valentines Day is that all things should be in the shape of hearts. The rest is to be determined by however you may feel about the day. Whether you hate it or love it, (we love it, It's an excuse to take the day off and cover the house in hearts) you get to make the day yours. Just make sure that whatever you do, you make it with hearts. And with pie. 

These heart pies make for great little additions to hand made Valentines day cards ( I see maybe for a kids class), are great for breakfast because they are basically just like heart shaped pop tarts, or even for an evening of bindge watching Netflix with a loved one or by yourself. It's pie my friends. Eat it whenever, and with whomever you want.

Also, hearts are not just for Valentines Day. And pie sure the hell isn't either. They both just happen to work for the occasion. 

IMG_9991.jpg

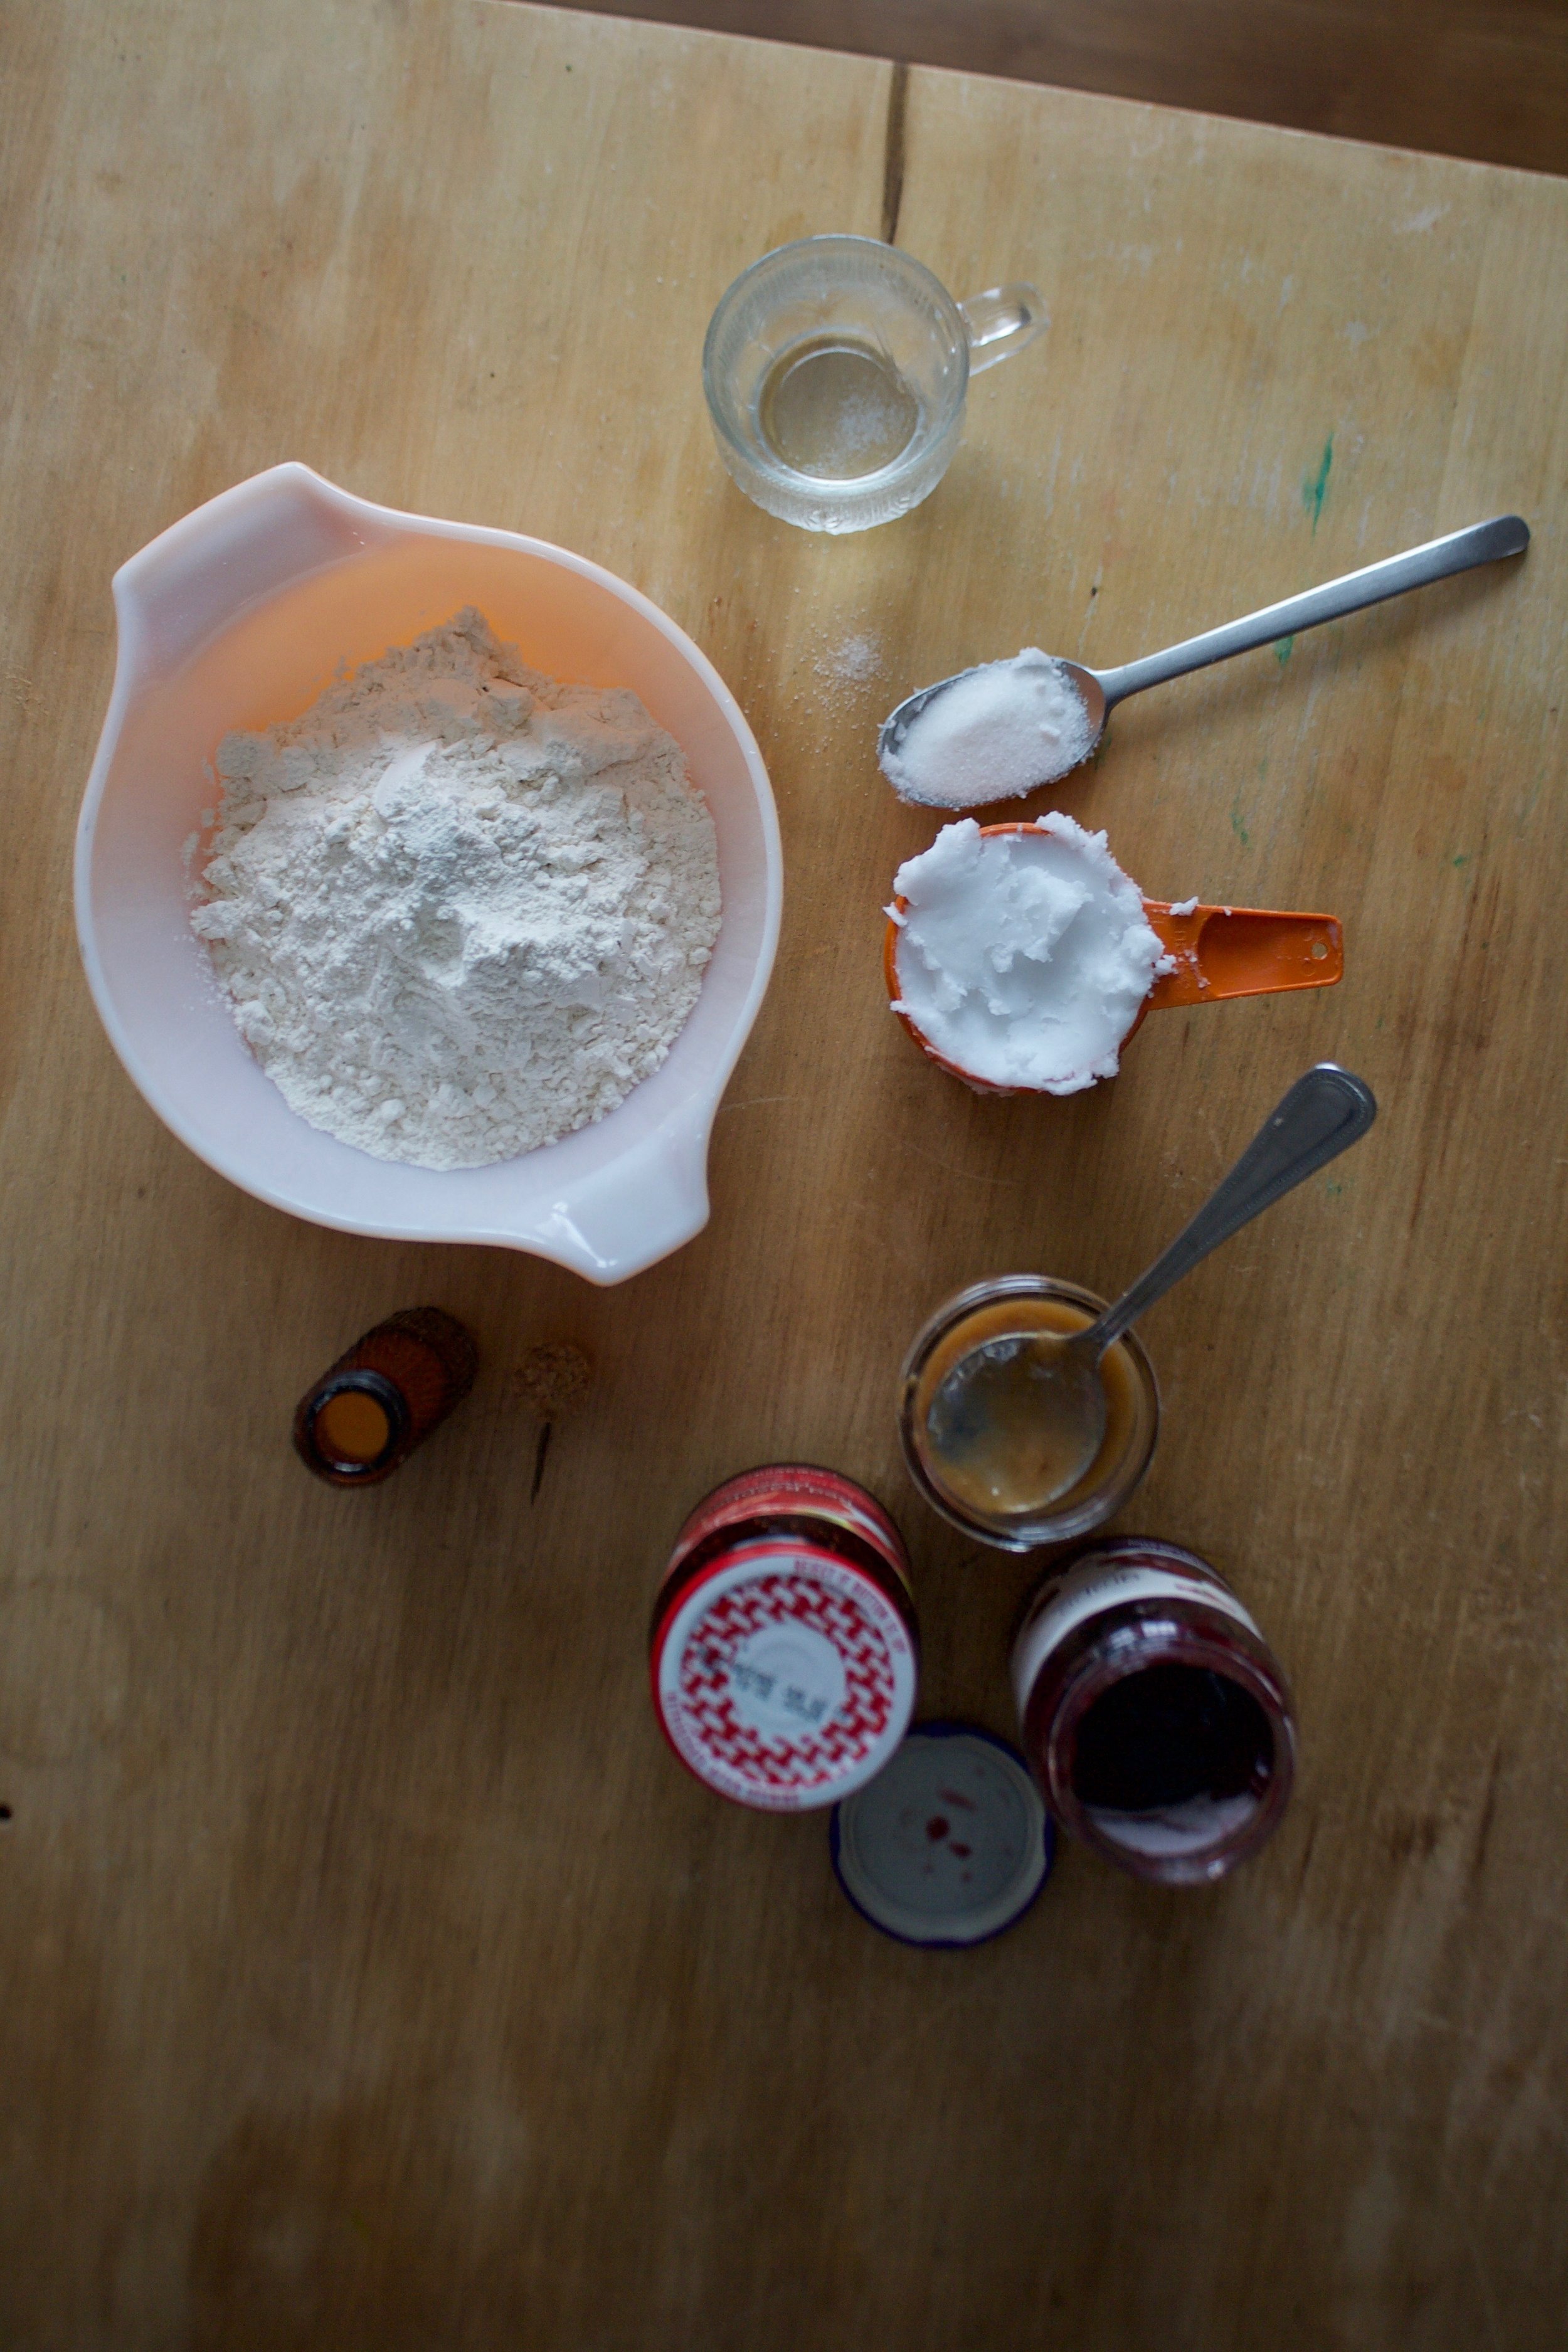
The stuff. Basically just pie crust things. Flour, a little sugar, salt, coconut oil, and ice water. Then you need jam. Jam or perseveres of any flavor(s)  you like. I used grape and rhubarb and  had raspberry here, but I didn't use it because I didn't want to open it. 

IMG_9992.jpg
IMG_9995.jpg

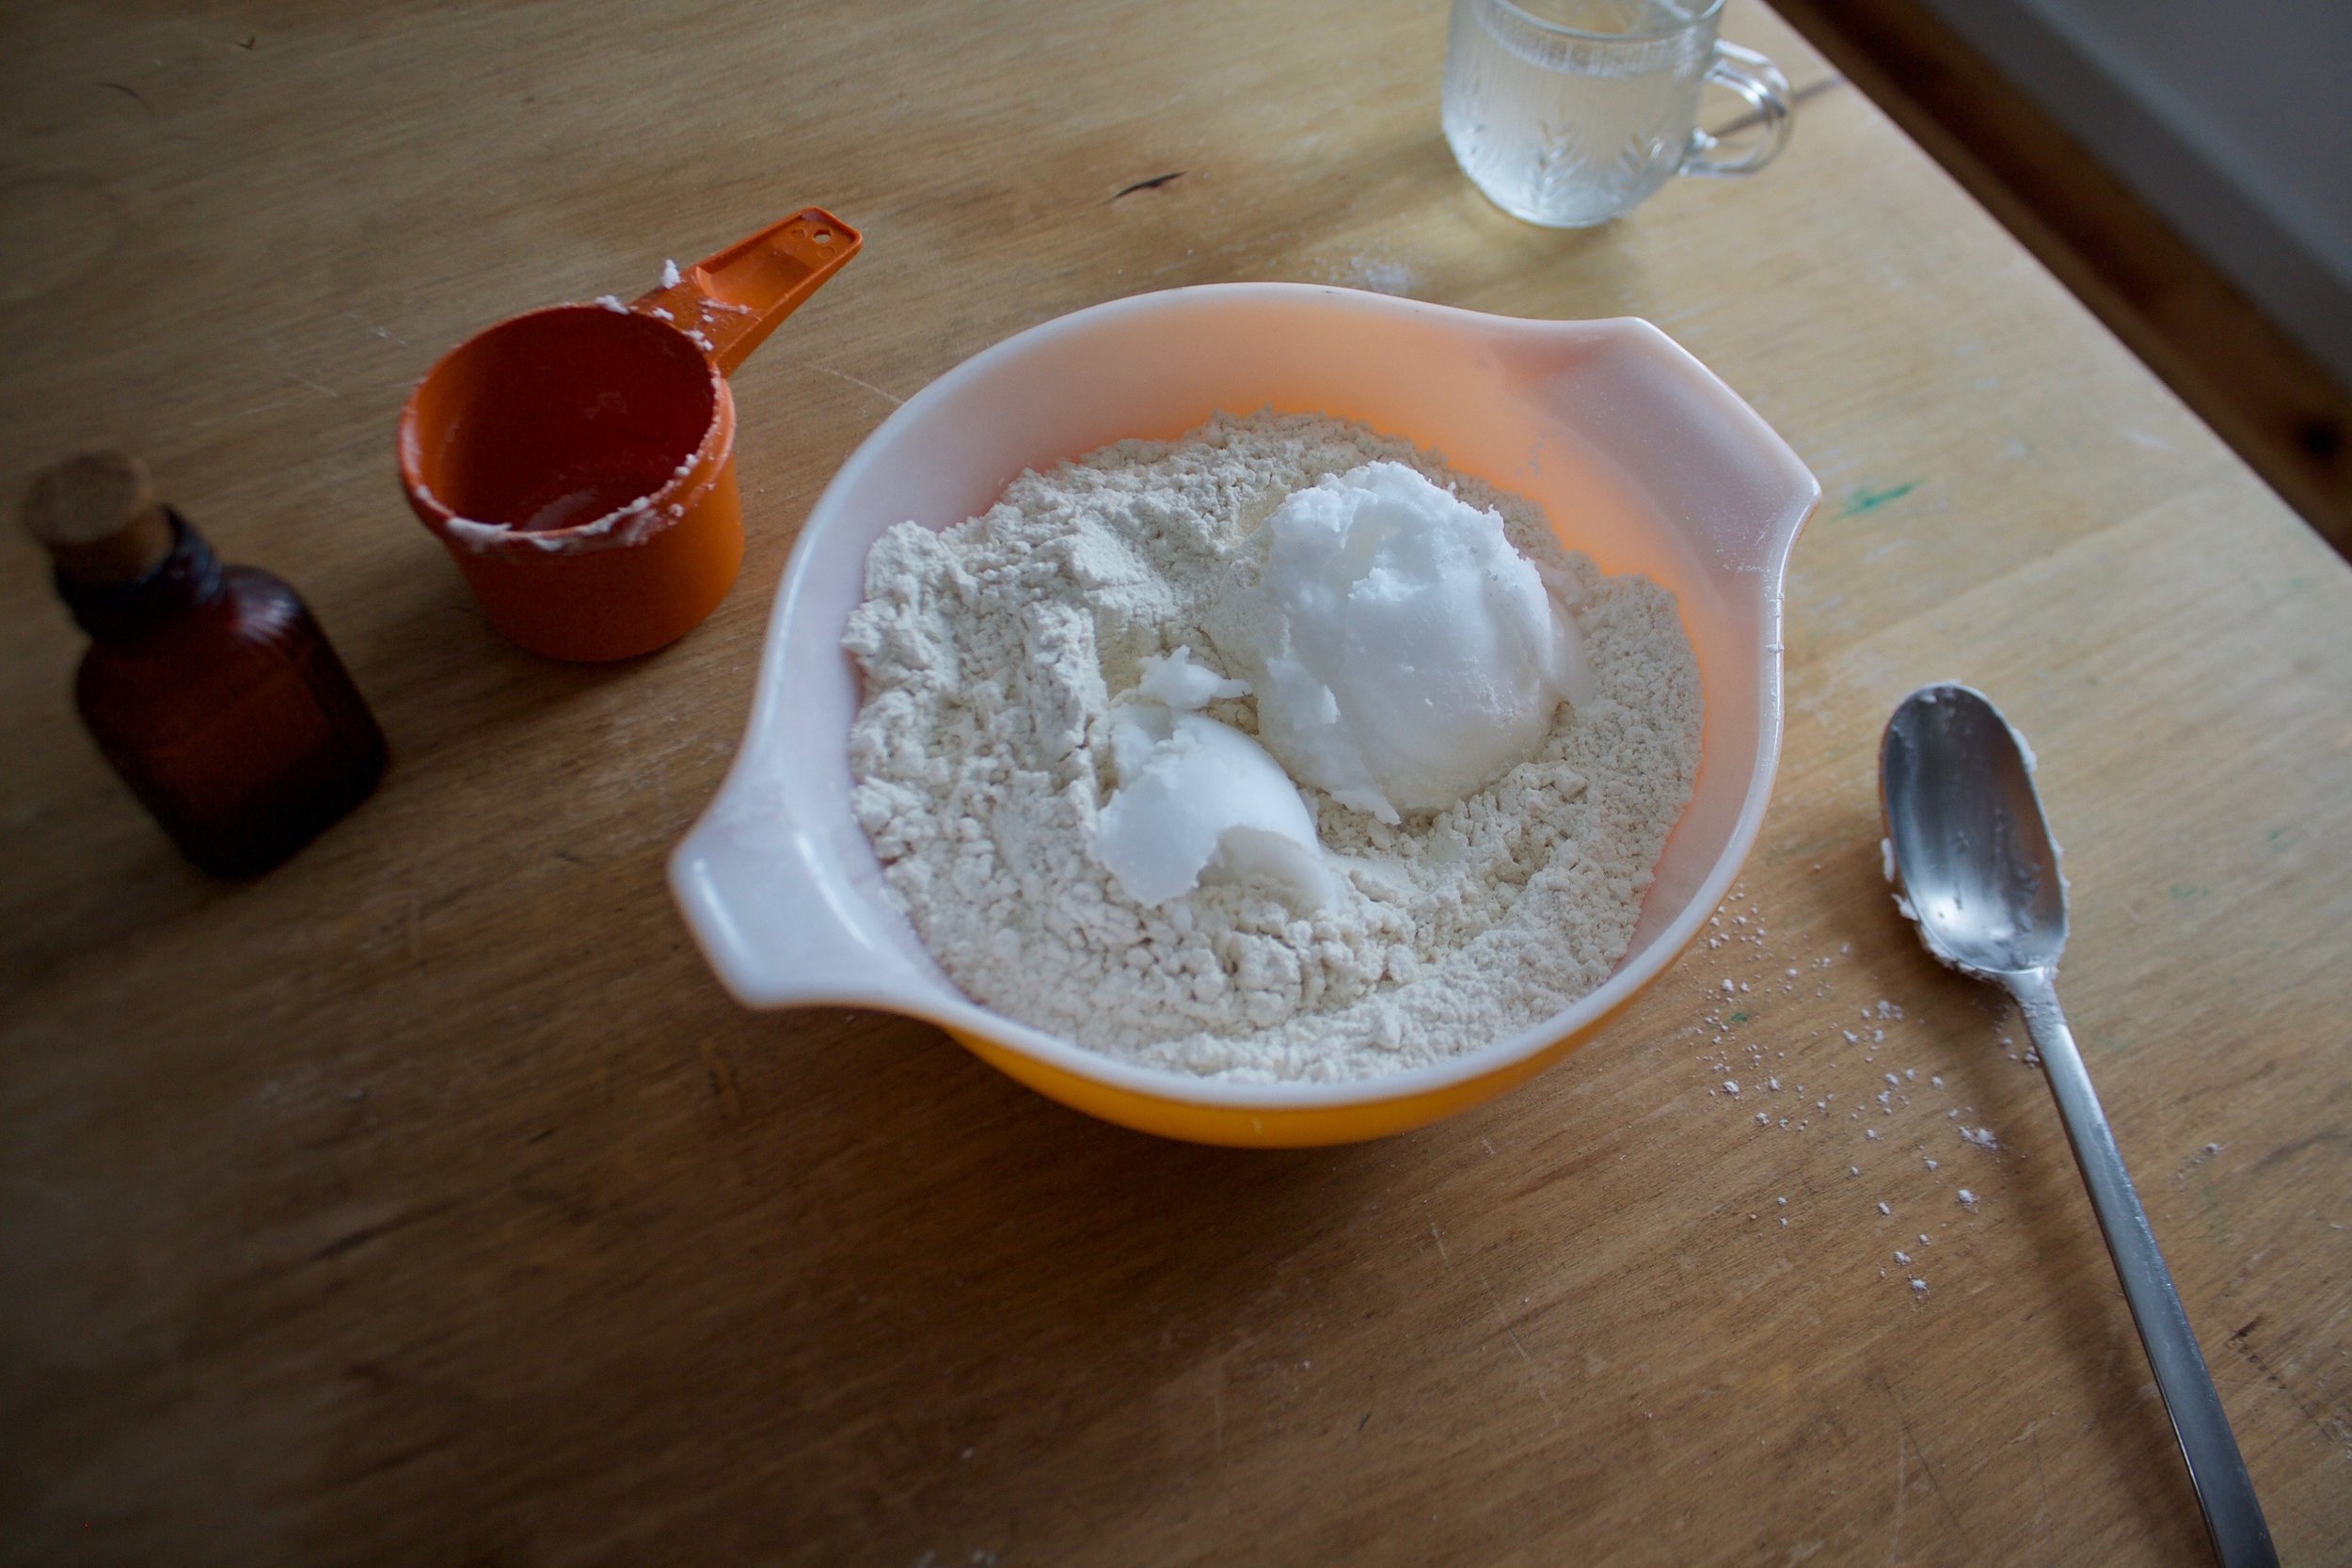
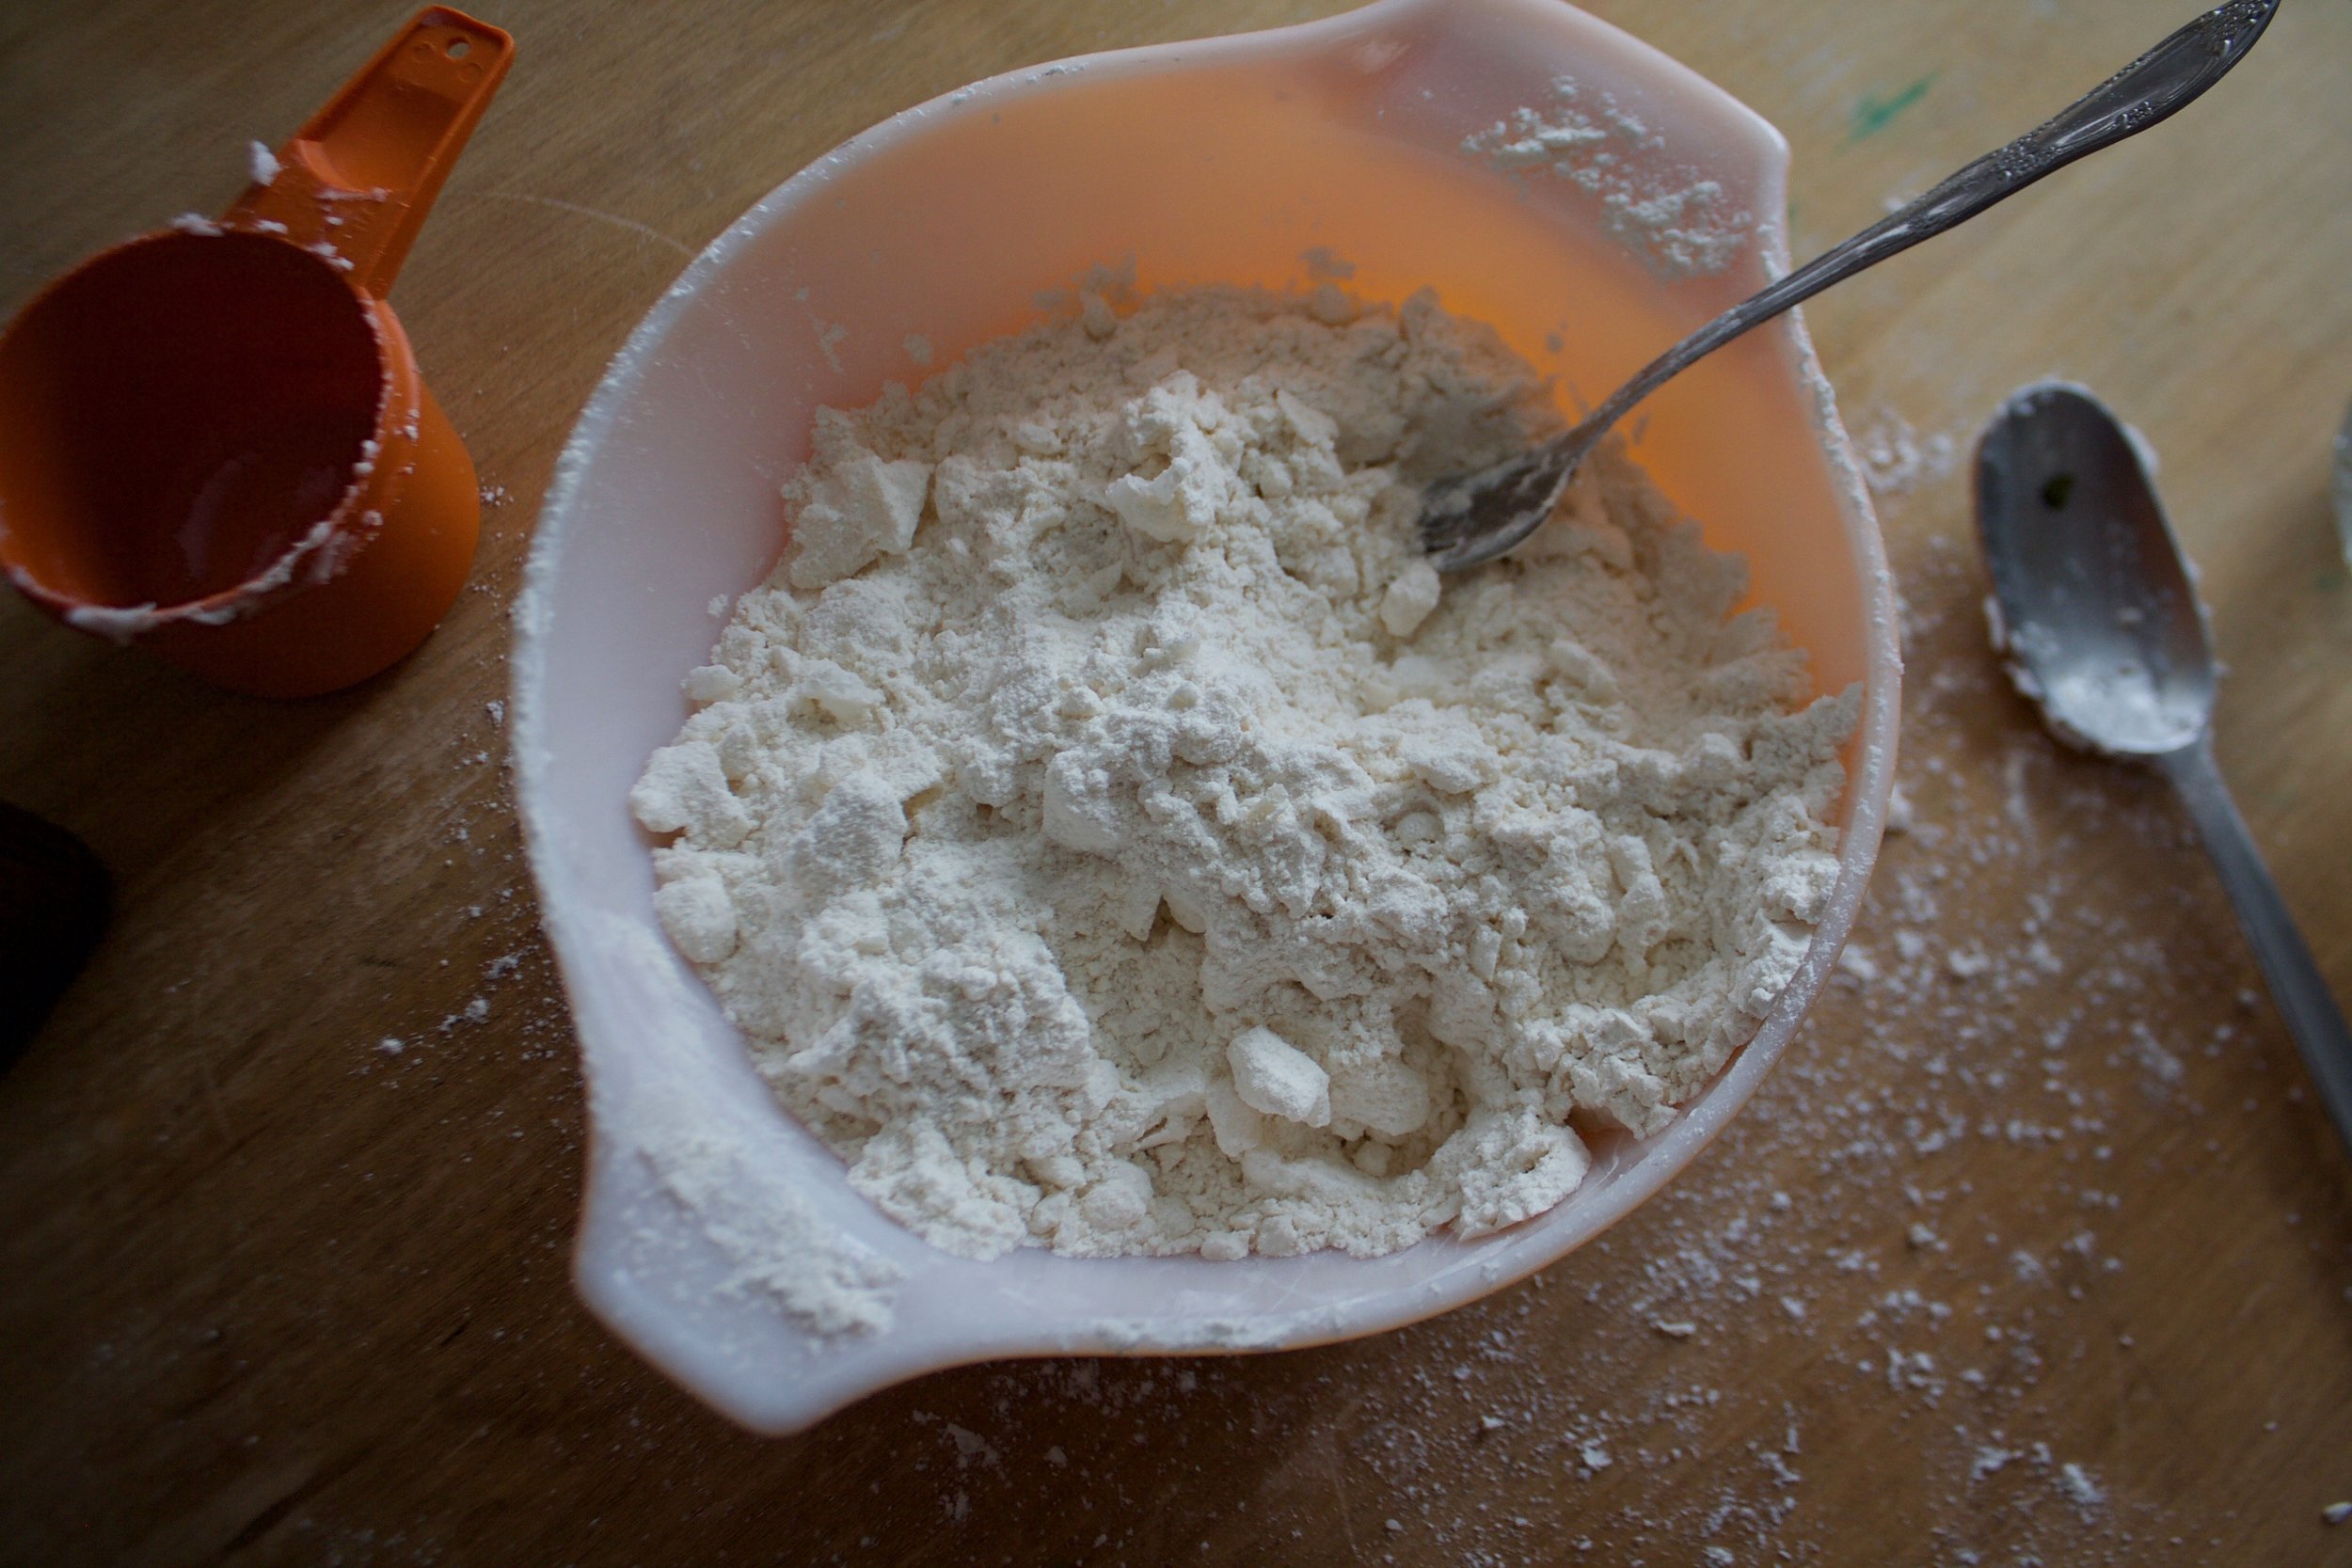
Make the crust. Flour gets mixed with the salt and sugar  and the the coconut oil gets cut in until it  looks all crumbly.

IMG_0005.jpg

The water is added  in tablespoons until a shaggy from forms.

IMG_0010.jpg

Dump the dough onto the counter to gather all together and rest for a bit. Or if you like, wrap in plastic and refrigerate  for up to a day or two.

IMG_0026.jpg

After the dough got a good rest, roll it out and cut your hearts out. (Not your actual heart. Please and thank you)

IMG_0034.jpg

Half of the hearts get a dollop of jam

IMG_0075.jpg

Then each heart gets a top and crimped together with a fork. Poke a little hole into the tops to allow for steam to escape then all of the hearts get stuck into the fridge (or place on the back porch) to get nice and cold for a bit.

 After the chill, off they go into the hot oven to bake and be.

IMG_0086.jpg

Look at these cuties. A little jam overflow, but all is good. 

IMG_0084.jpg

I decided last minute that they needed a little something. Powdered sugar, lime zest, and lime juice. The easiest of glazes. You could do lemon, or vanilla, or almond, or even melt a little chocolate and drizzle that on. Next time I will do chocolate because because. 

Drizzle that glaze all over. 

There you have it. The cutest little hand pies ever .

Share if you like, or just eat them all. They are your hearts so do what you will. 

-C


Jam Heart Hand Pies

makes 18  three inch pies

  • 2 1/4 cup flour
  • 1 teaspoon salr
  • 1 tablespoon sugar
  • 8 tablespoons ice water
  • 3/4 cup solid coconut oil
  • about 1 1/4 cups of some sweet ass jam (any kind you have)
  • 1 cup powdered sugar
  • 1 lemon or lime 

Combine the flour, salt and sugar in a large bowl. add coconut oil in large chunks then with a pastry cutter or a fork (I used a fork) cut the oil into the flour until the flour looks crumbly and there are lots of tiny little chunks of coconut oil throughout the mixture. Add in 5 of the tablespoons ice water, toss around, then add in another 3. Mix around until the dough starts to come together when squished. If it still seems too dry, add in a tablespoon or 2 more water. (I always end up using a little more in the winter months) You want the dough to just be able to come together. Dump dough onto counter and press and smoosh dough into a ball. Let dough sit for 1/2 hour or wrap in plastic and place in fridge and using within the next day or two. 

After the dough has had some time to sit, flour the counter and roll it out to about 1/2 inch thick. Take a cookie cutter ( I used a 3 inch at the widest part heart cookie cutter) and cut out the hearts (or whatever shape you want) Make sure you have 2 cutouts for each hand pie. After you have cut out as many as you can, gather dough into a ball and roll out again. Repeat until dough it gone. 

To assemble.

Place a tablespoon of jam into the middle of half of the cut out hearts . Gently place the remaining heart cut outs on top of those. . Take a fork and press the edges together and then with the fork or a knife, pierce of cut a small slit into the tops to allow the steam to escape while baking. I did this directly on the baking sheet but found out after it was easier to do on the counter and then move it to the baking sheet. Do what ever it easier for you. Once they are all assembled and on the baking sheet, refrigerate for 15 minutes. 

Preheat oven to 350

After the time in the fridge, remove and place directly into the hot oven. Bake for 20-25 minutes or until the bottoms are a nice   golden brown. The tops will be slightly pale so check the bottoms. 

Remove and let cool on the baking sheet. 

While they are cooing, make the glaze. Zest the lime and juice the lime and combine with the sugar. If it is too runny, add a little more sugar, too dry, add in a splash of water. Once the pies are cooled, drizzle each one with icing.

Now you have a bunch of cute little heart shaped hand pies and you should probably eat one (or a few)


In 5 ingerdients or less, breakfast, cookies, Dairy Free, desserts, fruit, pie, Sweets, Vegan Tags Jam Heart Hand Pies, vegan, vegan pie, jam pies, hand pies, Valentines Day, hearts, heart shaped dessert, dessert, love, plant based, coconut oil pie crust, pie crust
Comment

sesame soy cabbage

January 13, 2018 Colleen Stem

Here's one for the cabbage lovers our there, maybe even the haters as well. (I don't understand those people, cabbage is king in my stomach). I really believe that a good bit of cabbage can really change a persons perspective on the humble cruciferous vegetable, maybe even the world. To far? Maybe but what I always say is, "When in doubt try it out!" Either way, this bit of cabbage is vey very good good.  

A quick little warm up in a skillet with some sesame soy flavor and crunch and you got yourself a A plus little salad. It hits all the right notes for when a) its winter and fresh greens are more sparse (which it currently is and they currently are) b) its cold out (again currently because it's winter) and c) when you only have a head of cabbage in the fridge (was the case but I have sense remedied that). 

Chop it, toss, it, eat it. Quick and easy good food. Get on it.

The stuff. Cabbage (I used savoy but you can use any cabbage you want) soy sauce, toasted sesame oil, olive oil, and a lemon. The lemon is optional, but a little acid is alway welcome in my mouth. 

Chop the cabbage. Unless  you are making this for more then 2 people, you probably only need half a head. However much you use, chop in up into 1-2 inch peices. You could  also shreds it if you want, but I like the bigger pieces. 

IMG_9384.jpg

Toss the cabbage into a hot skillet that has been drizzled with a little olive oil and toss the soy sauce in with it too. 

Cook on medium high heat until the cabbage has slightly soften. 

IMG_9400.jpg

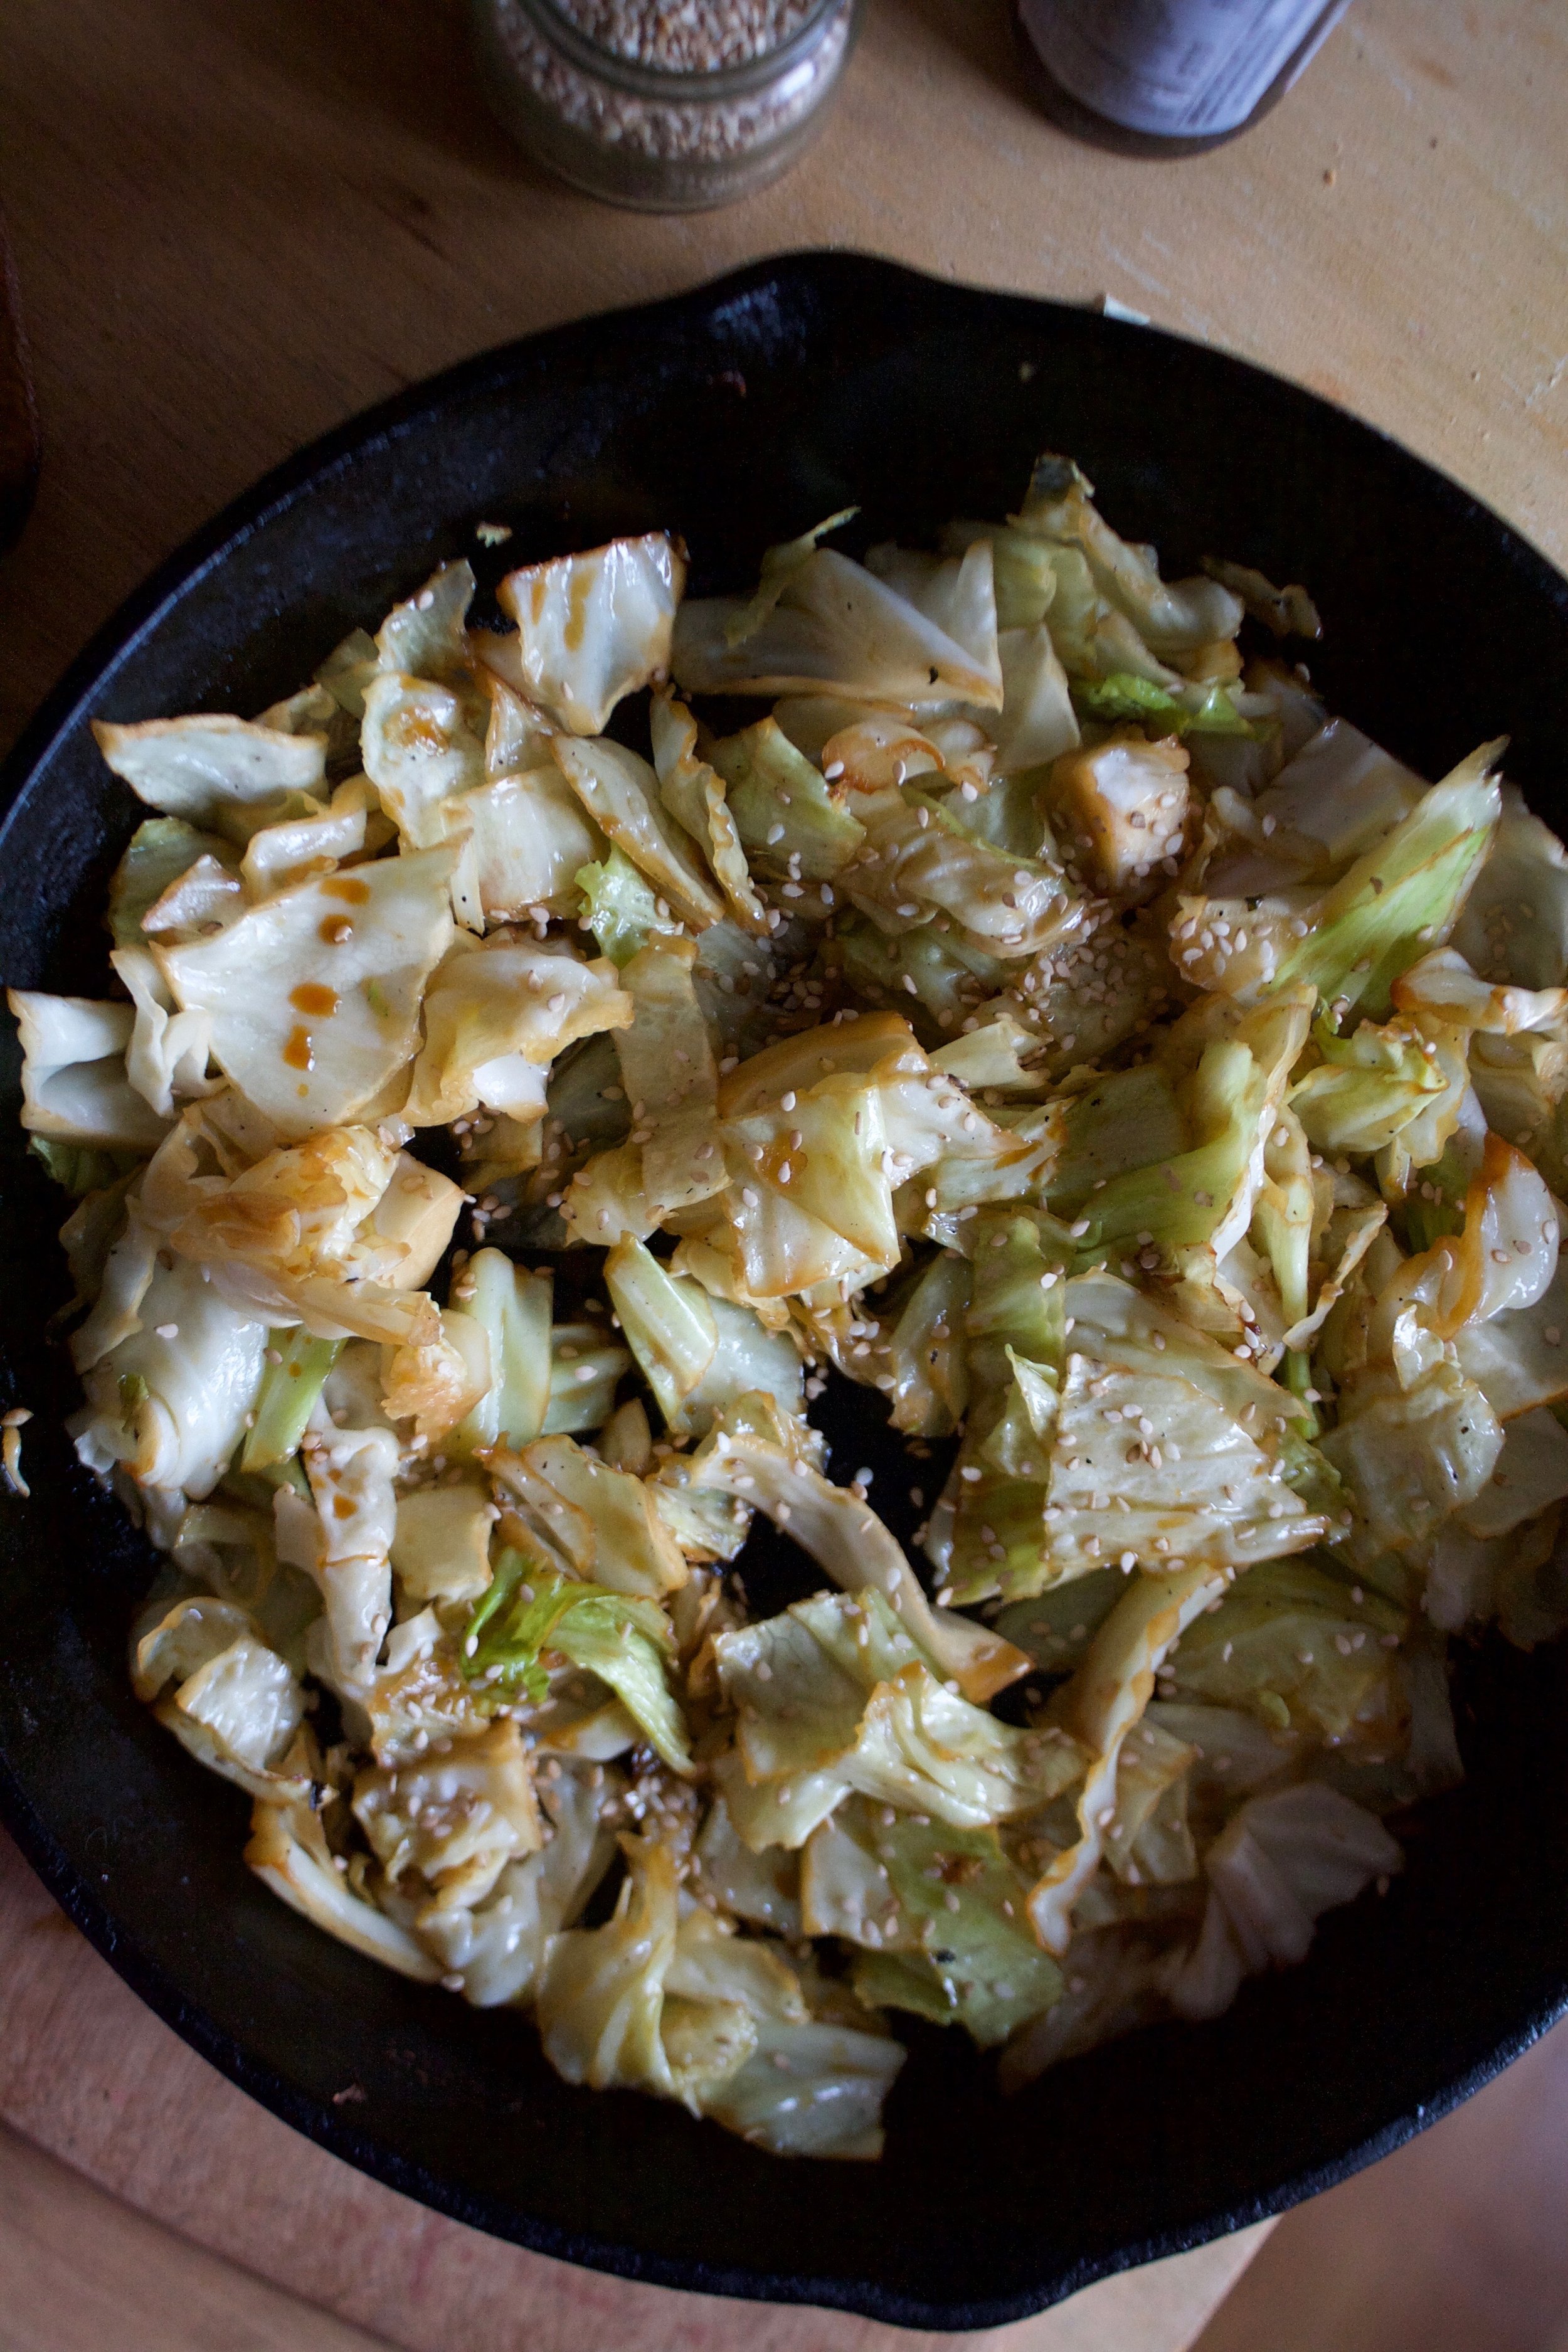
While the skillet is still hot, drizzle in a touch of toasted sesame oil and a good amount of sesame seeds. Give it a toss. Taste and add more toasted sesame oil if you want.

Pile it Into a bowl and that's that. Serve with a wedge of lemon or lime if you like the addition of the acid. 

-C


Sesame Soy Cabbage

serves 1-2 people

  • 1/2 of a head of cabbage (green savoy, or red work)
  • 1 tablespoon soy or tamari 
  • 1/2-1 teaspoon toasted sesame oil
  • 1 tablespoon olive oil 
  • sesame seeds
  • lemon or lime (optional)

Preheat a large skillet to medium high with the olive oil. While its getting hot, chop the cabbage into 1- 2 inch pieces. When the skillet is hot, dump the cabbage in and toss around with the soy sauce. Let cook for 4-5 minutes, giving it a toss a few times, until the cabbage starts to soften. Depending on your preference you can stop cooking it now, or keep cooking until it reaches you preferred doneness. (I like it with a little crunch so I cook it for 5-6 minutes) Once it's done but the skillet is still hot, drizzle in the toasted sesame oil and toss in the sesame seeds. Taste for flavor and add more toasted sesame oil if needed. 

Serve right away although cold left overs are also fantastic. A wedge of lemon or lime is a well received addition. 

In 5 ingerdients or less, dinner, Gluten Free, grain free, Paleo, quick and easy, salad, seeds, Vegan, Vegetables Tags Sesame Soy Cabbage, vegan, gluten free, side dish, simple, 5 ingredients or less, healthy, whole 30, cabbage, grain free, salad, warm salad, asian flavors
Comment
← Newer Posts Older Posts →
 

https://thelovelycrazy.squarespace.com/config#/|/about/

Me. Food Maker.Food eater. Woo HOO!

STEM+NODE  SMALL BATCH AND ONE OF A KIND POTTERY

stem+node ceramics


____________________

Subscribe

GET NEW POSTS IN YO EMAIL

You are AWESOME!!!


@thelovelycrazy 2014-2021