• stem+node ceramics
  • HOME
  • Food Recipes
  • About
  • Contact
Menu

The Lovely Crazy

Street Address
City, State, Zip
Phone Number

Your Custom Text Here

The Lovely Crazy

  • stem+node ceramics
  • HOME
  • Food Recipes
  • About
  • Contact

Gnocchi with Chunky Tomato and Onion

June 15, 2019 Colleen Stem
IMG_9417.jpg
IMG_9375.jpg

Farm share started last week (HOORAY!!!!) but always, at the beginning when things are still getting on growing, we are only getting a few things. Lot of greens which I will never get enough of, and lots of potatoes. Also, I made the mistake of buying a very large bag of potatoes last week right before farm share and now I am basically swimming in potatoes. And so the story goes….

So what do you do with a shit ton of potatoes? Yeah, I thought potato cannon to but then I realized that I would have to use my potatoes and sure I have a lot, but I am not wasting them on that. So gnocchi they became. Gnocchi. Basically a boiled french fry or a mashed potato meat ball. Or maybe more like a ravioli. Whatever they are, they are loved by potato loving people and are fun to make. I mean, when do you ever get to use the ricer? ( Don’t worry, you can make gnocchi without a ricer.)

To the gnocchi.

The stuff. Potatoes, flour, an onion, some tomatoes, a few cloves of garlic, salt, pepper, and olive oil.

Note. Make sure to use russet potatoes because they make the lightest, fluffiest gnocchi. You could probably use Yukon gold, but any hard wax potato just won’t do.

First step is to make baked potatoes. Place potatoes in oven, directly on rack, and bake for 30-45 minutes until nice and soft and tender. Just like you would when you eat it as a baked potato. Once cooked cut them in half and let them cool off for a few minutes.

Once potatoes are cool enough to handle, scoop all the flesh out of skins. Keep skins for soup or a snack for later.

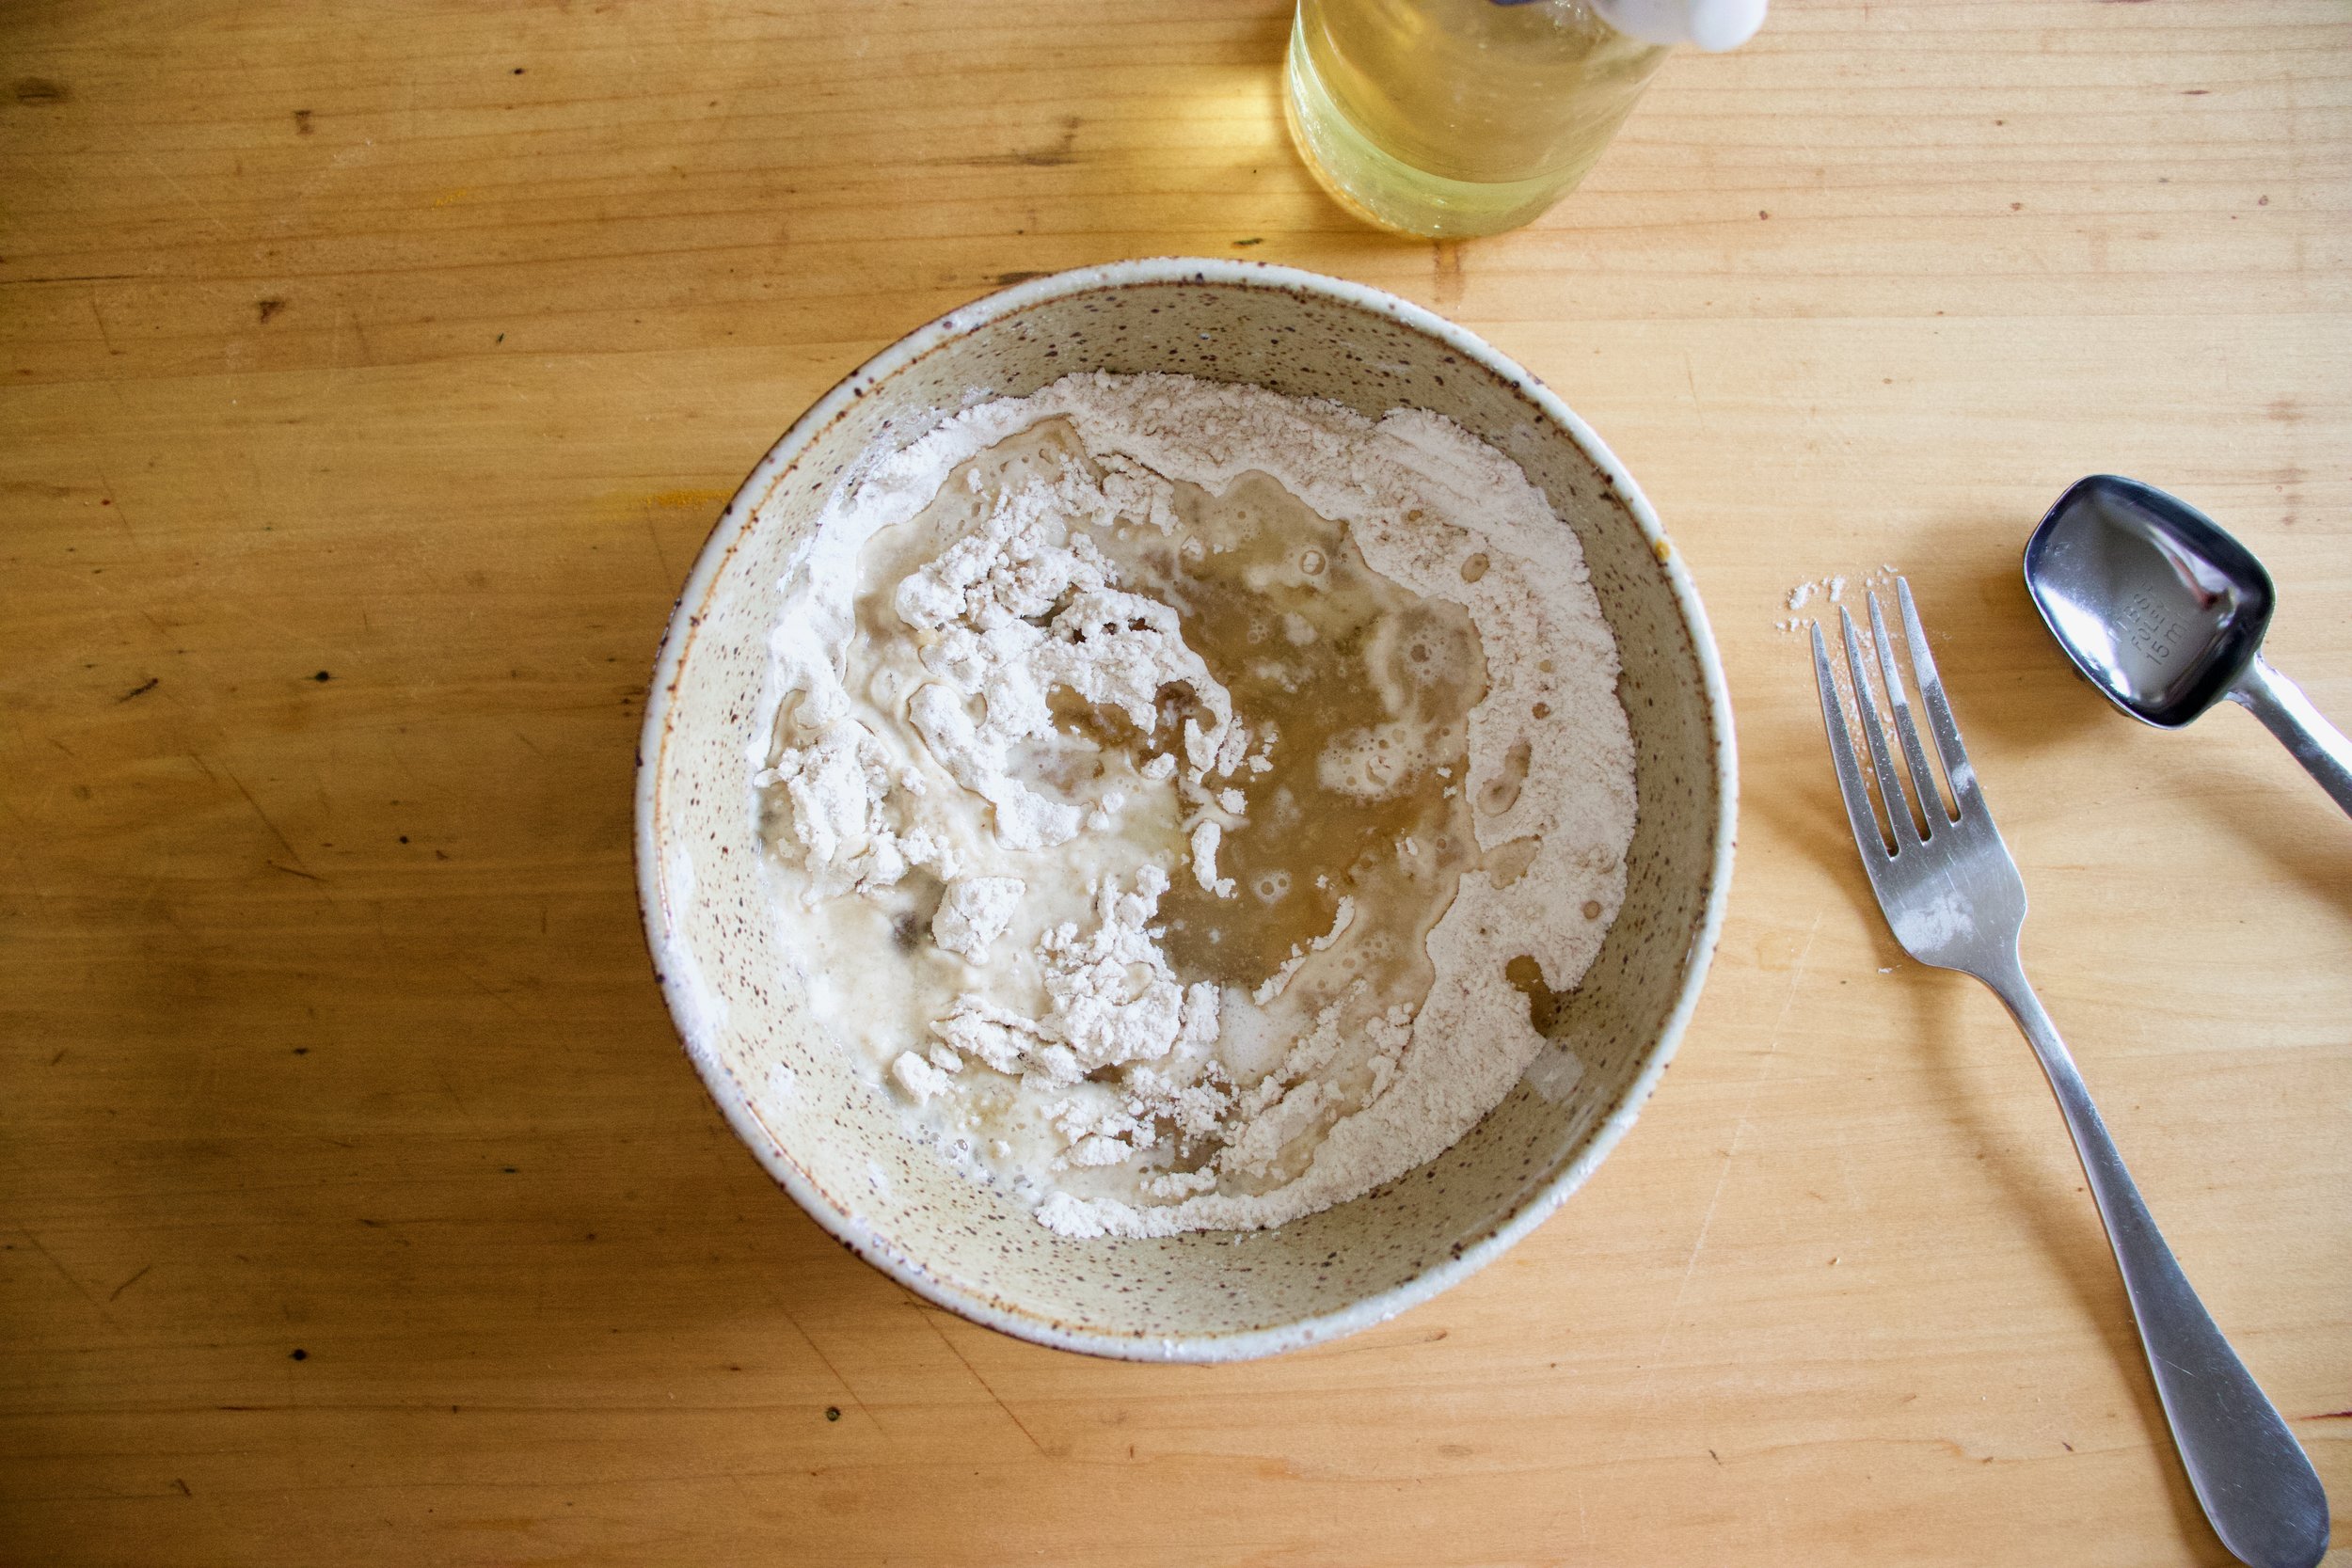
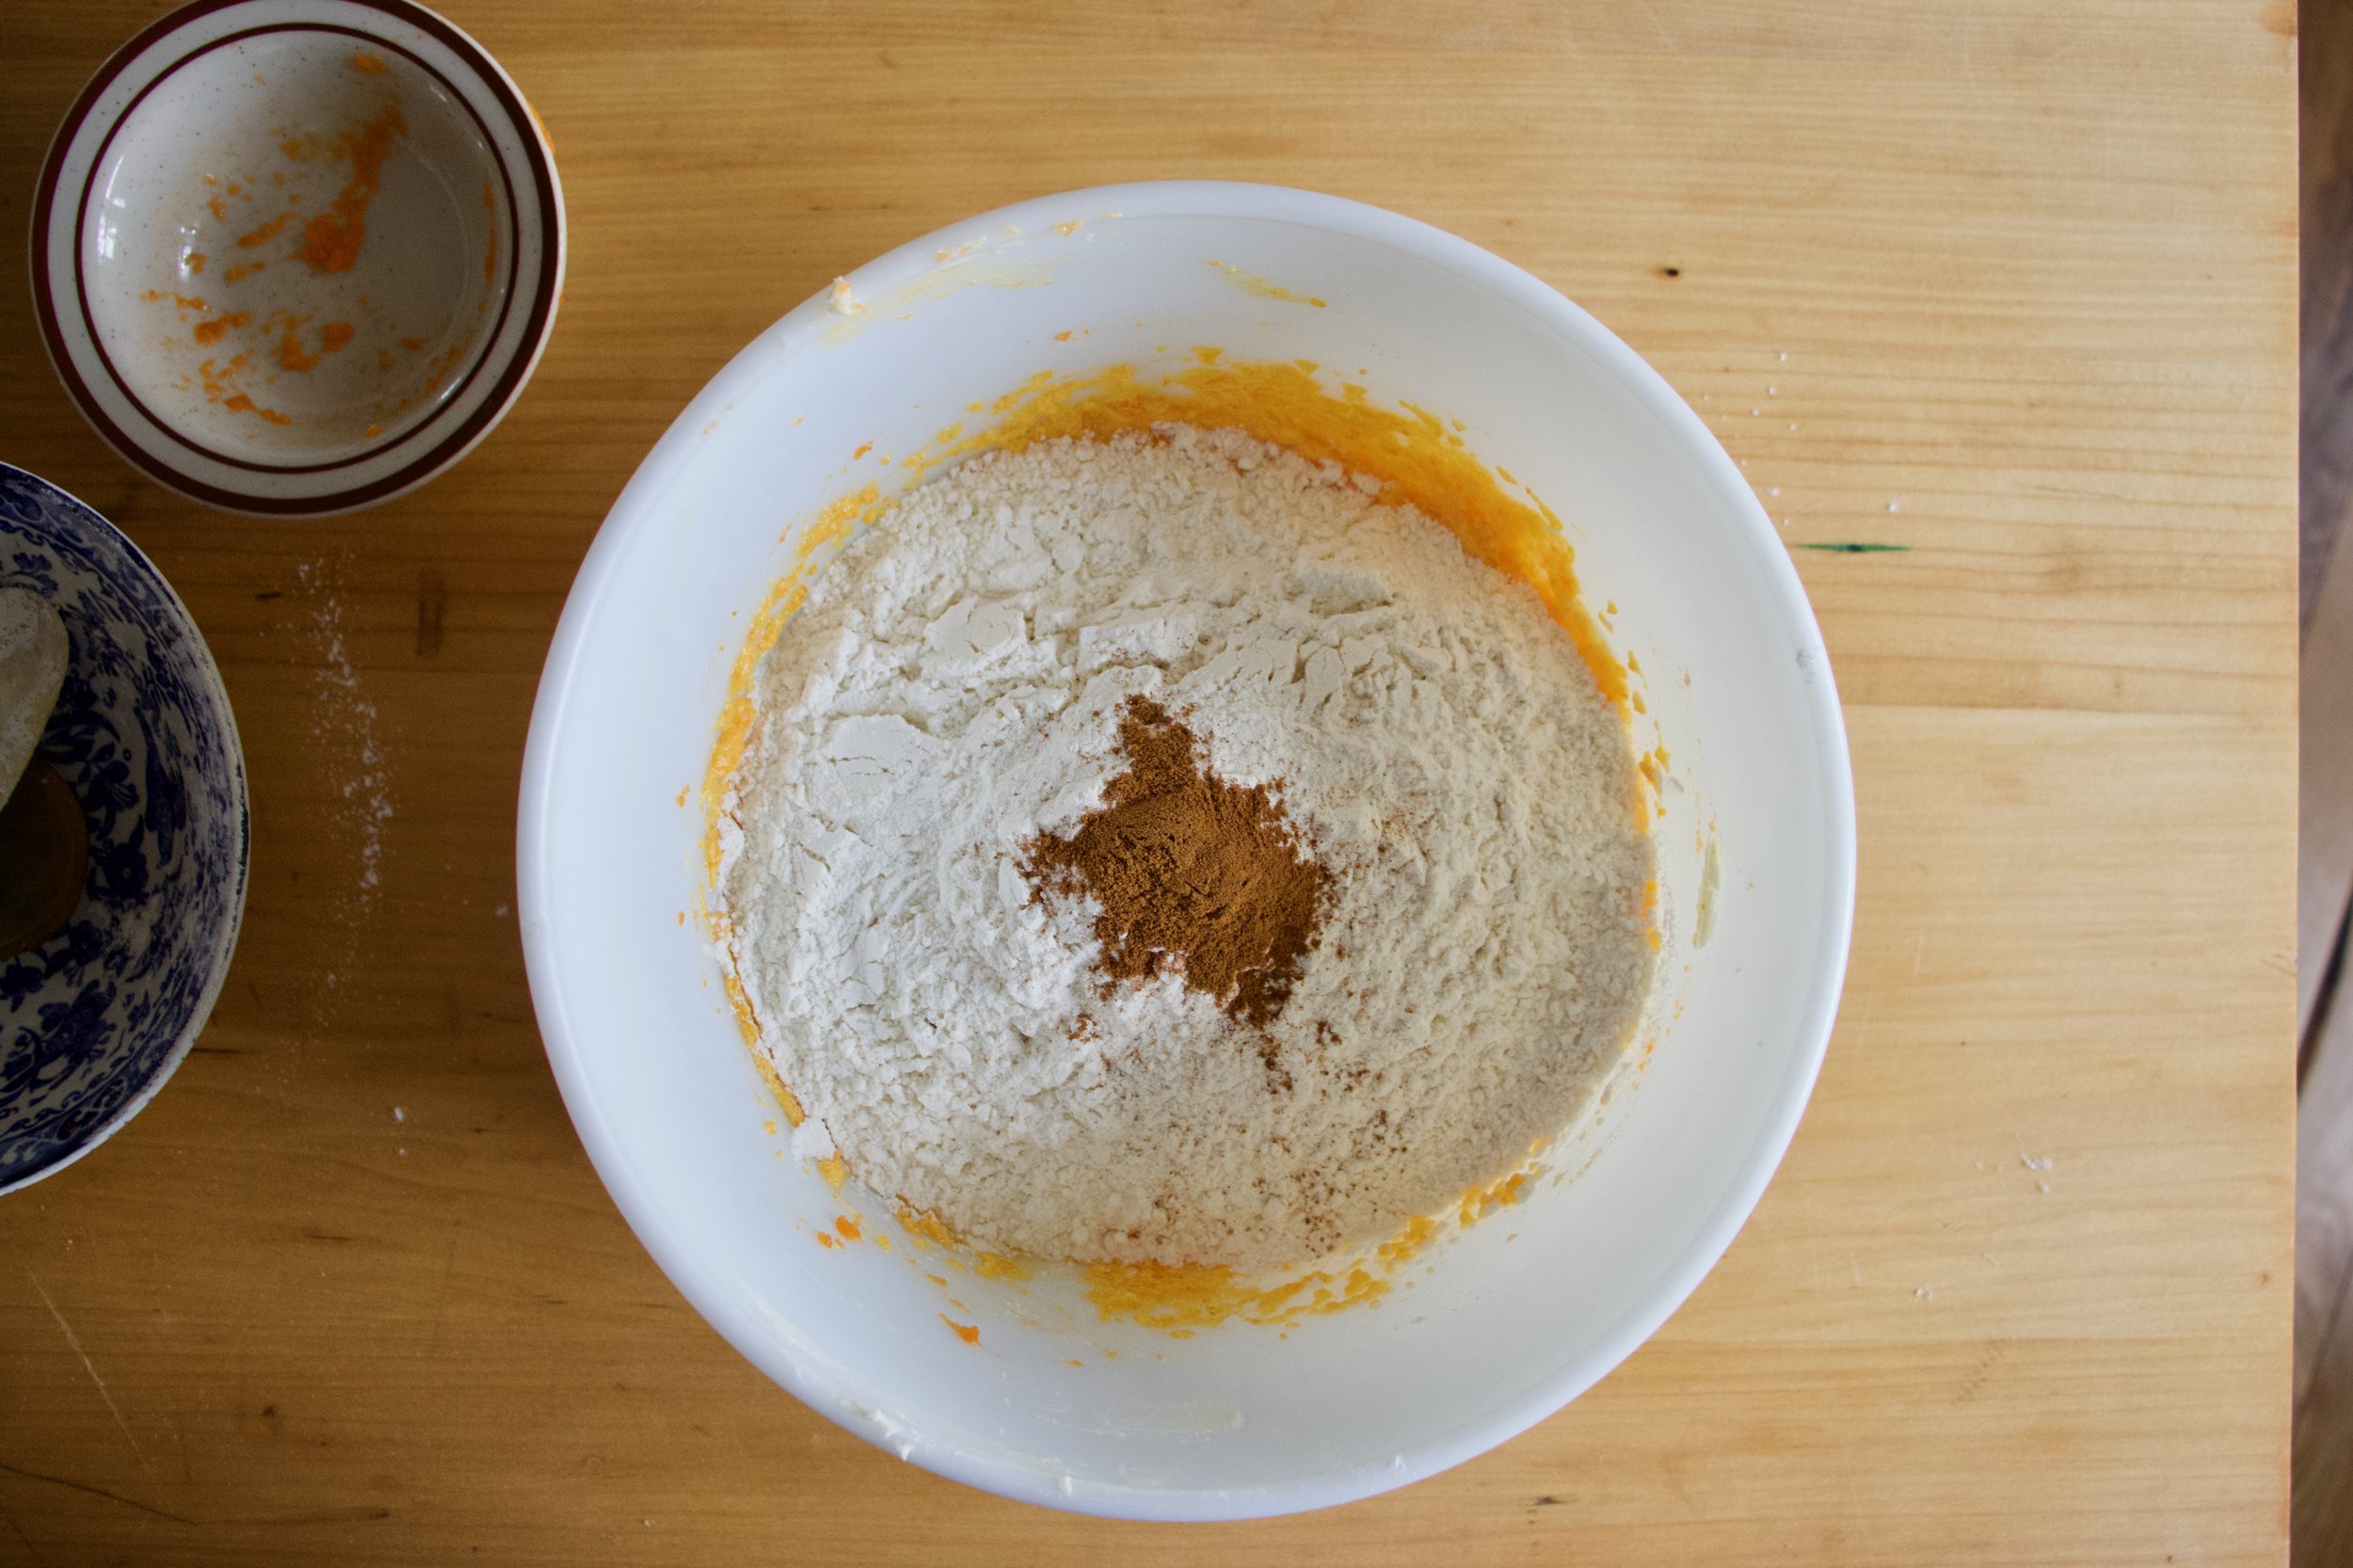
And the fun part. Flour the counter then rice the potatoes. You can also do this with a food mill or even grate the potato with a box grater. Once all riced, cover with flour and start to fold and mix the potato into the flour gently until the dough starts to come together. If the dough seems really sticky and wet, add in a tablespoon or two of flour, to dry and crumbly, add in a tablespoon or two of water. The goal is a nice fluffy dough that hold it shape but is not overly dense.
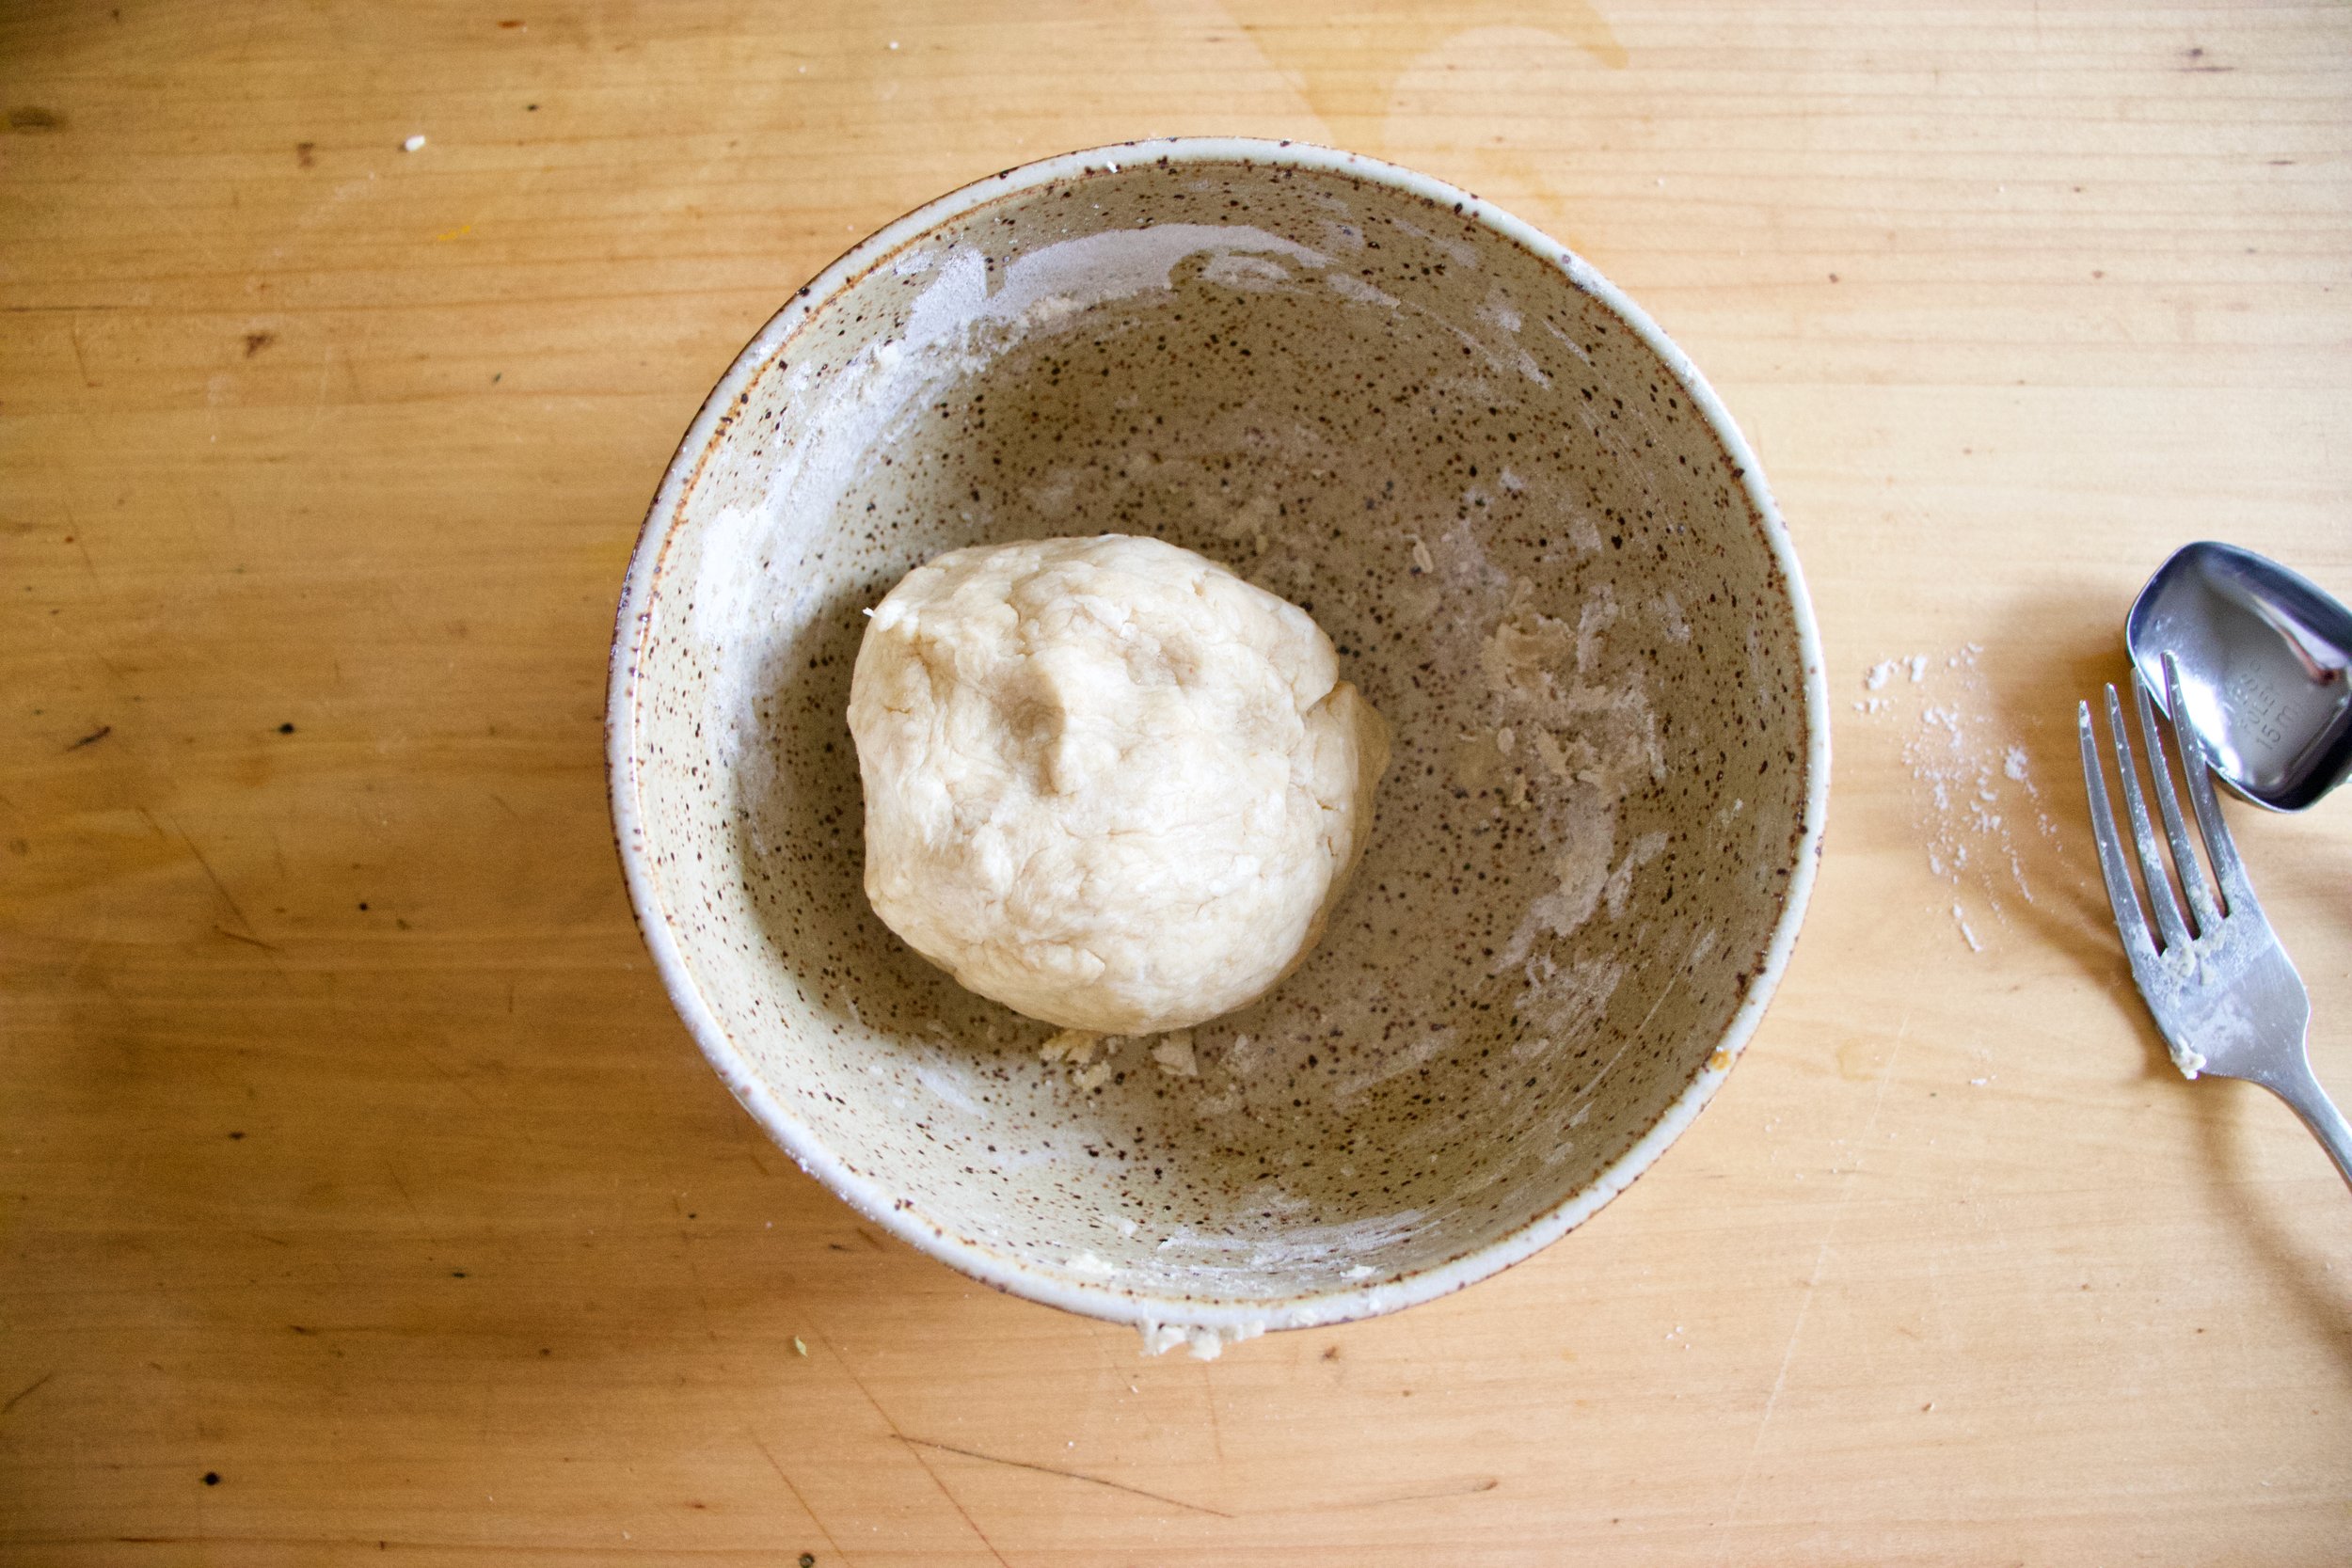
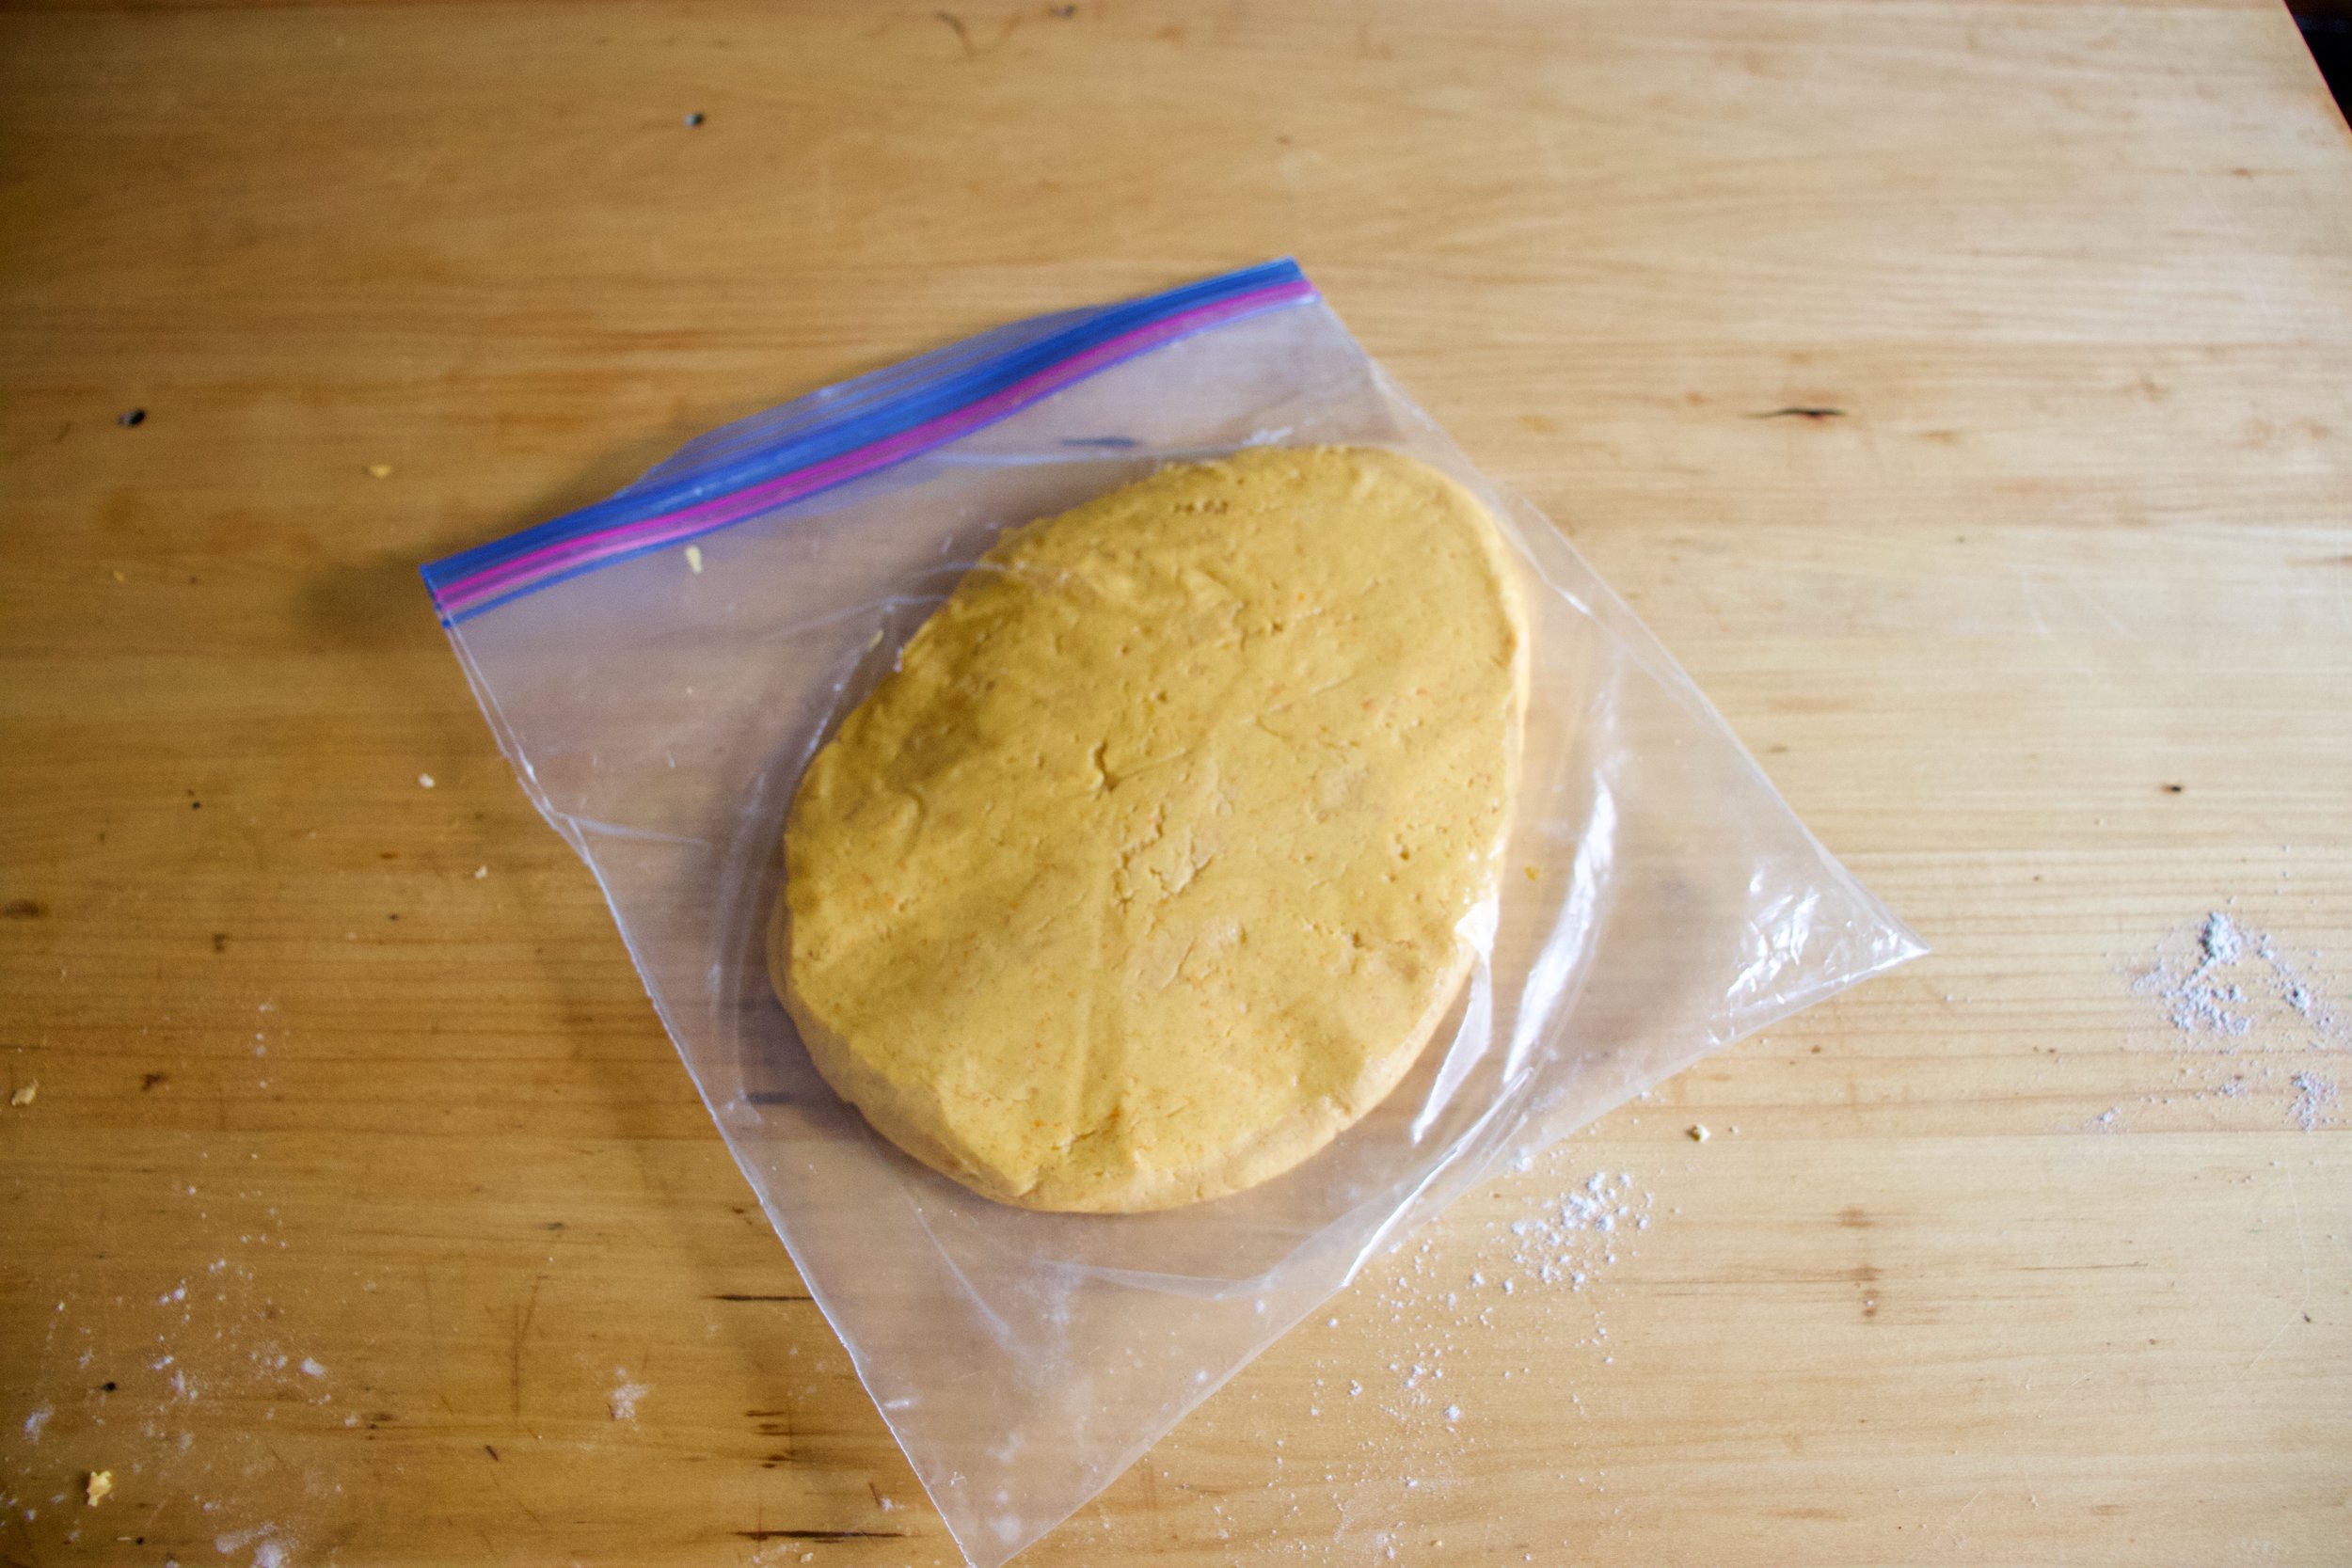
Gnocchi dough.

Cut off a potion of the dough, roll it into a rope about an inch thick, then cut into inch long pieces.

IMG_9354.jpg

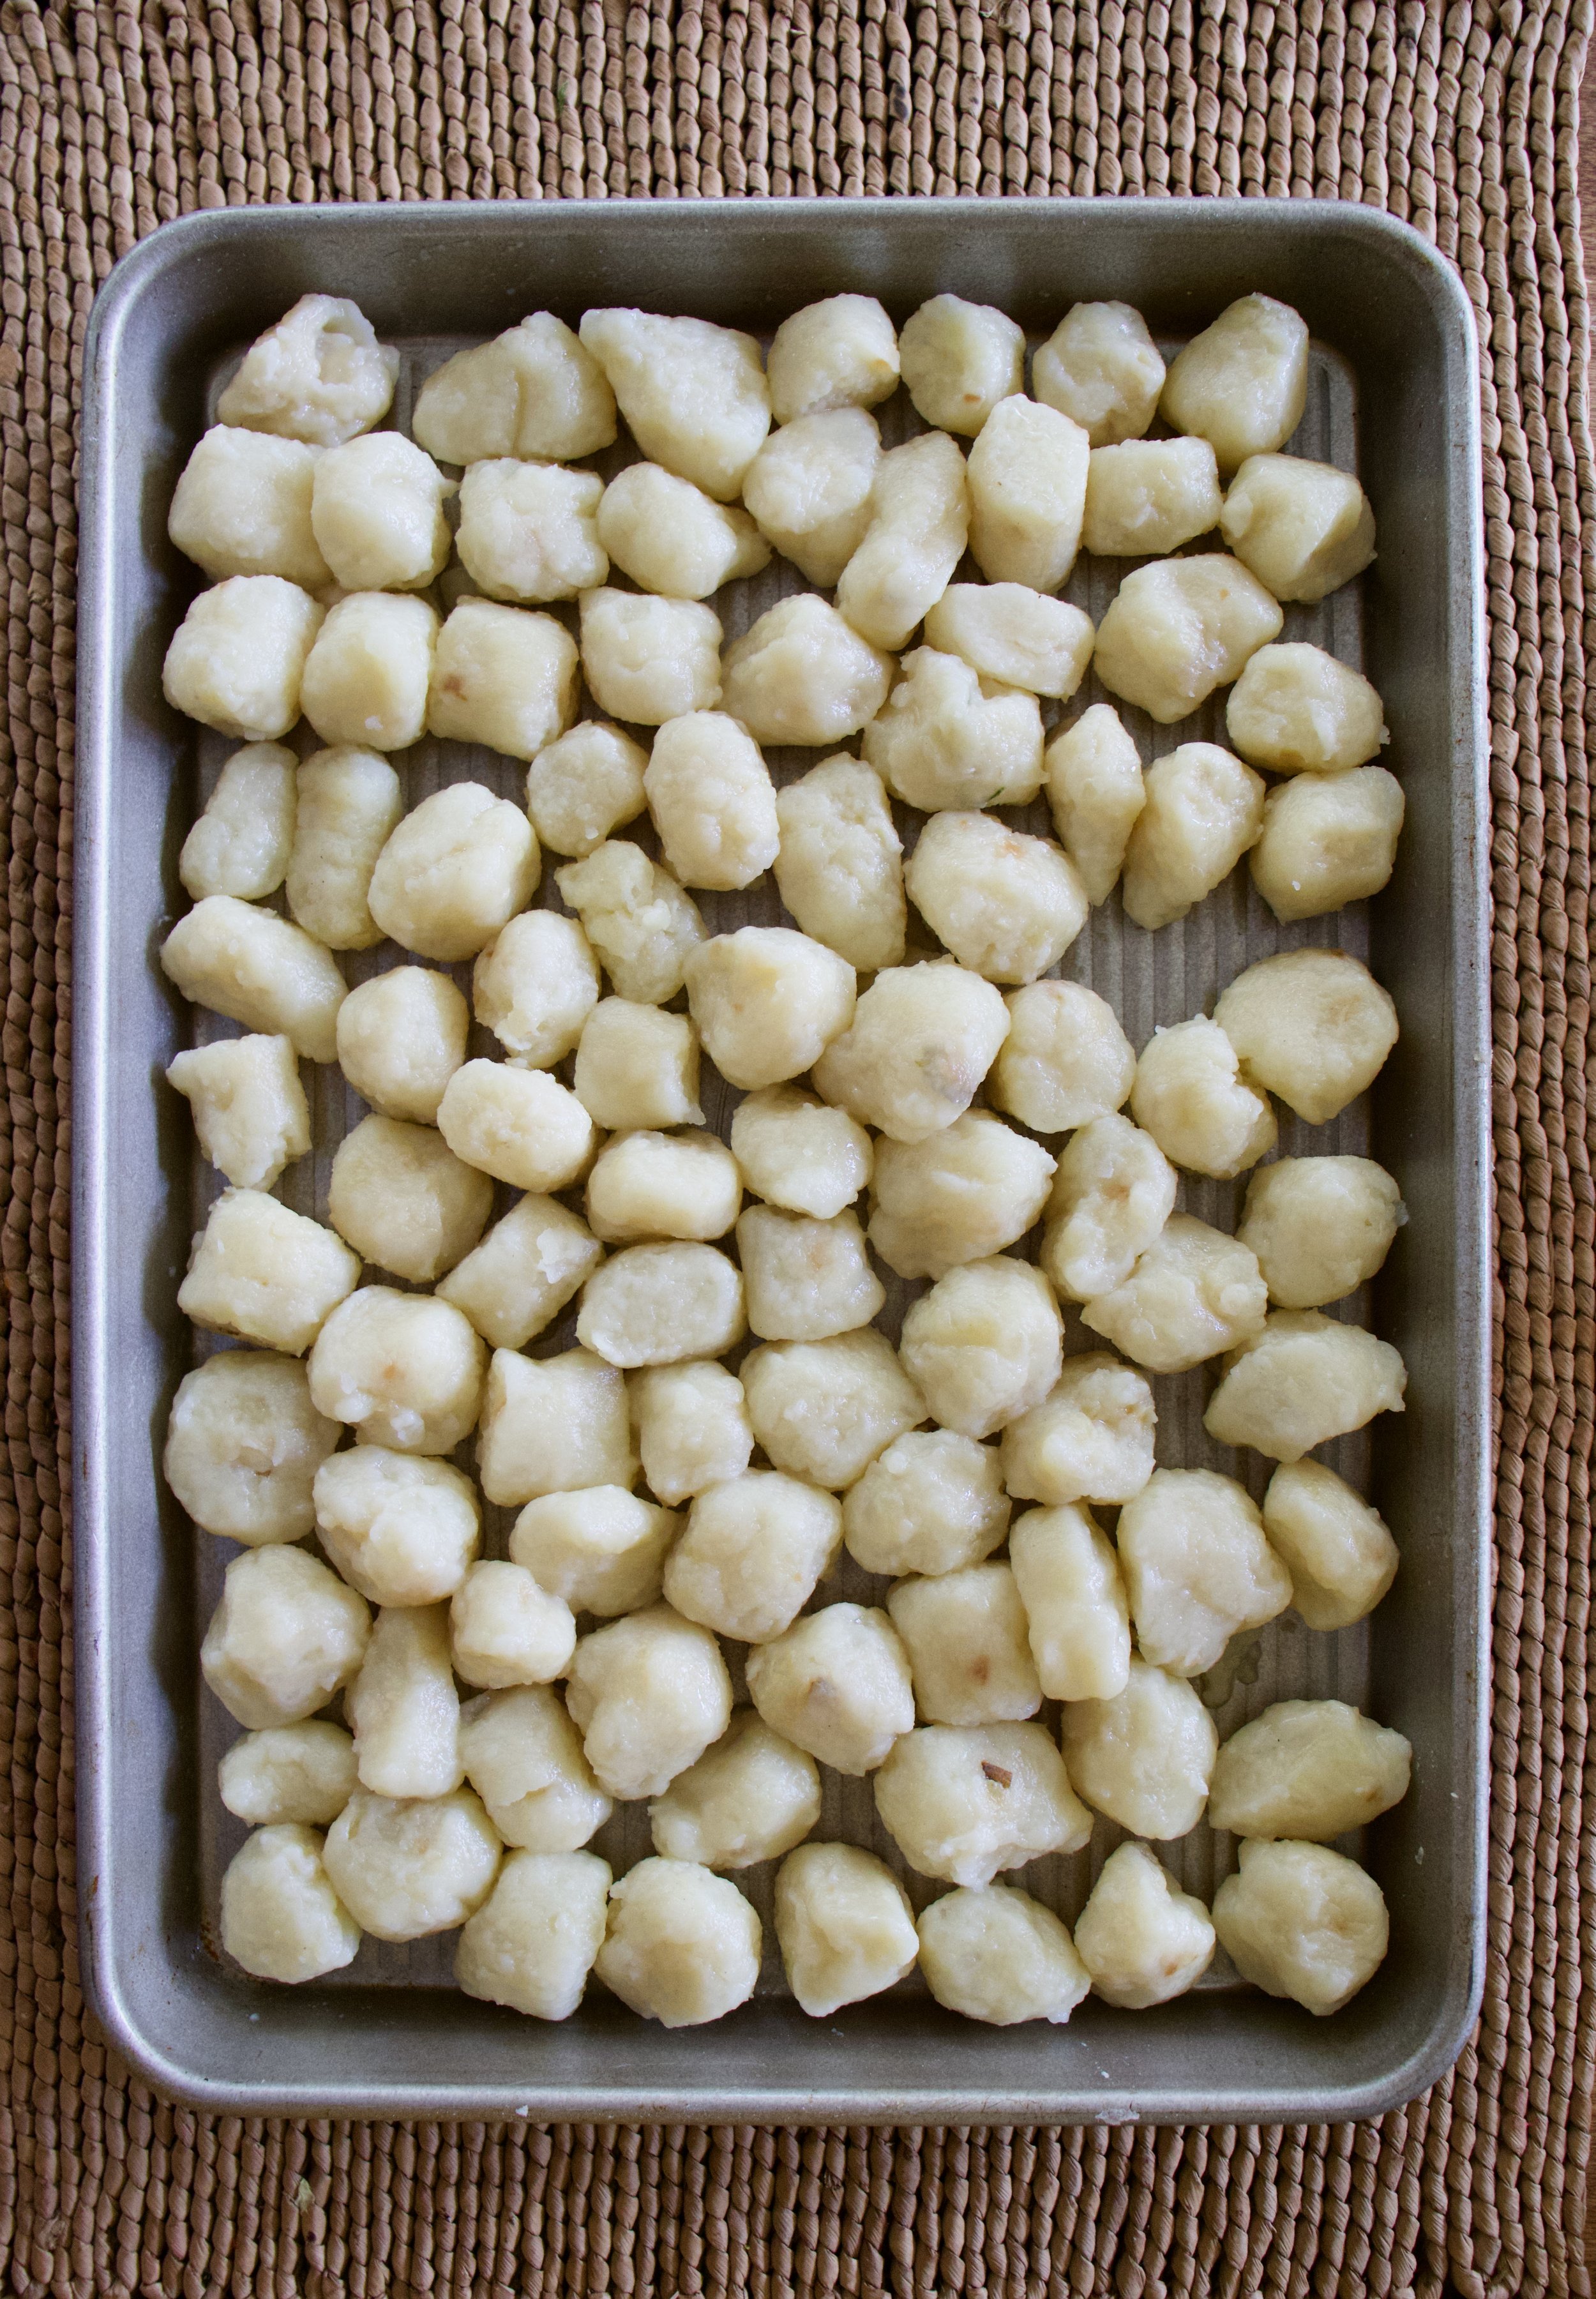
To cook gnocchi. Bring a big pot of water to a boil and carefully drop in a handful of gnocchi into the water. They are gonna sink, but after a minute or two they start to float. Once floating, remove them from the pot with a slotted spoon and place them on a lightly oiled baking sheet. Repeat until all the gnocchi are cooked.

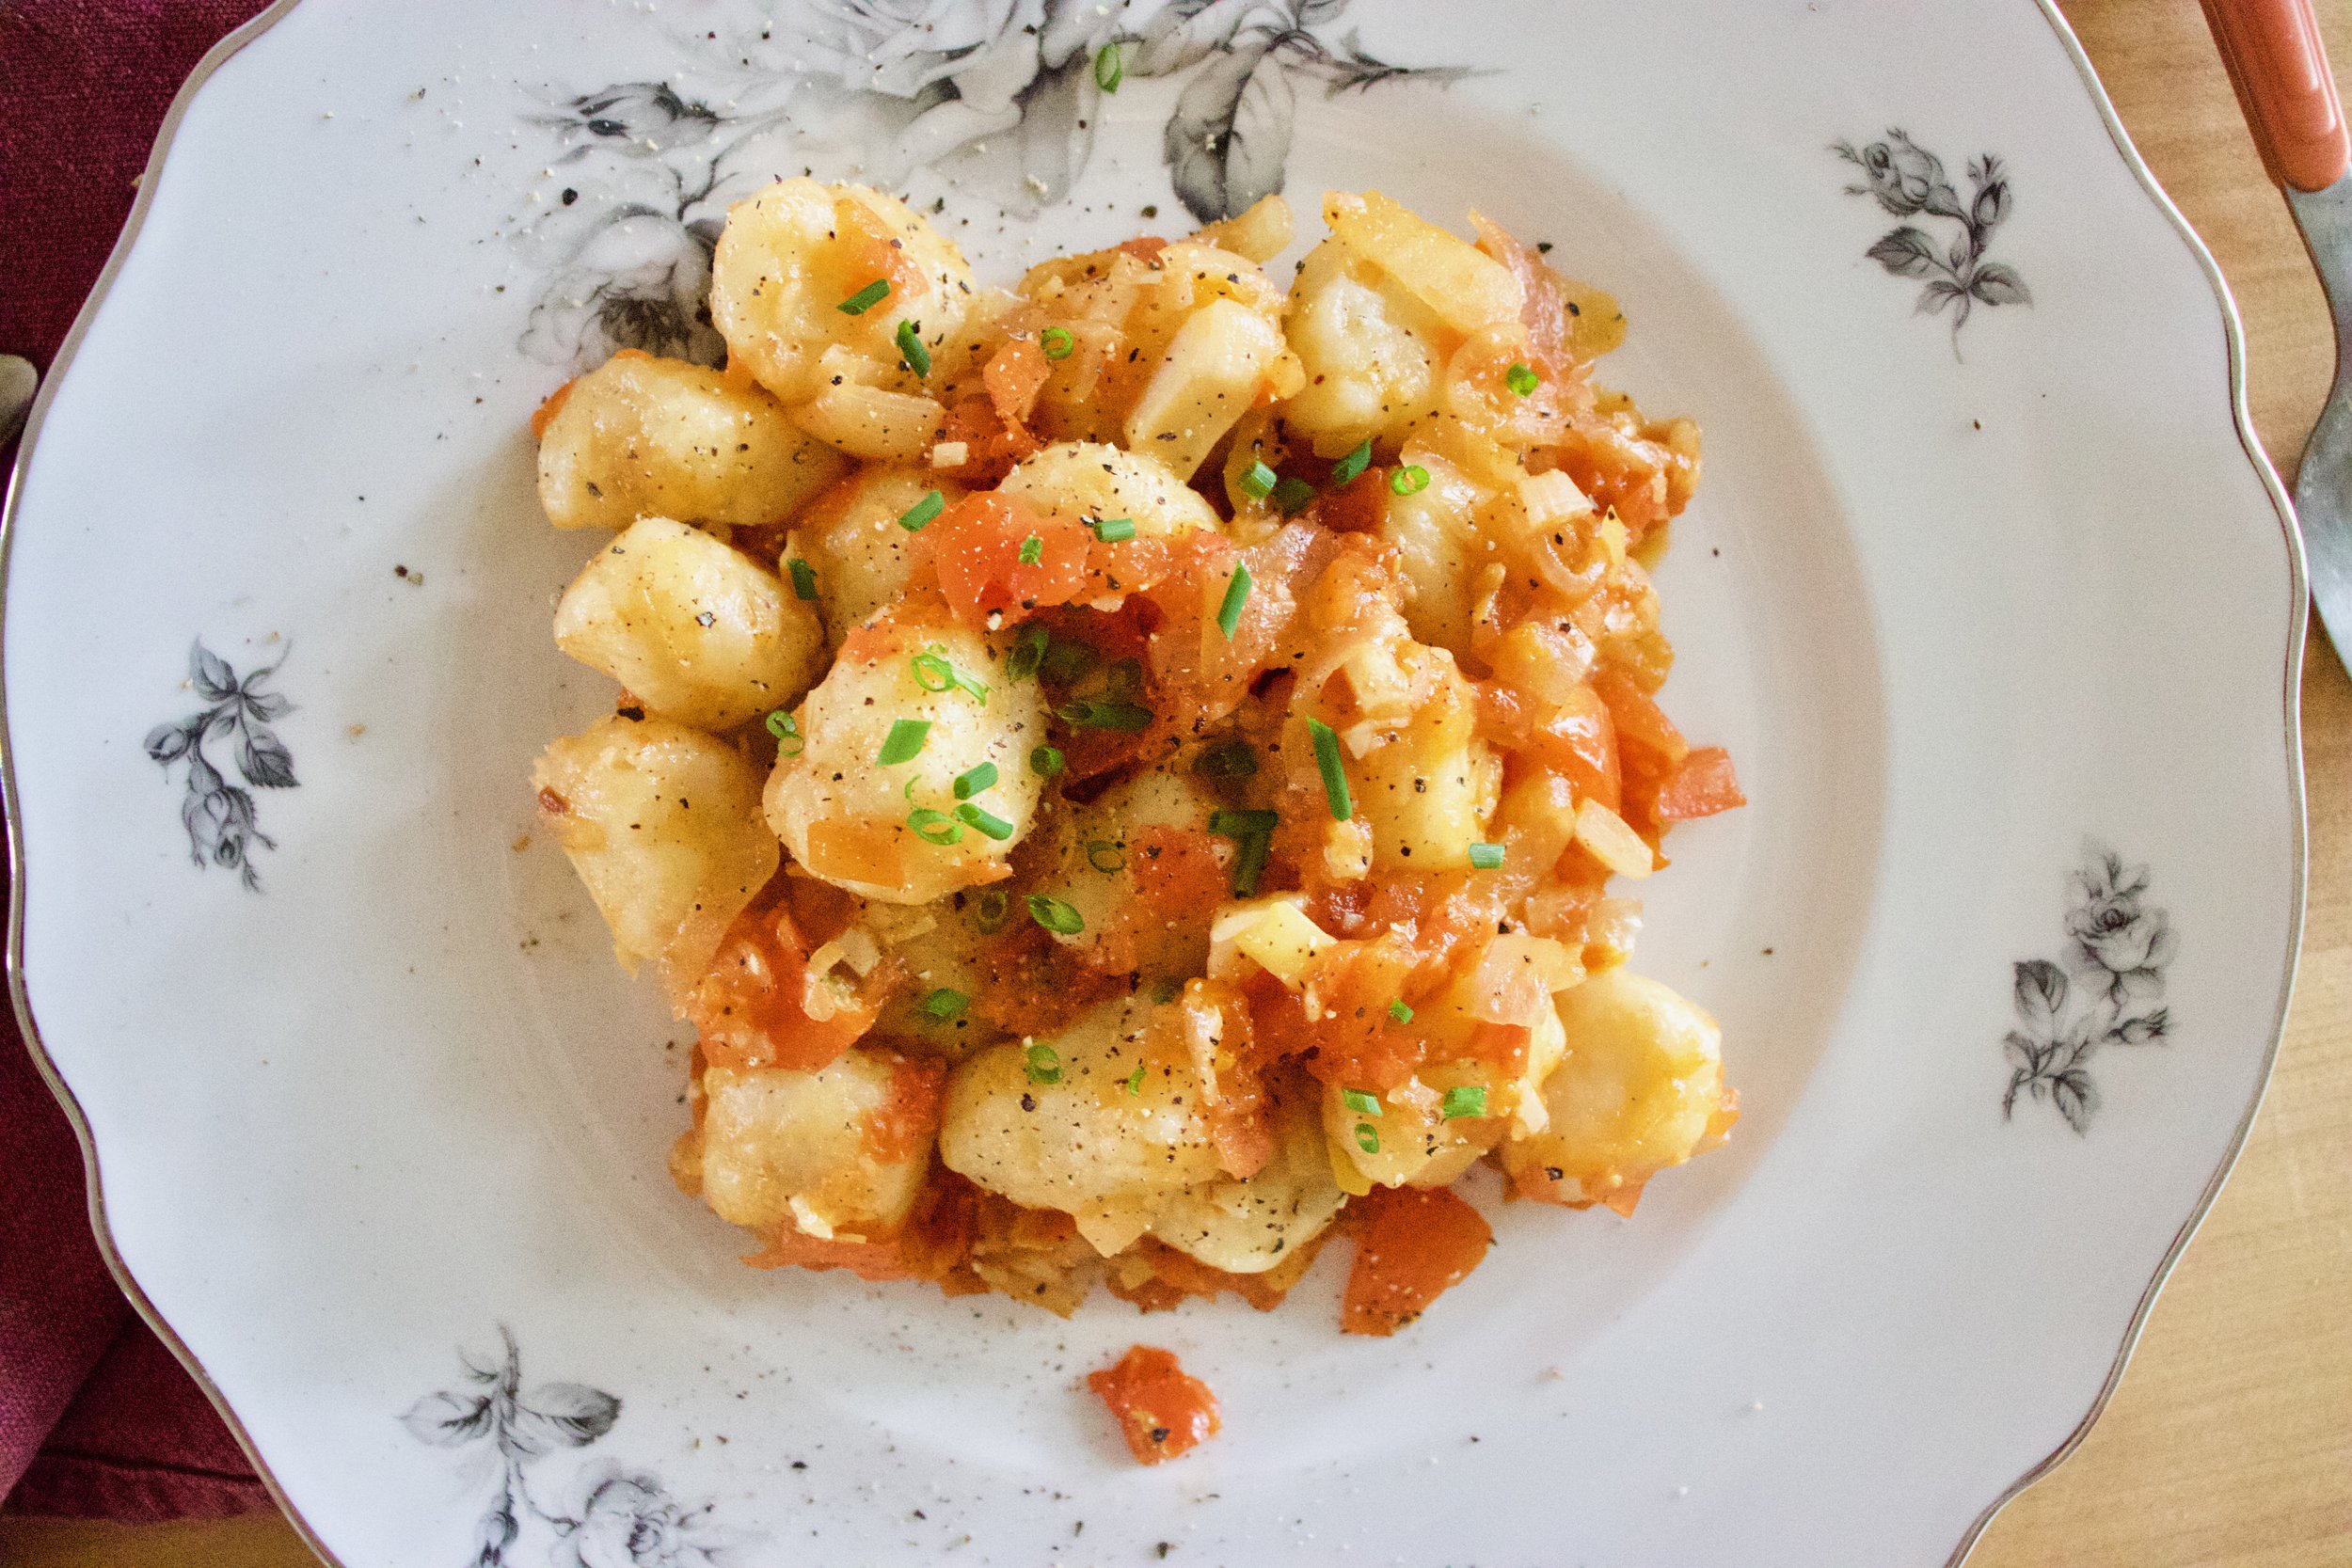
Cooked and ready… Ready for what? For anything you want but these are going into a tomato and onion situation.

IMG_9377.jpg
IMG_9378.jpg
IMG_9379.jpg
IMG_9389.jpg

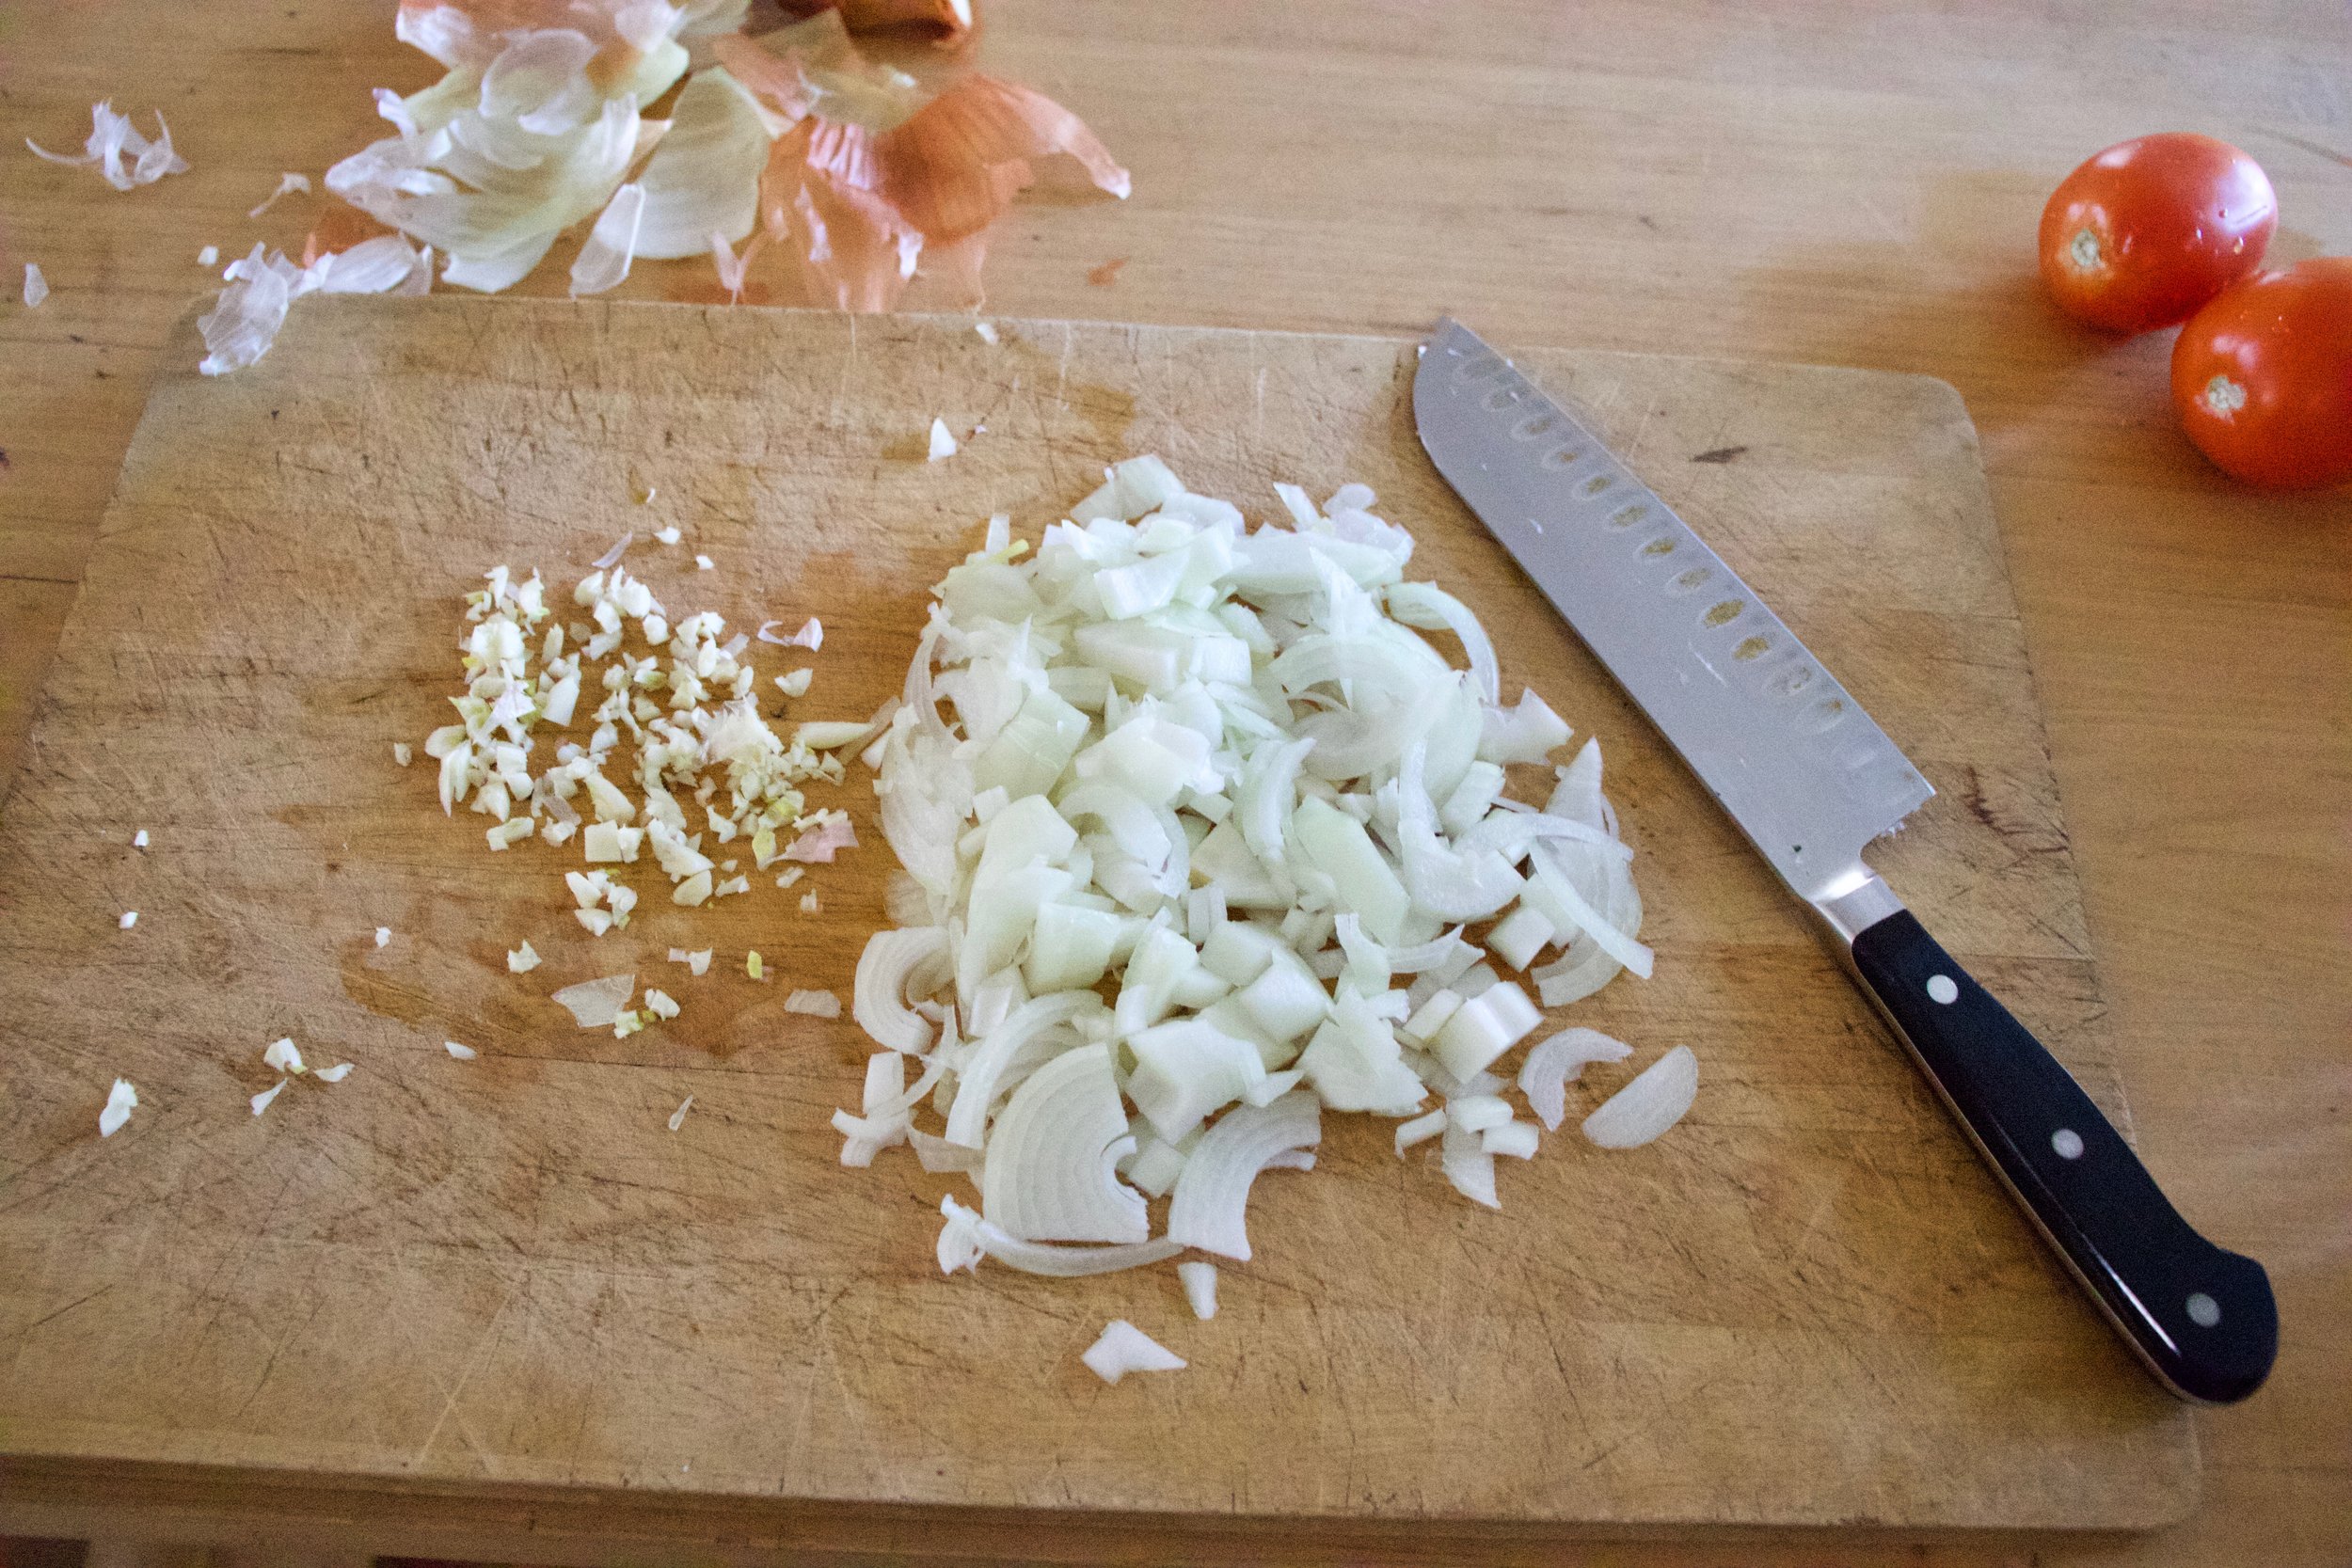
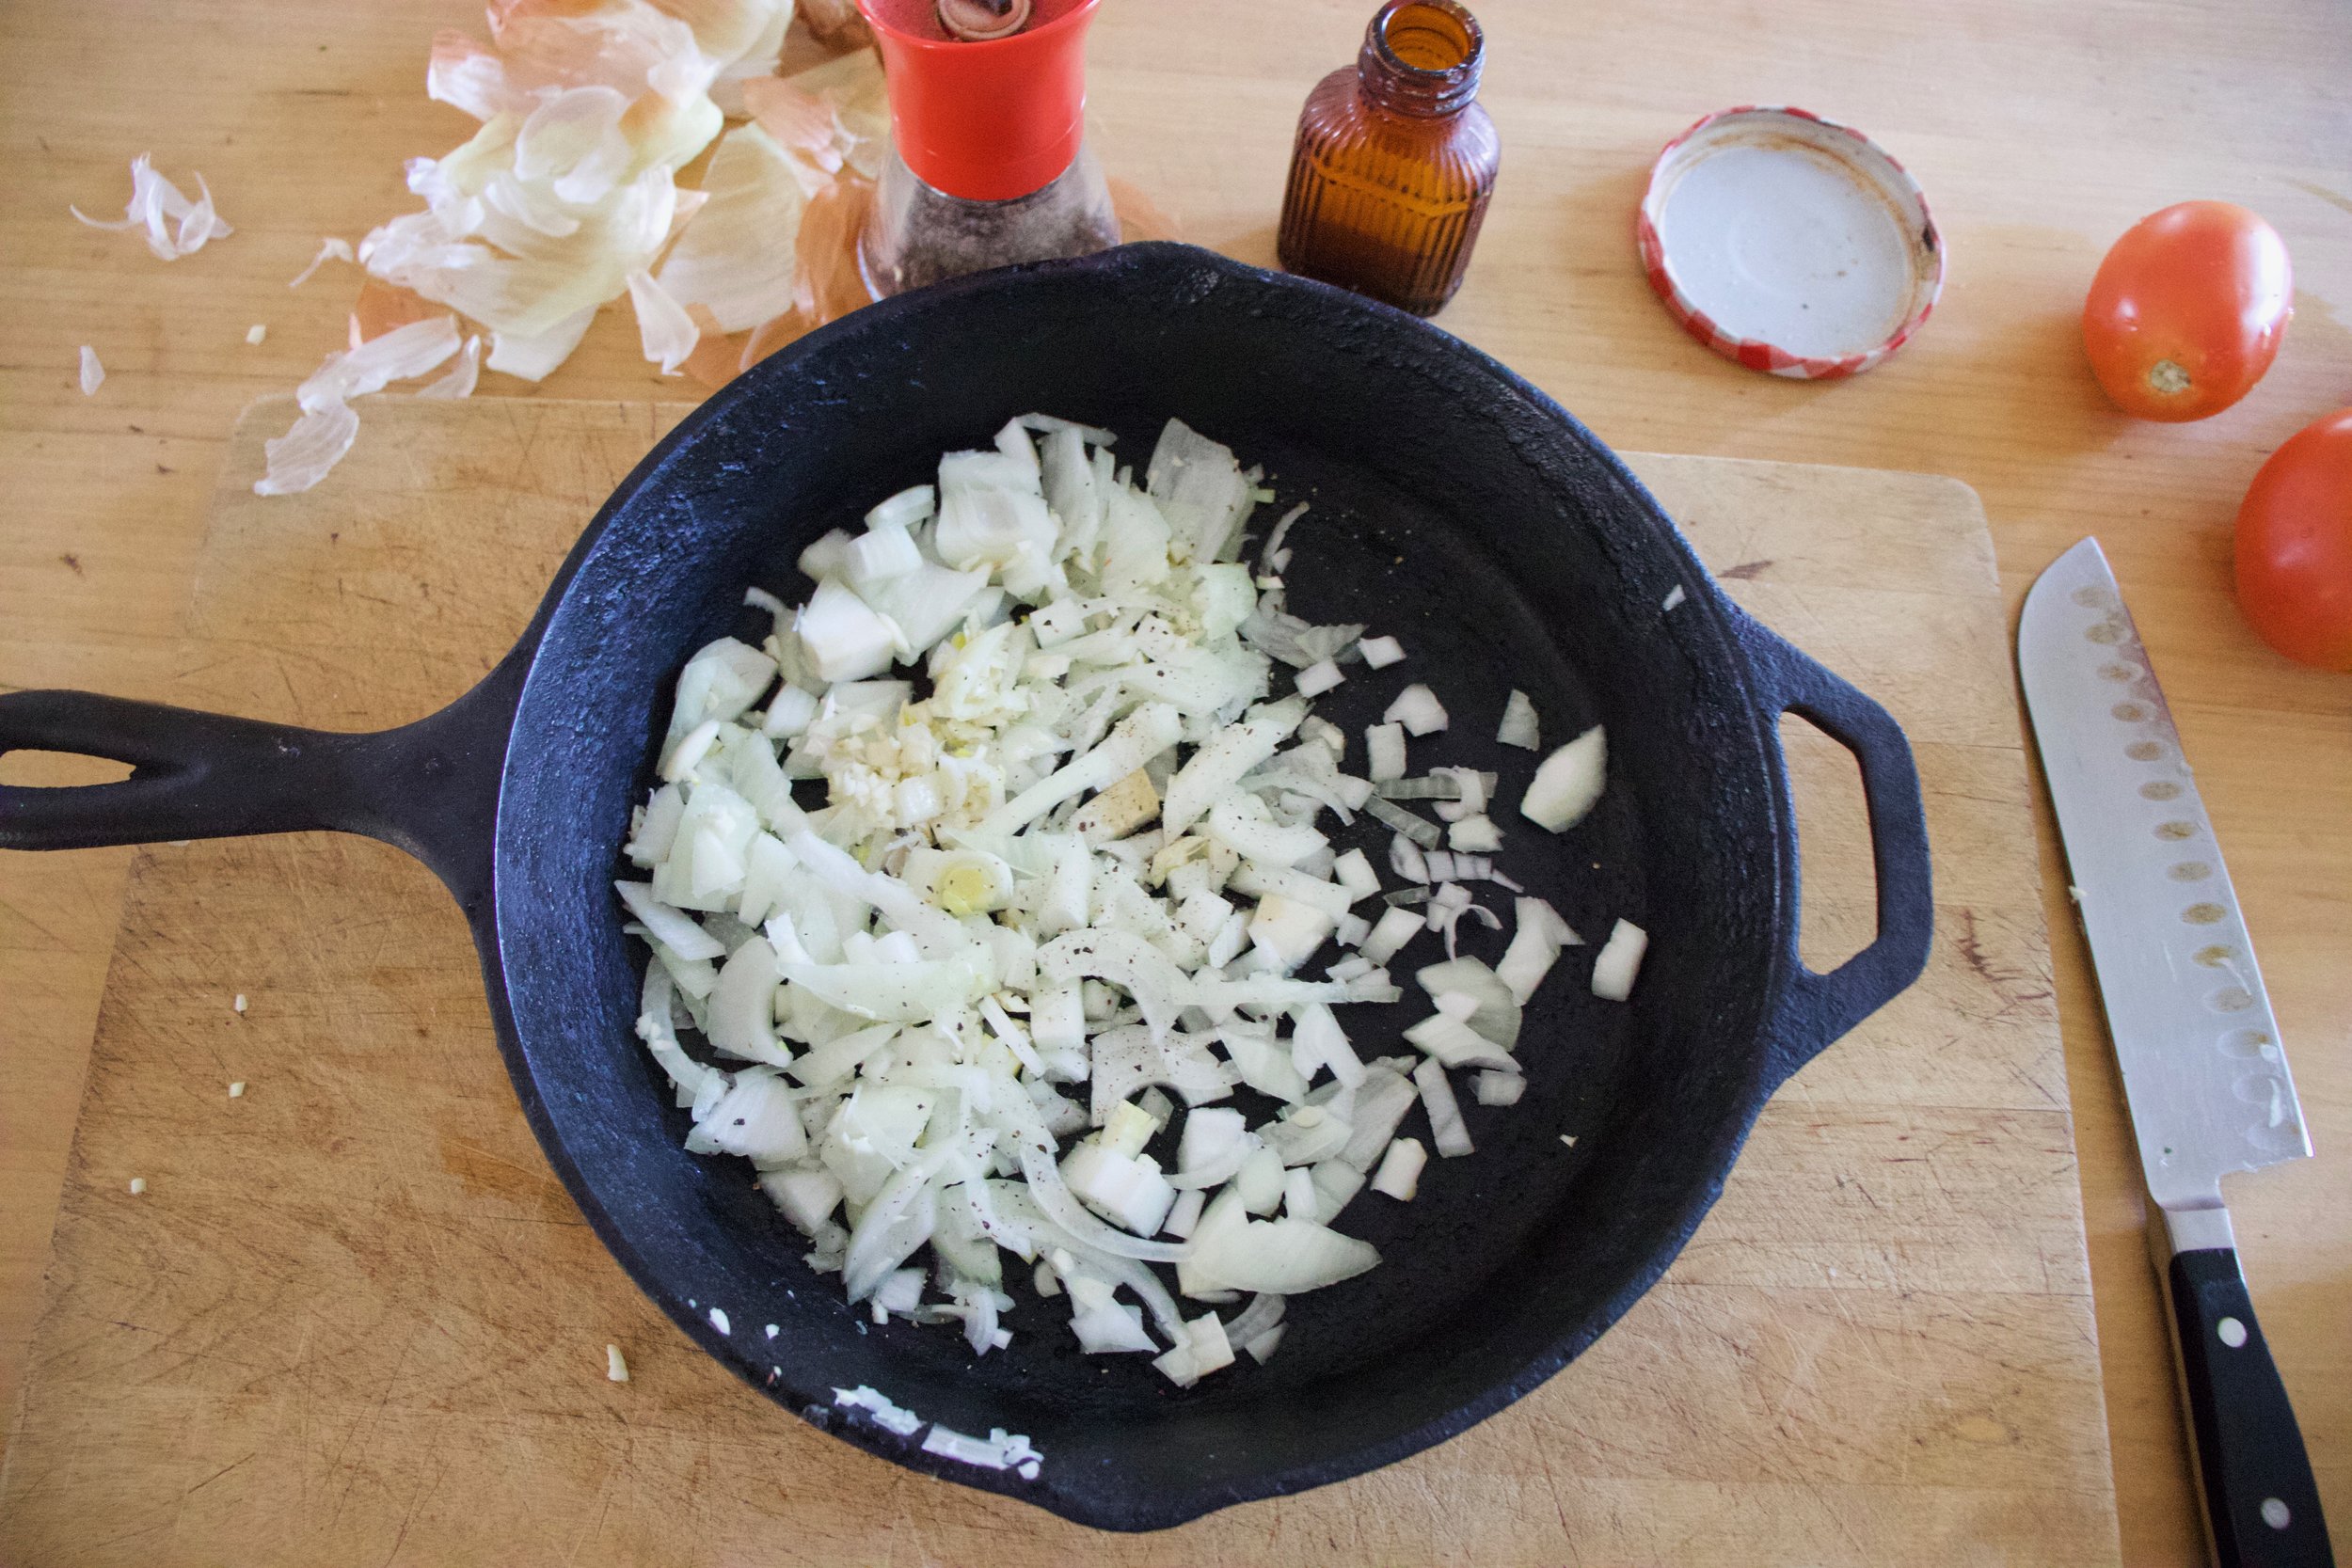
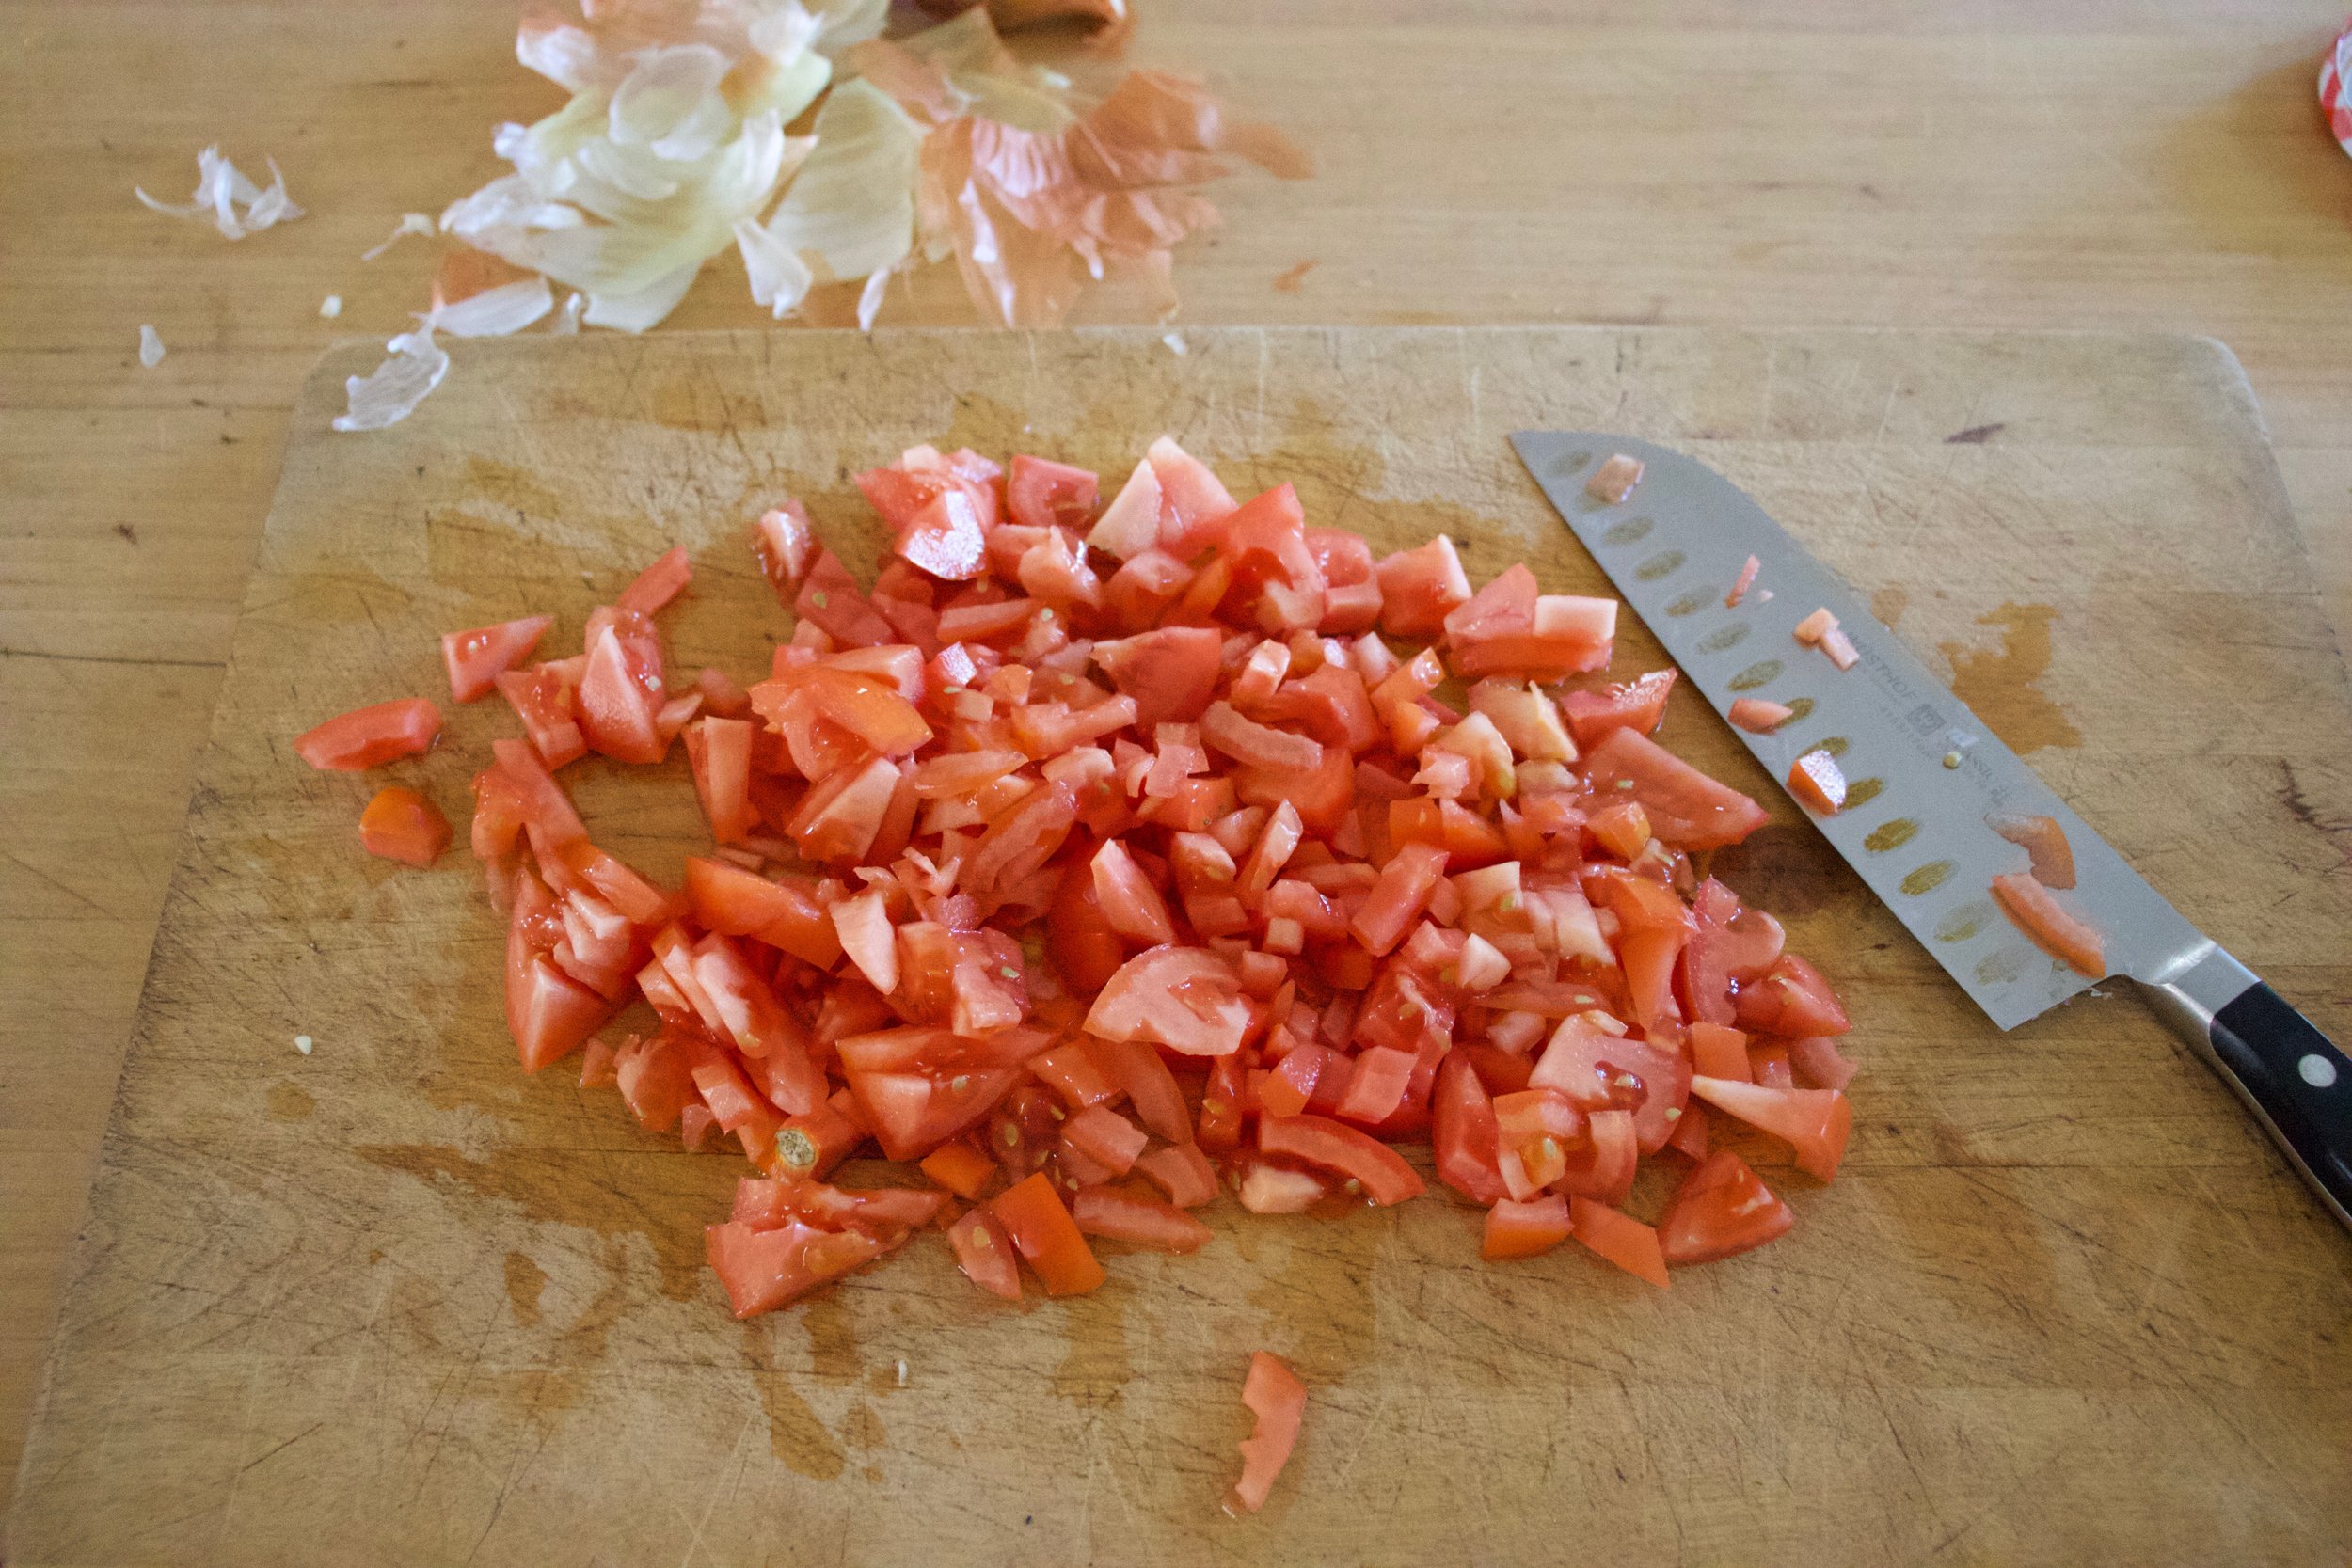
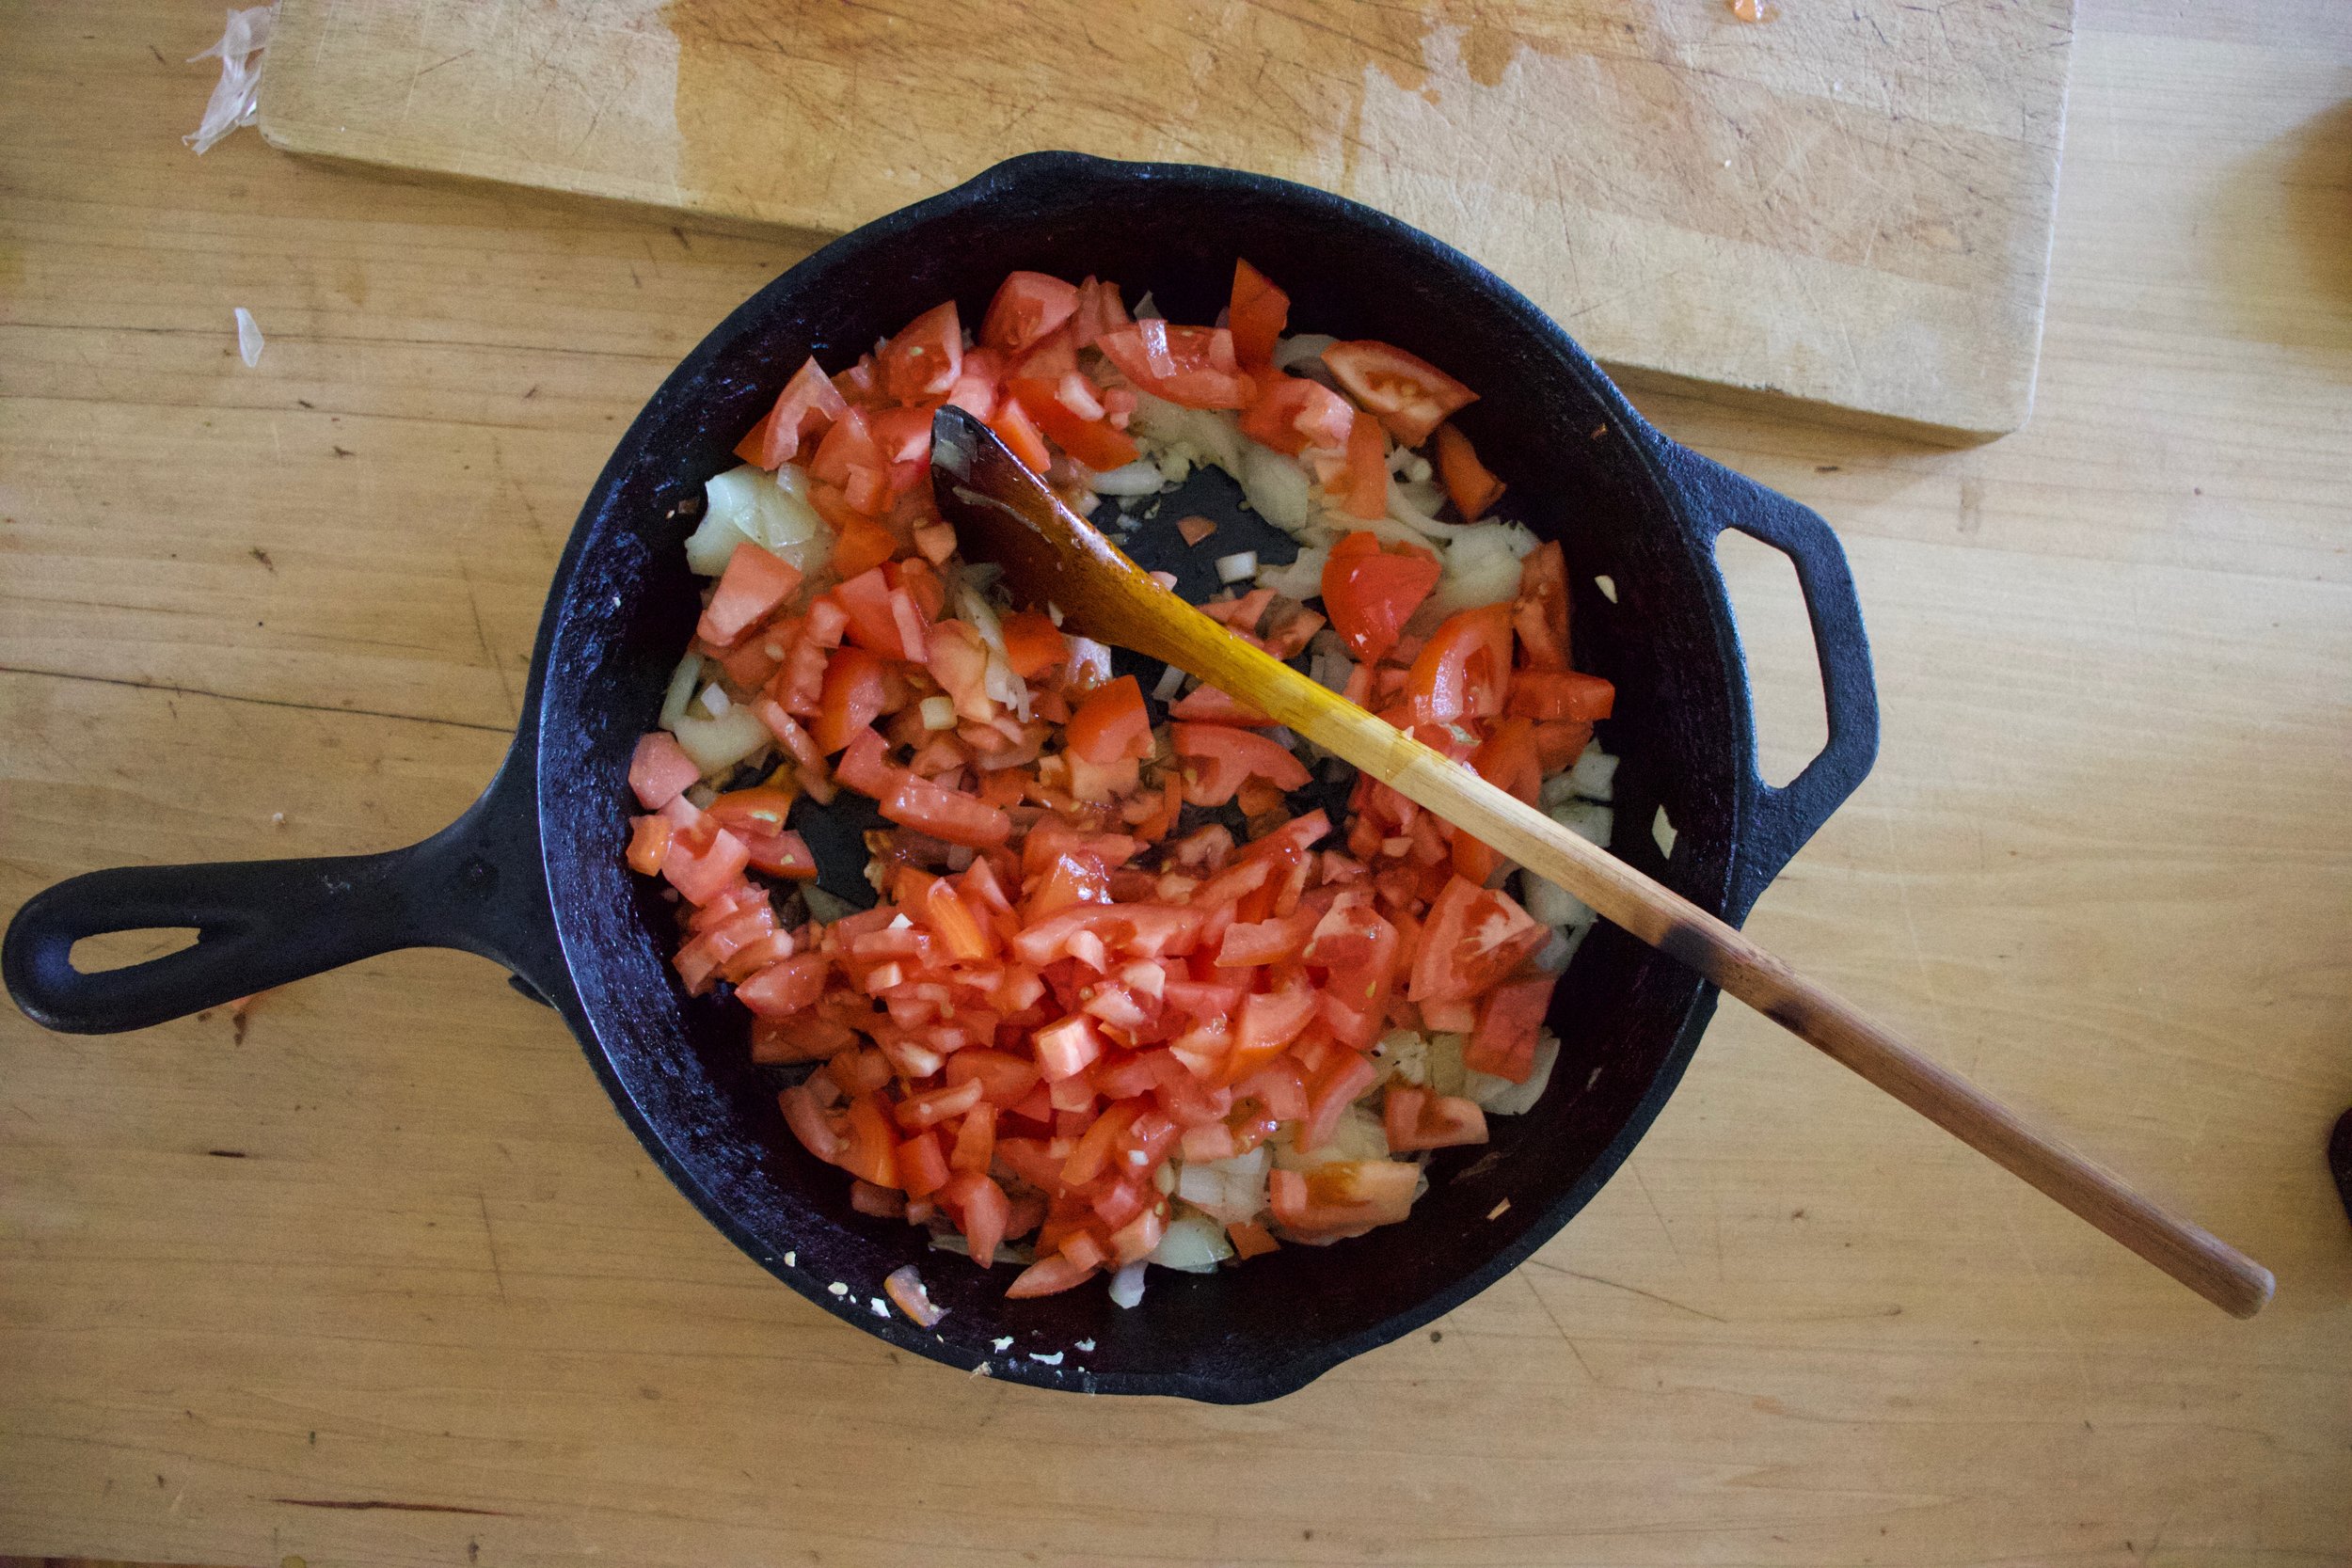
Mince garlic and dice tomatoes and place into skillet with a good pinch of salt and a splash of olive oil. Place on stove and cook until slightly tender. Dice up tomatoes into small chunks and add to skillet along with a cup of water (if you have gnocchi water, use that) Turn heat up and cook until mixture start to bubble, then turn heat down to low and cook until the tomatoes are mushy.

IMG_9406.jpg

Looks good right?

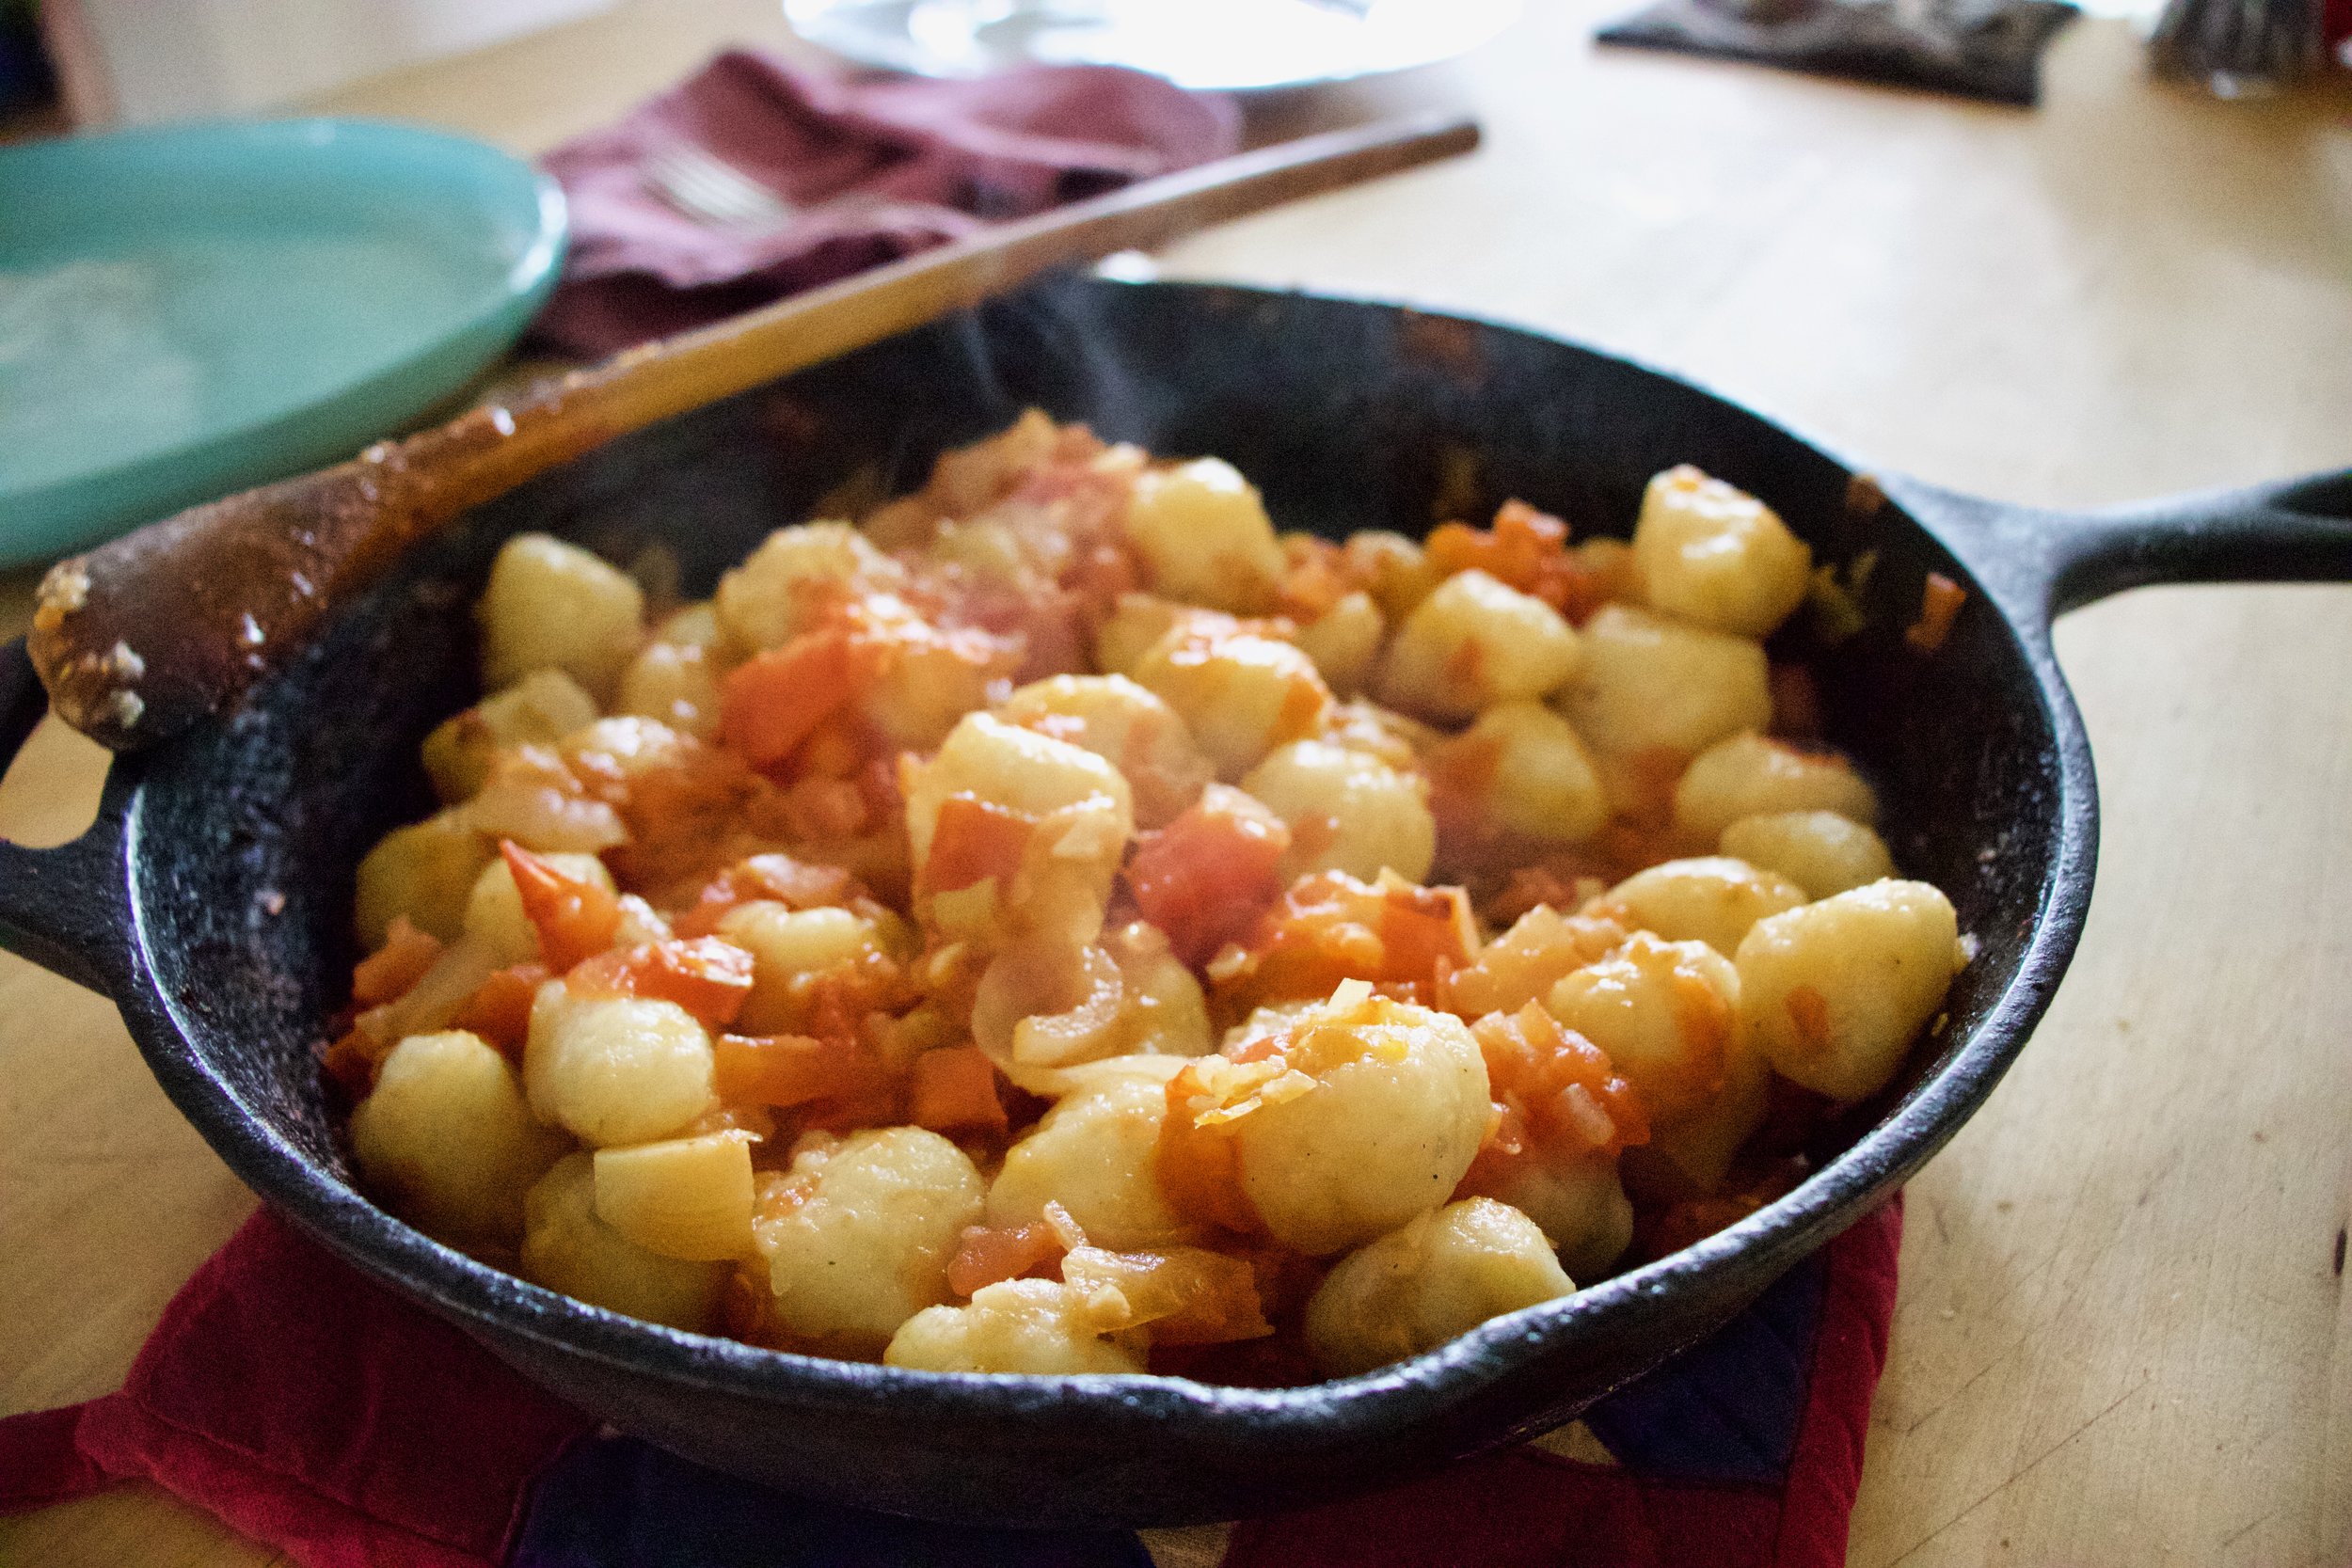
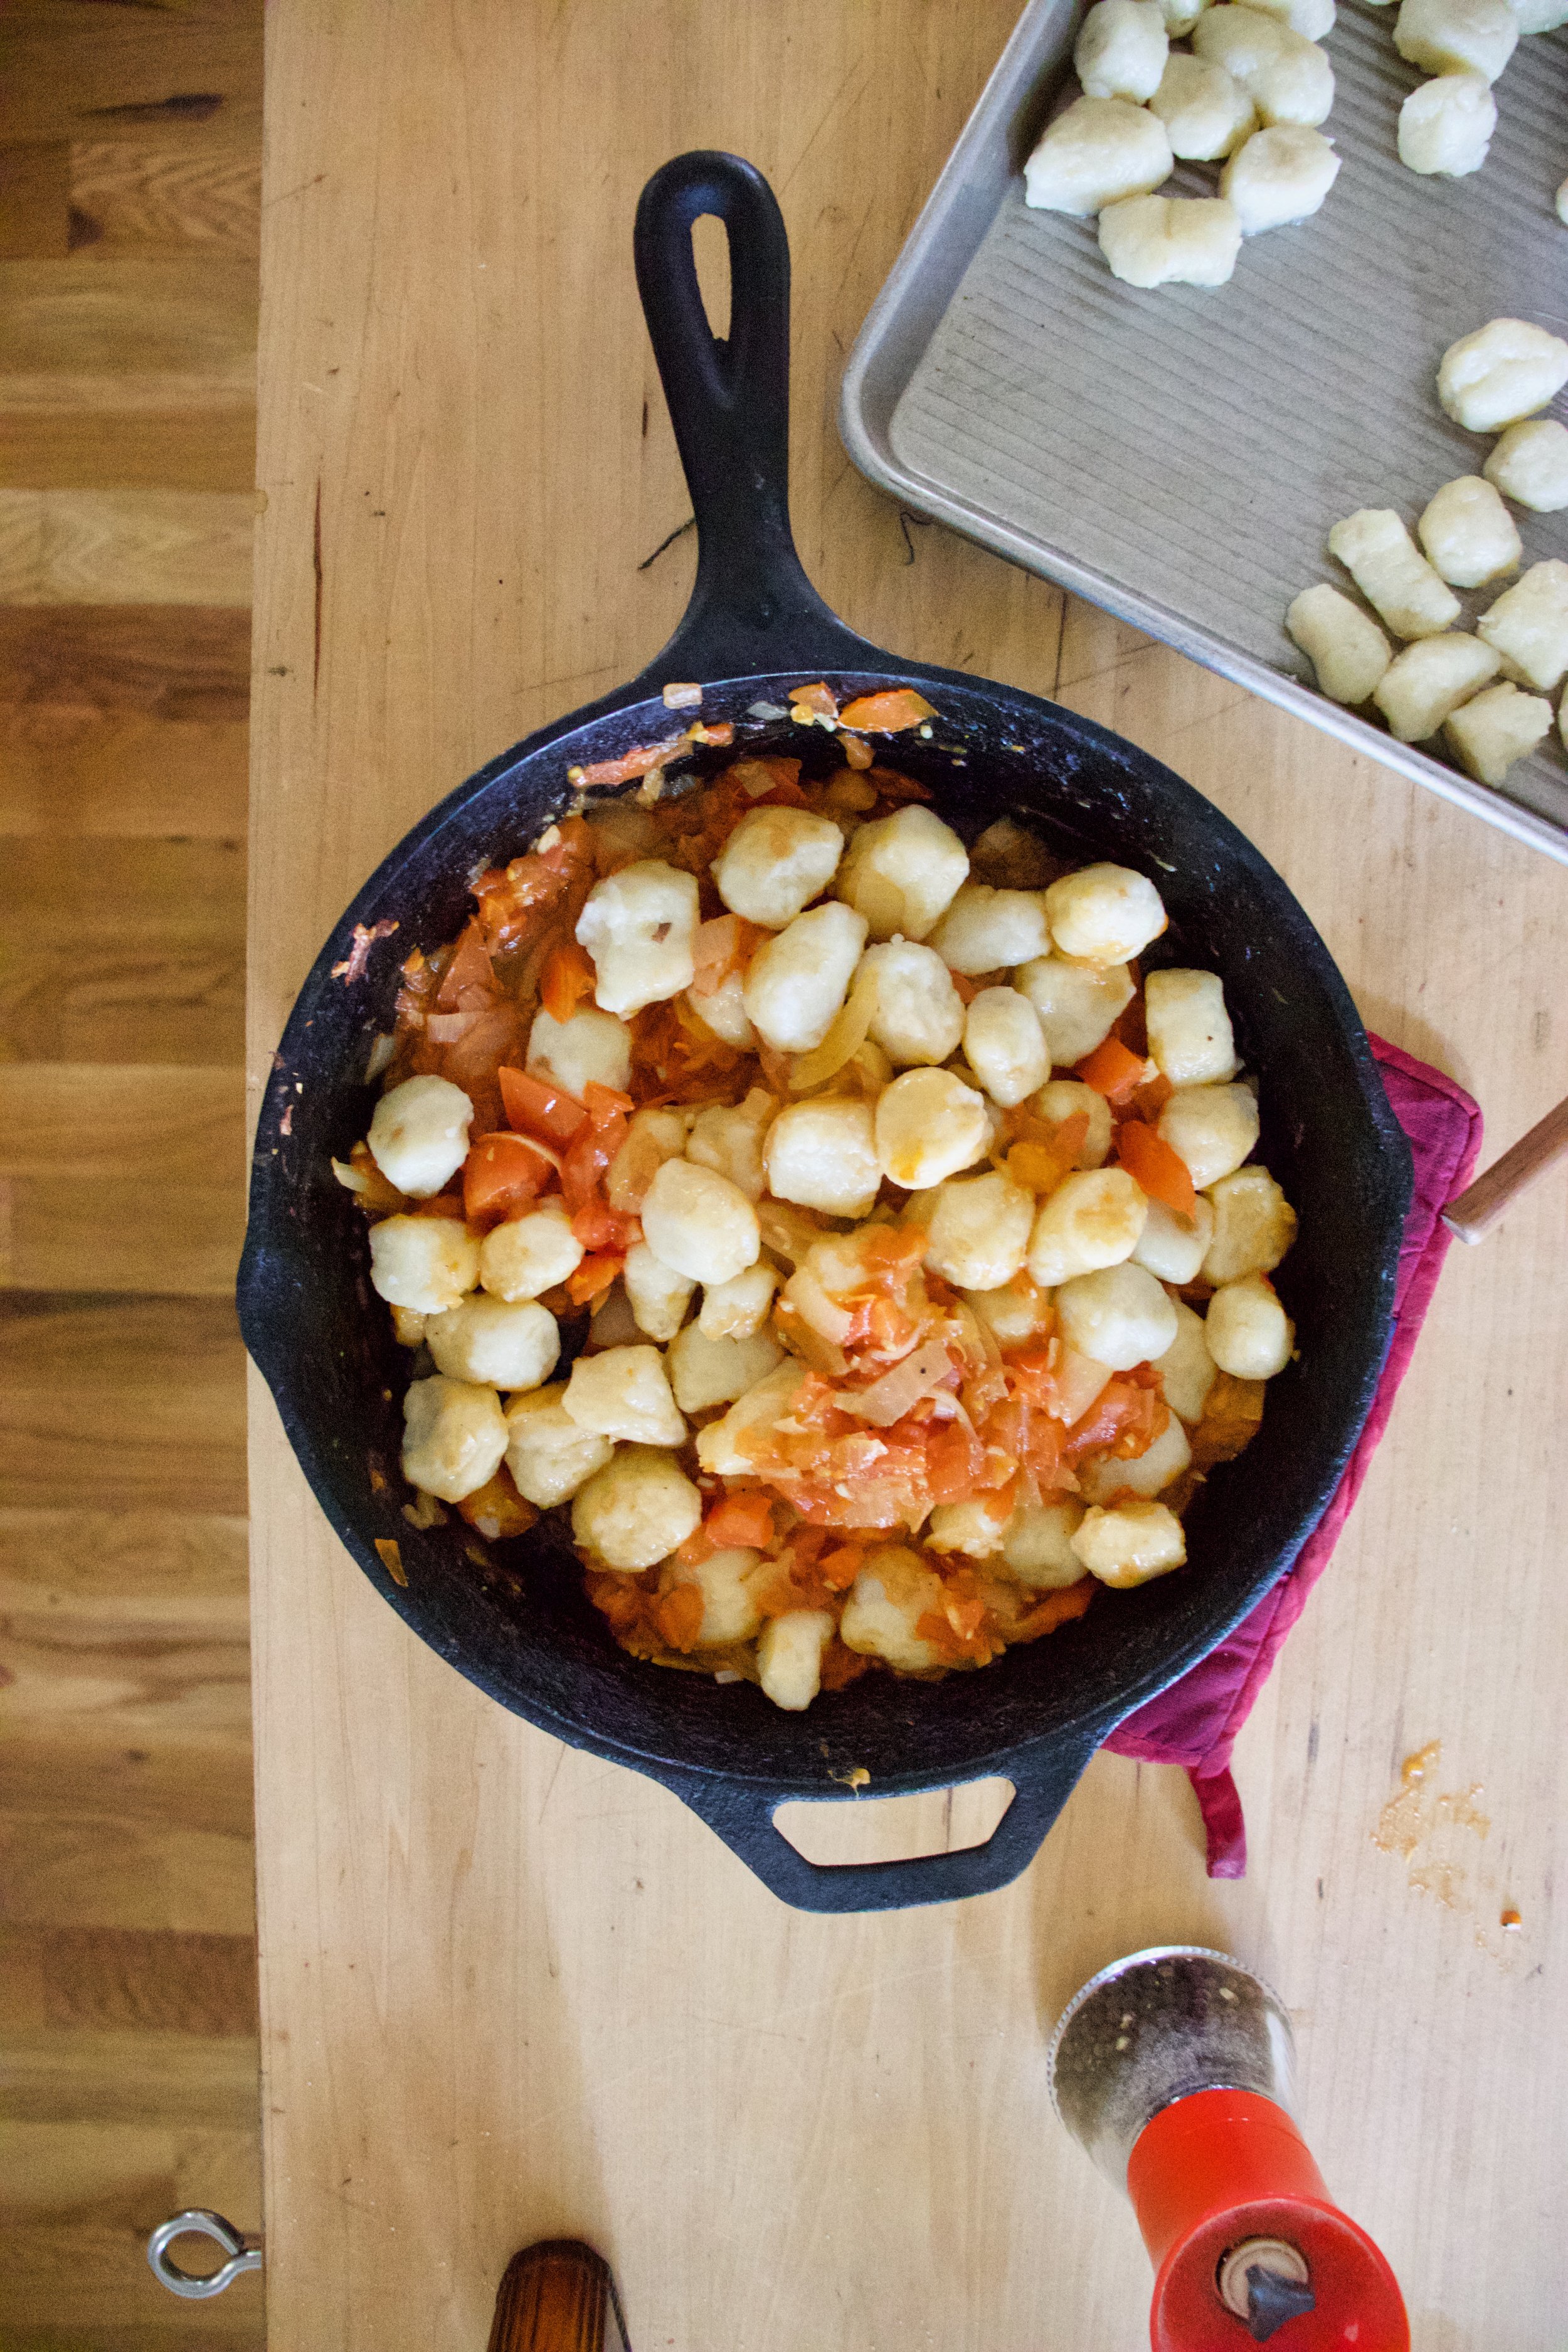
And then drop in gnocchi. Keep on heat until the gnocchi are warmed completely all the way through.

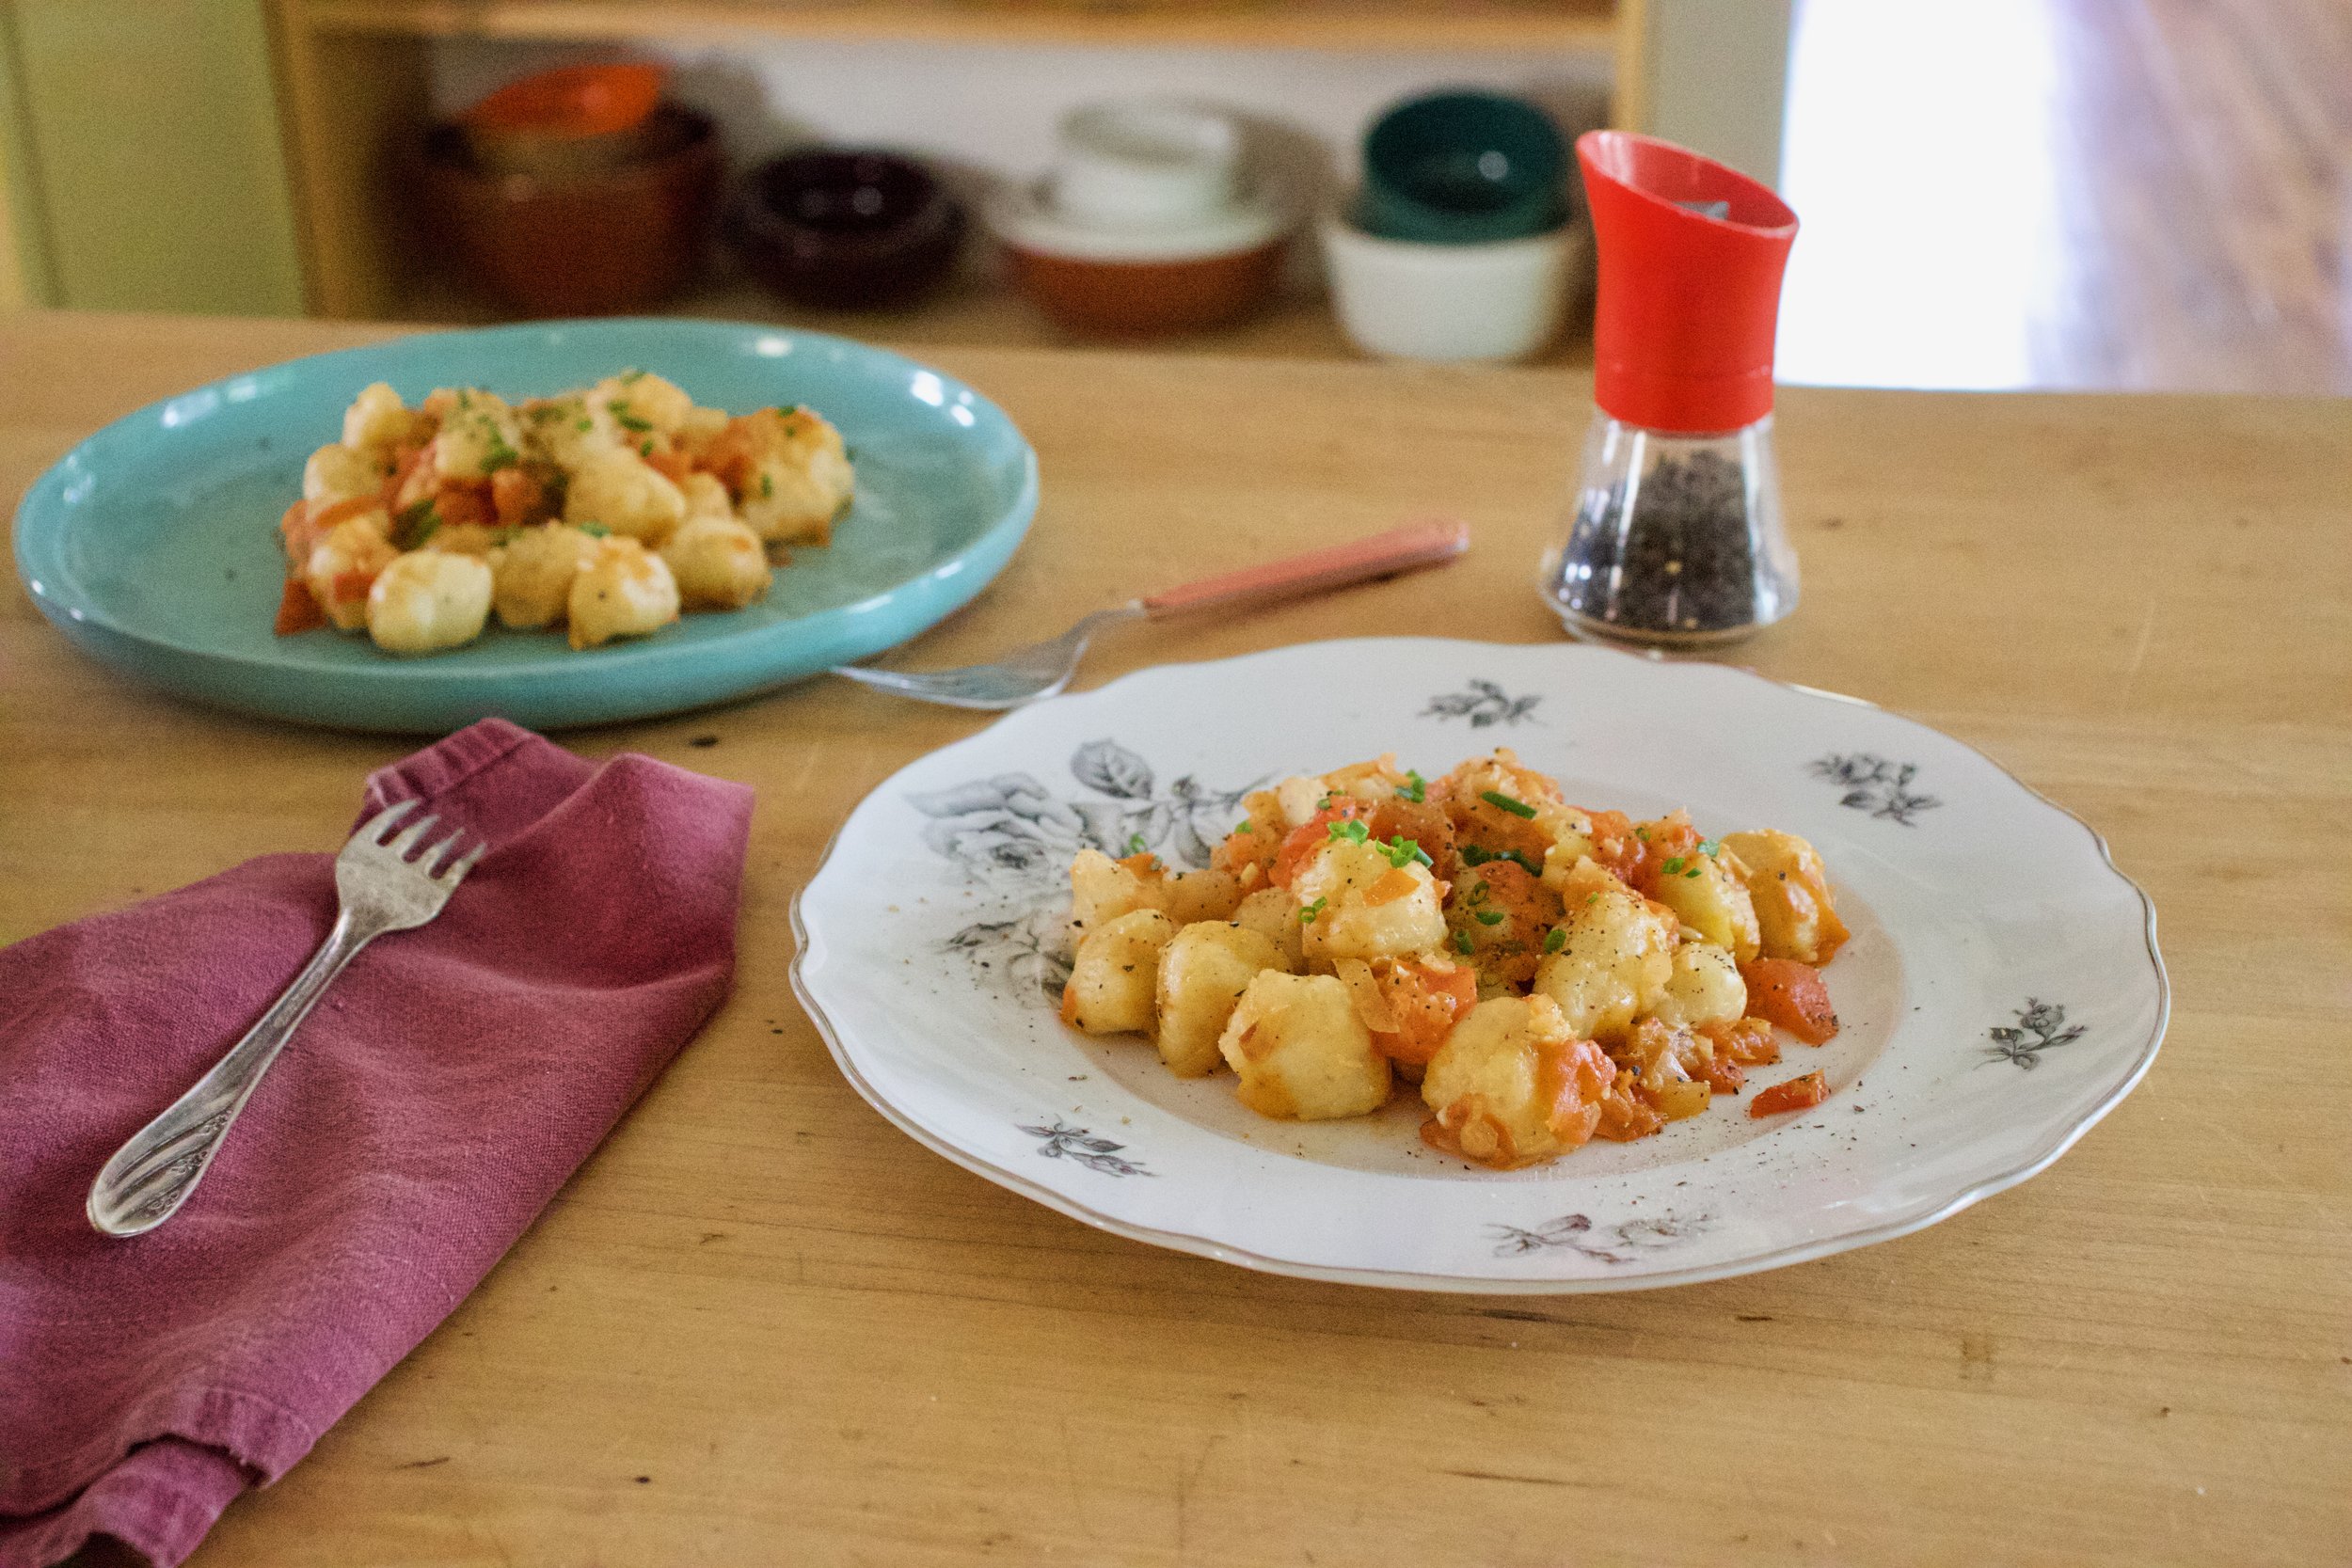
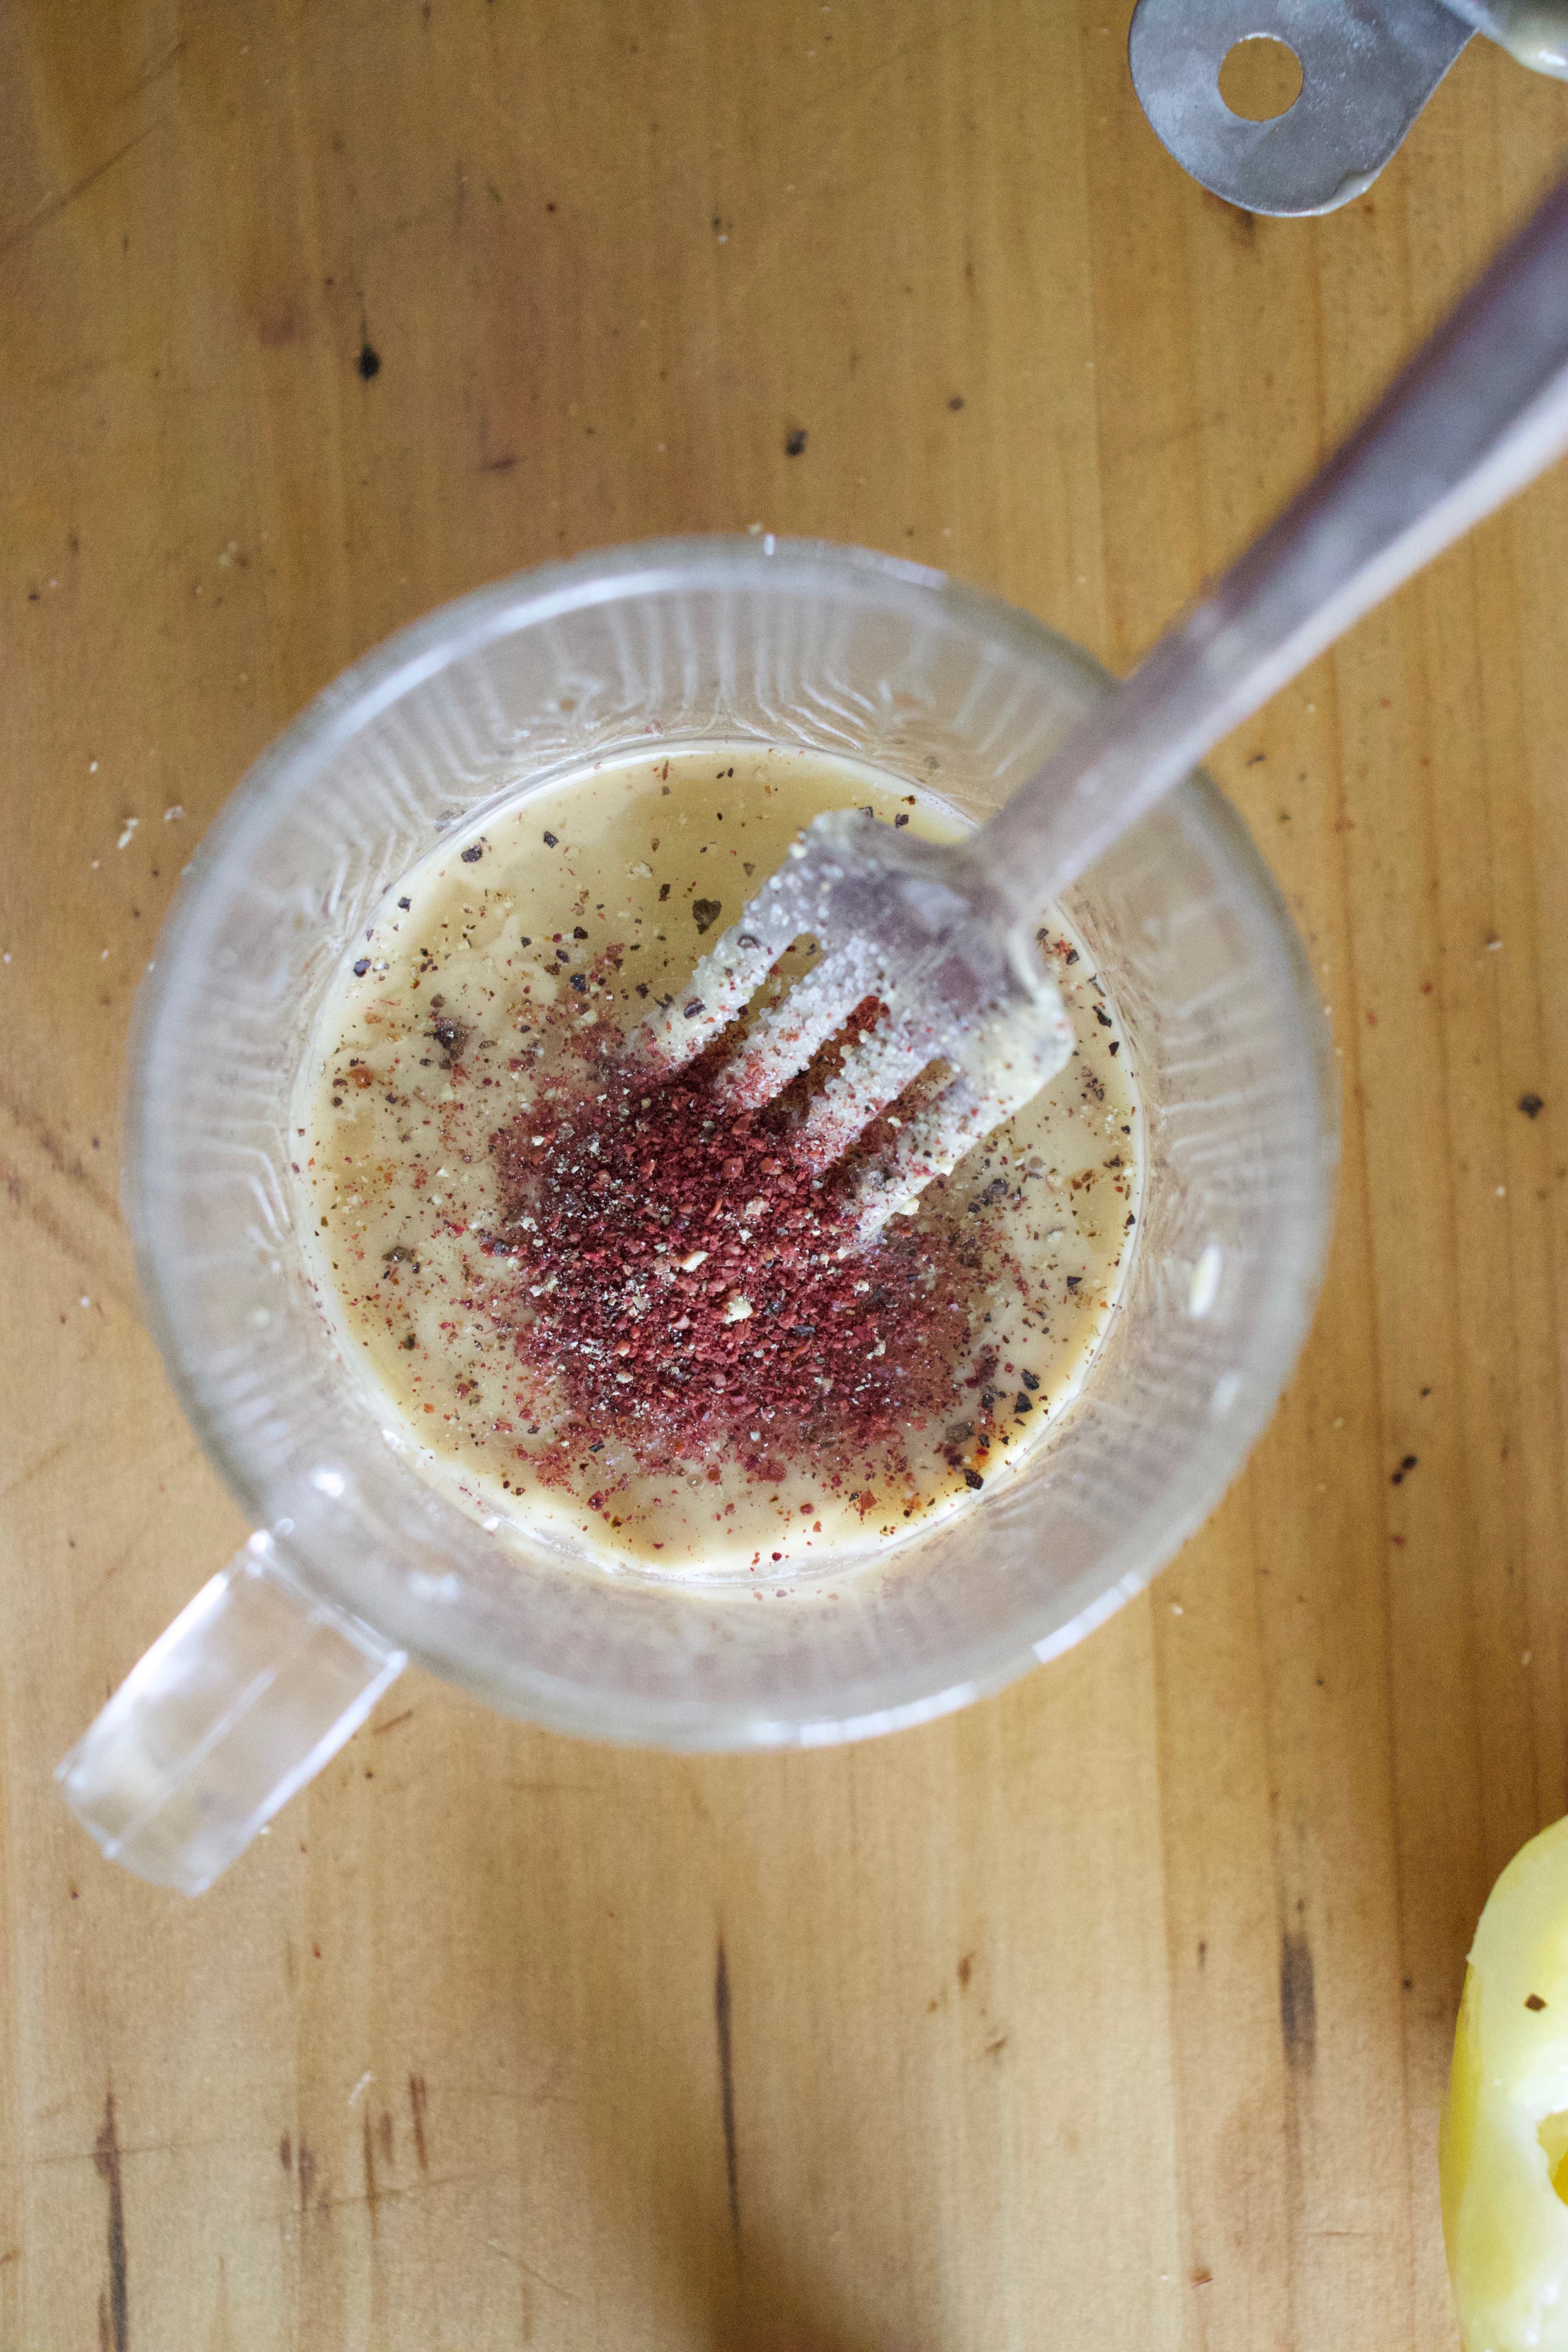
Sprinkle of salt, lots of pepper, and something green if you want to be fancy.

And then you eat them.

-C


Gnocchi with Chunky Tomato and Onion

Makes 3-4 servings

  • 2.5 pounds russet potatoes

  • 2/3 cup of all purpose flour
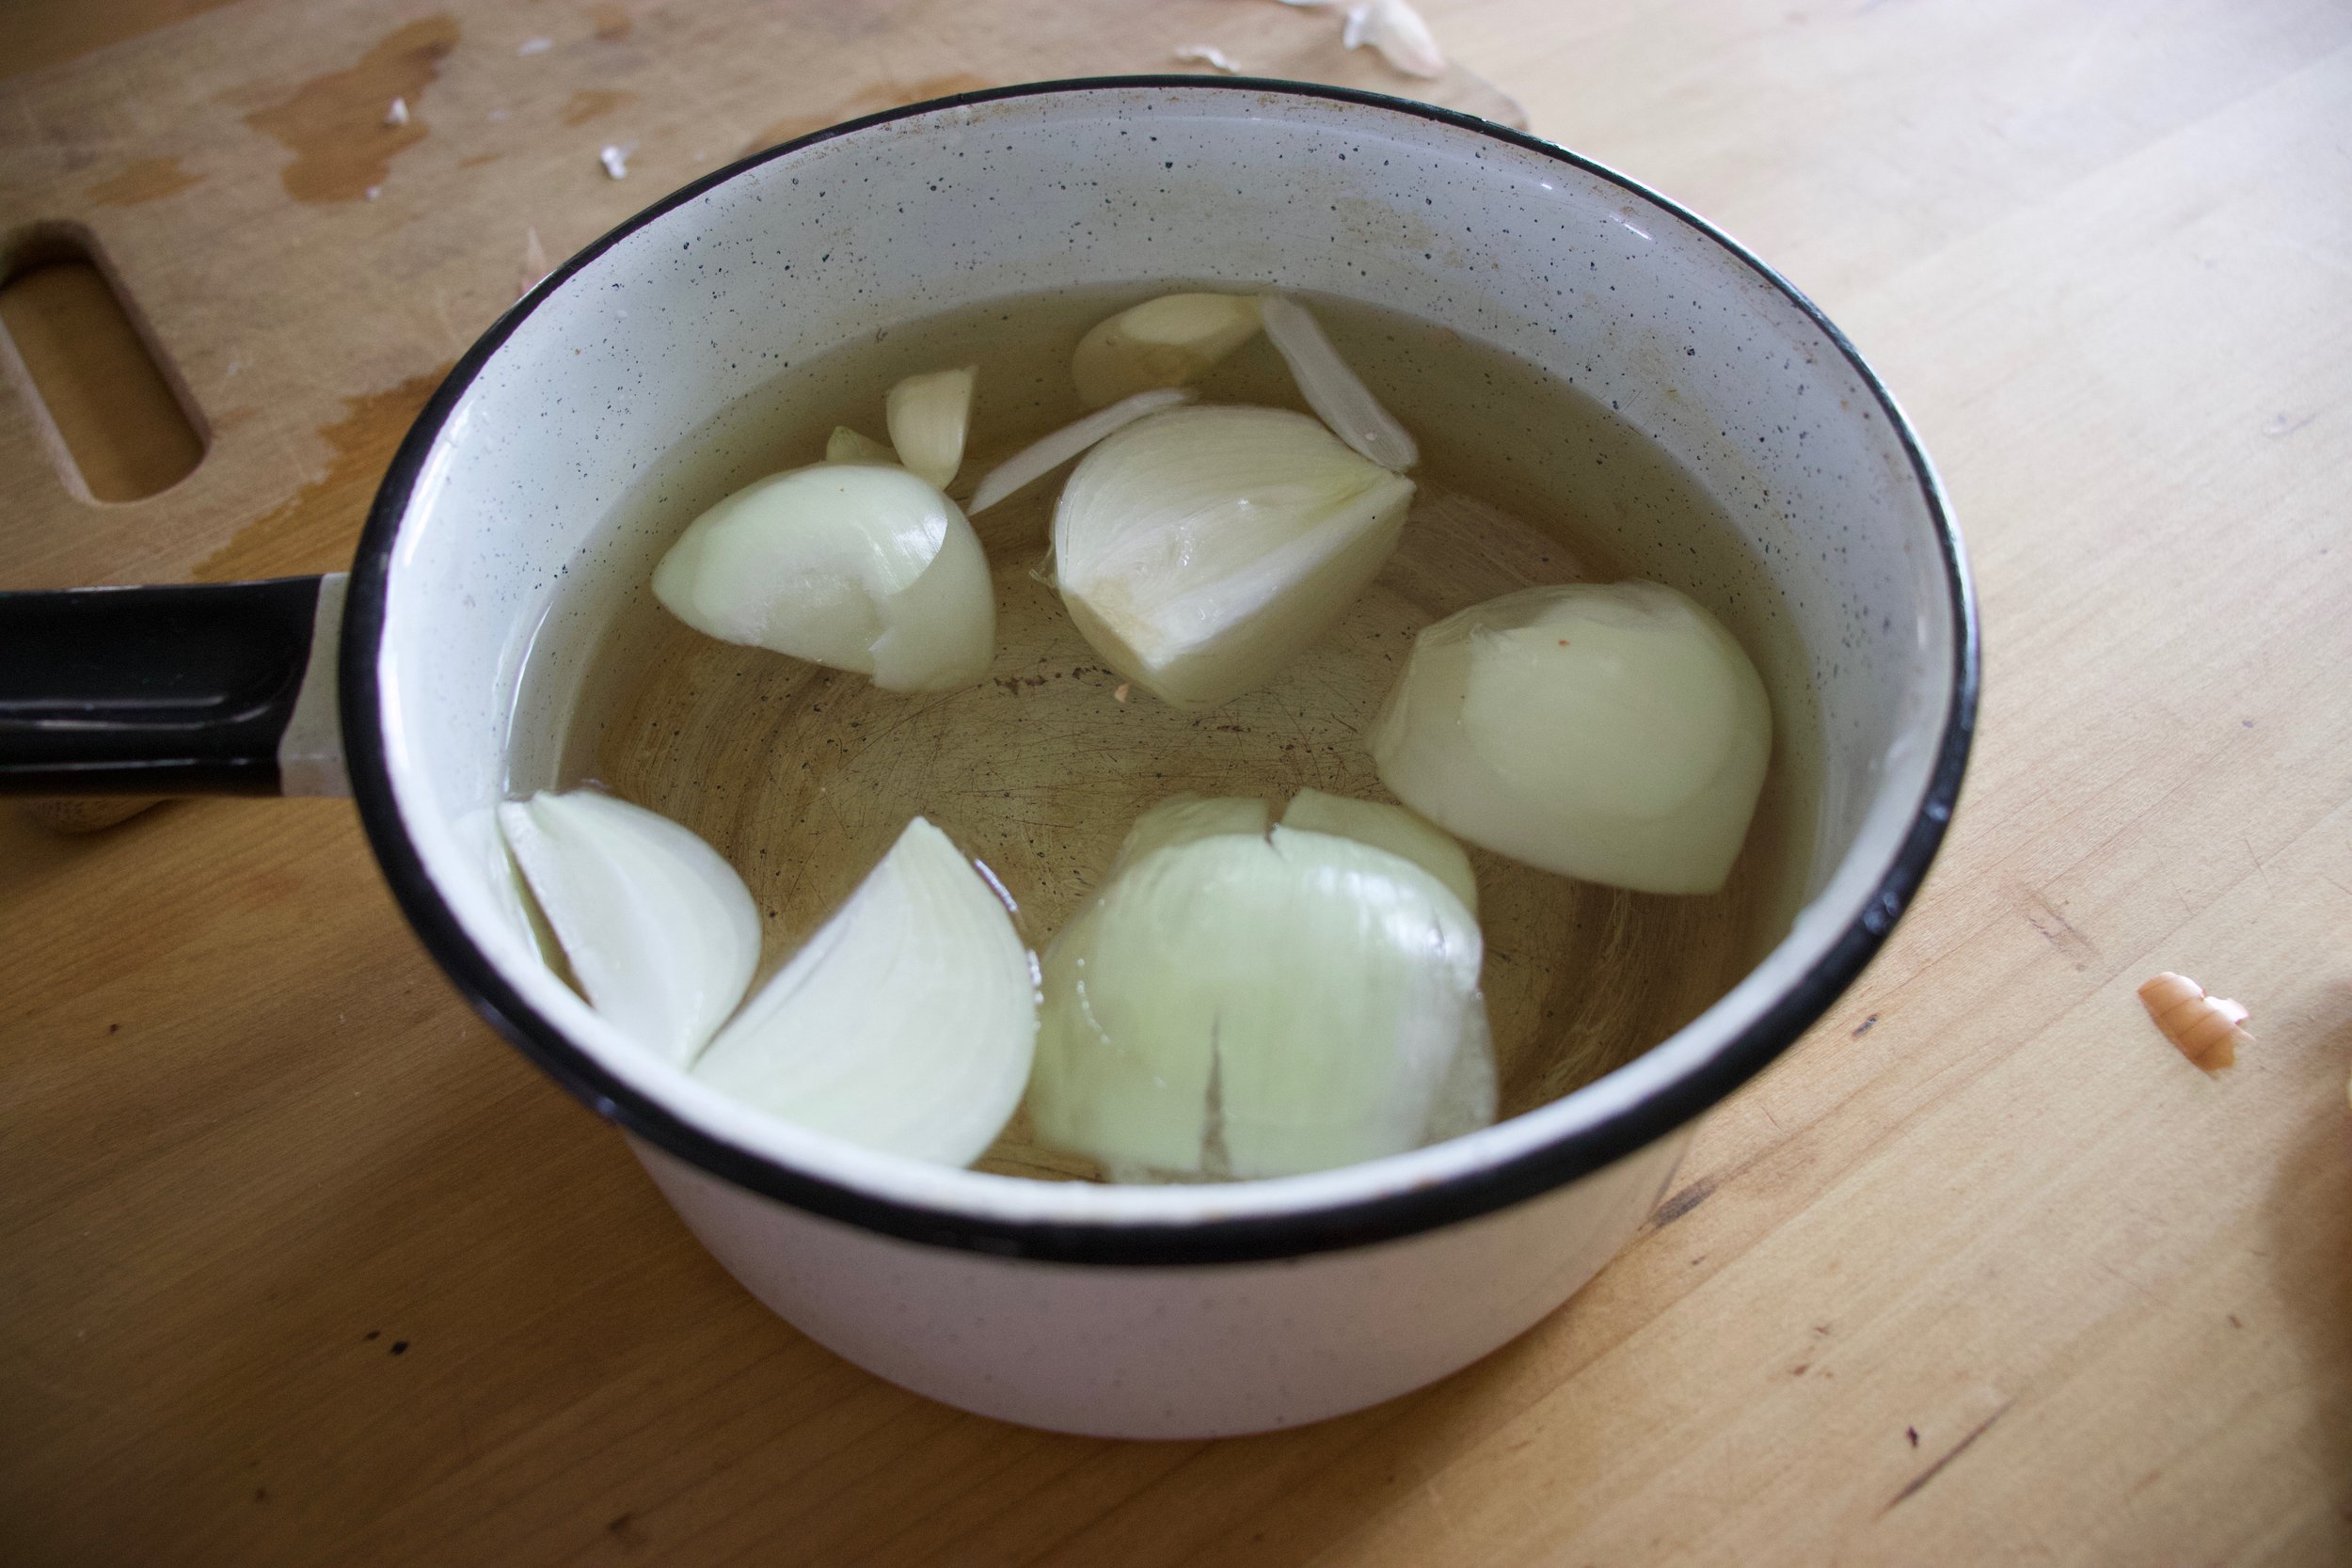
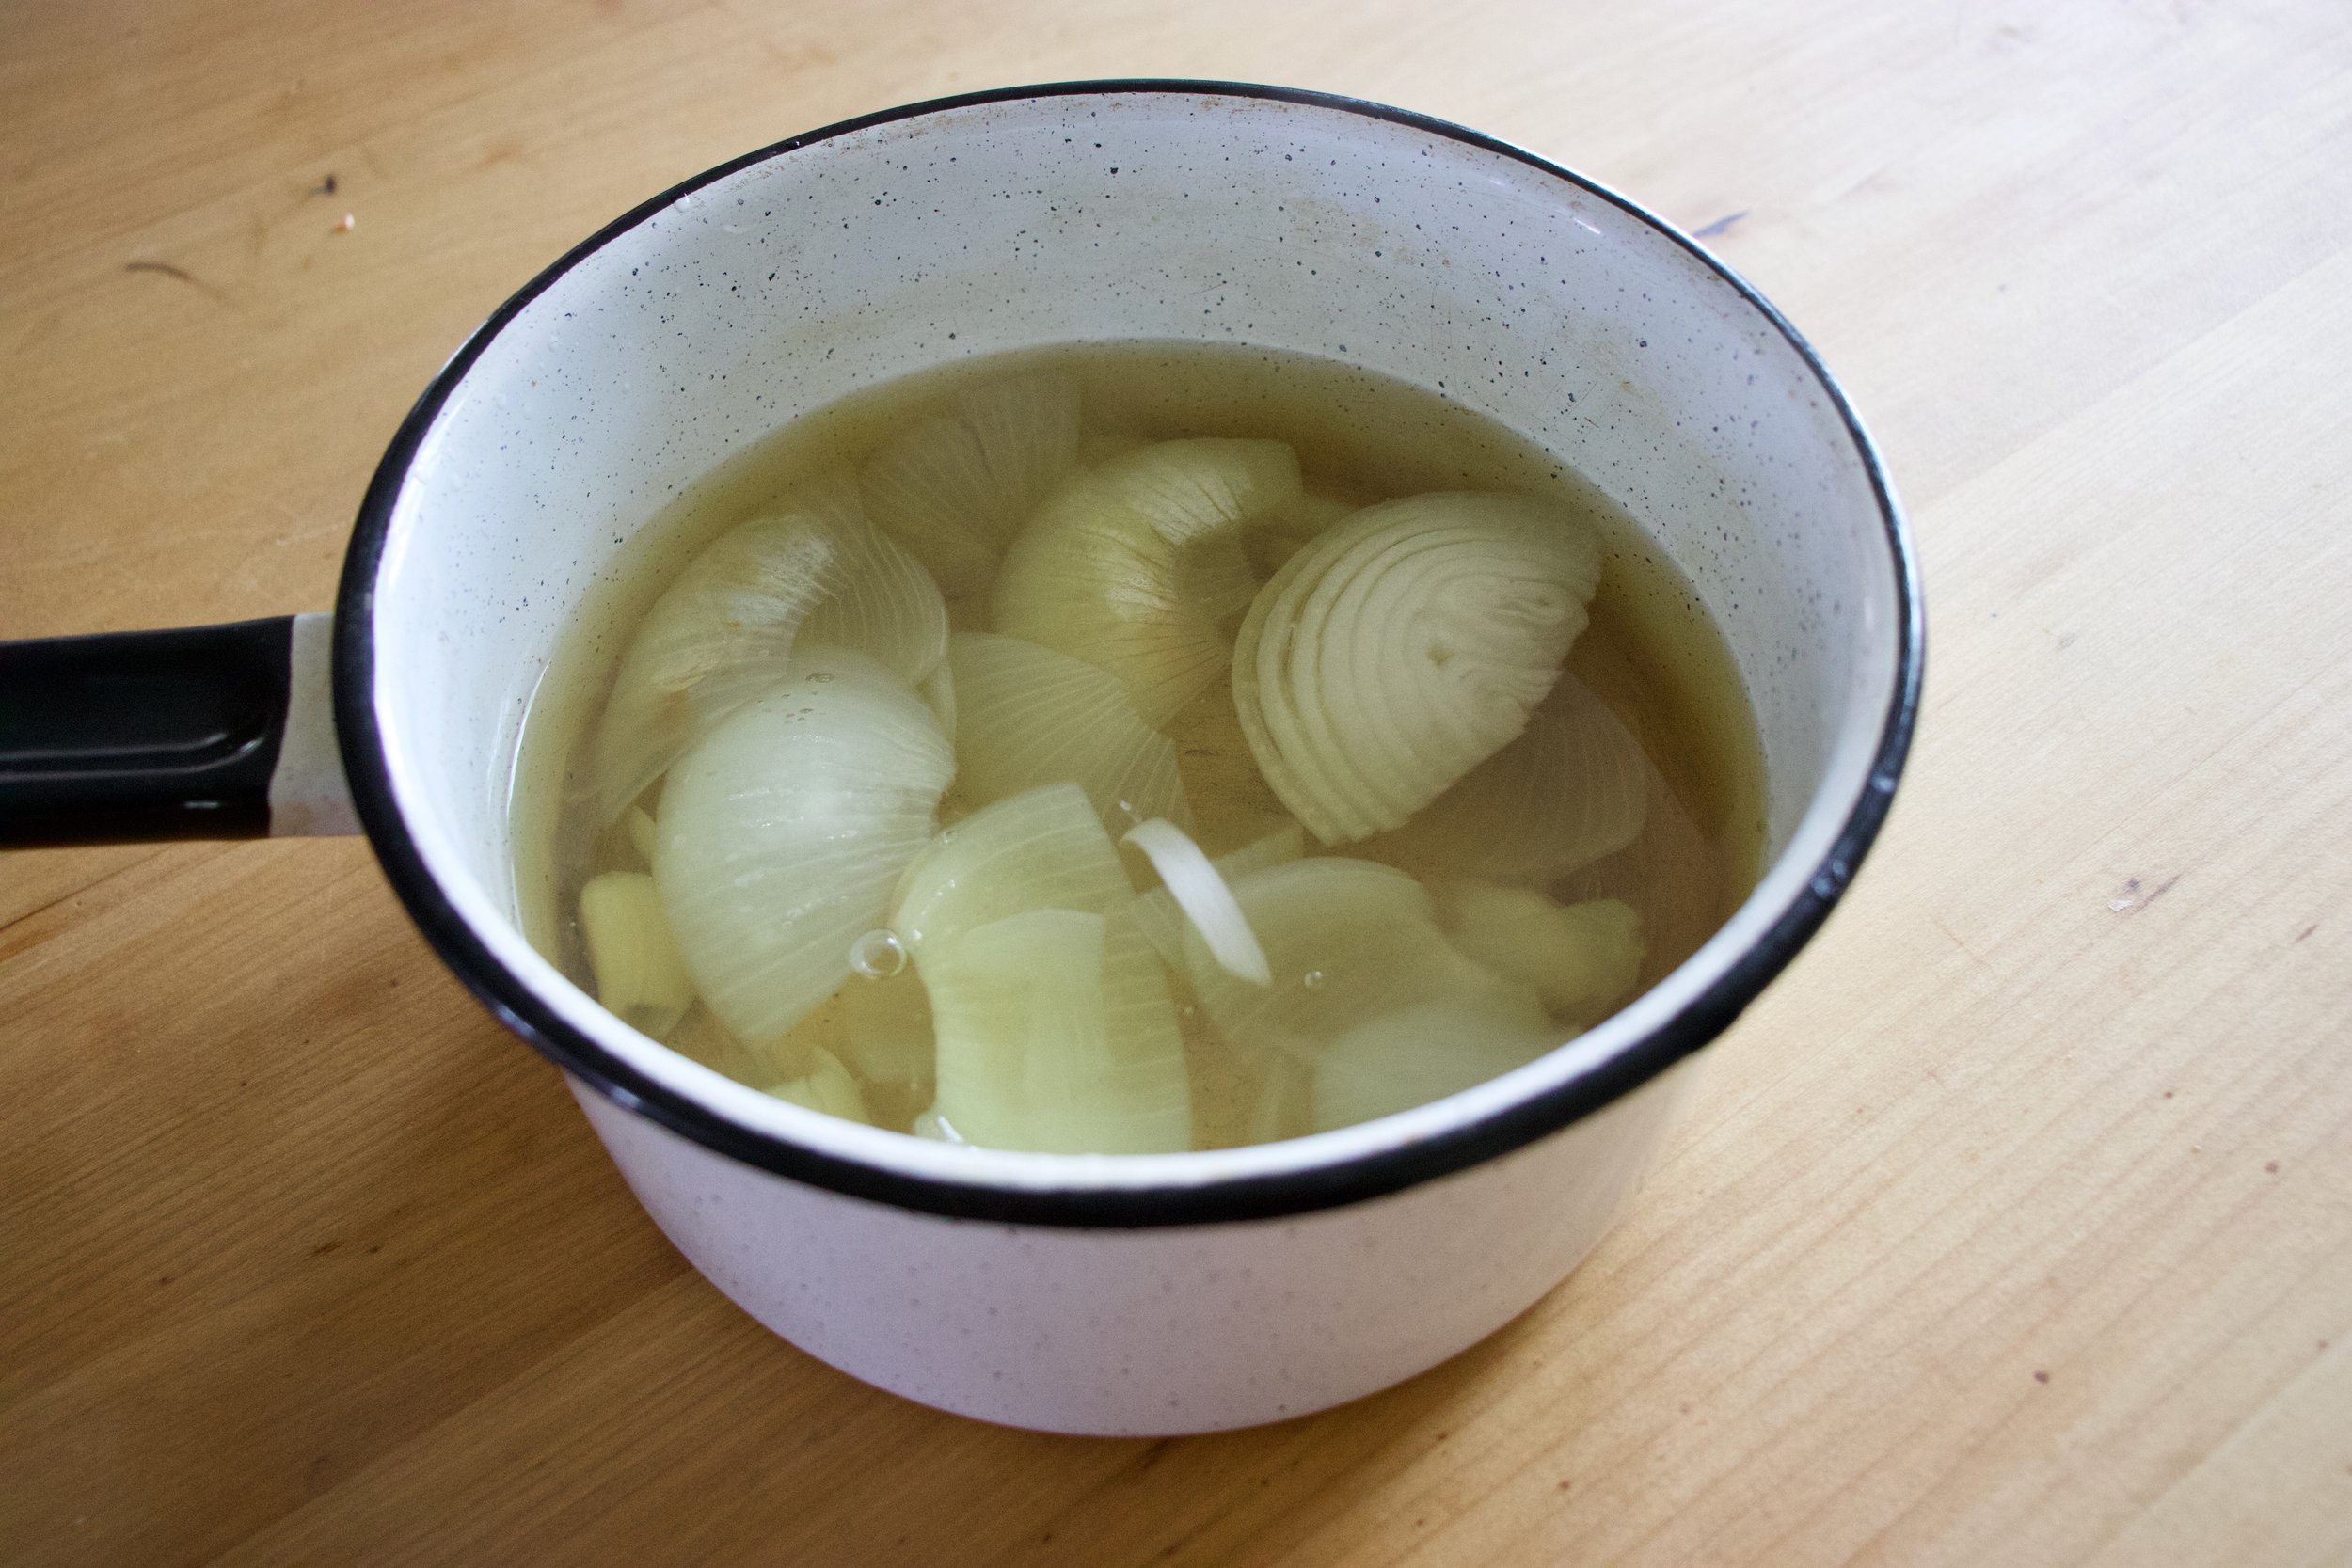
  • 1 large onion

  • 3-4 tomatoes

  • few cloves garlic

  • salt and pepper

  • olive oil

  • water

Place potatoes directly into oven on one of the oven racks and bake on 450 degrees until soft and tender. Should take about 1/2 hour to 45 minutes, depending on size of potatoes.

Once cooked, remove from oven carefully, cut in half, carefully, and let cool for a about 10 minutes, just so you can handle the potatoes without burning yourself. In the mean time, get a large pot, fill it with water, and set it on the stove to boil.

When the potatoes are not to hot to touch, grab them and with a spoon, scoop out all the potato flesh from the skin (keep skin for a snack or for soup). Lightly flour the counter and start ricing the potatoes directly onto the counter. (You can also use a food mill or a box grater if you don’t have ricer). Once all potato is rices, cover with floor and gently fold potato over into flour, over and over, even using a knife, to kind of cut the potato into the flour, until it all mostly comes together. Be careful to not overwork the dough or else it will become dense make the gnocchi chewy. If the dough seems is sticky, add in a few more tablespoons of flour, to dry and seems crumbly, add a few tablespoons warm water.

Once you have the dough, make sure the water on the stove is still there and has not evaporated and is at a gentle boil. Cut dough in thirds then roll out a portion into a rope about an inch thick. Cut the rope into inch long pieces. Repeat with the rest of dough.

When all the gnocchi are made, grab a rimed baking sheet, coat with oil, and place close by the boil water.

Now to cook them. Drop a handful of gnocchi into water carefully. They will sink. Watch and after about a minute or two, they will start to float. Once floating, take a slotted spoon and take them out of water. Place them on the greased baking sheet. Repeat until all the gnocchi are cooked. (when done cooking, save a cup of the cooking water)

After the gnocchi is cooked, you can do whatever you want with it, like eat it right away with salt and pepper or whatever, but to make the quick tomatoes onion situation, dice up the onion and mince the garlic. Place into a skillet with a drizzle of olive oil and a pinch of salt and place on stove and start to cook. Dice up the tomatoes and once the onion is tender, add in the dice tomatoes and about a cup of the gnocchi cooking water. Turn the heat up until the water is bubbling then reduce to low and cook until the tomatoes are mushy and tender. Once cooked, add in the gnocchi, toss them around, and cook until the gnocchi are fully warmed through.

And then eat it. Maybe a little more salt if needed, definitely lots of pepper, and whatever else you want.

In Vegan, Vegetables, Dairy Free, dinner, entree, Potato, Pasta, sauce Tags Gnocchi with Chunky Tomato and Onion, Potato, Gnocchi, Homemade, pasta, tomatoes, vegan, dairy free, plant based, dinner, king Arthur flour, farm share
Comment

Millet with mushrooms, onions, Greens and a mustard vinaigrette

June 8, 2019 Colleen Stem
IMG_9275.jpg
IMG_9282 2.jpg

Salad season is here. Green salads, fruit salads, potato salads, and grain salads. All the salads and we are not mad about it.

This is a good grain salad using millet, which I am sightly surprised to hear that a lot of people have never had. Millet is kind of like quinoa, but not. I cooks fluffy and looks kind of the same, and is gluten free like quinoa. I think the biggest difference is that millet is slightly softer and tastes a bit more nutty. It also is really good at absorbing liquid flavors.

But who are we to compare. The main thing is that it is nutritious and delicious so we will eat it.

Back to the salad. This is one of those grain salads that is good cooked and served warm but only gets better with a little age (like an hour or a day) in the fridge. Served hot or cold or room tempature, and is hearty enough to be meal like but is also a fantastic addition as a side to any of you meal plans. Like maybe a BBQ? Whatever the occasion, or non occasion, this is just a really good grain salad situation and I think you will be pleased, smiling all smiles while eating it.

To the millet salad.

IMG_9091.jpg

The stuff. Millet, a couple handful of greens, a few mushrooms, an onion, dijon mustard, a little maple syrup, red wine vinegar, a lemon, a couple cloves or garlic, some toasted sunflower seeds, and salt and pepper.

IMG_9099.jpg

Start by giving the millet a little toast, just enough to really up the nutty flavor and make it that much more yummy. It only takes a few minutes in a skillet on medium heat. Not an entirely necessary step, but you should do it.

IMG_9107.jpg

Toasted millet goes into pot with water. Bring pot to a boil and then turn to the lowest simmer and cover.

IMG_9112.jpg
IMG_9128.jpg

While millet is cooking, get to the mushrooms and onions. Chop the onion thin and small and the mushrooms thin and small as well. Place them into the skillet with a drizzle of oil and place on medium heat. Mix around every now and then and cook until the mushrooms and onions are soft and a nice golden brown.

And make the vinaigrette. Minced garlic, mustard, vinegar, the juice of the lemon, and maple syrup get put into one place.

IMG_9137.jpg

Mixed and now all is one.

IMG_9147.jpg

Millet. Cooked and fluffed and ready to go.

IMG_9158.jpg
IMG_9177.jpg

Cooked mushrooms and onions go into the pot, along with the greens, the sunflower seed, and the vinaigrette. This step can be right away or you can wait a little while for things to cool as to not wilt the greens. Up tp you.

IMG_9185.jpg

Mixed with love and hunger.

Even if you are making it ahead of time, just do yourself a favor. Grab a bowl, grab a fork, and get down on it.

-C


Millet with mushrooms, onions, Greens and a mustard vinaigrette

Seves 4-6

  • 3/4 cup uncooked millet

  • 2 cups water

  • 1 sweet onion

  • 3-4 big button mushrooms

  • Large handful or two of bitter greens like arugula, spinach or a mixture.

  • 2 tablespoon brown or dijon mustard

  • 2 tablespoon red wine vinegar

  • 1 teaspoon maple syrup

  • 2 cloves garlic

  • salt and pepper

  • handful toasted sunflower seeds

To start, toast millet. Dump the uncooked millet into a pan and place on a medium heat tt for about 5 minutes or until you start hearing the millet crackle.This gives the millet a slightly more nutty flavor but you can skip this step if you don’t care.

Dump millet and water into medium pot. Place on high heat until water starts to boil then tun heat down to simmer and over. After about 15 or 20 minutes, when most of the water is gone, turn pot completely off. Let sit, covered for another 10ish minutes then take a fork and fluff it.

While the millet is cooking, cook the veggies. Grab the onion and slice it up into thin pieces. Clean off the mushrooms and chop them into small thin pieces too. Place the chopped stuff into the skillet with a drizzle of olive oil and a pinch of salt and place on a medium heat. Stir occasionally and cook for about 15 minutes or until the onion and mushroom are a nice dark, golden brown.

And make the mustard vinaigrette. Mince garlic and place into a jar or bowl with the vinegar, the mustard, the maple, and the juice of the lemon. Mix and set aside.

Once the millet is cooked, the mushrooms and onions are cooked, and the vinaigrette is made, all you have left to do is mix everything together. You can do this while things are slightly warm which will wilt the greens a bit, o let them cool so the greens stay fresh. Up to you. (I like the greens fresh)

Finally, dump cooked mushrooms and onions into pot with cooked millet. Add in the greens and sunflower seeds and drizzle the vinegertte all over. Toss around until fully mixed. Sprinkle with lots of fresh cracked pepper.

Then eat. Or place in a container to bring to the BBQ.

In BBQ, Dairy Free, Gluten Free, grains, salad, seeds, side dish, Spring, Vegan, Vegetables Tags Millet with mushrooms, onions, Greens and a mustard vinaigrette, gluten free, millet, vegan, salad, grain salad, grain bowl, grain, mushrooms, plant based, sunflower seeds, mustard, vinaigrette, dinner, BBQ, make ahead, healthy, dairy free
Comment

Creamy Green Pea-Cauliflower-Broccoli Soup with a Sumac Tahini Swirl

May 18, 2019 Colleen Stem
IMG_8486 2.jpg
IMG_8538.jpg
IMG_8573.jpg

Let’s talk about how soup is the perfect food. It can be light and fresh, hearty and deep, chunky or smooth. You can eat it with a spoon, or somtime a fork if warranted, or just drink it from a mug. It’s usually a one pot meal, a small pot for one, a big pot for many. Make a pot of soup and eat some now and save some for later. It freezes amazingly well. Got a few extra sad carrots and wilted greens? Toss them into a pot with whatever you have on hand, maybe those veggies scraps and you got yourself a meal. Want something more filling, just add in some grains. Feeling sick, warm soup will make it all better. Feeling fresh and springy, well soup is there for you too. Seriously soup, you can do anything. If I could, I would marry you. ♥️

This soup is one of this velvety smooth, light but rich, delicious beyond delicious soups. A fresh spring time soup. Not to hearty or heavily spiced. Super rich and creamy and flavorful. Bright ass green which makes it amazing in itself, but then with a nice tangy sumac tahini swirl on top, well it is just about the most perfect soup. I made to share, which I did, (and everyone licked their bowls clean) but then hoarded the little bit left over and ate it cold for a late afternoon snack. That is another thing about soup, you can eat is cold and it is still amazing.

Tasty and delicious, and nutritious. This soup does it all.

To the soup!

The stuff. Peas, chopped broccoli, and chopped cauliflower which are all frozen and slightly thawed. You can totally use fresh here too, but I just so happen to have it frozen so you might as well save the fresh stuff for fresh eating. Also have a big yellow onion, a few cloves garlic, some tahini, a lemon, sumac, and salt and pepper. You need water which I did not picture here.

IMG_8363.jpg
IMG_8370.jpg

A pot, some water and a roughly chopped onion and the garlic start off this soup. Bring the pot to a boil, then turn to medium and let the onion and garlic cook until very tender. I have been making a lot of soups starting with this step lately. Boiling the onion and garlic until tender and fragrant really make for a super flavorful and clean soup base. Or soup in itself.

IMG_8386.jpg

Now add in the broccoli and cauliflower to the pot and cook until tender.

IMG_8402.jpg
IMG_8409.jpg

Mid soup cooking time is a good time to make the sumac tahini sauce for the swirl. Basics here, just mix the tahini, the sumac, a pinch of salt and pepper, the juice of the lemon and a tablespoon of warm water together until smooth.

IMG_8433.jpg

Last but not least, the peas. Add them in and they just need a few minutes to cook through.

IMG_8456 2.jpg

And then it all gets blended to become this green creamy goodness.

IMG_8557.jpg

Ladle into bowls, grab the sumac tahini sauce and swirl it on in. A tablespoon or so is good. And don’t forget a little more pepper and another pinch of sumac for good measure.

Just appreciate for a moment. That is one good looking bowl of soup. And it taste even better then it looks.

-C


Creamy Green Pea-Cauliflower-Broccoli Soup with a Sumac Tahini Swirl

Makes about 4 serving

  • 1 1/2 cups fresh or frozen peas

  • 1 1/2 cup chopped fresh or frozen cauliflower

  • 1 1/2 cup chopped fresh or frozen broccoli

  • 1 large onion

  • 3-4 cloves garlic

  • 4-5 cups water

  • Salt and pepper

  • 1 teaspoon sumac

  • 2 tablespoons tahini

  • 2-4 tablespoons warm water

Start by removing the papery skin from the onion and chop into a few big chunks. Remove the skin from garlic too. Place into pot with 4 cups water. Turn heat on high and bring to a boil then turn heat to medium and let onion are garlic cook until tender which should take about 15-20 minutes

Once the onion is cooked, add in the broccoli and cauliflower. Turn heat back to high and bring to a boil again then turn back down to medium heat. Keep cooking until tender (another 15 minutes or so) then add in the peas. Keep on heat until peas are cooked through then remove the pot from heat and either transfer to a blender or use a immusrian blender to blend the soup until smooth. Add a little more water if needed to get to the right consistency to blend right. Or if you want a thinner soup.

For the tahini sumac swirl just mix the tahini and sumac together along with the juice of the lemon, two tablespoon warm water and a pinch of salt. Mix together until smooth. If the mixture is to thick, add another tablespoon of water.

To serve. Ladle or pour soup into bowls and drizzle and swirl the tahini sumac on top. Sprinkle with pepper and a pinch more sumac and you are good to go.

In Vegetables, Vegan, Spring, soups/stews/chilis, soup, quick and easy, Dairy Free Tags Creamy Green Pea-Cauliflower-Broccoli Soup with a Sumac Tahini Swirl, Vegan, vegan soup, dairy free, spring, gluten free, plant based, sumac, tahini, fast and easy, green, healthy, fresh, peas, broccoli, cauliflower, dinner, lunch
Comment

Almond Ricotta Tart with Spring Vegetables

May 4, 2019 Colleen Stem
IMG_8114 2.jpg
IMG_8045 2.jpg

Spring is here for reals, I think. No, it is here, it has just been a bit raw and maybe a bit more rainy then it really needs to be, but whatever, it is spring and it is good. Things are greener by the day, the temperatures although not exactly warm are still inhabitable and without cause for winter jackets (although I have still been rocking the mittens) and spring veggies are popping up all over. Things are looking good.

So last week I made a pie crust with the intention to make a veggie pot pie and stuck it into the freezer. When the time came to make said pot pie, I forgot to take it out of the freezer so the crust was not meant to be for pot pie (it will probably end up as a rhubarb pie…we shall see). Without pie crust, I wasn’t exactly feeling like I should make a pot pie, but a tart, well yeah, sure. A crispy and chewy crackery crusted thing with almond ricotta a spring veggies because that is where the mind went and what the mr agreed sounded good. (When I make up recipes I just start taking about ingredient and preparations and wait til the mr says “Yea, that loud good. I’ll eat that “ He usually will say it right away and for anything. Very easy to please or he just doesn’t care…hum? )

And so the tart was made and the tart was eaten in all entirety for dinner by the mr alone. Usually when he eats all of something it means it was one of the really good things. Or he is really really hungry. But he said it was a really good thing. I trust him because I agreed. I got in a few spoonfuls of the almond ricotta mixture and it is really freaking good if I do say so myself (I could eat bowls of almond ricotta all day long).

Anyway, heres to spring and all things that are green and good.

To the tart.

The stuff. Flours (white and white whole wheat), baking powder, and a little salt in the bowl. Water and olive oil, blanched almonds, a lemon, a clove of garlic, asparagus, peas, frozen and thawed spinach, a small red onion, and salt and pepper.

IMG_7961.jpg
IMG_7965.jpg

Start with making the crust. Mix the dry together then add in the oil and water to form a dough. Knead dough a minutes until the dough is uniform and place back in bowl and cover. Dough needs a few alone minutes to rest. I can relate to that.

While dough is resting, make the almond ricotta. Almonds, garlic, the juice of the lemon, and a bit of water go into blender. Add in a pinch of salt and pepper too.

IMG_7979 2.jpg

Blend until creamy and smooth.

Dump in the spinach and blend, just until combined.

IMG_7986.jpg

So good. So. Good.

Scoop ricotta into a bowl and mix in the peas. And sure give it another taste but try not to eat it all.

Grab the onion and slice it all nice and thin.

IMG_8010.jpg

And after the resting time, grab dough and roll it out. Try for a rectangular shape or as rectangular as you can get it, but nice and thin. Thiner is better.

IMG_8022.jpg
IMG_8012.jpg

Place rolled out dough onto a baking sheet and poke the bottom with lots of little hole. Take ricotta mixture and spread evenly all over crust, leaving a 1 1/2 border all the way around.

IMG_8043.jpg

Add a layer of onions.

IMG_8047.jpg

Then top with the asparagus and more onions.

IMG_8052 2.jpg

Fold over the edges of the crust, sprinkle with a pinch of salt and pepper, and into the oven it goes to bake.

And then it is baked. And ready to eat (after a few minutes of cooling).

IMG_8126.jpg

Nothing left but to cut it up and eat it.

Spring. Green. Food.

Things are good.

-C


Almond Ricotta Tart with Spring Vegetables

Makes a 8x12(ish) tart

  • For the Crust

  • 1/2 cup all purpose flour

  • 1/2 cup white whole wheat (can sub for all purpose)

  • 3 tablespoon oil

  • 1/3 cup room temp water

  • 1/4 teaspoon baking powder

  • 1/2 teaspoon salt

  • For the Almond Ricotta and Veggies

  • 1/2 cup blanched almonds

  • 1/4- 1/3 cup warm water

  • 1 lemon

  • 1 clove garlic

  • 1/2 teaspoon salt and pepper or more to taste

  • 1/4 cup frozen and thawed spinach squeezed of liquid

  • 9-10 spears of Asparagus

  • 1/4 cup peas (fresh or frozen and thawed)

  • 1 /2 red onion

First make the crust. Whisk together the flours, salt, and baking soda. Add in the oil and water and mix until a dough forms. Form dough into a ball and knead for minute or two on counter then place dough back into the bowl and cover. The dough needs to rest for 10-15 minutes.

While dough is resting, make the almond ricotta. Place almonds, garlic, and juice of lemon into a blender. Start blending and add in the lesser amount of water, adding a little more until the stuff all starts to blend. Blend on high for a minute or two until the mixture is nice and creamy. Season with salt and pepper, blend a second to mix then add in the squeezed out spinach. Blend until mix together then dump or scoop the mixture into a bowl and mix in the peas. Then thinly slice up the onion.

Preheat the oven to 450

After doughs little rest, lightly flour a counter and roll it out, thin as you can, in a rectangular shape. Try for at least 12in x 16in. The rectangle doesn’t need to be perfect. Rough is good.

Place the rolled out crust onto a baking. Take a fork and dock the surface (poke holes into it to prevent air bubbles). Take the ricotta and pea mixture and spread evenly on crust, leaving about a 1 1/2 inch border all the way around. Add a layer of sliced red onion and then take asparagus (trim off woody ends) and either lay on whole or break in half and lay on. Add more onions on top. Fold the border of the crust over the top. Sprinkle the whole thing with pepper and place into the hot oven.

Bake for 22-25 minutes or until the crust becomes a nice golden brown. Remove and let cool a few minutes

And then cut up and eat. Right away or at room temperature. Or some now and some later. All up you you.

Store left over in fridge in air tight container for up to a few days. the crust will not be crispy but more chewy. Can stick it back in oven for a few minutes to crisp it up.

In appetizers, Dairy Free, Nuts, Savory, Spring, Vegan, Vegetables, tarts Tags Almond Ricotta Tart with Spring Vegetables, Vegan, Cracker Crust, Asparagus, Peas, Spinach, Almond Ricotta, nuts, nut cheese, sping, dinner, tart, galette, easy, protein, vegetables, dairy free, dairy free cheese, healthy, plant based, brunch
Comment

Carrot Sugar Cookies with Orange glaze

April 20, 2019 Colleen Stem
IMG_7690.jpg
IMG_7717.jpg
IMG_7740.jpg

These are definitely my favorite shaped cutout cookies I have ever made. I mean seriously, carrot shaped carrot cookies, what could possibly ever be better? Nothing, and that’s truth for you.

Not only are they carrot shaped, they are also carrot flavored. Yup, Carrot shaped, carrot flavored, awesomeness. A little cinnamon added to the cookie for little extra boost of flavor and an orange glaze because it works and orange is good and fresh and springing. All good stuff.

You might be thinking, huh, carrot puree in a cookie, well that doesn’t sound right. But it is, it is right. And you know how I know that these cookies are awesome? Well I packed them up, (2 dozen of them) and took them over to the littles house for an after school treat. When I got there, the two older ones had friends over. I asked them if they wanted a carrot which earned me that look that said “are you serious” but them showed them the cookies. Of course the wanted a carrot so I gave them each one. They ate their cookies then proceeded to beat the shit out of the mr. Then they asked for another cookies and beat the shit out of the mr some more. This when on and on for about a 1/2 hour until all the cookies were gone and the mr was crouched in the corner with a broom trying to defend himself against 4 rulely kids who where slashing at him with light sabers and spraying him in he face with kitchen cleaner. It’s because they wanted more cookies. (and yes, the littles are getting crazy). So yeah, the cookies are good. Ass kicking good.

Anyway, a cookie with some goodness mix into it, shaped into a great shape, that will make everyone smile and happy. You could make them by yourself, make them with your friends, make them with some kids, with some old people. They are the perfect cookie to leave out for the easter bunny(do you leave carrots out for the easter bunny?) or to serve up at any easter party, spring party, or any garden party you might be attending. This cookie is pretty much perfect for any and every occasion that required a cookie. Or a carrot because carrots are always welcome.

To the carrots! I mean, the cookies!

The stuff. Flour, baking soda, salt, sugar, vegan butter, carrot puree, cinnamon, an orange, some powdered sugar, and food coloring.

IMG_7554.jpg

Into a big bowl the sugar, vegan butter, and carrot puree go.

Beat for a minute or two until completely incorporated.

IMG_7574.jpg

Add in all the rest of the dry stuff and mix by hand until it turns to dough.

IMG_7590.jpg

This is the dough it turned into.

Gather the dough and wrap it or place in a plastic bag and stick it Into the fridge for a few hours or overnight. The dough NEEDS to chill.

IMG_7607.jpg

After you let the dough be, remove from fridge, liberally dust counter, and roll out dough about 1/4 inch thick.

IMG_7610.jpg
IMG_7621.jpg

And then it’s time to cut the cookies out. I unfortunately do not have a cookie cutter so I improvised and make 2 carrot cutouts from paper and hand cut each cookie. That worked but took forever so I got crafty and used a fat Christmas tree cookie cutter then just did a little trim and pinch to make it into a cookie. (I am a genius for that). Any way works, and you can also do other shapes too, the cookies don’t change taste in different shapes. (but that would be so cool if they did)

Carefully place cut out cookies onto a baking sheet, giving them a little space because they do spread a tiny bit.

And into the oven to bake they go.

Out in 10 minutes looking all carrot like.

IMG_7653.jpg

Carrots waiting to cool so they can be glazed.

The glaze. Pretty straight forward. Just zest orange into powdered sugar and juice the orange into the sugar and mix.

Divide glaze and dye one orange and one green

IMG_7678.jpg

And glaze away. I recommend doing it over a rack and baking sheet to minimize mess because they do drip a bit.

Now just you look at that, carrot shaped carrot sugar cookies .What a sight!

IMG_7754 2.jpg

And of course, carrots come in bunches. HA

Enjoy some carrots!

-C


Carrot Sugar Cookies with Orange glaze

makes about 2 and a half dozen (depending on size)

  • 2 1/4 cups all purpose flour plus more for dusting

  • 1 teaspoon baking soda

  • 1/2 teaspoon salt

  • 1 teaspoon cinnamon

  • 1/2 cup vegan butter

  • 3/4 cup granulated sugar

  • 1/2 cup carrot puree ( see note about how to make puree)

    For the glaze

  • 2 to 3 cups powdered sugar

  • on orange

  • orange and green food coloring

Note. To make carrot puree, steam a couple carrots until completely soft them blend until smooth.

Place sugar, vegan butter, and carrot puree into a big bowl. Beat with a beater until light and fluffy. Add in the flour, baking soda, salt, and cinnamon and mix by hand until completely incorporated and mixture tunes into dough. Gather dough into a disk and wrap in plastic or place in a plastic bag and refrigerate for at least 2 hours or up to overnight.

Once dough has chilled enough and you are ready to go, preheat the oven to 350.

Place dough on a flour dusted counter and roll out about 1/4 inch thick. Cut out the cookies with a cutter or by hand and place on a baking sheet. Bake cookies for 10-11 minutes or until just starting to turn slightly brown around the edges. Remove from oven and place on a wire rack to cool.

Once cookies are all baked and cooling, make the glaze. Place powered sugar into a big bowl, zest in the orange then add in the juice od half the orange. Mix completely and check consistency. You want it to be slightly running but not liquid, but also not to stiff. Add more juice or more sugar to get it right. Once it is the right consistency, separate into 2 bowls. Dye one green and one orange. Now glaze you cookies. A knife or small spatula works best and yes, the glaze drips a little so do it over a baking sheet, but after about 10 minutes the glaze hardens.

And then you have carrot cookies and all is good. Now go eat a carrot cookie!

Store uneaten cookies in an airtight container for up to 5 days. They can be frozen too.

In Vegetables, Vegan, Sweets, Spring, desserts, cookies Tags Carrot Sugar Cookies with Orange glaze, Carrot cookies, vegan, vegan sugar cookies, sugar cookies, carrot cookies, carrots, plant based, desserts, cookies, easter, spring, holiday, garden party, vegetable, roots, orange, citrus, glaze, fun, food, egg free, dairy free
Comment
← Newer Posts Older Posts →
 

https://thelovelycrazy.squarespace.com/config#/|/about/

Me. Food Maker.Food eater. Woo HOO!

STEM+NODE  SMALL BATCH AND ONE OF A KIND POTTERY

stem+node ceramics


____________________

Subscribe

GET NEW POSTS IN YO EMAIL

You are AWESOME!!!


@thelovelycrazy 2014-2021