• stem+node ceramics
  • HOME
  • Food Recipes
  • About
  • Contact
Menu

The Lovely Crazy

Street Address
City, State, Zip
Phone Number

Your Custom Text Here

The Lovely Crazy

  • stem+node ceramics
  • HOME
  • Food Recipes
  • About
  • Contact

Potatoes in Tomatoes with Chick Peas and Onions

January 26, 2019 Colleen Stem
IMG_4866.jpg
IMG_4898.jpg

Potatoes in tomatoes. It just has a nice ring to it. And to tell the truth, that is the only reason I made this dish, because it sounds good.

Ok, not really the only reason, but it was the start, that and I have been sitting on some potatoes for a little while and it was time for them to be eaten. Enter in the tomatoes. I figures cooking the potatoes in tomatoes is alike to a ketchup and french fry situation. Not completely the same, but you get the idea. Add in chickpeas for good measure and onion because I wanted to and that is that. Nothing fussy, one pot, easy, hearty, and good.

Also not hurting anyone that these potatoes take a little while to bake. I could have made this dish in a way that made them cook faster (like parboil the potatoes) but I wanted the heat from the oven. It has been pretty freaking dang cold out so I liked having the heat, it adds another dimension to the term comfort food (as in me being comfortable hanging out next a hot oven).

Anyway, nothing too fancy, just all around tasty dish. It is just what you need to bake and eat on any given cold winter day. And it sounds nice too. Just say it aloud. Potatoes in Tomatoes. Right? Now you see, it had to be done.

To the potatoes in tomatoes!

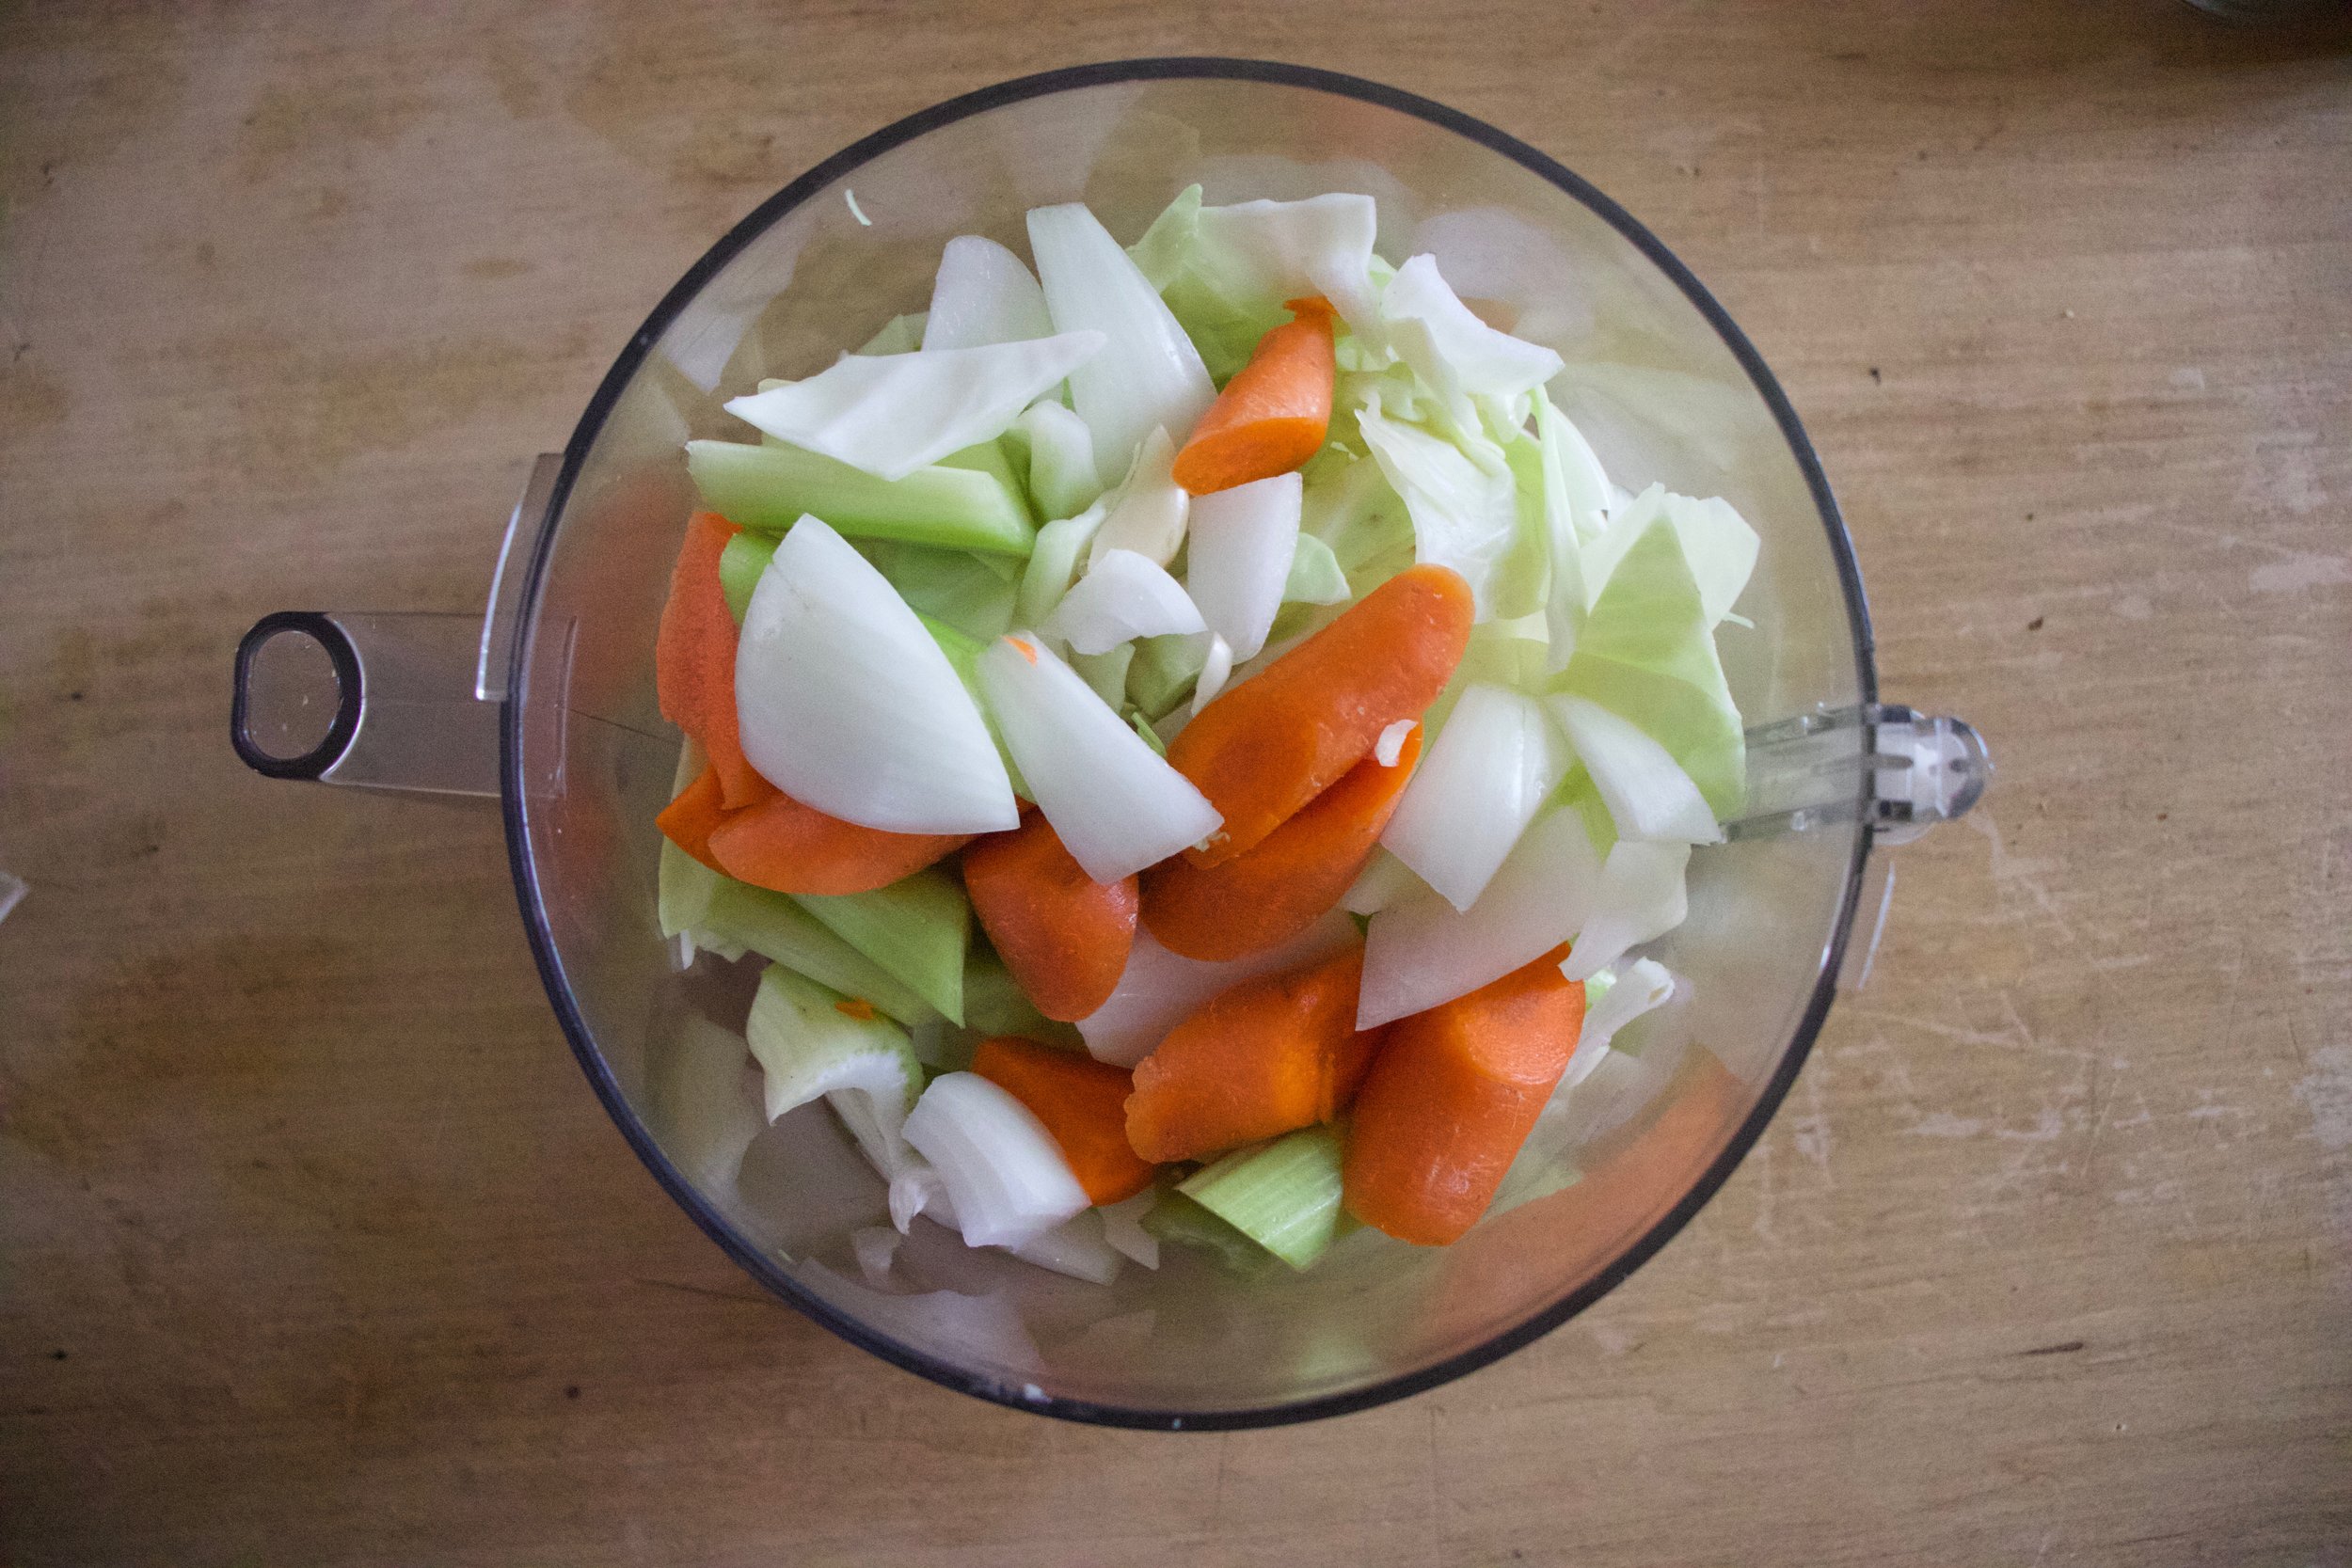
The stuff. Potatoes, crushed tomatoes, cooked chick peas, an onion, a few cloves garlic, Italian seasoning, salt and pepper and a bit of olive oil.

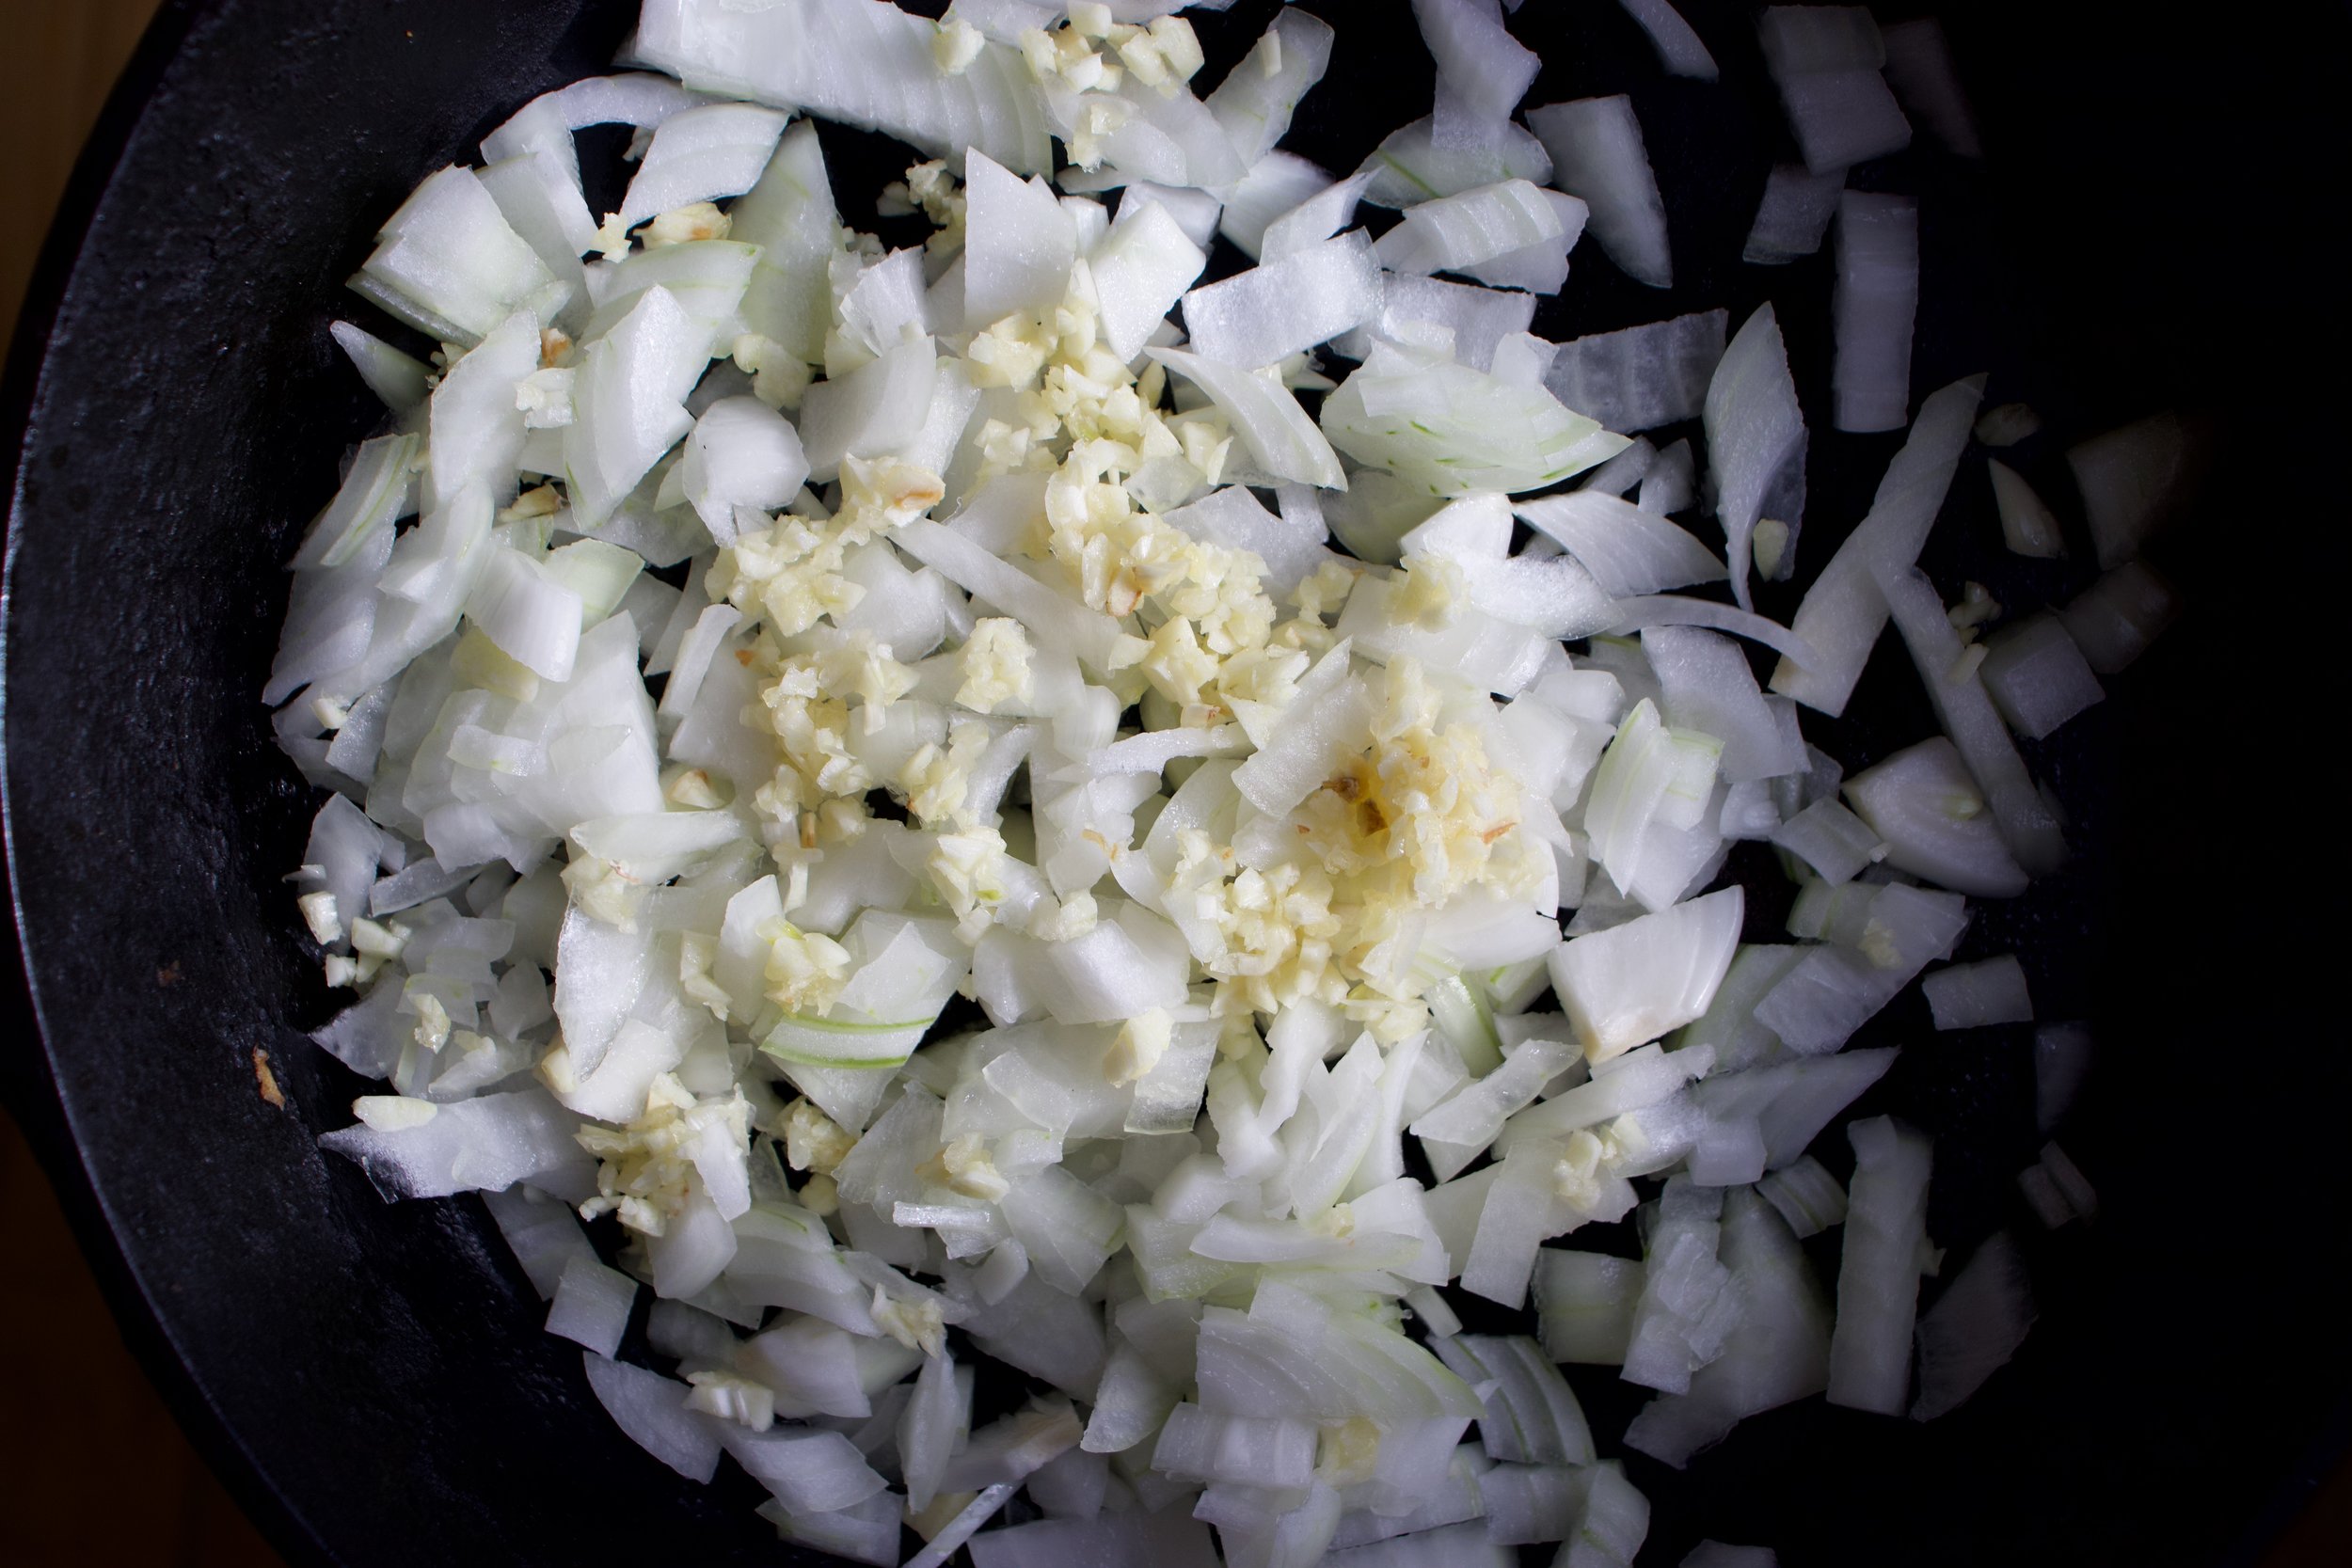
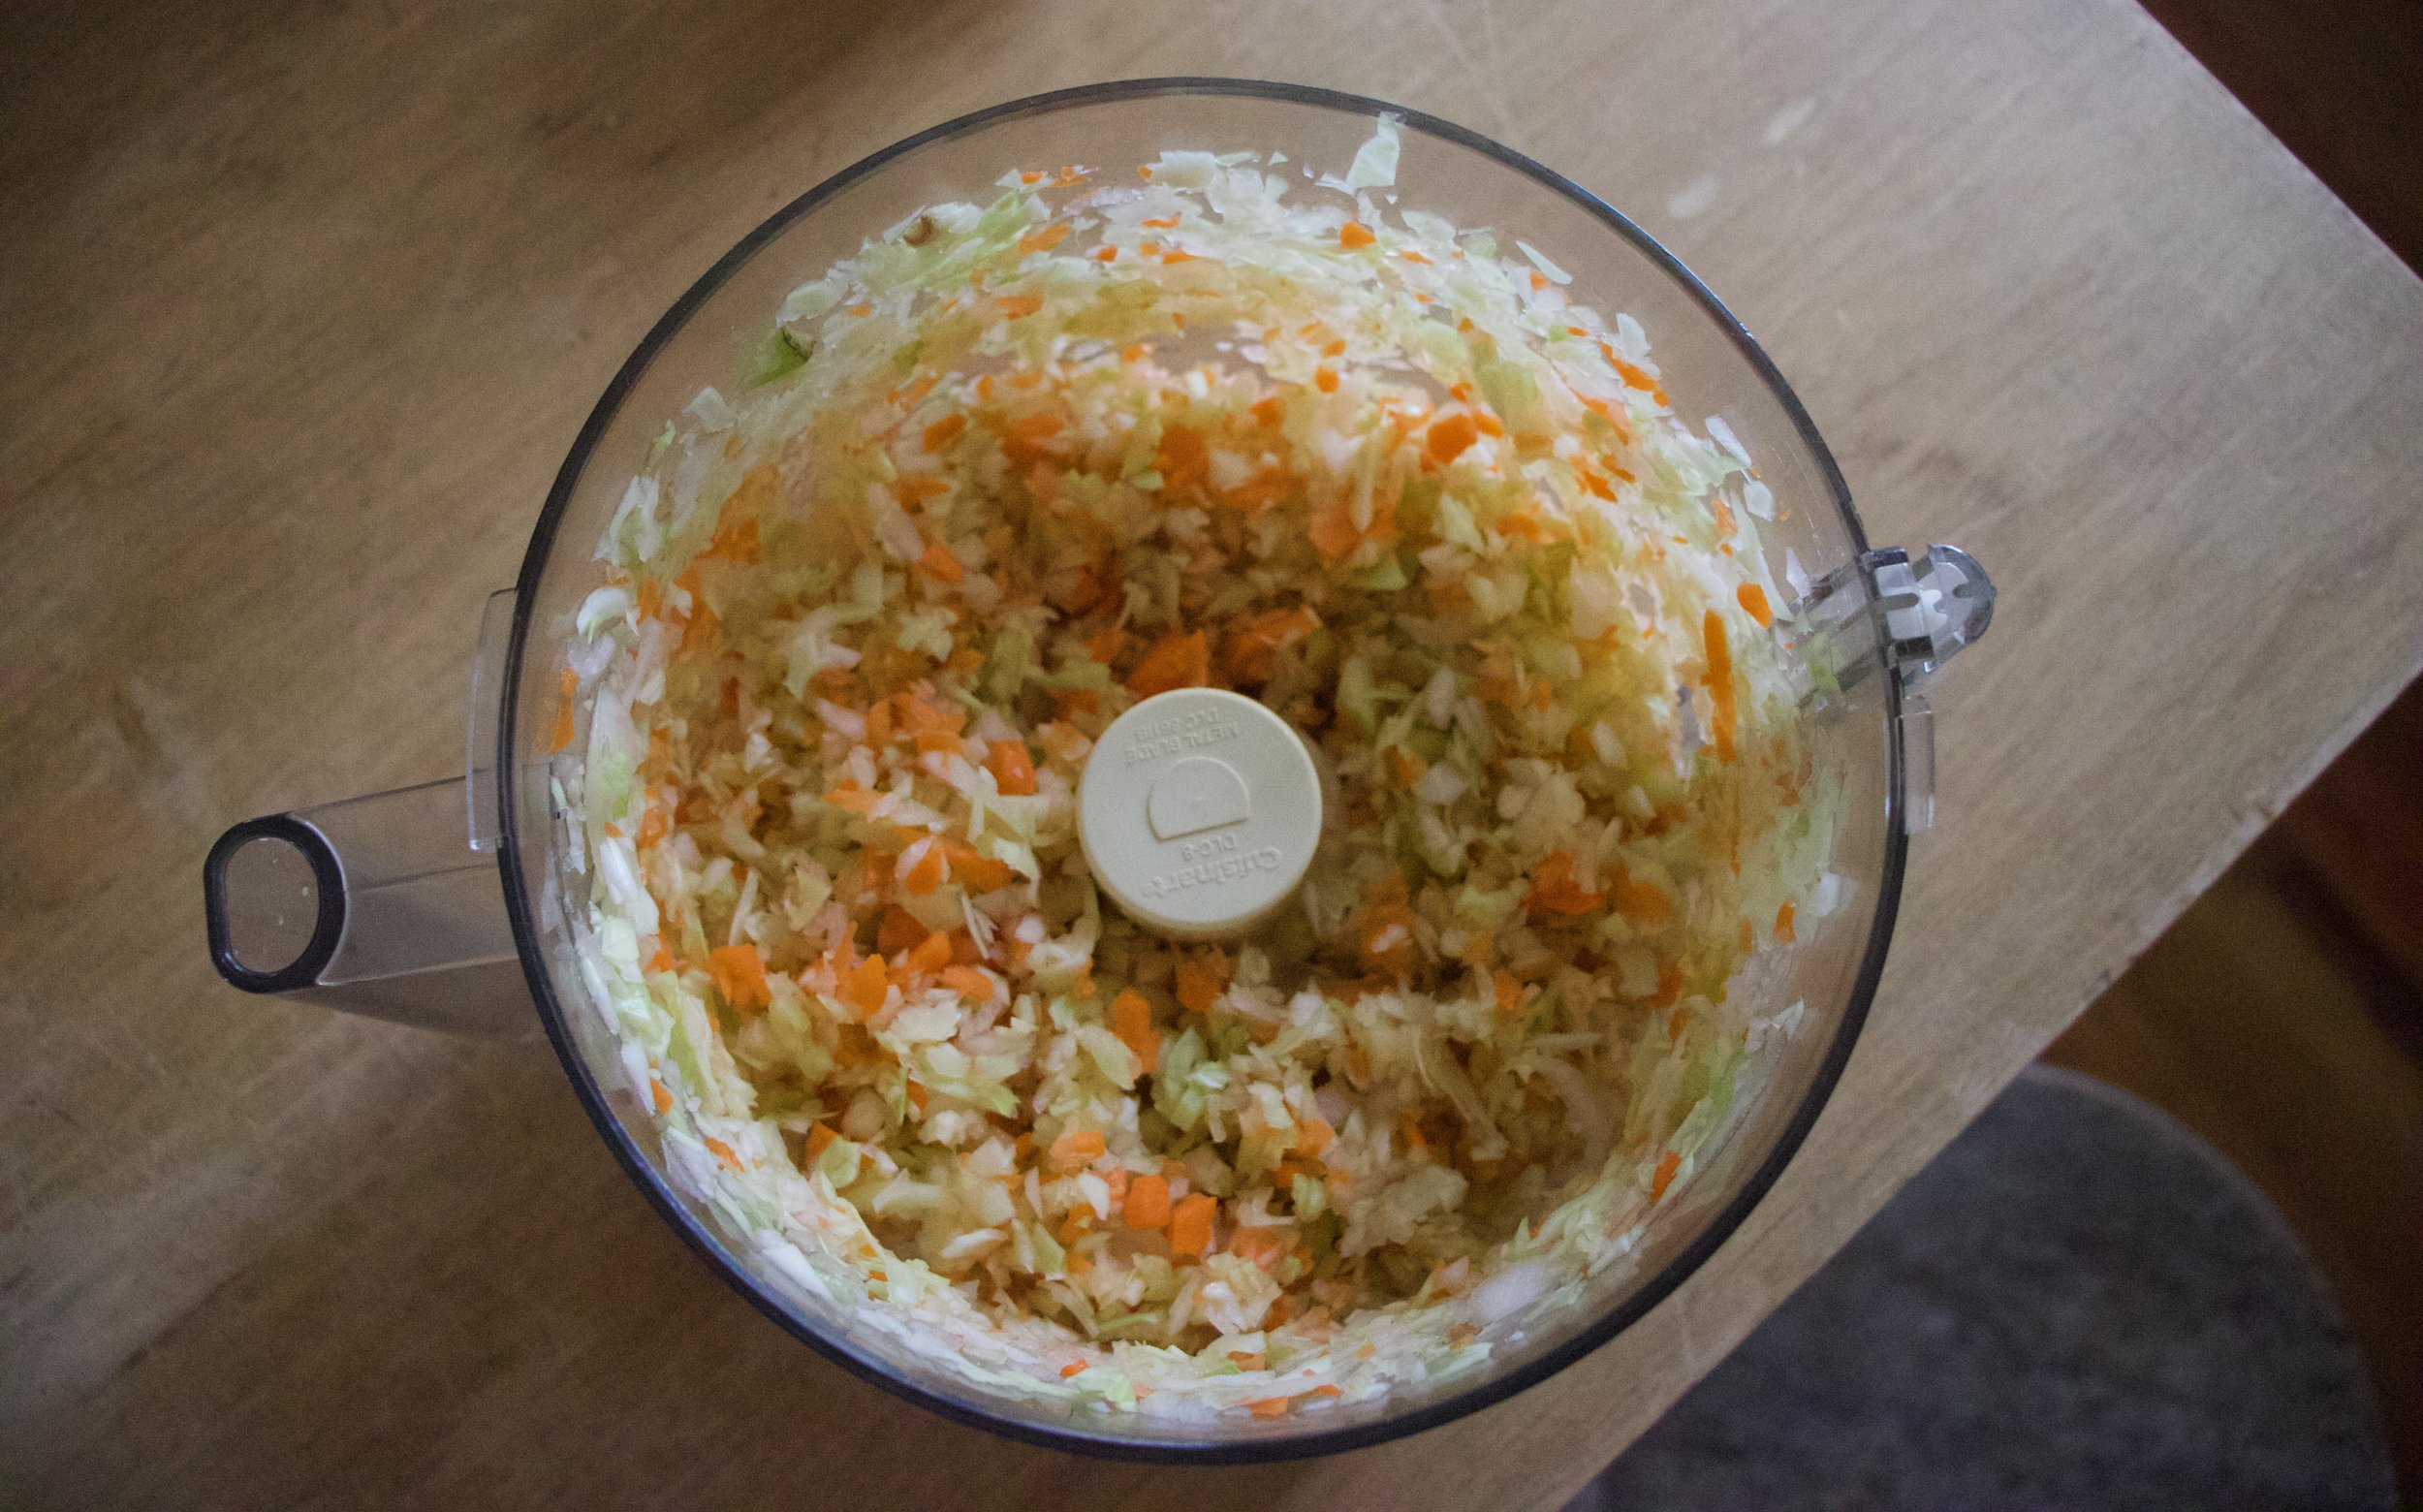
Start by chopping the onion and mincing the garlic.

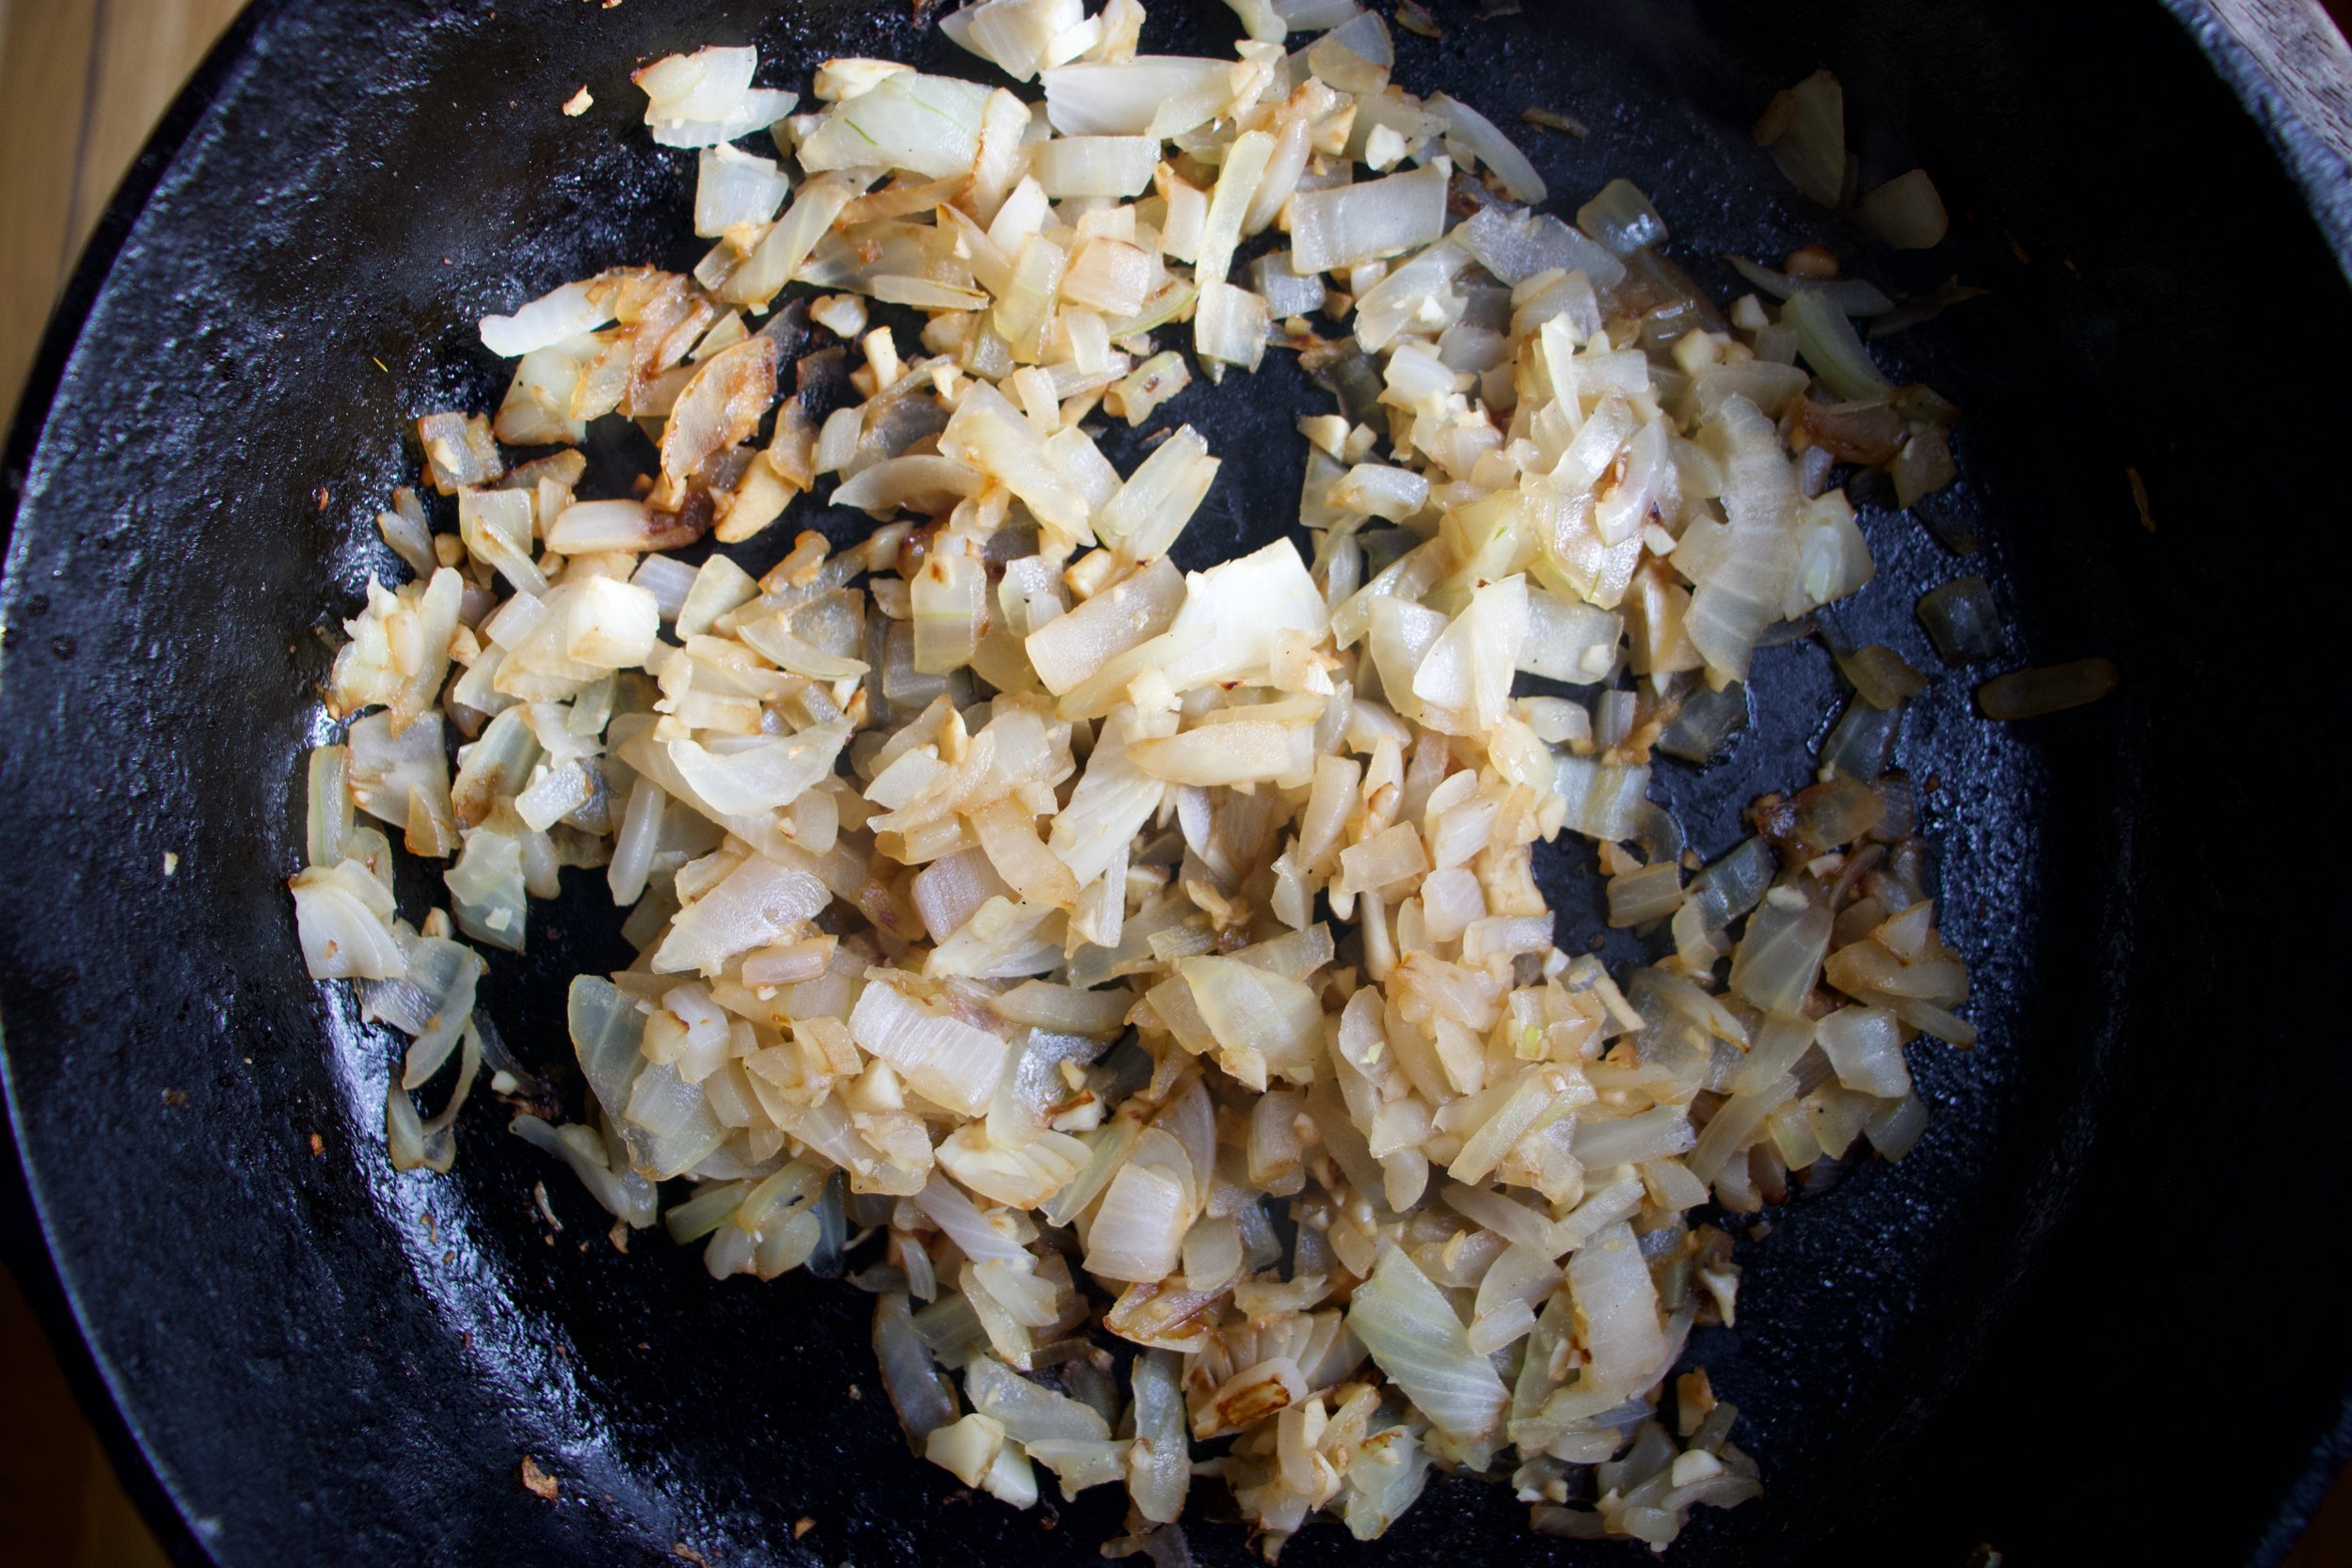
Get it all into a cast iron pan or oven safe skillet with a little olive oil. Add the spices and give it some heat on the stove top while you cut potatoes.

Now cut those potatoes nice and thin. A mandolin works wonders but a knife will do just as well, just try to keep the thickness all the same.

IMG_4764.jpg
IMG_4766.jpg
IMG_4765 2.jpg

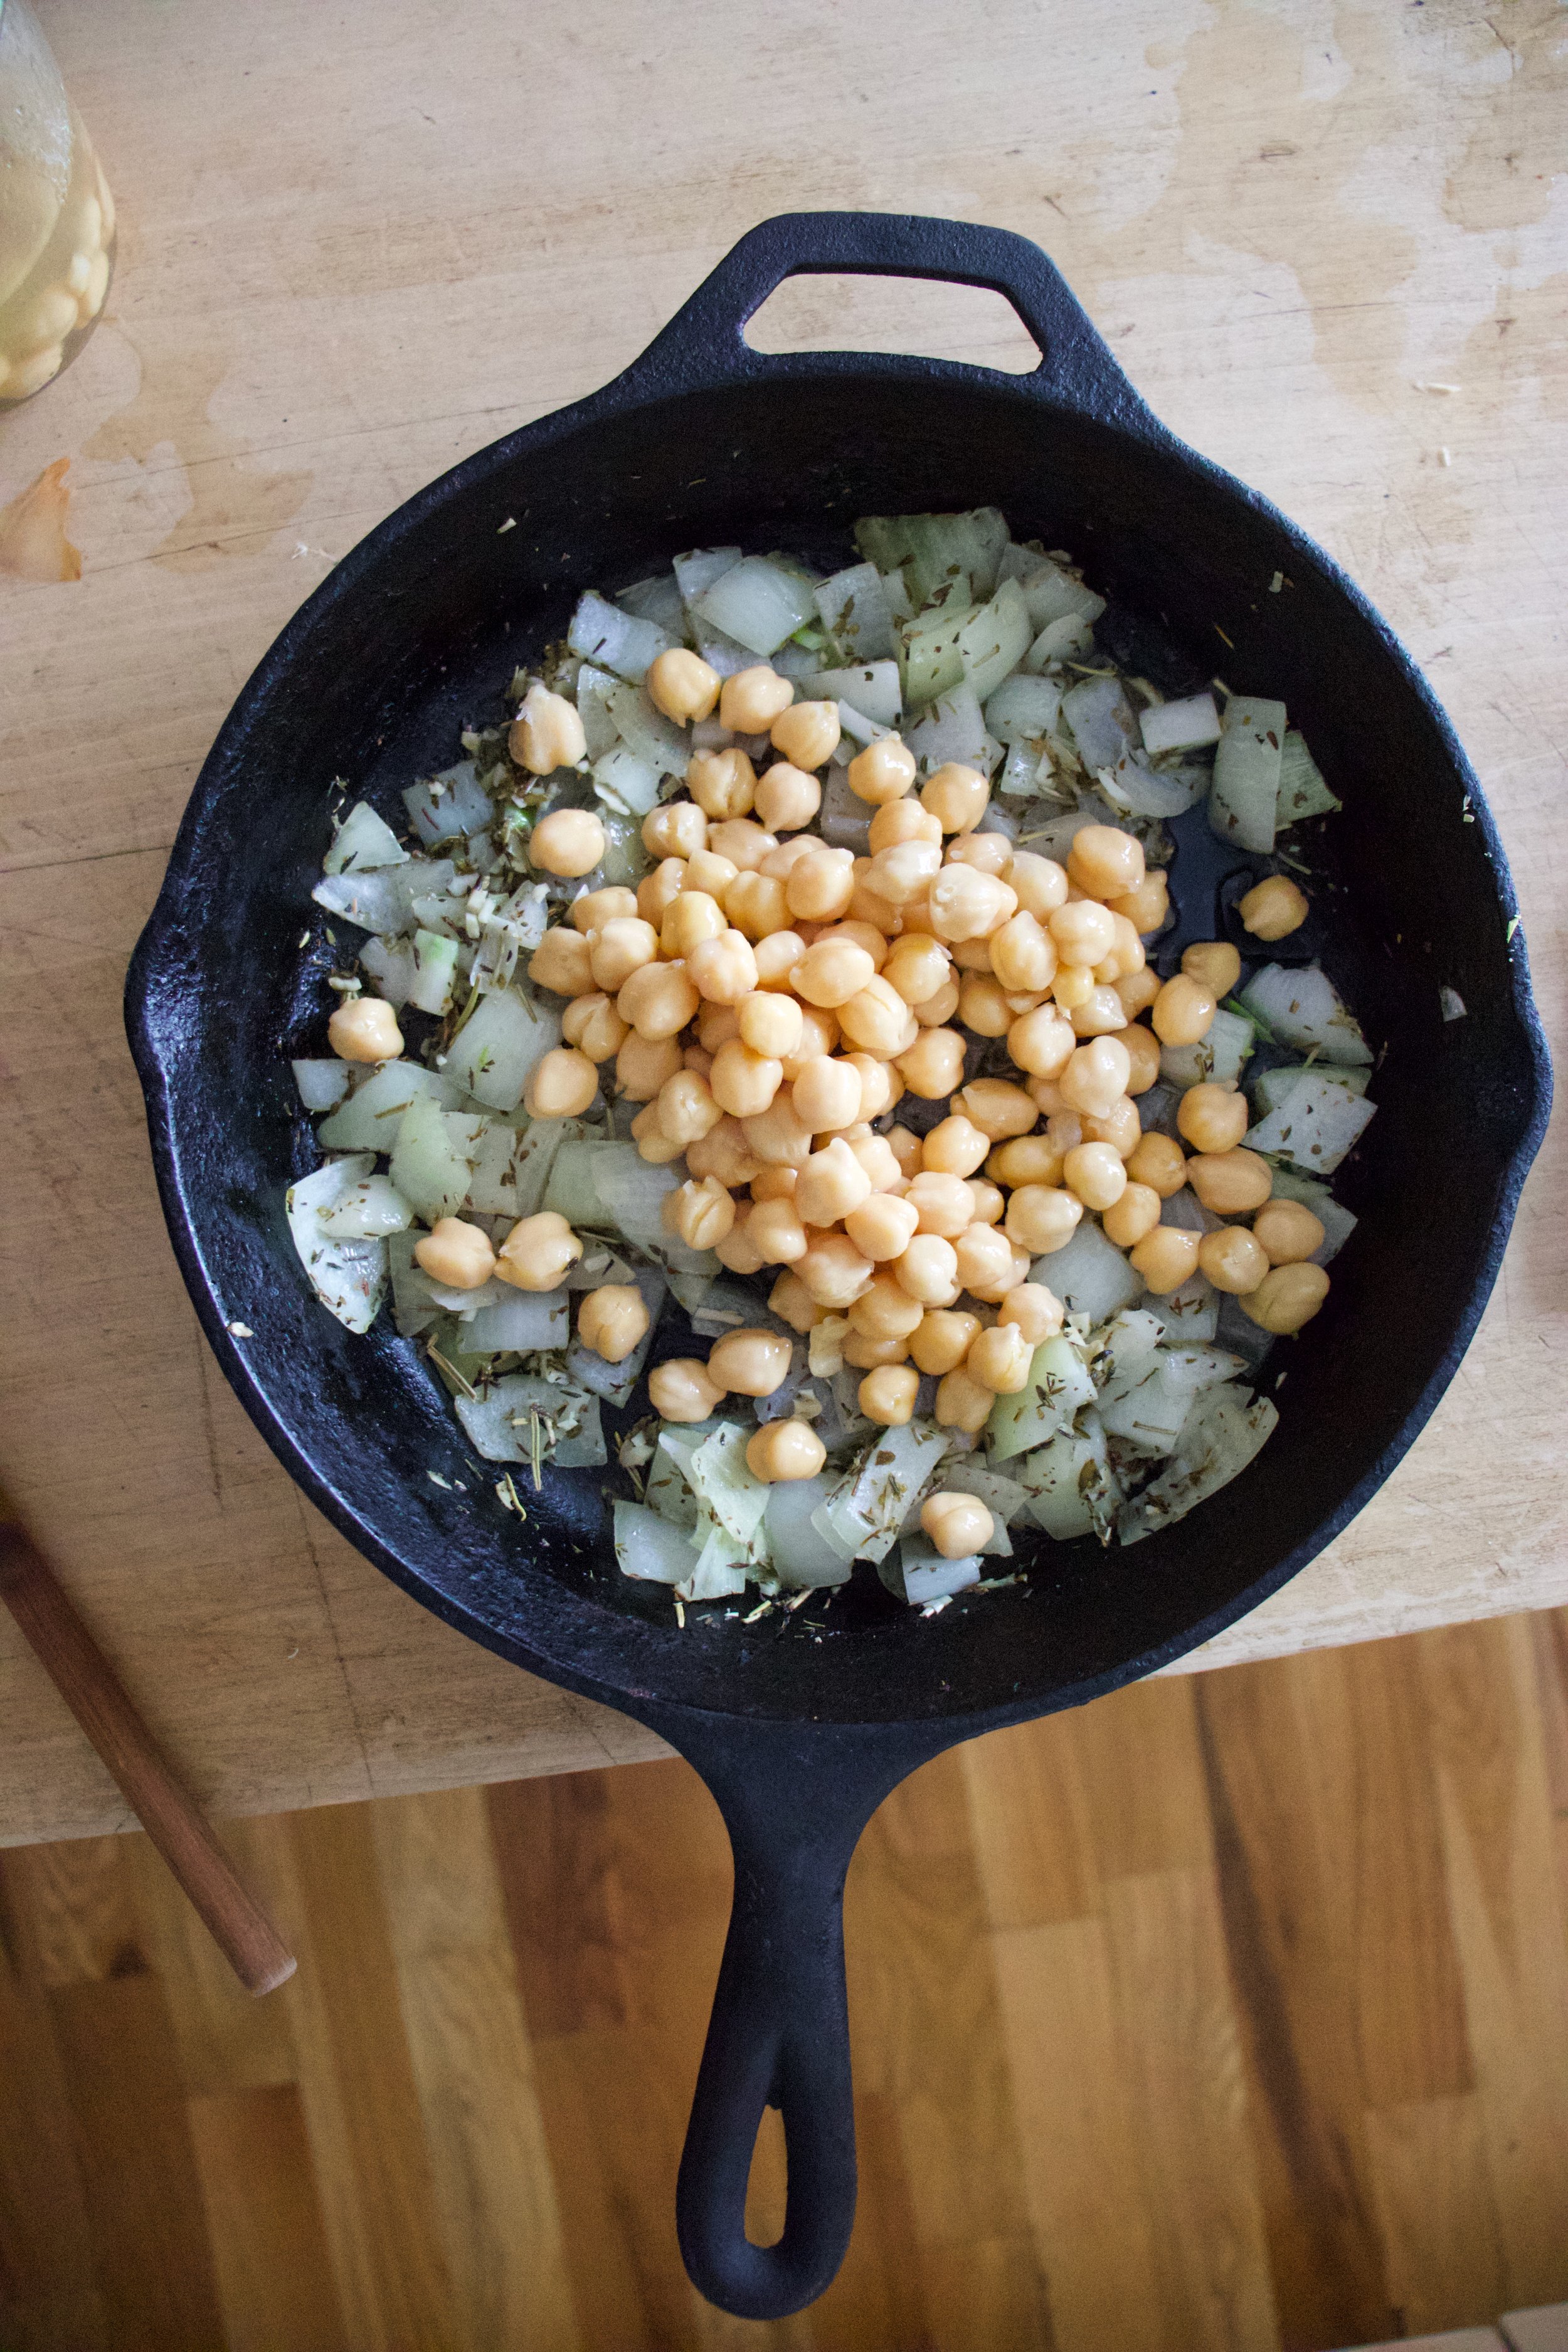
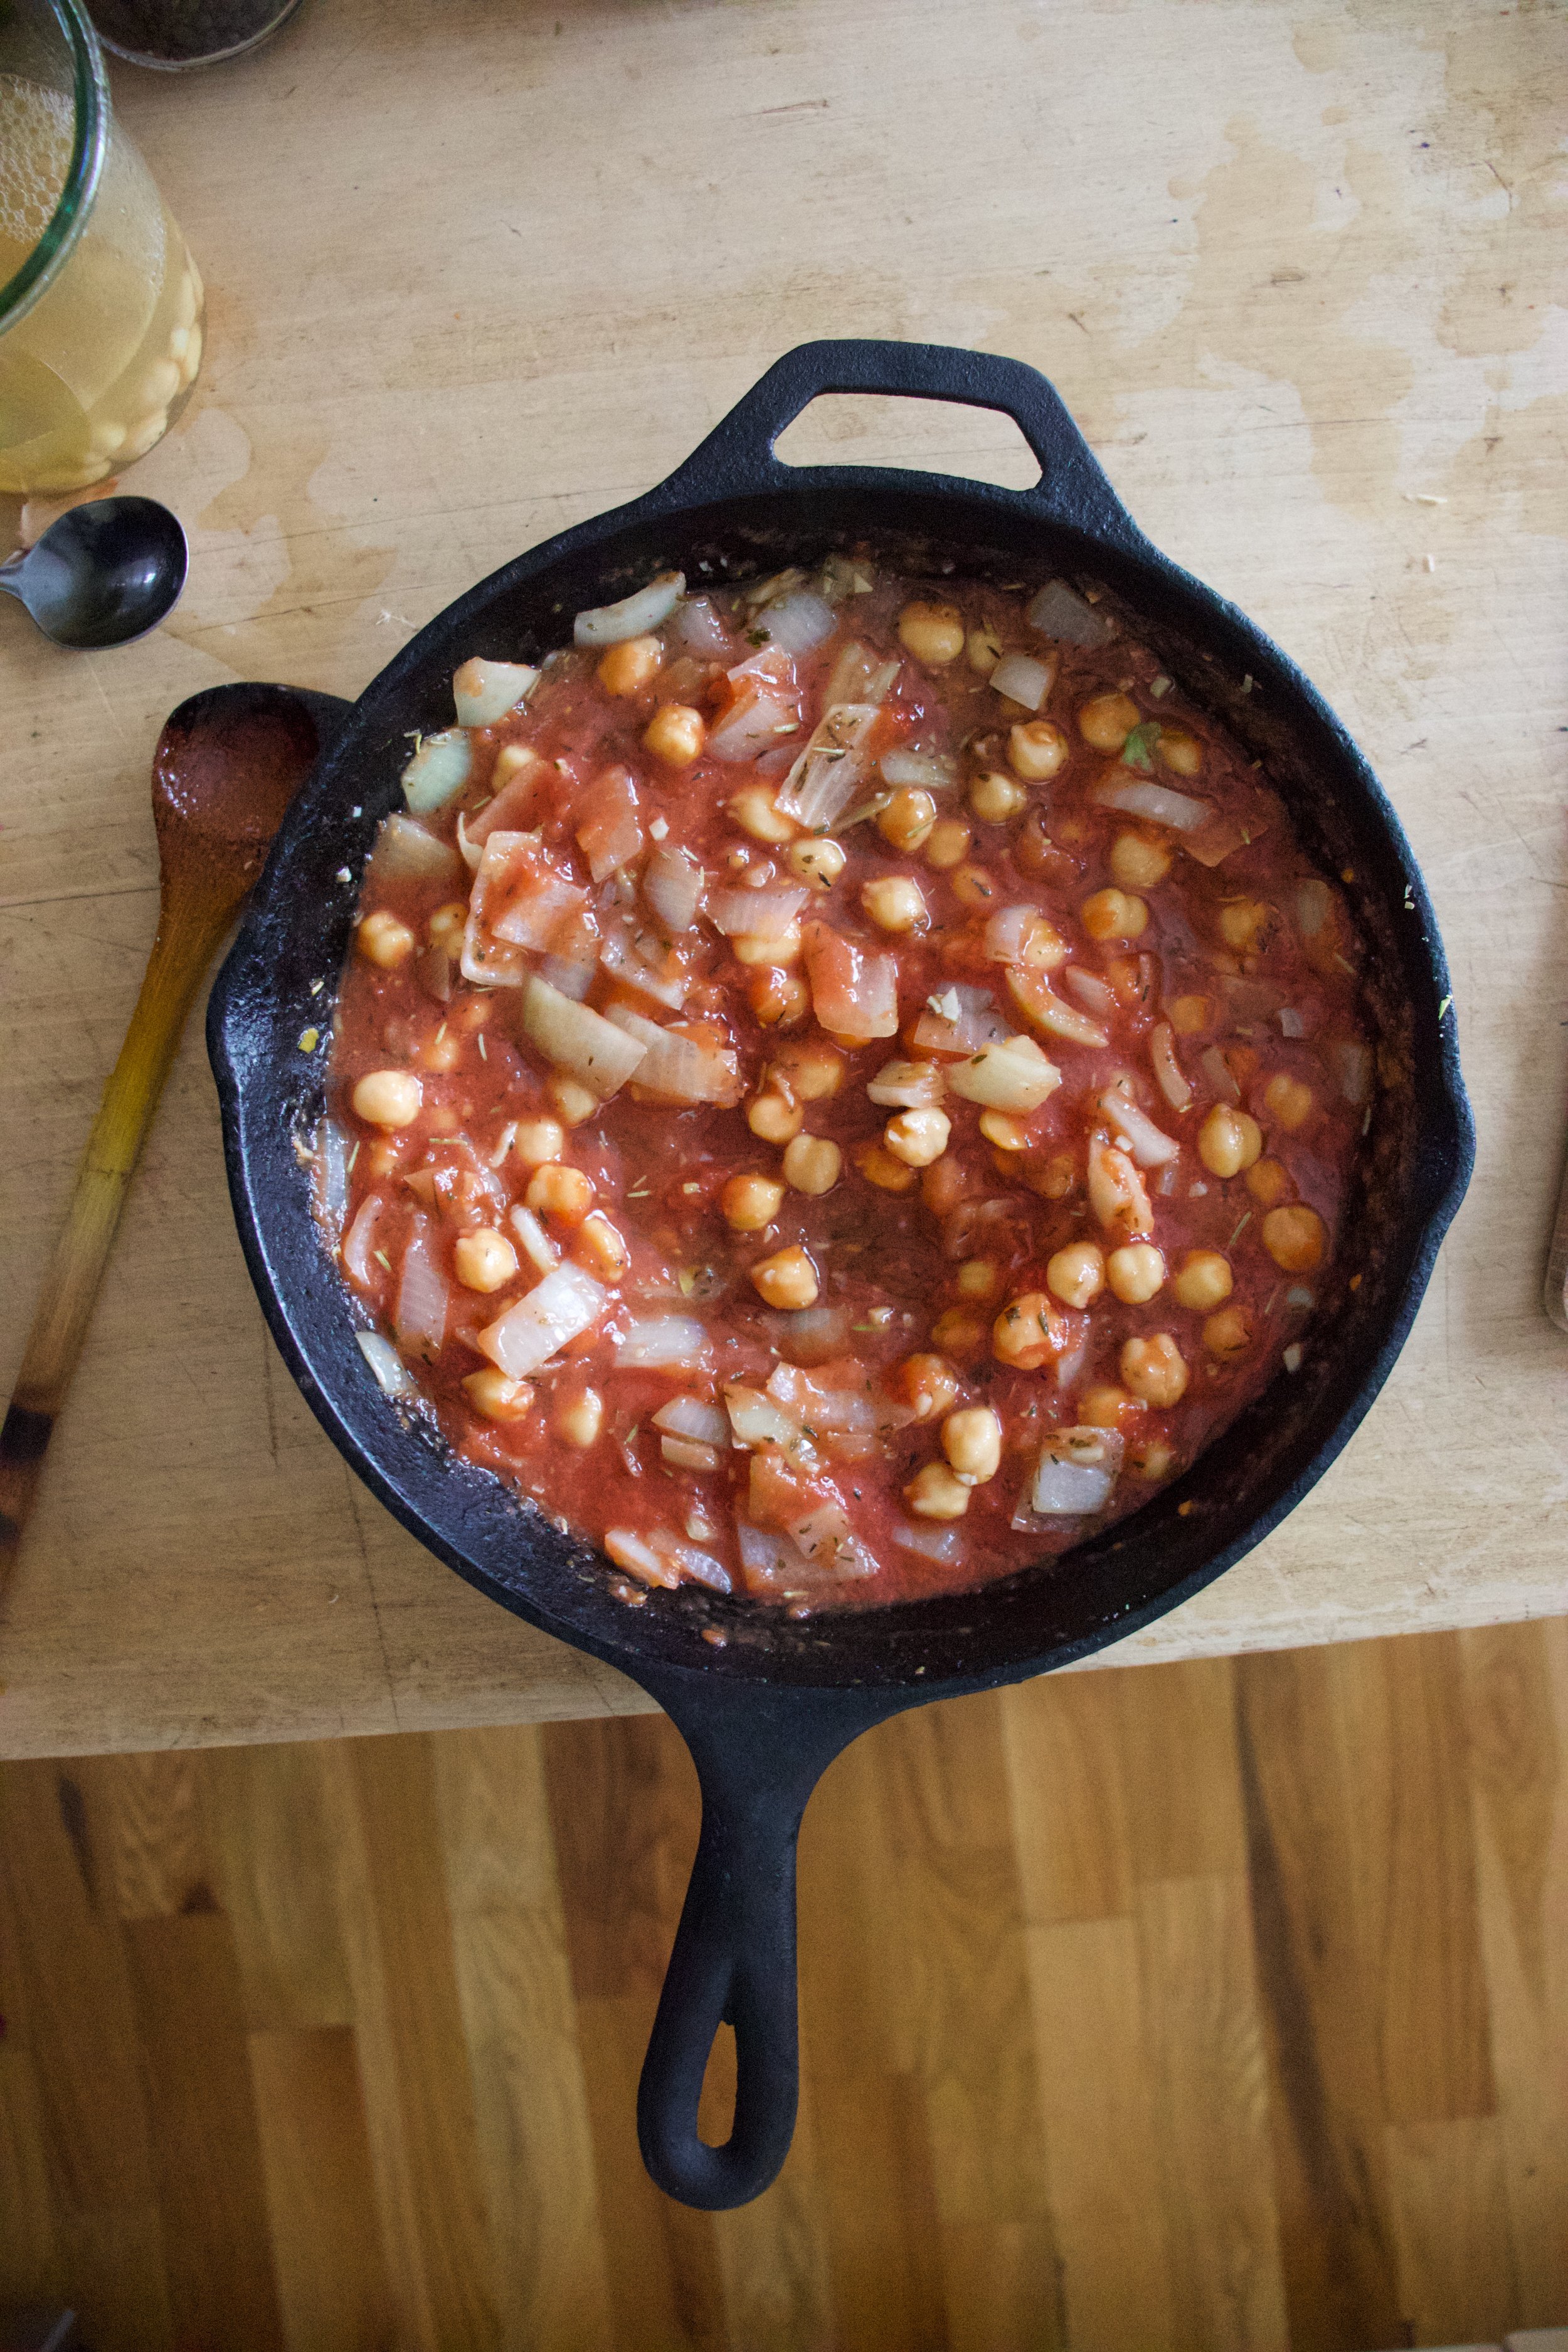
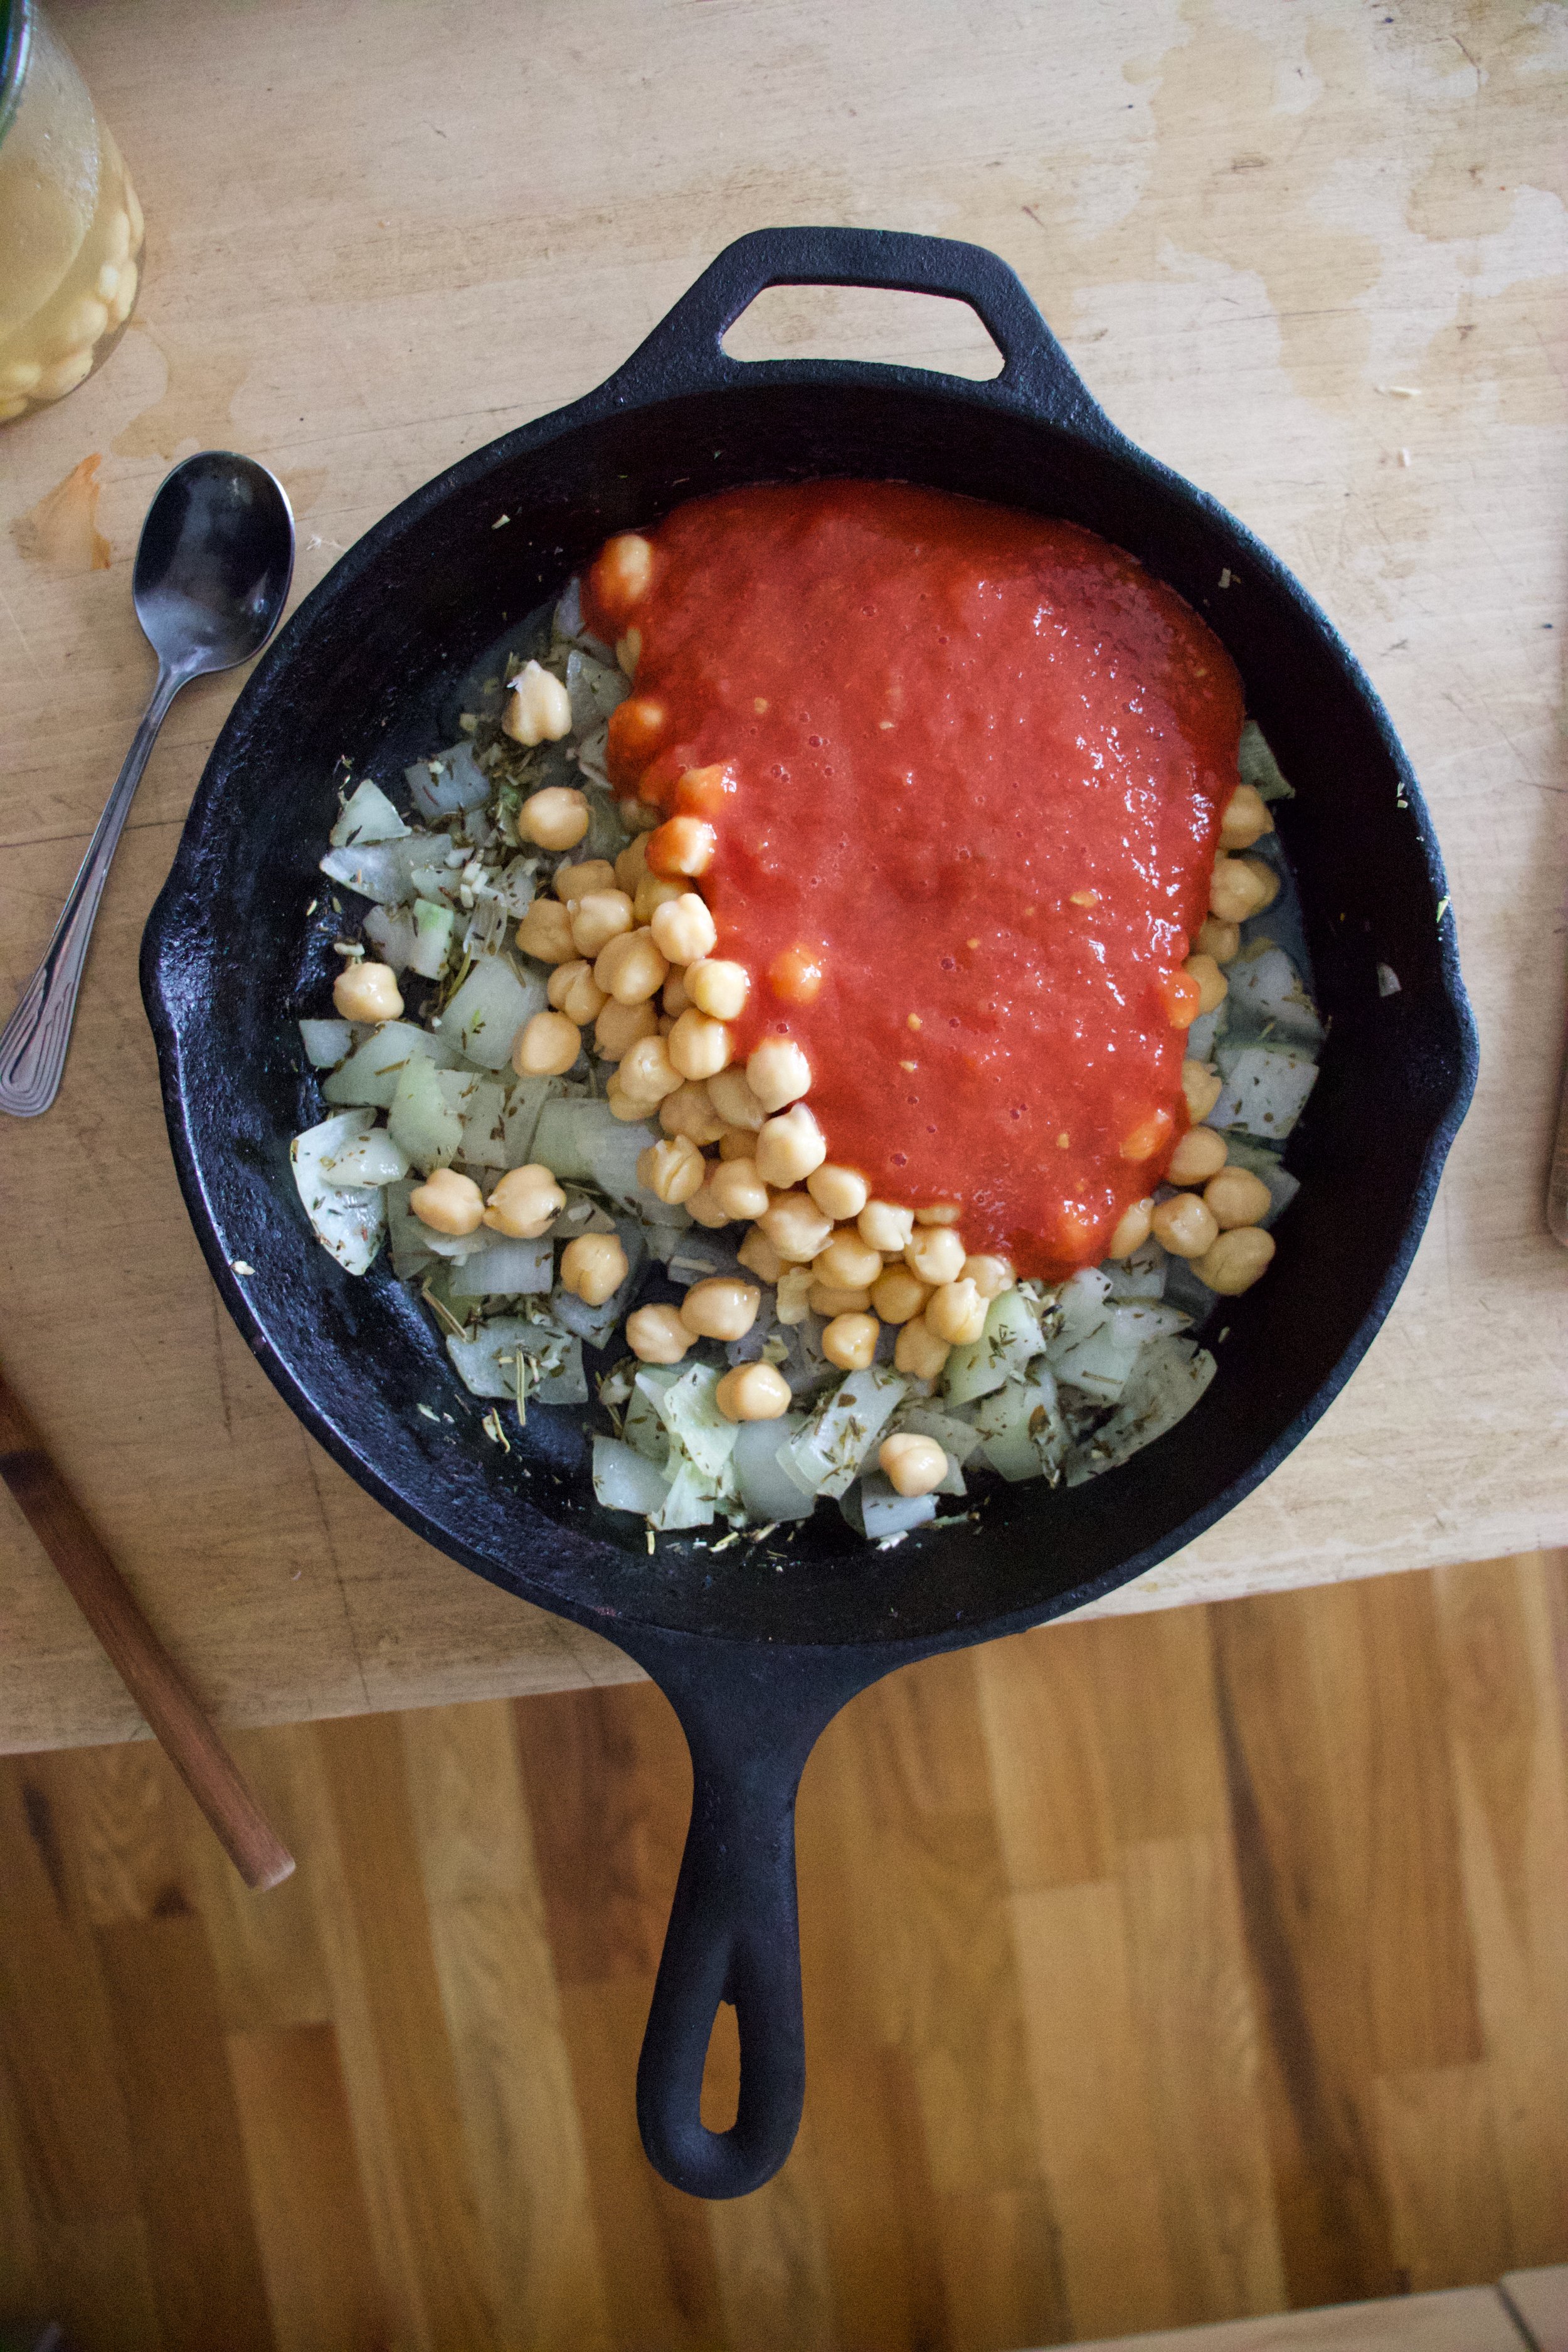
Potatoes are cut and onion mixture has sweated a bit so now you add in the chick peas (with liquid) and half the crushed tomatoes. Stir it all up.

Layer on potatoes, drizzle with a tiny bit of olive oil and give them some salt and pepper love.

IMG_4797.jpg

Dump the rest of the tomatoes on top then add in water, enough that all the potatoes are completely submerged.

Now into the oven they go.

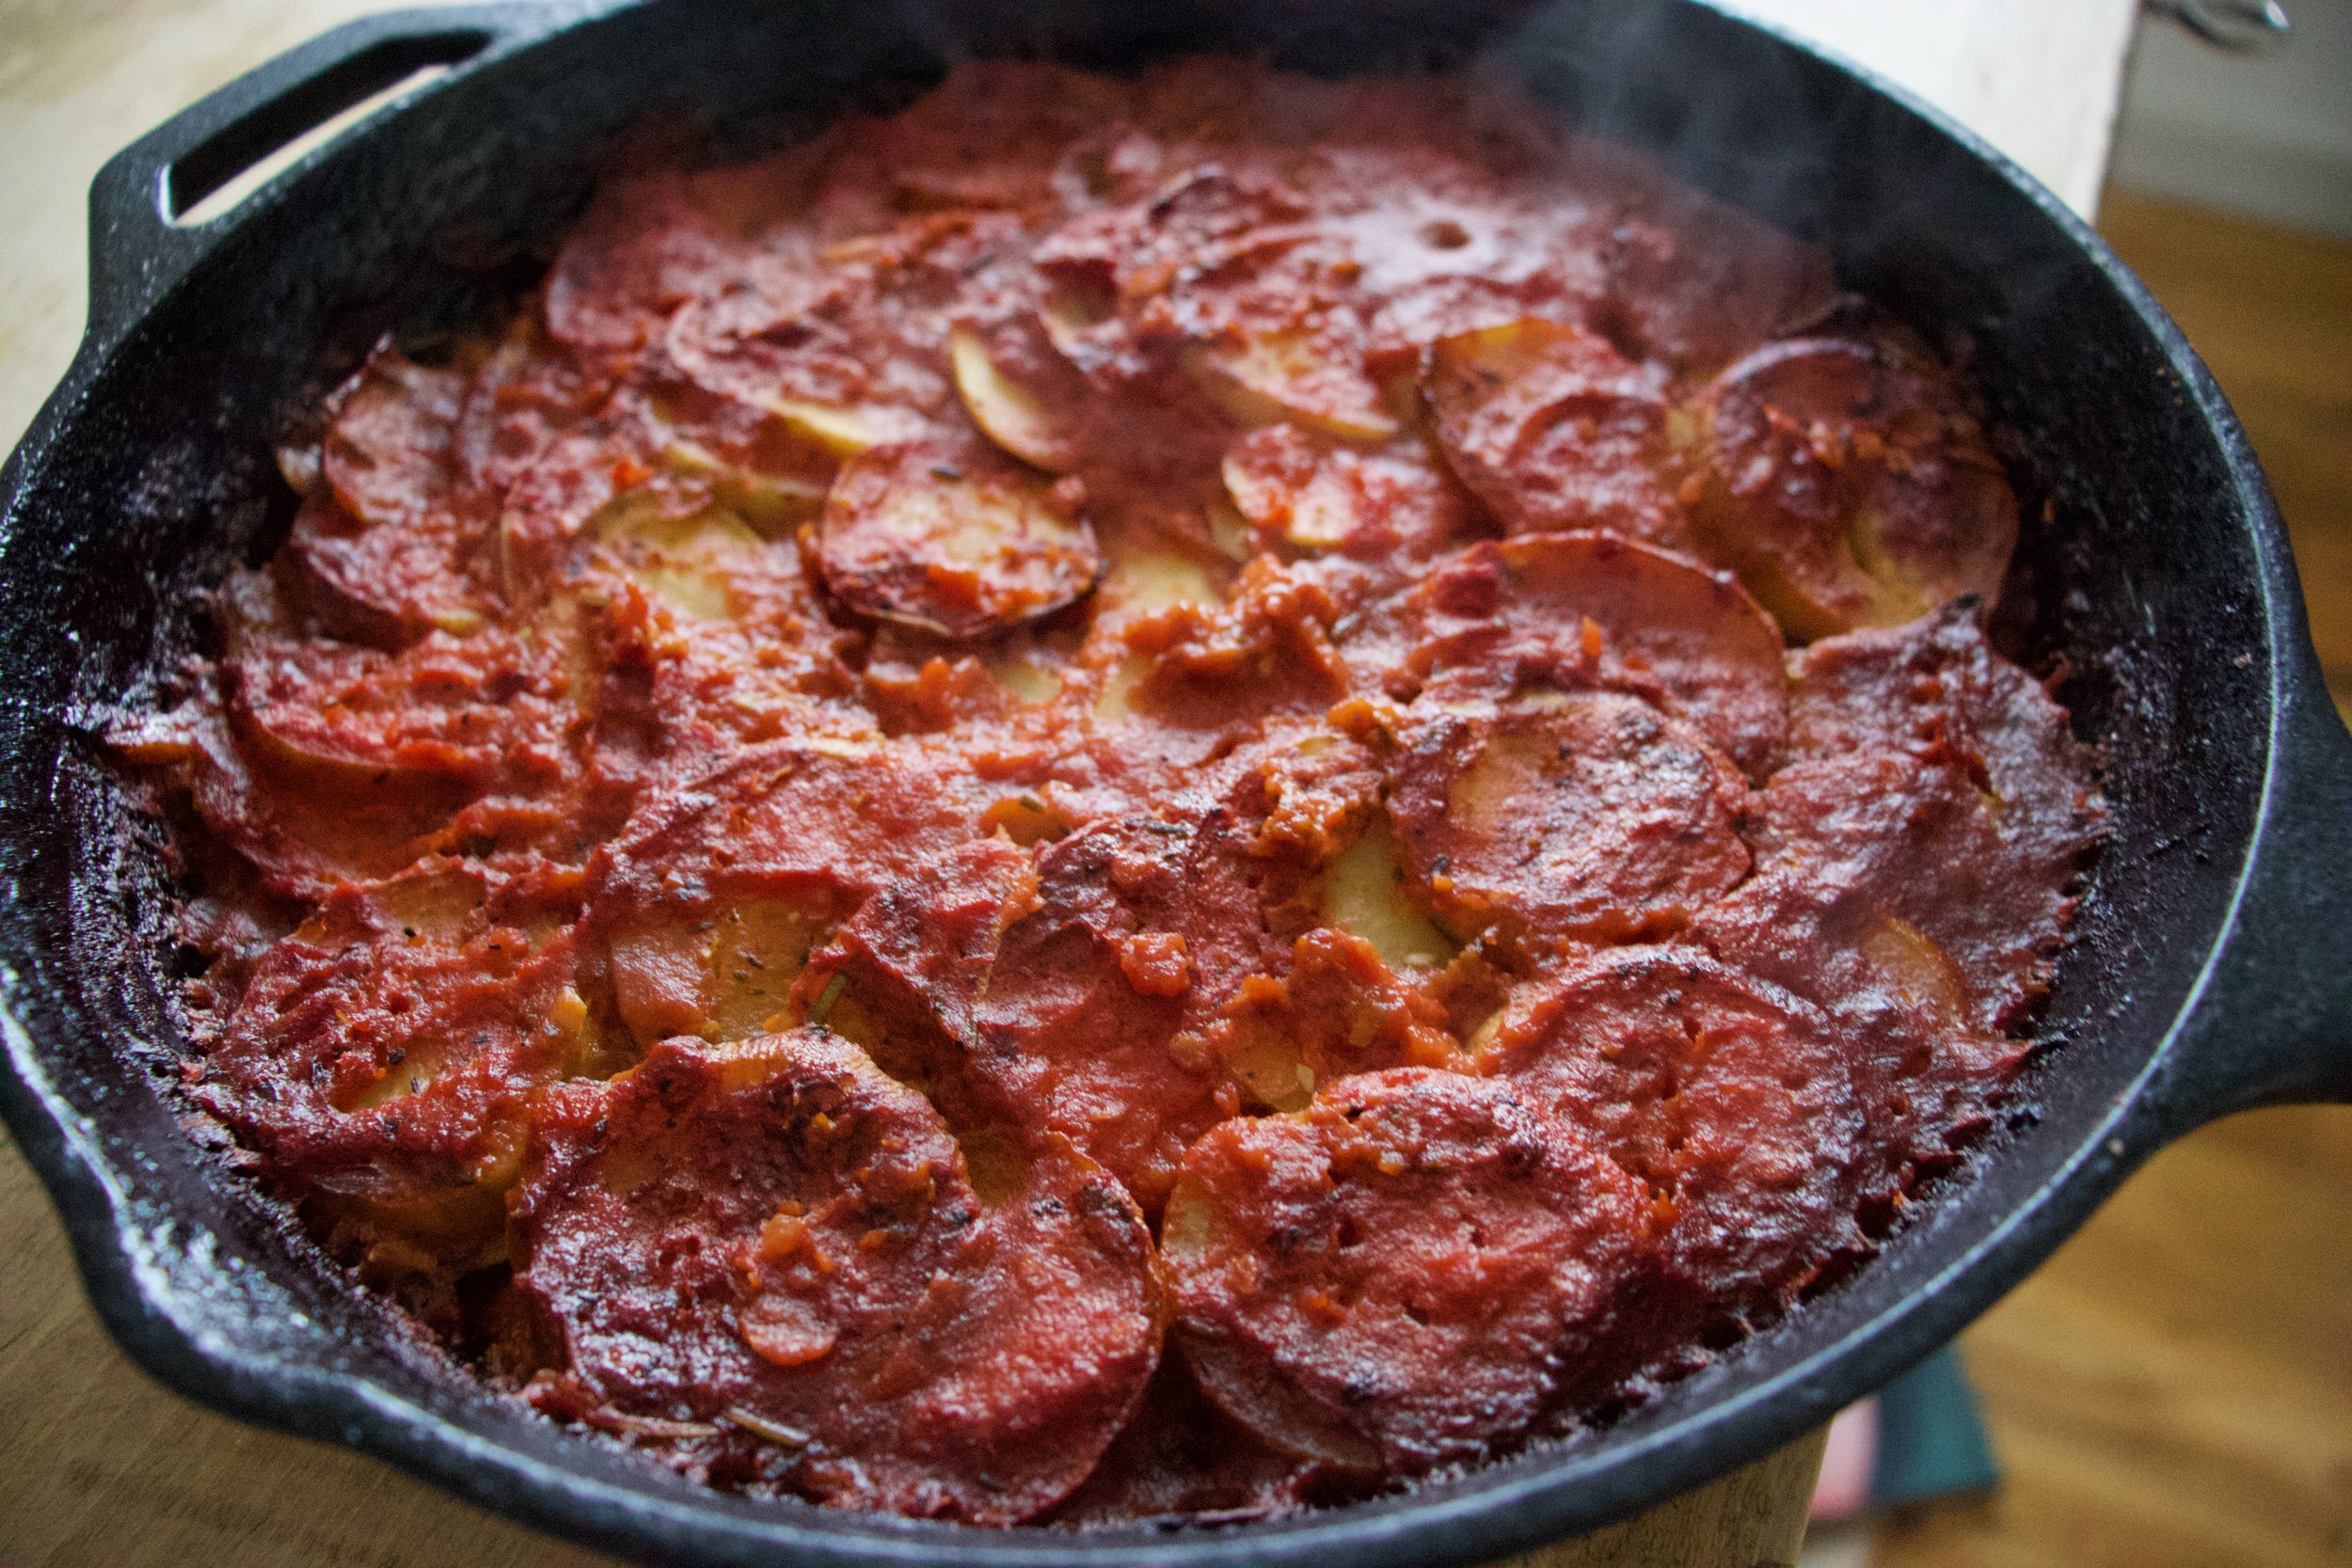
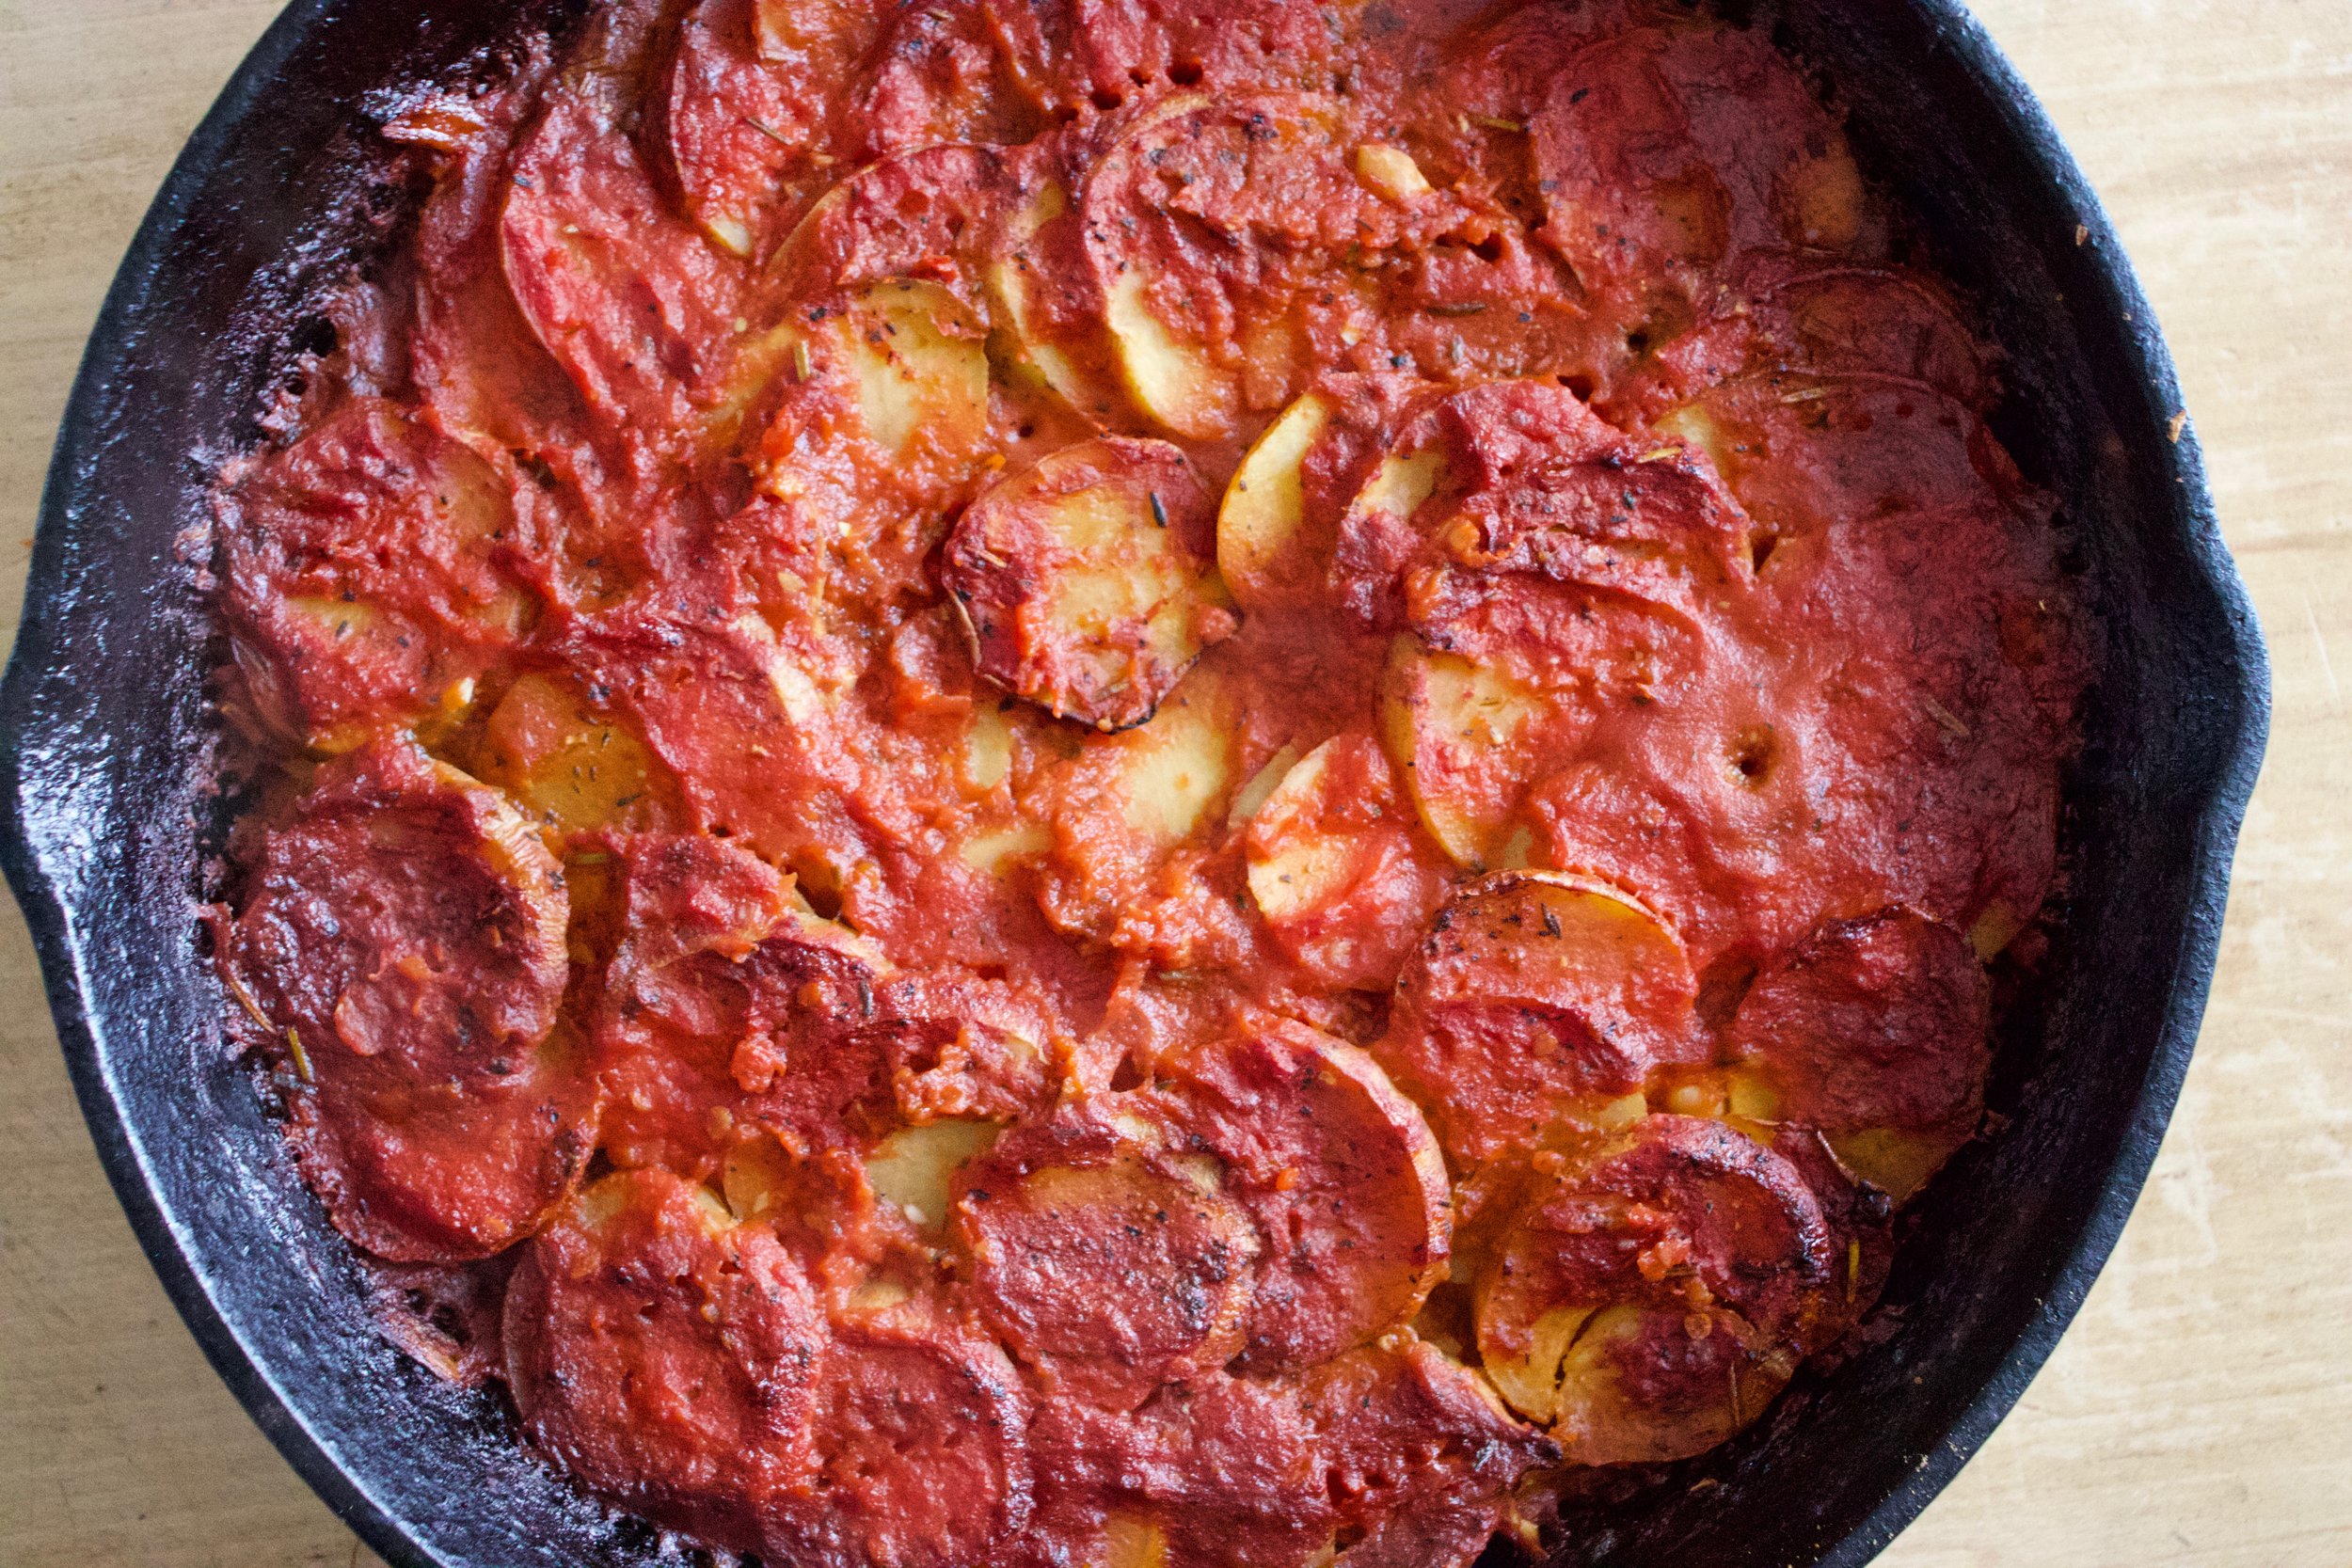
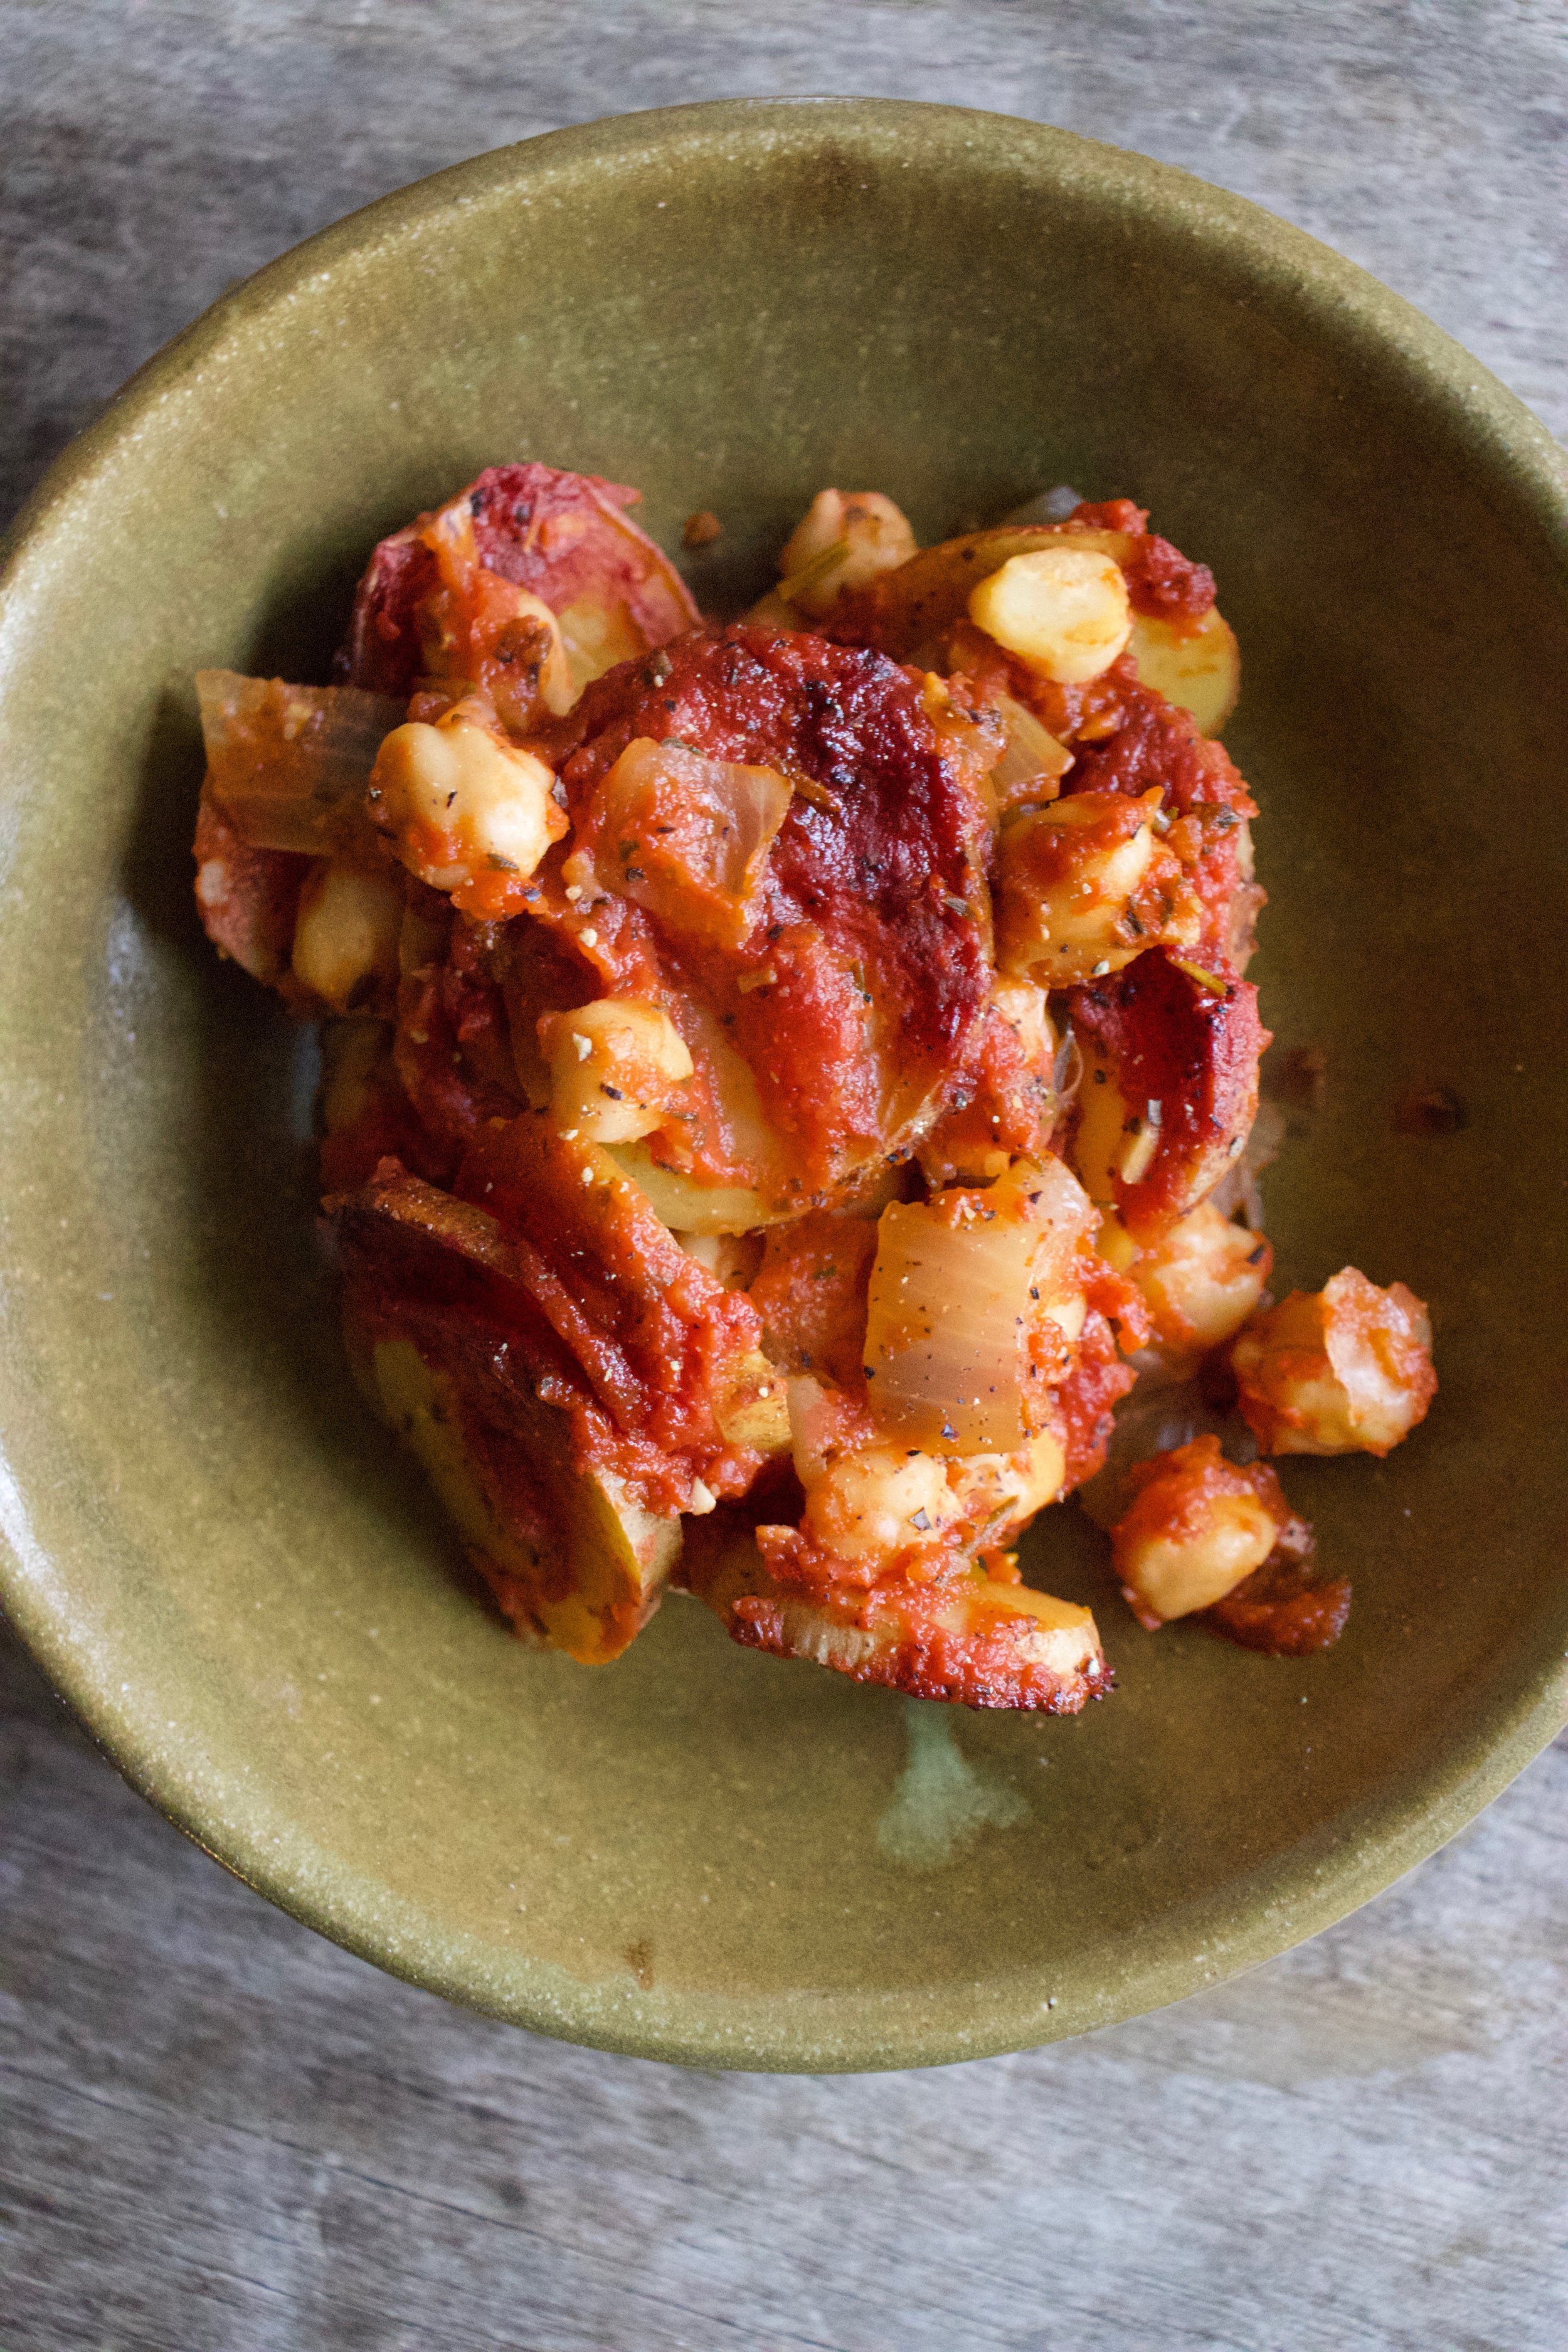
Doesn’t that just look all fantastic? I mean really really , A+ good, no? If you are feeling extra crispy, you could even stick the skillet under the broiler for a few minutes right before you pull it out.

IMG_4860.jpg

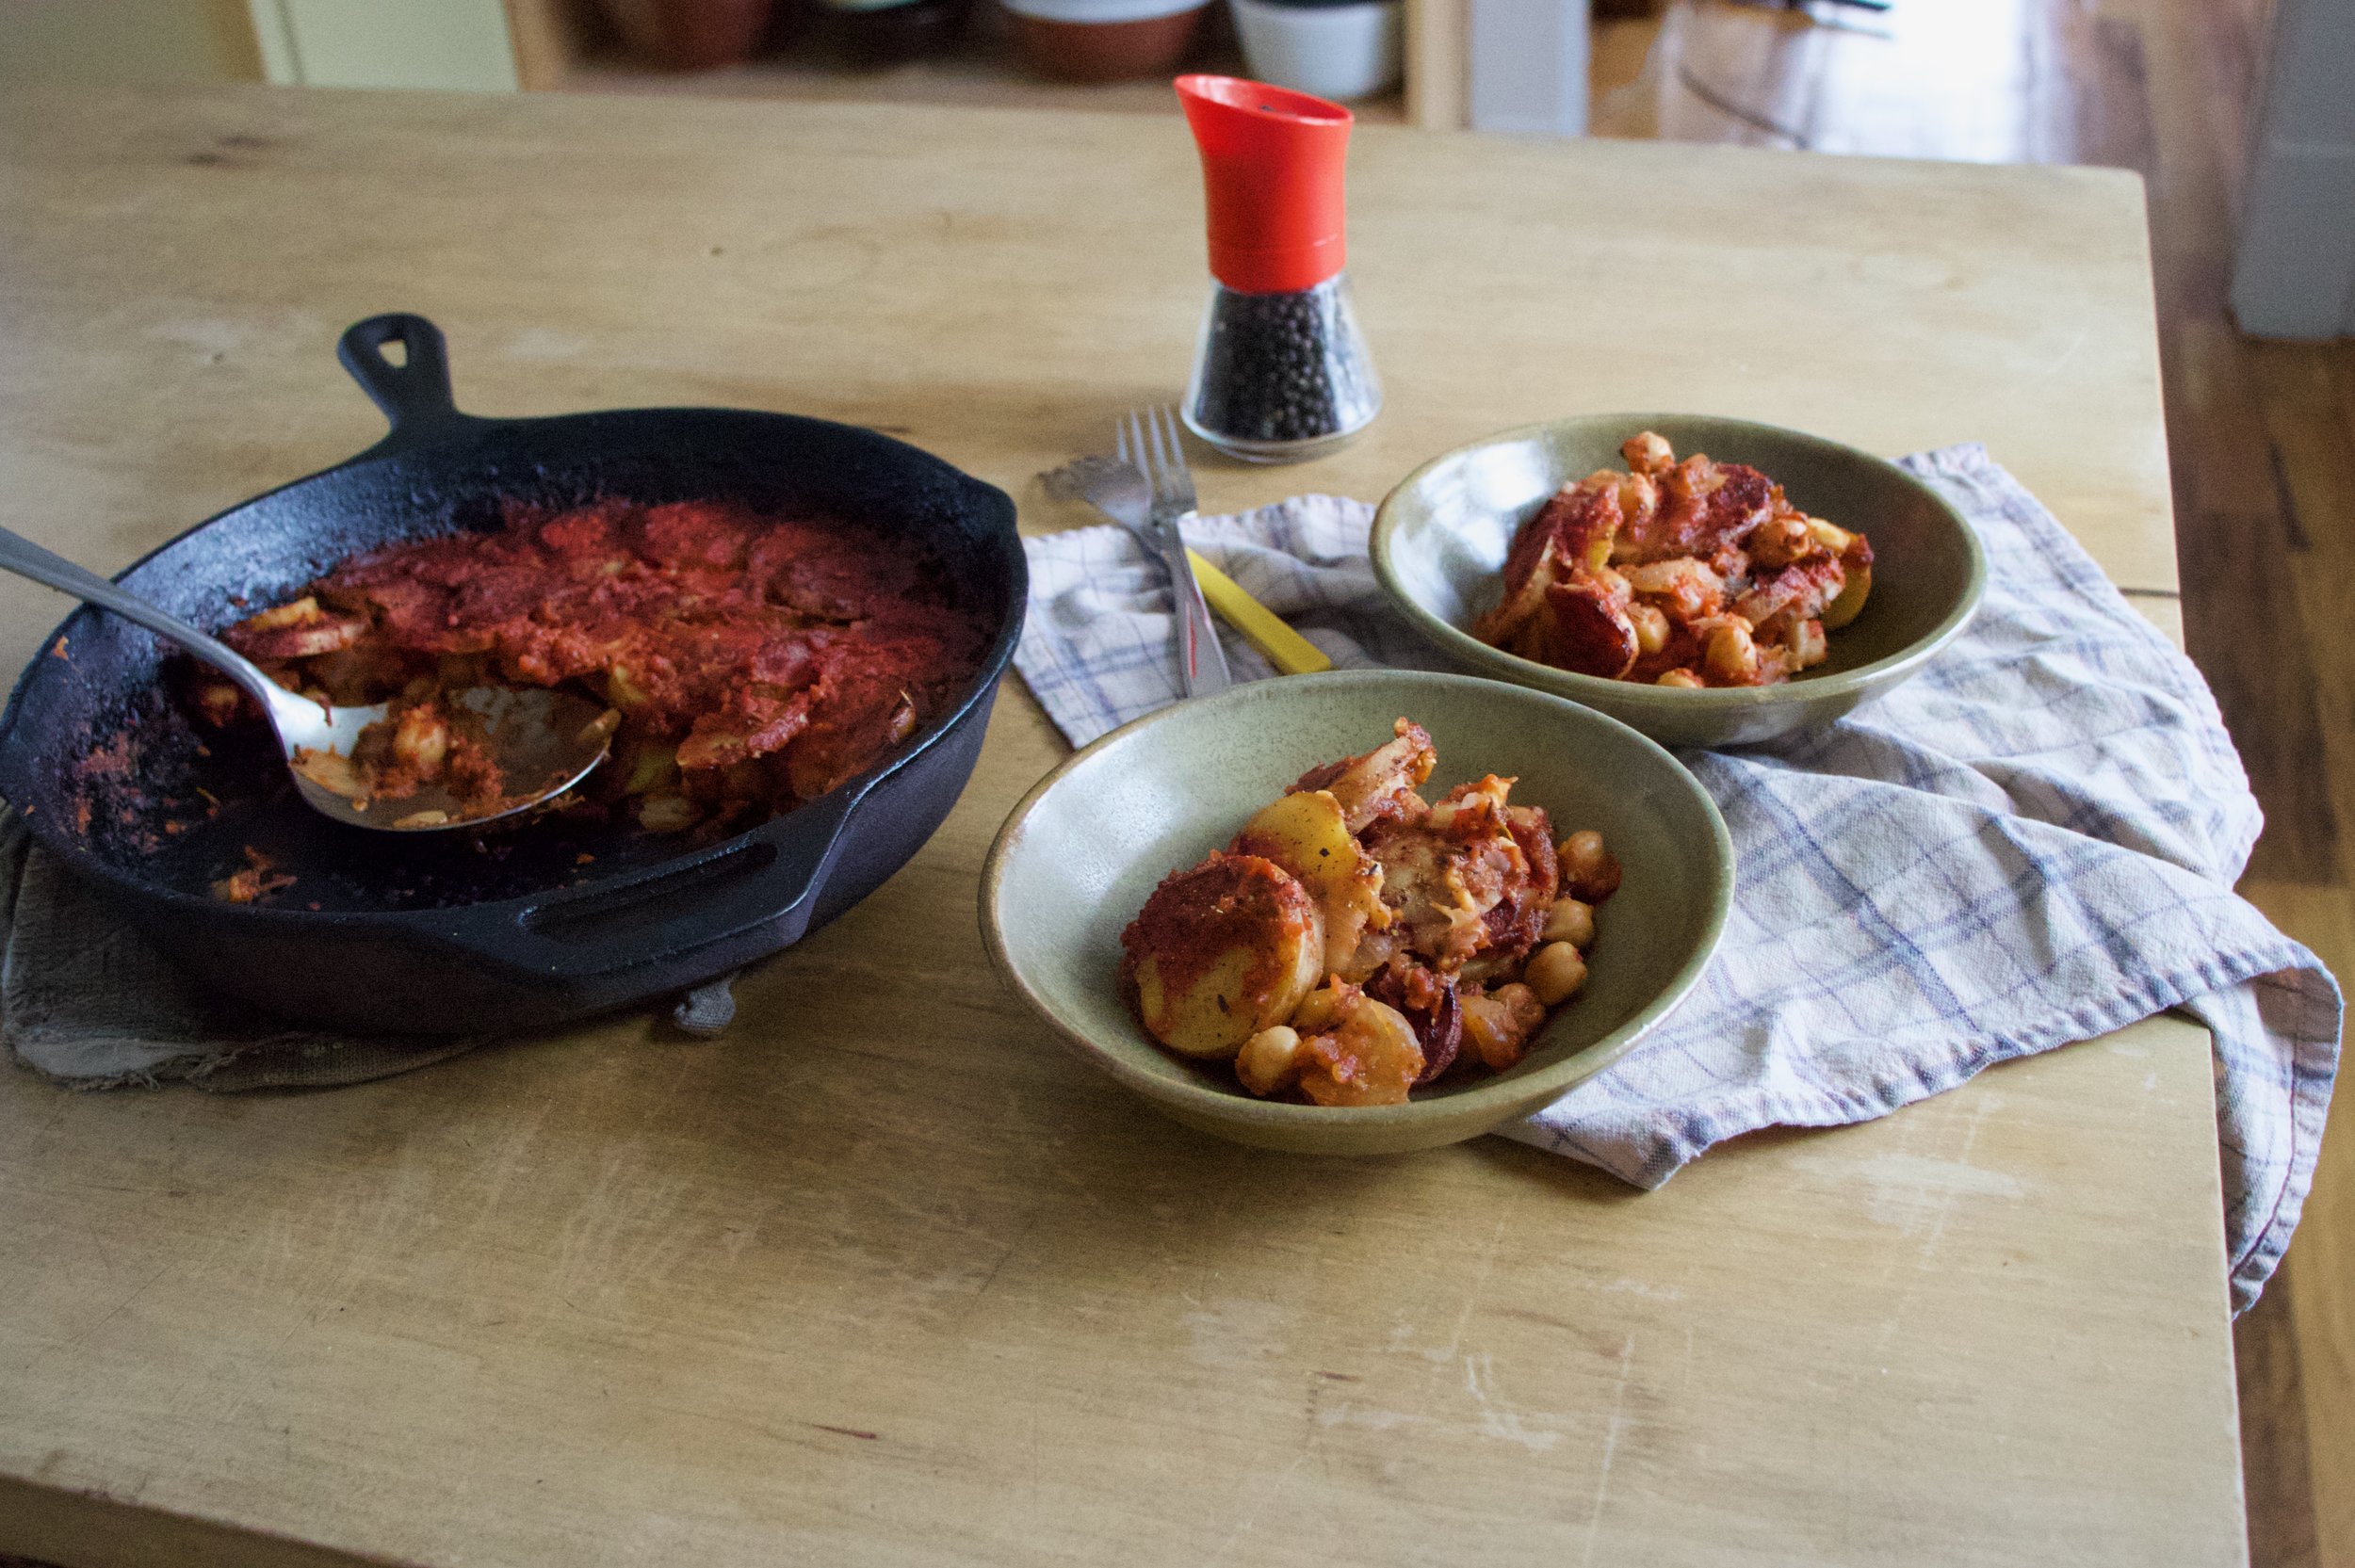
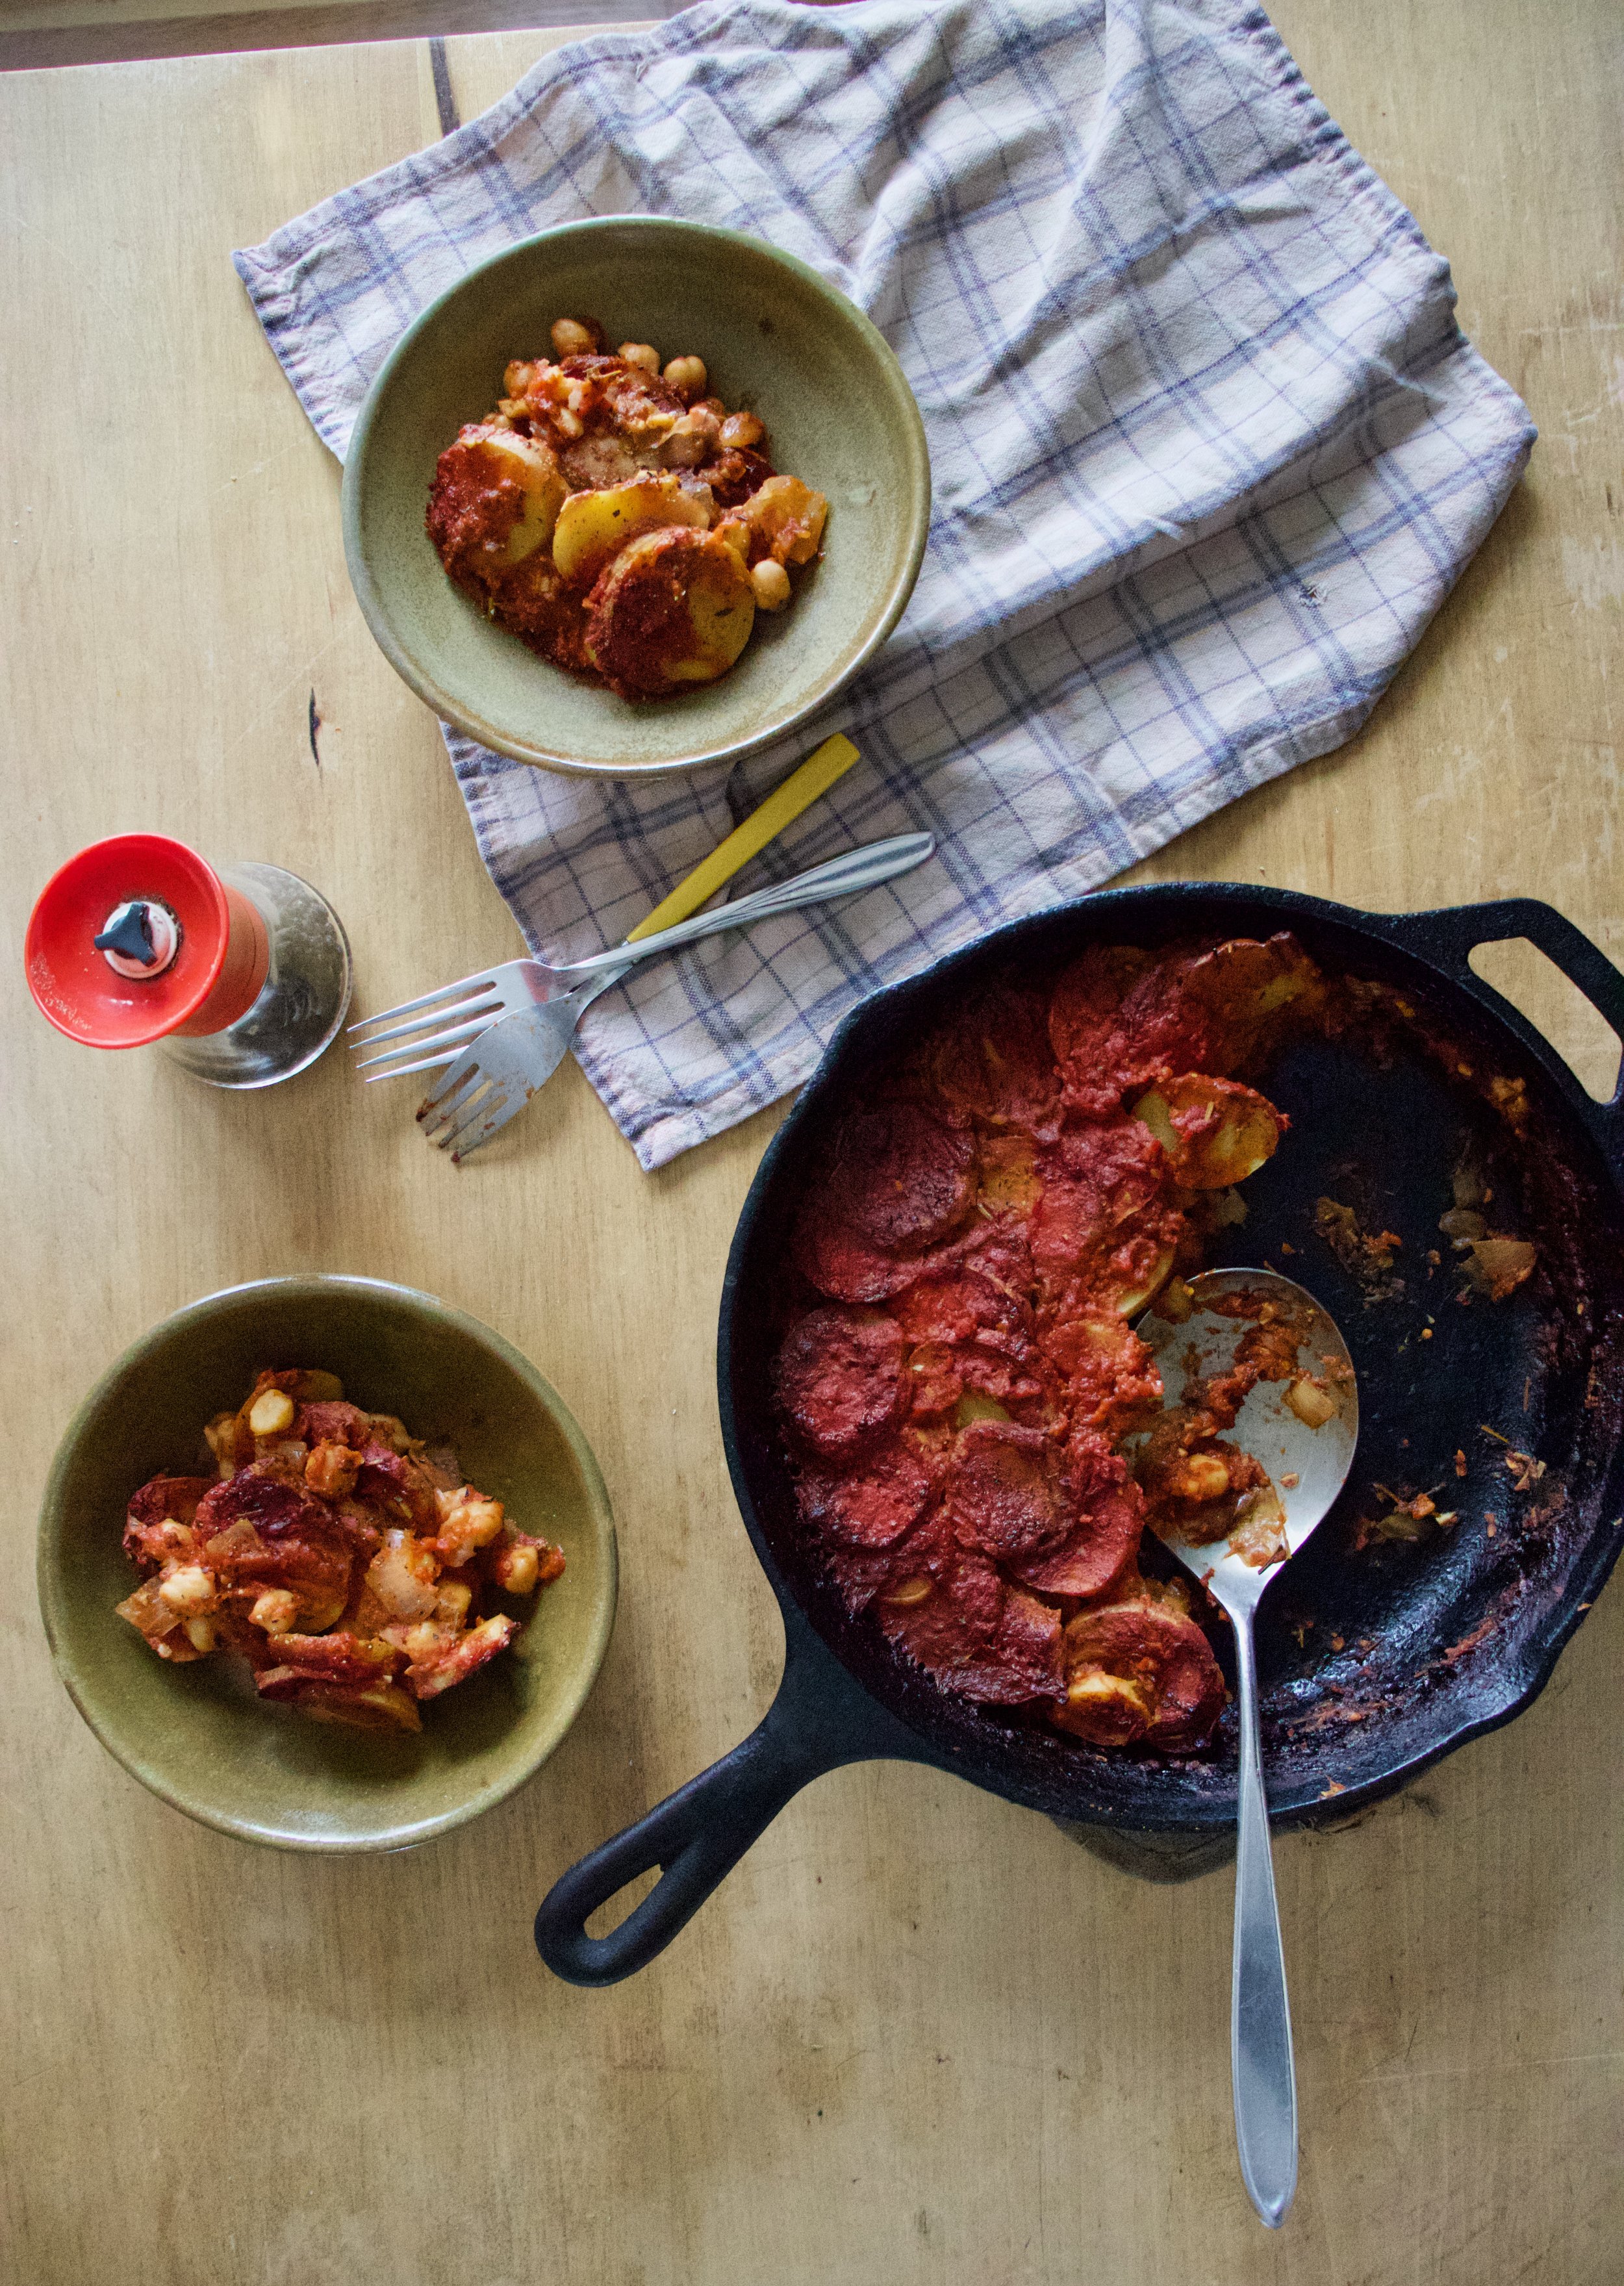
And that is that. Potatoes in tomatoes with chick peas and onions. A simple but very satisfying dish to keep your cold belly full of warm goodness.

Be well.

-C


potatoes in tomatoes with chick peas and onions

  • About a pound or so of white or red potatoes

  • 3 cups (or a 28oz can) crushed tomatoes

  • 2 cups (or a 16 oz can) cooked chickpeas in liquid

  • 1 large onion

  • 2-3 close garlic

  • 2 tablespoons Italian seasoning

  • 2-3 cups water

  • olive oil

  • salt and pepper

Preheat oven to 400

Grab onion and dice into small pieces. Mince the garlic. Grab a medium sized oven safe skillet and toss the onion and garlic in with a tablespoon or so of olive oil and the seasoning. Place on medium heat and cook for a few minutes until the the onion is slightly cooked and fragrant. Remove from heat. Mix in the chick peas with liquid and half of the crushed tomatoes.

Rinse potatoes and slice into 1/4 inch thick rounds. Place tomatoes into the skillet, layering any way you want. Drizzle the top with like a teaspoon olive oil then sprinkle the tomatoes with salt and pepper. Spread the rest of the crushed tomatoes over the potatoes then pour the water in. If the potatoes are not completely submerged in water, add more until they are. Cover the skillet with a lid or tin foil.

Place skillet in oven and bake 40ish minutes then remove lid or foil and bake for another 25-30 minutes or until potatoes are fork tender and slightly crispy on the edges. Depending on the type of patotoes you use,(like a really firm and waxy yellow potato) you might need to add more water to the skillet and cook for longer. If that is the case, just pour more water over until the potatoes are submerged again and keep baking until cooked.

For extra crispy, when potatoes are done, place skillet under broiler for a few minutes until crisp to your liking.

Pull from oven, let cool a minutes or two then dig in.

In beans, Vegan, side dish, pulses, one pot meal, entree, dinner, casserole Tags Potatoes in Tomatoes with Chick Peas and Onions, Potatoes, Tomatoes, chick peas, pulses, beans, vegan, dinner, meal, side dish, plant based, gluten free, whole 90, comfort food, dairy free, One pan meal, vegetarian
Comment

Quick Pickled Green Beans

December 29, 2018 Colleen Stem

Any time is a good time for pickles, but now is a great time. There has been so much baking, heavy, rich, and time consuming foods in the past month that I think everyone could use themselves a good helping of veggies and maybe a little brightness, like a good pickled green bean. Freshy, crisp, and clean. A jar of happy green goodness. (Don’t you describe jars of pickles just like that, a happy green jar of goodness?)

Around there parts, it’s kind of a holiday tradition with the mr to get a jar or two of pickled beans. I don’t know exactly how it started, but they are something that he has been getting every year. So this year instead of buying him a jar, I just made them. And let me tell you, it is a heck of a lot cheaper to make your own then it is to buy them, plus I think mine taste better if I do say so myself. These pickles are of the refrigerator kind so there is no processing or stress of bad seals. Nope, these pickles take all of 15 minutes to make, a day to pickle up nice and good in the fridge, and that is that. Ready to go, ready to eat. A small task, nothing fancy, nothing a small child could not handle (um.. well I would not let a small child near boiling water so nix that but a medium to large child, yeah sure.)

Pickled green beans. You know you want them so go and make them.

To the pickled beans!

The stuff. Fresh green beans, white vinegar, salt, peppercorns, garlic, dill and a dried cayenne pepper. The dill and cayenne pepper are optional and you can use any spices you want, but these are good ones to try.… Next batch I am going to do fresh turmeric and ginger, see how that comes out.

IMG_3814.jpg
IMG_3816.jpg

The hardest and not hard at all part. Blanch the beans. Basically just toss the beans into a boiling pot of water for 2ish minutes then scoop them out into a bowl of ice water. Easy peasy.

Jar preparation. I figured I would do two flavors, a spicy cayenne and a dill. (Cayenne for me, dill for the mr) Both jars get a chunked up glove of garlic and some slightly smashed up peppercorns. The hot pepper goes into one and the dill into the other.

IMG_3840.jpg

Then make the brine. Just boil the vinegar with salt. Nothing fancy.

IMG_3834.jpg

You got the jars ready and the brine made so now you just pack the two jars with the blanched beans. You might need to snip a few in order to fit, but I just eat those ends anyway so I am doing myself favor here.

IMG_3848.jpg

Then you pour equal amounts of the brine into the jars then top off the the jars with ice water. Place a lid on those suckers and give them a good shake and into the fridge they go. 24 hours give or take and that is that.

And now you got pickled green beans. The question is weather you eat a few at a time or if one jar constitutes a vegetable serving and you eat the whole jar at once.

I say eat the whole jar. Not like it took very long to make right? So maybe you just a few extra jars.

Have a lovely weekend.

-C


Quick Pickled Green Beans

maks 2 pint jars

  • 1 pound green beans

  • 2 cups water vinegar

  • 1 1/2 - 2 cups cold water

  • 2 teaspoons salt

  • 1 teaspoon whole or slightly crushed peppercorn

  • 2 big cloves garlic

  • A tablespoon dried dill and a dried cayenne pepper (optional)

Rinse green beans. Bring a large pot of water to a boil and grab a large bowl and fill with cold water and a few ice cubs. Place half the green beans in the boil water and let cook for about 2 minutes. Scoop them out and place into the bowl of ice water. Repeat for the second half of beans.

Place the vinegar and salt in a small pot (or use the pot you used to boil water) and bring to a boil. Set aside

Grab 2 pint jars making sure the are nice and clean. Peel and cut the garlic into a few pieces and place into the bottoms of the jars. Add the dill to one and cayenne to the other (or whatever spices you do or don’t want to use) Give each jar some of the peppercorns then start packing the balanced beans into the jars. Try to make them all straight so you can fit in as may as you can, and if the bean is to long, just cut to fit (eat the ends) Once both jars are packed pour equal amounts of the vinegar brine to the jars. Top off each jar with cold ice water. Place a lid on the jars, give it a good shake and place jars into the fridge for 24 hours. After the wait, pop the lid and eat.

Pickled beans will last about a month in the fridge but really, if you have them for more then a week, that is just a shock.

Note about lids. I use plastic lids when dealing with anything acidic. The metal lids will work but will rust after a while and sometimes leaves metallic taste. If you only have metal lids, use a piece of wax paper in between the kid and jar.

In beans, quick and easy, snack, Vegan, Vegetables, Pickled Tags Quick Pickled Green Beans, Green beans, Quick Pickles, Pickles, Vegan, plant based, vegetable, beans, pickling, canning, refrigerator pickles
Comment

Baked Beans

November 17, 2018 Colleen Stem
IMG_2379.jpg
IMG_2436.jpg
IMG_2427.jpg

I made baked beans last week for a side to dinner with the mr and Barb. They ate them all. I didn’t get more then a spoonful. I was sad for me, but also was like “Shit, if I had known you guys were bean fiends, I would be making baked beans like all the time.”

And maybe not all the time, but I made them again this week. And again, they ate a lot, but I got me some this time, and I will probably make them again next week too because they will be perfect for Thanksgiving. See, homemade baked beans are a thing of beauty. Sure you can buy them in a can and be just fine, but these baked beans, well these are waaaayyyy way better. These baked beans are soft (not canned bean soft) and tomatoey and a little spicy with a tang. Not sickly sweet, (not sugar added) and not too salty.. They are just about perfect. You can eat them on their own, toss them into salads or wraps, stick on some toast, serve as as side, or just eat them cold straight from a jar from the fridge right before bed. (your loved one will thank you for that). Plus they are baked in the oven and I love me a good warm oven on a cold day. And the obvious, but all the protein and all around goodness. A great dish to serve if ever you need to feed people like me who don’t eat meat. It’s a win win win win.

Baked beans in all their glory. No cans in sight.

IMG_2322.jpg

The stuff. White beans that were soaked overnight, strained then added back to a pot with 6 cups of water. Also have crushed tomatoes. an onion, a few cloves of garlic, chili powder, mustard powder, apple cider vinegar, and some salt and pepper.

IMG_2337.jpg

First step is to start boiling you beans. But while that is happening, mince garlic and chop the onion into really small pieces.

IMG_2340.jpg
IMG_2350.jpg

Toss the onion and garlic in a pan and cook on medium low until soften and fragrant.

Cooked beans. All you need to do to cook them is place the pot with soaked beans and water on high, bring to a boil, then turn heat to a medium. Let beans cook until tender. It should take about an hour and a half.

IMG_2365.jpg

Beans are cooked and the garlic and onion are soften so now all you do is combine everything together. Don’t drain the beans, just toss in the tomatoes, the vinegar, the spices, and a few pinches of pepper and a pinch of salt. Stir in all together,

Looks like soup right? This is right before you stick it into the oven.

IMG_2387.jpg

Now look at that, oven baked beans. The best part… The crispy sides. ALL MINE!

Not much left to do but eat them. Straight up with a hunk of bread. That is a good way to start anyway.

Enjoy your beans!

-C


Baked Beans

Makes a big pot of beans

  • 1 pound (2 cups) white beans soaked in water for at least 8 hours (I used great northern but navy would be good too)

  • 6 cups water or veggie stock

  • 3 cups (or a 28 oz can) crushed tomatoes

  • 1 onion

  • 3 cloves garlic

  • 1 1/2 tablespoons chili pepper

  • 1 tablespoon mustard powder

  • 1/3 cup apple cider vinegar

  • salt and pepper

Strain soaked beans and place them into large oven safe dutch oven almond with the water and stick on the stove. Bring the beans to a boil then reduce heat to medium and cook util the beans are tender. Should take about 1 1/2 hours.

Sometime while the beans are cooking, mince garlic and chop the onion into very small pieces. Place in a skillet and cook on medium until the onion and garlic are soften and fragrant. Remove from heat and set aside until beans are cooked

Preheat oven to 425

One beans are tender, dump in the cooked garlic and onion, the tomatoes, the spices, the vinegar, and a good pinch of salt and pepper. Stir it all together and place into the oven. Bake for about 2 hours, staring about ever 30 minutes, until the bean sauce is nice and thick. If at any point you think they have gotten to dry, just add more water. Pull the beans out of oven once you are happy with the sauce consistency. Taste and season with more salt and pepper if needed.

And then eat them. As a meal, as a side, or as a snack. Beans are good anytime.

Any leftovers should be stored in the fridge. Beans can be reheated very easily on the stove top. Just place the pot back on stove, stir in a little water and cook til hot.

Beans are also fantastic eaten cold from the fridge.

In Vegan, side dish, pulses, one pot meal, grain free, Gluten Free, entree, dinner, Dairy Free, beans Tags Baked Beans, Vegan Baked beans, simple baked beans, sugar free baked beans, pulses, vegan, protein, plant based, gluten free, dairy free, thanksgiving, Dinner, side dish, one pot meal
Comment

Spiced Black Bean and Cauliflower Stuffed Acorn Squash

November 3, 2018 Colleen Stem
IMG_2096.jpg
IMG_2097.jpg
IMG_2069.jpg

The thing with having an abundance of squash in the house, and having the abundance keep growing (we get a lot of squashes at farm share) is that I need to cook just about every meal with said abundance, which I am totally on happy to do. I welcome all the squash. I am excited about all the squash. I could eat al the squash all day, everyday. And I do. But that is me. The mr and the others the I sometimes cook for, they are not as squash crazy as me and get sick of plain old roasted squash so I am trying to change it up and make new and interesting things out of the squash so no one gets bored with it.

Yes, I know stuffing an acorn squash is hardly a new idea, but this squash is not stuffed with the usual rice and stuff, it stuffed with lots of black beans and cumin and chili powder spiced cauliflower (and a few other things). The combination of all the flavors with the acorn squash really hit all the right spots for a tasty, not boring squash meal. It is a brilliant combination of flavors that even the not so keen on squash person will love.

That is my opinion of course but it will be your opinion too after you make and eat these. We will brilliant together.

To the stuffed squash.

The stuff. An acorn squash, some cauliflower, cooked black beans, an onion, and a few kale leaves. Also need some cumin, chili powder, salt and pepper. salsa, and olive oil.

Start by cutting the squash in half and scooping out all the seeds.

Place the squash open side down on a baking sheet or in a skillet lightly oiled and then stick into a hot oven to roast.

After the squash goes in, dice up the onion and cauliflower into small little pieces.

Place the chopped stuff onto a baking sheet. Drizzle with olive oil and toss with the cumin, chili powder, salt, and pepper. Get that into the oven too.

Roasted, and ready. Stop, do not eat it all, but you might want too, it is so freaking good.

And once this guy in fork tender, its ready as well.

IMG_2048.jpg

Scoop out a bit of the cooked squash from each side making the well bigger. More room to stuff.

Get everything together. Chop the kale, grab a bowl.

IMG_2055.jpg
IMG_2059.jpg

The black beans, salsa, scooped out cooked squash go into bowl. Add in the roasted cauliflower and onion and the chopped kale and mix.

Now stuff each side. Get as much in as you can, mound it as high as you can and place back into oven to bake for a little bit longer.

Cooked and slightly crispy in all the right ways.

These stuffed suckers are everything we all wanted and didn’t know we needed. Fantastic, and all the more when serves with extra salsa, sliced avocado, and a wedge of lime.

Go get at it.

Bye!

-C


Spiced Black Bean and Cauliflower Stuffed Acorn Squash

Makes 2 stuffed halves. This recipe is very easy to fiddle with and can easily be double or tripled.

  • 1 medium sized acorn squash

  • 1 1/2 cups cooked black beans

  • 1/4 head of cauliflower (about 2 cups chopped before roasting)

  • a small onion

  • a few kale leaves

  • 1/4 cup thick and chunky salsa

  • 2 teaspoons cumin

  • 1 teaspoon chili pepper

  • salt and pepper

  • olive oil

  • Avocado, lime, extra salsa (optional)

Preheat oven to 400

Slice acorn squash in half and scoop out all the seeds. (seeds can be roasted). Place both halves cut side down on a lightly oiled baking sheet or oven safe skillet and place in oven to roast for about 30-35 minutes or until the squash is fork tender.

Once squash is in oven, dice the onion and cauliflower into small pieces and place on a baking sheet. Drizzle with olive oil and toss together with the cumin, chili powder, salt, and pepper. Place into oven along with the squash. Roast for 15-20 minutes or until the cauliflower is lightly browned and tender.

When the cauliflower is roasted and squash is cooked, get all the rest of the ingredients ready. Dice up the kale . Take each side of squash and scoop out about an inch more of cooked squash, leaving a good sized well. Place cooked squash into a bowl and kind of mash it up. Add in the beans, the salsa, the kale, and the roasted cauliflower and onions. Season with salt and pepper and mix it all up. Take filling and fill the squashes, stuffing as much as you can in and mounding it on top. Place the halves back onto baking sheet or skillet and place back into oven for 10-15 minutes until nice and browned and slightly crispy on top. Pull from oven and serve. Although not necessary, extra salsa, avocado, a lime are much appreciated.

In beans, dinner, entree, grain free, Gluten Free, pulses, Vegan, Vegetables, winter Tags Spiced Black Bean and Cauliflower Stuffed Acorn Squash, Stuffed squash, acorn squash, winter squash, vegan, dinner, plant based, beans, pulses, spices, protein, gluten free, grain free, dairy free
1 Comment

Butter Bean Cabbage Rolls

October 6, 2018 Colleen Stem
IMG_1293.jpg
IMG_1265.jpg

A lot of times I make food that I don’t nessasrily care to eat because well, I love to make for other people. Take all the cakes, I love to make cake, it makes me so happy to make a cake, but I don’t eat cake. I never eat cake.

This is not one of those times. I basically made these cabbage rolls all for me. Sure I shared them with the mr because it was dinner but honestly, he was’t the biggest fan (he hate celery). And to be honest, I was glad he didn’t really like them because these things were bonkers amazing to me whichh means I got to eat them all myself. In fact I thought they were so good that I made them twice this week. And not just because I have a shit load of cabbage right now, (I stocked up on cabbage and have like 15 heads in the pantry and stuffed in the fridge), although it helped that I do.

I ♥️ cabbage.

And now I ♥️ these cabbage rolls.

To the rolls!

IMG_1166.jpg

The stuff. A head of cabbage, a can of butter beans (cooked from dried beans or canned), crushed tomato (also home made or canned), a couple stocks of celery, a carrot, an onion, some garlic, Italian seasoning, salt and pepper, and a little olive oil.

IMG_0987.jpg
IMG_0997.jpg
IMG_0999.jpg

Start by getting the cabbage leaves to roll the filling in. You are basically just going to dunk the whole head of cabbage, with the core removed, into a big pot of boiling water until the outer leaves are tender enough to peel away. You are going to want to 12-14 nice leaves so peel away using tongs. Once you have all the leaves, remove the rest of the cabbage ans place the leaves back into the pot to cook until completely tender and soft. Remove then from the water and place them into a bowl and let them cool.

Meanwhile the filling. Take roughly half of the remaining cabbage and rough chop it up along with the celery, carrot, onion and garlic.

IMG_1176.jpg
IMG_1182 2.jpg

Place it all into food processor and pulse until its a small chunky chunk consistancy.

Add a splash of olive oil to a pan then dump the veggies on in. Sprinkle with salt and pepper and the Italian seasoning then set on a medium heat on the stove to start to cook the veggies a bit.

IMG_1190.jpg
IMG_1193.jpg

One the veggies are out and cooking, pulse up the butter beans in the food processor until not quite smooth. Some chunk is good.

Veggies a bit cooked.

Dump the veggies back into the food processor with the beans, along with a little of the crushed tomato. Pulse a few times.

IMG_1208.jpg

That is the filling. Time to roll.

IMG_1220.jpg
IMG_1222.jpg
IMG_1225.jpg

Pat each leave dry and lay flat on counter. If your cabbage leaves have thick ribs you can slice them down the middle, just not to far up into the leaf. Add about 1/3 of a cup of the filling (add less for smaller leaves) and then roll as tightly as you can like a burrito without the filling coming out. Repeat until all the filling is gone.

IMG_1229.jpg
IMG_1243.jpg

Place all of the rolls nice and cozy into a oven safe pan, preferably the pan you have been using to cook the veggies in (you want them to fit close together, it helps then from opening up during cooking ) and cover then all up with crushed tomato.

Now all you need to do is stick the whole thing in the oven.

IMG_1251.jpg

Cooked and looking good.

IMG_1270 2.jpg

If you got it, spinkled with some green scallions and parsley for color and flavor and the all you need to do it eat. Eat one or eat them all because they are freaking fantastic!

P.S. Left overs are just as good, if not better cold.

YAY CABBAGE!

Stay cool.

-C


Butter Bean Cabbage Rolls

  • A medium sized head of cabbage

  • 2 cups (or 1 can) cooked butter beans

  • an onion

  • 1 large carrots

  • 2 stalks of celery

  • 3 cloves garlic

  • 3 1/2 cups crushed tomatoes (or a 28 oz can)

  • 1 tablespoon Italian seasoning

  • olive oil

  • salt and pepper

First thing, bring a large pot of water to a boil. Remove the core from the head of cabbage and place the cabbage head into the boiling water. Gently peal away 12-14 of the outer leaves from the head then remove the head. Place the leaves back into the boiling water until they are soft and plyable. Remove from water and place in a large bowl.

Preheat oven to 400

Rough chop about half of the remaining cabbage head (like a little more then a cup) the carrot, celery, onion, and the garlic and place into a food processor. Pulse until its a small chunk consistency. Add a drizzle of olive oil to a skillet (if you can, use a oven safe skillet the can also be used to bake the rolls in) and dump the veggies in. Sprinkle with the Italian seasoning, salt and pepper, and place on a medium heat to cook for a few minutes. While the veggies are cooking, drain the beans and dump them into the food processsor. Pulse until not quite smooth. After the veggies have started to become fragrant and are not completely raw, dump those veggies back into the food processor with the beans. Add about 1/3 cup of the crushed tomato and pulse until combined.

To assemble the rolls. Pat the leaves dry and lay flat. If a leaf has a really thick rib, cut it down the middle, but not to far up the leaf.. Place about 1/3 cup of filling into each leaf (less if the leaves are small) and roll each one up like a burrito, as tight as you can without ripping the cabbage. Place rolls into oven safe skillet, bumped up against each other if they can. Once all the rolls are assembled and in skillet, pour the crushed tomatoes all over, getting the sauce in between each of the rolls.

And then place the rolls into oven to bake for an hour.

Once the rolls looked cooked and maybe a little crisp on an edge or two, remove and let cool a few minutes before serving.

Chopped parsley and scallions are nice to sprinkle on top if you got it.

Eat, and eat some more. Any left over should be placed into the fridge and eaten just a short few hours later cold, while standing in from of the fridge because these cold are almost better then hot. So good!

In Vegetables, Vegan, pulses, grain free, Gluten Free, entree, Dairy Free, casserole, beans Tags Butter Bean Cabbage Rolls, beans, pulses, lima beans, vegan, gluten free, grain free, dairy free, plant based, dinner, cabbage rolls, healthy, entree
Comment
← Newer Posts Older Posts →
 

https://thelovelycrazy.squarespace.com/config#/|/about/

Me. Food Maker.Food eater. Woo HOO!

STEM+NODE  SMALL BATCH AND ONE OF A KIND POTTERY

stem+node ceramics


____________________

Subscribe

GET NEW POSTS IN YO EMAIL

You are AWESOME!!!


@thelovelycrazy 2014-2021