• stem+node ceramics
  • HOME
  • Food Recipes
  • About
  • Contact
Menu

The Lovely Crazy

Street Address
City, State, Zip
Phone Number

Your Custom Text Here

The Lovely Crazy

  • stem+node ceramics
  • HOME
  • Food Recipes
  • About
  • Contact

Hasselback Turnips With Avocado Cream

January 4, 2020 Colleen Stem
IMG_4747.jpg
IMG_4741.jpg
IMG_4722.jpg

It’s been 14 days since my last farm share pick up with 7 more days to go. (The farmers take a long break at the end of the year, which they all deserve but makes me sad. Or more like hungry.) It is a pretty long stretch for me to have to go without getting me some farm fresh goods. I have been making due, rationing out my roots (the greens were gone within days) and supplementing with lots and lots of frozen zucchini, Swiss chard, and broccoli, so it hasn’t been bad. But now I am worried because with al the supplementing, the chest freezer is looking a little more on the empty side then I would like. And it’s only January. I guess that is what happens when you eat your weight in vegetables everyday. 🤷‍♀️

Anyway, I am pretty much out of roots. The turnips were the last of what I had left besides the lone beet that I found stuffed in with the apples. And because they were the last roots and knowing I am not going to have any roots until next week, I wanted to do something a little special with them. That is why I hassledbacked them, which basically means I sliced them up without cutting completely through so they are cut but still stuck together. Does that make since? If not, just look at the pictures.

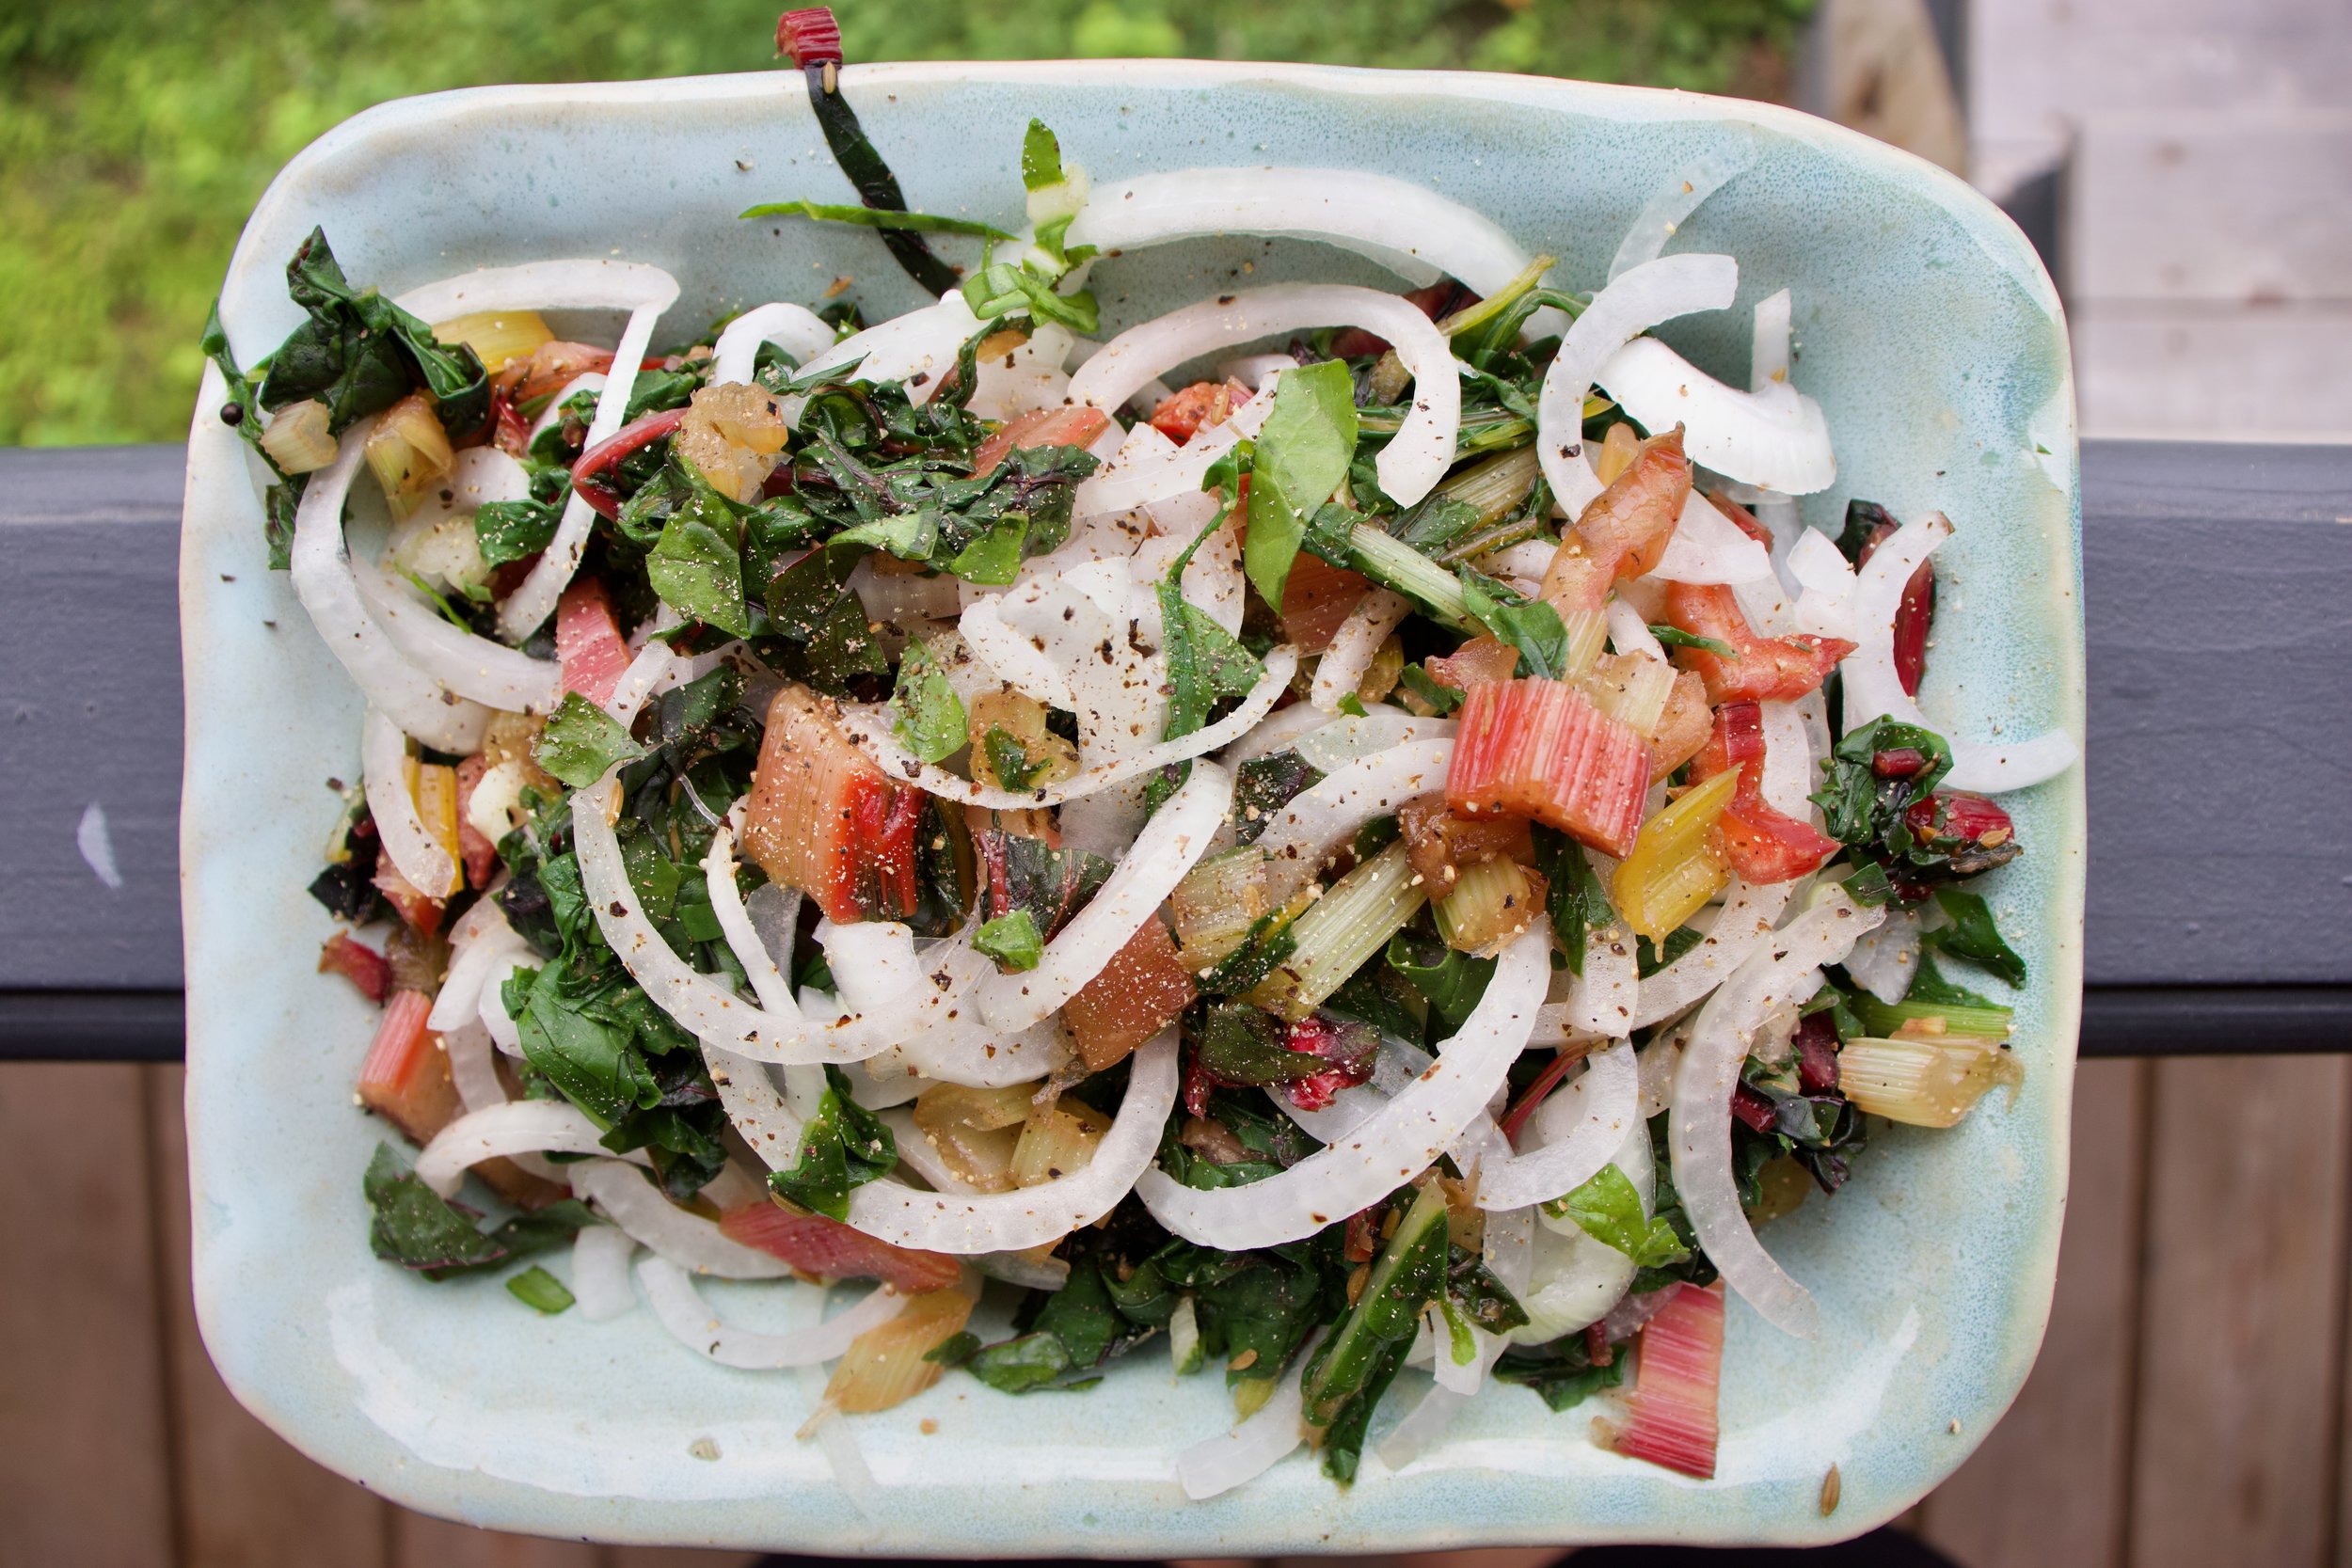
These turnips, oh these turnips. First off, roasted turnips are amazingly delicious and if you have never roasted one, well you need to get on it and do so. Secondly, the turnips I used are gIlfeather, which if you did not already know, are the Vermont state vegetable. But don’t worry, if you can’t find the gilfeather, regular old purple top turnips work and taste just as fantastic because all roasted turnips are so fantatic. When roasted I might describe them as the cooler, hipper, cousin of the baked potato. Add the avocado cream and seeds, which are the cooler friends of the cooler cousin, and you got yourself a cool dude party! Or basically just a way tastier baked potato situation with fixing.

Now don’t you want a tasty cool hassledback turnip? And yes, I keep wanting to call them David hasselbacks turnips too. Because they are so cool. Am I right? Haha!

To the turnips!

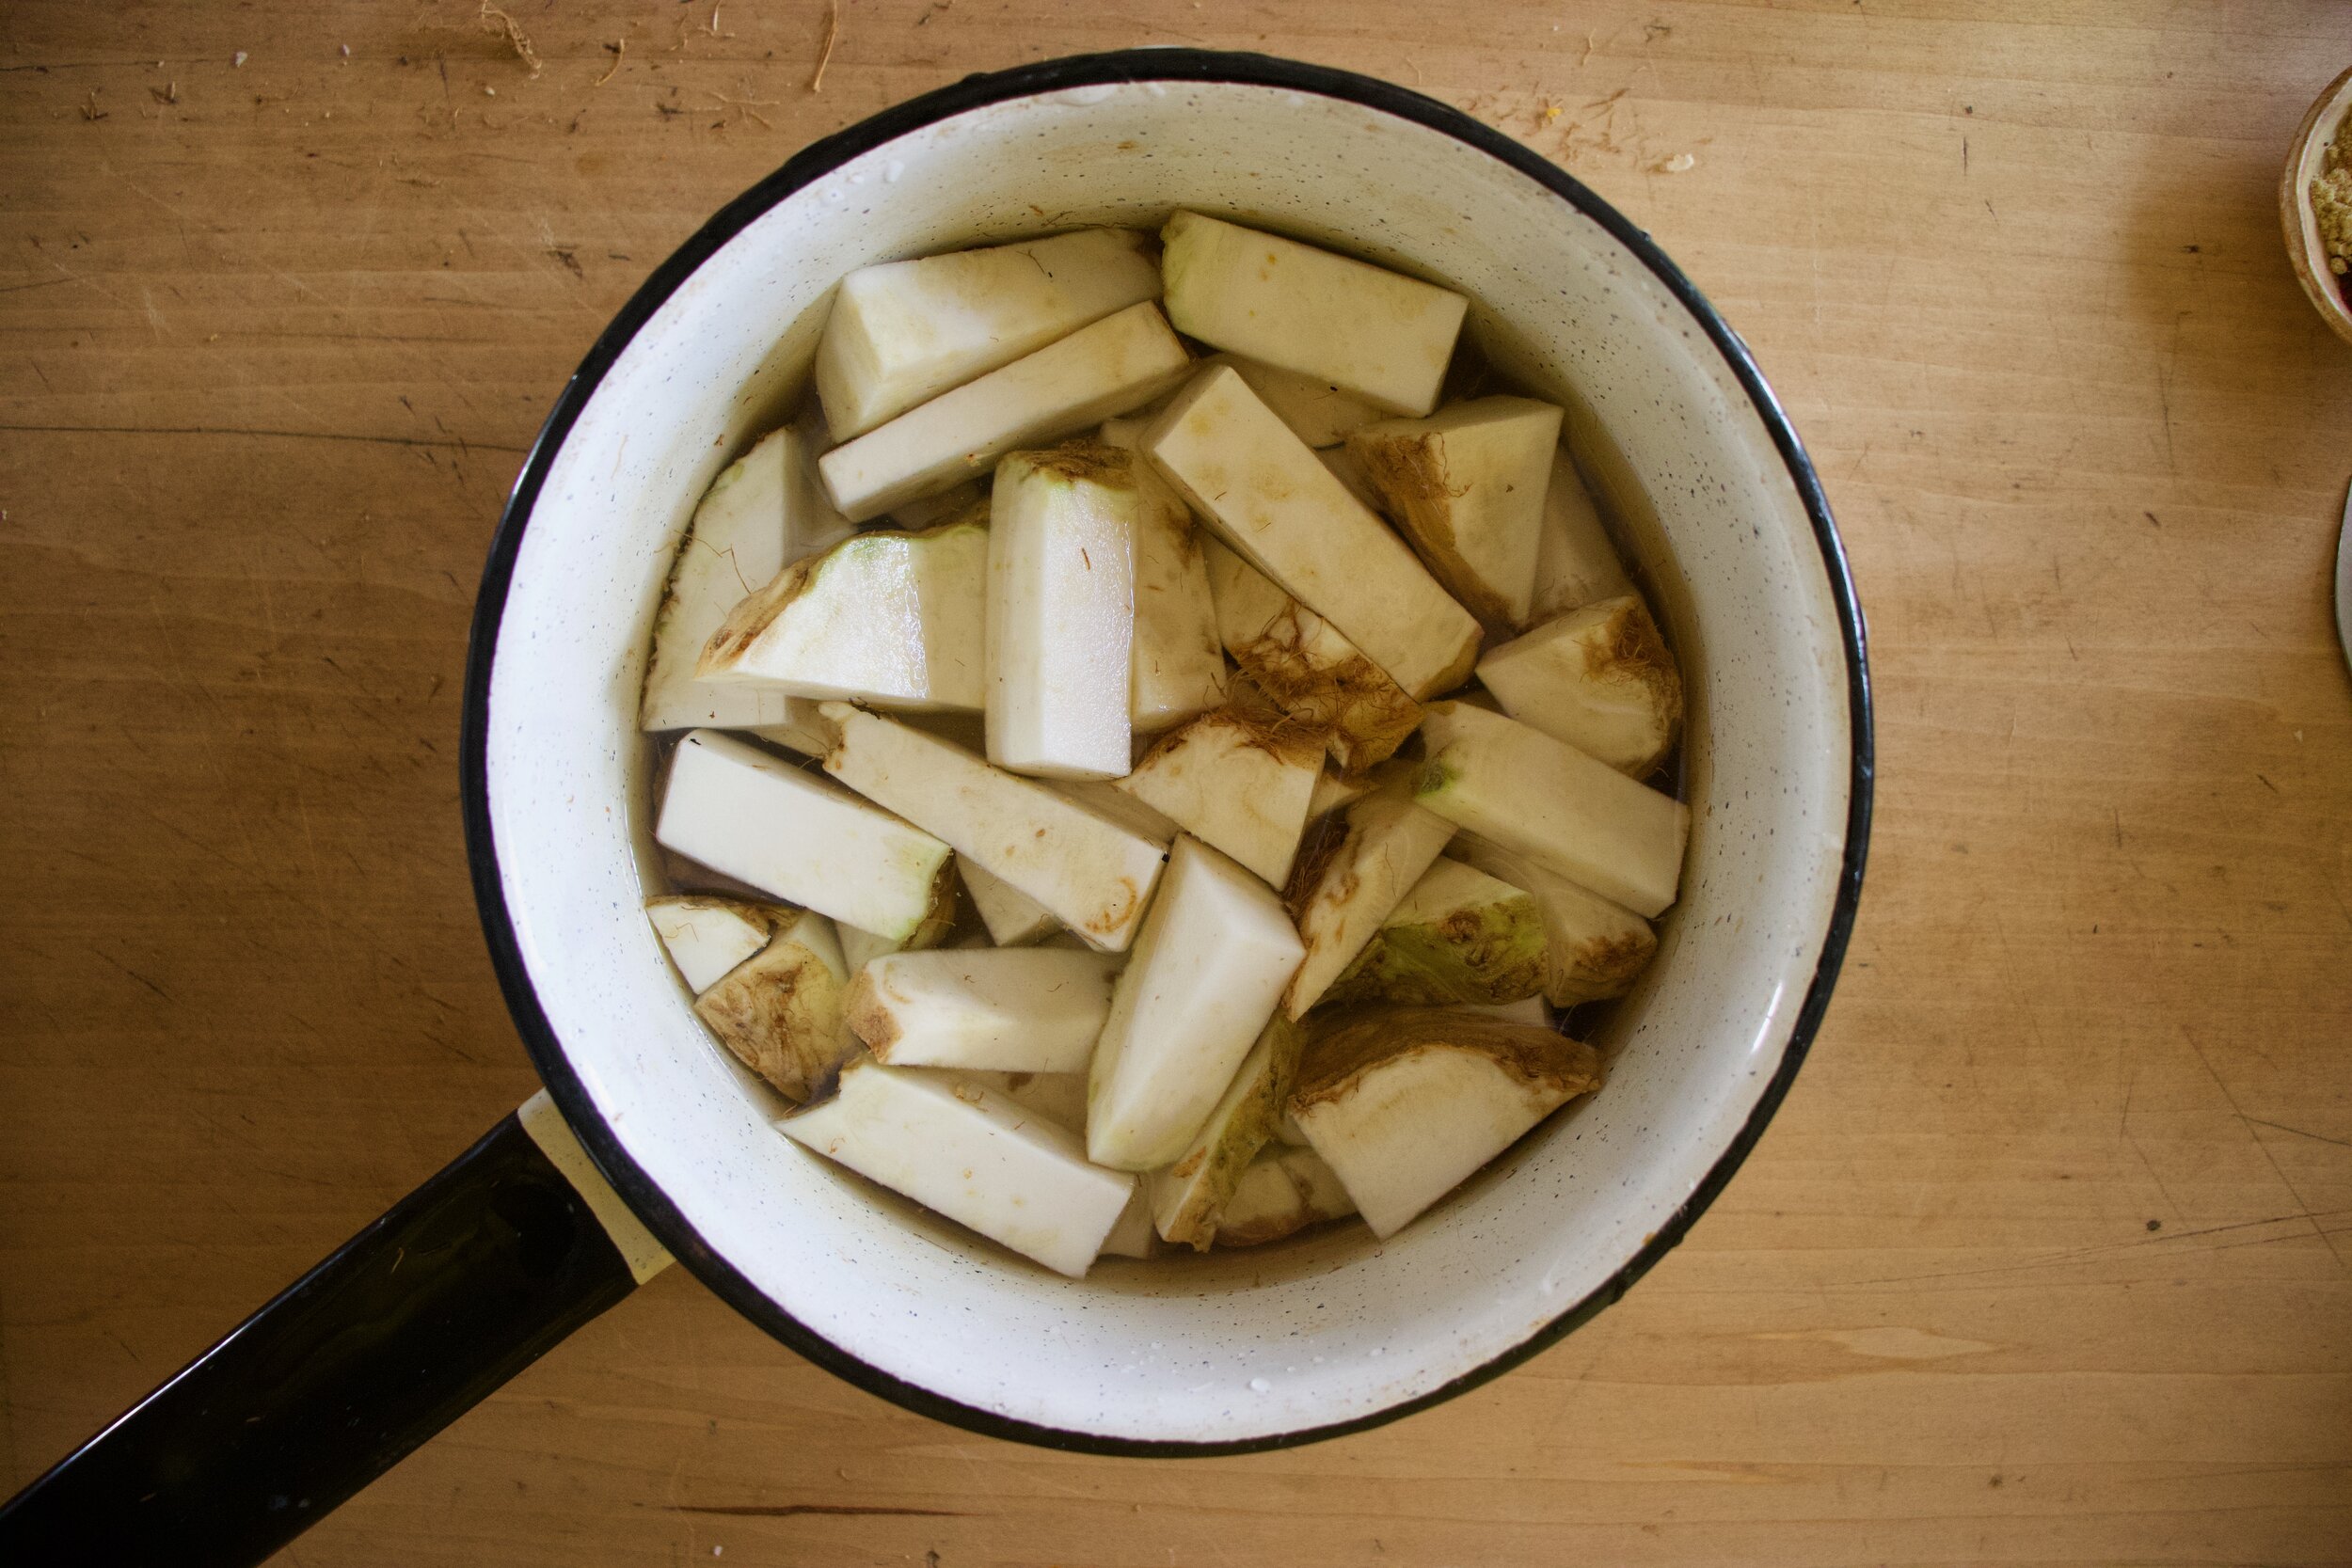
The stuff. Turnip. Either a couple smaller ones or a giant one, up to you. Also need an avocado, a little red wine vinegar and water, salt and pepper, garlic powder, olive oil, and some toasted seeds (if you want).

If using a giant turnip, cut in half. If using small ones, you can cut those in half too or leave them whole. Up to you.

Now to hasselback. Using two guides that are the same thickness (chopsticks or chip clips.. whatever you have lying around that you don’t mind nicking with a knife) slice into the turnip about ever 1/4 inch, right down to the guide, but not all the way through.
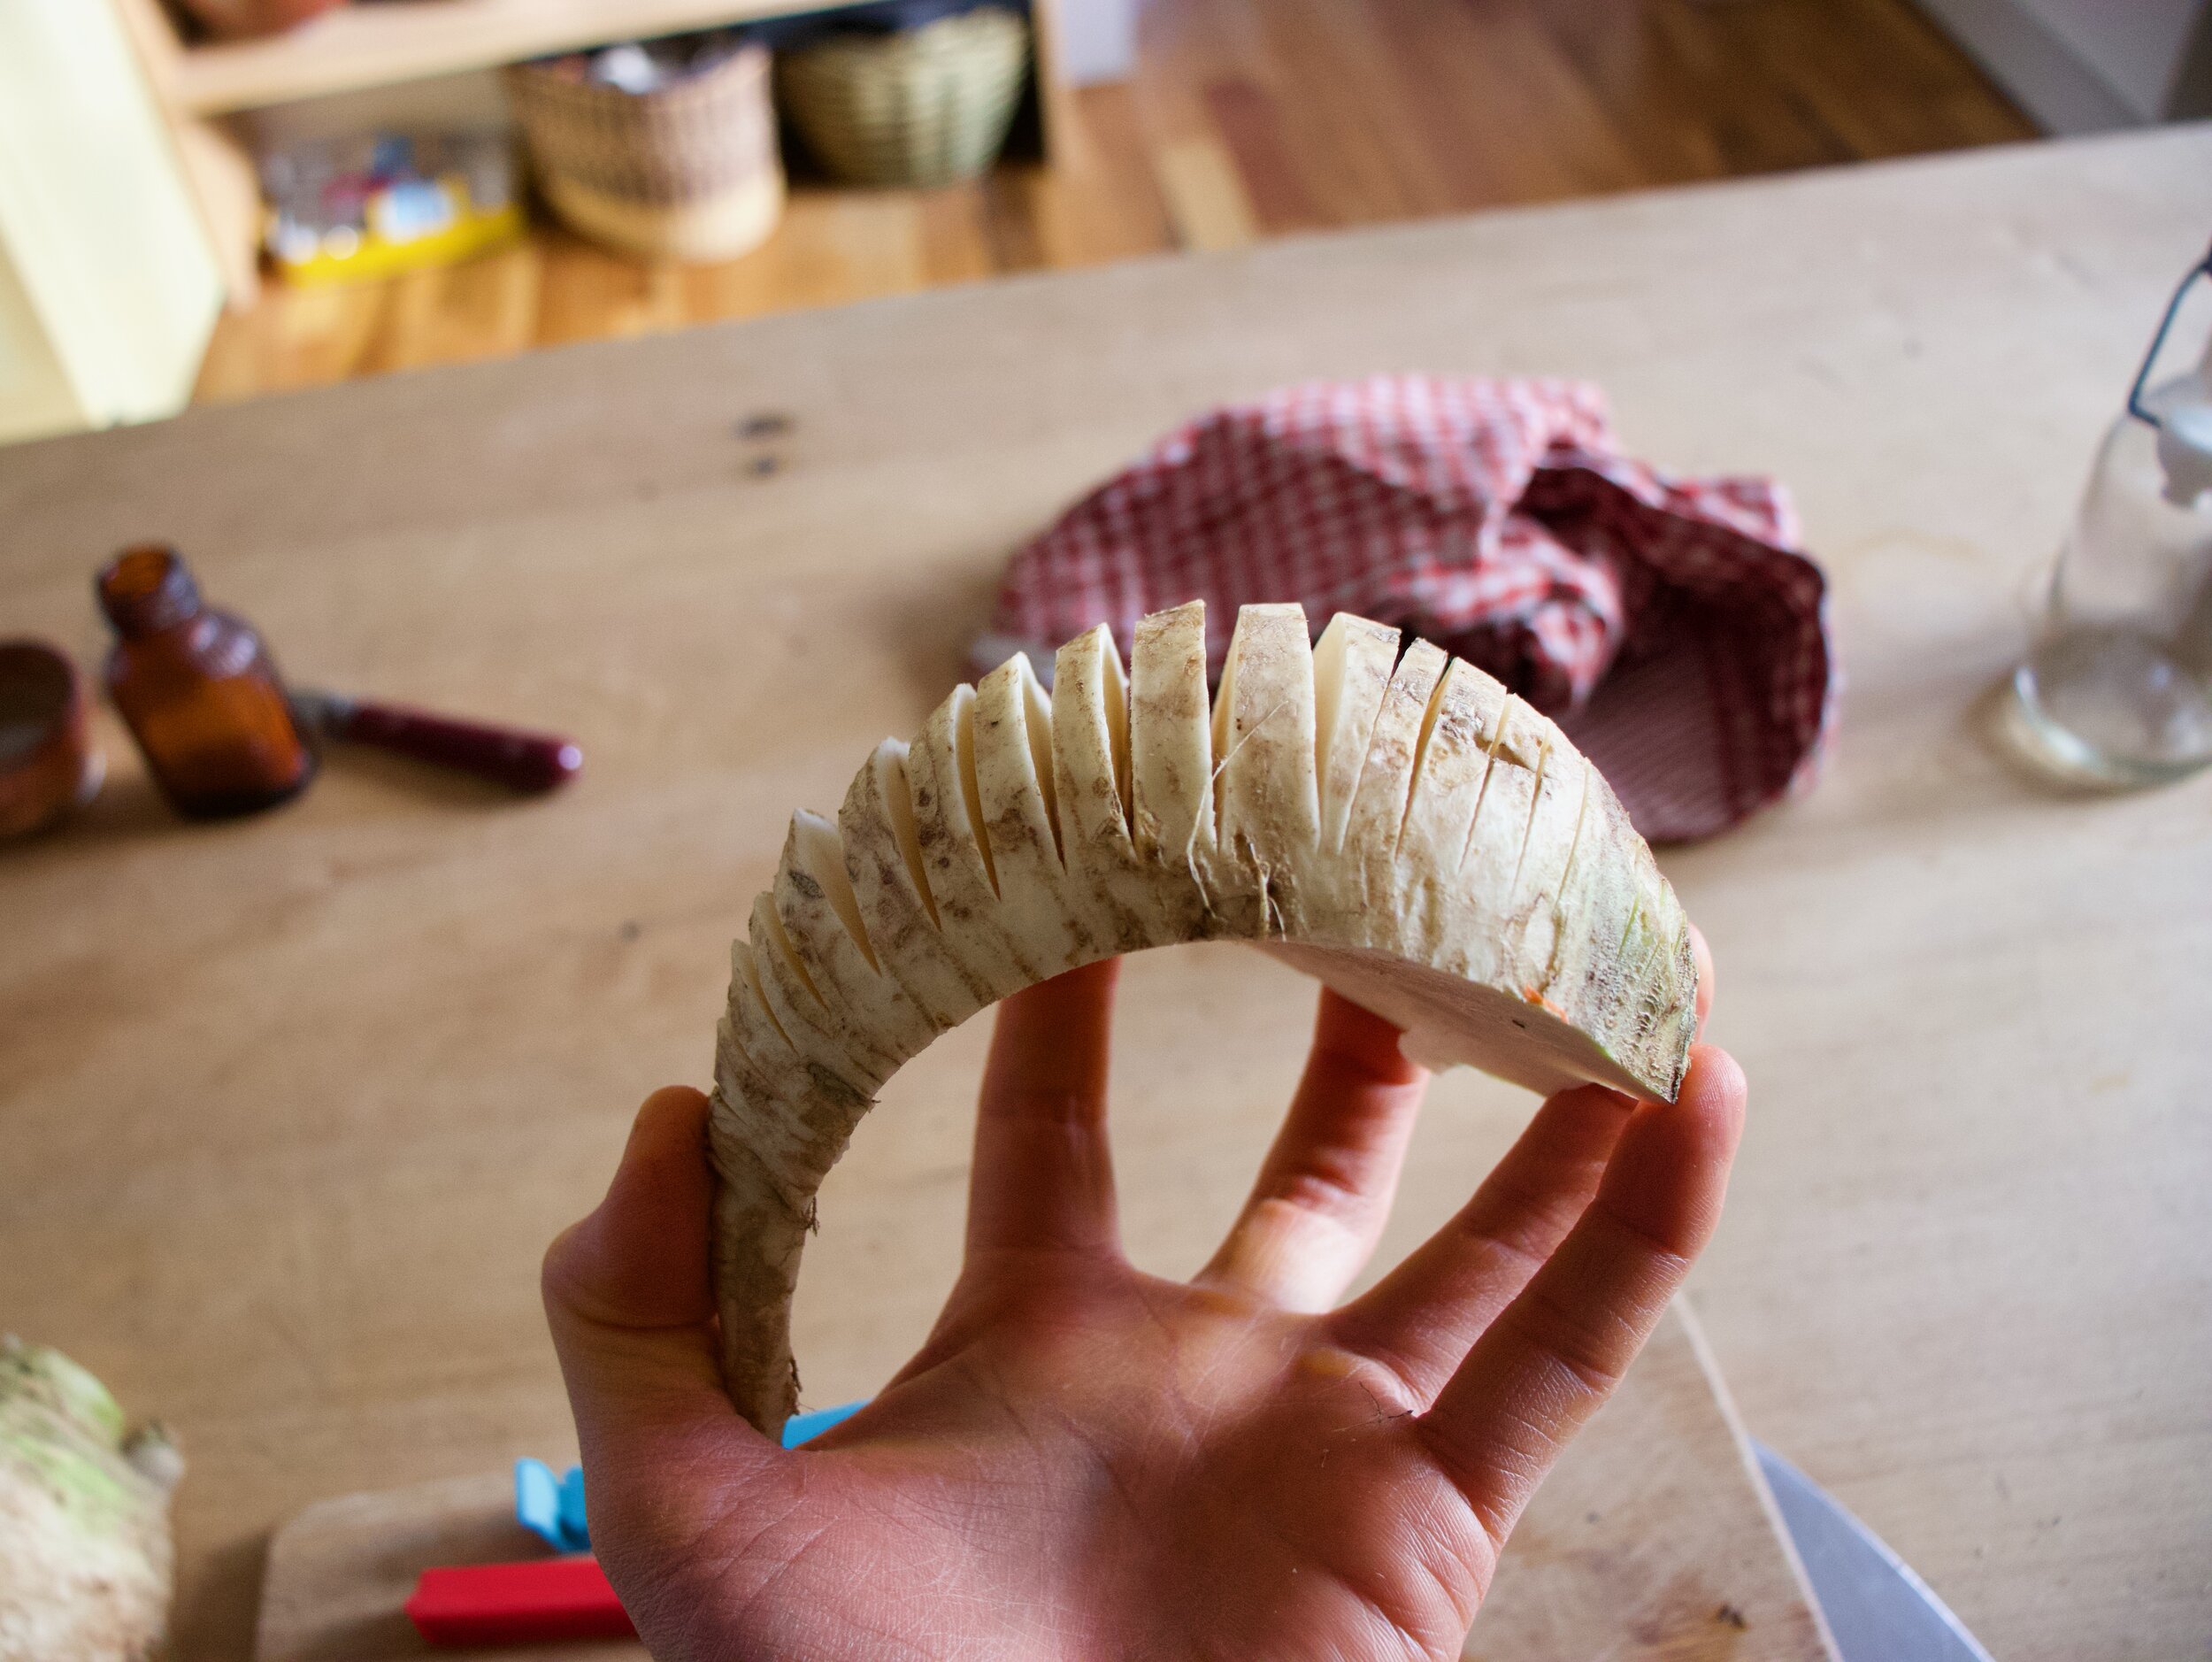
IMG_4683.jpg

Hasselbacked.

IMG_4693.jpg

Lightly oil a skillet or baking sheet and also rub a little oil all over the turnips and lay them hasselbacked side up. Sprinkle with salt, pepper, and a pinch of garlic powder. Then into a hot ass oven they go.

IMG_4666.jpg
IMG_4672.jpg

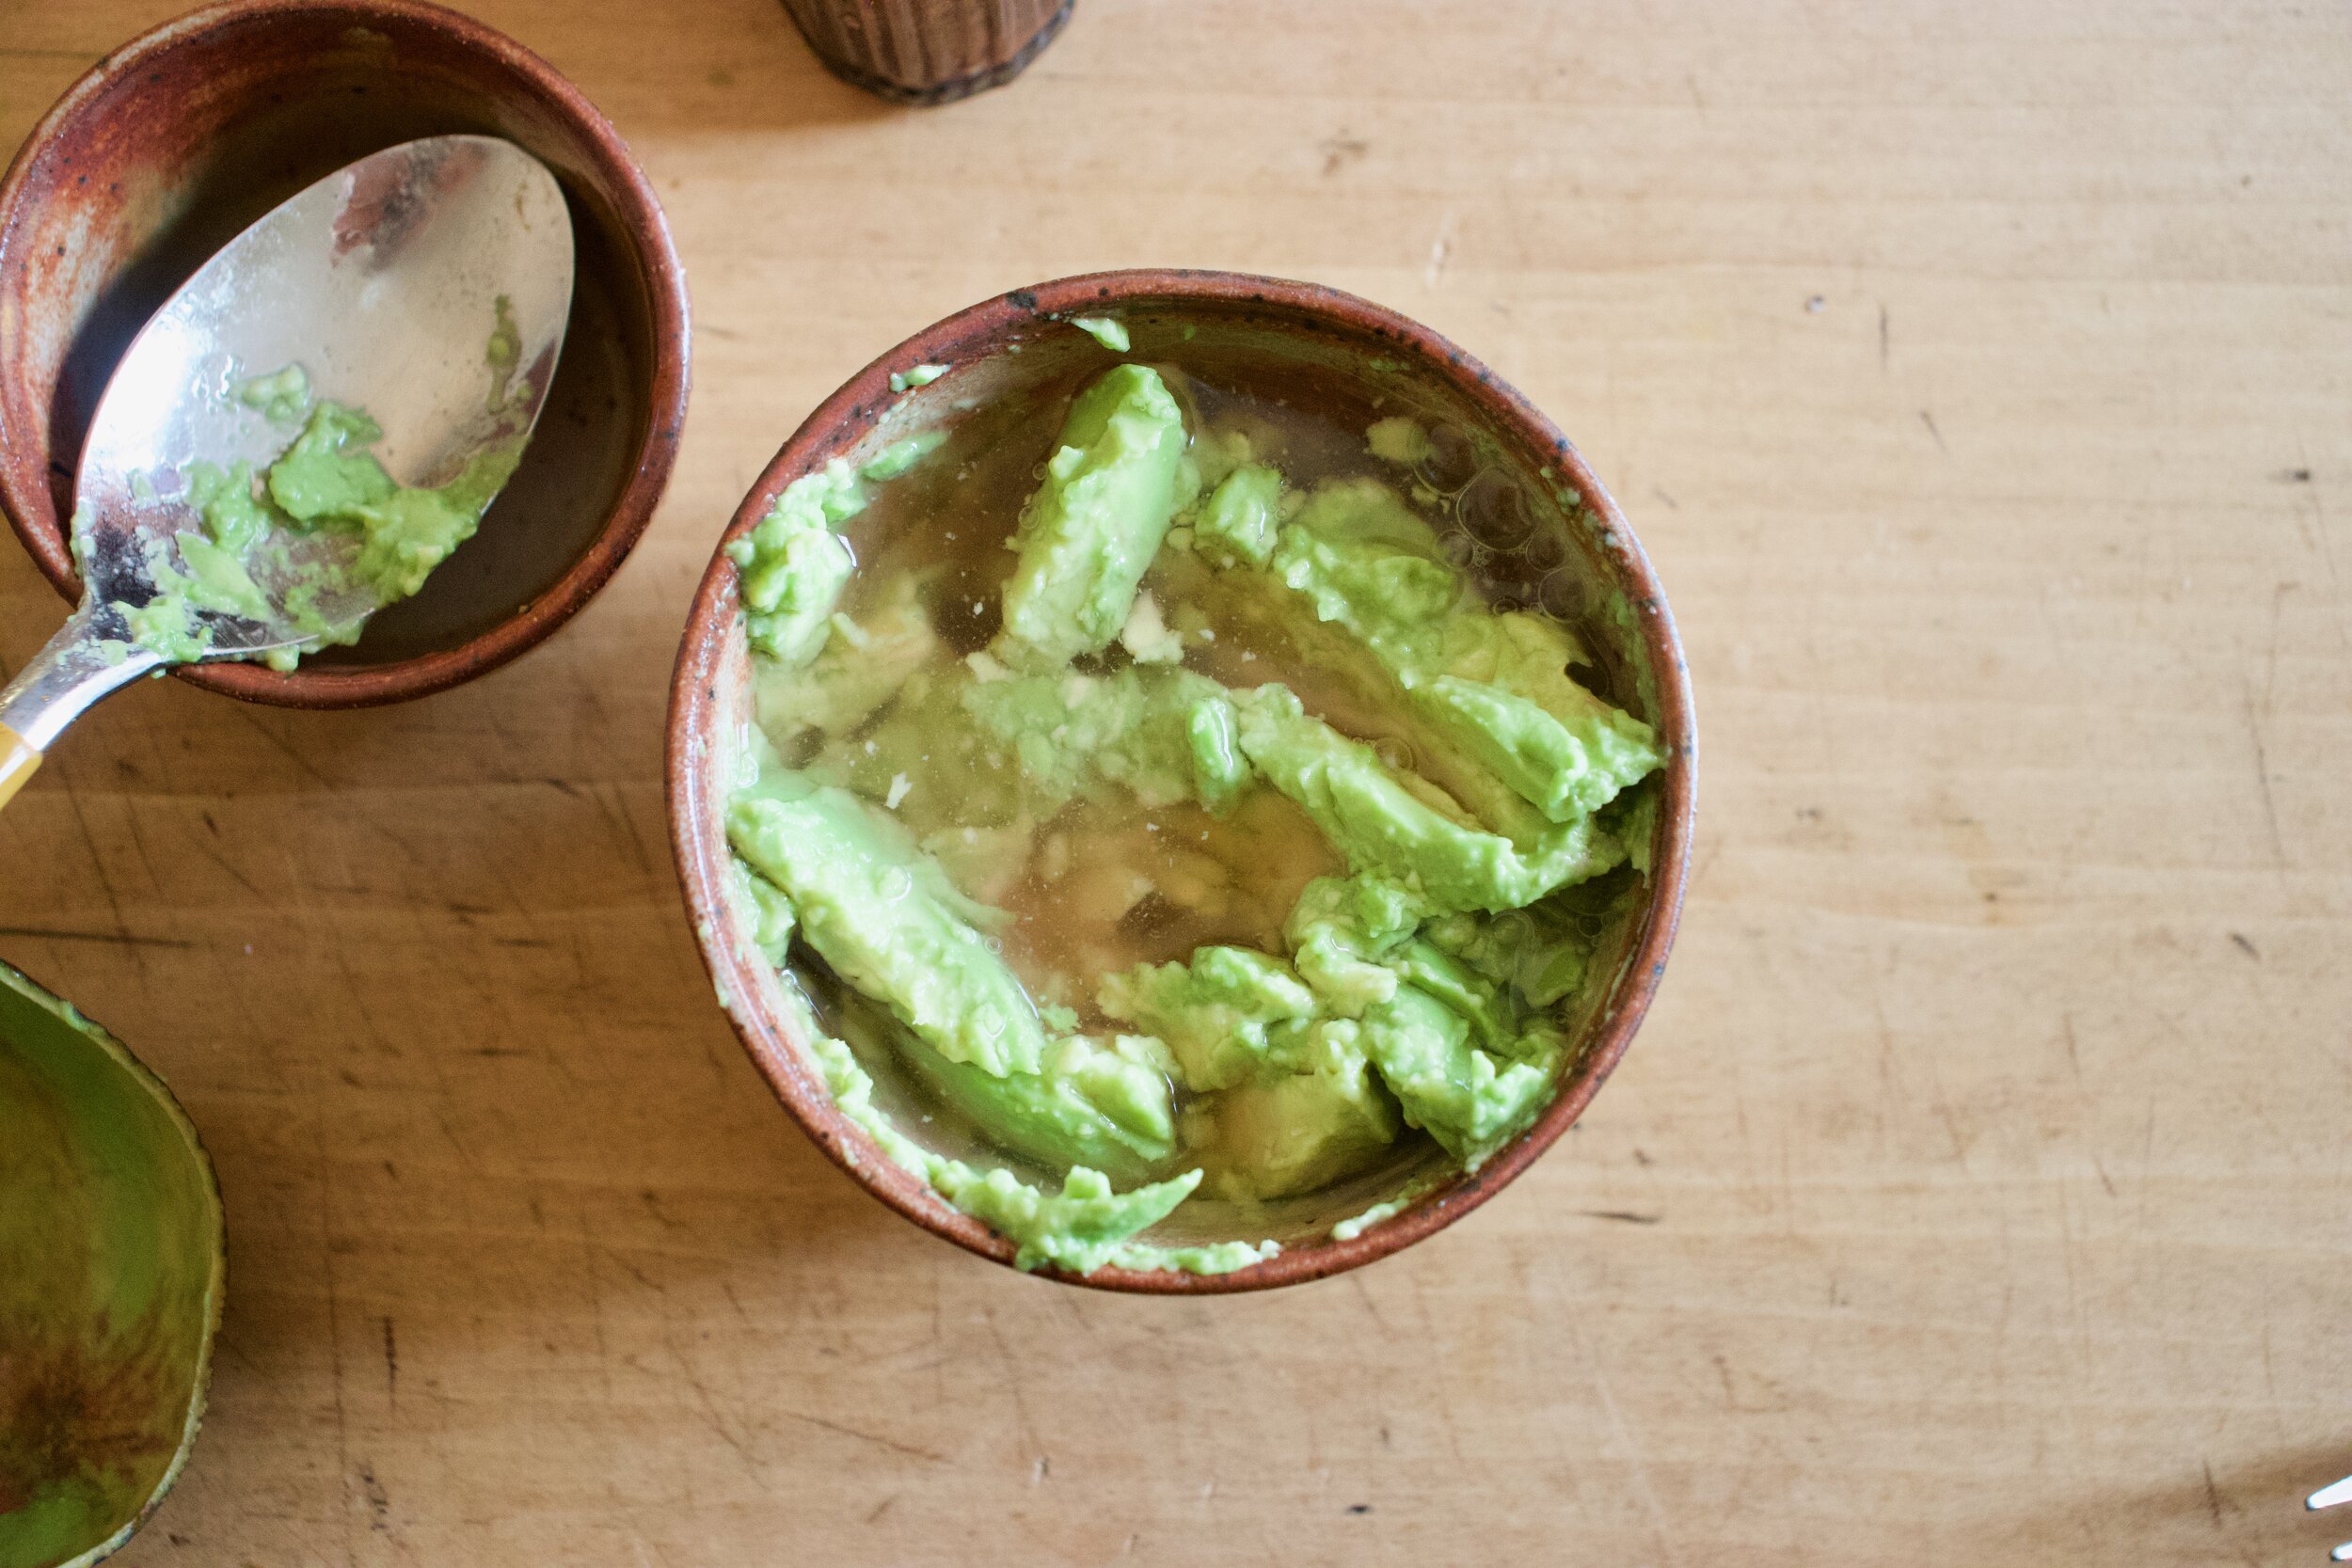
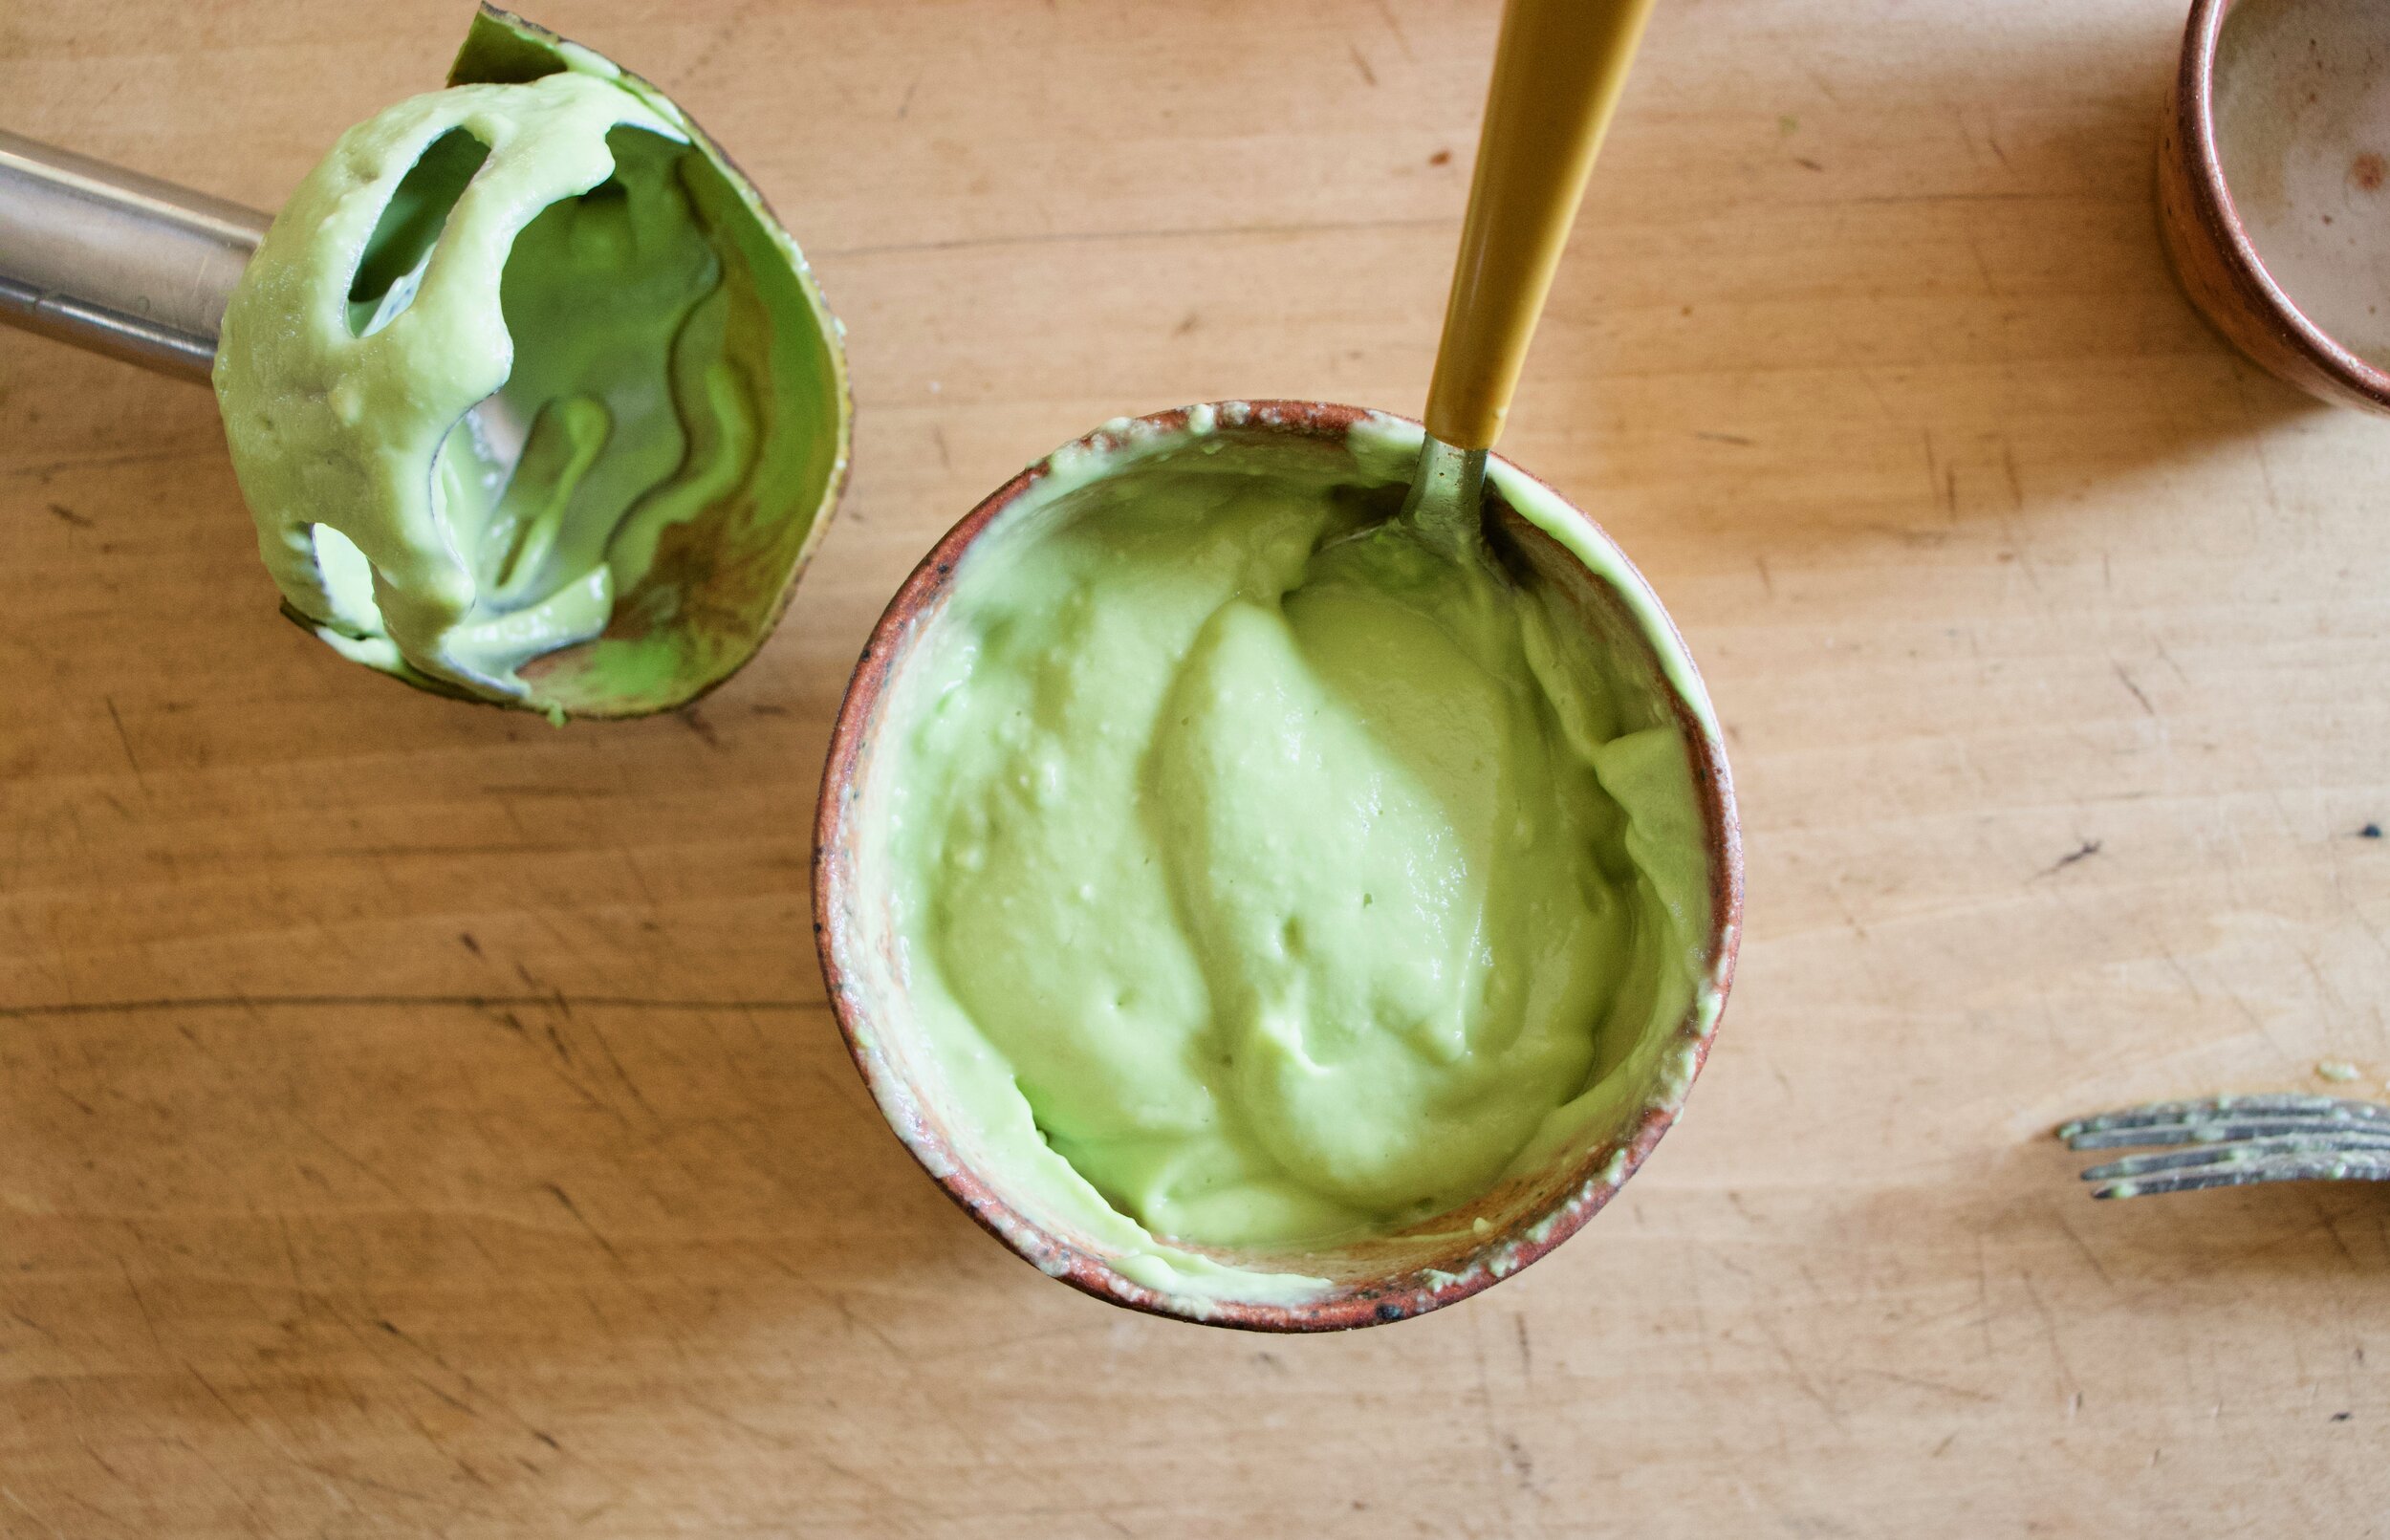
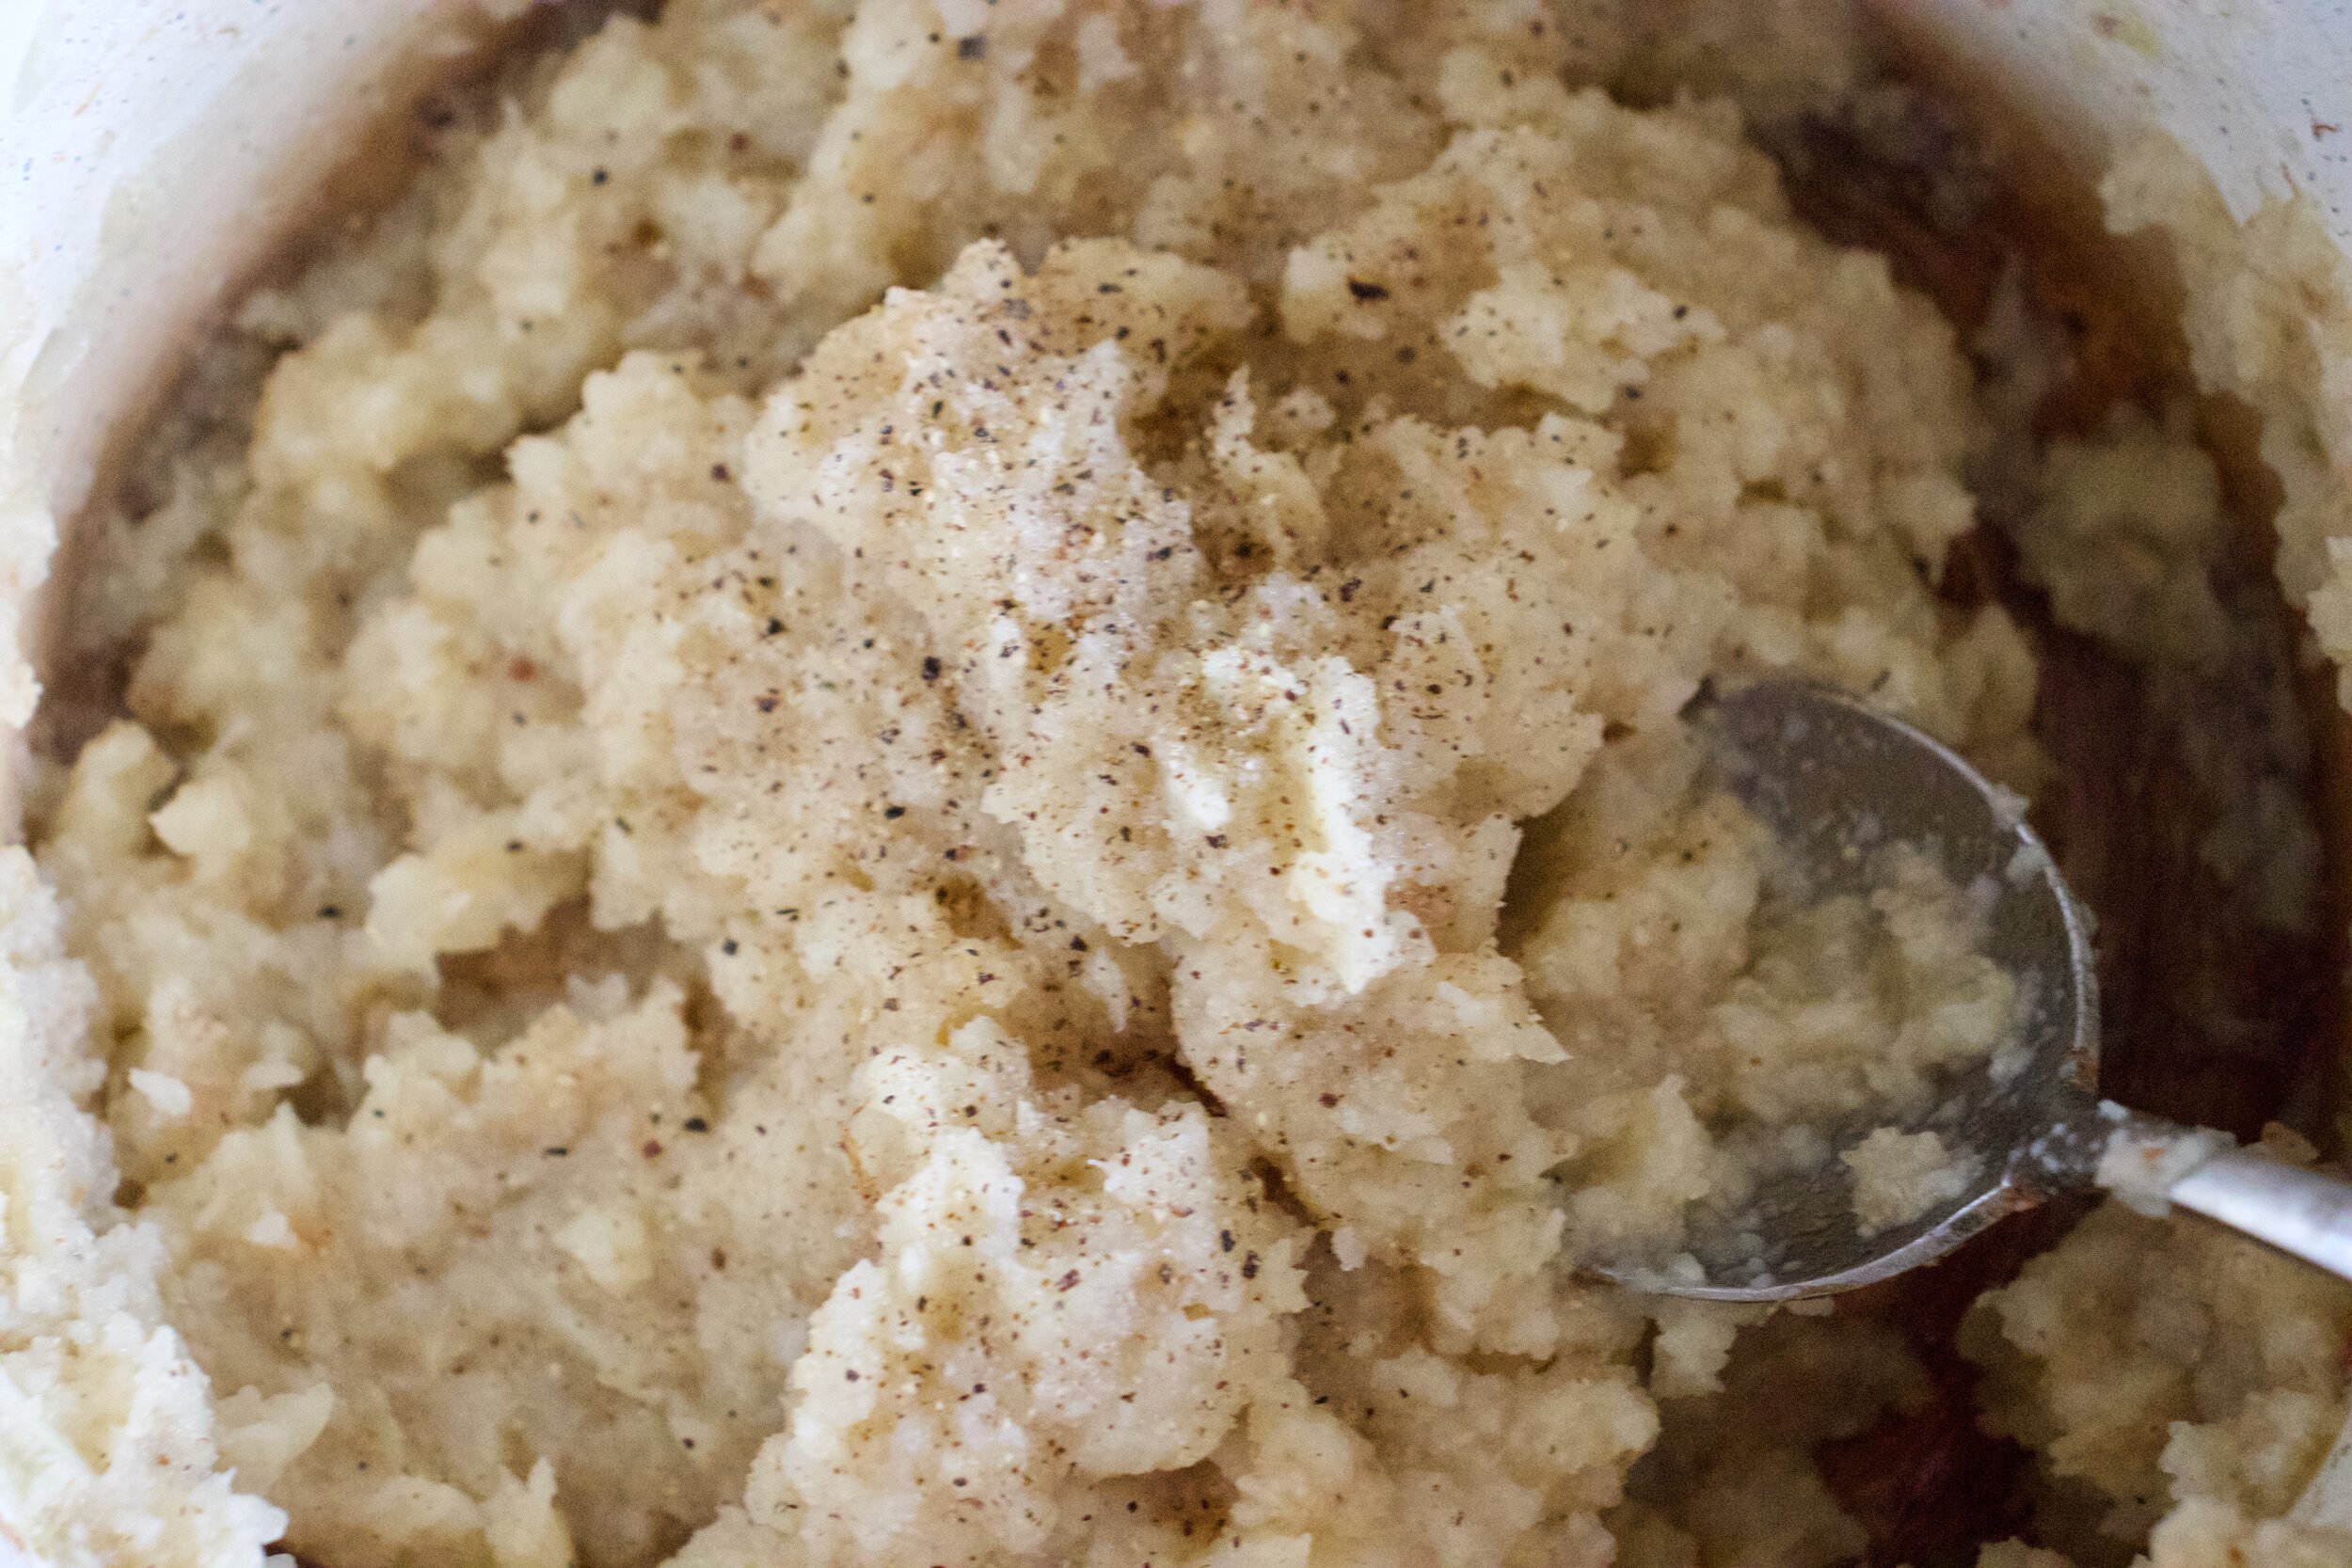
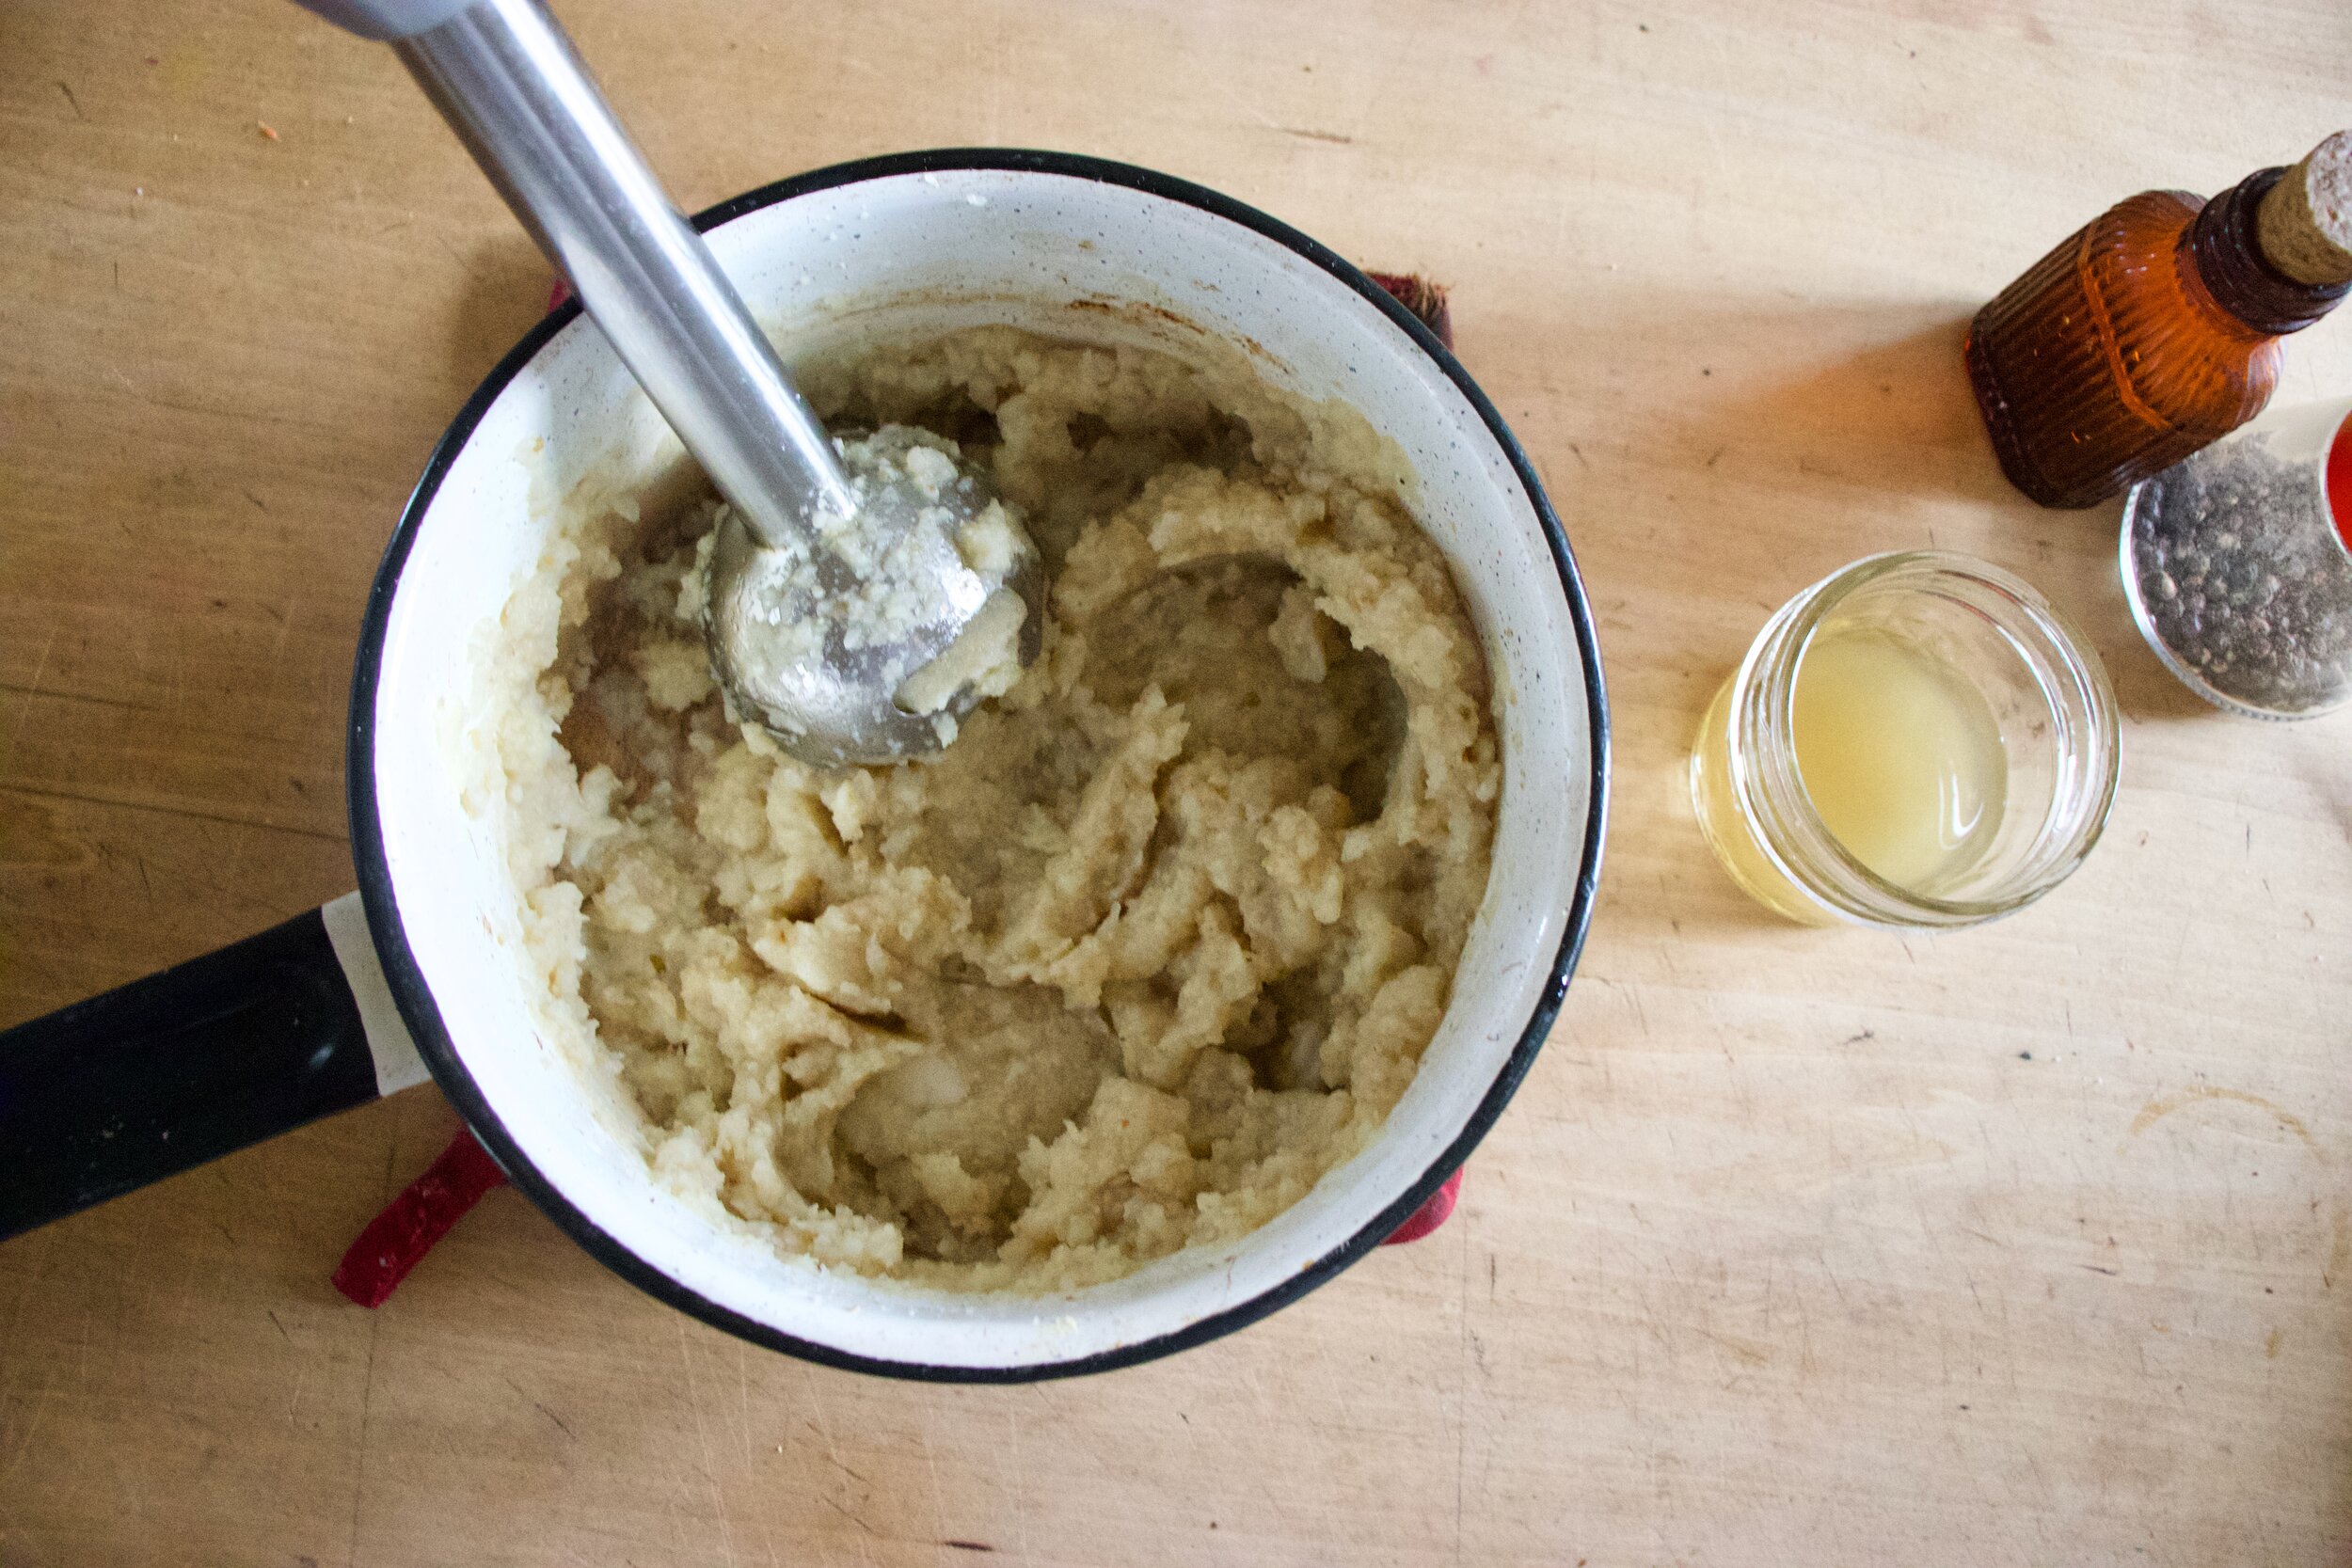
While the turnips are roasting , make up the avocado cream. Basic, just scoop avocado into bowl (if you have a stick blender) or blender, add in a pinch of salt, the water and vinegar, and blend until smooth.

IMG_4704.jpg

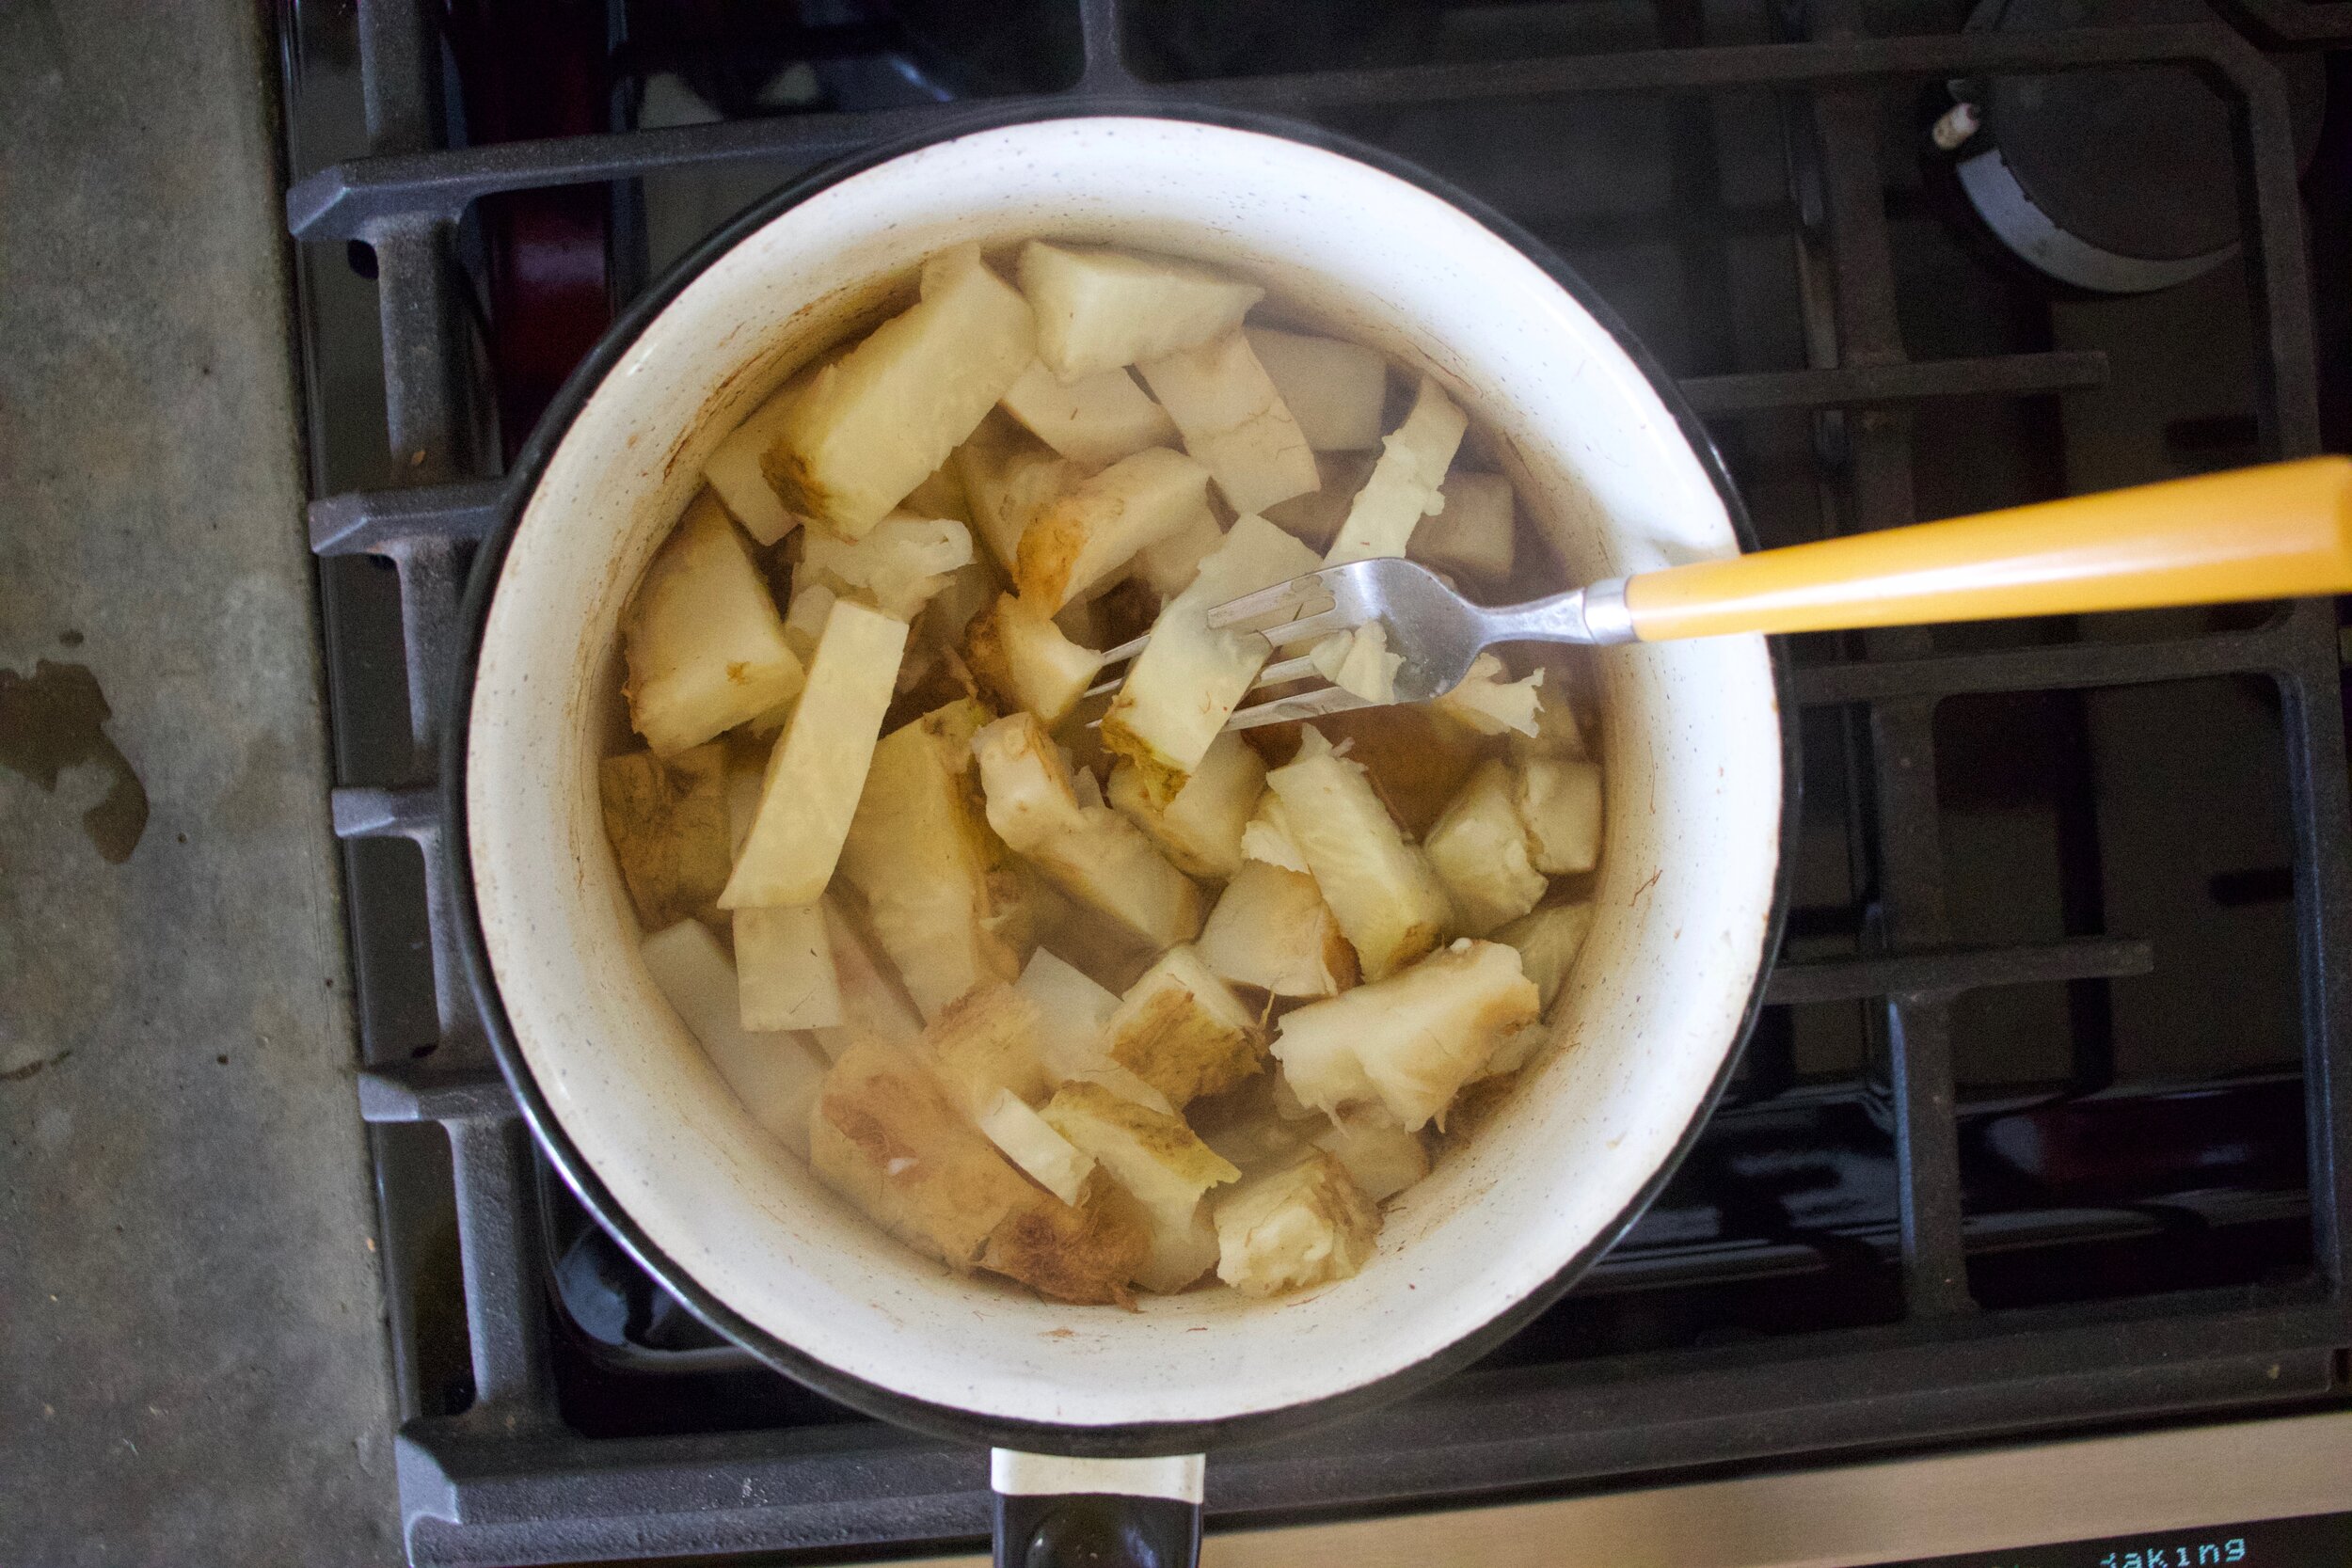
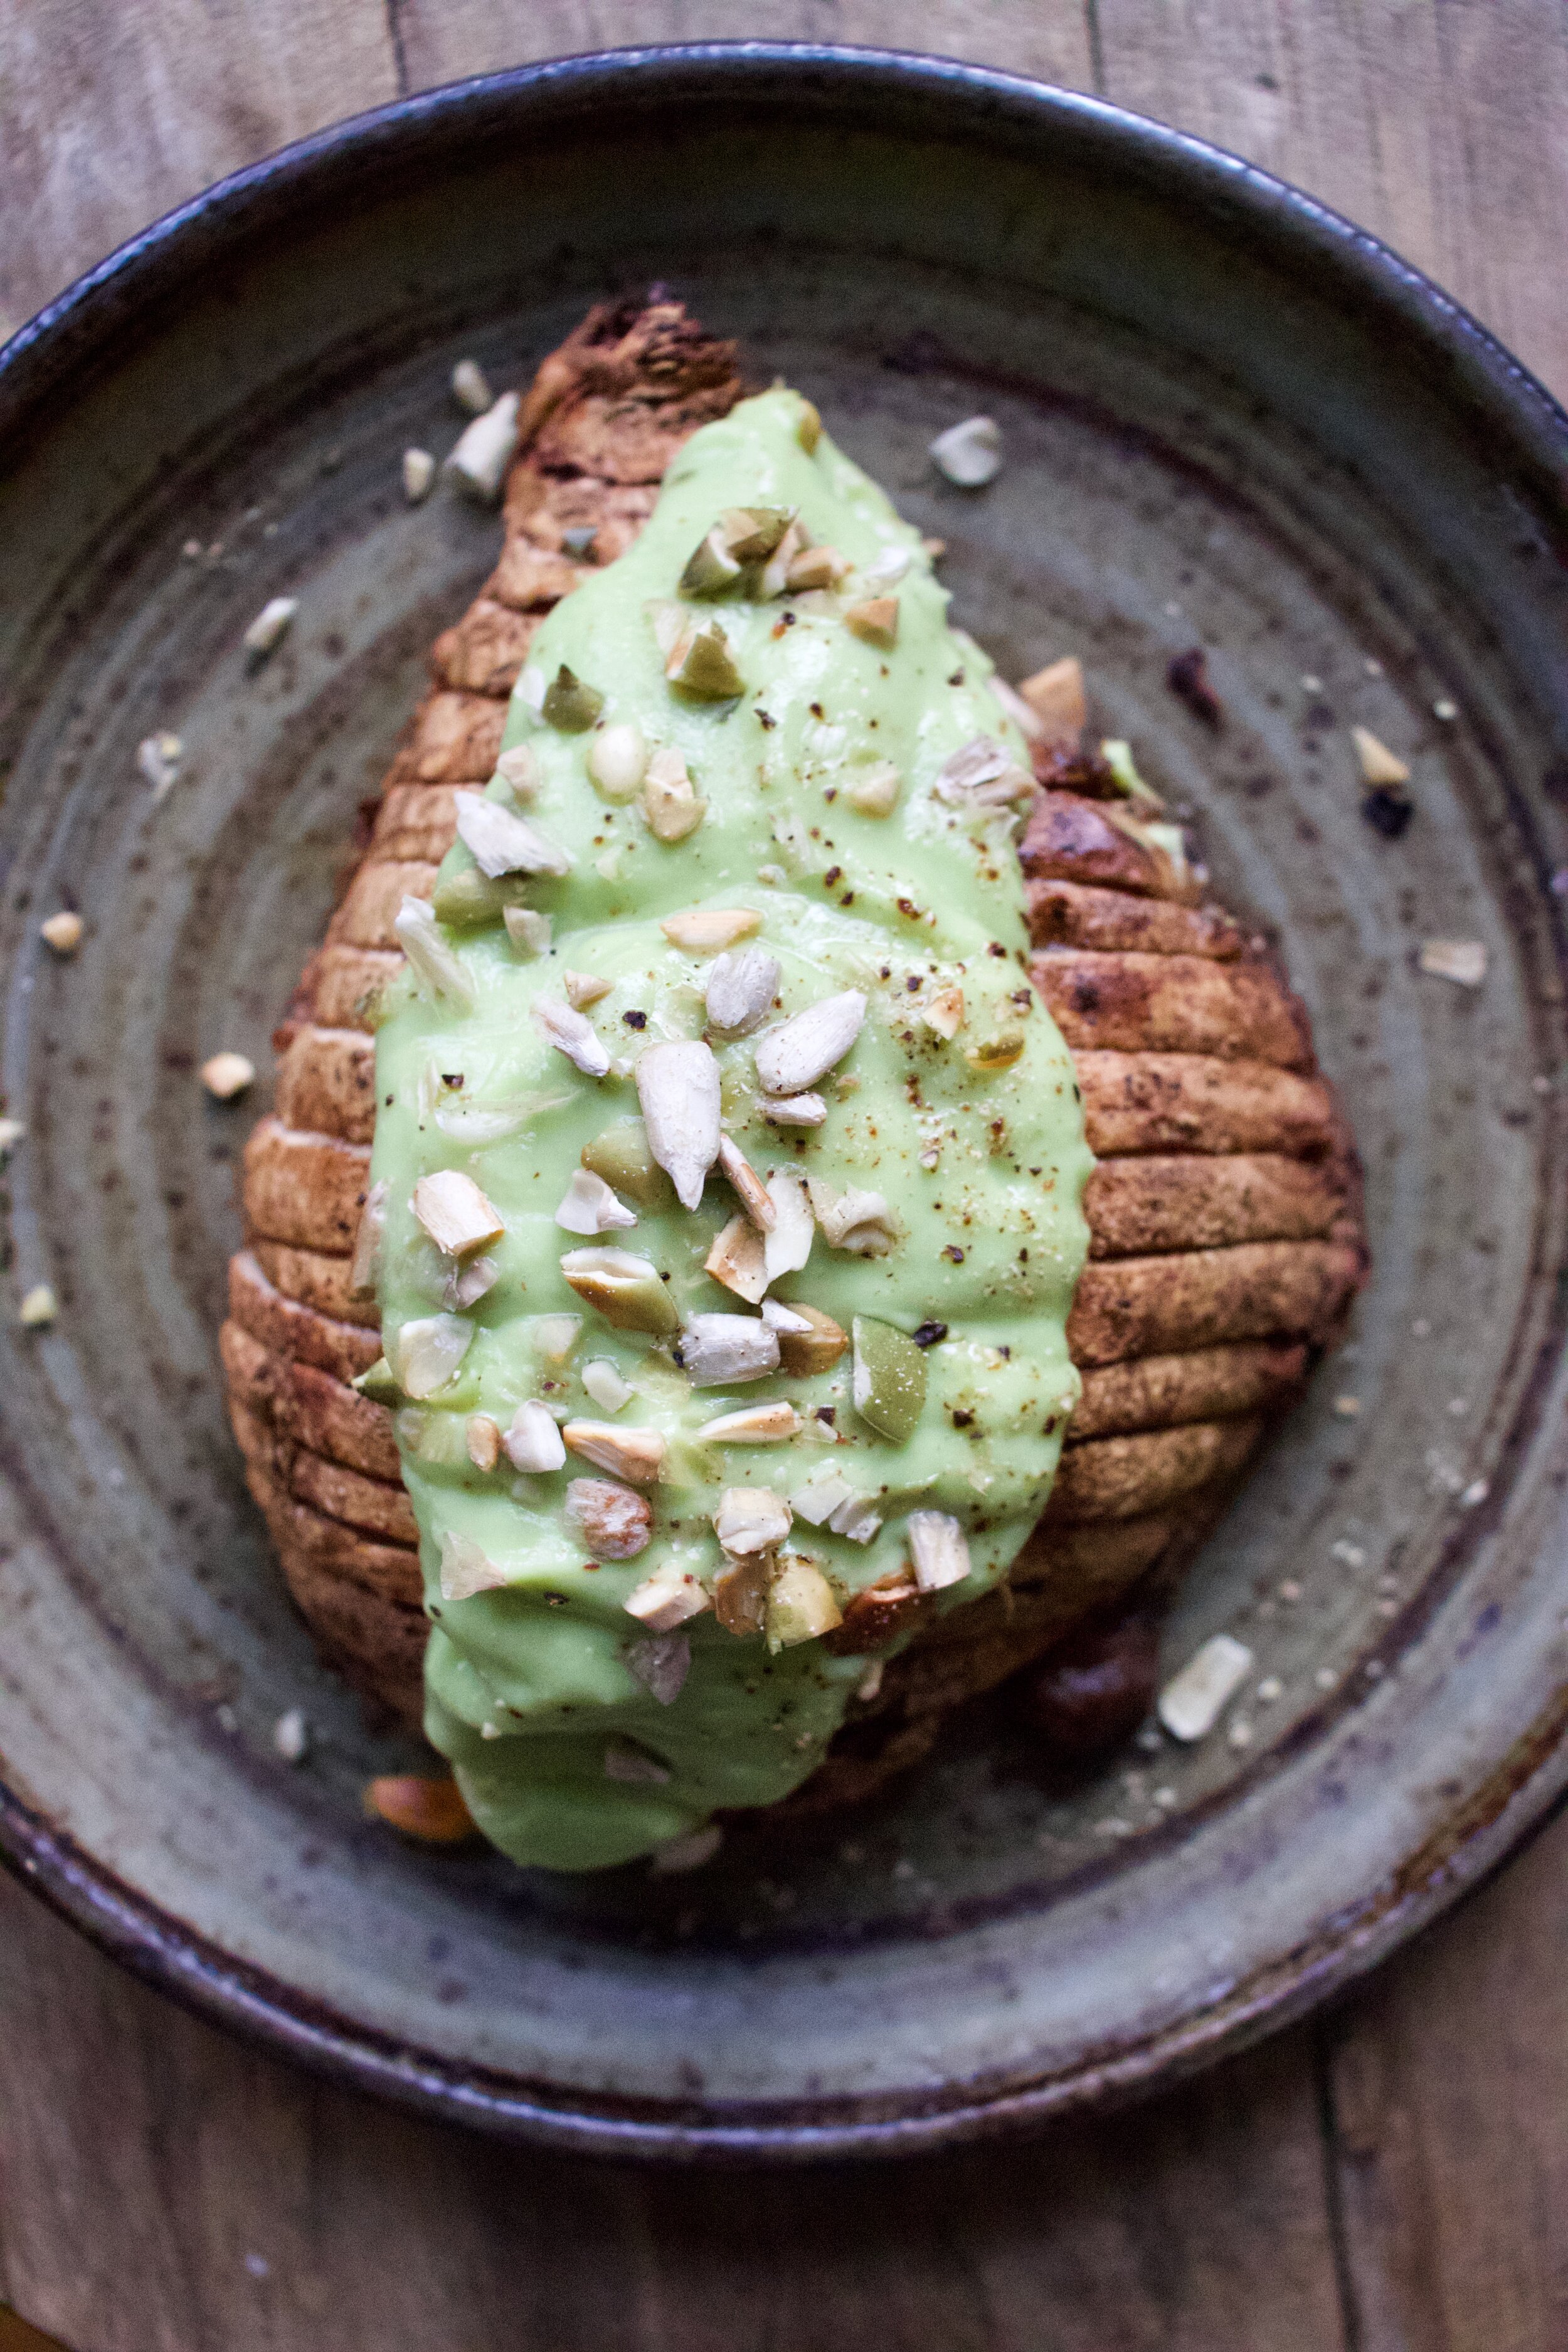
And back to the turnips. Baked for a little longer then an hour and flipped once, now they are all roasted and crispy and all sorts of ready.

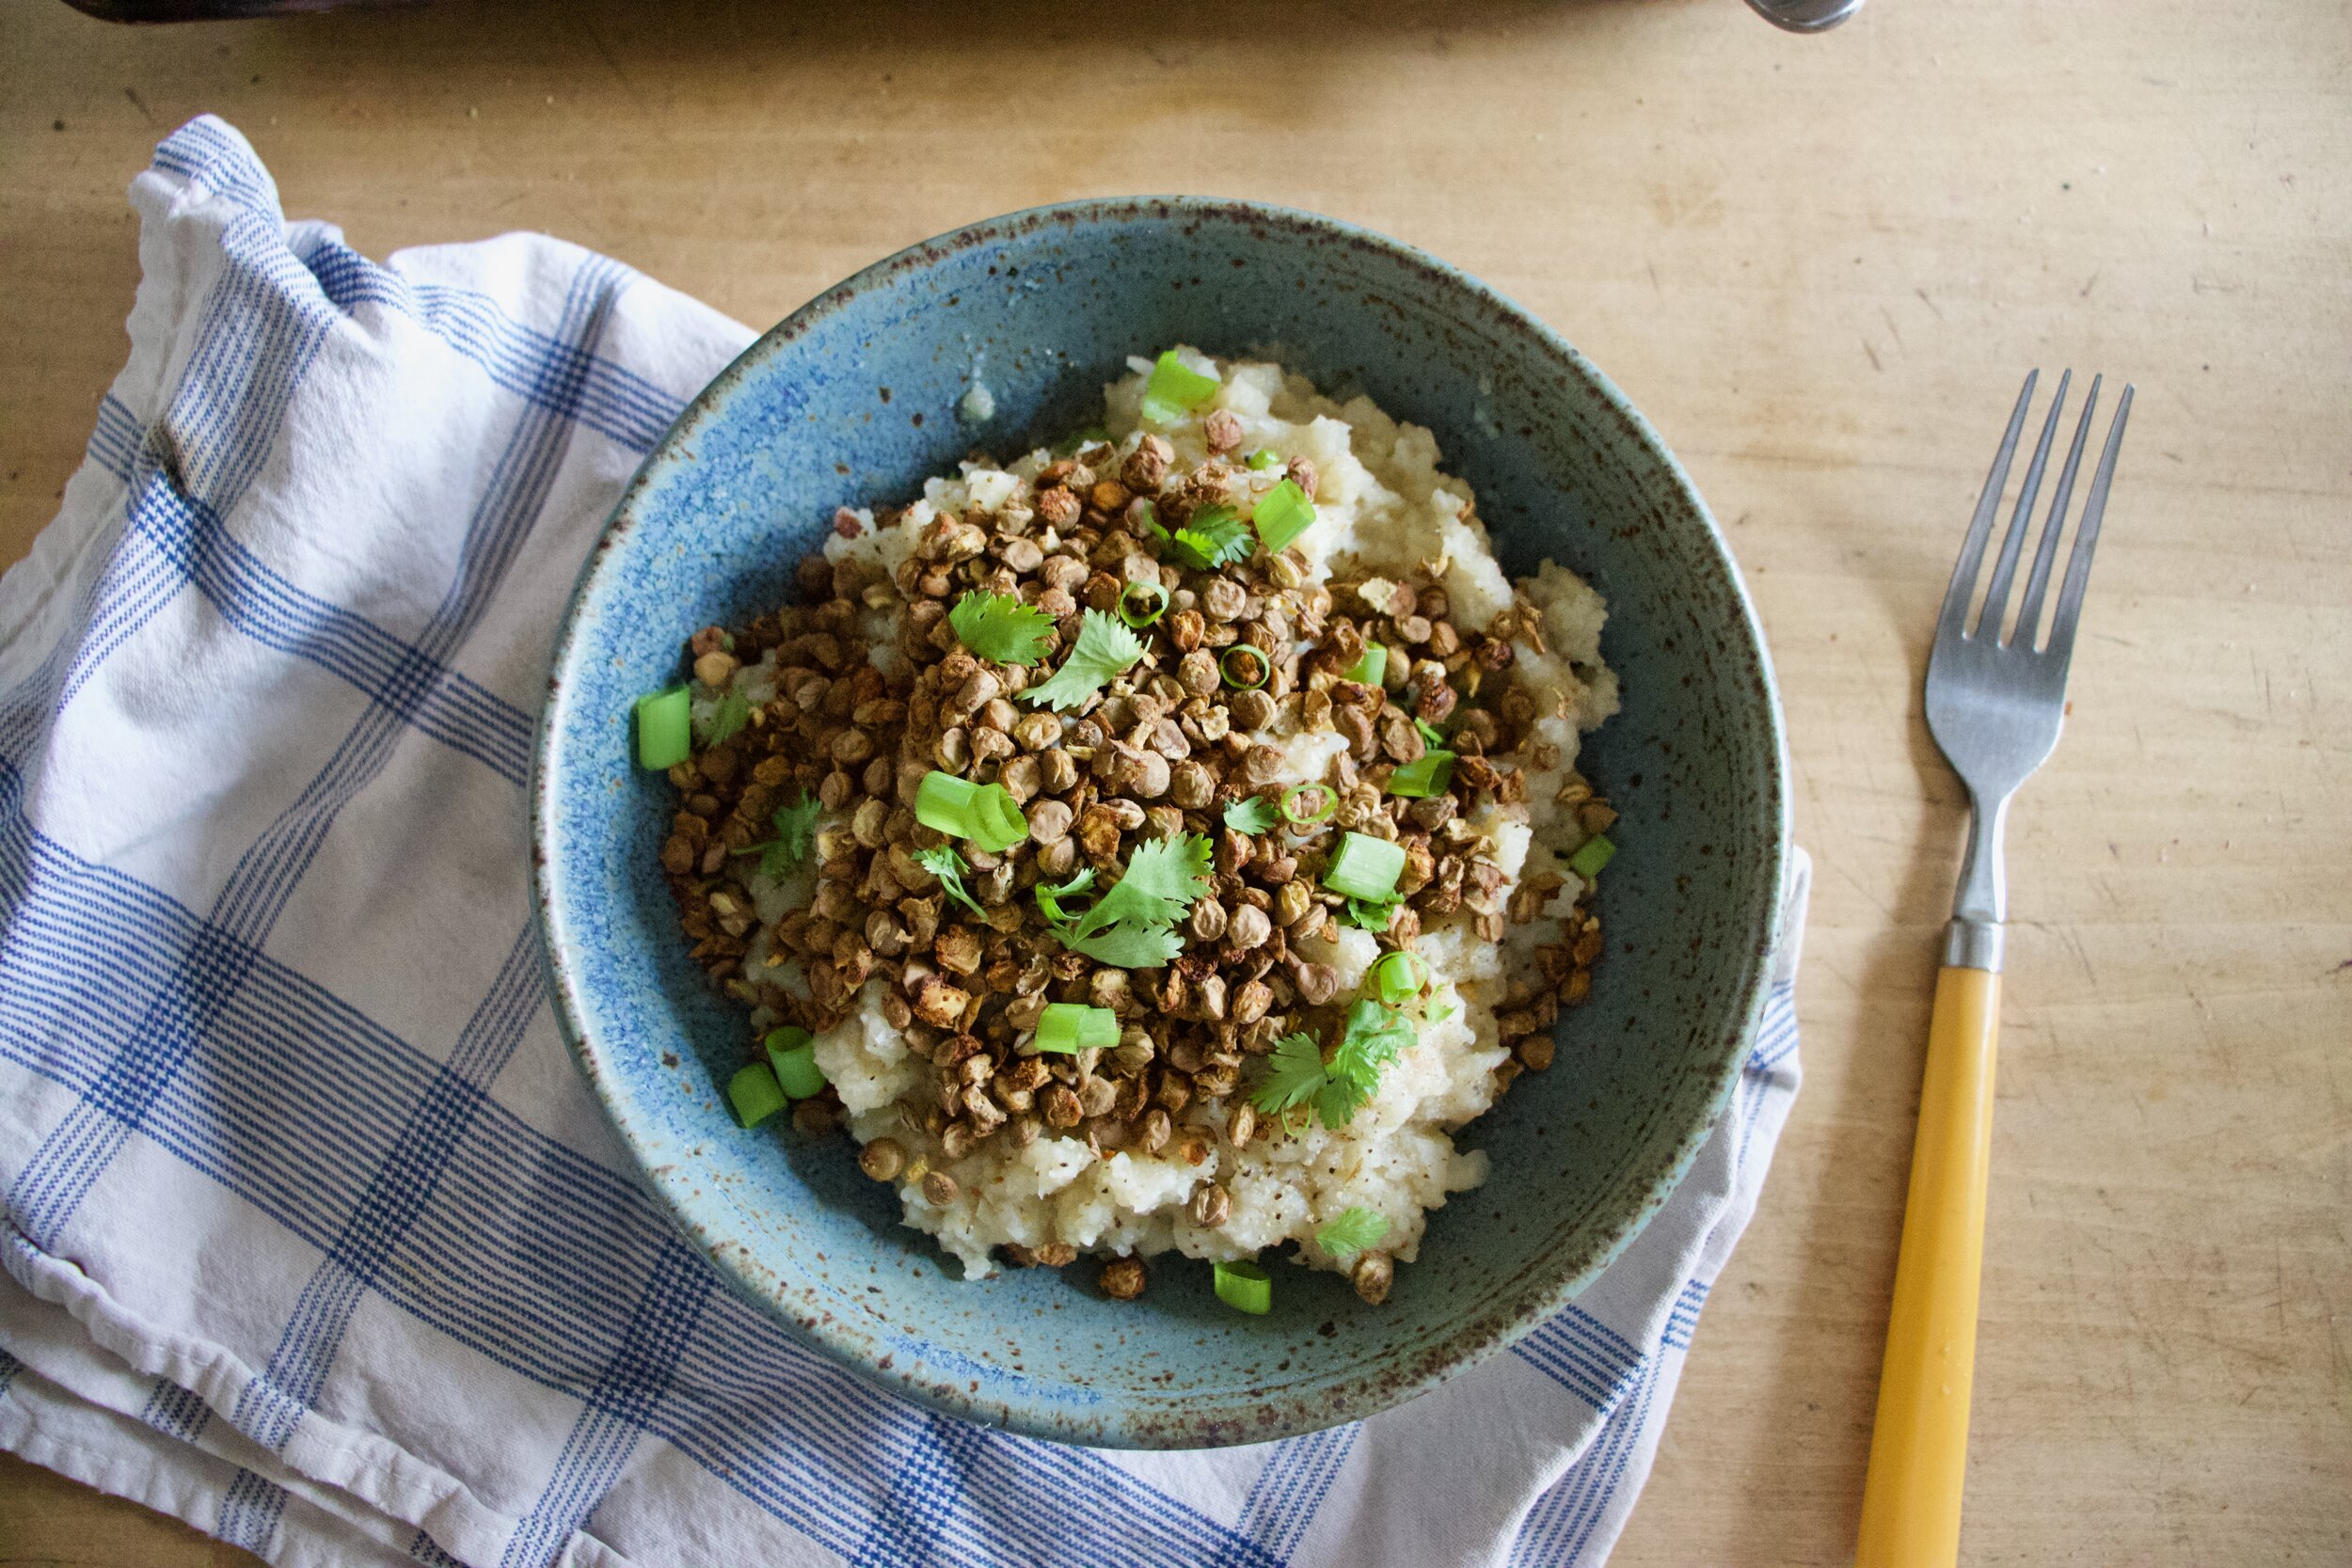
A freshly roasted hasseldbacked turnip smothered in avocado cream and sprinkle with toasted seeds.. Good things here friends. Good things.

-C


Hasselback Turnips With Avocado Cream

serves 2-4

  • 1 large or 2 small turnips

  • salt and pepper

  • olive oil

  • pinch or garlic powder

  • an avocado

  • 1 tablespoon red wine vinegar

  • 1 tablespoon water

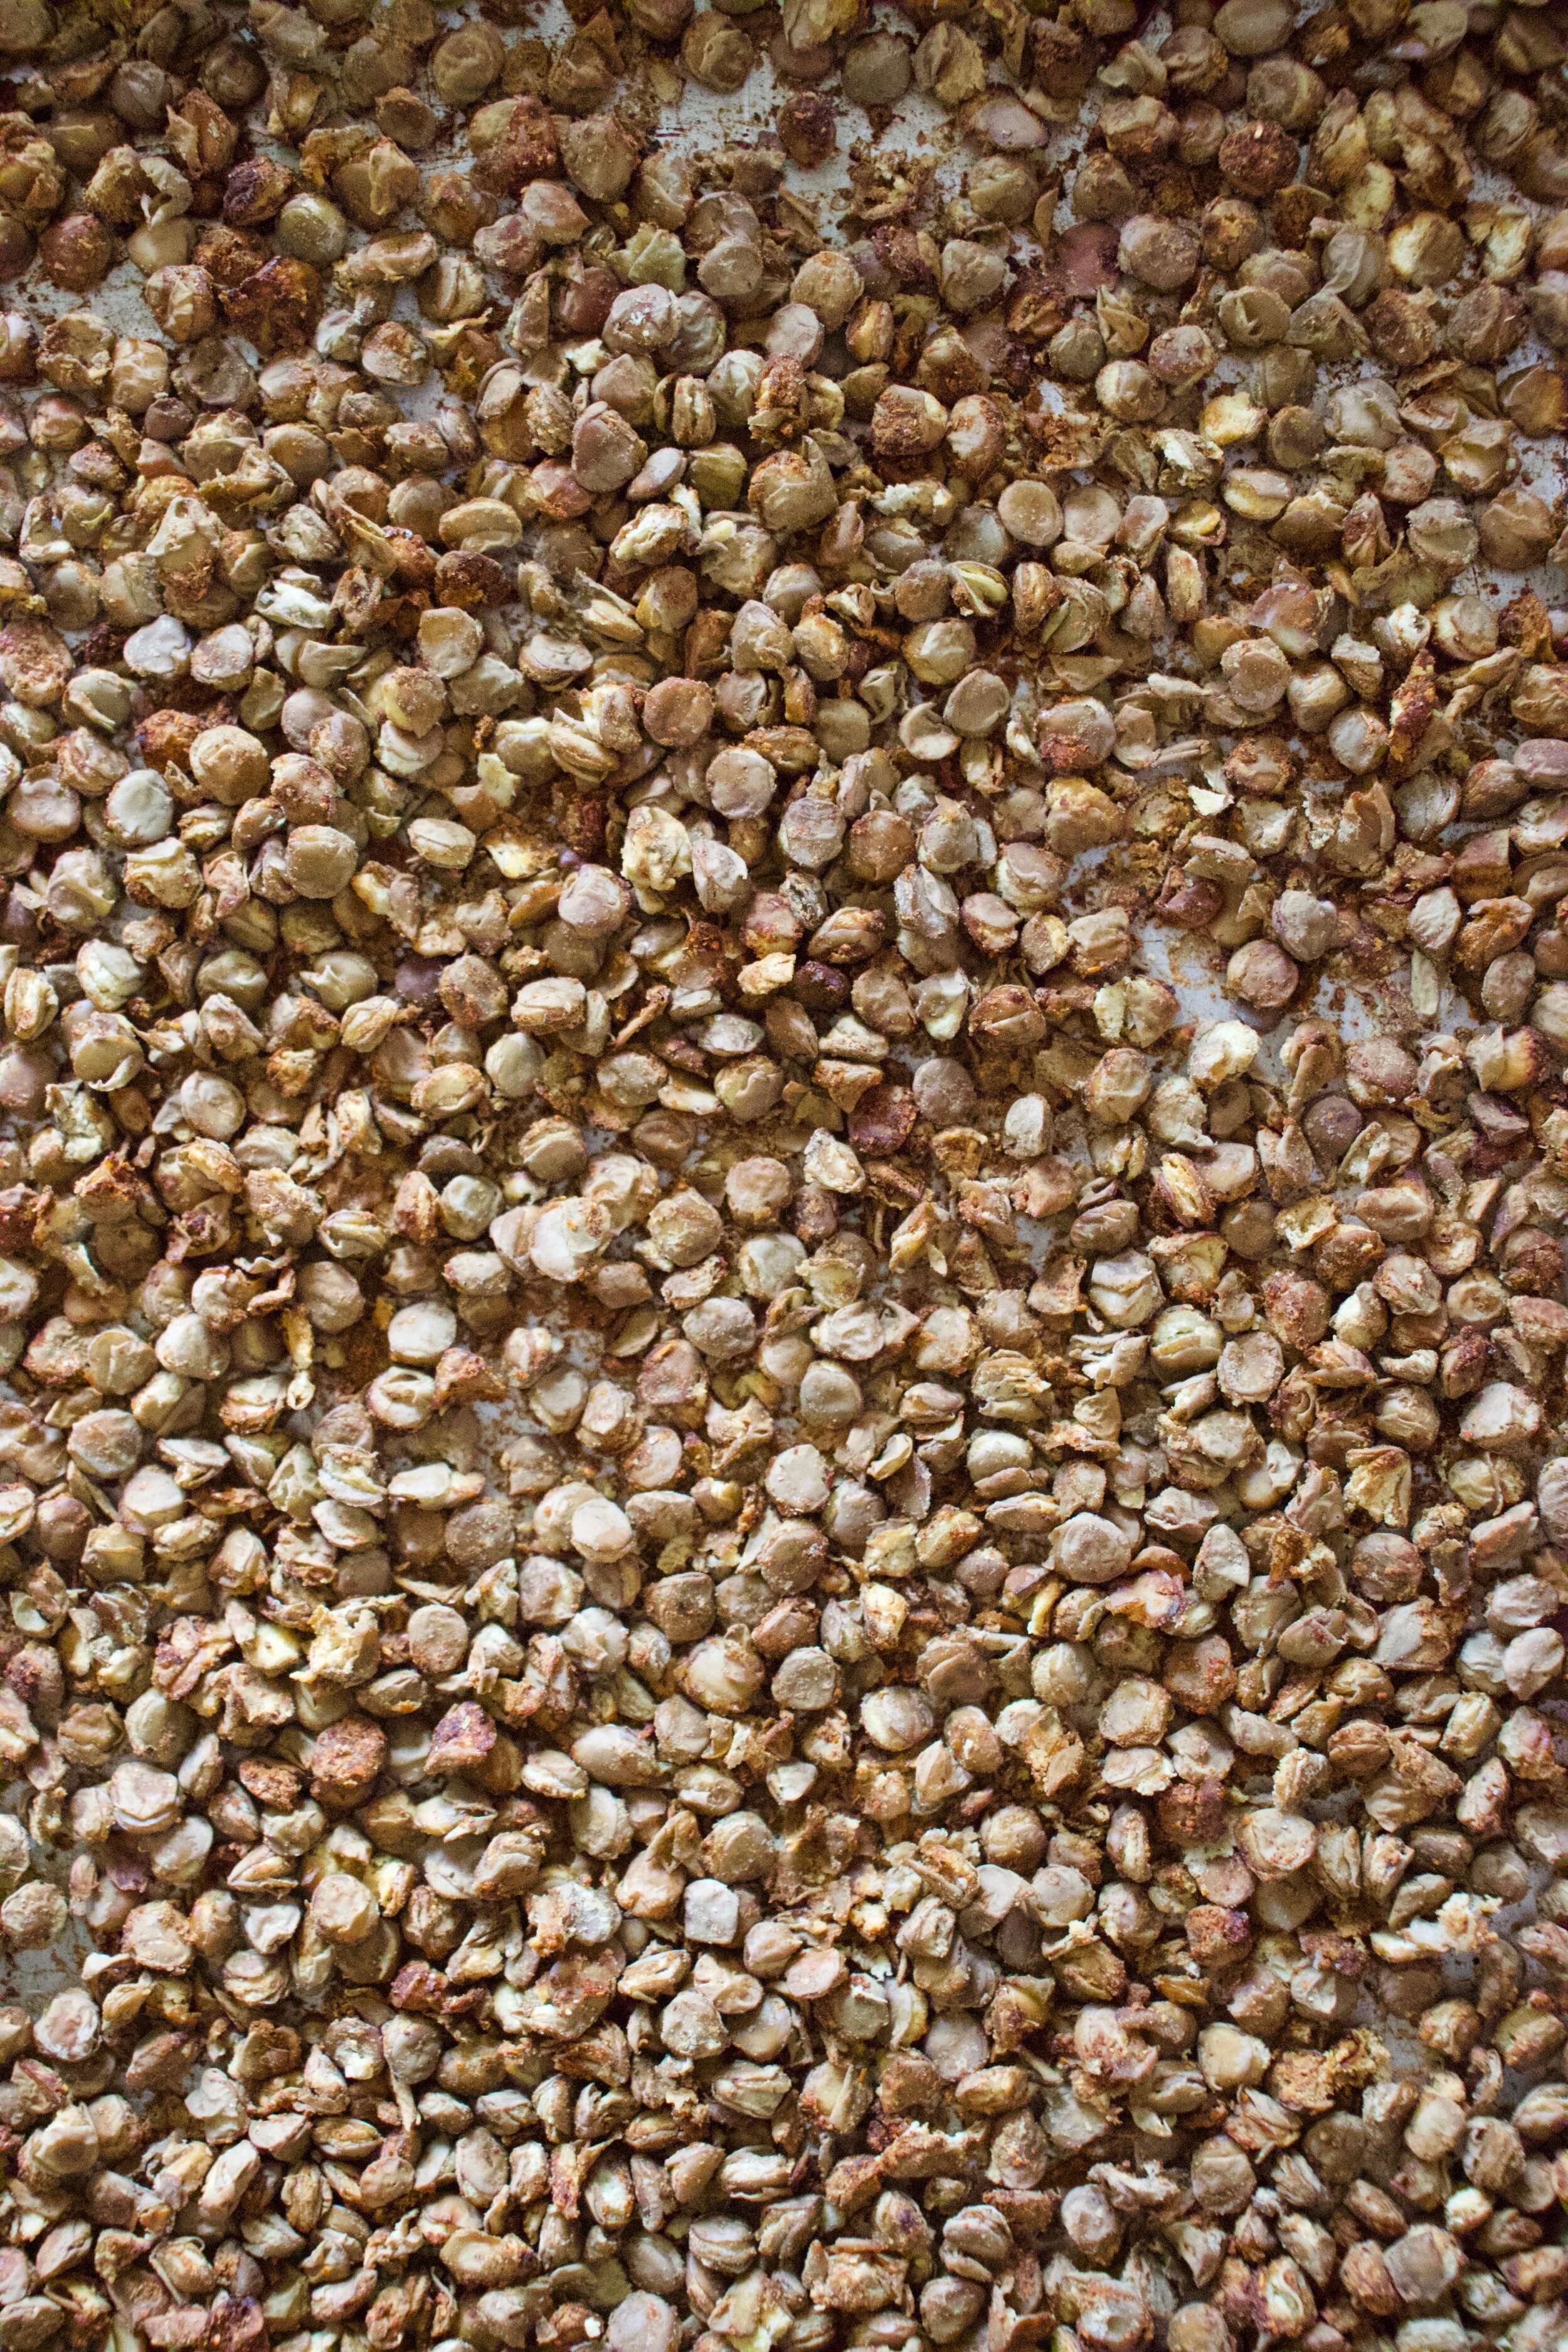
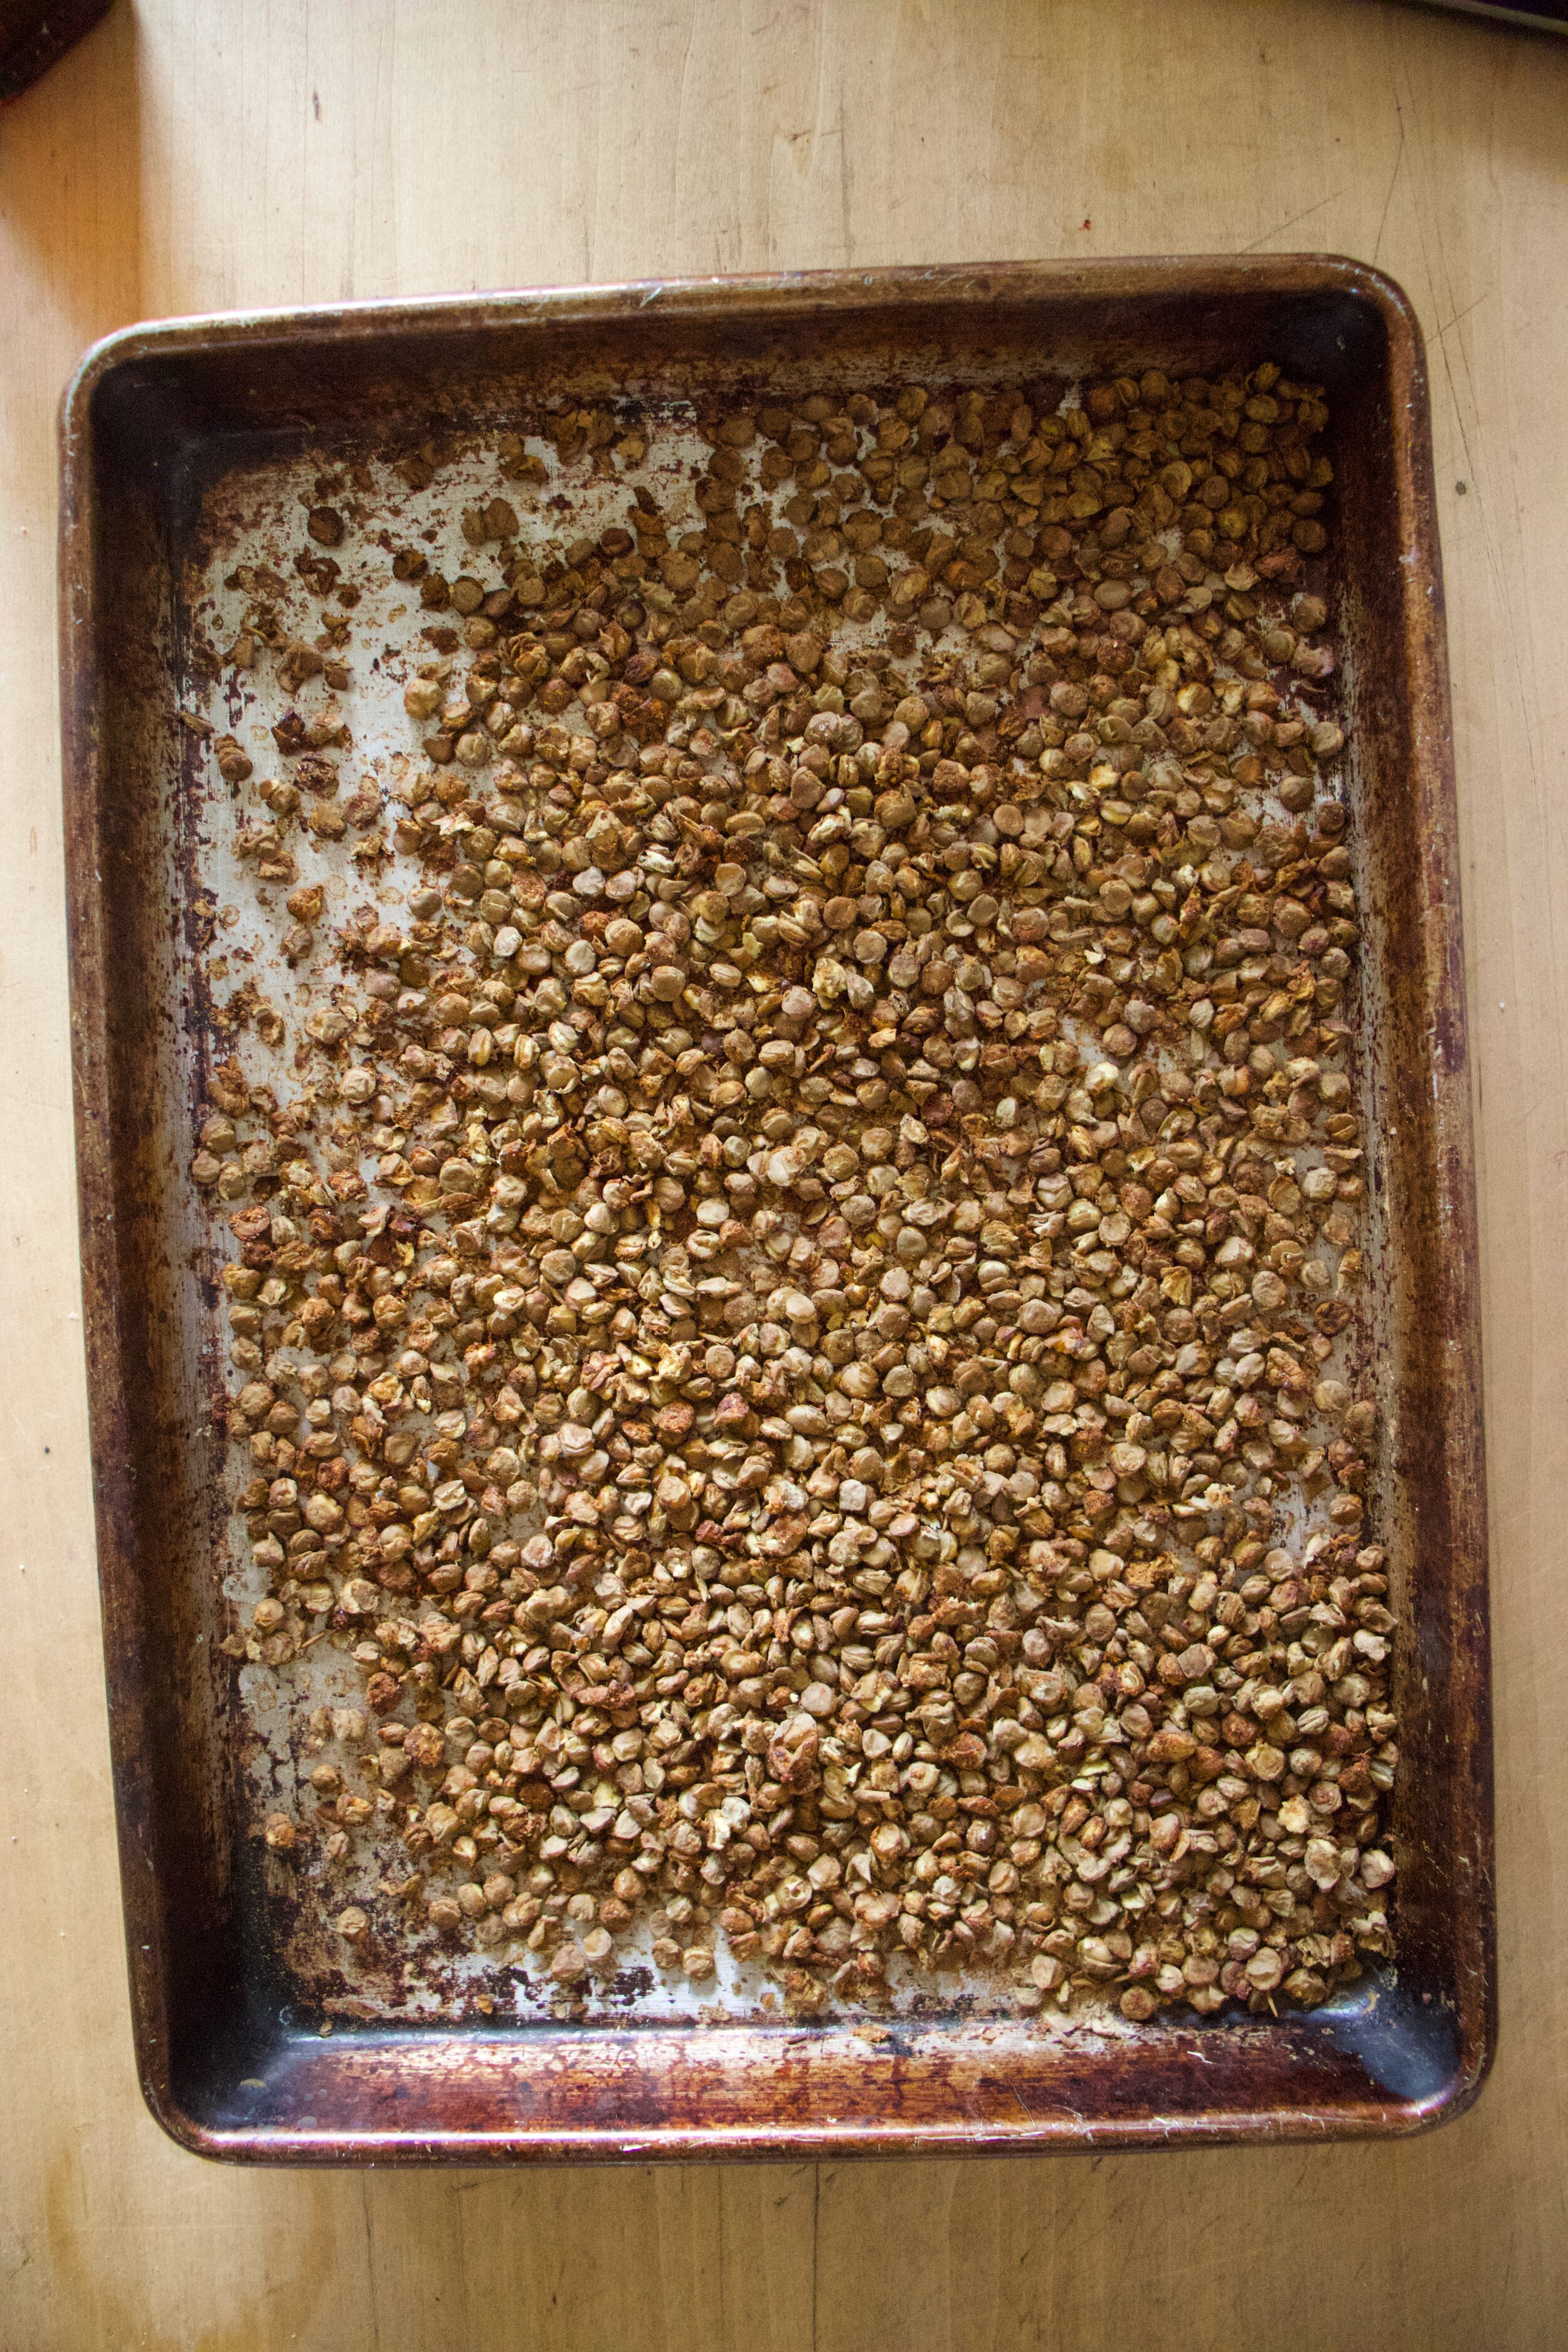
  • handful of toasted mixed seeds (I used pumpkin and sunflower seeds)

Preheat oven to 450

Grab turnip(s) and wash thoughtful. If you buy the turnip from the store and it has a wax coating, peel the outer skin, otherwise, you don’t have to. Now to haseslback. Cut the large turnip in half or if using to small ones, you can just leave it whole. Take two, either chopsticks or something that is about 1/4 - 1/2 inch thick, and place on either side of turnip to use as a cutting guid. Slice the turnip about ever 1/4 inch , right down to the guide, but not all the way through. After cutting, place on a lightly oiled skillet or baking sheet and drizzle a little oil in our hand and rub all over. Sprinkle with salt, pepper, and a pinch or garlic powder. Place the turnips in hot oven. Roasts for about an hour, or until the slices of the turnip start to brown and come apart. Also, if you want a little more crispy edge, half way through, drizzle on a little more oil. You can also flip (which I did) the turnip cut side down to finish roasting.

While turnips are roasting, make avocado puree. Scoop avocado into bowl or blender. Add in the water, vinegar, and a pinch or salt. Blend in blender or with stick blender until smooth. If to thick, drizzle in a little more water until desired consistency.

Once cooked and all crispy like, remove turnips from oven, place on a plate and slather on the avocado cream. Sprinkle on toasted seeds and eat to your face hole.

In Vegetables, Vegan, side dish, dinner Tags Hasselback Turnips With Avocado Cream, hasselback, plant based, vegan, dinner, turnip, vt state vegetable, roasted, gluten free, keto, avocado, seeds, healthy, Mediterranean, grain free, dairy free
Comment

Cranberry Brussels Sprout Slaw

December 14, 2019 Colleen Stem
IMG_4185.jpg
IMG_4180.jpg

What do you think about at 5 o’clock in the morning? Wait, are you awake at 5? Well I am and yes, I know that most people are not and think I am crazy for waking up so early, but it is and I do and whatever. Anyway, it’s 5 o'clock and I am at the gym (yes, I wake up at 5 AND go to the gym) and me and my gym friend start talking about food (as usual) and what we were going to do with our Brussels sprouts that we got from the farm (I got her to join my CSA!). That is what I am usual thinking at 5. Food, and how to prepare it. And as the sprout conversation commerced, this is what materialized in my head. Crisp, crunchy fresh Brussels spouts, shredded up and tossed in a warm tangy cranberry sauce. My mouth was salivating and as usual, I left the gym hungry.

So I came home, drank all my coffee and then proceeded to make the sprout dish for lunch and let me tell you, this sprout slaw is amazing. Tangy and crunchy and all Brussels sprouty. It has a hardy salad feel without being heavy. It is a slaw that really get me, you know. (I actually don’t know.)

Anyway, you should really get on the eating this Brussels sprouts slaw (or any Brussels sprouts dish) train now, before they go out of season and you end up buying kind of not great sprouts from the market that don’t taste as good. Bad Brussels sprouts suck.

To the cranberry Brussels sprout slaw.

The stuff. Fresh Brussels sprouts, cranberries (fresh or frozen), some onion, balsamic vinegar, a little maple, dried cranberries and toasted walnuts, and salt and pepper.

Start with onion. Grab it and dice it nice and small.

IMG_4129.jpg
IMG_4131.jpg

Dump the onion into a skillet with a little pinch of salt and a splash of water and cook for a few minutes, just unit they are not raw anymore. Then add in the cranberries and 1/2 cup water. Cook on a low heat until the cranberries all pop and the sauce starts to thicken.

While cranberries are cooking, shred up the sprouts. Thin as you can get them.

Cranberries are now a thick and chunky sauce and oh so delicious. Add in the vinegar and maple here and give it a good stir and a taste test too. If it is too tart for your liking, add more maple. Think you might need a bit more vinegar, well splash it on it.

IMG_4157.jpg

Now toss those shredded spouts it.

IMG_4161.jpg

Stir it around. Season with salt and pepper and there it is.

IMG_4174 2.jpg

Scoop into a bowl. Top with dried cranberries and walnuts and grab a fork.

This is good.

-C


Cranberry Brussels Sprout Slaw

serves 3-4 as a side or one person who wants to eat it all to themselves

  • 1 1/2 cups fresh or frozen cranberries

  • 1/2 a pound Brussels sprouts ( around 3 1/2- 4 cups shredded)

  • 1 small or 1/2 a large onion

  • 3 tablespoons balsamic vinegar

  • 1 tablespoon maple syrup (or more to taste)

  • salt and pepper

  • 1/2 -3/4 cup water

  • small handful dried cranberries (optional)

  • smal handfuls toasted walnuts (optional)

Start with dicing the onion up into small pieces. Place in a skillet with a small pinch of salt and a good splash of water and place on medium heat. Cook for a few minutes or until the water has evaporated and the onions are not raw. Add in the cranberries and 1/2 cup water. Keep on low heat and cook until the cranberries pop and start to thicken. If the cranberries are not cooked all the way and the water has evaporated out, just add another 1/2 cup.

While cranberries are cooking, shredded the Brussels sprouts, as thin as you can. A mandolin is great for this but a knife works too.

Once the cranberries have cooked down to a saucey consistency add in the vinegar and maple and stir around. Remove from heat and carefully taste the sauce. If you think it needs more maple or vinegar, add in another tablespoon until it tastes good to you. Dump in the shredded sprouts and mix. Season with salt and pepper to taste.

And then it’s done. You can dump it all into a bowl and sprinkle the dried cranberries and walnuts on top, or leave it in the skillet and do the same. Me,I scooped half into a bowl for pictures sake and ate the rest right out of the skillet. I then licked the skillet clean with my finger. Then ate the bowl full. SO good.

In quick and easy, Raw, salad, side dish, Vegan, Vegetables, winter Tags Cranberry Brussels Sprout Slaw, vegan, plant based, healthy, Brussels Sprout, raw, cranberry, salad, side dish, grain free, gluten free, vegetables, winter, hearty
Comment

Warm Balsamic Delicata, onion, and Kale Salad

November 9, 2019 Colleen Stem

Let us talk about how winter squash is like one of the best foods ever. Seriously. Hardy, creamy, rich, and full of the nutty, sweet flavors of all the good things. How anyone says they don’t like winter squash is beyond me. I sometimes even feel like I put myself in danger of exploding when I am around enough cooked squash. I can eat and eat it until it’s gone, which is fine if it’s a serving or two, but when you roast up a 10 pound butternut, well, that is when the danger is real. I am getting better at holding back, but man, sometimes I just can't (or don’t want to?) help myself. ( You might also wonder why I cook 10 pounds of squash at a time. It’s because I will eat it all in a few days and I might as well cook a bunch at once, for efficiency sake.)

Now the delicata squah. If you haven’t had it before, stop what you are doing and go get one. You need to try it because it is amazing. Sweet, nutty, creamy. So good! And another good thing is that they are not giant, so you can buy one and eat the whole thing and not worry about overeating until you can’t move, unless that is the goal. In that case, just buy a bunch. HA.

Anyway, it’s getting to that time of year where salad is still great, it is just great warm. And with winter squash. Don’t you agree? So we cook up the squash, grab the kale and make one heck of a salad to eat all to your face. Because that is what will happen. You will make it , taste it, and not want to share it. It is too good to share. (Yes salads can be too good to share, so if you are planning on feeding others, plan accordingly)

To the salad!

The stuff. Kale, a delicata squash, red onion, some balsamic vinegar, a touch of maple, spicy brown mustard, a handful of toasted seeds, and salt and pepper.

Start with the squash. Cut it in half and scoop seeds from booth sides (these seeds are great roasted). After deseeded, cut both pieces into 1/4-1/2 inch thick rounds. And NO!!!!, do not peel the skin.

Grab the onion and cut into 1/4 inch rounds too.

Place the squash on a very lightly oiled baking sheet so the pieces are not overlapping each other. Then toss on the onion which is fine if it overlaps. Sprinkle with a pinch of salt and lots of cracked pepper and pop into a hot oven.

IMG_3494 2.jpg
IMG_3501.jpg

In the meantime, mix the dressing situation together. Mustard, maple, and balsamic in a jar, mix and done.

Chop the kale too. Into mouth sized pieces.

IMG_3515.jpg
IMG_3516 2.jpg

Once squash is cooked all nice and tender, remove pan from oven. Take all the kale and toss on top then take the dressing and drizzle it all over the kale. Pop the pan back into the oven for a minutes or two, just until the kale starts to ever so slightly wilt.

IMG_3536.jpg

Pull the pan back out and give it a good toss.

IMG_3546.jpg

Dump it all into a big bowl, toss in the toasted seeds, and call it. Now grab a fork and start eating.

-C


Warm Balsamic Delicata, Onion, and Kale Salad

Can be a main dish for 1 or a side for a few

  • 1 delicata squash

  • 1 bunch of kale (around 3/4 pound)

  • 1 smallish red onion

  • 3 tablespoons balsamic vinegar

  • 1 -2 teaspoons maple syrup (more for a slightly sweeter, maple-y flavor)

  • 2 tablespoons brown or dijon mustard

  • 1/4 cup toasted seeds of choice (I used pumpkin and sunflower)

Preheat oven to 400

Cut delicata squash in half and scoop out all the seeds (you can save seeds to toast up later if you want), then slice the squash into 1/4 - 1/2 inch thick rounds. Grab onion and cut into thin slices. Take onion and squash and place them onto a very lightly oiled baking sheet and sprinkle with salt and pepper. Don’t let the squash overlap, but it is fine for the onion to overlap the squash and itself. Pop the pan into the oven and bake until the squash starts to brown and is fork tender, which should take about 10-15 minutes.

In the meantime, chop kale into small mouth sized pieces and set aside. And mix the balsamic, mustard, and maple together to create the dressing.

Once the squash and onions are cooked, toss the kale onto the pan and drizzle the whole thing with the balsamic mixture. Toss it all around and pop pan back into oven for another minute or two, just to let kale get a touch wilted.

Remove pan from oven, dump everything from pan onto a plate, and toss in the toasted seeds.

Grab a fork. Eat.

In dinner, Dressing, salad, seeds, side dish, Vegan, Vegetables, winter, winter squash Tags Warm Balsamic Delicata, onion, and Kale Salad, Winter Squash, Delicata Squash, salad, seeds, vegan, gluten free, grain free, plant based, healthy, dinner, thanksgiving, holiday, winter salad, warm salad, fresh, esay, dairy free, oil free
1 Comment

Celeriac Puree With Crispy Lentils

October 12, 2019 Colleen Stem
IMG_2848.jpg
IMG_2859.jpg

Every now and then I make something for me. All for me. This is one of those dishes that was not destined to be shared with anyone. That I had no one else in mind to eat besides me. No worring about what anyone else with think. Just a simple little dish that I was craving and wanting.

So I made it and man, was it so freaking satisfying. Cooking for oneself is very much a gratifying experience.

Celeriac, or also know as celery root. Have you ever had it? If not, well duder, you need to. It is in my top 3 favorite vegetables and that is saying a lot. So anyway, celeriac, has a slight celery taste, but also kind of earthy and nutty. It pairs well with anything that a potato might, but also is amazing on it’s own. Roasted, steamed, raw. Just really fantastic. And it is in season so get on it and go find yourself some.

And lentils. In my top 3 favorite foods. Made them crispy because pureed celeriac and crispy lentils just sounded right and I love me crispy things. Again, I was making this dish fo me so crispy was happening.

Together, the creamy, delicious pureed celeriac covered with a bunch of spiced, crispy lentil….Amazing. Eating it, I couldn’t have been happier. I did myself one good with this one.

I might even have to make it to share someday.

Now to the celeriac and lentils!

The stuff. A bulb of celeriac, some cooked lentils, salt and pepper, chili powder, garlic powder. mustard powder, and oil. (oil is optional)

The celeriac. Ok, so most people peel it. I actually get weird looks from people when I tell them I don't , but let me do me, you know. So anyway. Peel it if you want, or not, just cut it up into chunks.

IMG_2815.jpg
IMG_2841.jpg

Place cut up celeriac into a pot and cover with water. Place on stove on medium heat and cook until fork tender.

IMG_2816.jpg

Lentils meet spices and get mix all together. Add a pinch of salt and lots of cracked pepper too.

IMG_2820.jpg
IMG_2847.jpg

Spread now spiced lentils onto a baking sheet, pop into oven, and bake until crispy. Easy peasy.

IMG_2852.jpg

And to puree the celeriac. Strain any extra water into a cup. Season with a pinch of salt and pepper and grab the hand blender (or regular blender) and blend it, adding back in some of the strained water as needed, to get to a consistency that you like. Me, I liked it pretty smooth, but also with a little chunk. Heck, you could leave it really chunky or go all out completely smooth. Up to you. Also if you want a creamier texture, add in a teaspoon or so of the olive oil. That is a taste preference. I didn't add oil this time, but I have before. It’s good both ways.

IMG_2894.jpg

And there you have it. Add the celeriac puree to a bowl, top with crispy lentils, and garnish with something green if you want.

Then eat it.

Not going to lie. After this picture was taken, I busted out the spicy mustard and covered everything with it. And it was amazing.

-C


Celeriac Puree With Crispy Lentils

serves 1 as a meal, or a few as a side dish

  • 1 1/2 cups cooked green lentils

  • 1 large celeriac bulb (soft ball sized)

  • 1 teaspoon chili power

  • 1/2 teaspoon ground mustard powder

  • 1/2 teaspoon garlic powder

  • salt and pepper

  • olive oil (optional)

Grab celeriac and peel if you want, or just give it a really good wash. Cut into chunks and place into pot. Add enough water to just cover the celeriac and place on medium heat on the stove. Cook until fork tender.

In the mean time, mix all the spices and a good pinch of salt and lots of pepper together with the lentils. Dump them and spread them out onto a lightly oiled baking sheet. Place in oven and turn to 400 degrees (you can start cooking the lentils while the oven is preheating). Bake for about 20 minutes or until lentils are crispy.

Once the celeriac is tender, strain water into a cup and either with a hand blender or a regular blender, blend until smooth, adding in some of the poured off water as needed. You can puree as smoothly as you like or leave a few chunks.. Also, you might want to add in a teaspoon or so of olive oil for a slightly richer and creamier taste. Season to taste with salt and pepper.

Ehen the lentils are done, take them from oven. Place large amount (or all) of the celeriac puree to a bowl, cover with some (or all) of the crispy lentils and that is that. Eat away.

Serving suggestion…. Mustard. Any kind. So good.

In Dairy Free, dinner, entree, Gluten Free, grain free, pulses, quick and easy, side dish, Vegan, Vegetables Tags Celeriac Puree With Crispy Lentils, plant based, vegan, roots, vegetable, pulses, lentils, easy, gluten free, grain free, celery root, heathy, clean eating, dinner, dairy free, celeriac puree, crispy lentils
Comment

Sautéed Cumin Ginger Chard with Pickled Onions

July 20, 2019 Colleen Stem
IMG_0386.jpg
IMG_0487.jpg

I am on a major swiss chard kick. Like I am eating it all day, every day. And I don’t know if it the heat or what, but the other night I was laying in bed, super hot mind you, and couldn't keep my mind from racing. All I could think about was swiss chard and how much I love it and all the ways I want to eat it. Yeah, I know, but that is my brain so what can I do? Anyway, I finally fell asleep, and when I did it was dreams of chard and rainbows and all sorts of colorful things that I cannot remember anymore. I do know I woke up hungry. And with a plan for lunch.

I will just tell you now, this chard situation is sooooo good! And besides me being on a major chard kick, I am also on a ginger and cumin kick and an onion kick as well so it just made sense to make something with them all together. Tender and gingery cumin-y chard with crispy pickled onions. Seriously, is your mouth watering yet? I have made it twice in the past few day and I plan on making it a whole bunch more. So freaking good!

If you like chard, or don’t know if you do (you probably do), this is a great way to enjoy it. You will not be disappointed.

Now to the chard.

The stuff. A bunch of chard in a few different colors, a medium onion, a chunk of fresh ginger, cumin seeds, white wine vinegar, and salt and pepper.

IMG_0364.jpg
IMG_0370.jpg

First and the sooner the better, cut onion up into very thin pieces and place into a bowl with vinegar, a pinch of salt, and a splash of water. Toss onions around and let sit, for at least 20 minutes, or if you think of it and can make it happen, do it a few hours in advance. . The longer the onions sit in the vinegar the better.

IMG_0380.jpg

Ginger. If you haven’t grated it yet, do that.

IMG_0383.jpg

Remove the stems from the greens of the chard then chop the stems into small pieces.

IMG_0417.jpg
IMG_0428.jpg

Now here we go. First, before anything, place the cumin seeds into the dry skillet and place on medium heat to toast for a couple minutes, Then add in the grated ginger, the chard stems, a pinch of salt, and about 1/2 a cup of water. Stir around. Keep on medium heat and let cook until the chard stems start to become tender. If all the water evaporates out before they are done cooking, add a little more.

IMG_0423.jpg

Now chop up the chard greens.

IMG_0438.jpg
IMG_0449.jpg

Greens go into the skillet with the stems and a little more water. Cook the greens down until all wilted and lovey and delicious.

IMG_0456.jpg

Dump the cooked chard into a bowl or on a place and mix in all the pickled onions. Drizzle with a little of the left over vinegar from the onions.

IMG_0490.jpg

All there is left to do now is add a lot of cracked pepper and grab a fork.

My dreams come true…..Ha.

-C


Sautéed Cumin Ginger Chard with Pickled Onions

Serves 1 as a meal or 3-4 as a side

  • I bunch (around a pound) Swiss chard Any color or a mixture of colors))

  • 1 mediam onion (red or white)

  • about an inch or so fresh ginger (1 tablespoon grated)

  • 1 tablespoon cumin seeds

  • 1/3 cup white or red wine vinegar

  • salt and pepper

  • around 1 cup water

Grab the onion and slice it very thinly into rings or half rings. Place in a bowl and add the vinegar plus a pinch of salt and about 1/4 cup of water. Toss around and set aside for at least 20 minutes. If you think of it, do this a few hours before sautéing the chard. The longer the onions sit in the vinegar, the better.

When you are ready to cook it, grab the chard and remove the stems from the greens. Cut the stems into small little pieces. Grab a big skillet and place on medium heat. Add in the cumin seeds and let toast for a few minutes and while that is happening, grate the ginger. Once cumin is toasted, add in the chard stems, the ginger, and about 1/2 cup of water. Keep on medium heat and cook until the stems are slightly tender. Should take 8 or so minutes. If the water completely evaporates before cooked, add in a little more.

And the greens. roll them up together and slice them into thin pieces. Add all the greens to the skillet with tender stems. Add in a splash more water if needed and a pinch of salt. Mix around and cook for another 4-5 minutes or until the greens are completely wilted. Remove from heat and dump the chard into a bowl or on a plate. Take the onions, remove from the liquid and mix together with the chard. Drizzle a tiny bit of the left over vinegar from he onions on top. Cover with cracked pepper.

Eat. Hot, room temperature, or cold. It fantastic any way.

In Vegetables, Vegan, summer, side dish, salad, quick and easy Tags Sautéed Cumin Ginger Chard With Pickled Onions, Swiss chard, vegan, plant based, gluten free, whole foods, healthy, no oil, salad, greens, easy, chard salad, pickled onions
Comment
← Newer Posts Older Posts →
 

https://thelovelycrazy.squarespace.com/config#/|/about/

Me. Food Maker.Food eater. Woo HOO!

STEM+NODE  SMALL BATCH AND ONE OF A KIND POTTERY

stem+node ceramics


____________________

Subscribe

GET NEW POSTS IN YO EMAIL

You are AWESOME!!!


@thelovelycrazy 2014-2021