• stem+node ceramics
  • HOME
  • Food Recipes
  • About
  • Contact
Menu

The Lovely Crazy

Street Address
City, State, Zip
Phone Number

Your Custom Text Here

The Lovely Crazy

  • stem+node ceramics
  • HOME
  • Food Recipes
  • About
  • Contact

Baba Ganoush

August 24, 2016 Colleen Stem

It's strange to think that only a few years ago I was not a big eggplant fan. Before I started to experiment with cooking it myself, the only time I had ever really had it was when I was young and it was deep fried, like eggplant parm style. It just wasn't for me.

So when I started doing my farm share 5years ago and were getting lots of eggplants, I knew I had to figure something out and try new ways of eating it. Well it turns out that I actually love eggplant, like a lot.  I went eggplant crazy and for a while was eating a eggplant a day, either roasted or tuned into soup or cooked crispy into chips. And lots of baba ganoush, or what I think of as eggplant hummus (all the hummus stuff minus the chick peas). Smooth, creamy, rich and tangy. I have been know to make a batch and eat it all to my face in a sitting.( there is absolutely nothing wrong with that) It's that good. And bonus. Being so super busy busy, this is just so dang fast and easy to make. 25 minutes and 20 of those minutes are the eggplant roasting, and you got yourself something tasty to eat. Plus if you have a few eggplant in the fridge that might have seen better days, turning them into the baba ganoush is a great way to go.

Baba ganoush, The name just says it all cause how could something called baba ganoush be anything other then awesome.

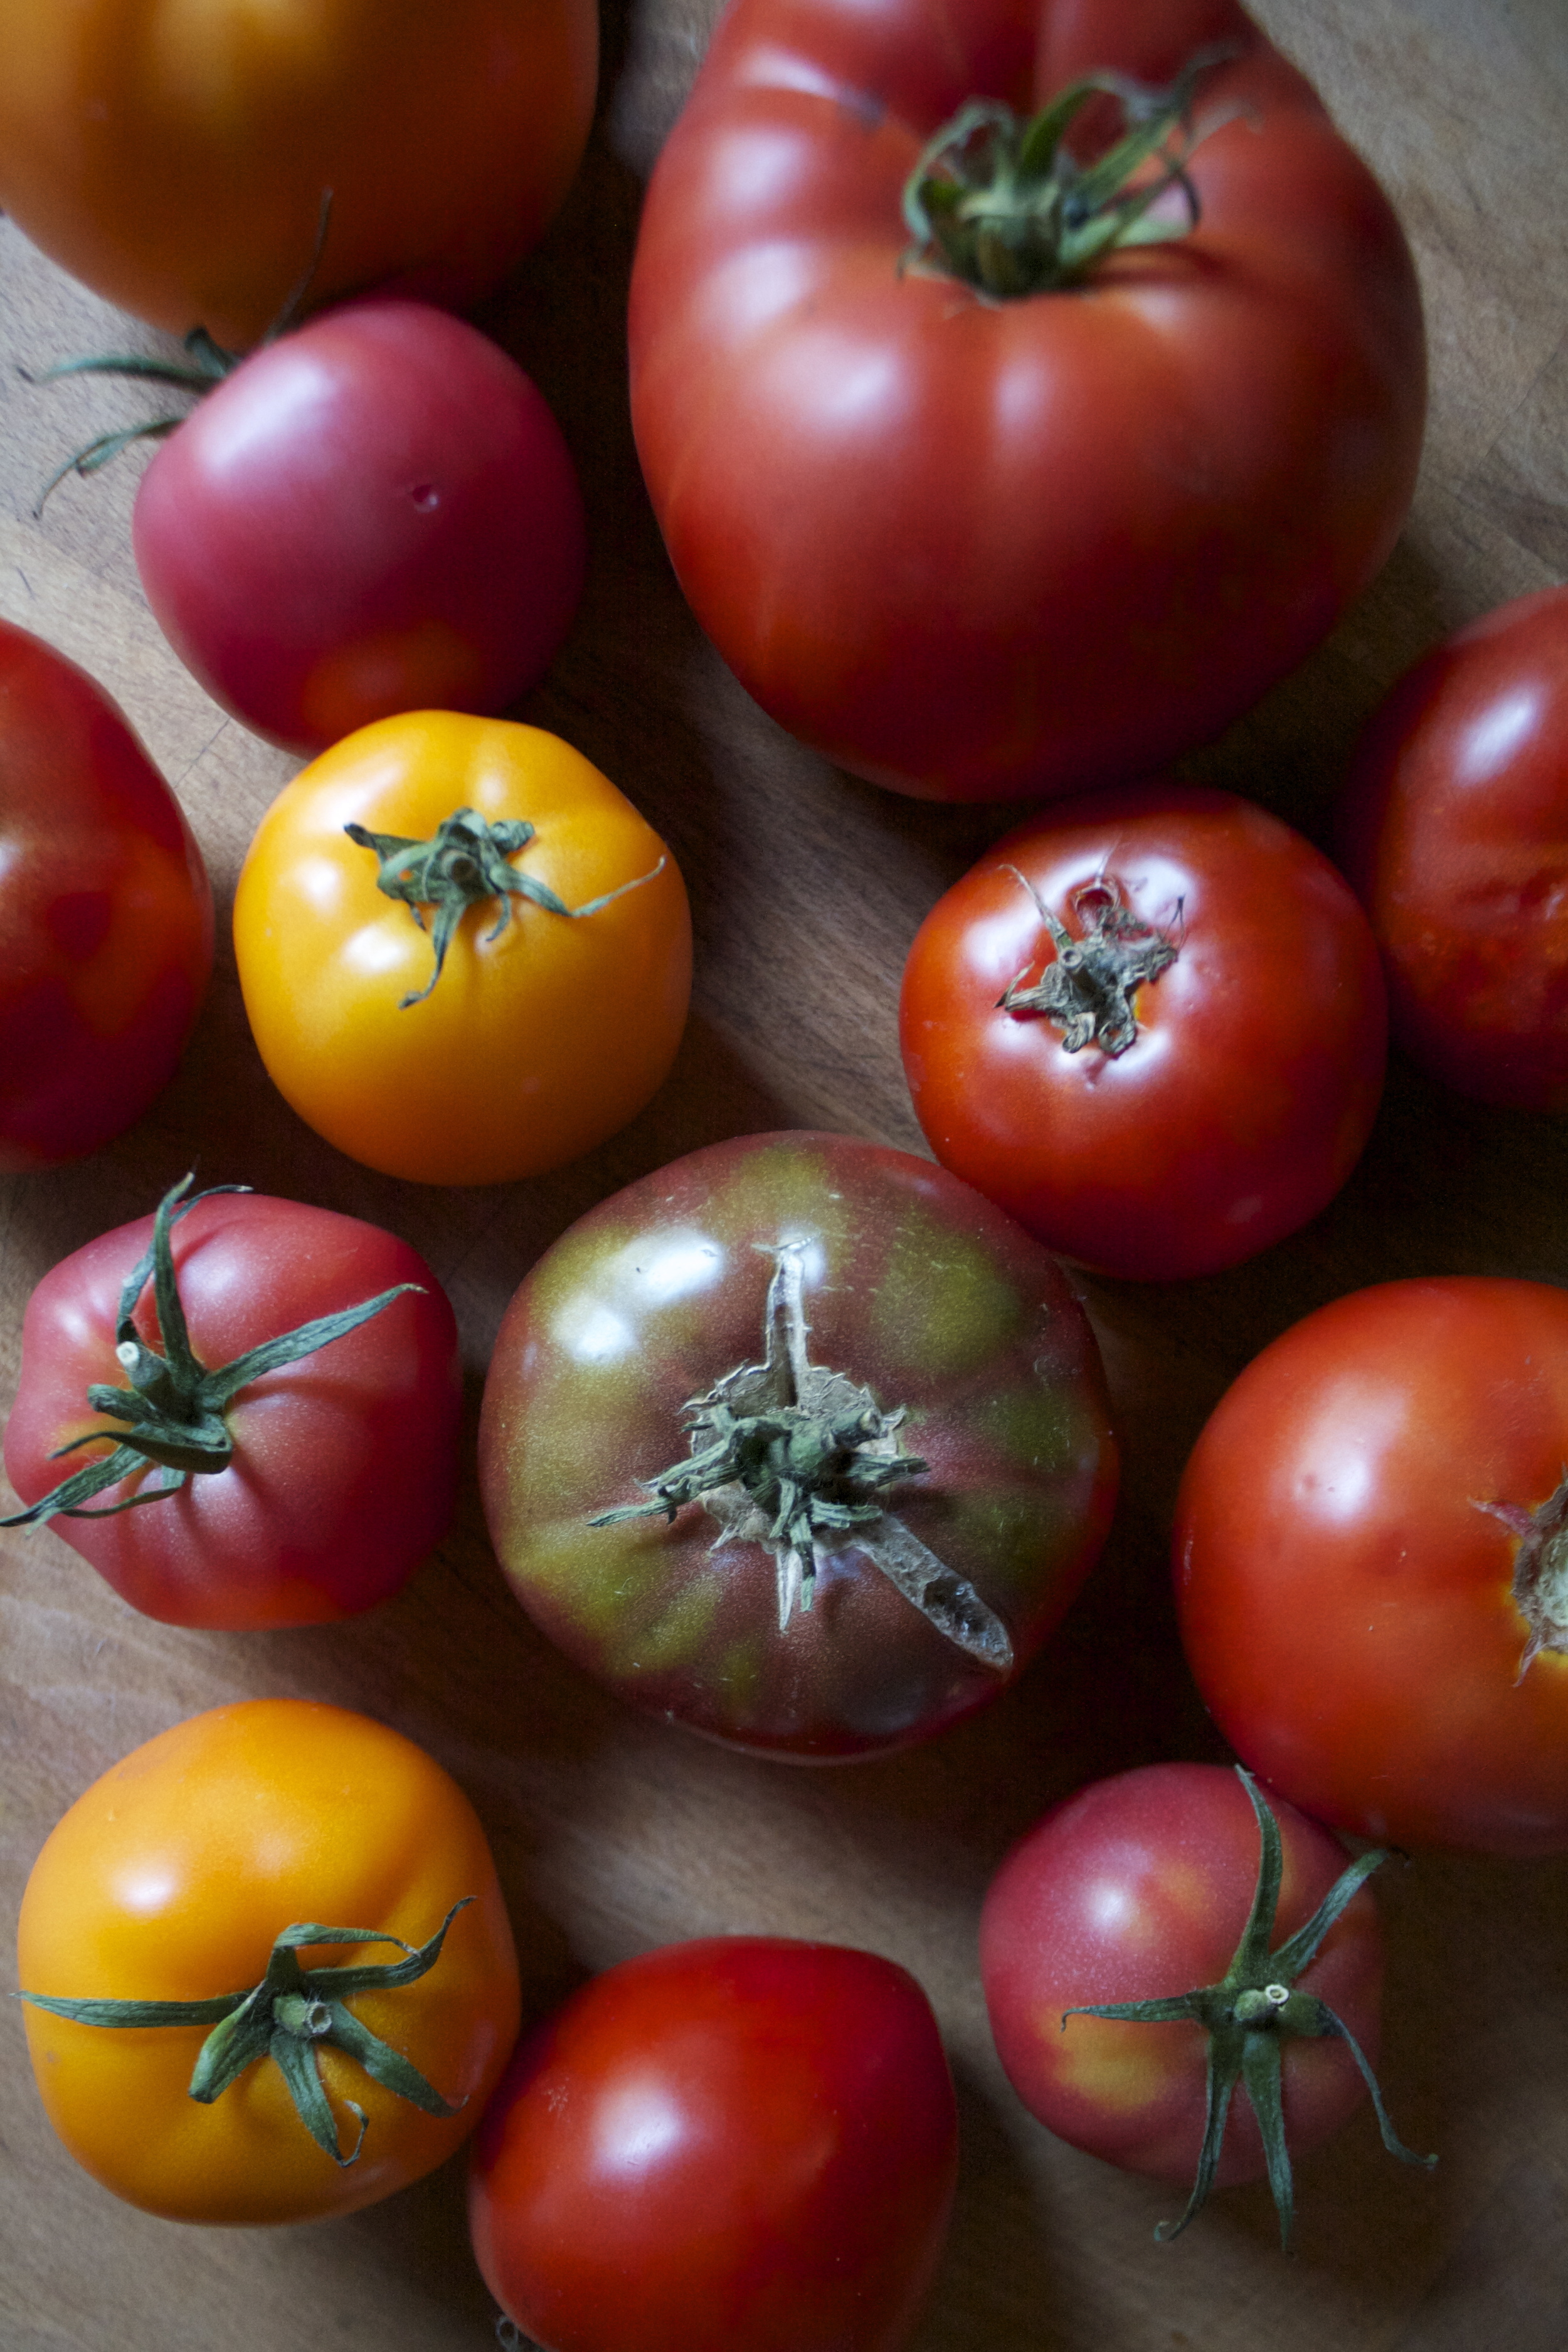
The stuff. A couple (or three) eggplants, a lemon, some tahini, garlic, olive oil and salt.

Eggplant get sliced in half and stuck onto a baking sheet to go into a super hot oven to roast. Some people oil it, I don't, but you can if you want.

Brown and tender. Roasted to perfection.

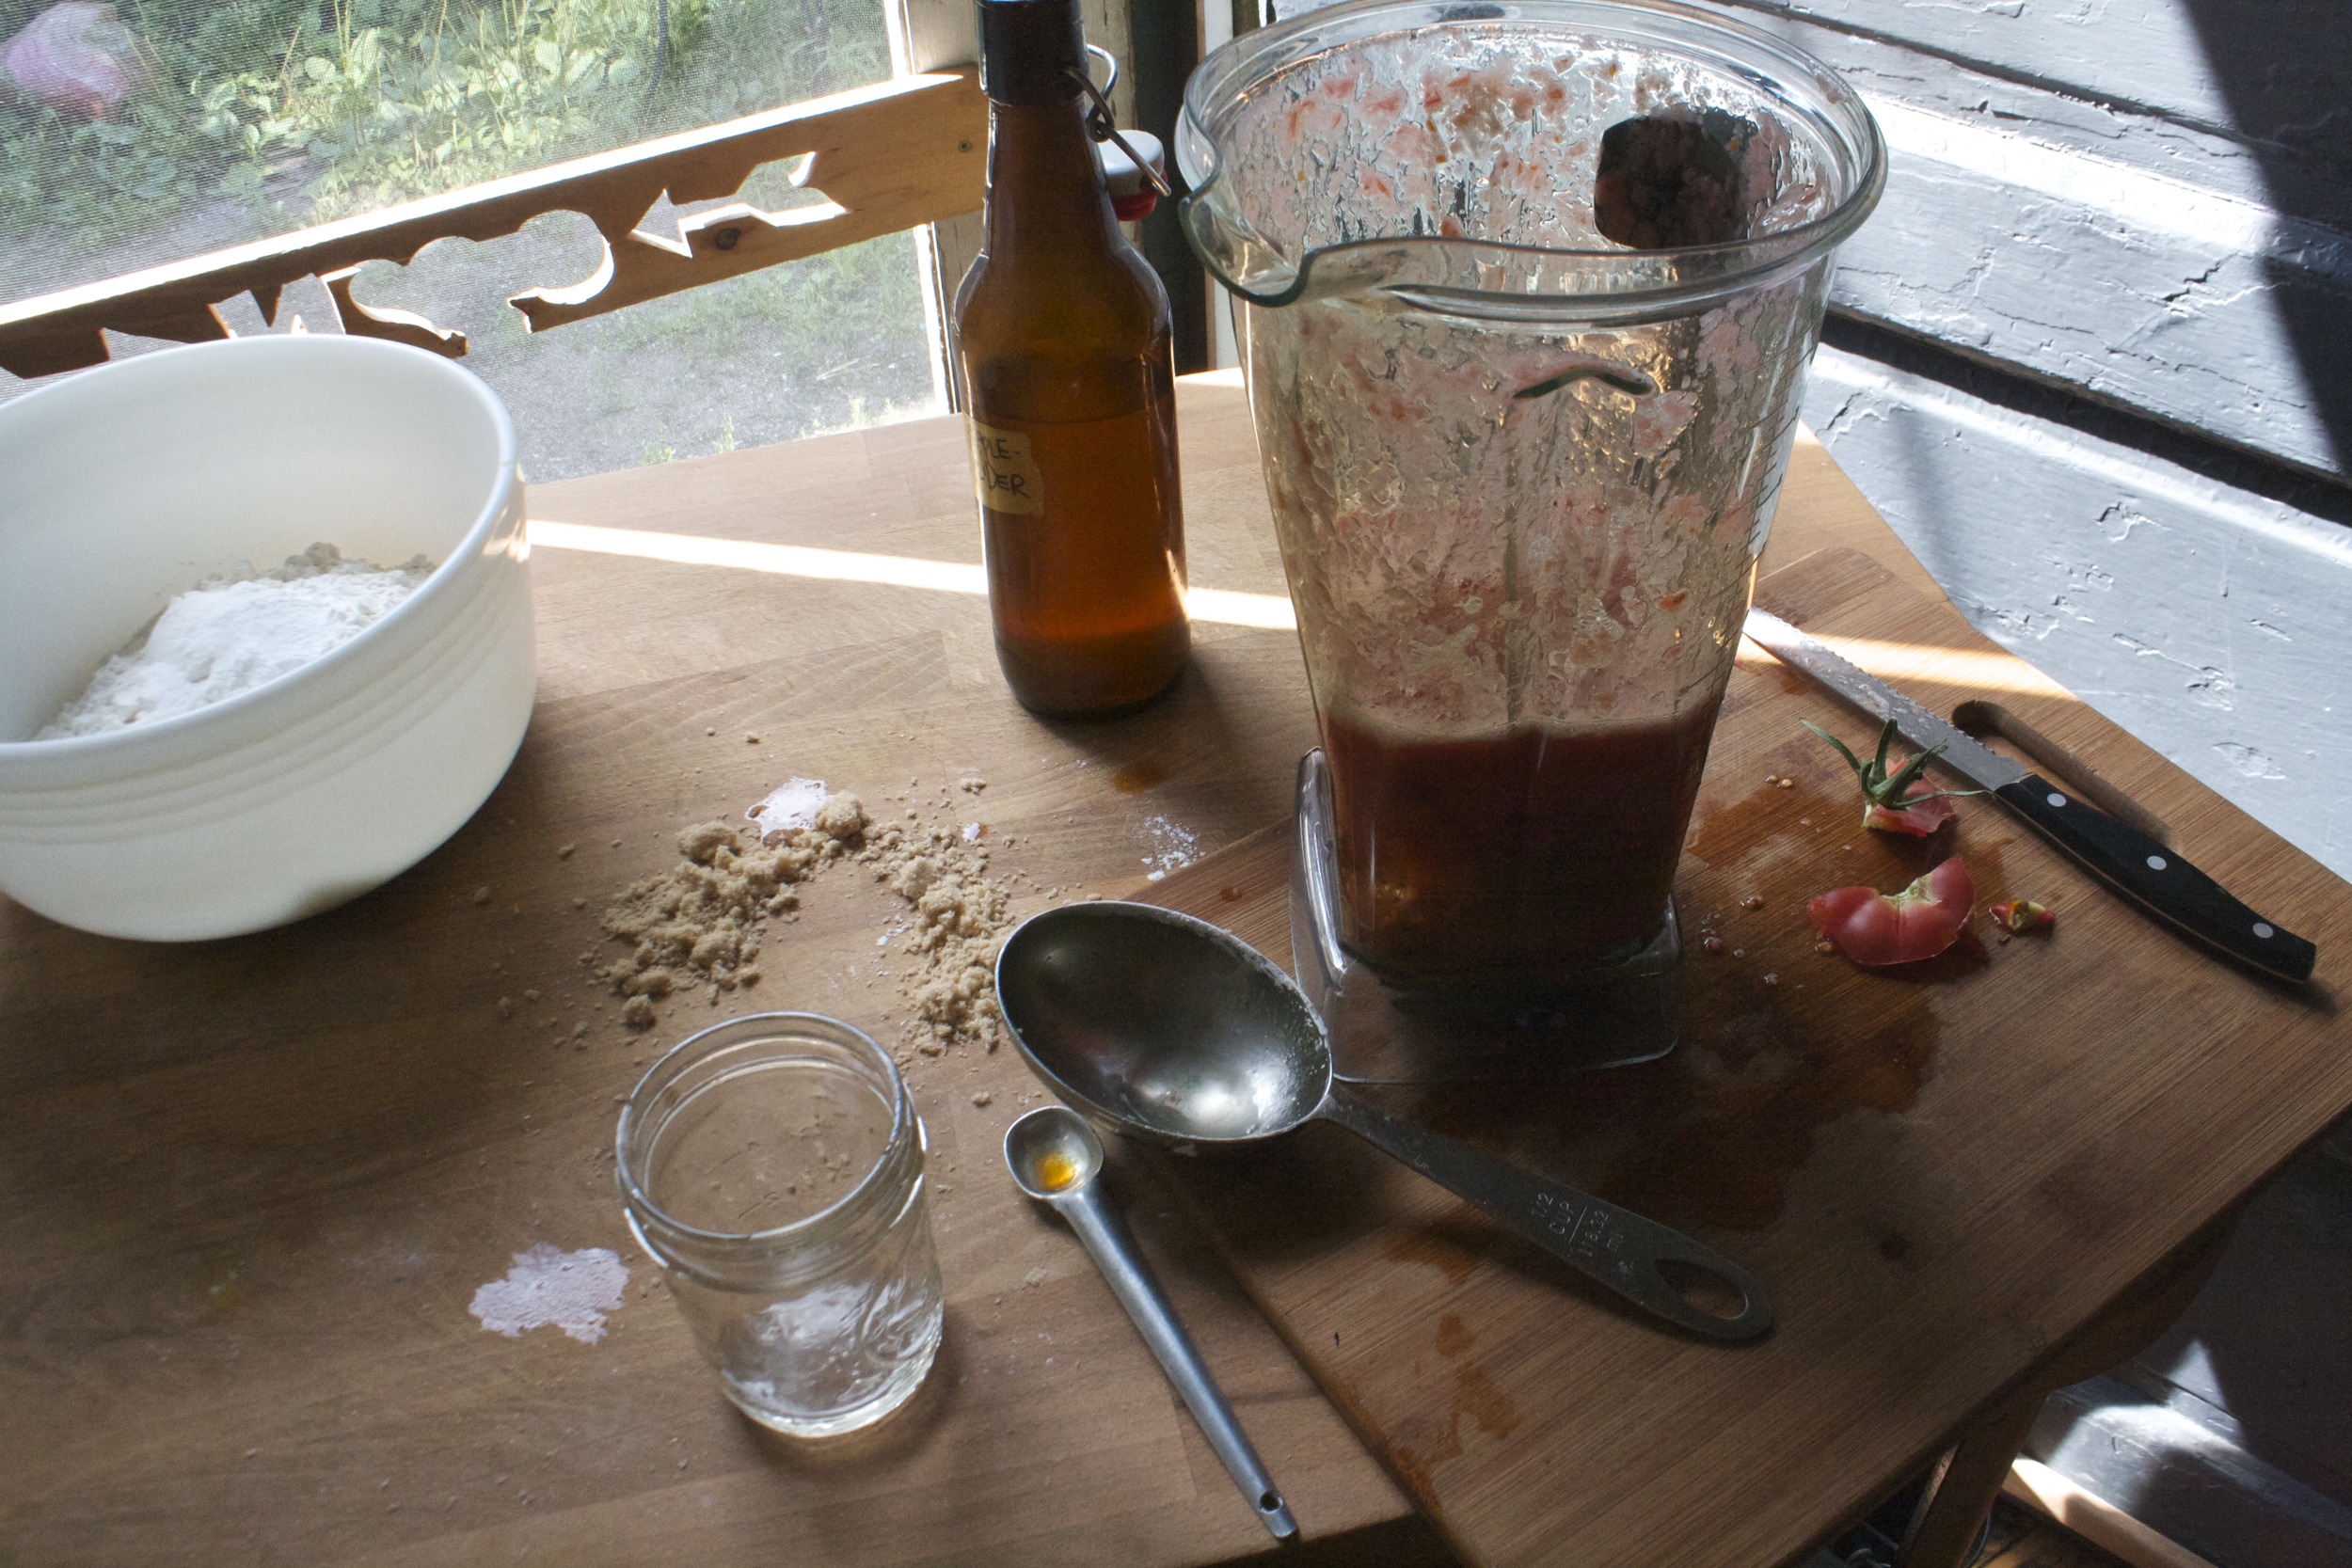
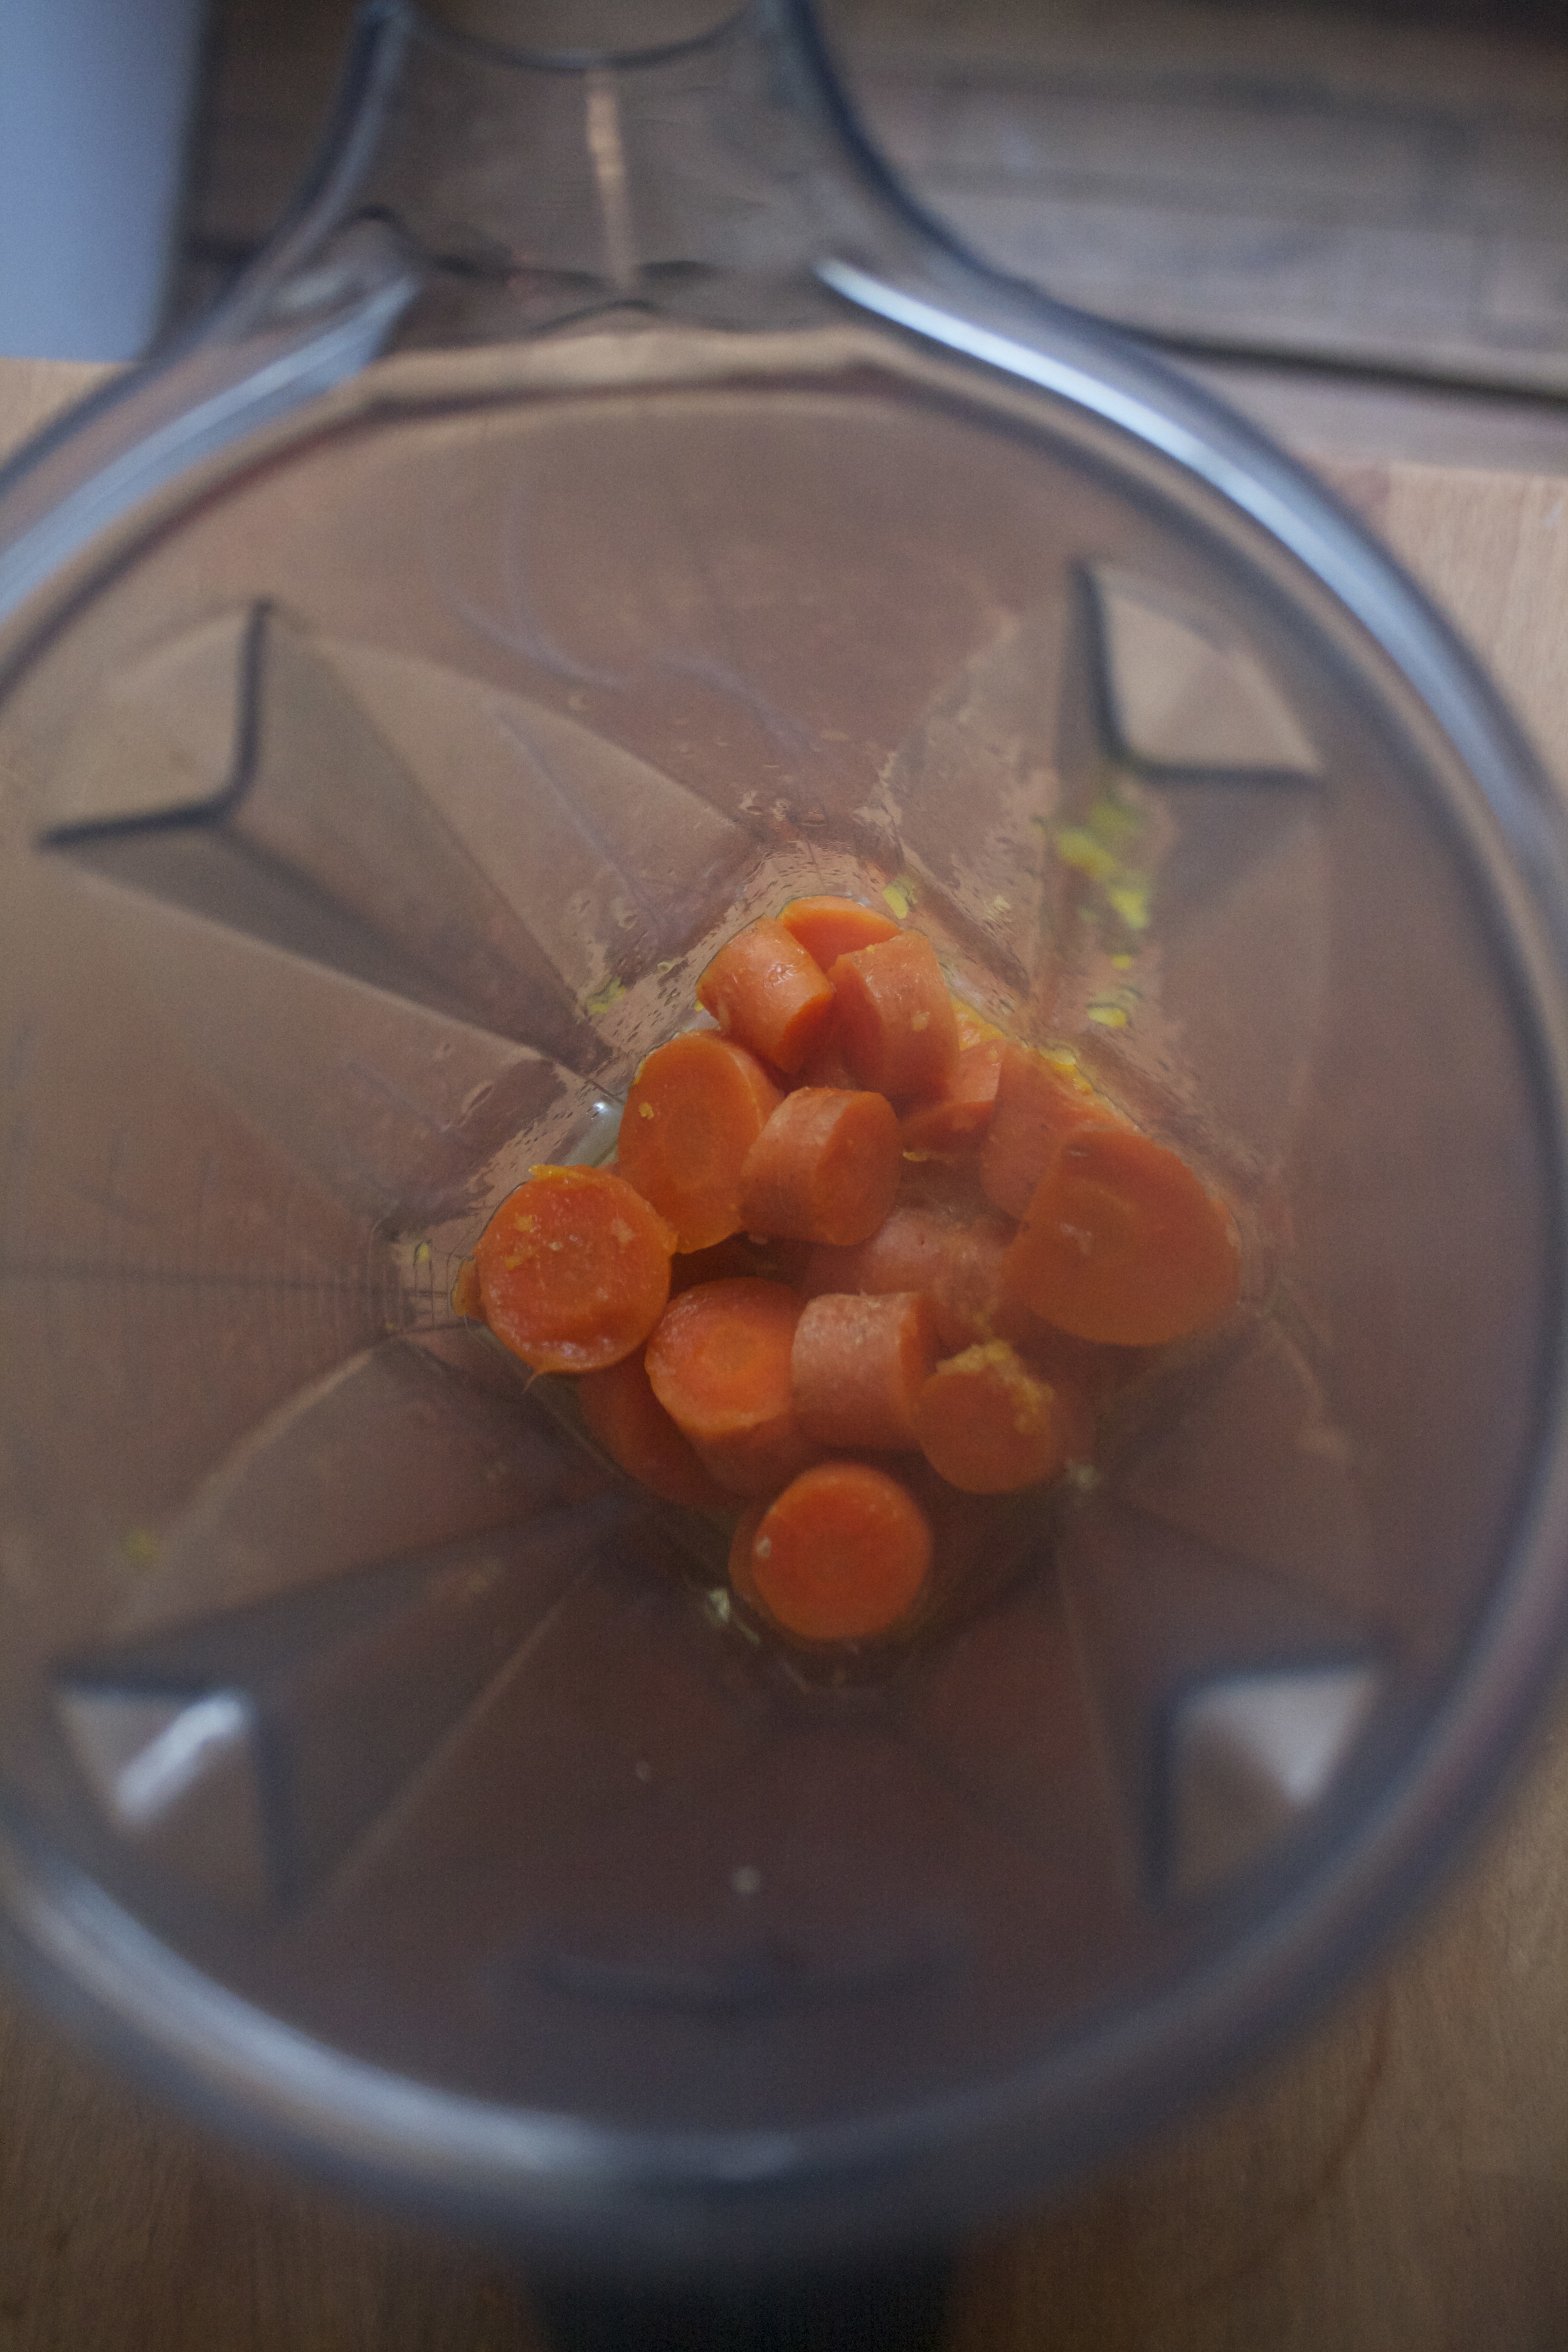
Toss the roasted eggplant and the garlic into a blender. Add in the juice of the lemon, tahini, olive oil and a pinch of salt.
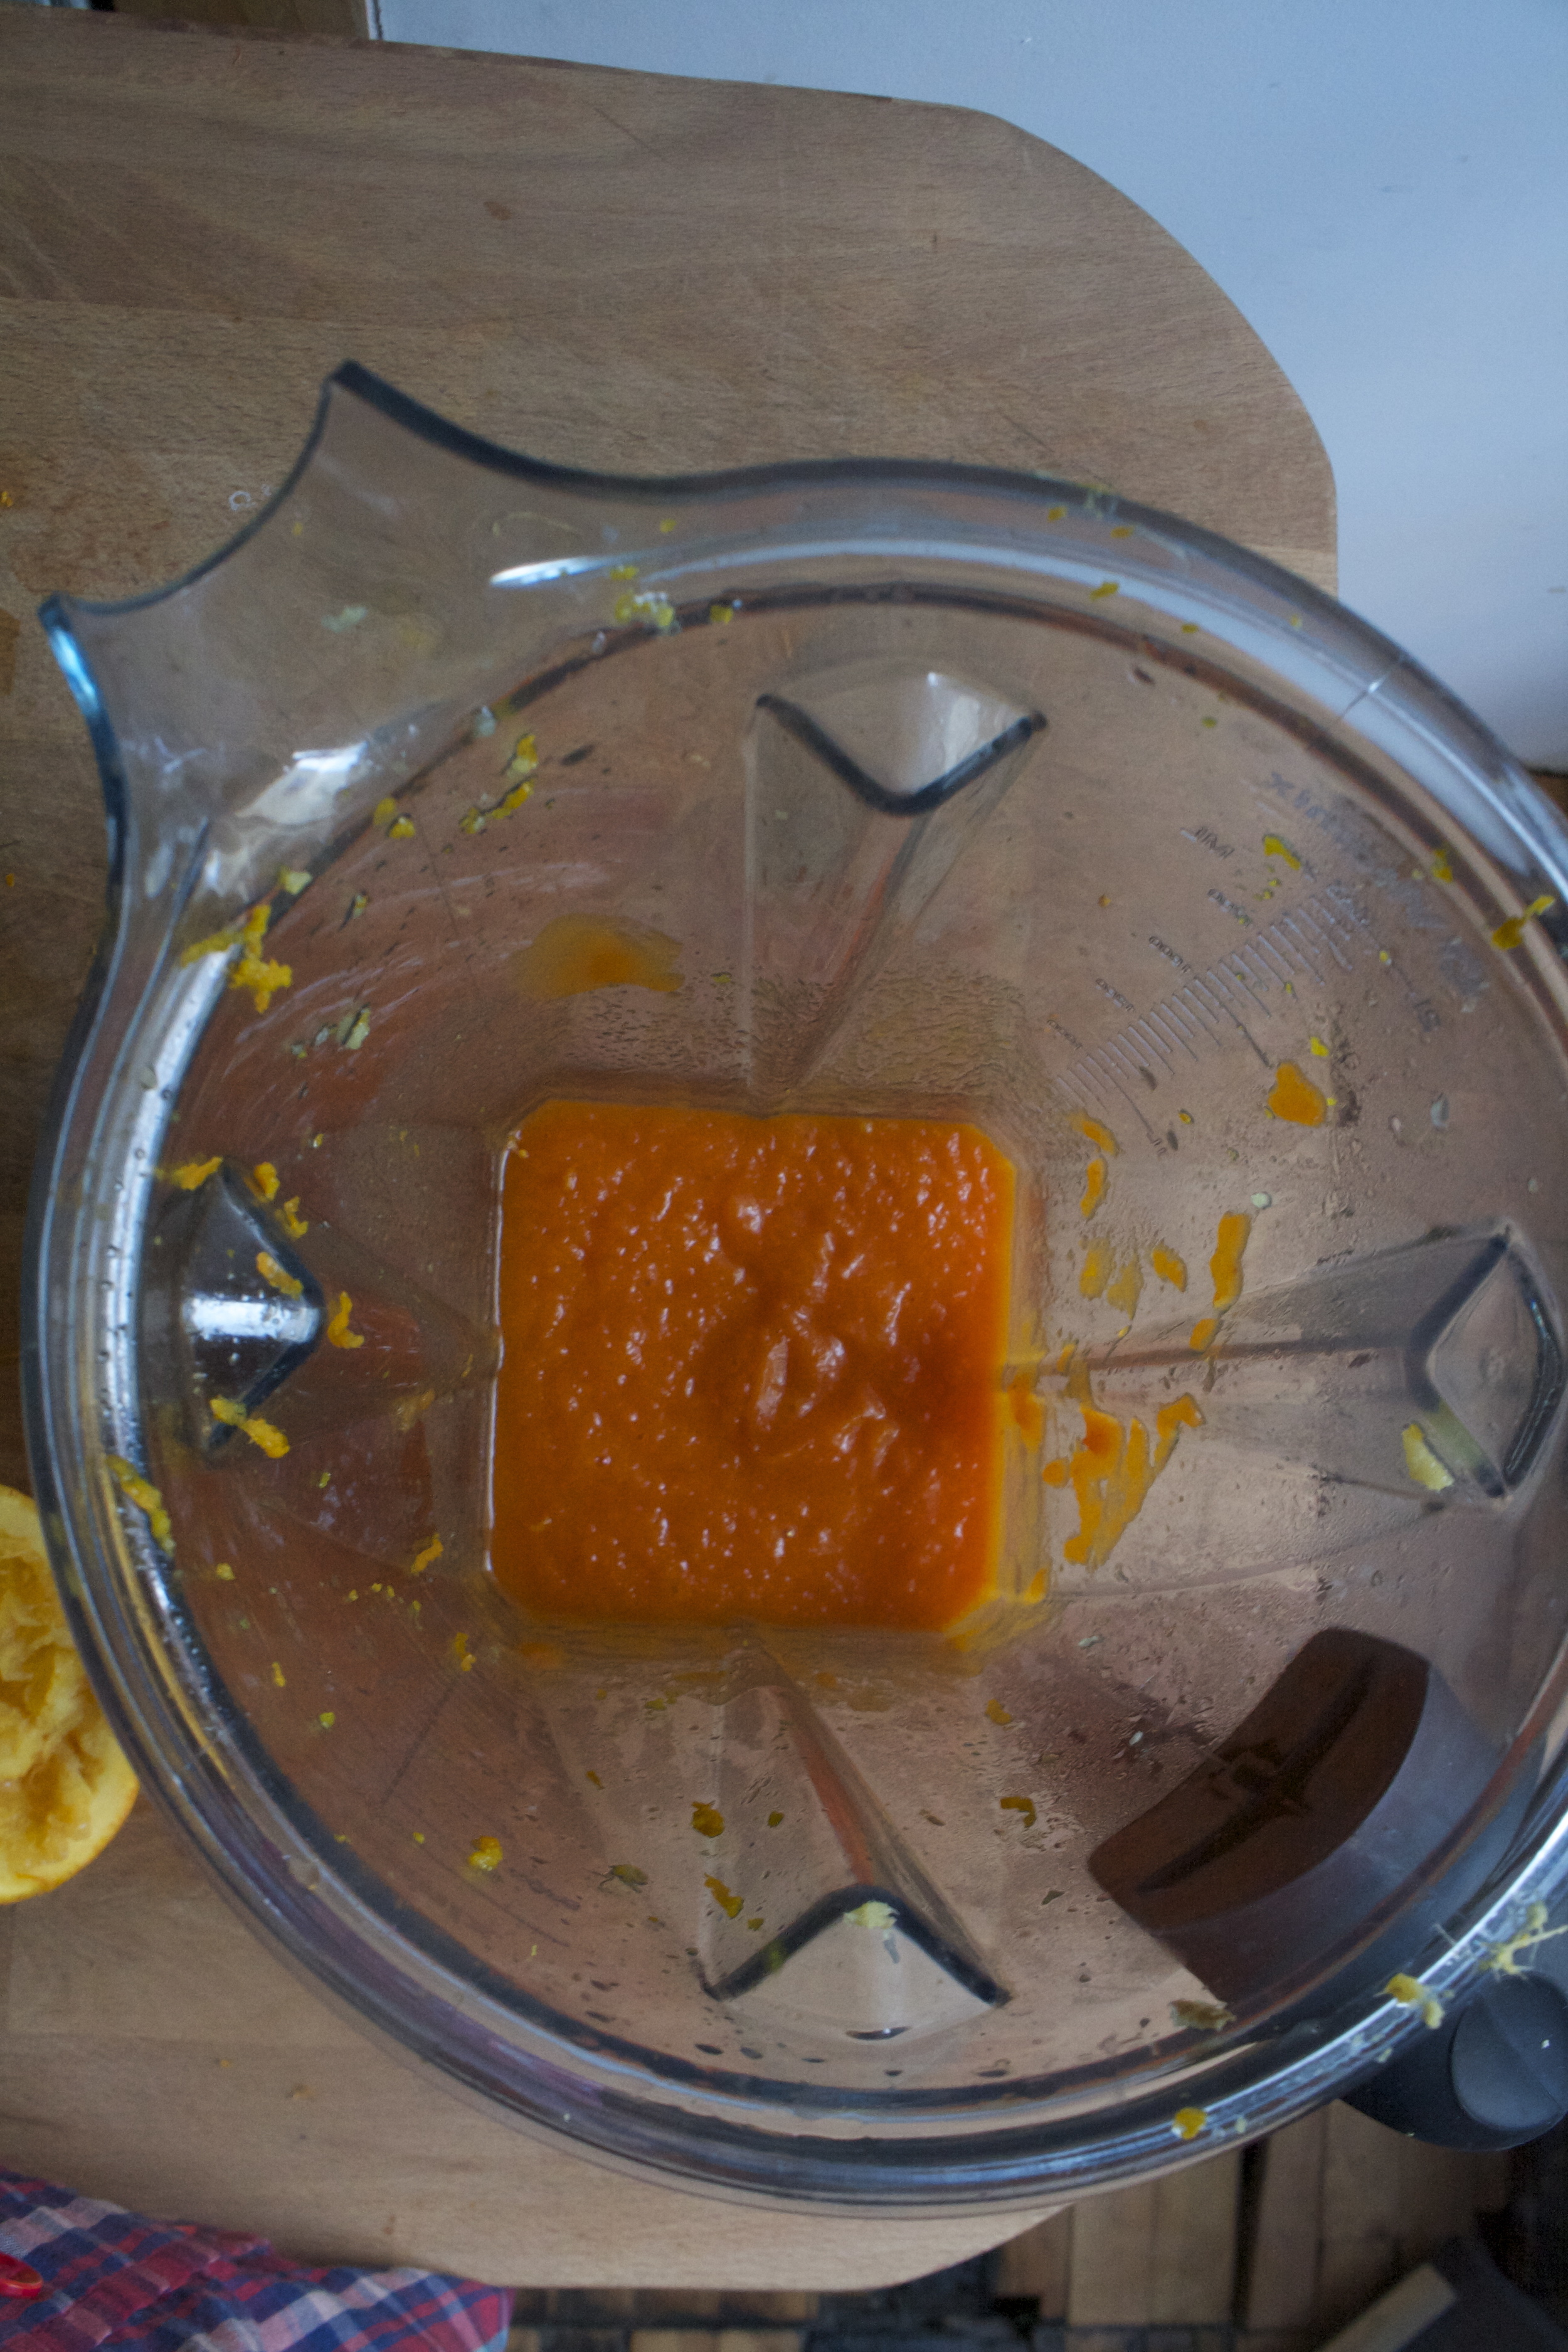
Blend.

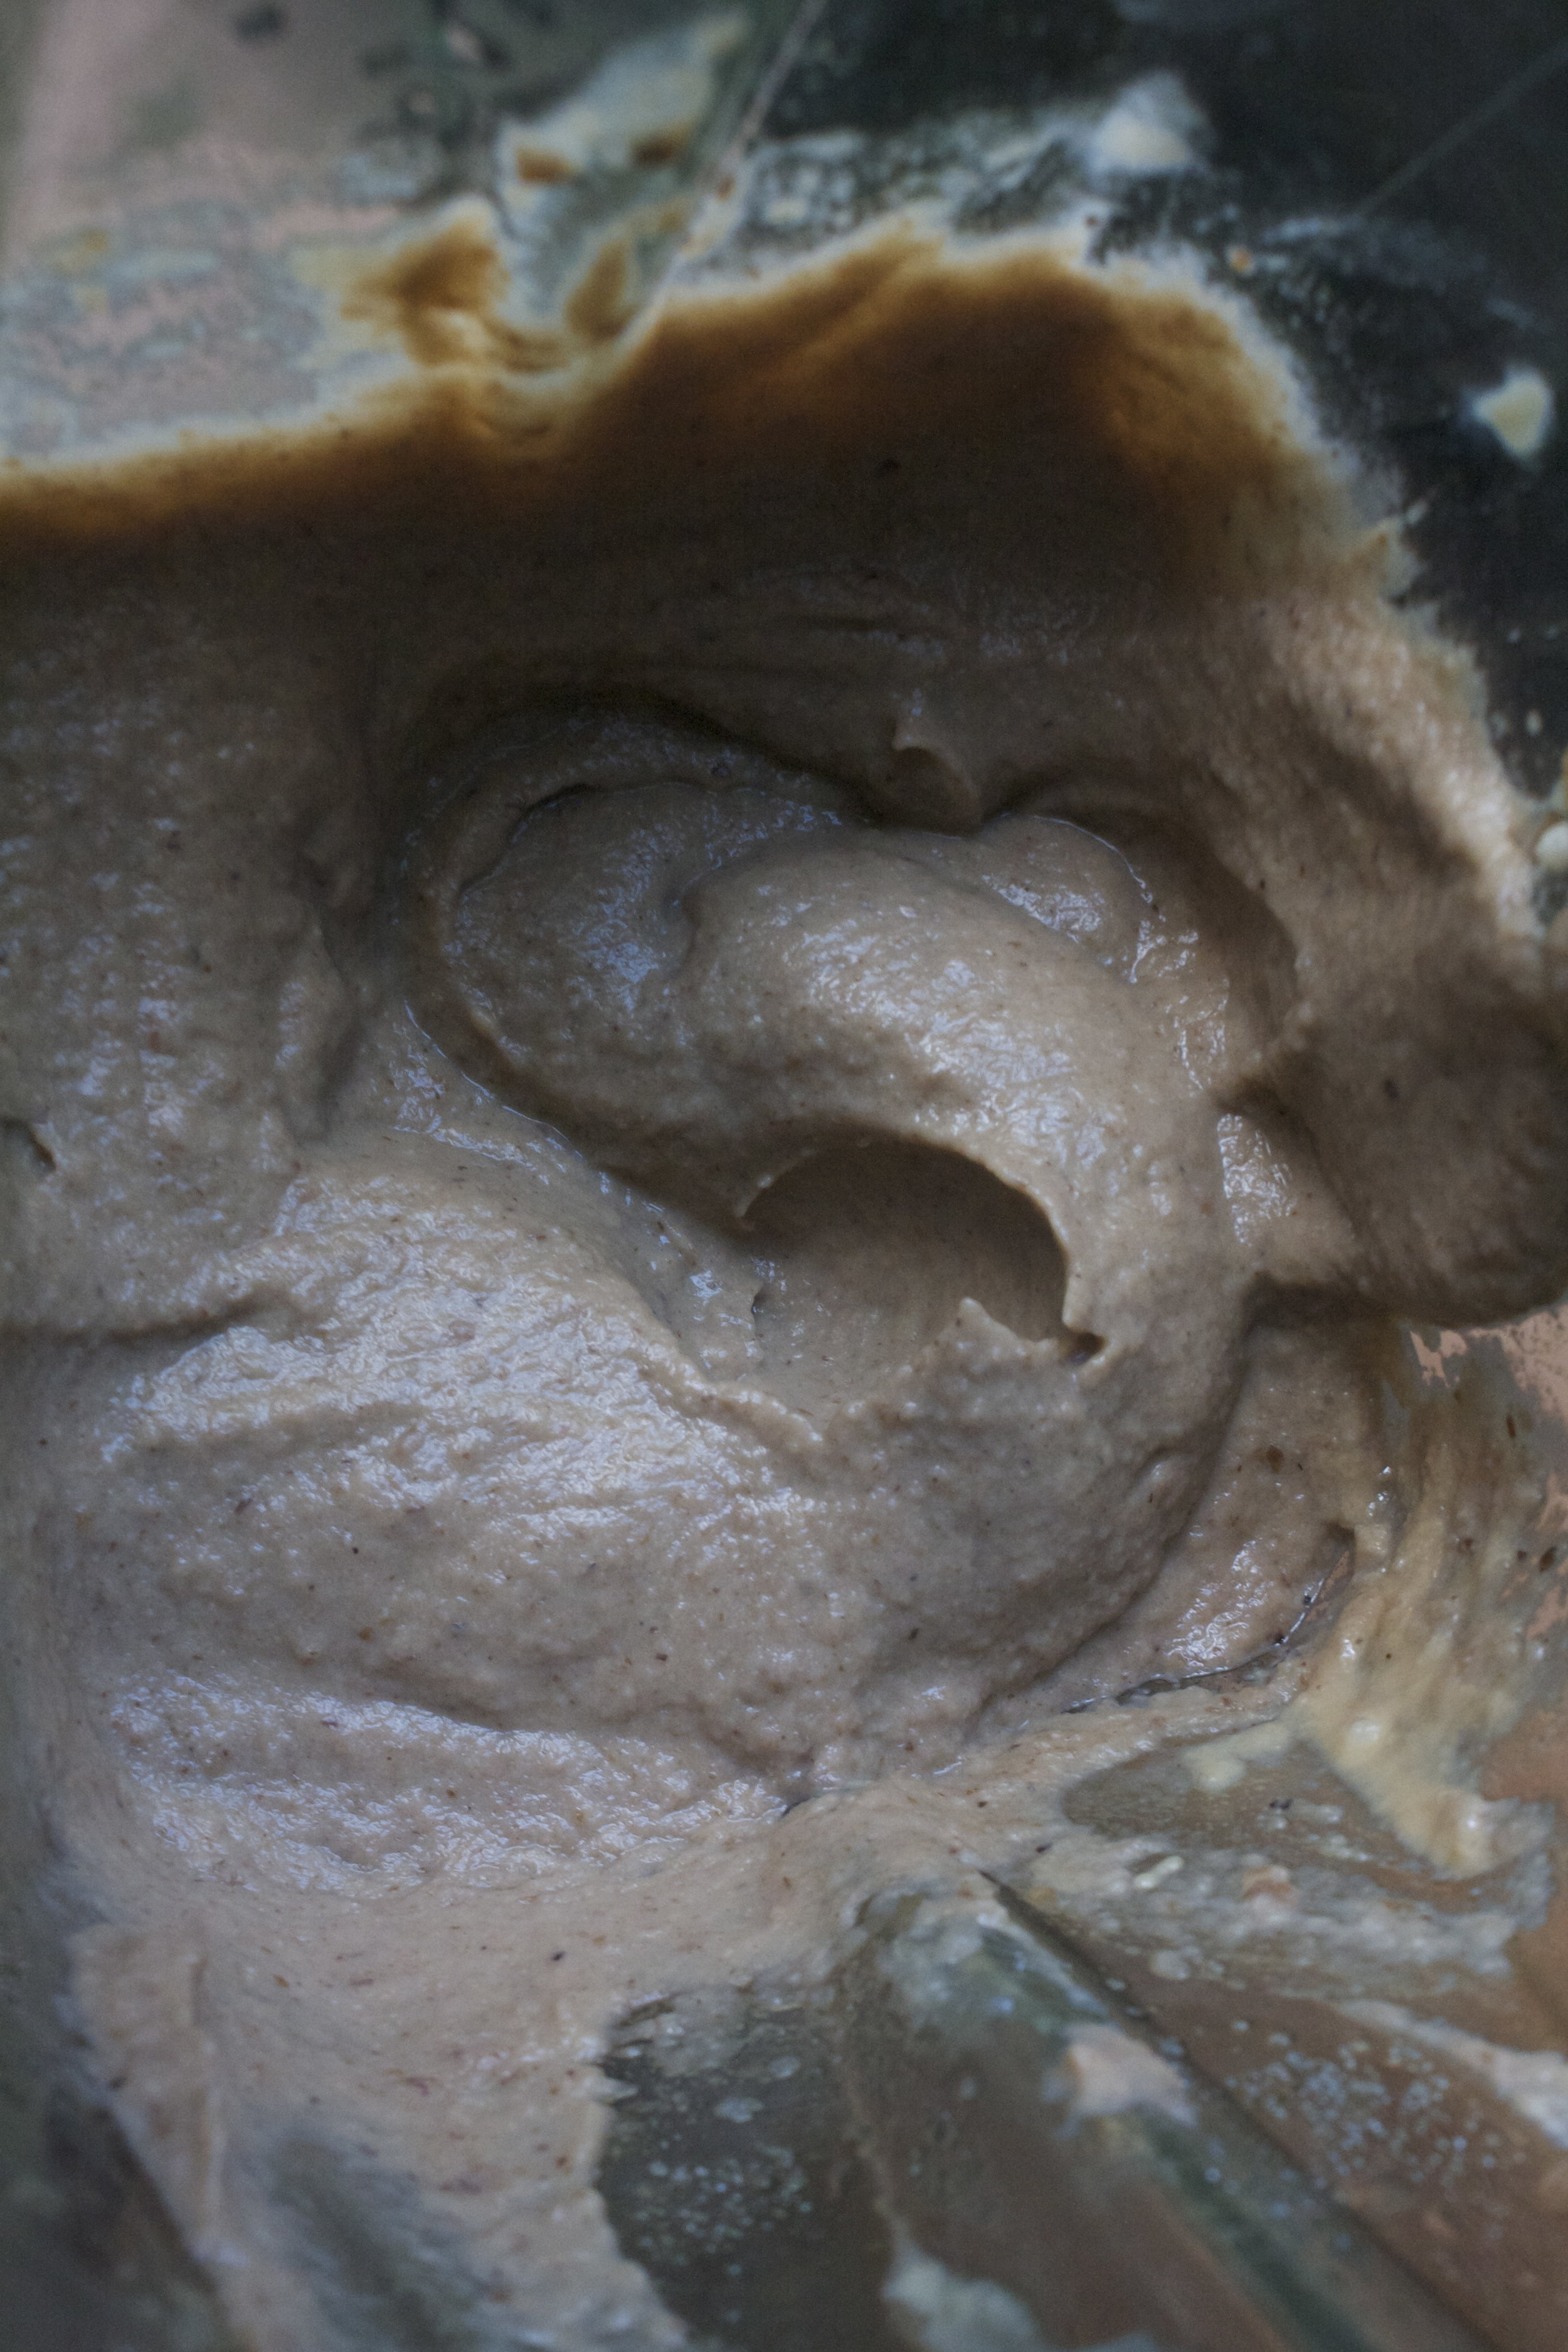
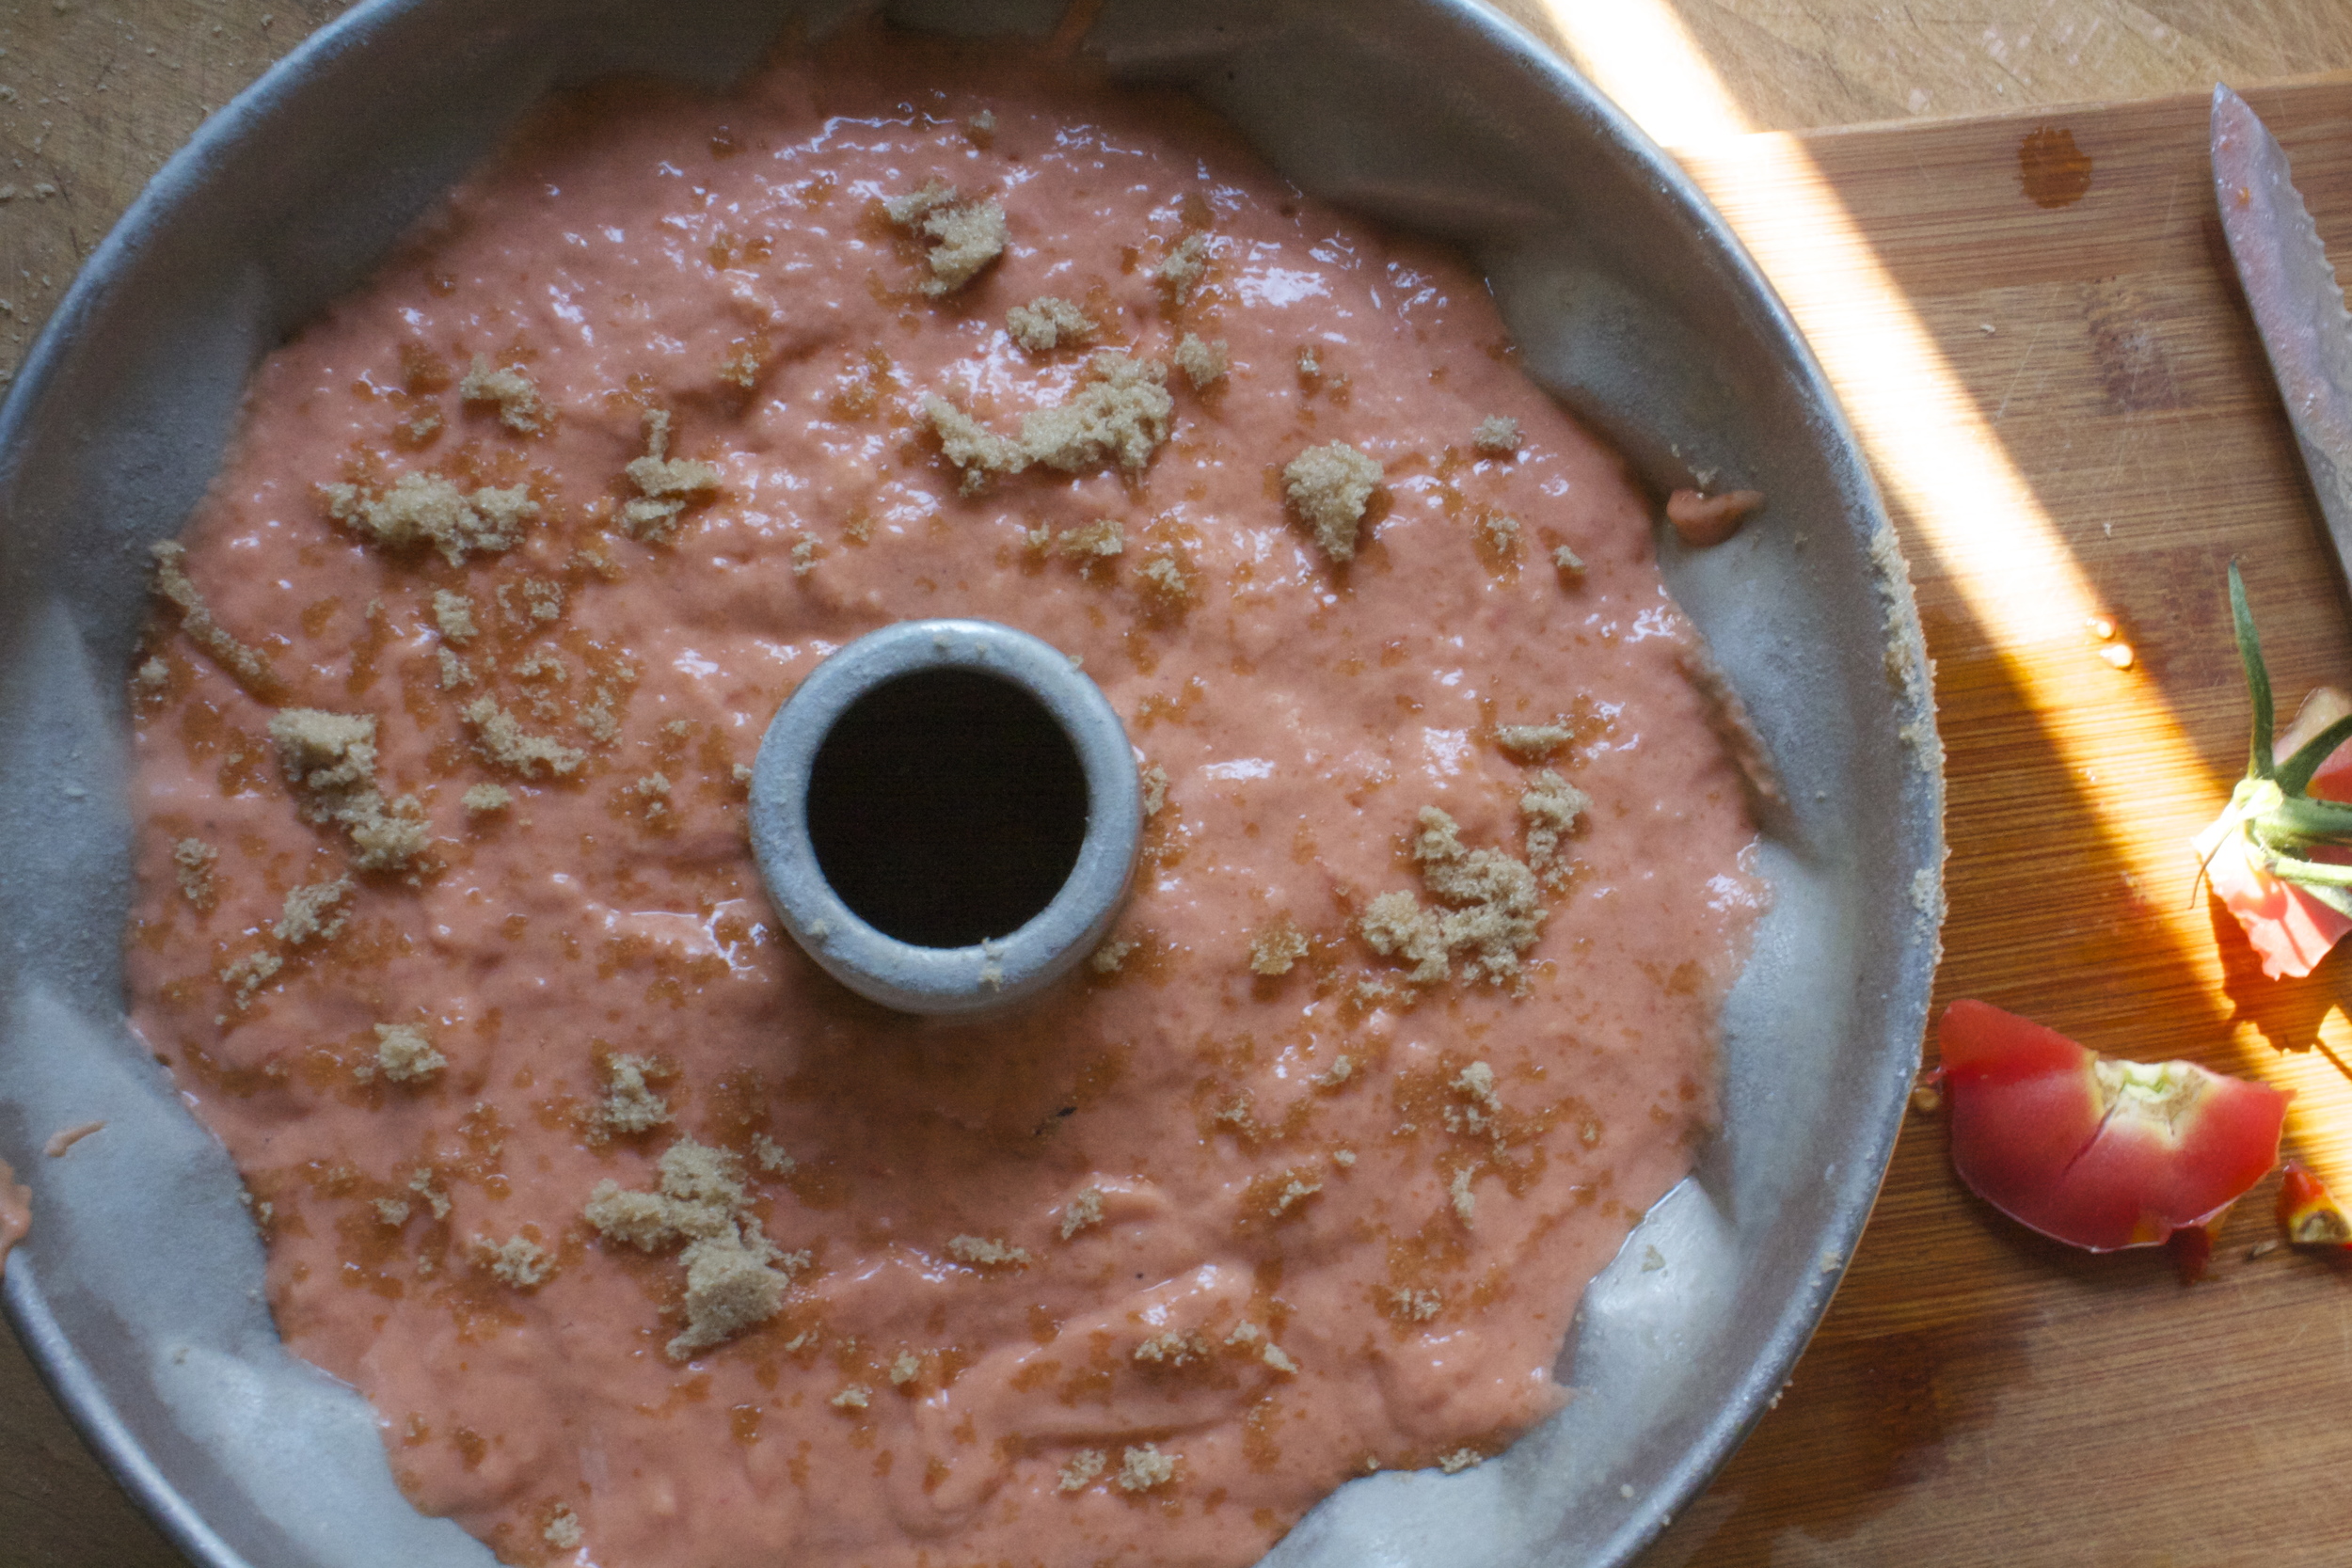
So silky smooth. Taste and add any more tahini, salt, lemon that you want until it taste like it should taste to you.

And into a bowl it goes. Baba ganoush all up in your face. I highly enjoy a good dusting of some zataar on top, but even just a sprinkle of pepper, or sumac, sesame seeds or even thyme is nice. Or nothing, you don't need anything.

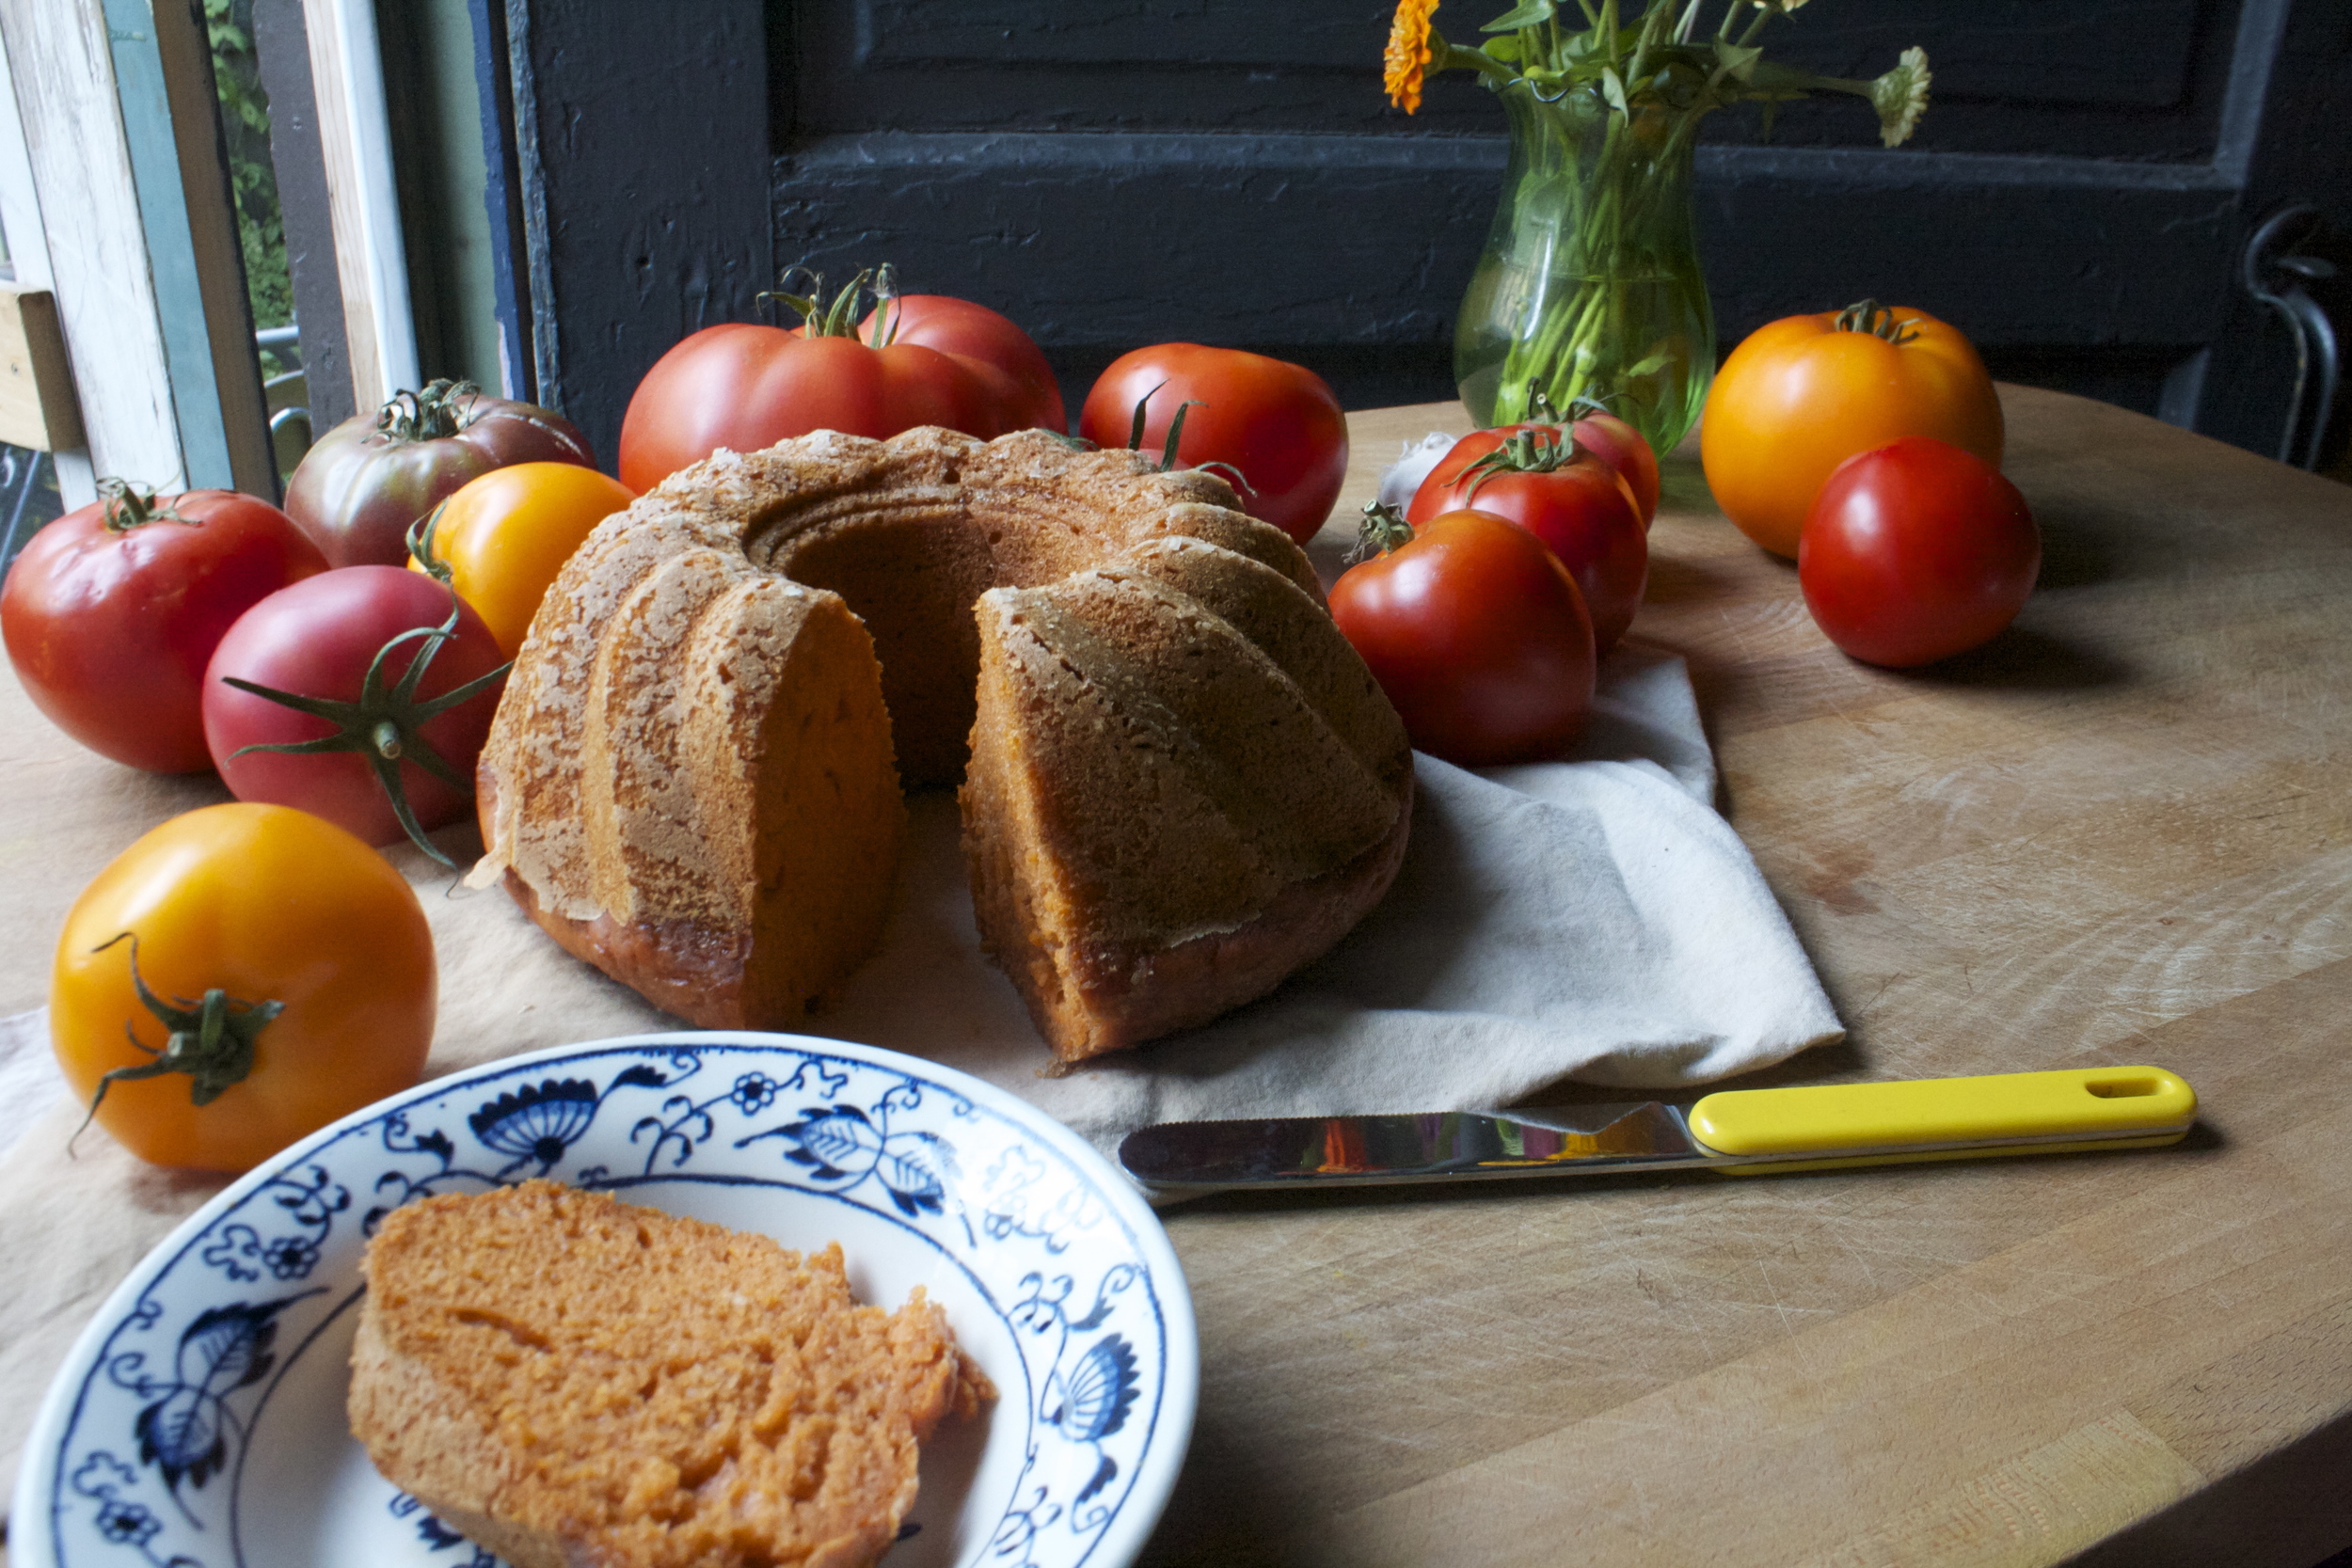
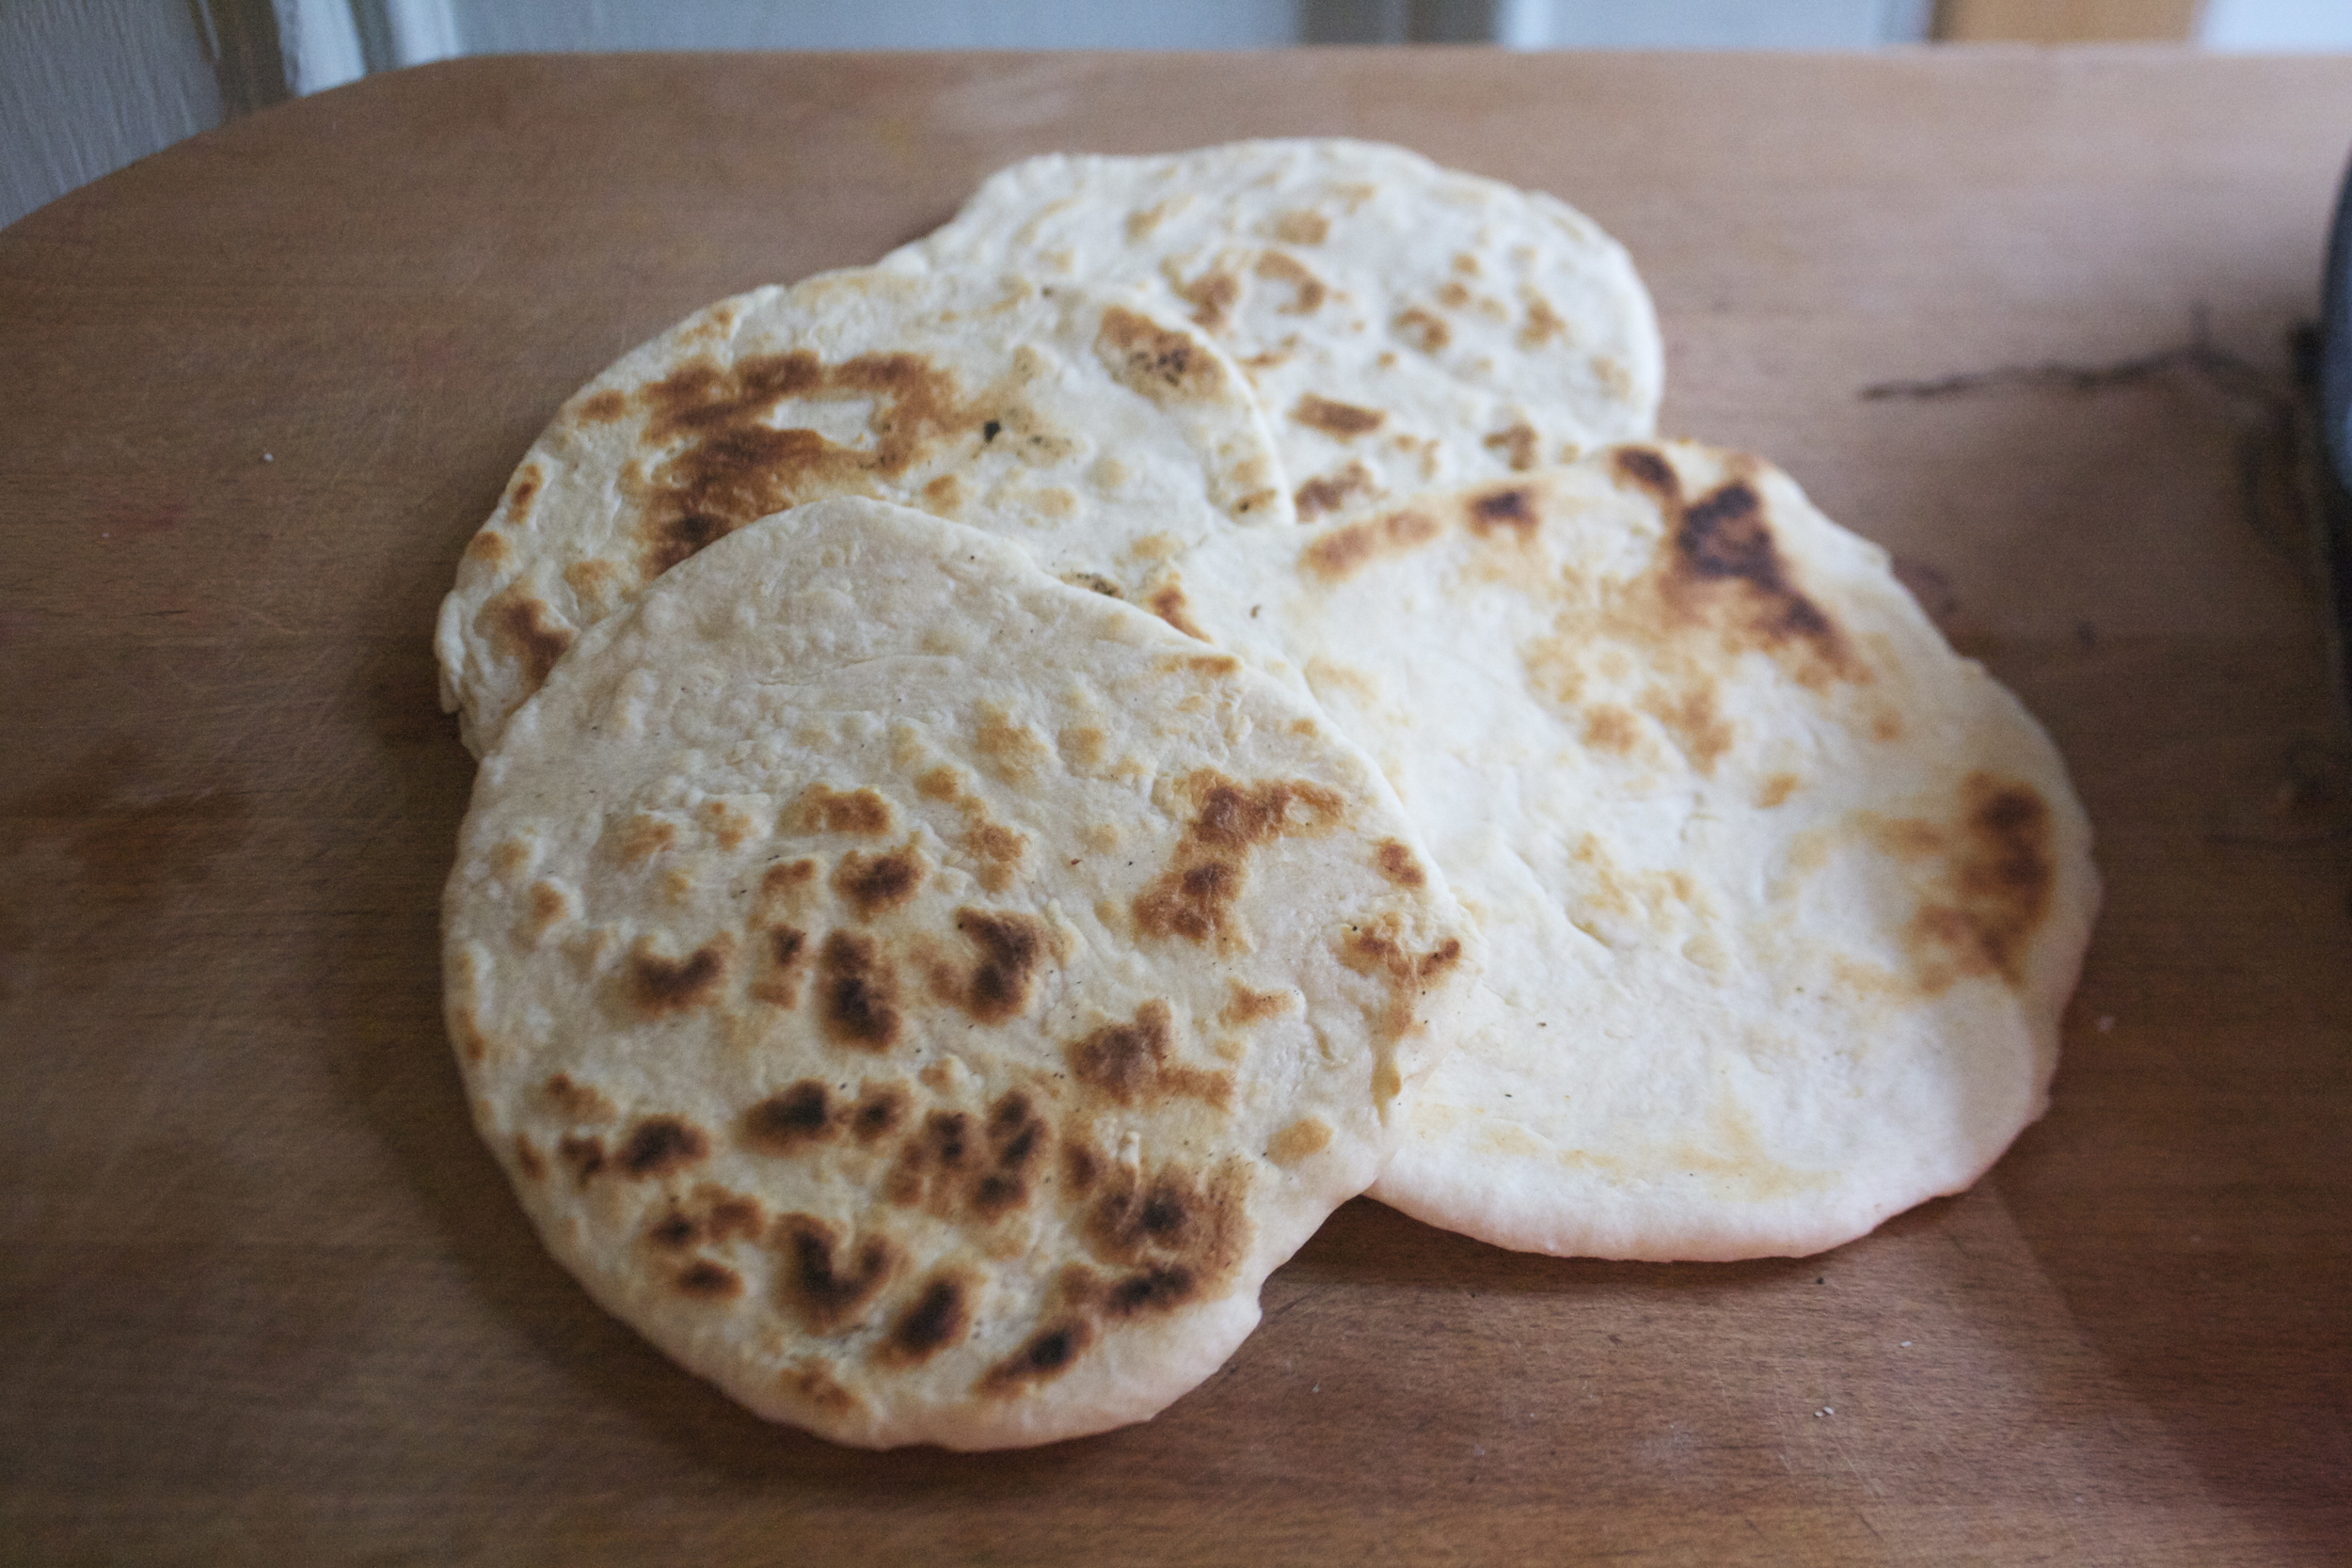
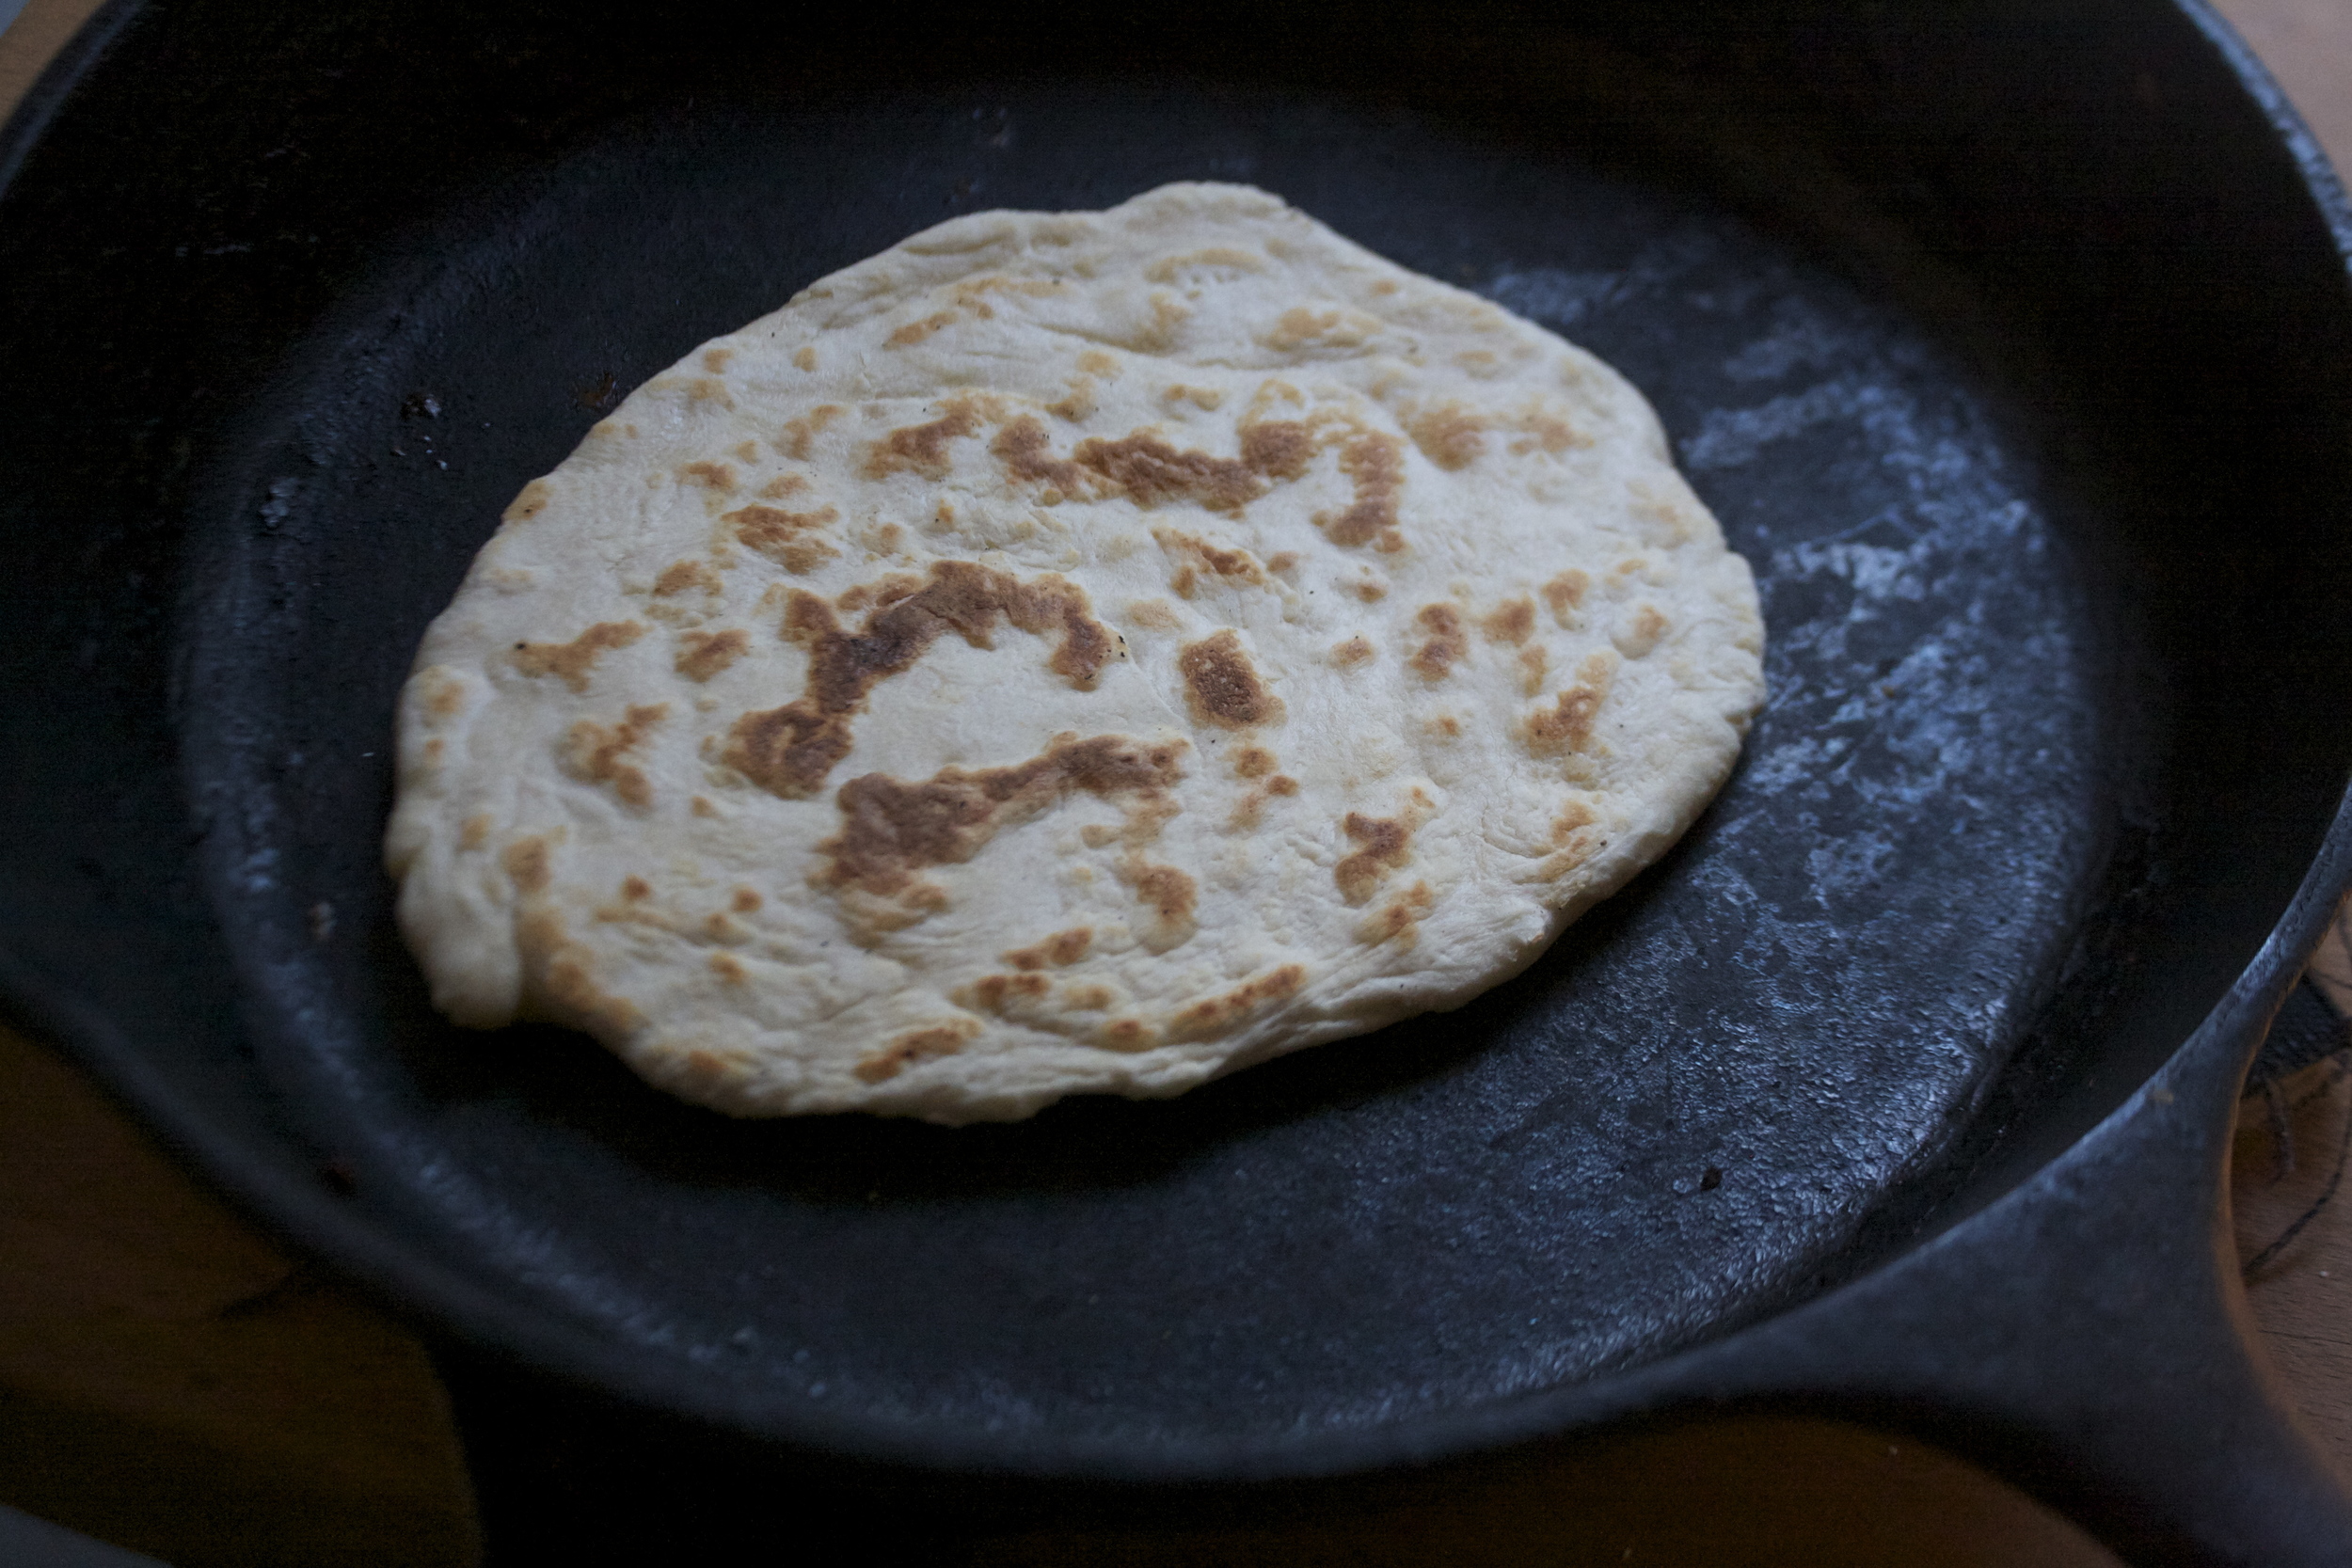
A big bowl of baba served with some chippers (for the mr) and cut up veggies (for me!) I wanted to make pitas but just didn't have the time. Oh well, next time.

Be careful, this stuff is addictive!

-C


Baba Ganoush

Make about 2-1/2 cups

  • 2 eggplants (or 3 smaller sized eggplant)
  • 1 lemon
  • 3-4 cloves garlic
  • 3 tablespoons tahini ( more if you like)
  • 1 tablespoon olive oil
  • salt
  • Zataar (optional)

Crank up the oven to 450

Slice eggplants in half and place on a cooking sheet and into the oven they go.

Bake for 25ish minutes, flipping over after 15 or so minutes, until the eggplant browned is nice and tender then remove from oven.  Take the cooked eggplant and dump into a blender.(skin and all)  Add in the juice of the lemon, the tahini, the olive oil, and a pinch of salt. Blend it all together until smooth. Taste and add more tahini and or salt if needed.( can even add more lemon too) Once you are happy with the taste, scoop into a bowl and serve with a good pinch of zataar seasoning (if your into it) and a butt load of veggies, pitas, chips or whatever you dip into you baba ganoush.


In Vegetables, Vegan, summer, snack, side dish, Savory, grain free, Gluten Free, dinner, Dairy Free, brunch, breakfast, appetizers Tags baba ganoush, eggplant, vegan, gluten free, healthy, clean eating, plan based, veggies, tahini, dip, spread, eggplant hummus, dinner
Comment

Tomato Bundt Cake

August 20, 2016 Colleen Stem
IMG_0548.jpg
IMG_0573.jpg

Do you have a gazillion tomatoes, like so many that they are practically coming out of your ears? Me too.... Me too. This year the tomatoes have been gang busters, a explosion of the sweetest and most delicious fruit and now I have tomatoes littered everywhere, tucked into all the corners and baskets all over the house. It's getting kinda tomato crazy over here.

 I can only eat so many tomatoes a day before all I have eaten are tomatoes and I start to feel slightly sick. Same with the mr, he has been a tomato eating champ as well but I think he was getting a little bored with all the tomato salads that I have been making. So I thought I would try something new and make a tomato cake. I figured why the heck not, tomatoes are technically a fruit and fruit and cake are great together and yeah. So tomato cake is going to be fantastic. I also wanted to make something that the mr would eat for breakfast. I have been doing this new thing in the mornings for the mr. I have coffee ready, some breakfast food (its been zucchini bread for a while), and a little vase of fresh flowers that I pick on my morning walk, all set out on the counter for when he wakes up. I know, I am so great right. Really I do it cause I want him to eat something before working all morning and plus if I am all sweet in the morning, he can't be an old man cranky pants (at least he tries not to be).  Now for the next few days the tomato cake is breakfast cake and all is good.

Anyway, the cake come out great. Bright reddish orange, dense but fluffy and most, and smells so good. The mr tells me it's amazingand I shared a chunk with some of my family and everyone (minus a little) where fans. I am for sure going to be making this again soon, although I have been toying with the idea of eggplant sweet bread (too far??) but I'll get to that later.

Now for the tomato cake!

The stuff. Flour, baking soda, baking powder and salt (all in the bowl). Brown sugar, oil, vanilla, apple cider vinegar and a few nice and juicy tomatoes.

First off, remove the core from tomatoes and cut into some chunks. Stick the chunks into a blender and blend.

Fresh and smooth tomato puree.

Now just dump the rest of the liquid stuff into the blender now and give it a whirl to mix it all up.

And pour the blended wet into the dry and mix until incorporated.

Pretty pink batter goes in a well greases bundt pan. I had got brown sugar everywhere while I was measuring it out and decided to just toss it on the cake as not to waste it...doesn't hurt.

And now the batter goes into a preheated oven to bake .

A bit of time later you have yourself a cake.

The scary part. Flip the pan and hope all that grease does it's job and the cake pops out. Lucky me this one popped out like a champ.

One de-panned, let the cake cool for a bit before cutting into it.

And now all you have left to do it eat it, so eat it.

Have a great weekend. Eat lots of tomatoes and make lots of cake.

-C


Tomato Bundt Cake

Makes one bundt cake

  • 2 -1/3 cup all purpose flour
  • 1 teaspoon baking soda
  • 1 -1/2 teaspoon powder
  • 1/2 teaspoon salt
  • 2-3 large tomatoes (2 -1/2 cups after blended)
  • 1/2 cup brown sugar (for a tad sweeter, add another 1/4 cup)
  • 1/2 cup of any neutral flavored oil
  • 1 teaspoon vanilla
  • 1 tablespoon apple cider vinegar

Preheat oven to 350

Start by whisking together all the dry ingredients into a big bowl. Take tomatoes, remove core, chop into chunks, and place into a blender. Blend tomatoes until a smooth and frothy puree. Now add in the sugar, oil, vanilla, and apple cider vinegar and blend until incorporated. Pour wet mixture into dry and stir until combined.

Pour the cake batter into a greased (and floured if you want. I find it helps to make sure all the nooks are greases) and stick into preheated oven. Bake for 45-50 minutes until it's a dark reddish golden brown and a tester (I use a fork) comes out clean when stabbed.

Remove from oven and let cool for a minute or two then invert cake, give the pan a few tap taps and hope that it comes out all nice and clean. (don't worry if a piece gets stuck, you can just dust the top with some powdered sugar)

Let cake cool and when ready, cut a slice and eat it up. I was told no glaze, but I was going to make a simple lemon glaze (lemon juice and powdered sugar) for the top. The mr said it was perfect, but glaze would have been pretty.  So glaze it up if you want.

In vermont, Vegetables, Vegan, Sweets, summer, snack, recipes, photography, desserts, Dairy Free, cake, brunch, breakfast, bread Tags Tomato Cake, Summertime, bundt cake, vegan, vegan cake, dessert, snack, tomato, garden, what to do with too many tomatoes, vermont, breakfast cake, brunch, fruit, veggies
Comment

Skillet Bread with Chard, Mushrooms, and Onions

July 14, 2016 Colleen Stem
IMG_6422.jpg
IMG_6424.jpg

I am running extremely low on food in my house, like there isn't a can of beans or a box of pasta left. Yeah, I have a few zucchini left, but I think that mr might be getting a bit sick of it. (He has had zucchini noodles for lunch and dinner for the past few day). And I was going to go to the grocery store before dinner, but then I didn't. Why? well because I didn't really feel like it.

Turns out that I didn't need to go to the store for dinner.I had a few mushrooms, an onion, and a few stalks of chard left in the fridge. (but pretty much nothing else) I just bought a 25 lb bag of flour so I am all stocked up on that and last minute I found a avocado that I thought was a beet in the fridge. All I needed to make a dinner, and a quick and easy, and really tasty one to boot. Plus being so mother F*ing hot, it was perfect because there was no need to turn on the oven.

Now the question is,now that dinner was made and being that the fridge is so empty, should I clean and defrost it? Answer is yes, yes I should, but am I going to? Probably not. I just don't have it in me to stand in font of the fridge, hacking ice away with a large spoon and boiling water for an hour. It's to hot. I'll do it later.

The stuff. Flour, baking powder, olive oil, salt ans water for the skillet bread. A few humngo stalks of red chard, a couple mushrooms (I would have used a few more if I had them). an onion, and a few cloves of garlic.  Missing is the pepper and the avocado and lemon that I found while rummaging the fridge.

The bread is super easy. Just whisk together the flour salt, and baking soda then add in the oil. Mix until it's crumbly then mix in the water until it turns into a soft dough. Gather into a ball and stick in bowl then into fridge for a few minutes to let the dough rest.

IMG_6410.jpg
IMG_6413.jpg

After the dough has rested, take it and cut into 4 equal pieces. Roll each piece into ball and then roll out as flat as you can. Heat up a skillet to high heat and once hot, place rolled out flat onto (dry) skillet. Cook first side for about 3-4 minutes or until browned and cook, then turn heat down a bit, flip and cook other side until browned. Remove bread, turn heat back up, and repeat with remaining flats.

For the rest. Remove the leafy part of the chard and set aside .Thinly hop up the mushrooms, onion, and the chard stalk. Mince up the garlic. Toss it all (not the garlic yet)into a lightly oiled skillet , season with salt and pepper, and cook on medium heat until starting to brown. Now toss in a few splashes of water and the minced garlic, mix around, and cover wit a lid. Cook for another 8-10 minutes until the veggies are nice and soft.

IMG_6417.jpg
IMG_6420.jpg

Cooked and ready, but wait, chop up the chard leaves and toss them into skillet. Another splash of water and a few more minutes under a lid will wilt them up real quick.

Skillet beads are made, veggies are all nice and cooked up. The avocado and lemon where found, sliced.

Not bad for a last minute-lean out the fridge of all food-dinner. Not bad at all.

Don't melt

-C


Skillet Bread with Chard, Mushrooms, and Onions

Make 4 flatbread

For the skillet bread

  • 1 cup all purpose flour
  • 1 teaspoon baking powder
  • 1 teaspoon salt
  • 2 tablespoons olive oil
  • 4-5 tablespoons cold water

For the rest

  • 2-4 white mushrooms
  • 2-3 large stalks of chard (any color)
  • 1 sweet onion
  • 2-3 cloves garlic
  • salt and pepper
  • olive oil
  • water
  • An avocado and a lemon (optional)

To make the skillet bread. Mix together the flour, salt, and baking soda in a large bowl. Pour in olive oil and mix until crumbly then add in 4 tablespoons of water (5 if it seems to dry) until a dough forms. Gather dough into a ball, stick in bowl and cover, and place in the fridge to rest for about 10 minutes. Once dough has chilled, remove and cut into 4 equal sized pieces. Roll each piece into a ball then, on a clean surface, roll out as flat as you can. Grab a skillet and place on high heat. Once skillet has heated up, place a rolled out dough on hot, un-oiled surface and let cook for about 3-4 minutes or until the bottom cooked with golden brown spots. Turn heat to medium and flip bread. Cook the other side for another 4-5 minutes or until browned. Remove flat and turn heat back up. Cook the rest of the bread like the first one.

For the rest. Remove leafy parts of the chard from the stalk and set aside. Take stalk and chop into pieces about 1/ 2 inch think. Slice onion and mushrooms up as thinly as you can. Mince garlic. Garb a skillet, stick on medium heat and drizzle with a little olive oil. Toss in chard stalk, onions, and mushrooms, sprinkle with salt and pepper and mix around until the stuff starts to brown a bit. Add in a few good splashed of water and the garlic and then place a lid on the skillet. Cook for about 10 minutes, giving the mixture a good stir every few minutes. Once the veggies are all soft and yummy, chop up the remaining chard leafs and place them into the skillet. Add another splash of water and place the lid back on. Cook until the leaves have wilted.

To assemble. Flat bread on plate. Scoop some of the sauteed veggie mixture on top. A few slices of avocado on top with a squeeze of lemon juice and a bit of cracked pepper...You are good to go.

In Vegetables, Vegan, summer, snack, Savory, salad, entree, dinner, Dairy Free, brunch, breakfast, bread Tags Skillet bread, Skillet Bread with Rainbow Chard Mushrooms and Onions, Vegan, Veggies, king arthur flour, Swiss Chard, Avocado, DInner, Quick, Easy, no oven, summertime, local, organic, farm share, icf, intervale community farm, farm food, seasonal
Comment

Strawberry Zucchini Bread

July 9, 2016 Colleen Stem
IMG_6253.jpg
IMG_6172.jpg

I am a glutton for punishment. 91 degrees, super humid, and what do I do, I turn on the oven to make bread. And this is after I drag the poor mr to the middle of a field on the hottest most humid day to pick strawberries. He didn't complain once (well, maybe on our walk back to the car, but I was bitching a little too).

At home. recuperating from the picking, I made myself a snack of shredded zucchini with chopped strawberries covered in black pepper (try it, it is so freaking good) and was like "this would make a killer bread situation". And that's when I turned on the oven and went to town making bread with the zucchini and strawberries (minus the pepper cause, well I wasn't sure if the mr would like it, but I think I'll add it to the next loaf). And I know, hot day, hot oven=no but really, I was so F*ing hot that I didn't think I could have gotten any hotter, so I figured why the hell not turn on the oven. (The mr and he pup where at the other house so I wasn't torturing them with the heat)

And when the mr came home sure the house was still hot, there was fresh loaf of the sweetest smelling strawberry zucchini bread waiting for him. And so what ifI might have been slightly delirious, I had accomplished something great and was then okay with spending the rest of the say laying in a heap on the floor.

The mr says the bread was worth it.

The stuff. A good sized zucchini and a pint or so of the loveliest strawberries . Also have a bowl with flour (all purpose and while whole wheat) baking soda and baking powder, and a little salt. Sugar, oil, cinnamon, and a little vinegar are needed and a handful of walnut if you want too.

Oil and sugar go into a bowl and get mixed together until combined.

Zucchini gets shredded and added to the bowl.

And strawberries get chopped (stems removed) and go into the bowl along with the zucchini.

Mix the wet mixture up until it starts to get all juicy then mix in the vinegar.

The dry stuff gets mix together along with the walnuts.

 Now in goes the wet mixture. Mix it all together until just combined (don't over mix)

Batter goes into a nicely greased pan and if you have it, sprinkle a little brown sugar on top.

Pop pan into preheated oven to do it's thing.

And it's thing it did. All dark brown and pretty with red and green bits all over. Quite the stunning loaf if I do say so myself. Remove from pan and let the bread cool for a little while..(you should wait until it's completely cooled, but at 15 minutes would be ok)

You have waited long enough.. time to cute the bread.

Bread all day long.

Enjoy.

-C


Strawberry Zucchini Bread

makes 1 loaf

  • 1 cup all purpose flour
  • 1 cup white whole wheat flour
  • 1 teaspoon baking soda
  • 1 1/2 teaspoon baking powder
  • 1 teaspoon salt
  • 1 teaspoon cinnamon
  • 3/4 cup brown sugar plus about a tablespoon to sprinkle on top
  • 1/2 cup canola oil
  • 1 tablespoon apple cider vinegar
  • 1 medium zucchini (2ish cups shredded)
  • 1 pint fresh strawberries (about 2 cups chopped)
  • 1/2 cup walnuts (optional)

preheat oven to 350 degrees

In a large bowl, whisk together the flours, baking powder ans soda, salt, cinnamon, Toss in the walnuts as well.

In a separate bowl mix together the sugar and oil until combined then shred zucchini and dump it it. Grab strawberries, remove the stems, and chop those up into small chunks and add to the bowl with the zucchini. Mix until everything is mixed and starts to get juicy then mix in the vinegar.

Now dump the wet mixture into the dry and mix just until everything is incorporated and pour/scrape batter into a well greased loaf pan. Sprinkle he top with a little brown sugar and stick the pan into the oven.

Let cook for about an hour or until the top is a deep brown and a tester stuck into the middle comes out clean. Once out of the oven, let cool for a a few minutes, remove from pan and let cool completely on a wire rack.

Cut cooled bread and eat it to your face.

In Vegetables, Vegan, Sweets, summer, snack, desserts, Dairy Free, cake, brunch, breakfast, bread Tags Strawberry Zucchini Bread, Zucchini bread, strawberry bread, sweet bread, vegan, vegan sweet bread, organic, local, icf, intervale community farm, dessert, breakfast, so much zucchini, walnuts
8 Comments

Carrot Ginger Orange Popsicles

June 24, 2016 Colleen Stem
IMG_5553.jpg
IMG_5623.jpg

Not only is it the first week of summer, it's also popsicle week! Billy over at the sweet ass blog Wit and Vinegar hosts a little (actually quite large) bloggers party that share all sorts of fun and fantastic popsicle recipes and presents that list to the world. There are popsicle flavors up the wazoo...Pretty stinkin cool right.

So my contribution to the world of popsicle eaters is one of my all time favorites (maybe the absolute best one yet).. Carrot Ginger Orange.

For those who know me, this flavor combination should come as no surprise. Carrots are my thing. I eat them all day, every day. Sure I eat a shit ton of other stuff, but always carrots. Carrots are in my breakfast,lunch, and dinner. If I need a snack, I grab a carrot. There is just something so satisfying not to mention so easy about carrots. Eaten alone, with mustard or hummus, or dipped in peanut butter of cinnamon..Carrots can do just about anything. I mean I eat so many carrots that no shit, my skin is a slight tint of orange (seriously for reals. Something about an abundance of carotene) Crazy I know, but what can I say. I really like carrots.         (that's what I say when people ask me why I am glowing orange)

So naturally the carrot made it's way into my popscile mold. And now it's for real. Carrots really can do anything.

Another win for carrots everywhere.

And popsicles.. Just in time for that hot as shit weekend we are about to have.

GO POPSICLES CO!

The stuff. Carrots, an orange, some fresh ginger, and some water. Simple simple and no, I didn't forget the sweetener... these pops have no need (although if you want, go ahead and add a smidge or splash of something sweet)

Start by chopping up the carrots and sticking them into a pot with some water. Not a lot, just enough that it almost cover the carrots, and stick that pot onto the stove, cover and cook on medium heat until tender. Make sure to check that the water doesn't completely evaporate or you will have burnt carrots which taste just fine, but not as a sweet popsicle

While the carrots are tenderizing, zest the orange then juice it and grate up some fresh ginger.

Once the carrots are fork tender, dump in the juice, the zest, and the ginger. Stick pot back on heat for just a few more minutes to meld the flavor together.

IMG_5435.jpg
IMG_5439.jpg

Dump the contents of the pot into the blender and blend blend blend until smooth.

Grab your mold and pour blended mixture into it.. Because the mixture is thick, you don't have to wait to stick the sticks in so go ahead and do that now.

And into the freezer they go!

Frozen and ready to go.

Serious popsicle goodness right there.

Happy Popsicle Week. Go ahead and make them all!

-C


Carrot Ginger Orange Popsicles

Makes about four or five 3.5 oz popsicles

  • 3 medium sized carrots
  • 1 orange (zest and juice)
  • 1-2 teaspoons fresh ginger
  • water

Note. I did not use and sweetener and did not miss it but if you really think you need it, add a little bit of honey or sugar. But really, they are sweet enough so maybe give them a chance without it.

Start by chopping the carrots up into coins and stick them into a pot with enough water to just about cover the carrots. Stick on stove on medium heat and place a lid on the pot. Cook carrots until tender.

While that's happening, zest and juice orange and grate up the fresh ginger. (I used 1 teaspoon of ginger at first, but after I blended it, I decided that I wanted a little more so I added another teaspoon)  Once the carrots are soft, dump in all the juice, zest and ginger. keep on heat for a few more minutes to let the flavors all meld together.

 And now dump the pot of carrot goods into the blender and blend the crap out of it until smooth. (add in a splash or two of water if needed. Taste your puree and if you want more ginger, add it it.( can also decide now if you want any sweetener..

Now pour the mixture into you popsicle molds and follow the mold directions on how to use it (add popsicle sticks and stick it in the freezer)

Freeze until frozen.

Remove from freezer and let sit until pops slip from mold.

Eat until gone.

Make more popsicle.


In 5 ingerdients or less, appetizers, breakfast, Dairy Free, desserts, frozen, snack, Sweets, Vegan, Vegetables, Popsicles Tags Carrot Ginger Orange Popsicles, Popsicle Week, Carrot popsicles, veggie popsicles, frozen treats, vegan, gluten free, sugar free, healthy, palnt based, clean eating, amazing, dessert, summer, wit and vinegar
5 Comments
← Newer Posts Older Posts →
 

https://thelovelycrazy.squarespace.com/config#/|/about/

Me. Food Maker.Food eater. Woo HOO!

STEM+NODE  SMALL BATCH AND ONE OF A KIND POTTERY

stem+node ceramics


____________________

Subscribe

GET NEW POSTS IN YO EMAIL

You are AWESOME!!!


@thelovelycrazy 2014-2021