• stem+node ceramics
  • HOME
  • Food Recipes
  • About
  • Contact
Menu

The Lovely Crazy

Street Address
City, State, Zip
Phone Number

Your Custom Text Here

The Lovely Crazy

  • stem+node ceramics
  • HOME
  • Food Recipes
  • About
  • Contact

Zucchini Dill Empanadas

June 19, 2021 Colleen Stem
IMG_6054.jpg
IMG_5986.jpg
IMG_6004.jpg

YAY for the first zucchinis of the season! Zucchini is one of the main reasons I tolerate summer. Sure I complain a lot about being hot all time and the sun being just too freaking bright but the zucchini helps make it all worth dealing with.

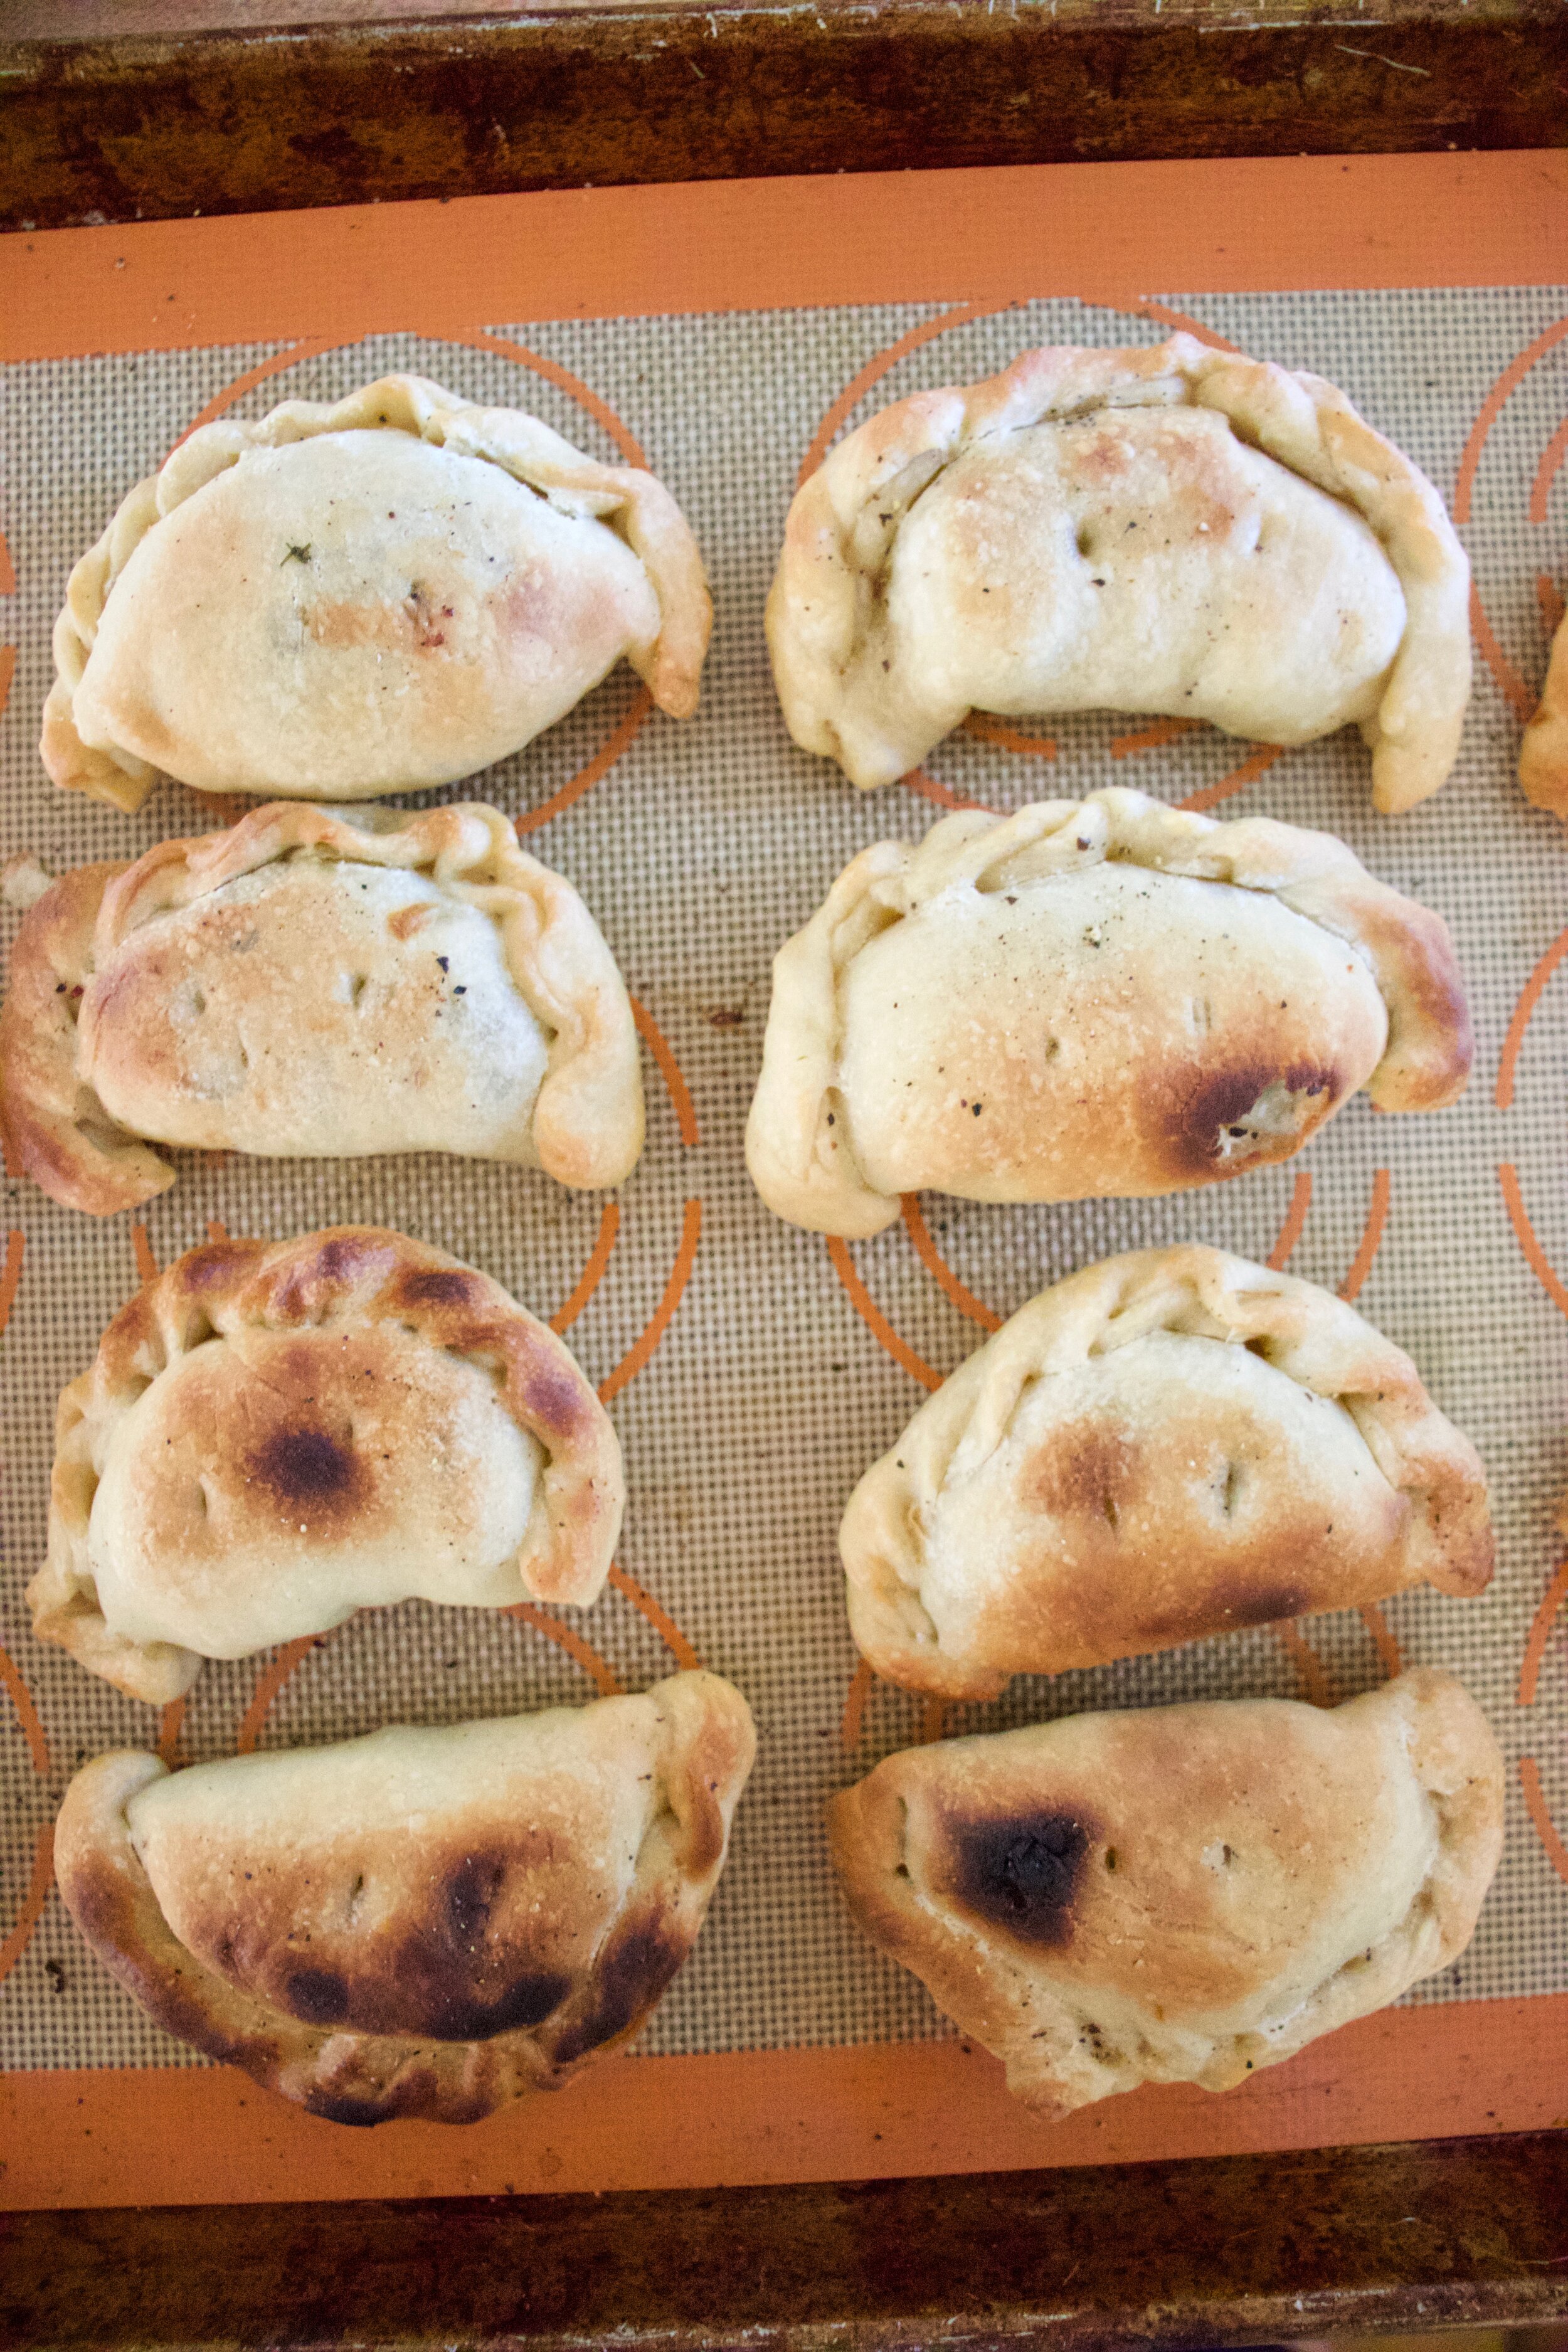
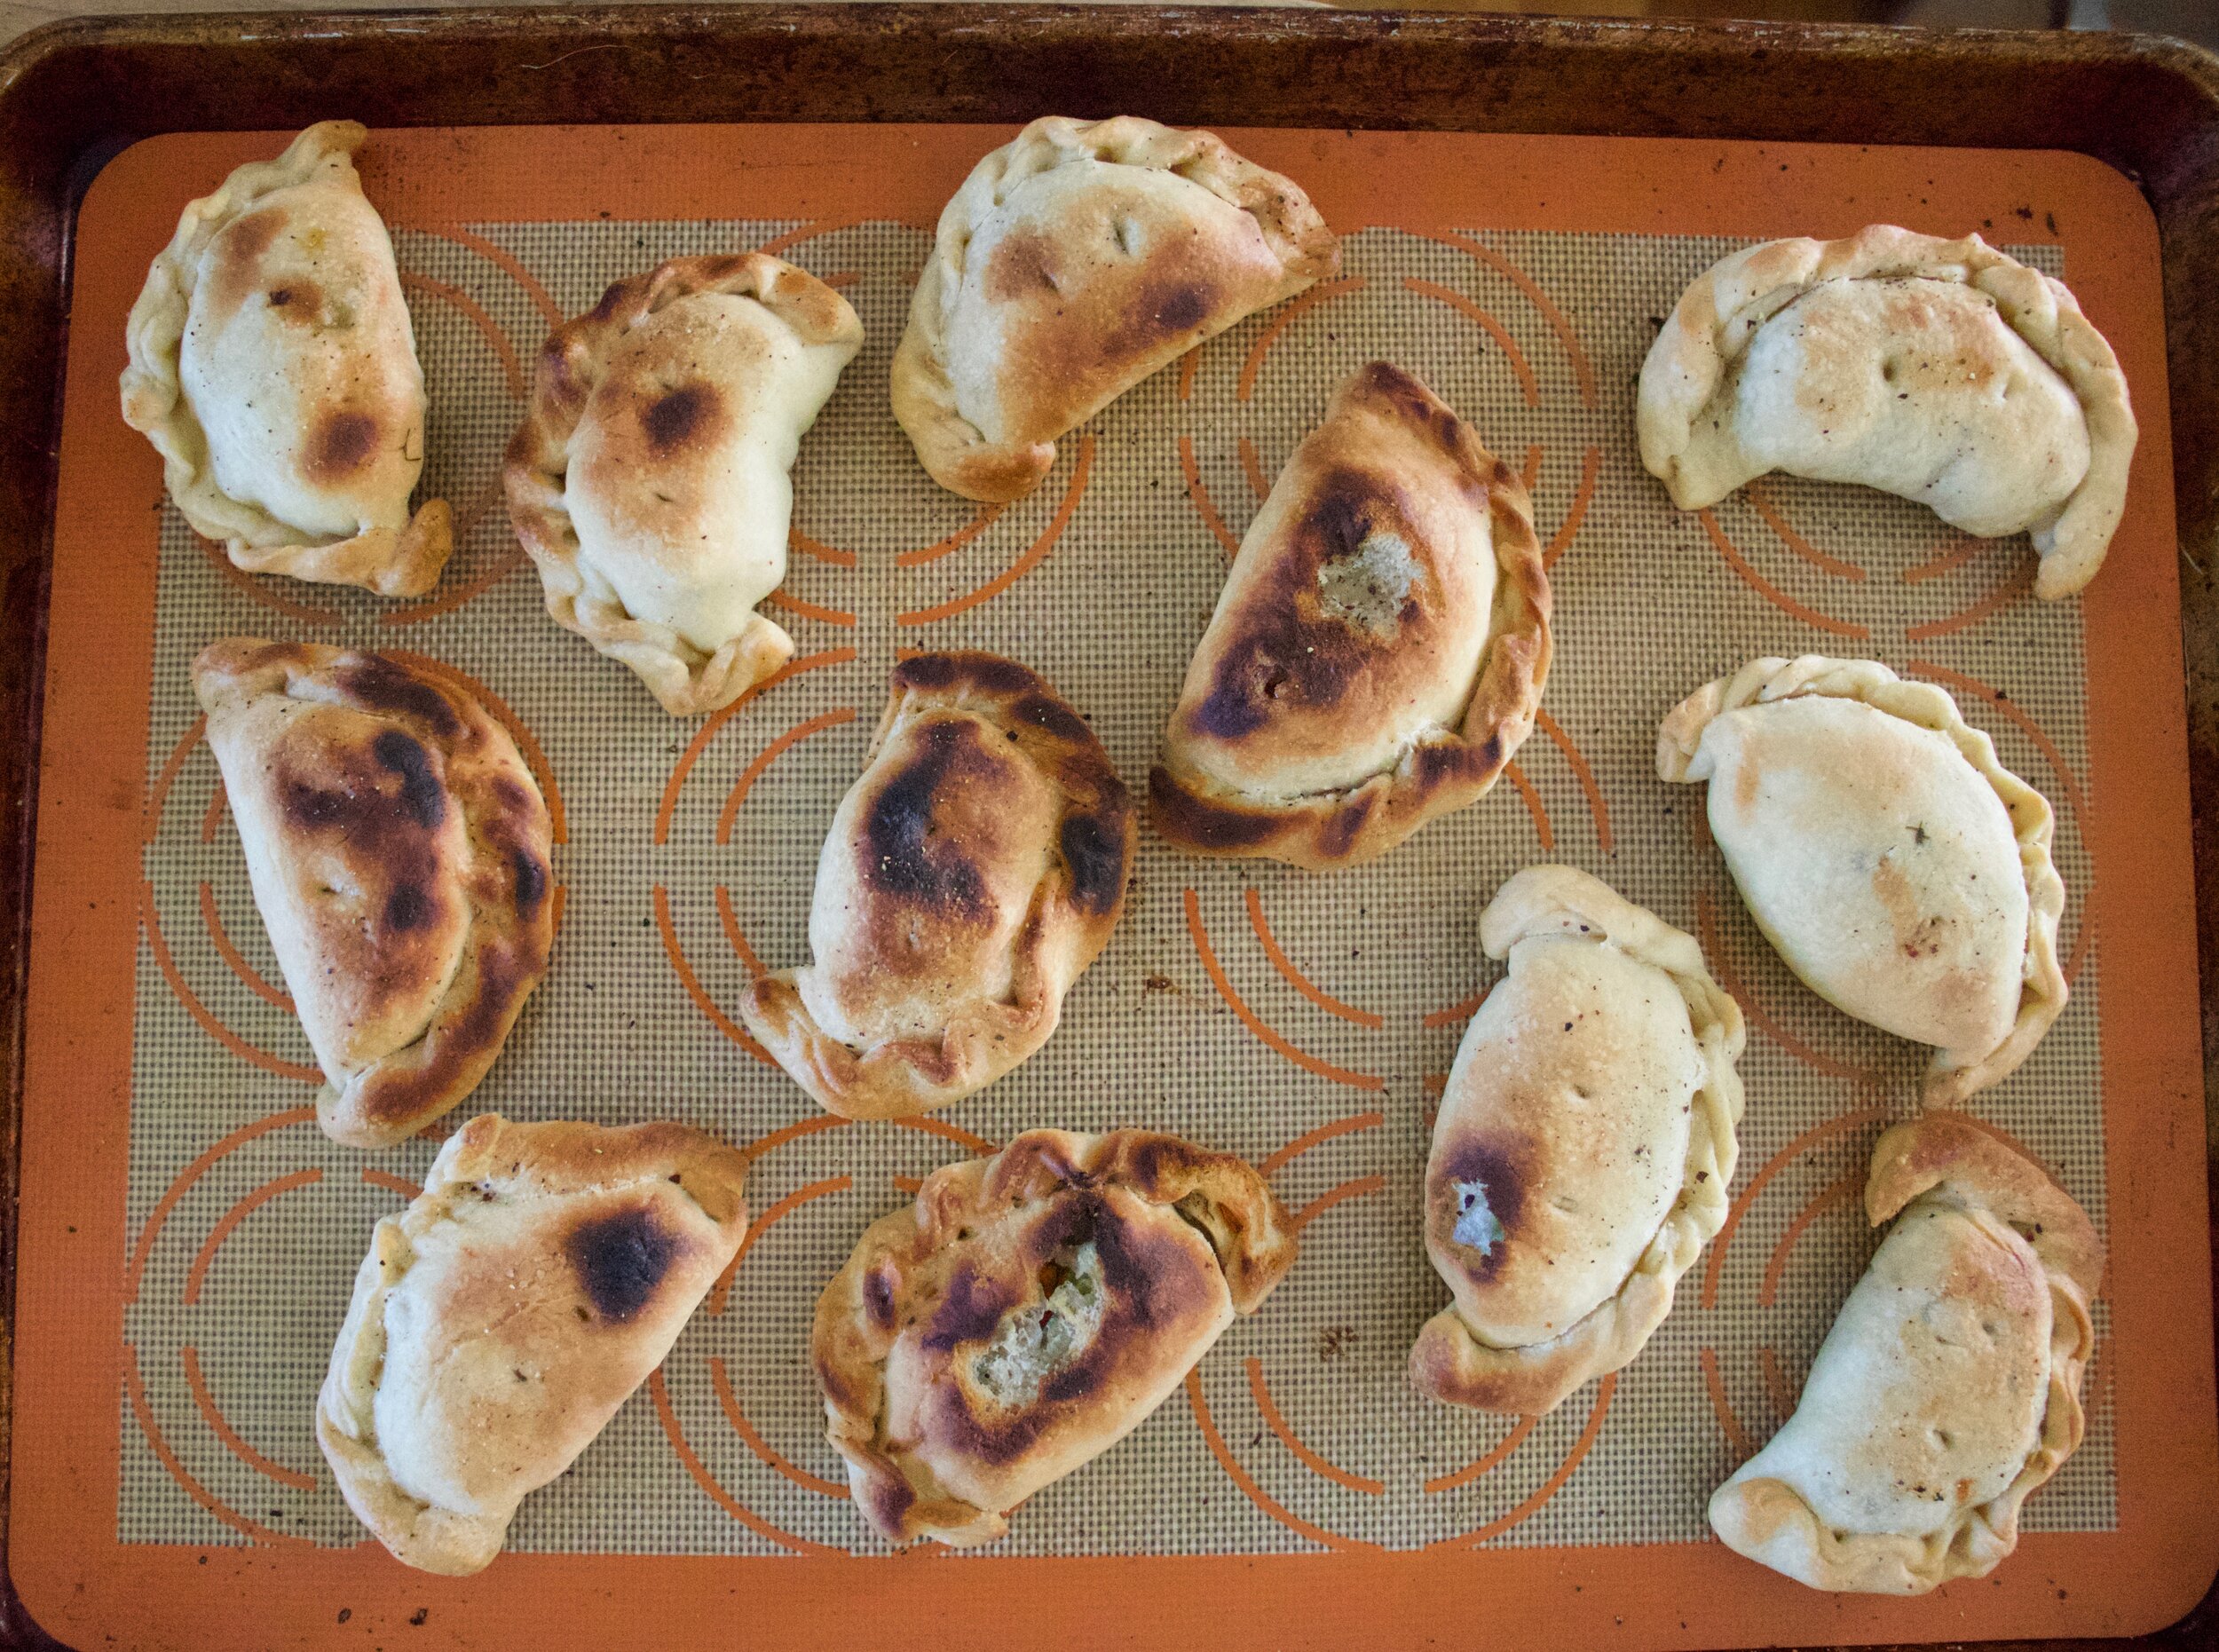
Empanadas. Little hard pies. A perfect little vessel to stuff some zucchini into. Add some dill and it makes it all the better. I mean who wouldn't a zucchini and dill stuffed pastry on a warm summer afternoon (or whatever time you feel like eating). They are super easy to make, light and crispy, and are little pies of zucchini. What is not to like? Plus they require no utensils to eat them . Think about it, Make batch, throw them into a picnic basket and head to a nice little grassy patch under a tree. Doesn't that sound just so nice? That does sound nice. Why didn't I do that? Oh because I was busy being pissy because I made a perfect batch and while letting them cool off in the oven for a few minutes I accidentally turned on the broiler and burnt a few. But whatever, the mr actually really liked them burnt so no harm no foul, But next time I make them it will definitely be for a picnic.

Now to the zucchini dill empanadas!

IMG_5851.jpg

The stuff. Zucchinis, a carrot and a onion, some dill and ground ginger, salt and pepper, water, oil, flour, and baking powder.

IMG_5862.jpg

Start with making the filling. Chop the carrots into little cubes then grate up the onion and zucchinis.

IMG_5869.jpg

Gather the zucchini and onion into a tea towel (or cheese cloth) and squeeze out he excess liquid. ( I squeezed it into the dough mixture)

IMG_5892.jpg
IMG_5901.jpg

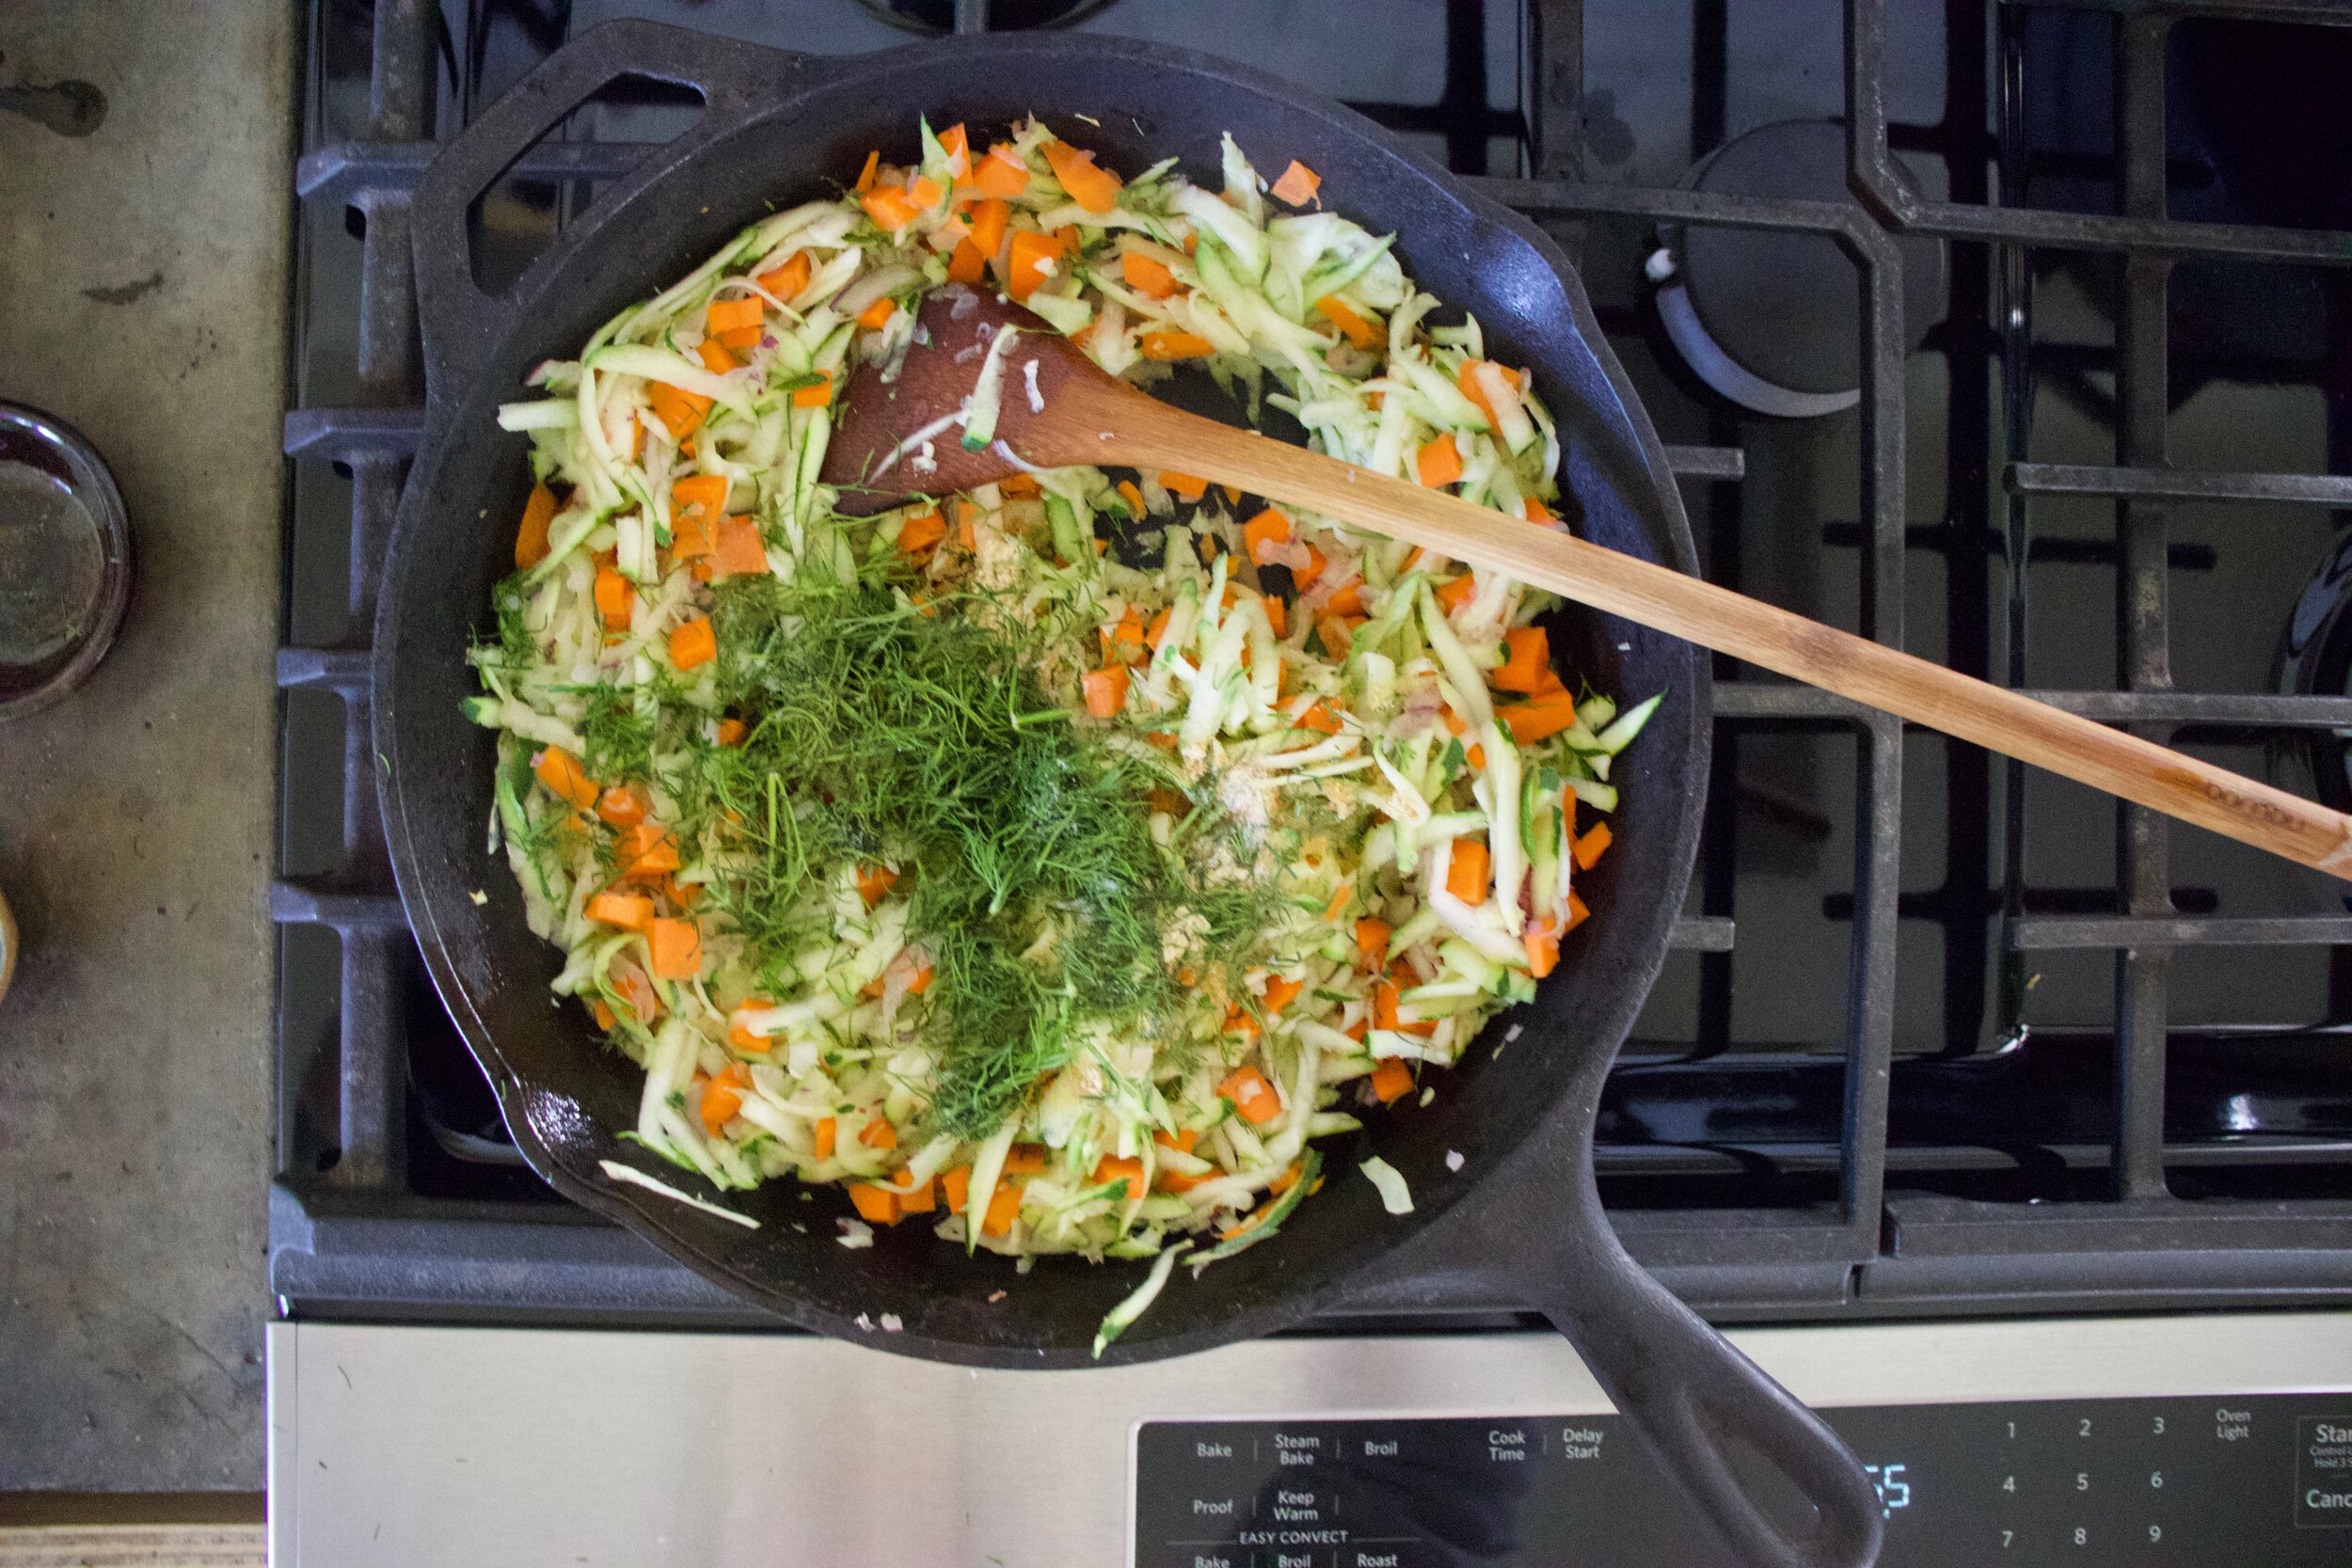
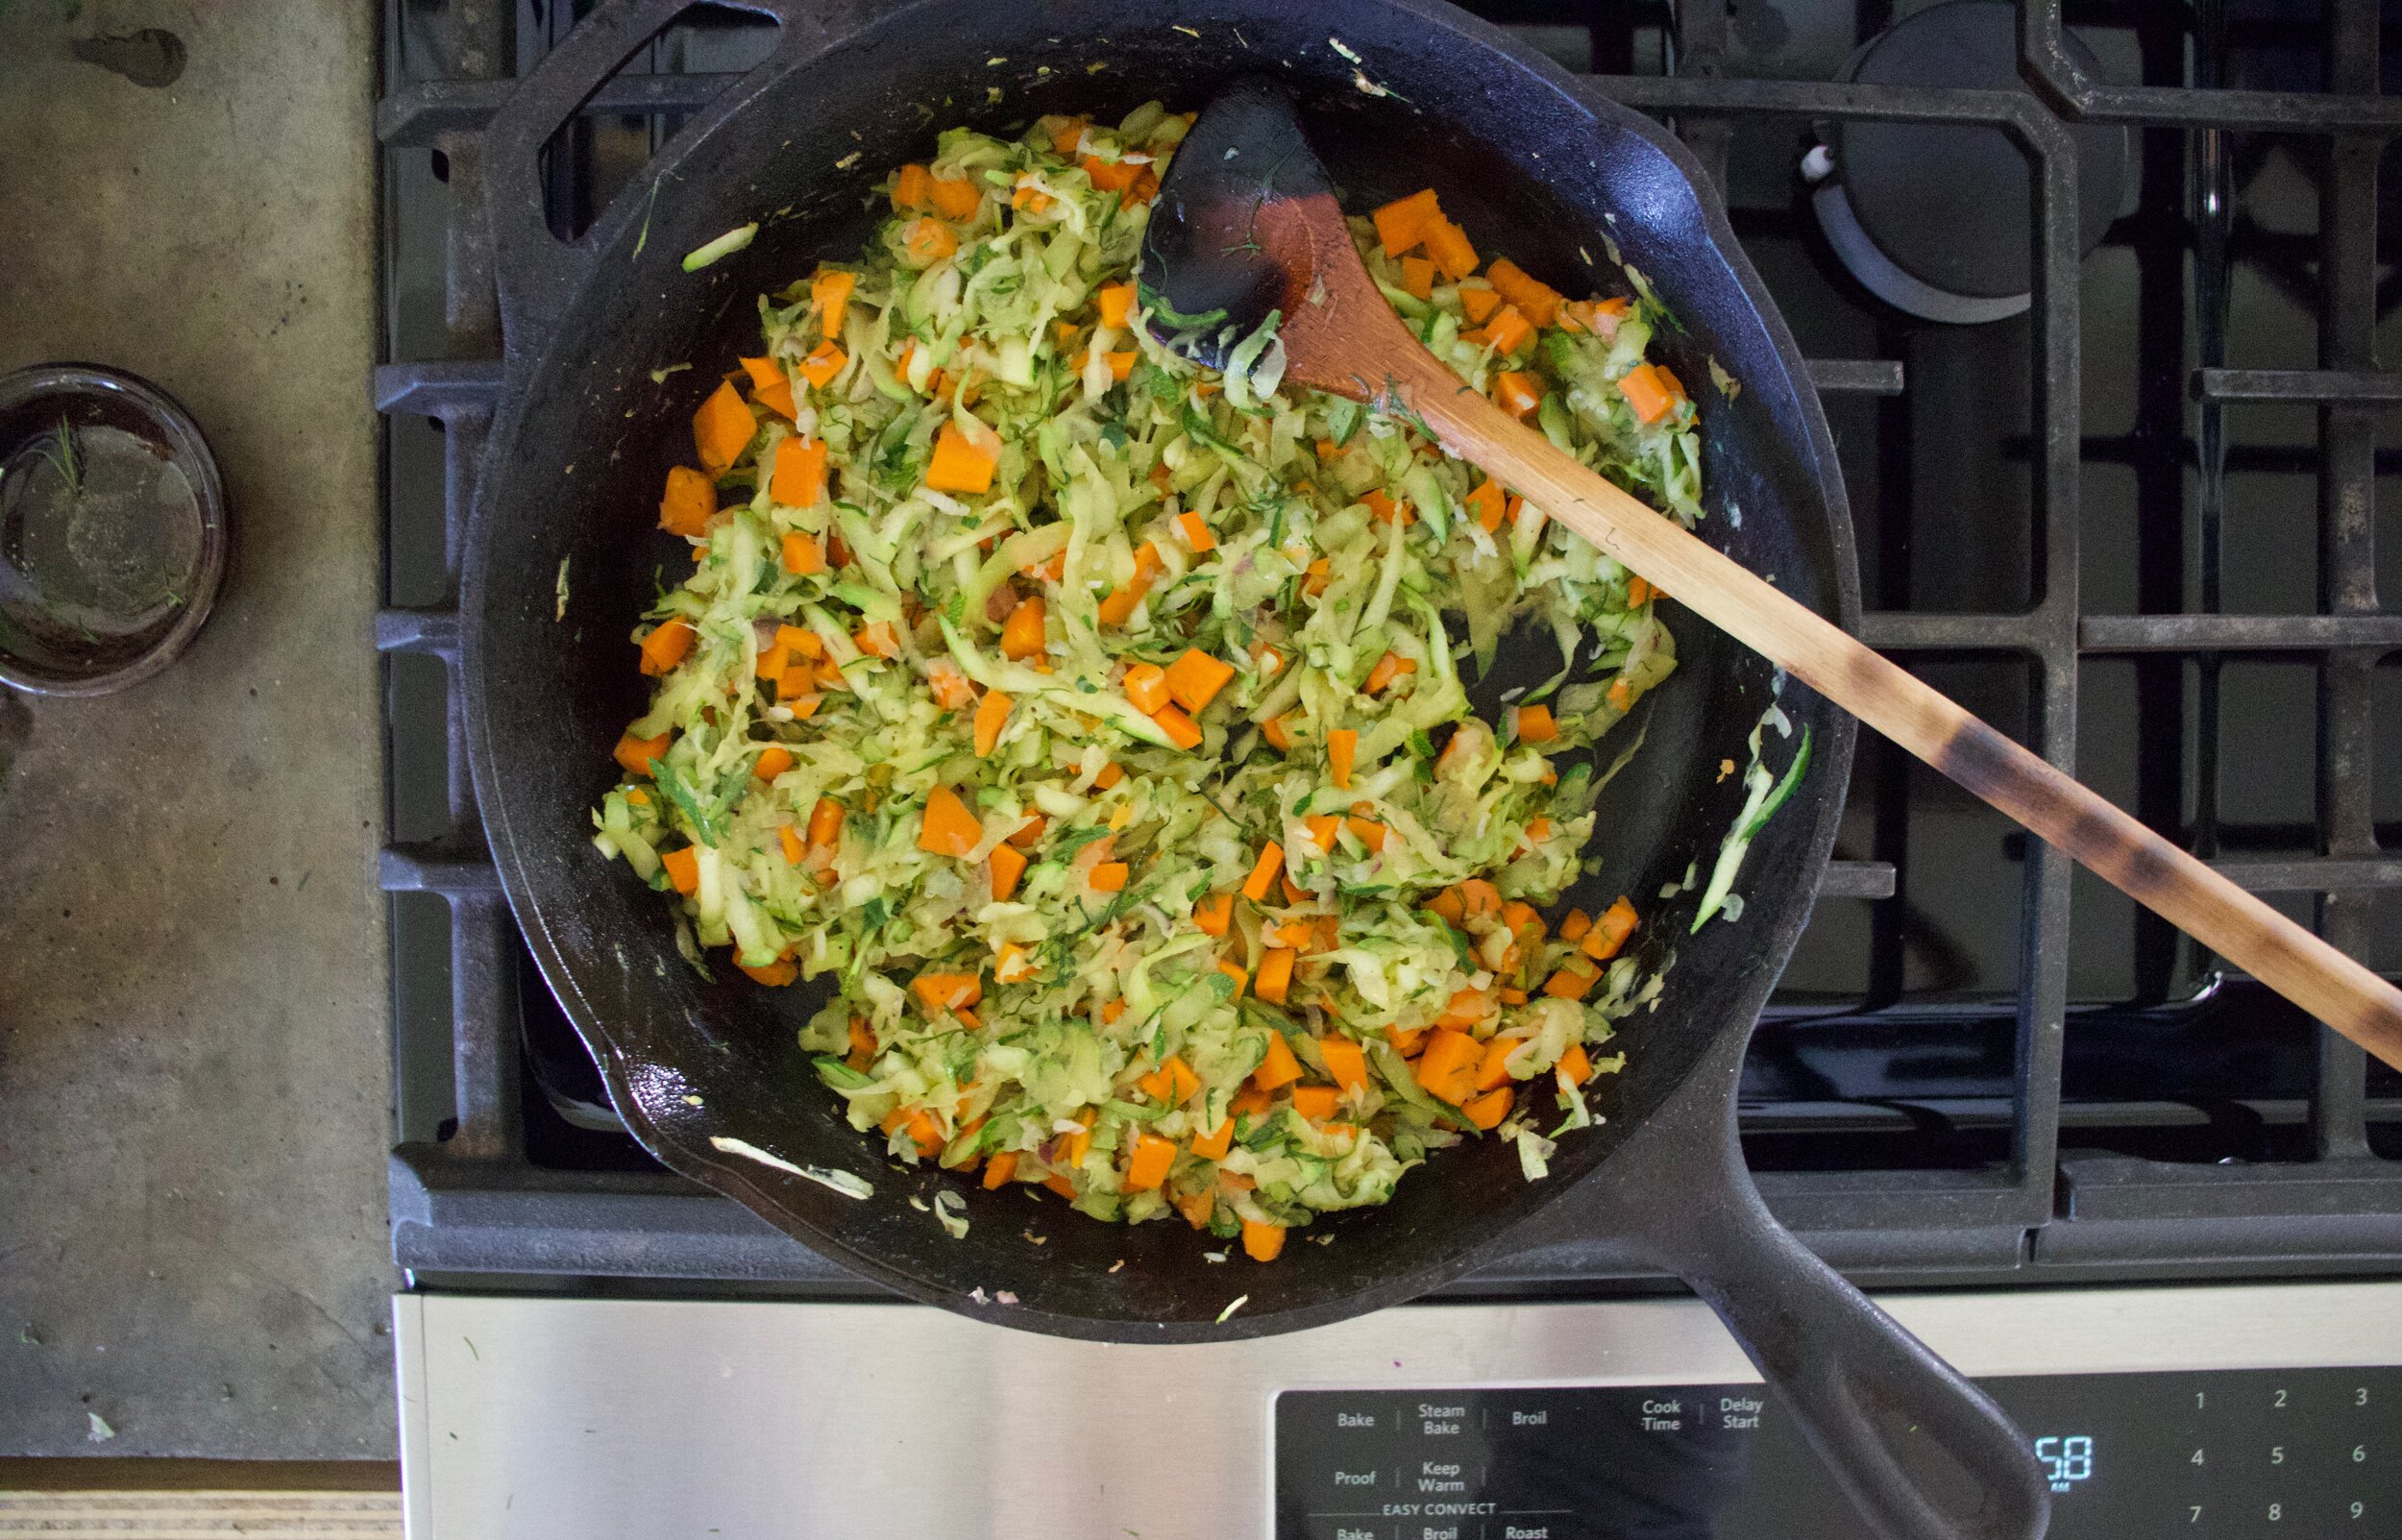
dump the zucchini and onion into a heated and lightly oiled skillet. Add in the carrots, the ginger and dill, and a good pinch of salt and pepper. mix around a cook until the zucchini has gone cooked down and the carrots are slightly tender. Remove from heat.

IMG_5905.jpg
IMG_5907.jpg

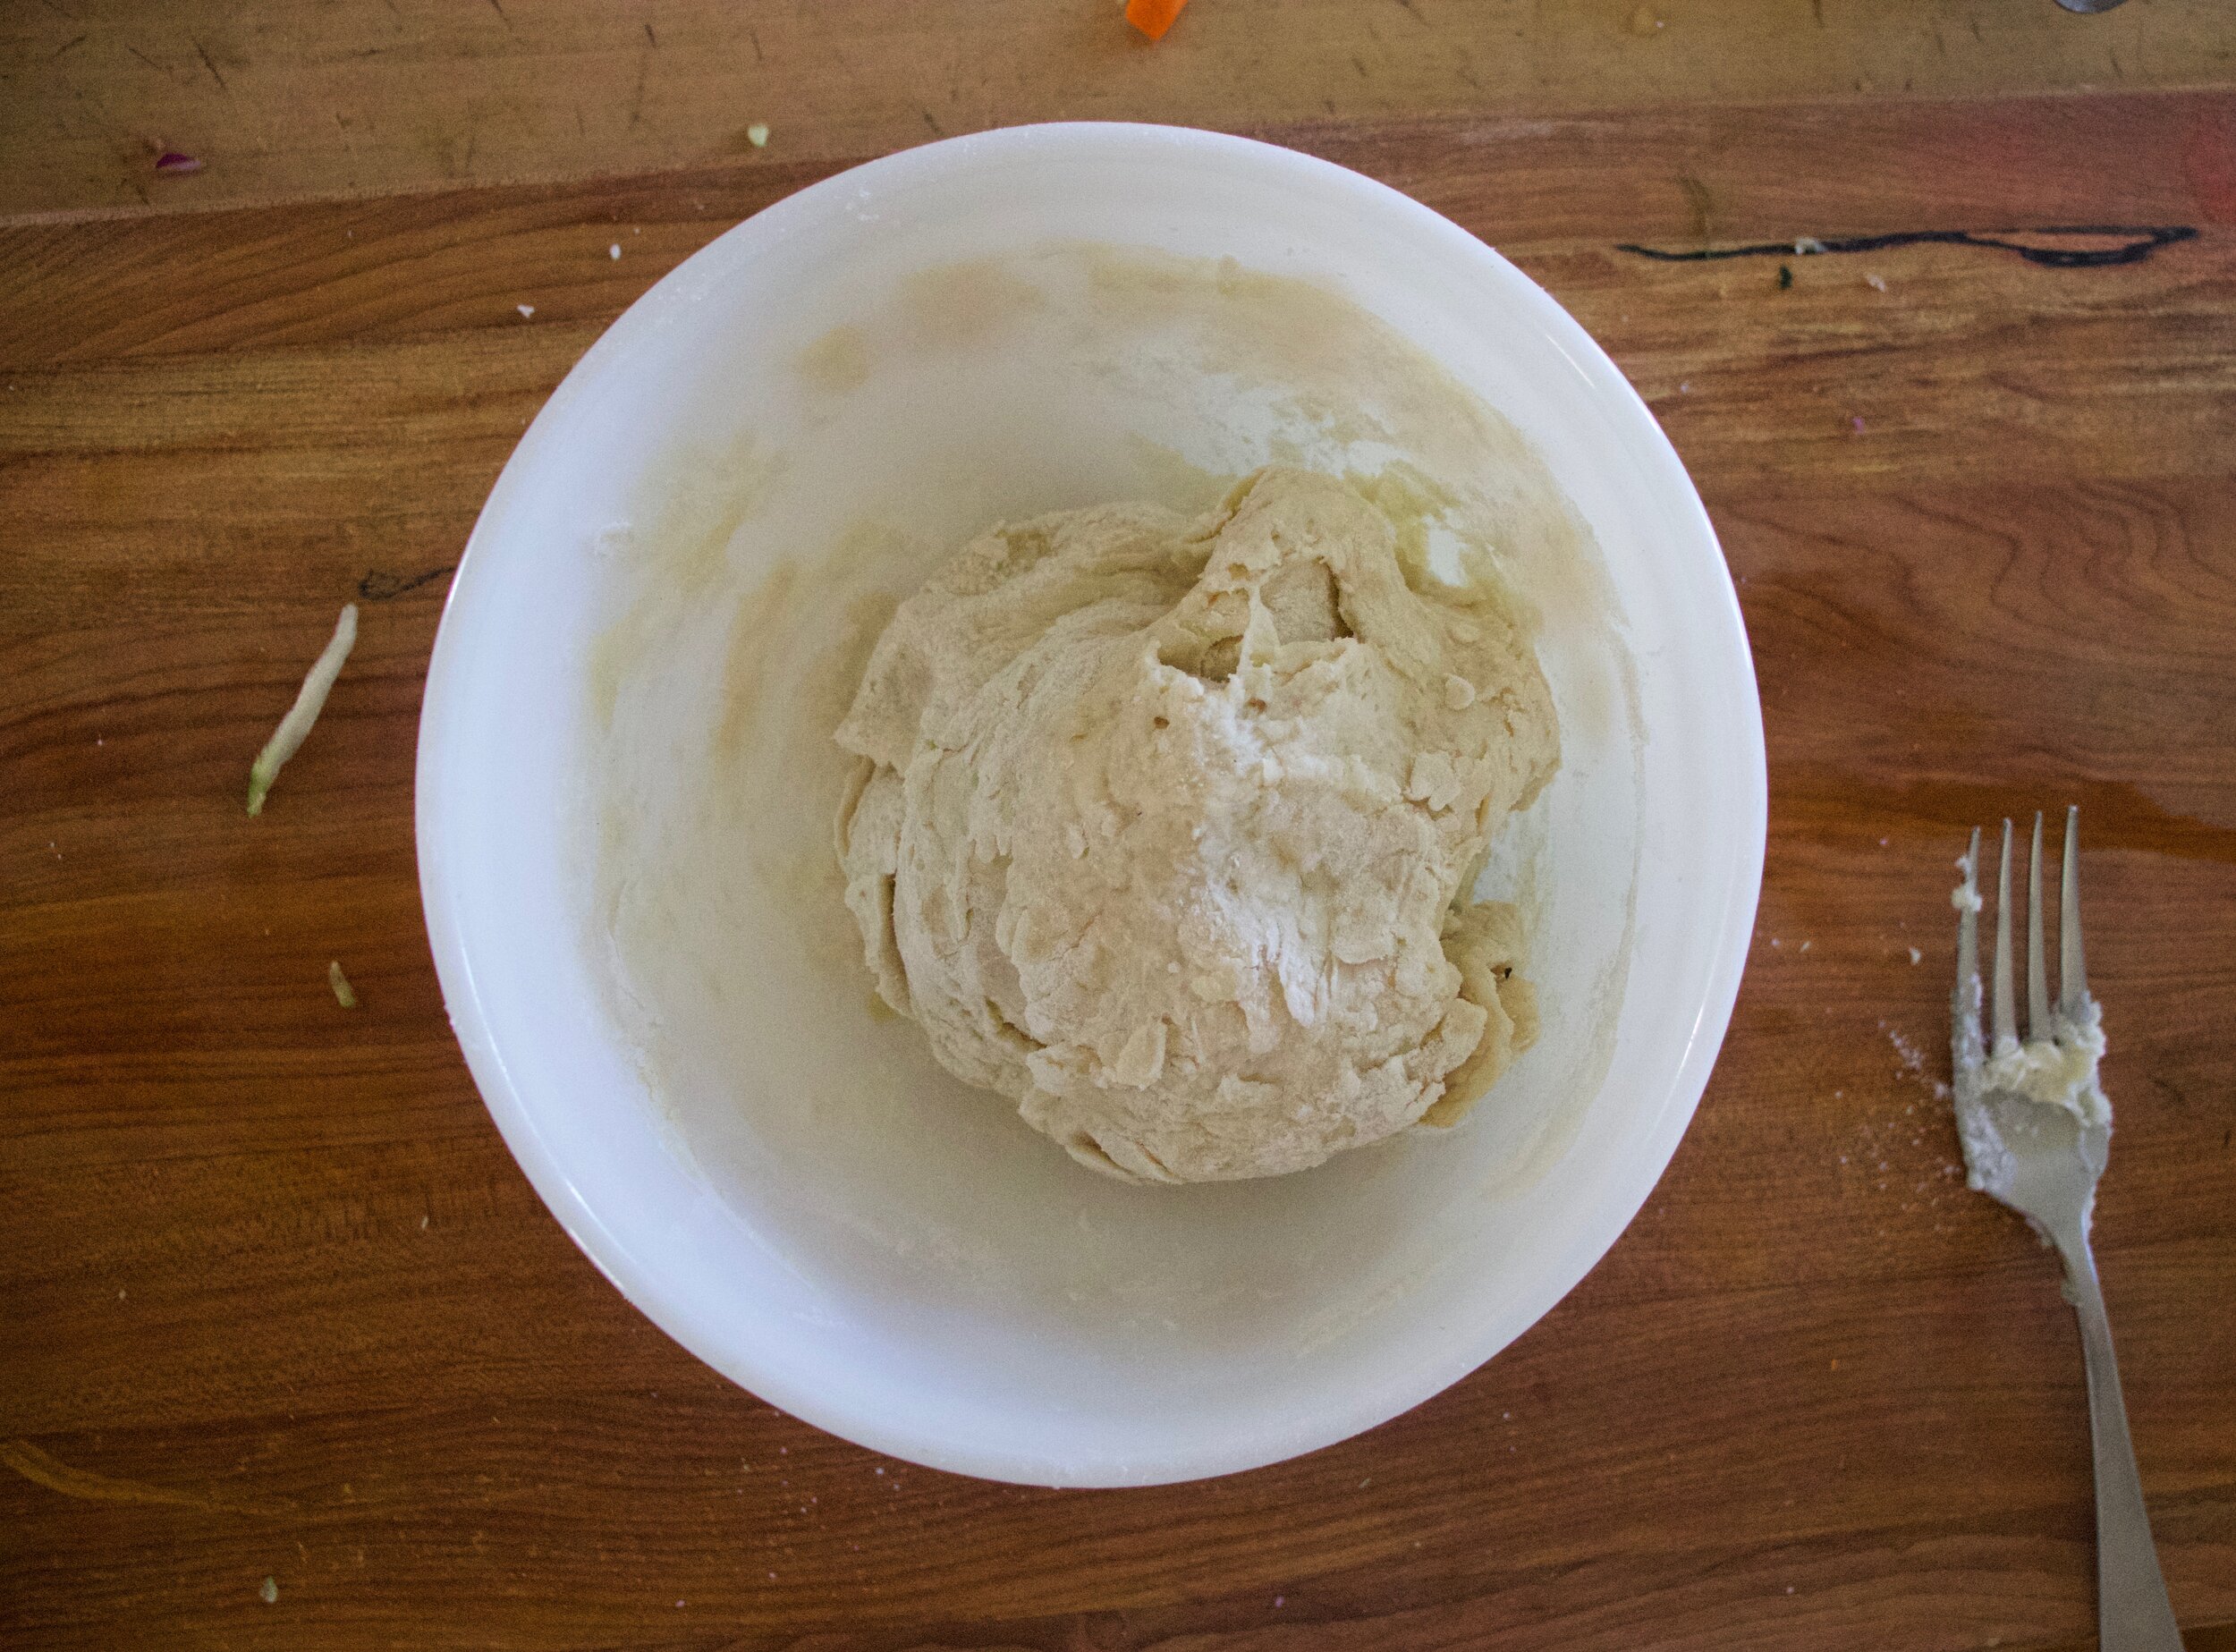
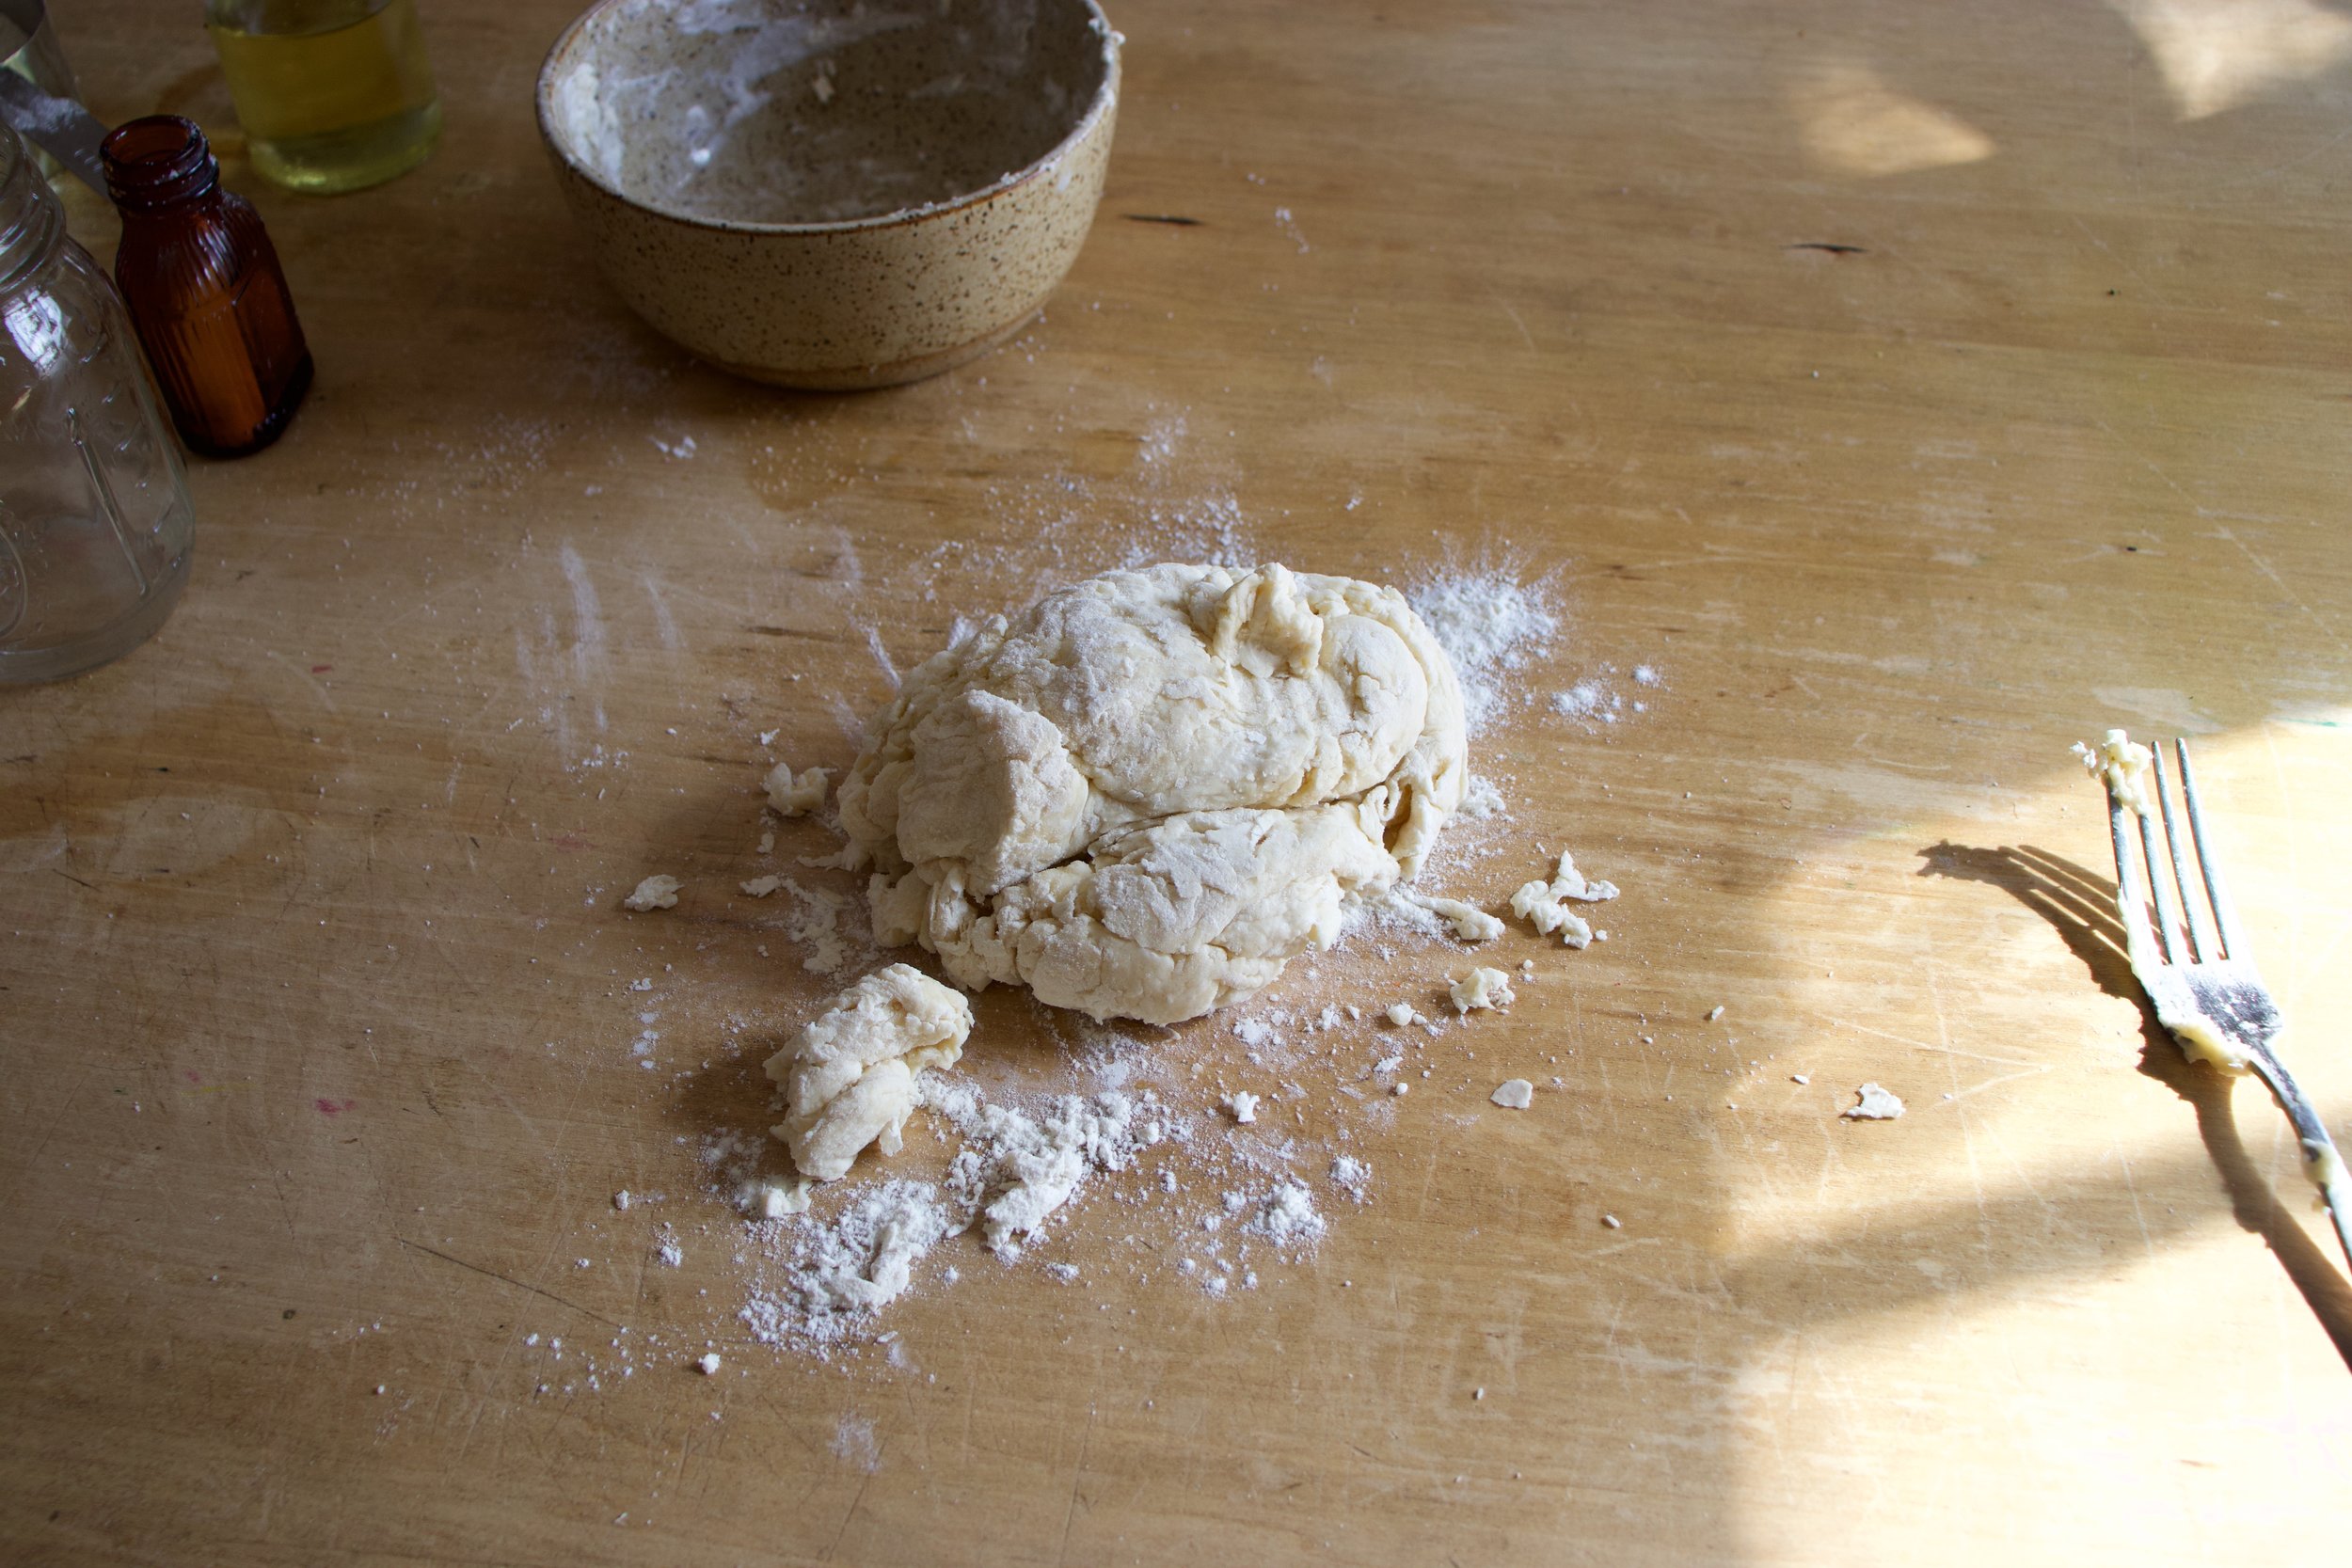
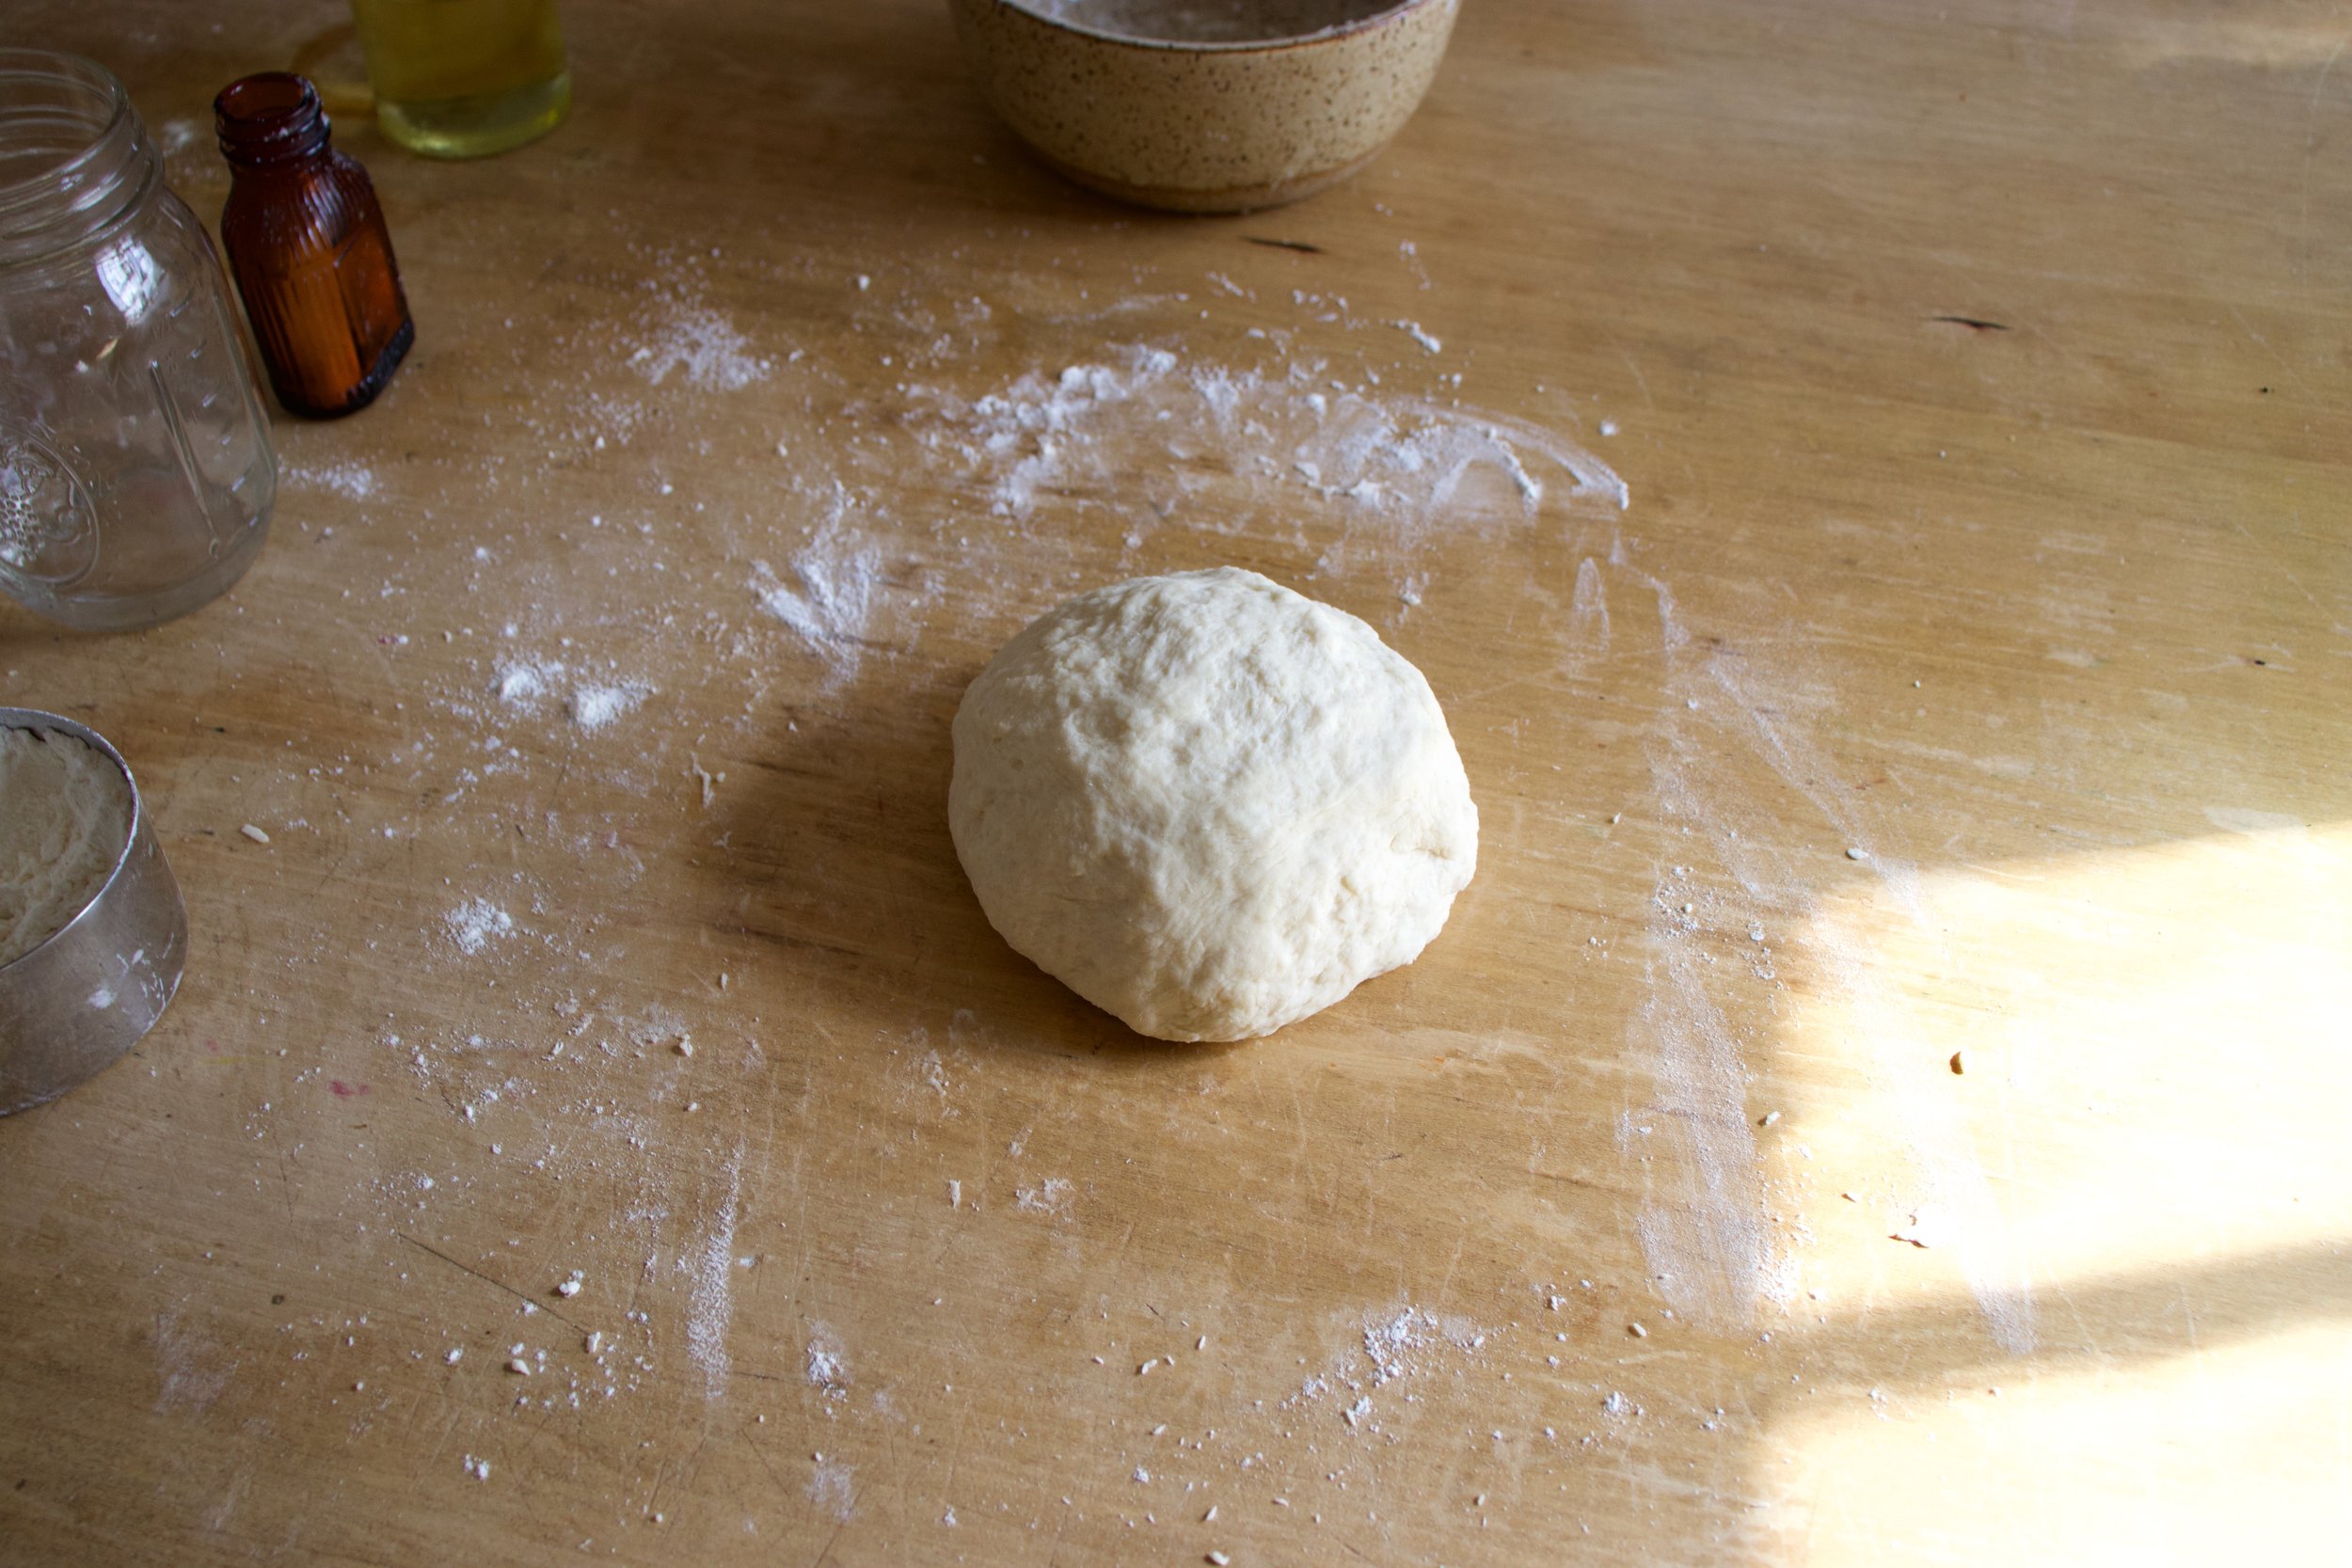
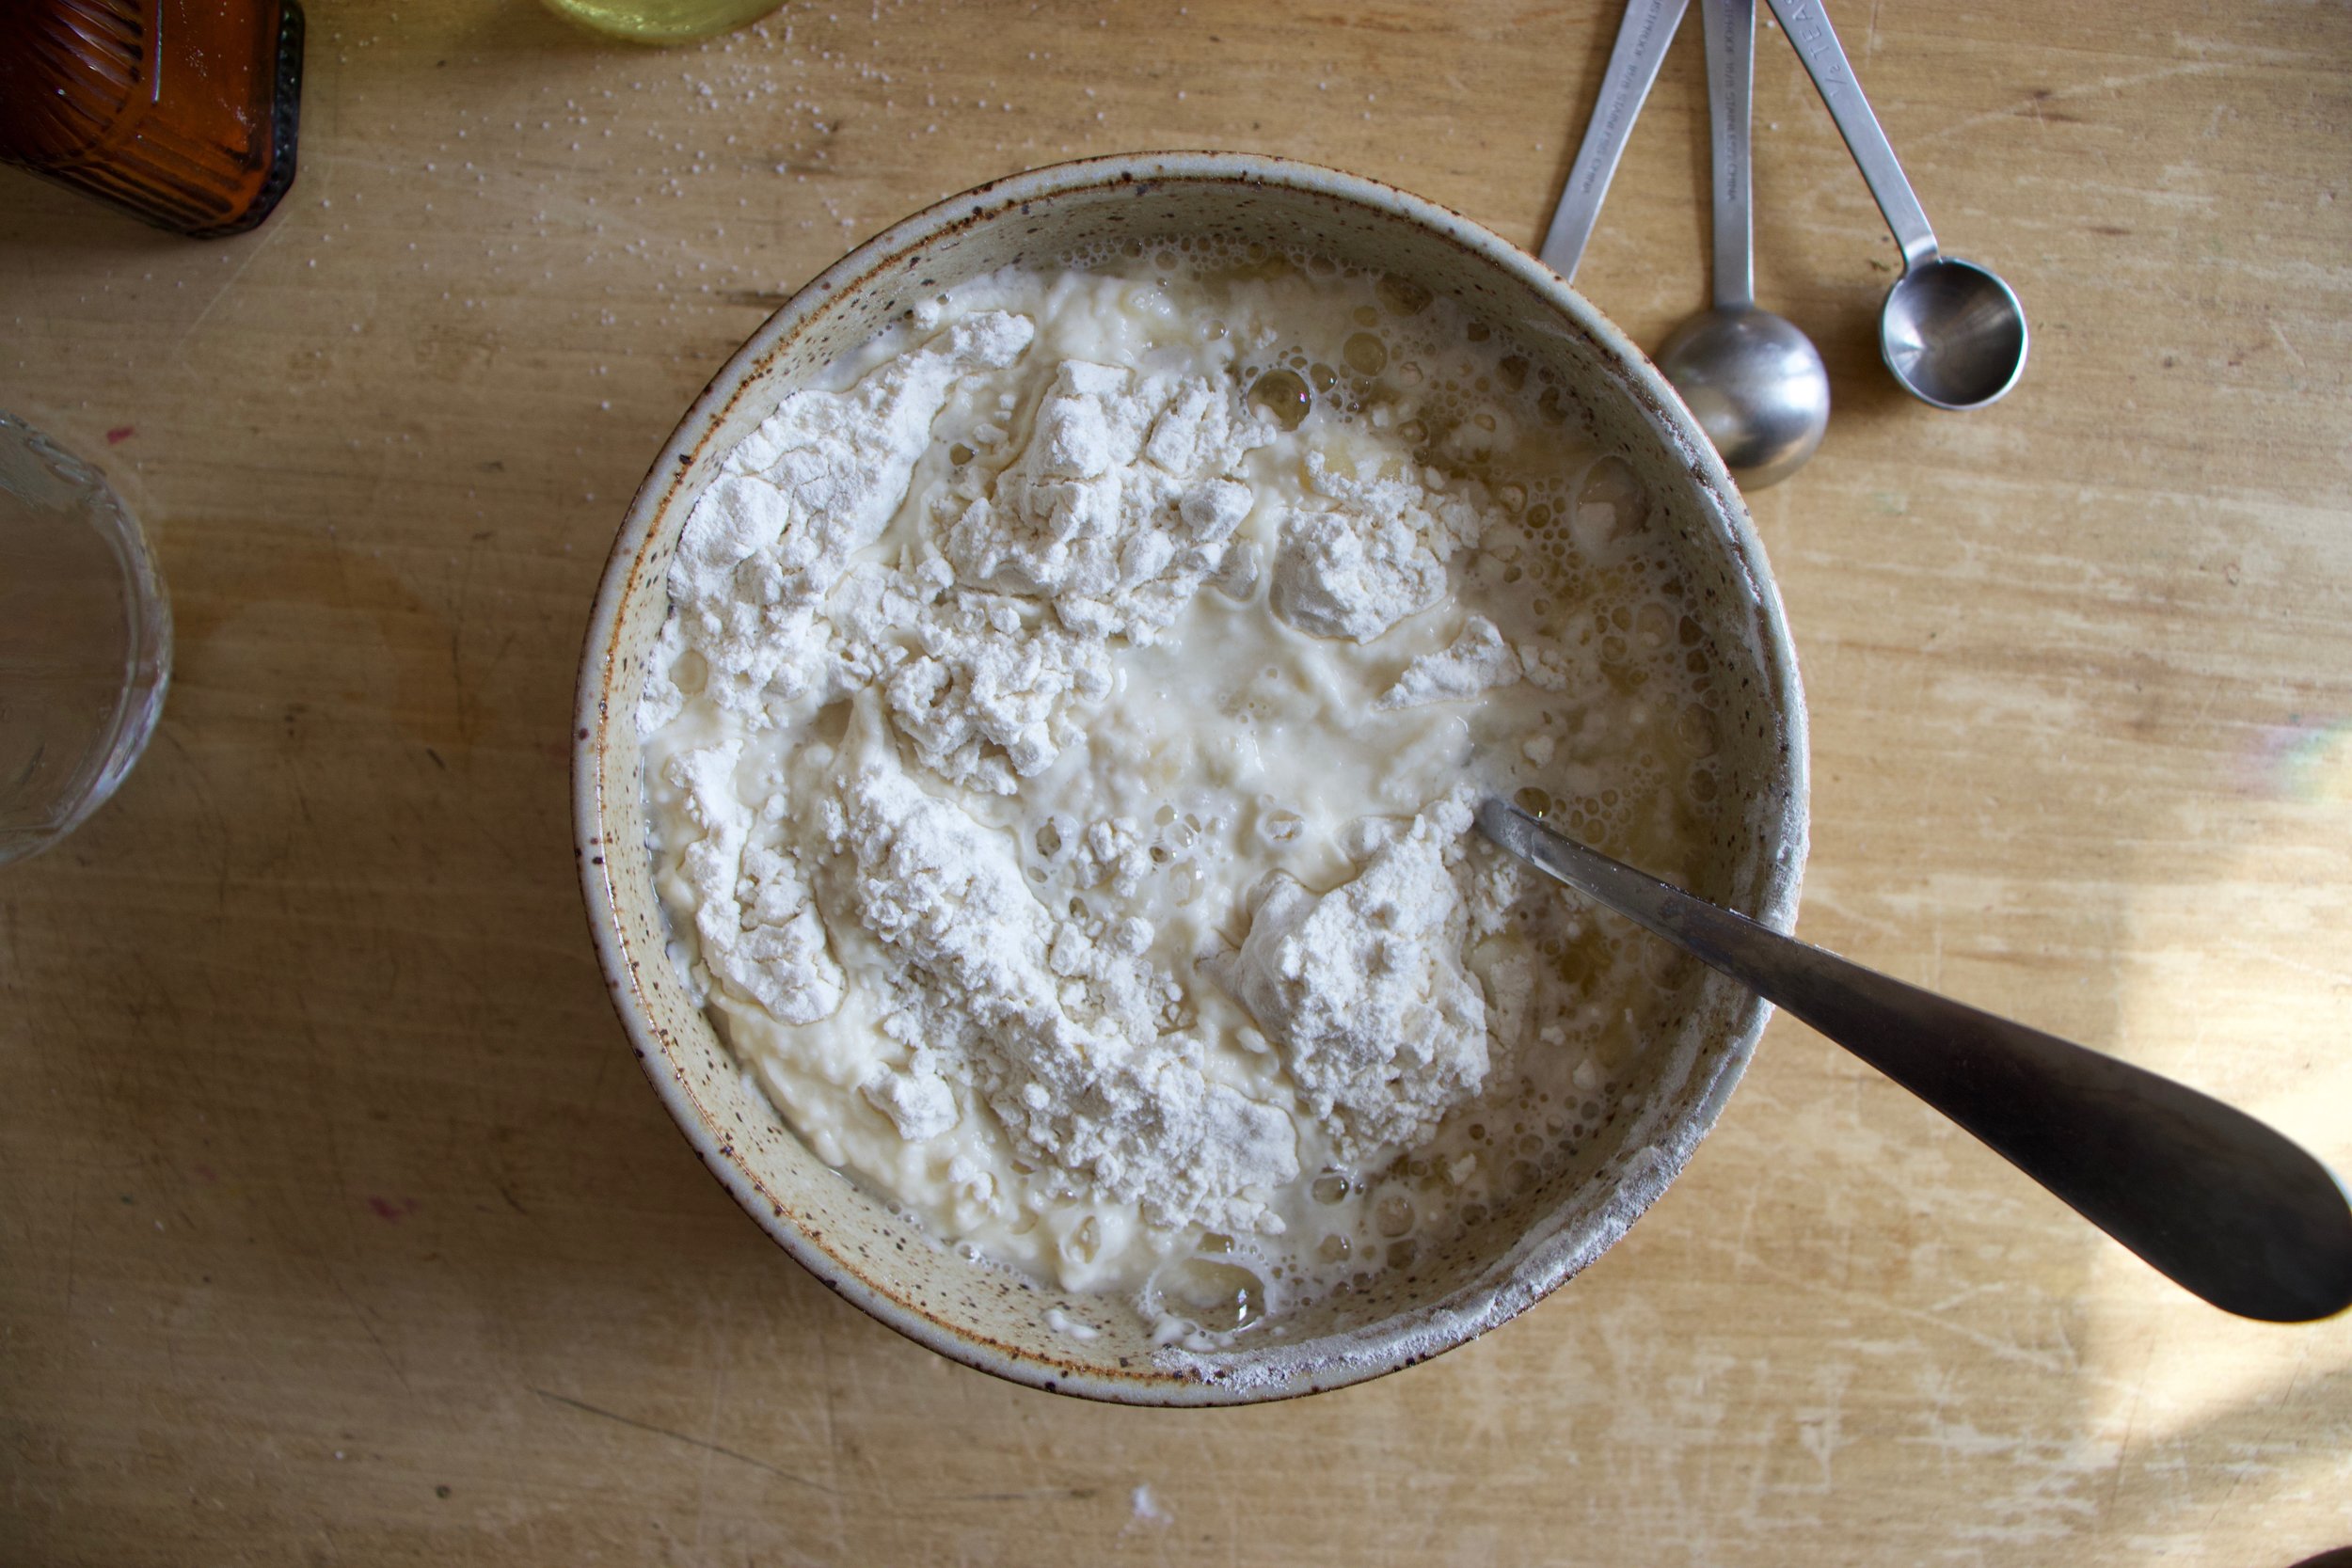
Now make the dough. Ad the wet the dry and mix around unit a shaggy dough form then knead it for about a minute and place in a clean bowl covered with a towel to rest for 15 or so minutes.

IMG_5910.jpg
IMG_5919.jpg

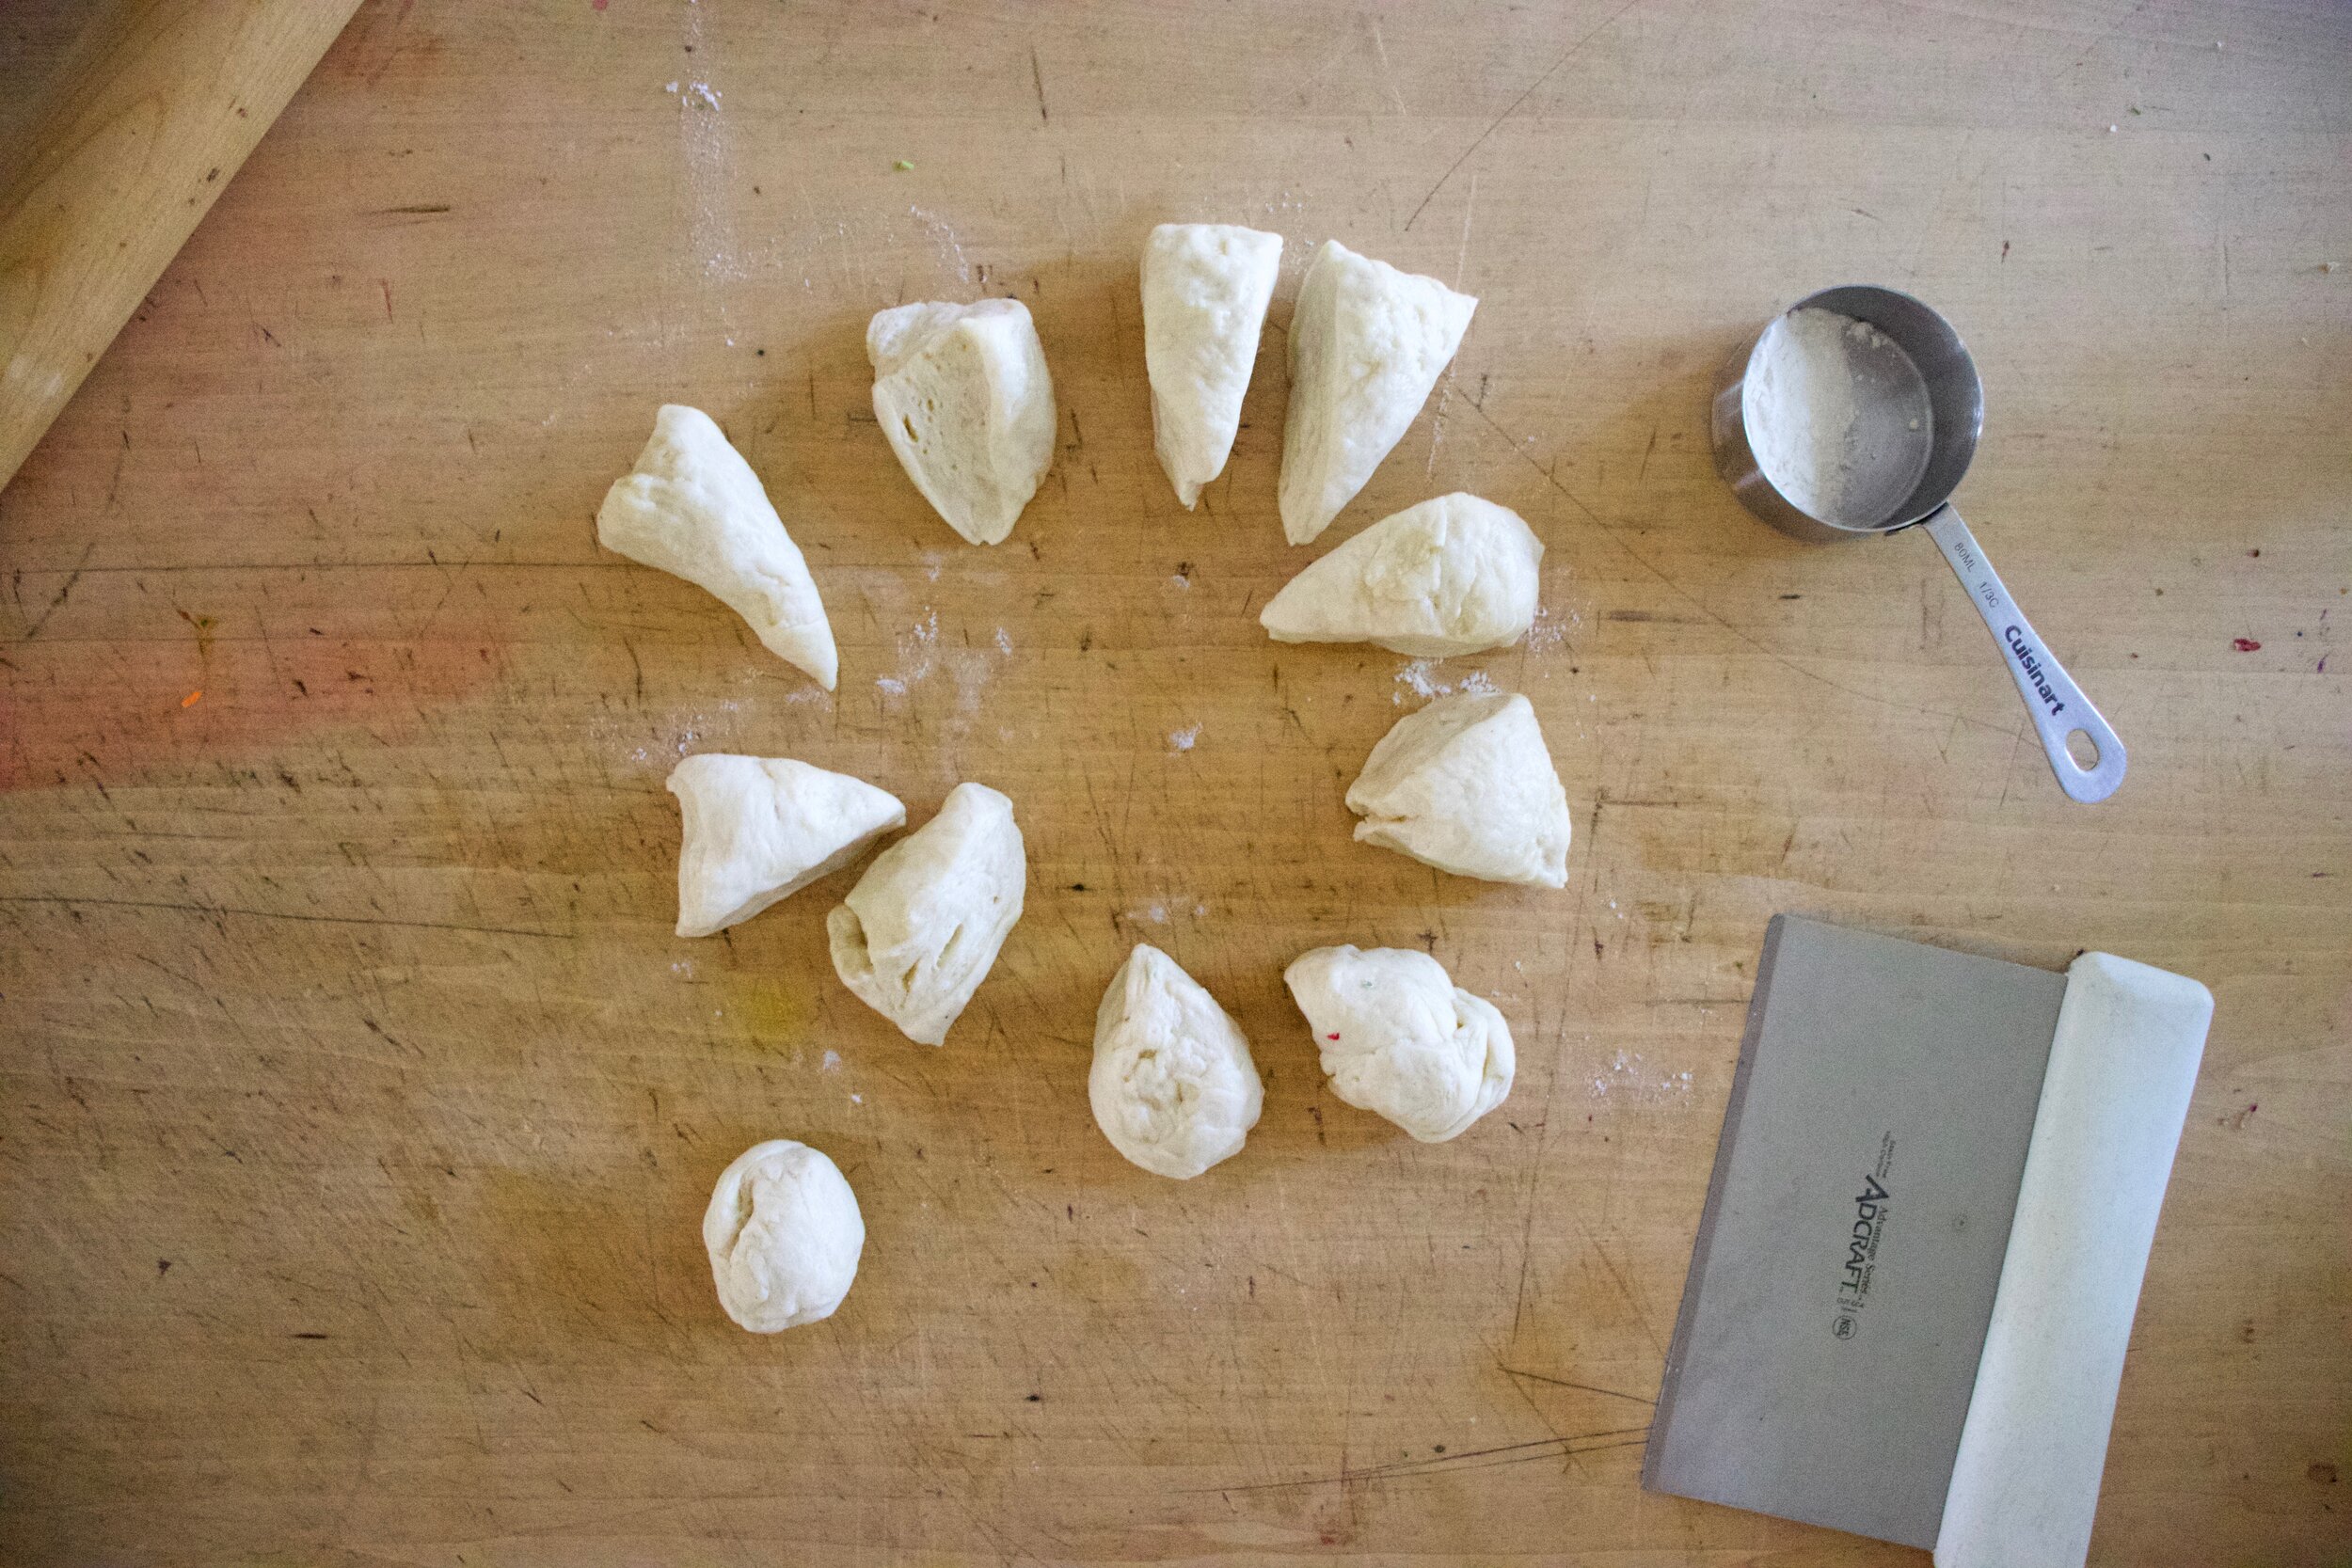
After the dough has rested, dump into counter, pat into a disk and cut into 12 equal pieces.

IMG_5924.jpg

Then roll each piece into a ball. Take a ball and on a lightly floured surface, roll out into a disk.

IMG_5930.jpg
IMG_5931.jpg
IMG_5939.jpg

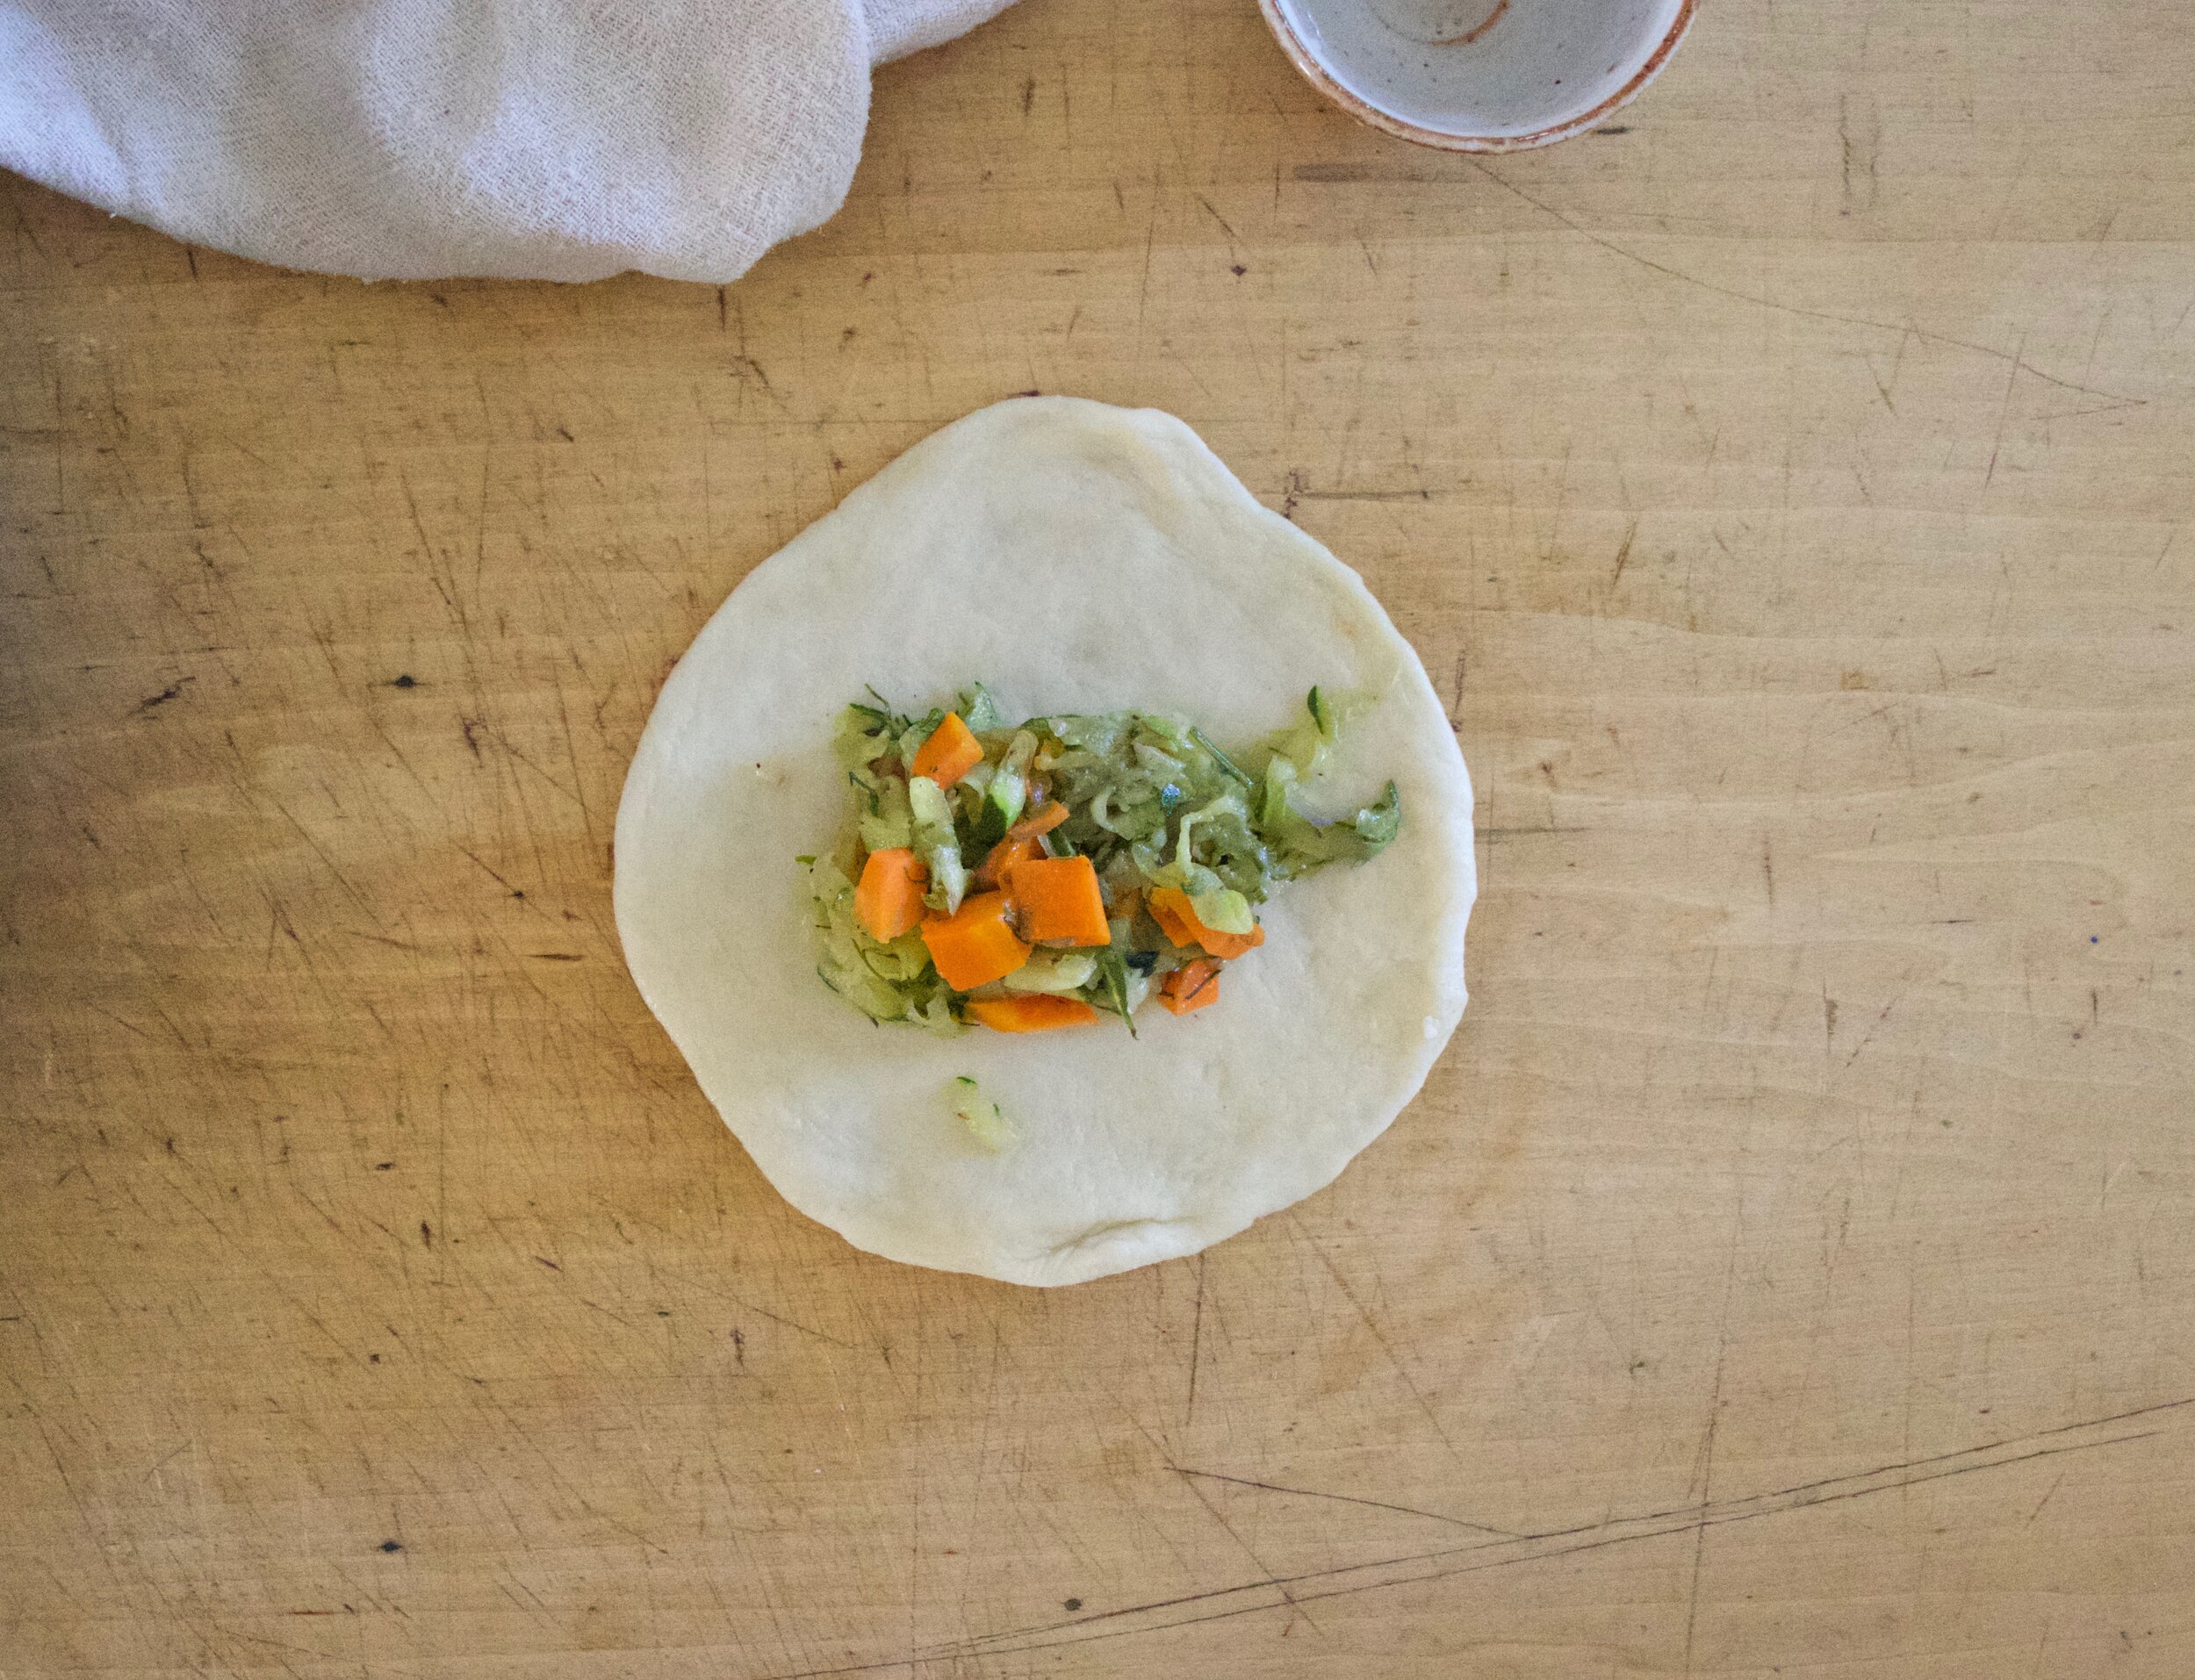
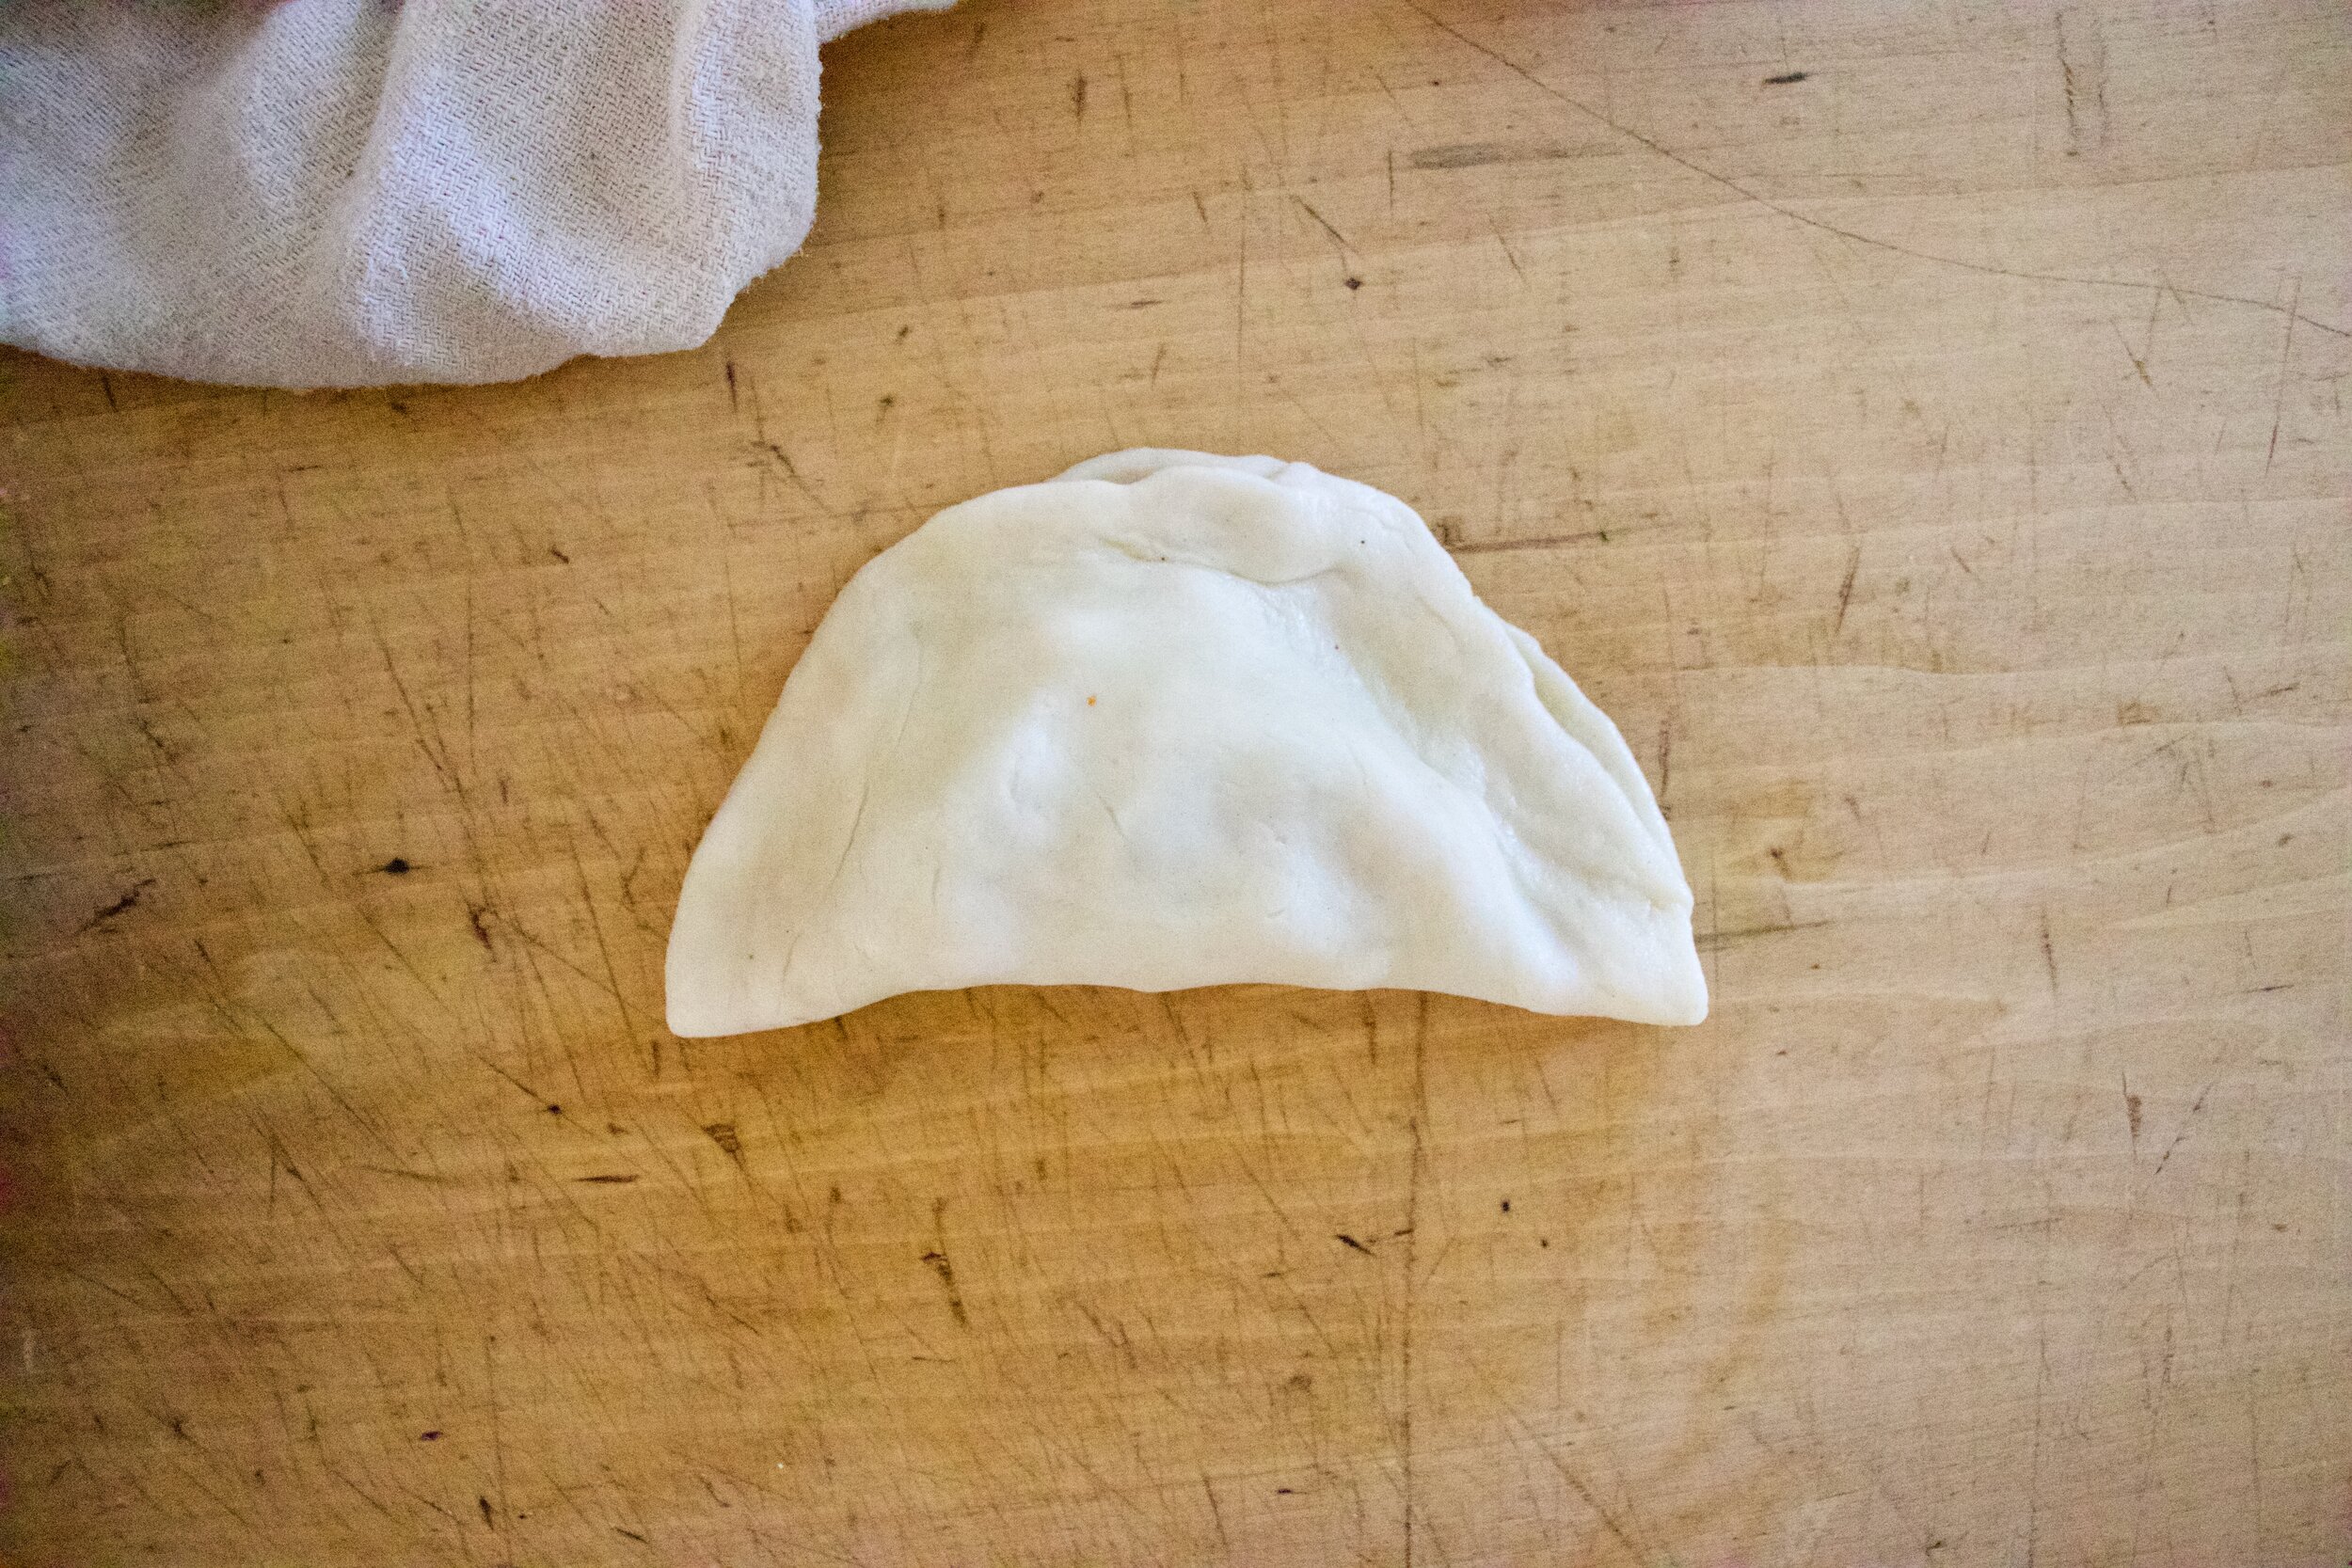
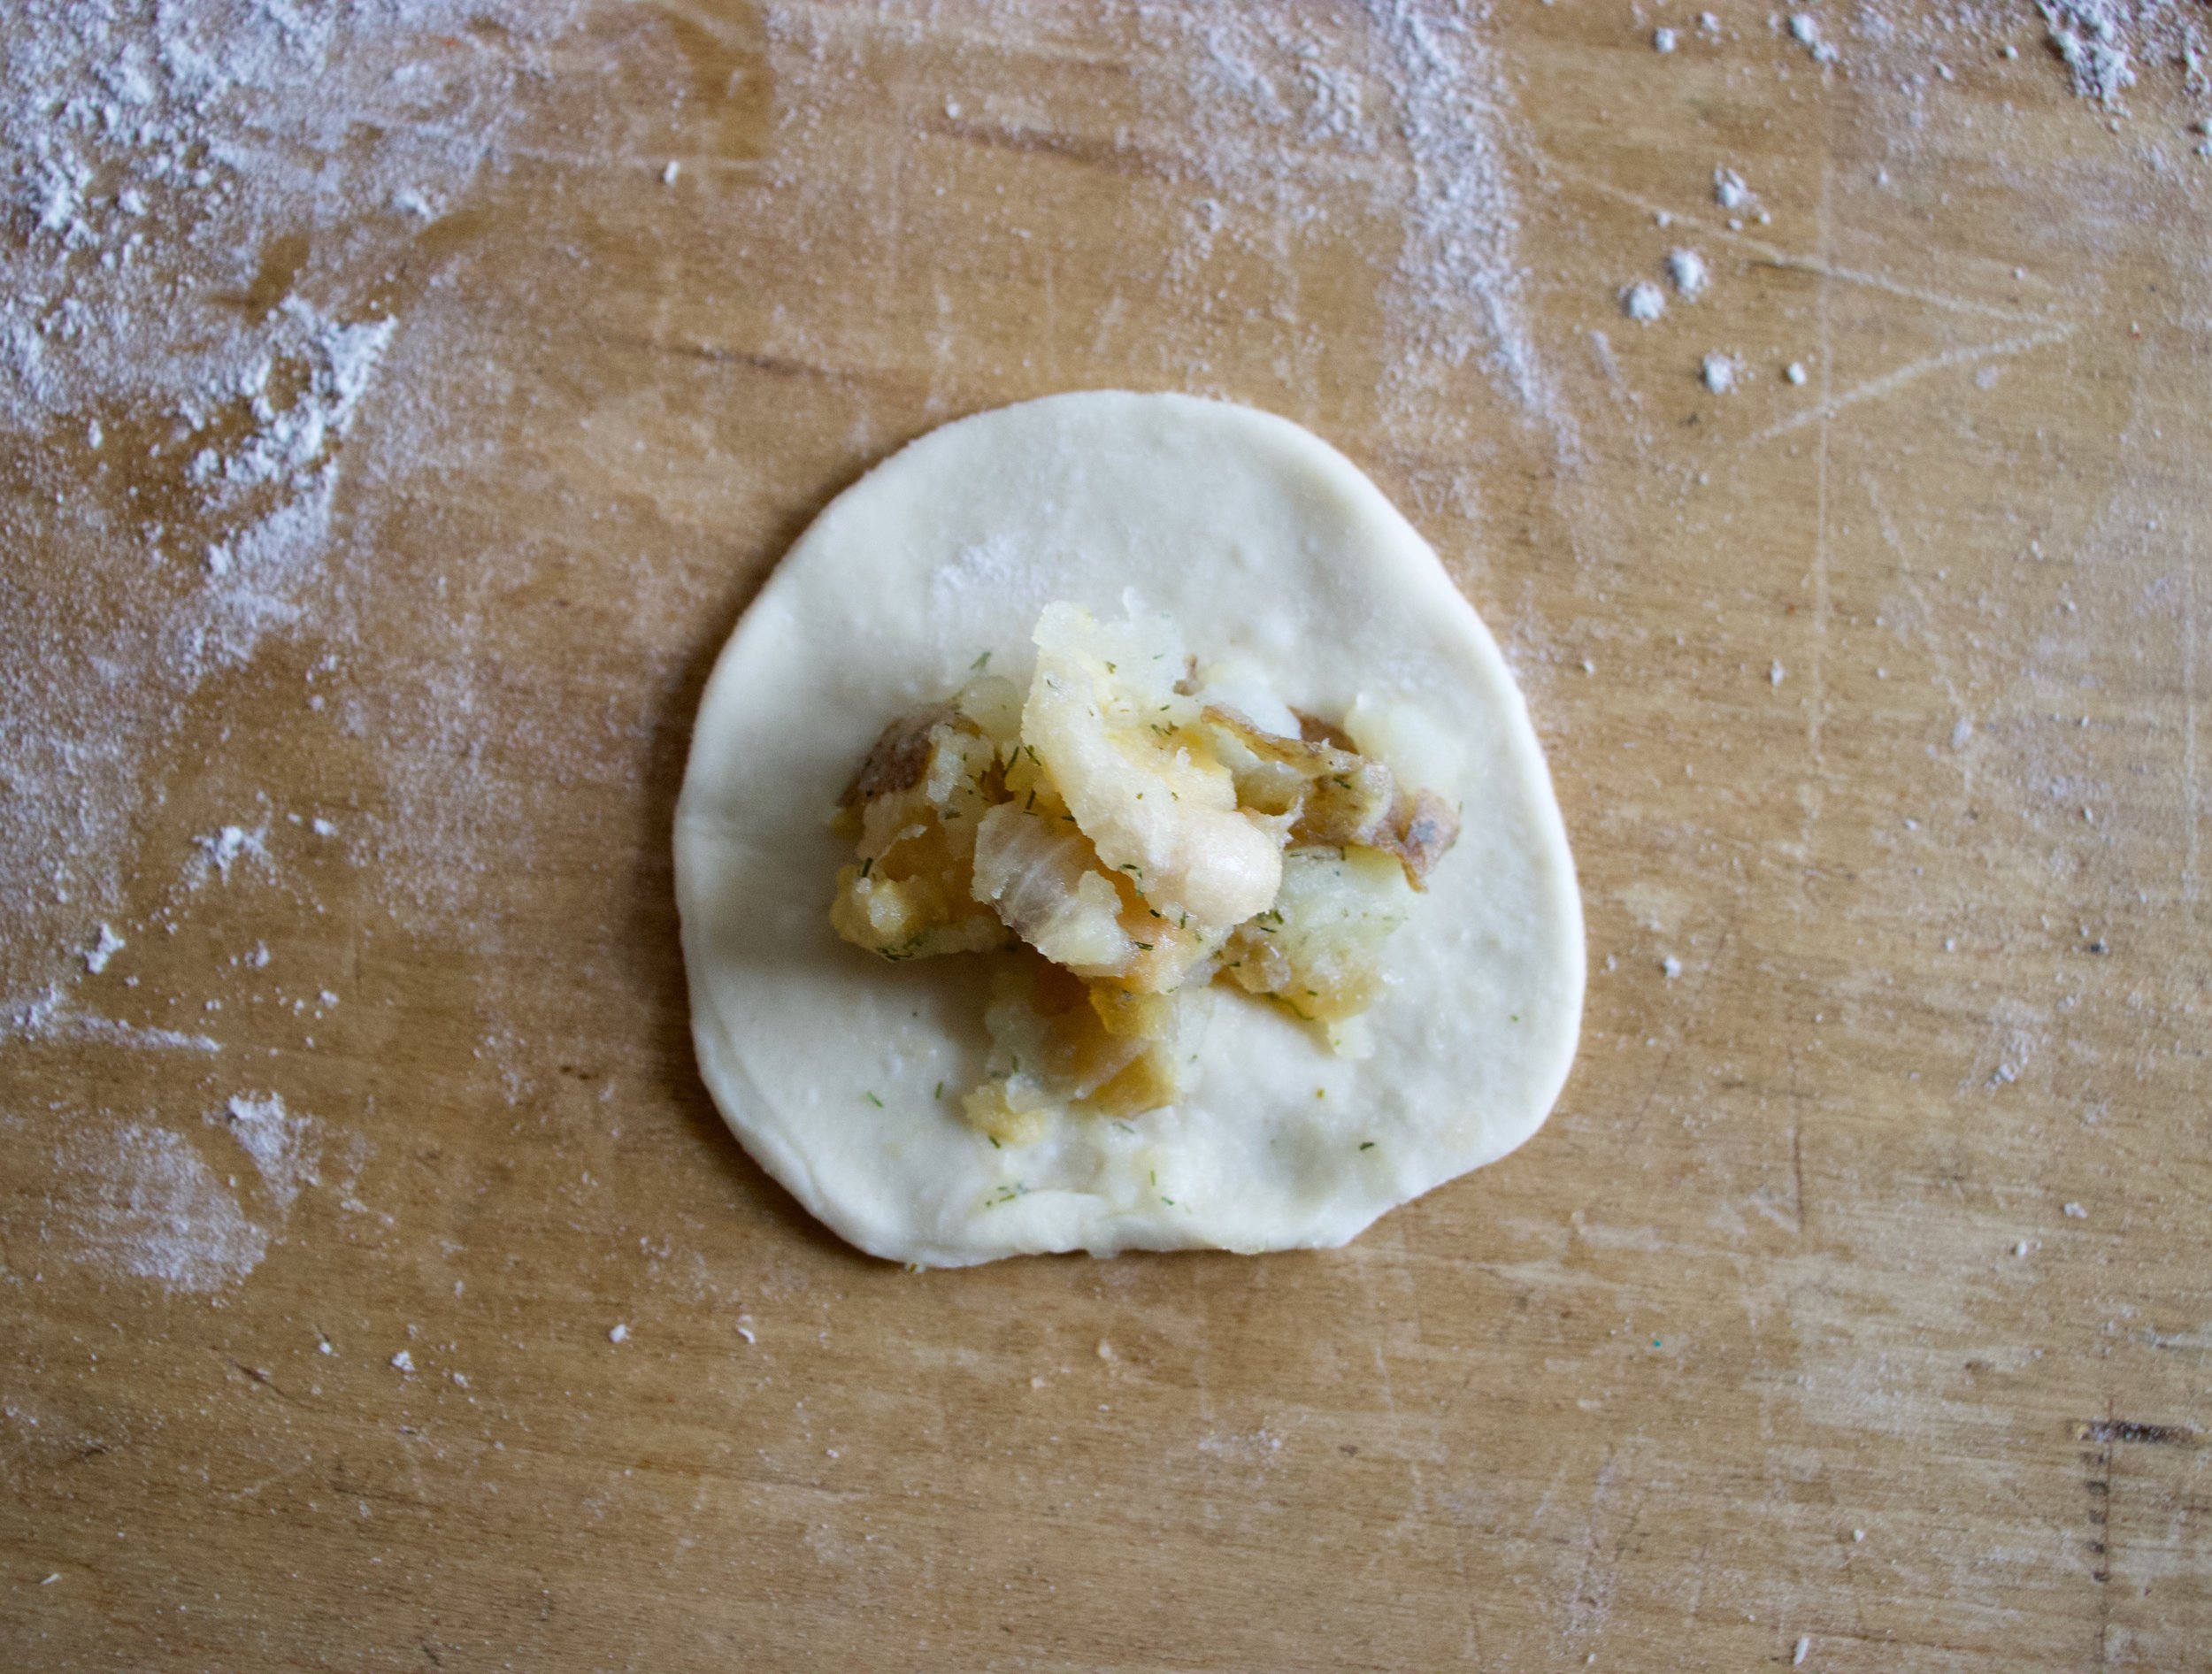
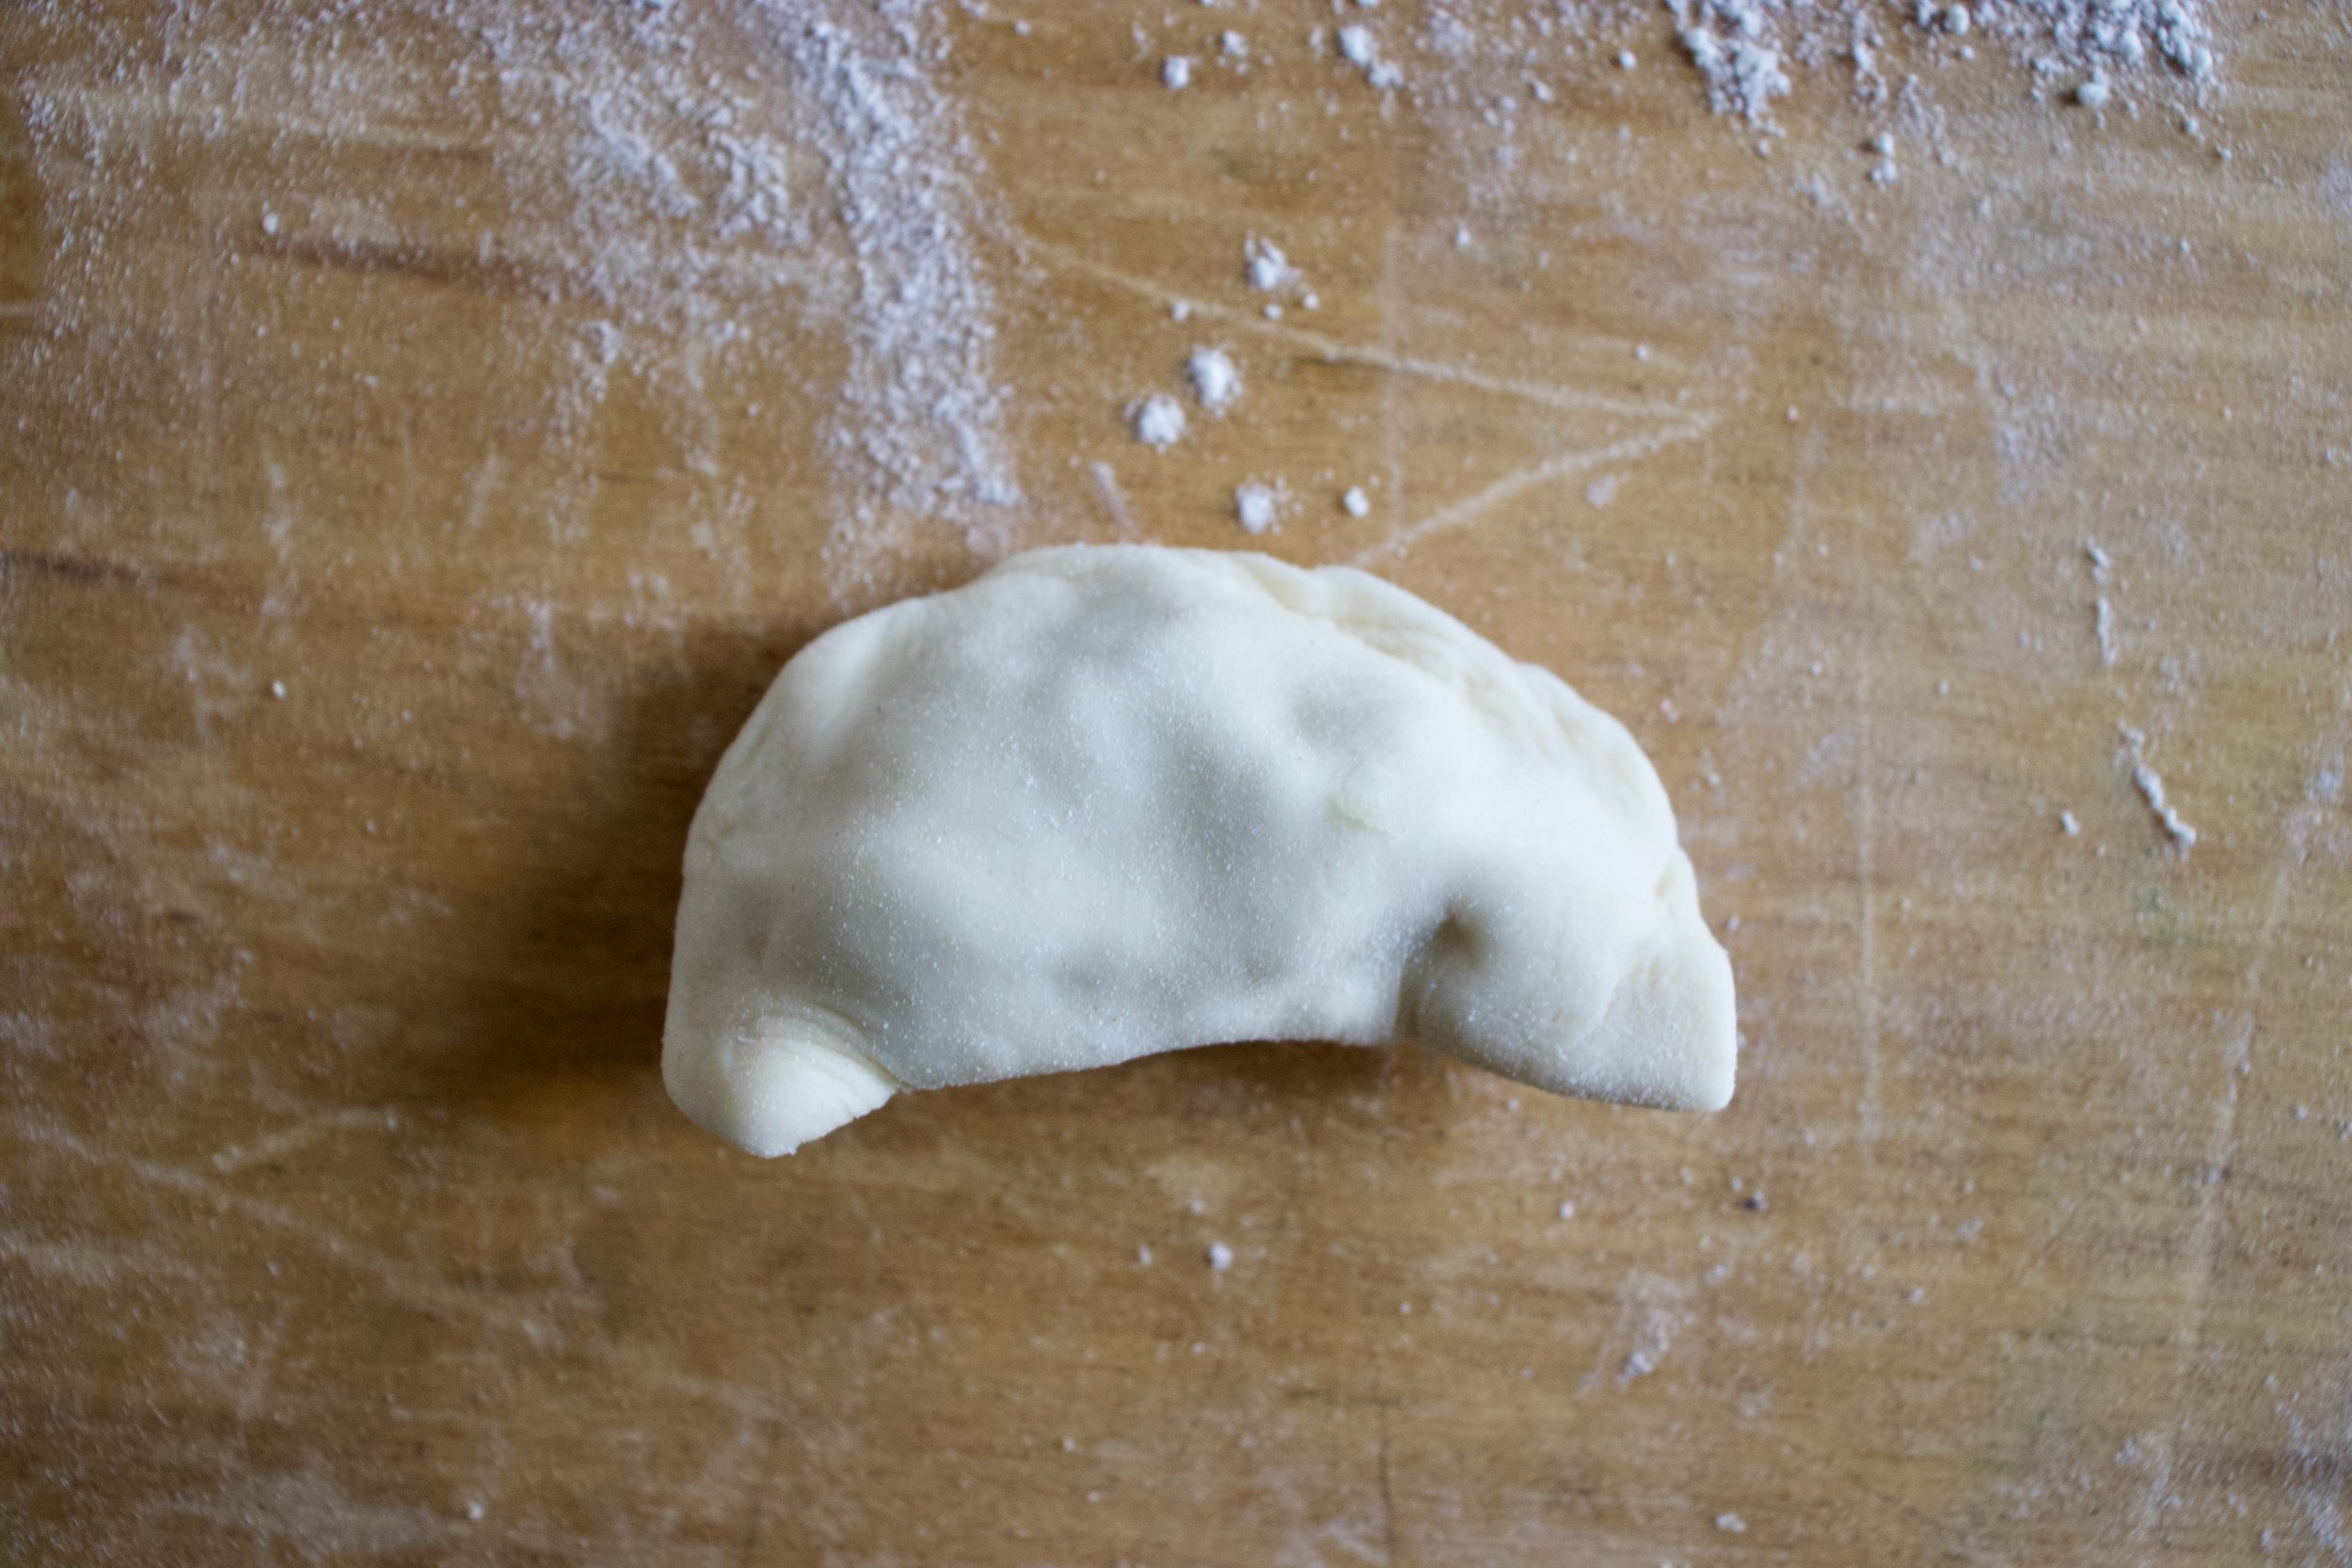
Then add the filling, A couple heading tablespoons of cooled filling go Into the middle. Have a little bowl or water and dip a finger into the bowl and run wet finger around the edge od dough. Fold the filed disk in half and lightly press the dough together. Now you can either try to twist the edges or just crimp them with a fork. Take a knife and cut a little steam vent into he top the place onto a baking sheet. Repeat until all empanadas are made.

IMG_5942.jpg

Brush tops with a little oiled sprinkle with pepper. Pop into the oven to bake.

IMG_5964.jpg

Pro tip. Don’t accidentally turn on the broiler right before you pull them out (especially if they were perfect. But in all honesty the mr liked the burnt ones so whatever.) Once they are nice and golden brown, pop them out of the oven.

IMG_6023.jpg

Now toss them onto a plate and start feeding your face. No utensils required. Dipping sauce is up to you.

-C


Zucchini Dill Empanadas

makes 12

For dough

  • 2 1/4 cups all-purpose flour

  • 1/2 teaspoon salt

  • 1/2 teaspoon baking powder

  • 1/3 cup vegetable oil

  • 1/2 cup cold water

Filling

  • 2 small zucchinis (3 packed cups grated)

  • a small onion

  • a carrot

  • 2 tablespoons fresh or 1 tablespoon dried dill

  • 1/2 teaspoon ground ginger (optional)

  • salt and pepper

  • vegetable oil

Start with making the filling. Chop the carrot into small little cubes then shred the zucchini and onion on a box grater. Gather the zucchini and onion and place in a clean tea towel of cheese cloth and ring to excess liquid. Place the carrot and the zucchini and onions into a preheated and lightly oiled skillet. Add in the dill, ginger, and a pinch of salt and pepper. Cook down for 7-9 minutes or until zucchini has lost a lot of liquid and the carrot pieces are fork tender. Remove from heat and let cool.

Make dough. Place the dry ingredients into a bowl and mix around. Add in the water and oil and mix until it comes together into a shaggy dough. Dump out onto counter and knead for about a minutes them place dough back into the bowl ( wipe it out) and cover with a towel. Let dough rest for 15 or so minutes.

Preheat oven to 375.

Once dough has rested, plop onto counter, pat into a disk shape, then cut into 12 equal pieces and roll each piece into a ball. Lightly flour the counter and start to roll each ball out into a round disk about 4-5 inches wide. You can one at a time and fill it or roll them all out and fill all at the same time.

To fill, take about 2 heaping teaspoons of the cooled filling and place in the center of the rolled out disk. dip your finger into water and and run it around the edge of the dough then fold in half and lightly press the edge together. Then either twist the edge or crimp the edge with a fork. Take a knife and cut a small slit into the top then place on a baking sheet. Once all the empanadas are on the sheet, lightly brush the tops with oil and sprinkle with black pepper. Pop into the oven and bake for 20 -25 minutes or unit the empanadas are a nice golden brown.

Remove from oven. Eat while hot.

Place any left overs in a container in the fridge for 5-7 days. Reheat in oven or toaster oven.

In Savory, summer, Vegan, Vegetables, pie Tags Zucchini Dill Empanadas, vegan, plant based, empanada, dill, summer, zucchini, easy, home made dough, fresh, dairy free, vegetable, hand pie
2 Comments

Pickled Ginger Dilly Sprouts

December 5, 2020 Colleen Stem
IMG_2269.jpg
IMG_2289.jpg

What are you even doing if you are not pickling Brussel sprouts?

Ok, I get that you might have some other stuff going on in your life right now so I won’t judge you, but you all really need to get on getting some sprouts in the next few weeks while they are good and seasonal and pickle yourself some. They are truly some kind of amazing. Crisp and crunchy. Vinegary with all the flavors of dill and ginger and the slightly sweetness of the sprouts themselves . Oh jeez, they are just so good. And they are refrigerator pickled so you don’t have to do a hot water bath which means you really have to excuse to not make them.

And while you are at it you might as well just make a bunch of jars to give to people this holiday season. Think about it, wouldn’t you love a delicious jar of deliciousness instead of another stupid whatever or what not? You will be the coolest person with your jars of sprouts. Guarantied!

Now to the pickled sprouts!

The stuff. Brussel sprouts , vinegar, fresh dill, chunks of fresh ginger, mustard seeds, peppercorn, red chili flakes, and salt.

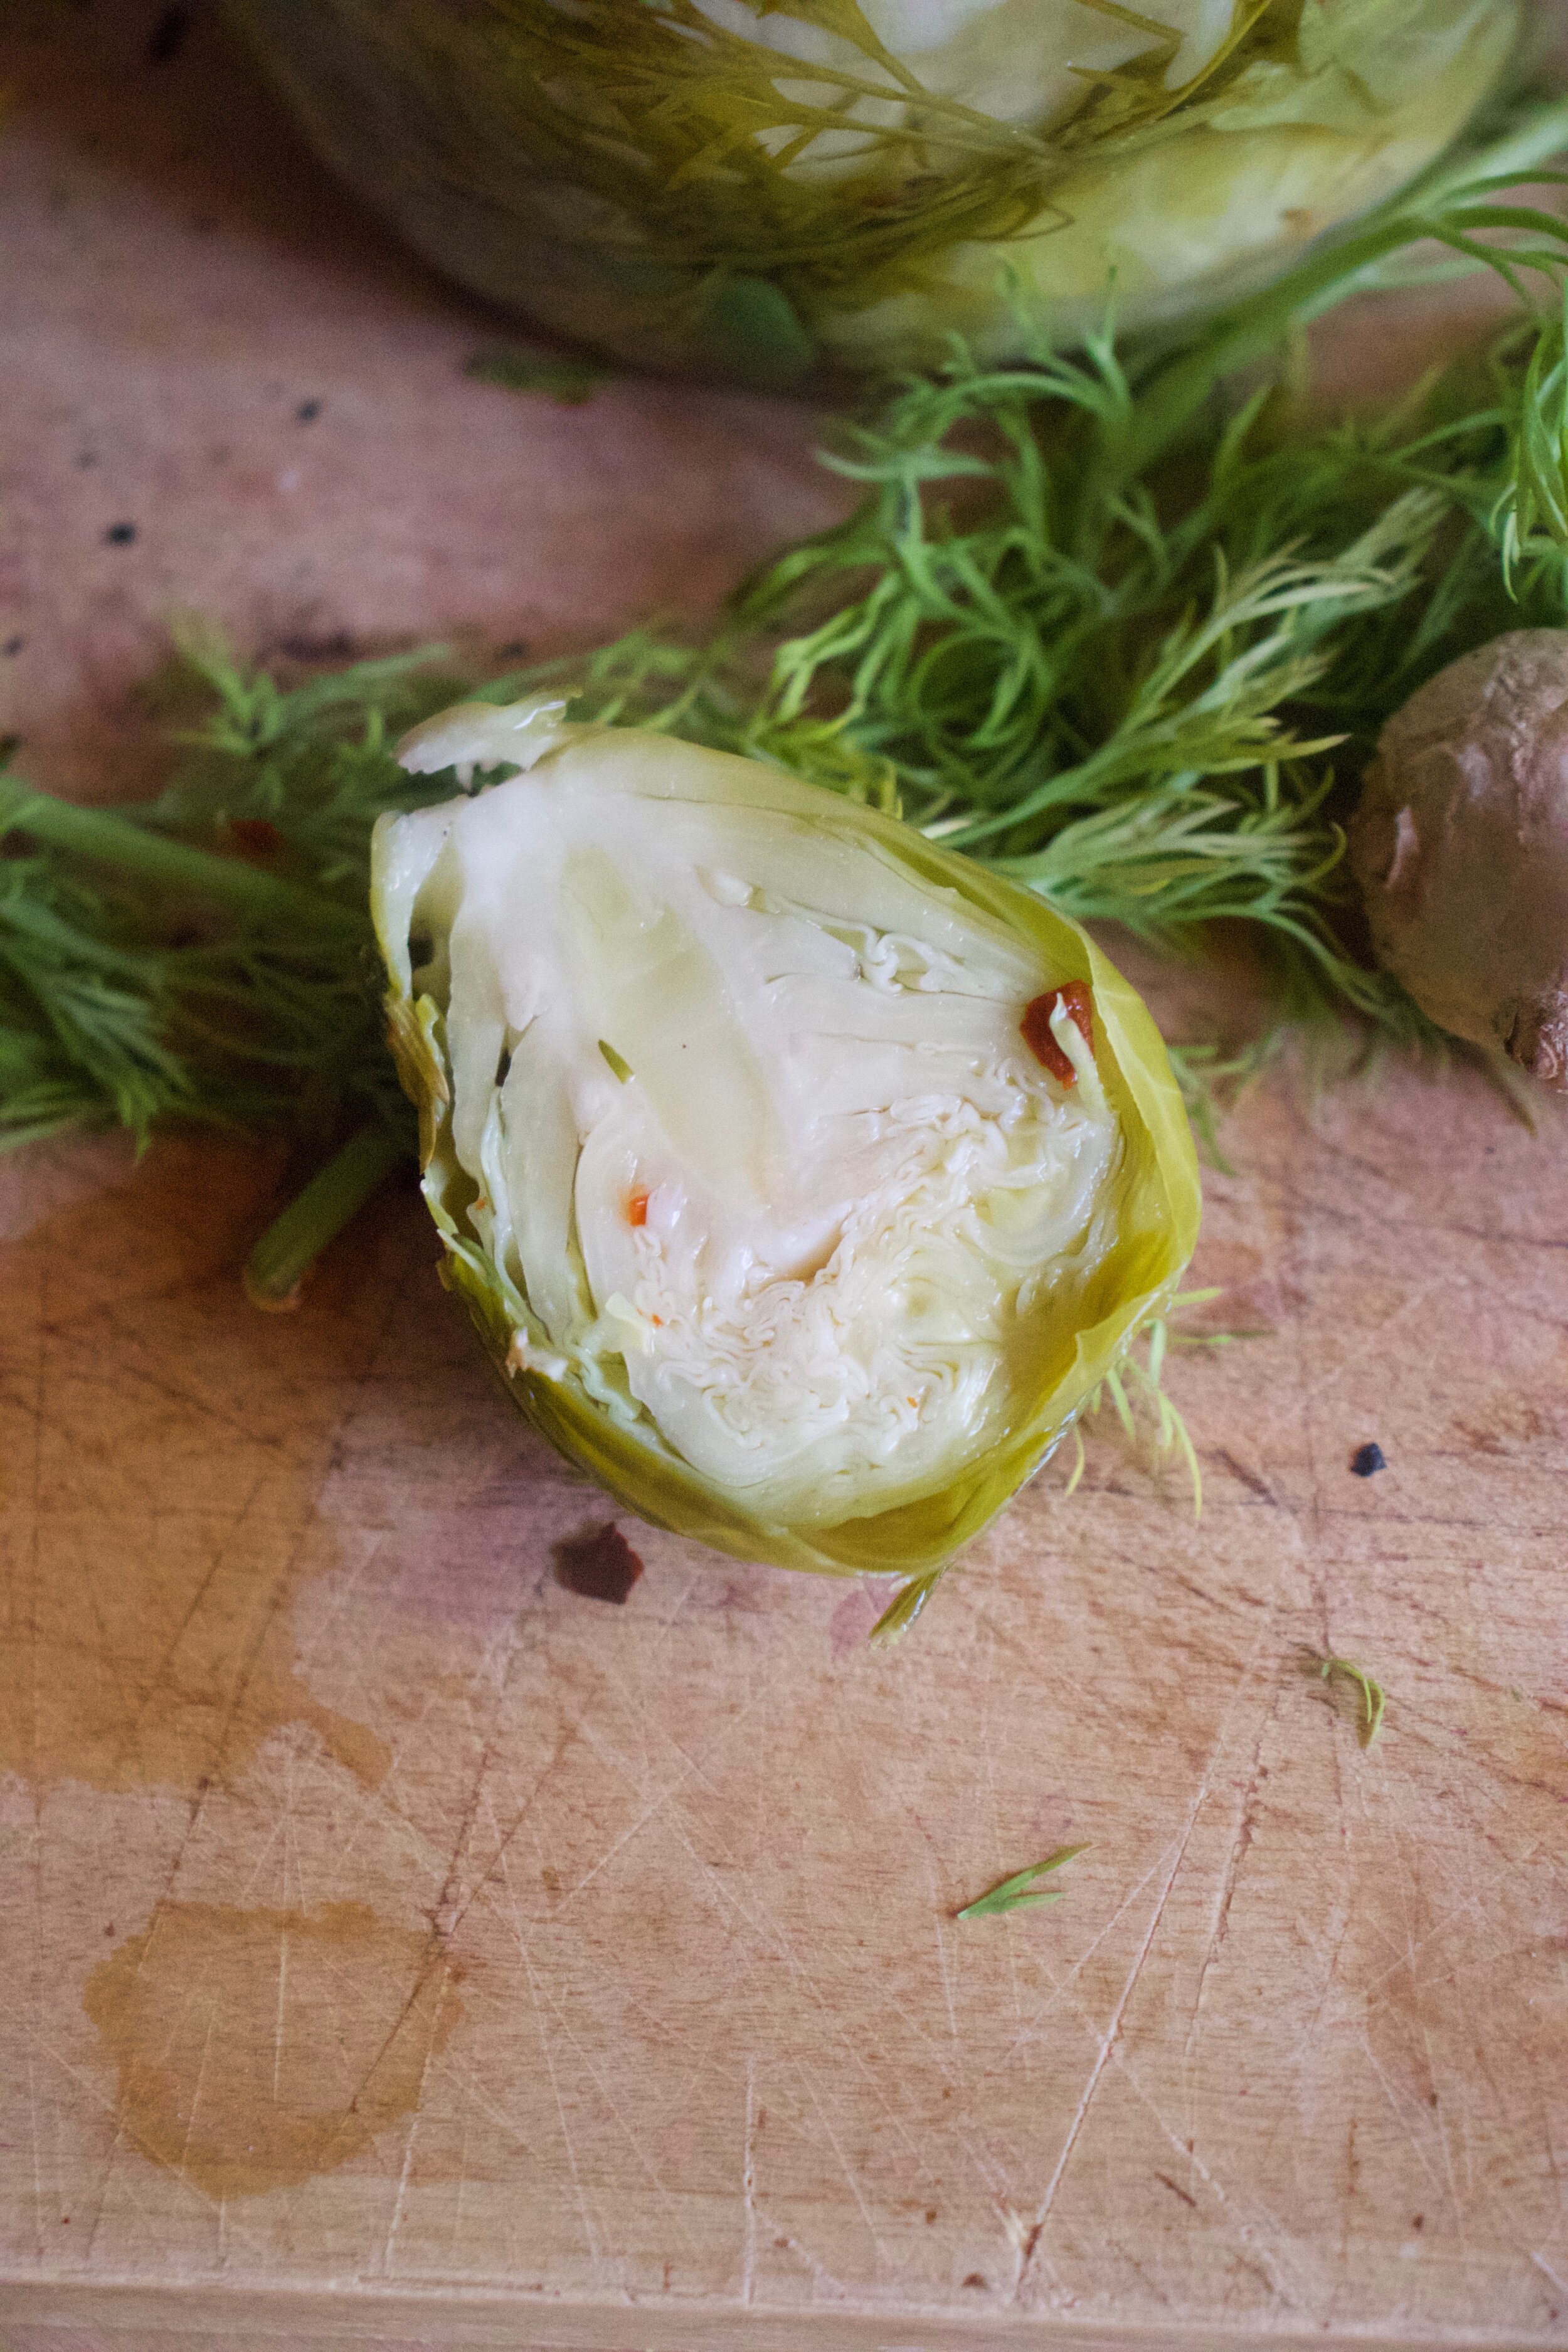
Nice and clean spouts. Cut them in half.

Cut up the dill into smaller pieces and as for ginger, I minced a little and cut some up into larger chunks.. I like to eat chunks of pickled ginger too.

Vinegar and water go into a pot with the ginger, salt, peppercorn, pepper flakes, and mustard seed and brought to a rapid boil.

Once boiling dump in sprouts and dill and keep on heat for about 3 minute so the sprouts tenderize a little.

IMG_2247.jpg

Then dump it all into a clean jar. And that is it. Yes you can eat one, but really, you should wait like a day or two. And after a week.. Perfection.

So yeah, once you got them in a jar, let them cool to room temperature, top with a lid, and place in the fridge.

If you are wise you will make multiple jars because these sprouts will not last.

-C


Pickled Ginger Dilly Sprouts

makes 1 quart sized jar

  • about 20 good sized Brussel sprouts

  • 2 cups white vinegar

  • 2 cups water

  • 3-4 sprigs fresh dill

  • inch of fresh ginger root

  • 1 teaspoon pickling or kosher salt

  • 1 teaspoon peppercorns

  • 1 teaspoon mustard seeds

  • 1/2-1 teaspoon red pepper flakes (more for spicer)

Clean and halve all the sprout. Stick them all into a clean quart sized jar to make sure they all fit then dump them out.

Grab ginger and rough chop it. Cut dil up into smaller pieces.

Dump the vinegar, water, salt, peppercorn, red pepper flakes, mustard seeds, and salt into a pot. Bring to a rapid boil. Add in the halved sprouts and ginger and toss around. Keep on heat for about 3-4 minutes just to give the sprout a little bit of time to soften just a bit. Remove pot from heat and carefully dump all the sprouts and everything in the pot into the clean jar. Pack sprouts down with a wood spoon and make sure they are completely submerged in liquid. If all the liquid doesn’t fit, just dump into a smaller jar and use for a salad or something.

Let sprouts cool to room temperature then stick a lid on jar and place in fridge. Sprouts are good eaten whenever, but are at their best after a few days in the fridge.

They will keep for a month or so but who are you kidding, there is no way they will last that long.

In Vegetables, Vegan, snack, quick and easy, Pickled, holiday Tags dilly sprouts, brussel sprouts, homemade, refrigerator pickles, ginger, dill, quick, easy, fresh, seasonaf, gift idea, vegan, vegetable, food, gluten free, healthy, plant based
Comment

Potato Chickpea and Onion Pierogi

March 9, 2019 Colleen Stem
IMG_6424 4.jpg
IMG_6316.jpg

Barb has been bugging me for a few months to make her pierogi and I keep telling her I will. But for some reason I just kept forgetting and ever time she came over for dinner I would just end up making her lentils . I make lentils for people when I care about them because lentils are perfect and I always figure she could use the nutrients. But finally, FINALLY, I remembered and figured it was about time. Time for Barb to get her pierogi. I got the ingredients, made up a plan, and went about making them thinking she was coming over for dinner. But guess what. She didn't come over. After all that, she decided it was better for her to go to her classes and then go to her shift at work, that it was not a good idea to skip out on all that just because I decided to finally make her pierogi. Well whatever I guess.

And full disclouse, I don’t think I made actual plans with her for the particular day that I made these pieorgi. I might have just assumed she was coming over…. So maybe my bad. Good thing these things can be made ahead and cooked whenever. So I saved her half for whenever she does come over (today I think). I did make them for her after all.

Anyway. Pierogi. Pretty much a stuffed ravioli I filled these with the potato, chickpea, and onion mixture, tossed a little dill in for the hell of it, and there they were. The mr got the first half, covered in cashew cream. But I bet these would be equally fantastic with marinara sauce. Or ketchup? I could see that if you are into that sort of thing. Ha.

Also have to note. I keep wanting to write pierogies but I think that is wrong. Pierogi is the plural for pierog.. I think.

To the pierogi.

IMG_6188.jpg

The stuff. Flour, oil, salt and pepper. Cooked chickpeas, a couple russet potatoes, a big onion, some dried dill (optional), warm water, soaked cashews, and a little red wine vinegar.

IMG_6200.jpg
IMG_6201.jpg
IMG_6204.jpg
IMG_6205 2.jpg

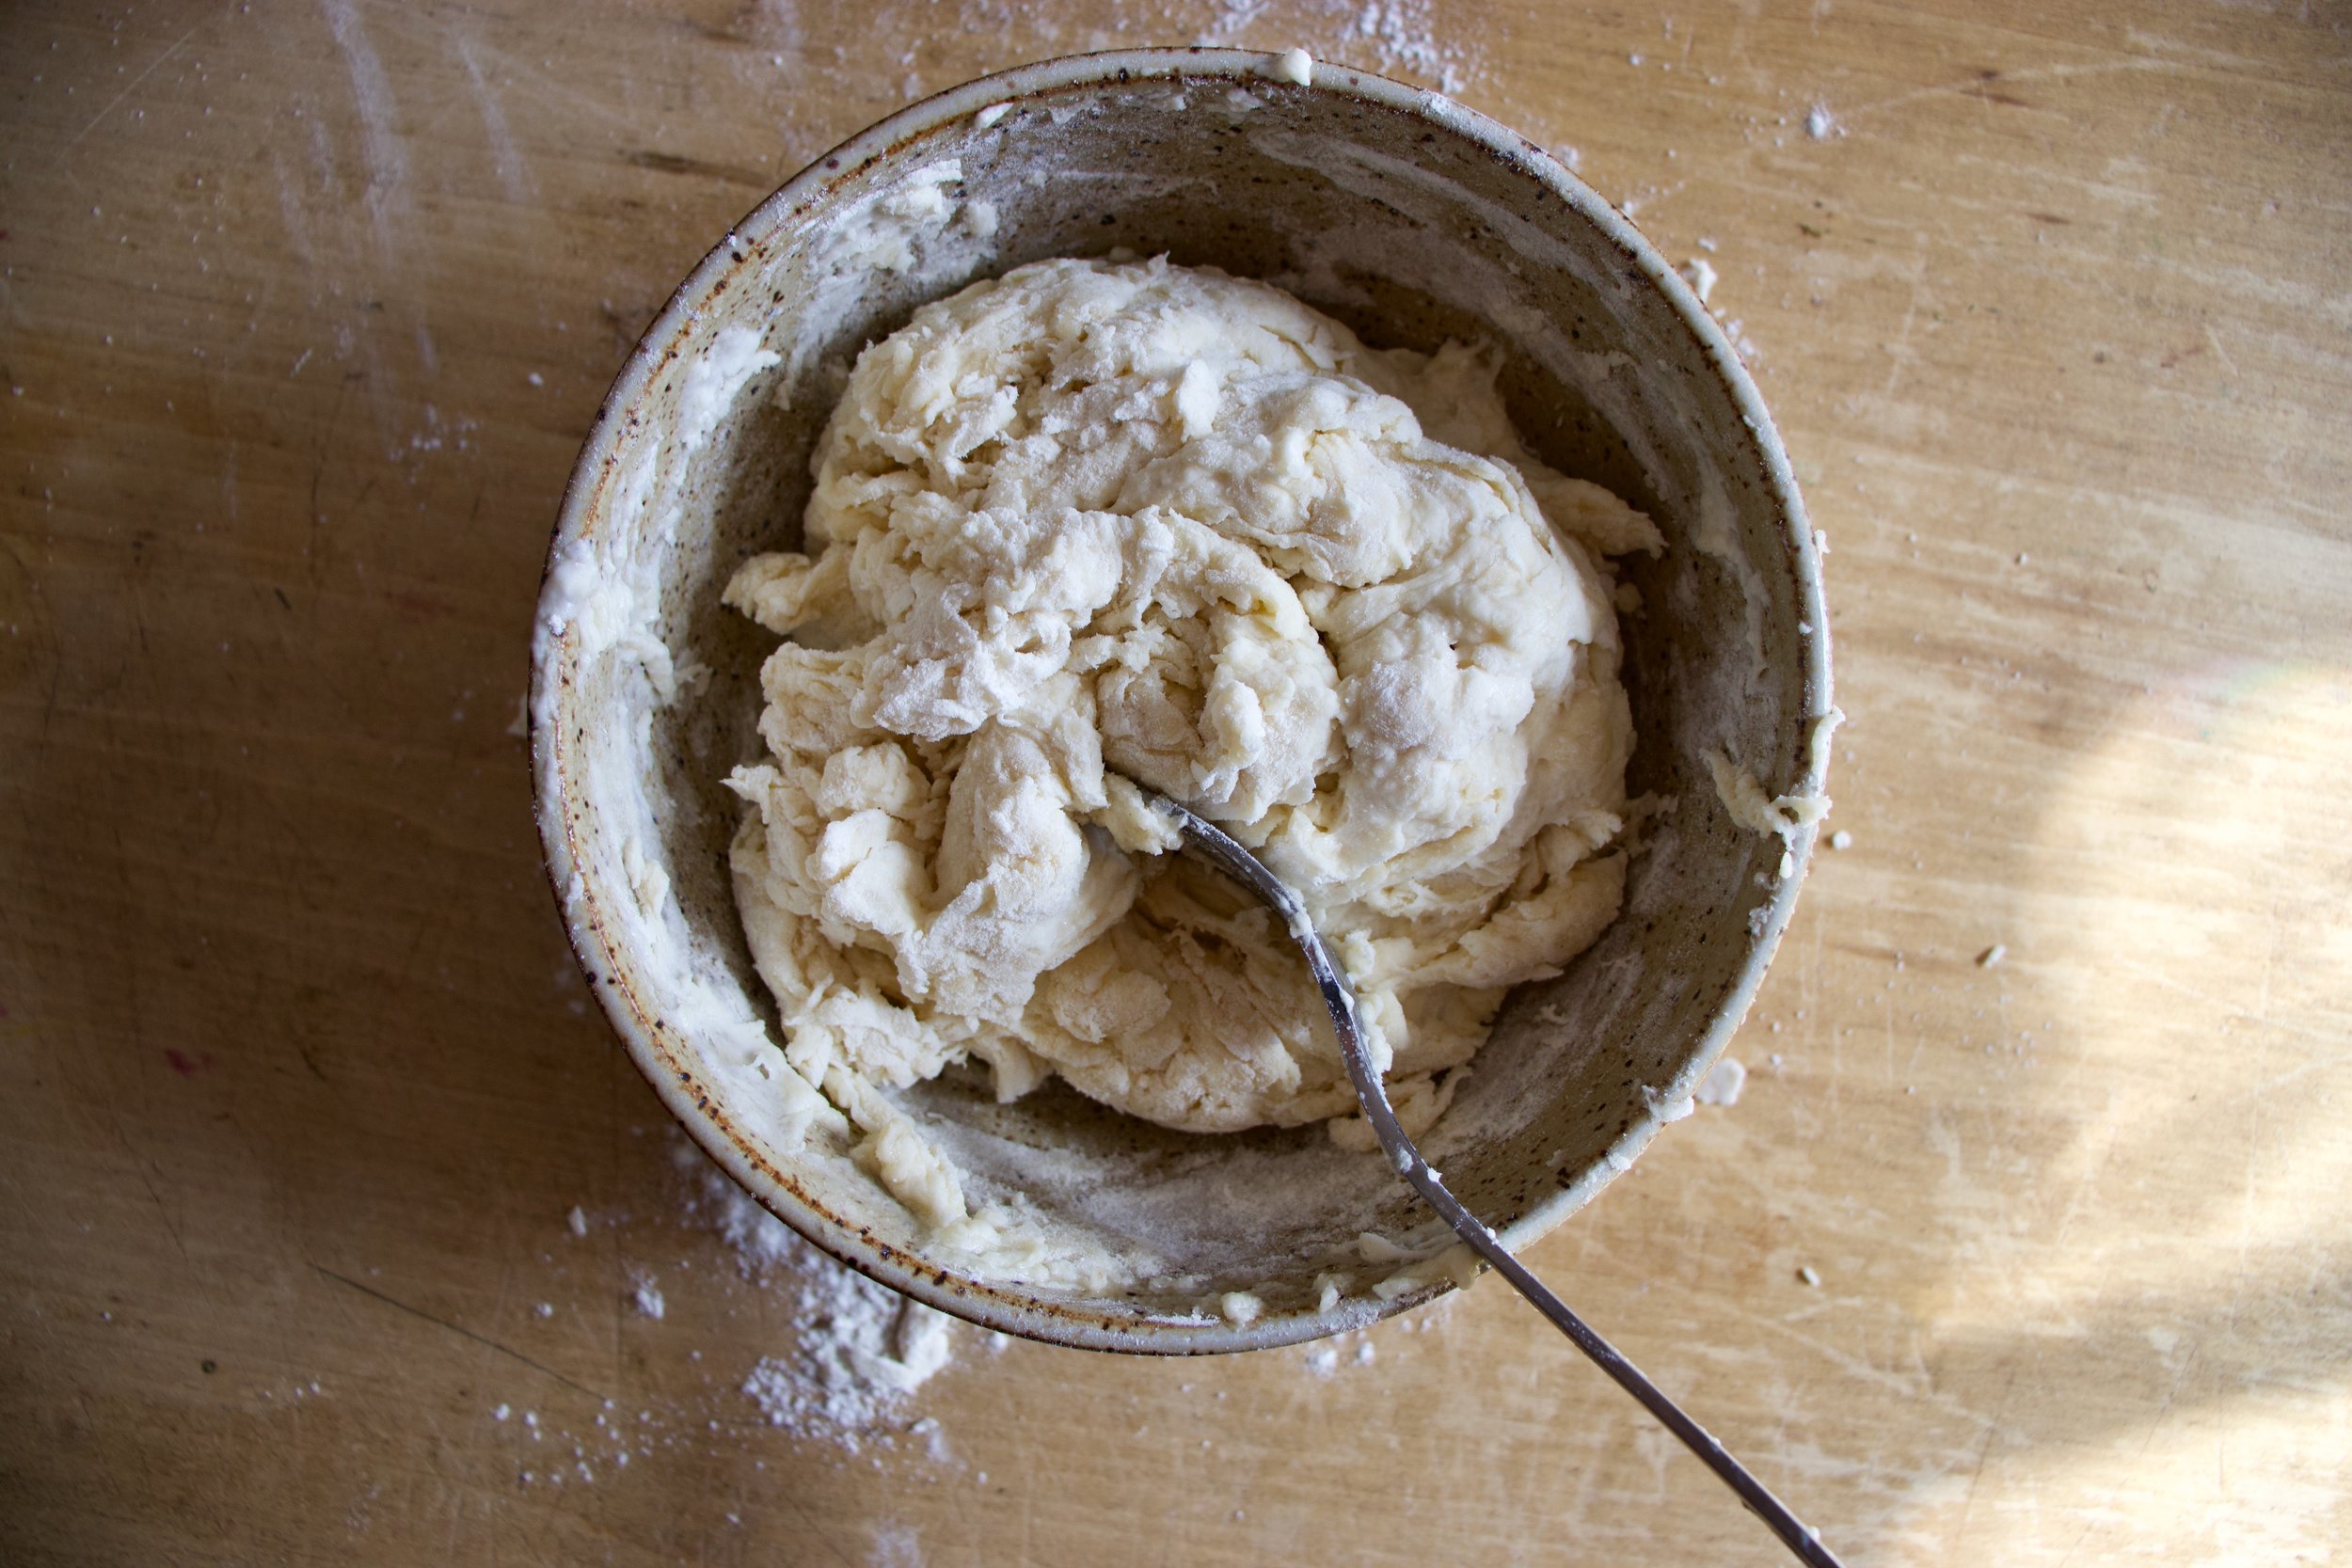
First make the dough. Flout, salt, water, and oil get mixed together until la shaggy dough is formed. Dump onto a floured surface ans give ut a good knead for a minute until lit comes together into a nice ball. Place dough back into the bowl (clean it out), cover it with a towel, and set aside to let the dough have little rest.

IMG_6216.jpg

Meanwhile get the potatoes boiling. You are more then welcome to peel your potatoes but I don’t. Chop the potatoes into small pieces, dump into a pot of cold water and cook them (boil until fork tender)

And cook the onions too. Chop the onion into small little bits and place in a skillet with a couple slashes of olive oil. Medium heat and a good stir until they are nice and golden brown.

Cooked onions and cooked ans drained potatoes.

IMG_6246.jpg

Now to make the filling. Add the potatoes, onions, chickpeas, and ill to a bowl. Sprinkle in salt ans pepper

IMG_6248.jpg

Mash it all together, small chunks are ok, but not big.

Taste and season with more salt and or pepper if needed. And stop eating all the filling, you need it.

IMG_6258.jpg

Wen the filling is made, grab the dough, rolling pin, and a large biscuit cutter or a cup.

Roll out dough, then cut out circles.

IMG_6272.jpg
IMG_6277.jpg

And to make a pierogi, grab a dough disk, add a mound of filling, then fold in half and pinch closed. Simple. IF the dough doesn’t want to seal, run a wet finger around the edge of the dough. That will do the trick.

Pierogi production.

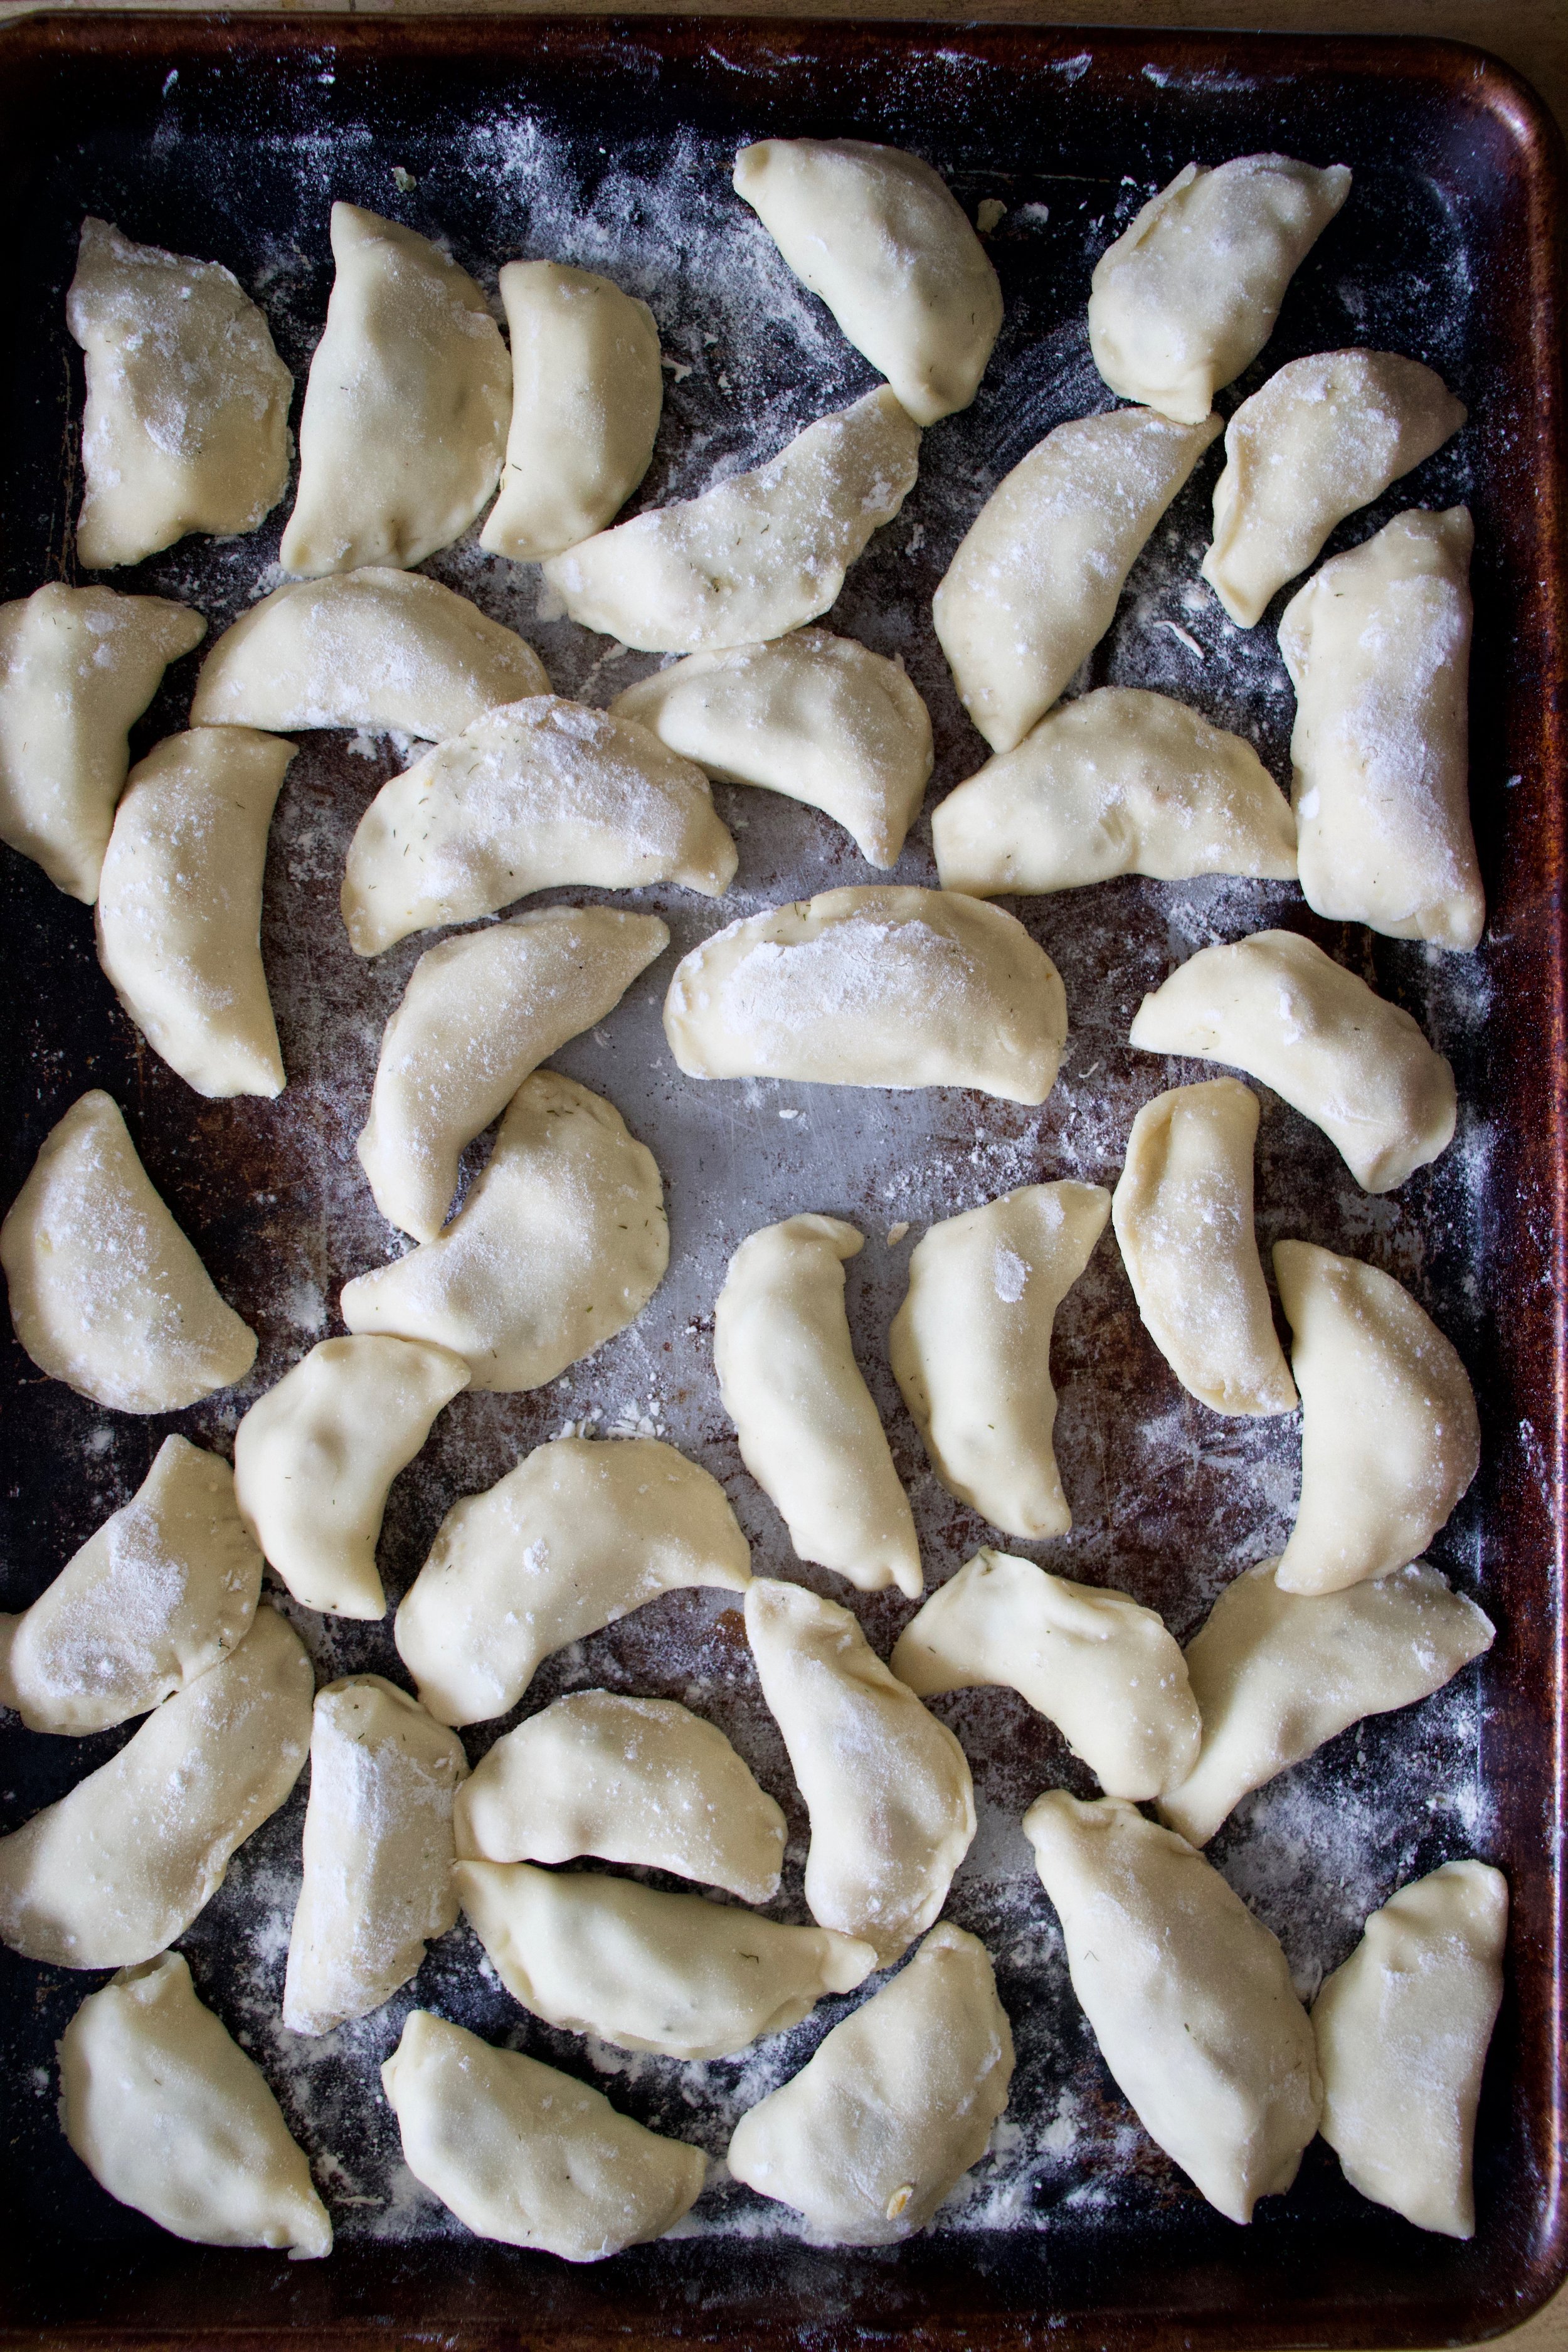
All made, and not perfect by any means but perfect to me. Once you have made them, they need a little rest before cooking. Just a half hour or so. Enough time to clean up the mess that you just made and ge ta pot of water boiling on the stove. This is also a good time to prepare some to save for freezing. Any that you do not plan on eating in the next few days, place on a lightly floured baking sheet and stick in freezer. Once frozen, remove from sheet and place in an airtight container or freezer bag and stash away for another day. They can also go I the fridge for 3-4 days without being frozen, just make sure that you give each one a good dusting of flour so they don’t stick to each other.

IMG_6309.jpg
IMG_6311.jpg

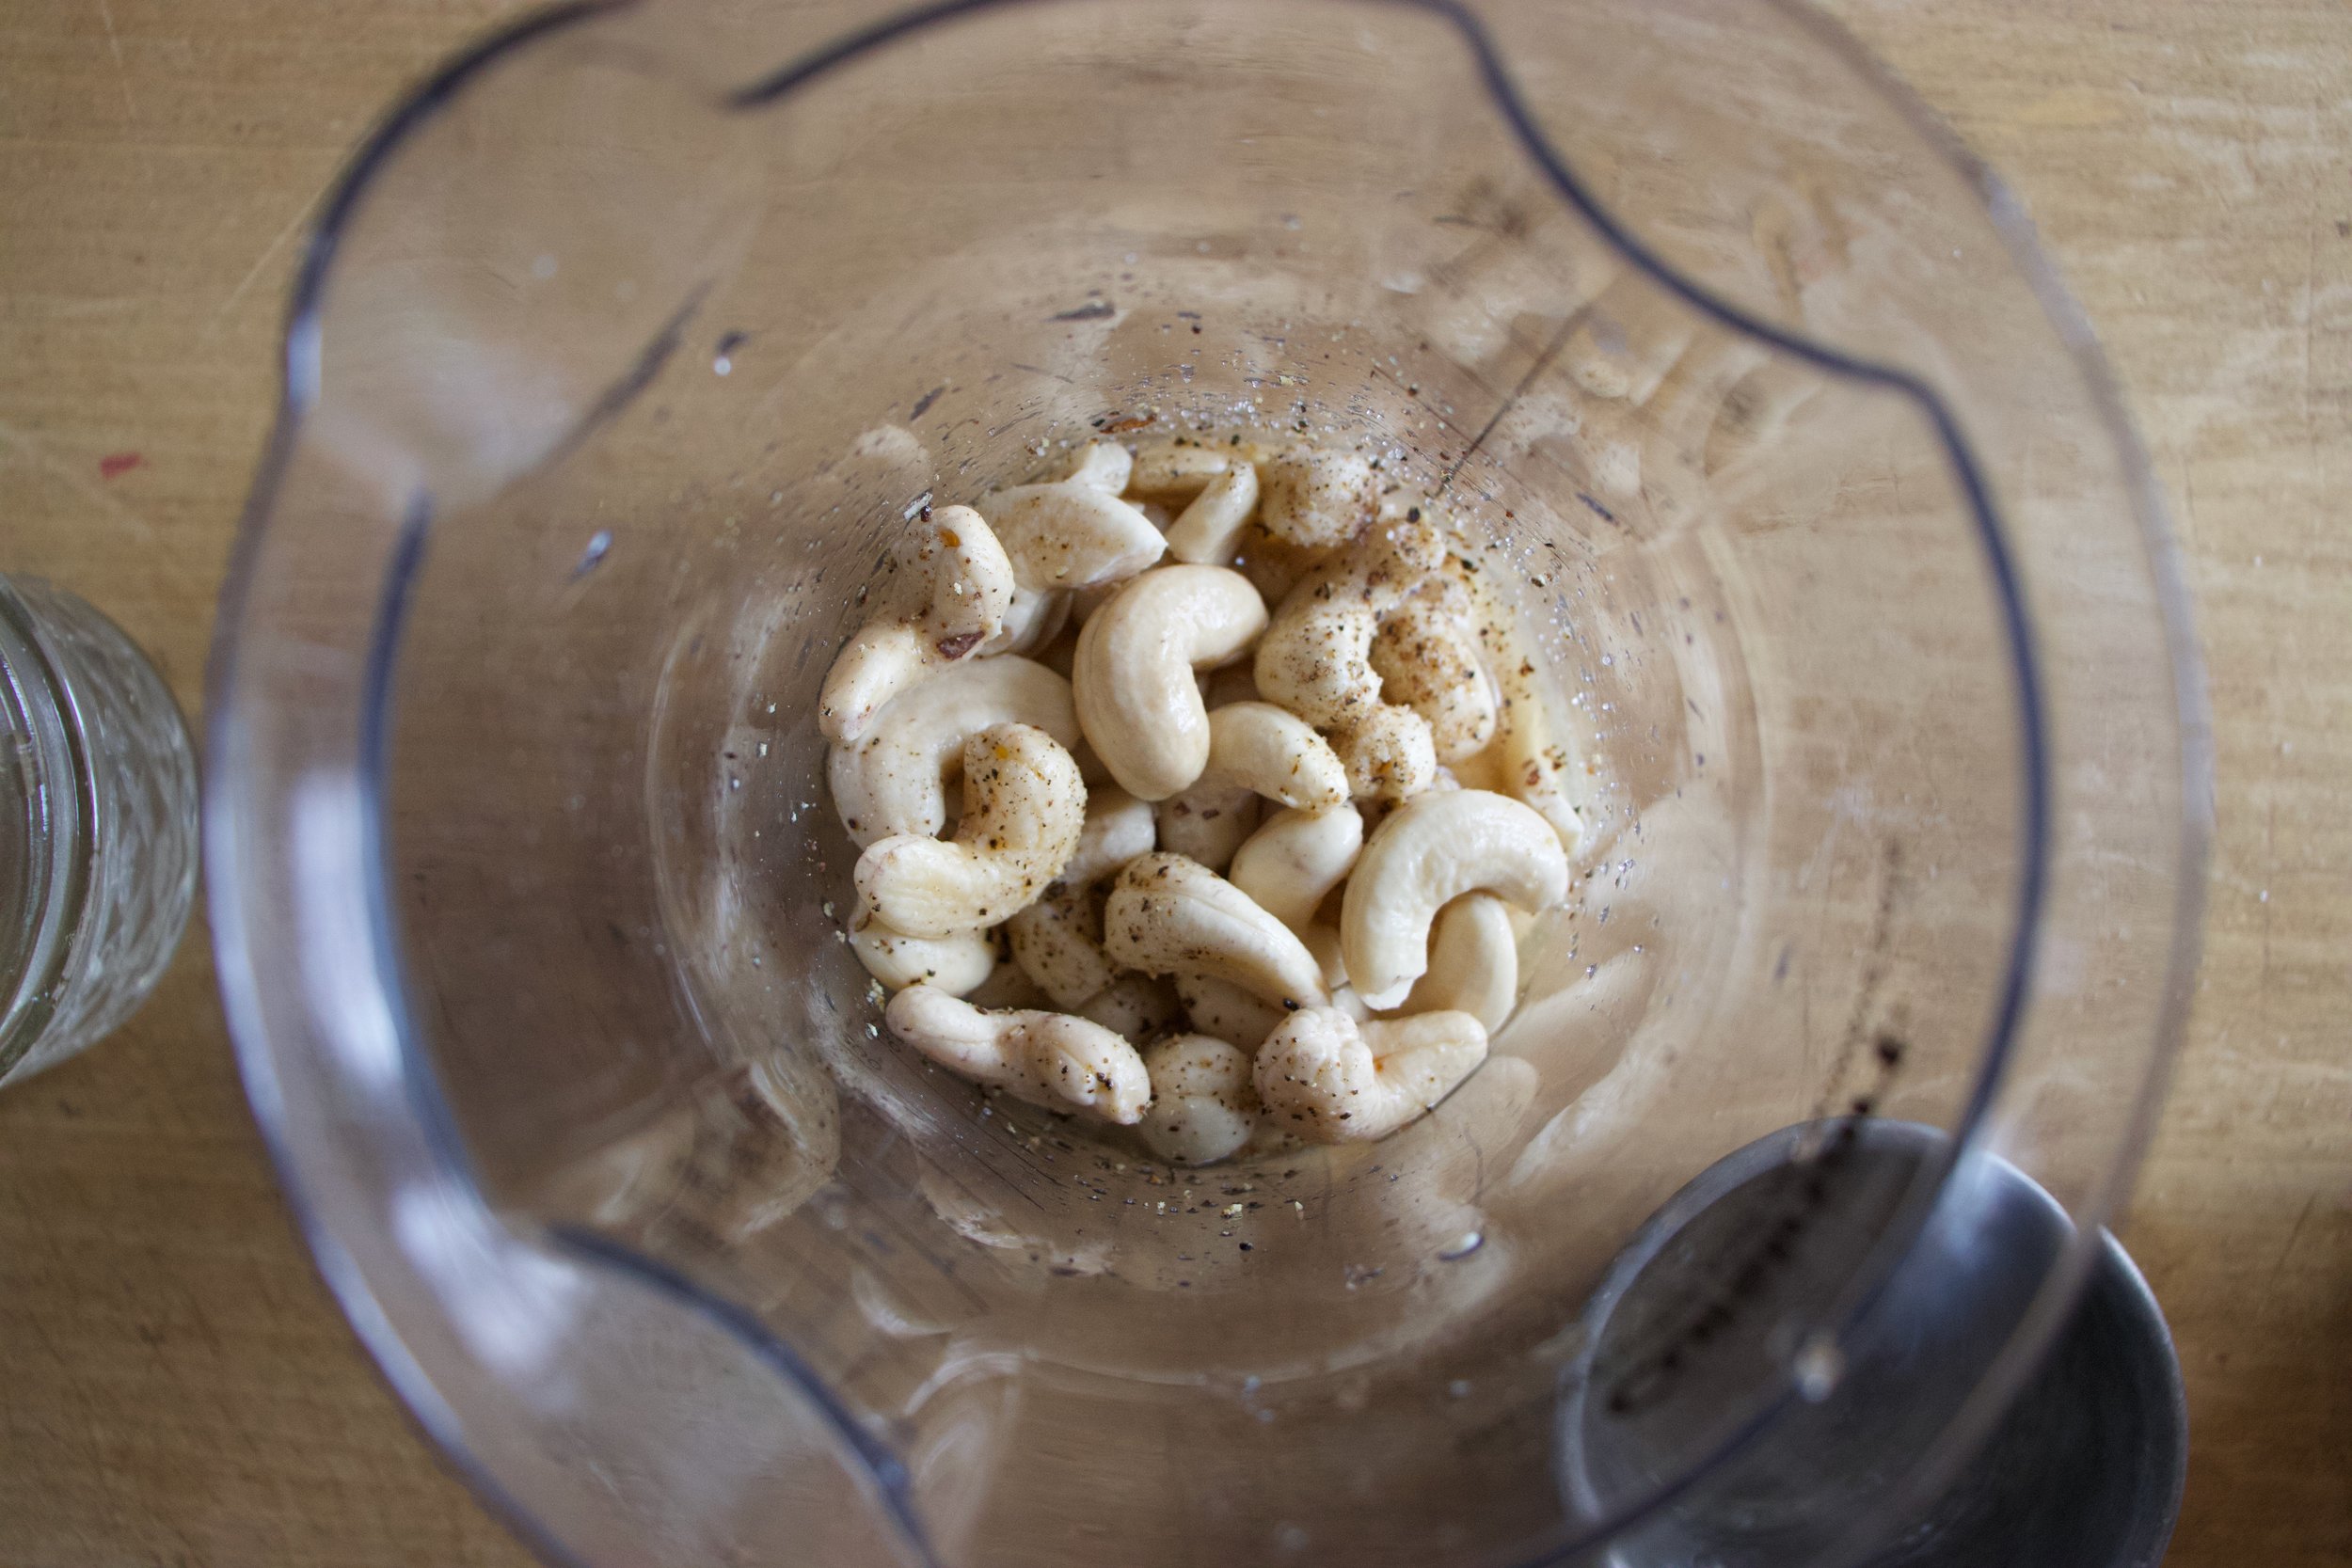
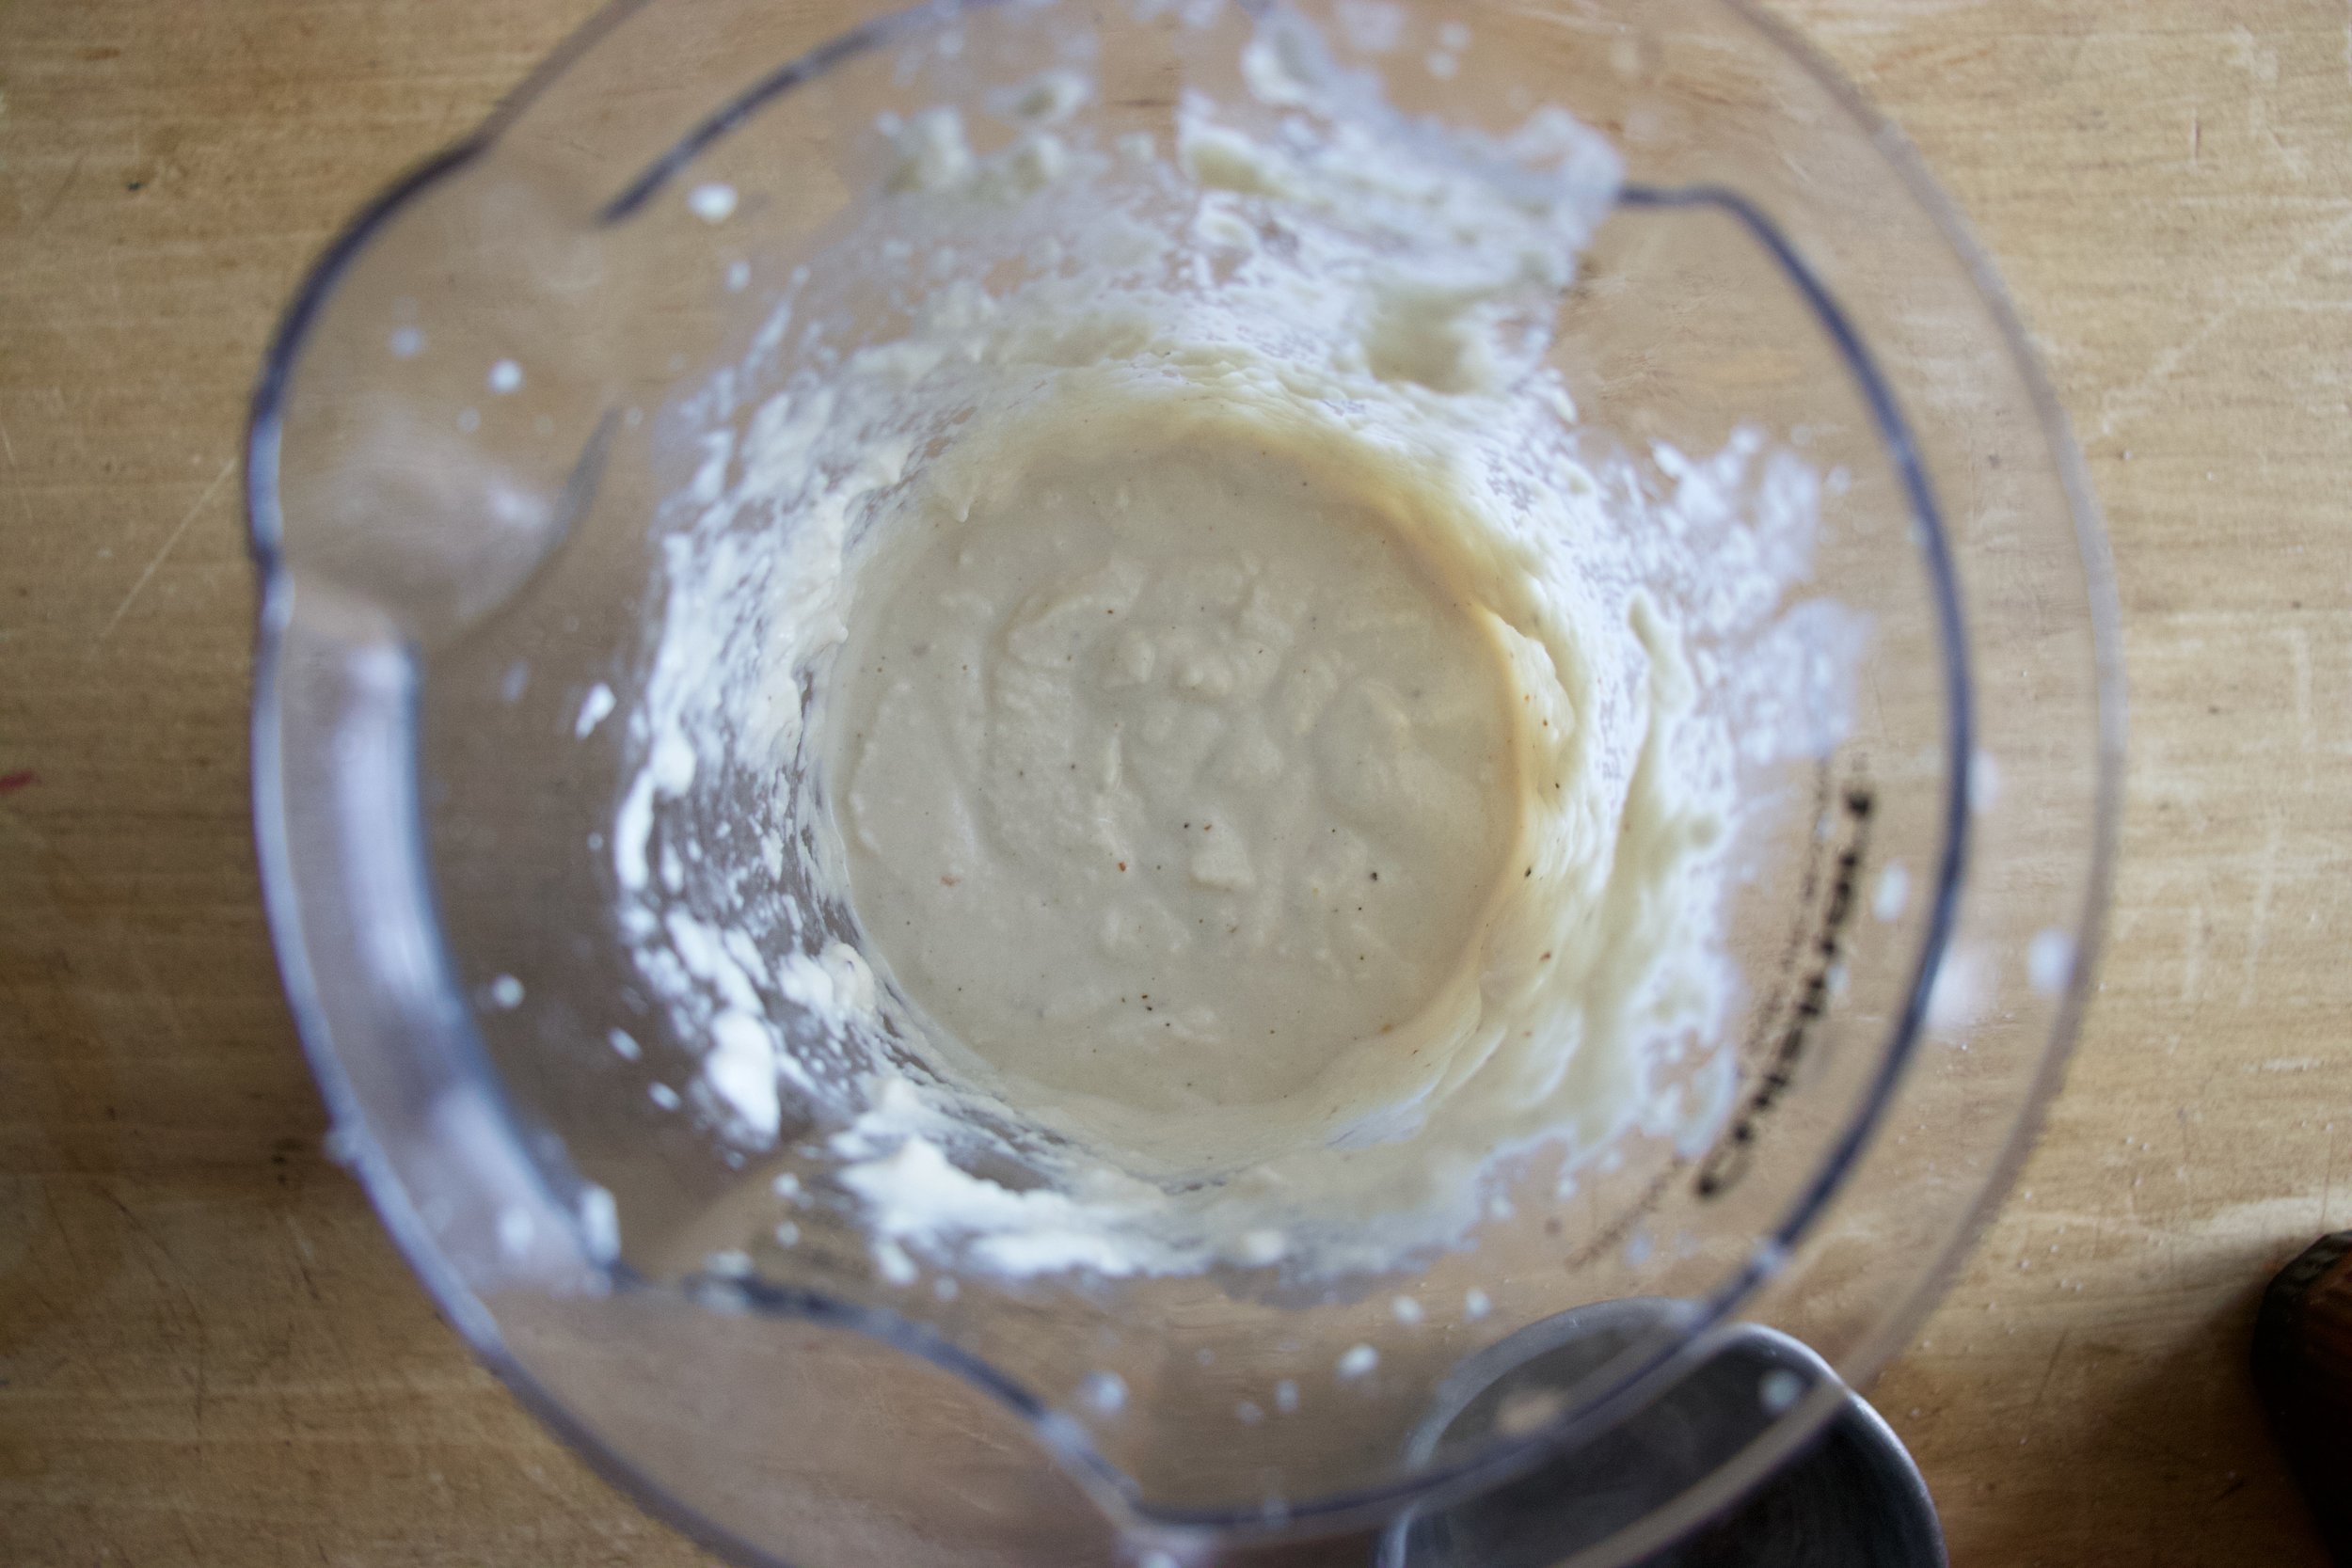
Oh, and before you finish cooking the pierogi, make a the cashew cream. Place soaked cashews into blender with the vinegar and a splash of hot water. Blend into creamy and smooth. Season with salt and pepper and that is that.

Now to cook those pierogies. Bring a pot of water to a rolling boil. Once boiling, drop (gently) the pierogies one by one into water. A few at a time as to not over crowed, boil until they start to float to the top, which should take 4-5 minutes. Once cooked, scoop them out and place them on a plate or pan while you boil more (if you are indeed cooking more)

IMG_6333.jpg

After the pieogies had a boil, they then need a little crispness (you can skip this step if you don’t want them crispy). Use the frying pan you cooked the onions in and add a splash more oil. Heat on medium and when pan is hot, add in the boiled (not sopping wet) pierogies. Cook each side for 3-5 minutes or until nice and and browned then flip and cook the other side.

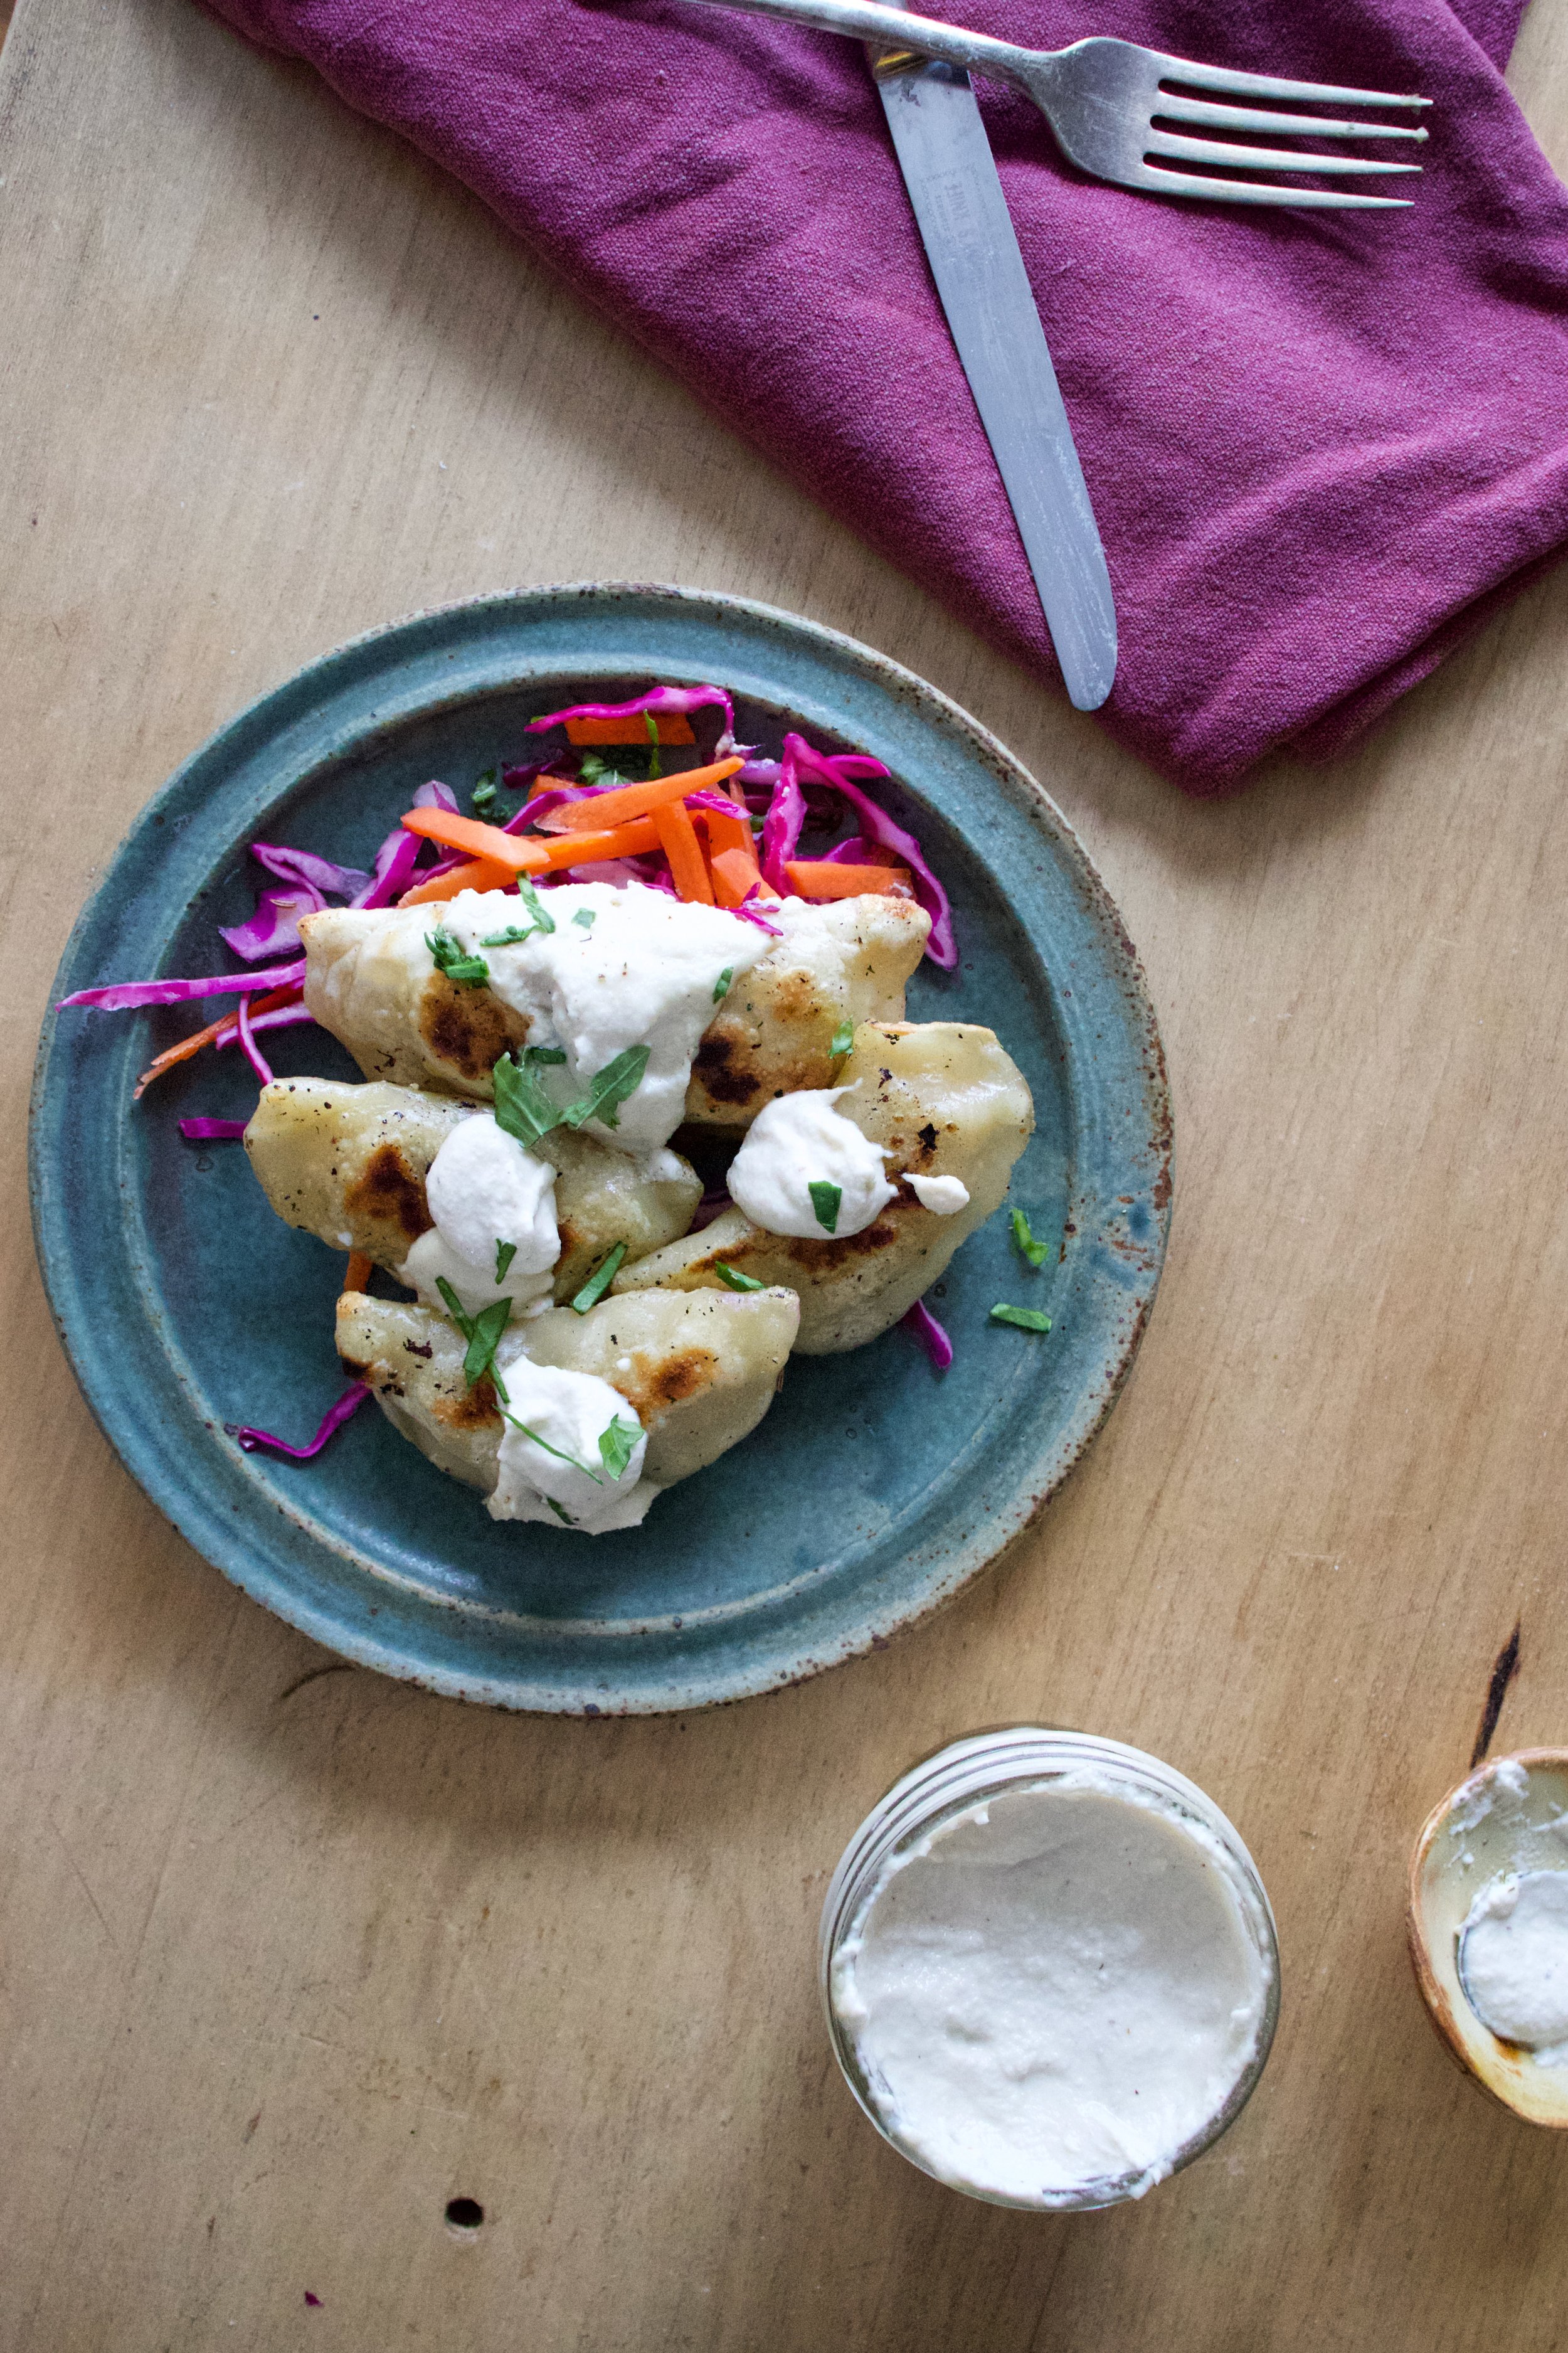
And then all is left is eating. layered on a bed of cabbage carrot slaw and dolloped with a good dollop of the cashew cream. Done and done and ready to for the face.

I don’t know. Maybe Barb should have skipped school and work for dinner.. Just saying

-C


Potato Chickpea and Onion Pierogies

makes about 25

  • For the dough

  • 2 3/4 cups all purpose flour plus more for dusting

  • 1 cup warm water

  • 1 teaspoon salt

  • 3 tablespoons olive oil

  • For the Filling

  • 1 large sweet or vidilla onion

  • 2 medium sized russet potatoes

  • 1 cup cooked chick peas

  • 2-3 teaspoons olive oil

  • 1 teaspoon dill (optional)

  • salt and pepper

  • For the Cashew Cream (Optional for serving)

  • 1/2 cup soaked cashews (soaked for at least 1/2 hour)

  • 2 tablespoons red wine vinegar

  • 3 tablespoons hot water

  • salt and pepper

First off, make the dough. Mix the flour with salt then add in oil and water. Mix together until a shaggy dough forms then dump out onto a lightly flour surface and knead a few times to form a uniform ball. Place dough back into (cleaned) bowl and cover. Set aside to rest.

Once dough is made, chop onion into small little pieces and place in a large skillet with 2-3 teaspoons of oil. Stick on medium heat and cook until tender and browned. Also cook the potatoes. Chop the potatoes into small pieces (peel if you want but you don’t need to) and place into a pot of cold water. Bring potatoes to a boil and cook until they are fork tender, almost falling apart.

Once potatoes are cooked, strain from water and place in a big bowl. Add in the cooked onion and the chickpeas. Sprinkle in dill if you are using and season with salt and pepper. Grab a potato masher or a fork and mash the mixture together. It can be a little chunky, but you don’t want really big chunks. Taste and season if it needs it.

Filling is done so now grab the rested dough. Place dough on a lightly floured surface, cut in half, place one half back in bowl and roll the other out about 1/8 inch thin. Take a large biscuit cutter or a large cup and cut out circles. Gather remaining dough and re roll out. Do this until you can’t. Repeat with second half of dough.

Once the circles are cut out, place about a tablespoon of filling into the center of each. Fold the dough in half and pinch closed. If the dough has dried out to much, brush a little water on the edge of circle to help it seal. Place the pierogi on a floured surface (so they don’t stick) And don’t worry if you have a little extra filling.. Just eat it.

When all the pierogi are made, let them rest for about 1/2 an hour. There are a good amount of pierogi here so if you want, stick some in a container and in the fridge to have in the next few days. Just make sure to flour them so they don’t stick together. Or if you prefer, place however many you to want to save on a lightly floured baking sheet and stick in the freezer until frozen. Once frozen, place into a freezer safe bag or container. They will keep for a few months.

Also, before you finish cooking, make the cashew cream (if you want it) Just add soaked cashews to a blender with vinegar and the water. Blend until smooth and creamy then season with salt and pepper to taste. If the mixture seems to thick, just add a splash more water until it is a desired thickness.

To cook the pierogi, bring a large pot of water to a boil. Place pierogi, one at a time, into pot. 5-7 at a time as to not crowd them, and cook until they start to float. Remove the cooked ones with a slotted spoon and stick on a plate. Boil as many as you are going to eat. Grab a skillet and add a few teaspoons of olive oil. Heat to a medium heat and place the pirogies into pan. Cook each side for 4-5 minutes or until browned and crispy. Flip and cook the other side.

Remove form pan, place on a plate, dollop with cashew cream (if desired) and eat.

In appetizers, beans, Dairy Free, dinner, entree, Pasta, pulses, Vegan Tags Potato Chickpea and Onion and Pierogi, Pierogi, dill, cashew cream, vegan, vegan pierogi, plant based, home made pierogi, from scratch, easy, make ahead, ravioli, dinner, pulses, beans, potatoes
Comment

Dill Pickle Saltine crackers

December 12, 2015 Colleen Stem
IMG_5663.jpg
IMG_5633.jpg
IMG_5659.jpg

The mr is a saltines fanatic. I personally don't get it, but he really, truly loves a good fresh package of those salty crispy crackers, and loves to make a little cracker crumb mess. (I think it does it to drive me crazy)

 The other night during a particularly crumby saltine cracker snack, he declared that the saltine people (who are these people?) must come out with flavored saltines. I then continued to burst his bubble and told him I am pretty sure the saltine people have, in fact, come out with flavors, but he was skeptical and did not believe my words. Whatever dude.

But then I got to thinking, "why the hell haven't I made flavored saltine crackers yet?" So make flavored crackers I did. I know that the mr is really into dill pickled chips (beause I can smell the when he eats them) and I have been buying these mammoth jars of pickles from the Costco superstore (I love pickles but more then that I need the gigantic jars). so I had me a shit ton of pickle juice. It was meant to be.

The first time I made the crackers, I did a really small batch and wasn't expecting anything amazing, just going for a decent whatever cracker. But no, the few that I managed to make, the mr went nuts for. He told me they were the best fucking cracker that he has ever had and I now have to make them for him all the time, and that it is now a birthday tradition (it was his birthday). He said they were the prefect dilly-ness, the pefrect texture and just the right amount of salt. Perfection.

Well that made me happy so instead of waiting for his next birthday, I just made a big batch. Again, more proof that I am the best girlfriend ever!

The stuff. Flour, dill pickle juice, olive oil and some dried dill and salt.

IMG_5579.jpg
IMG_5582.jpg

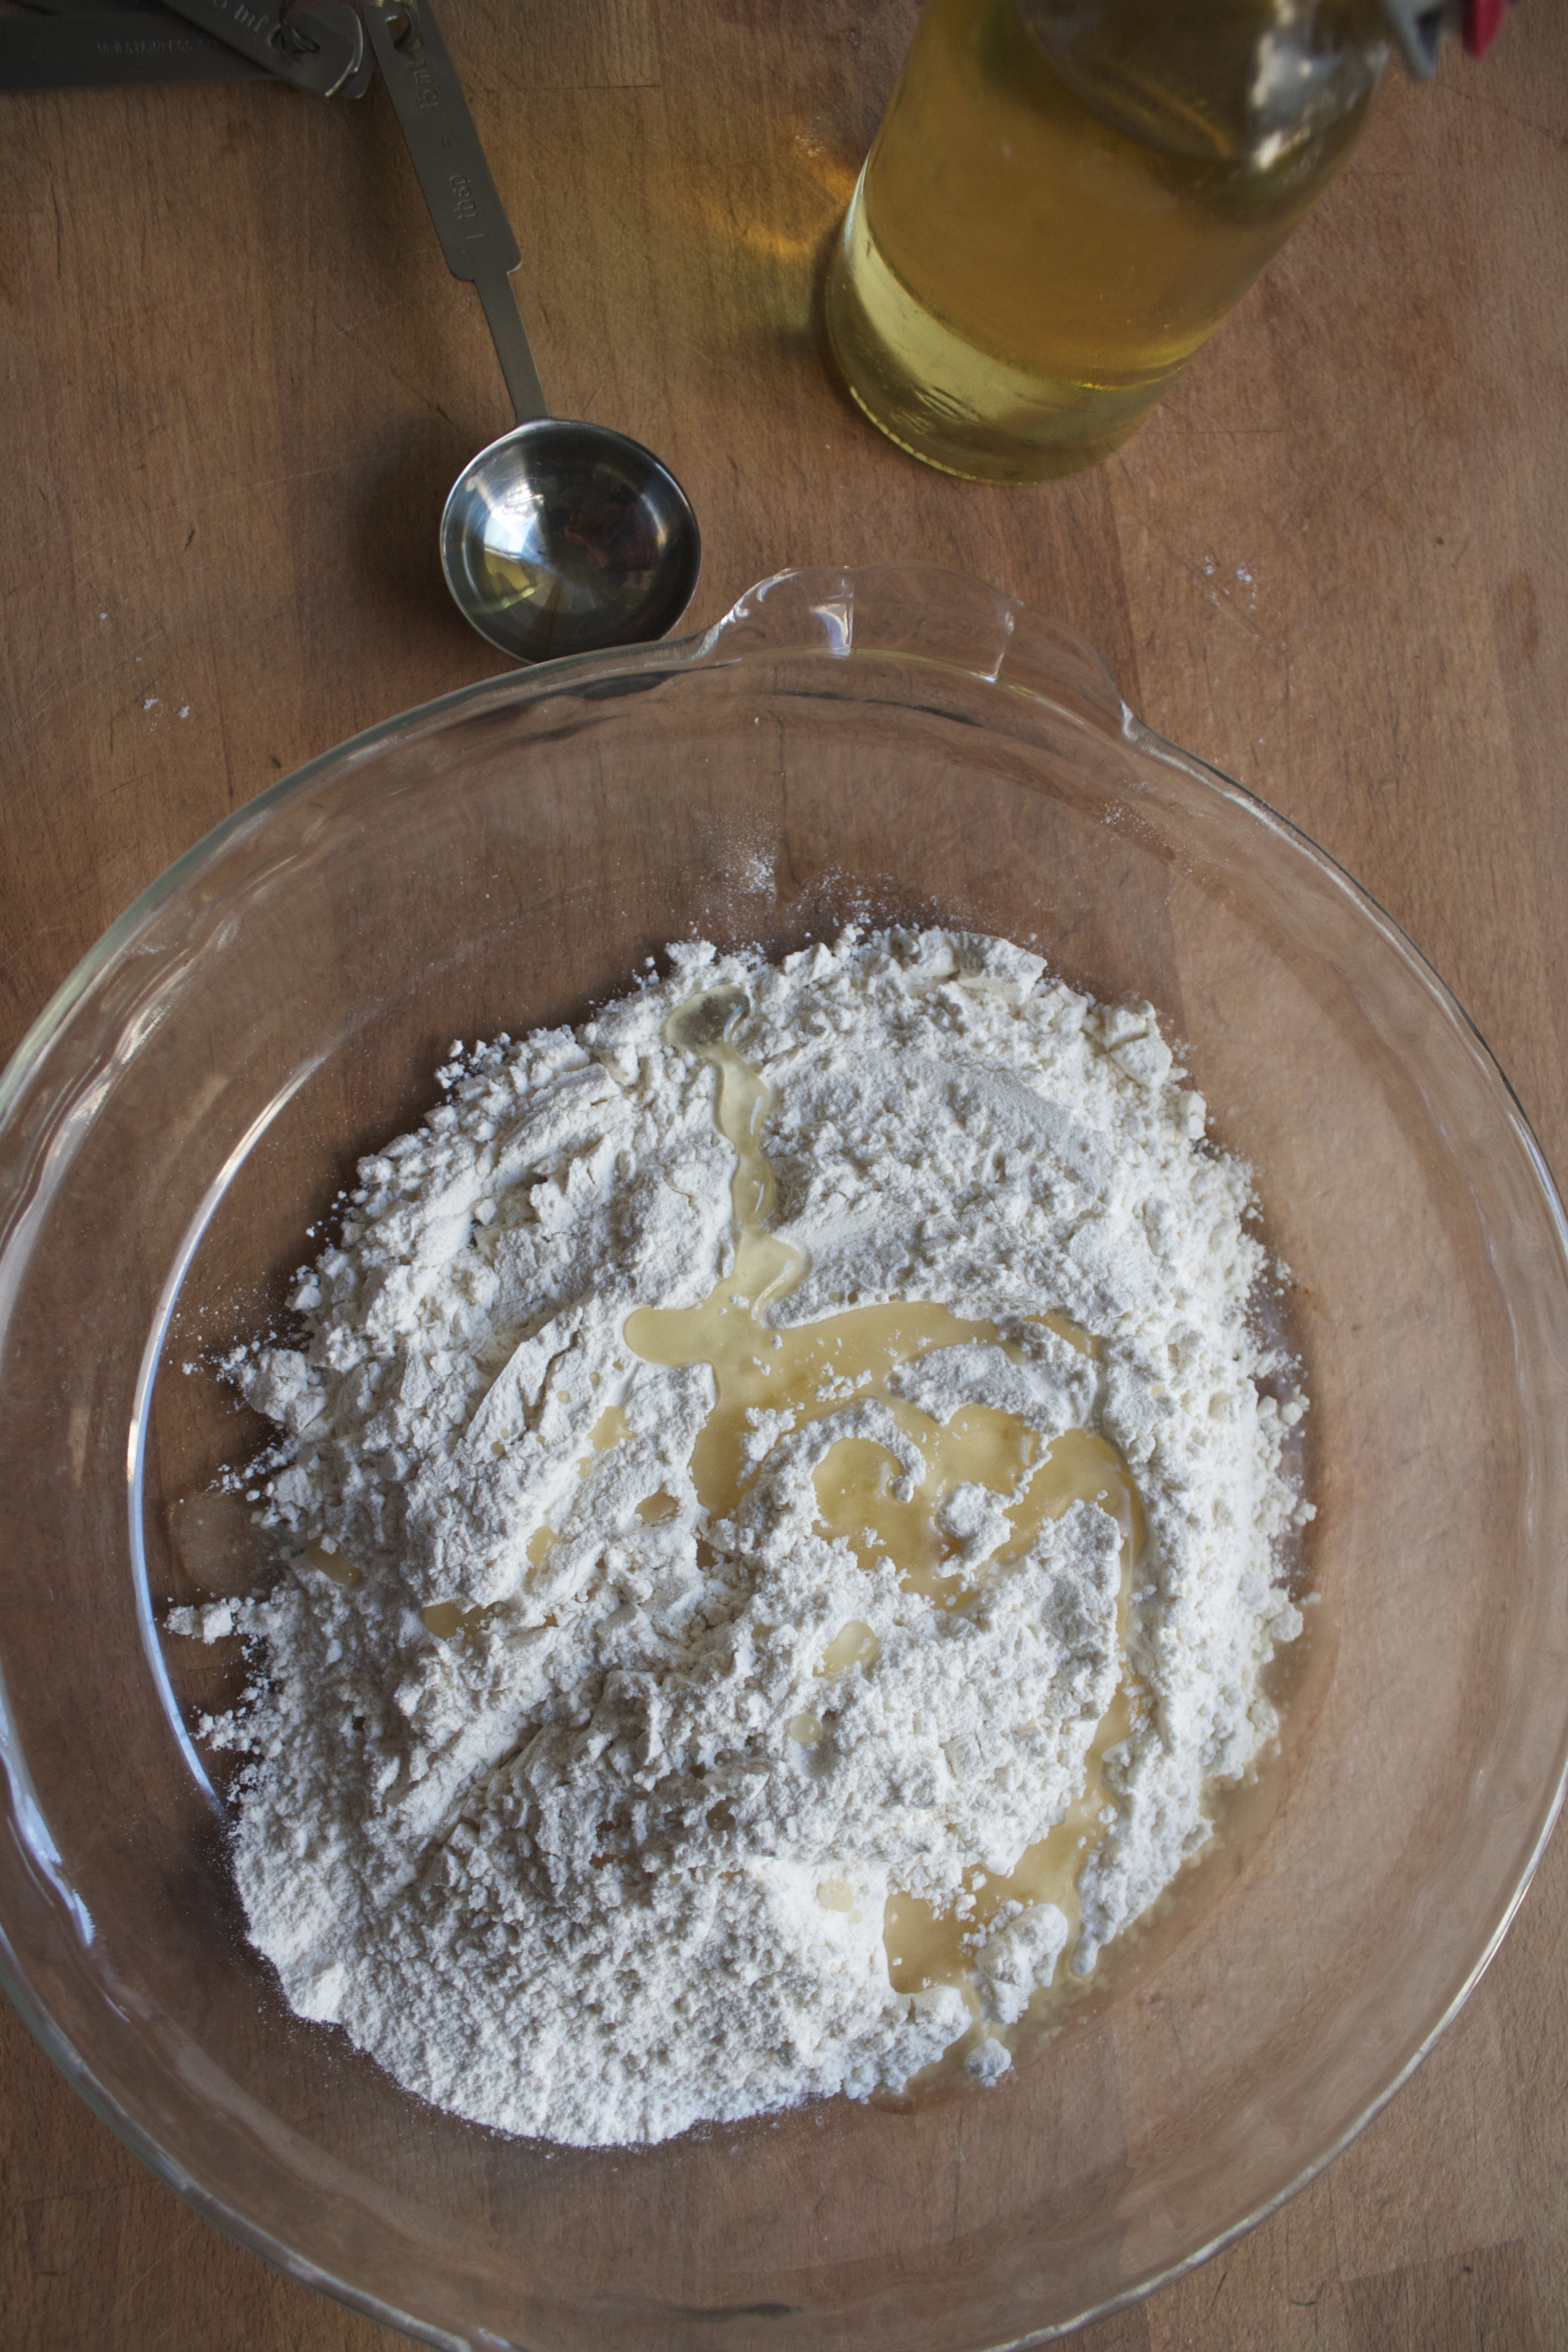
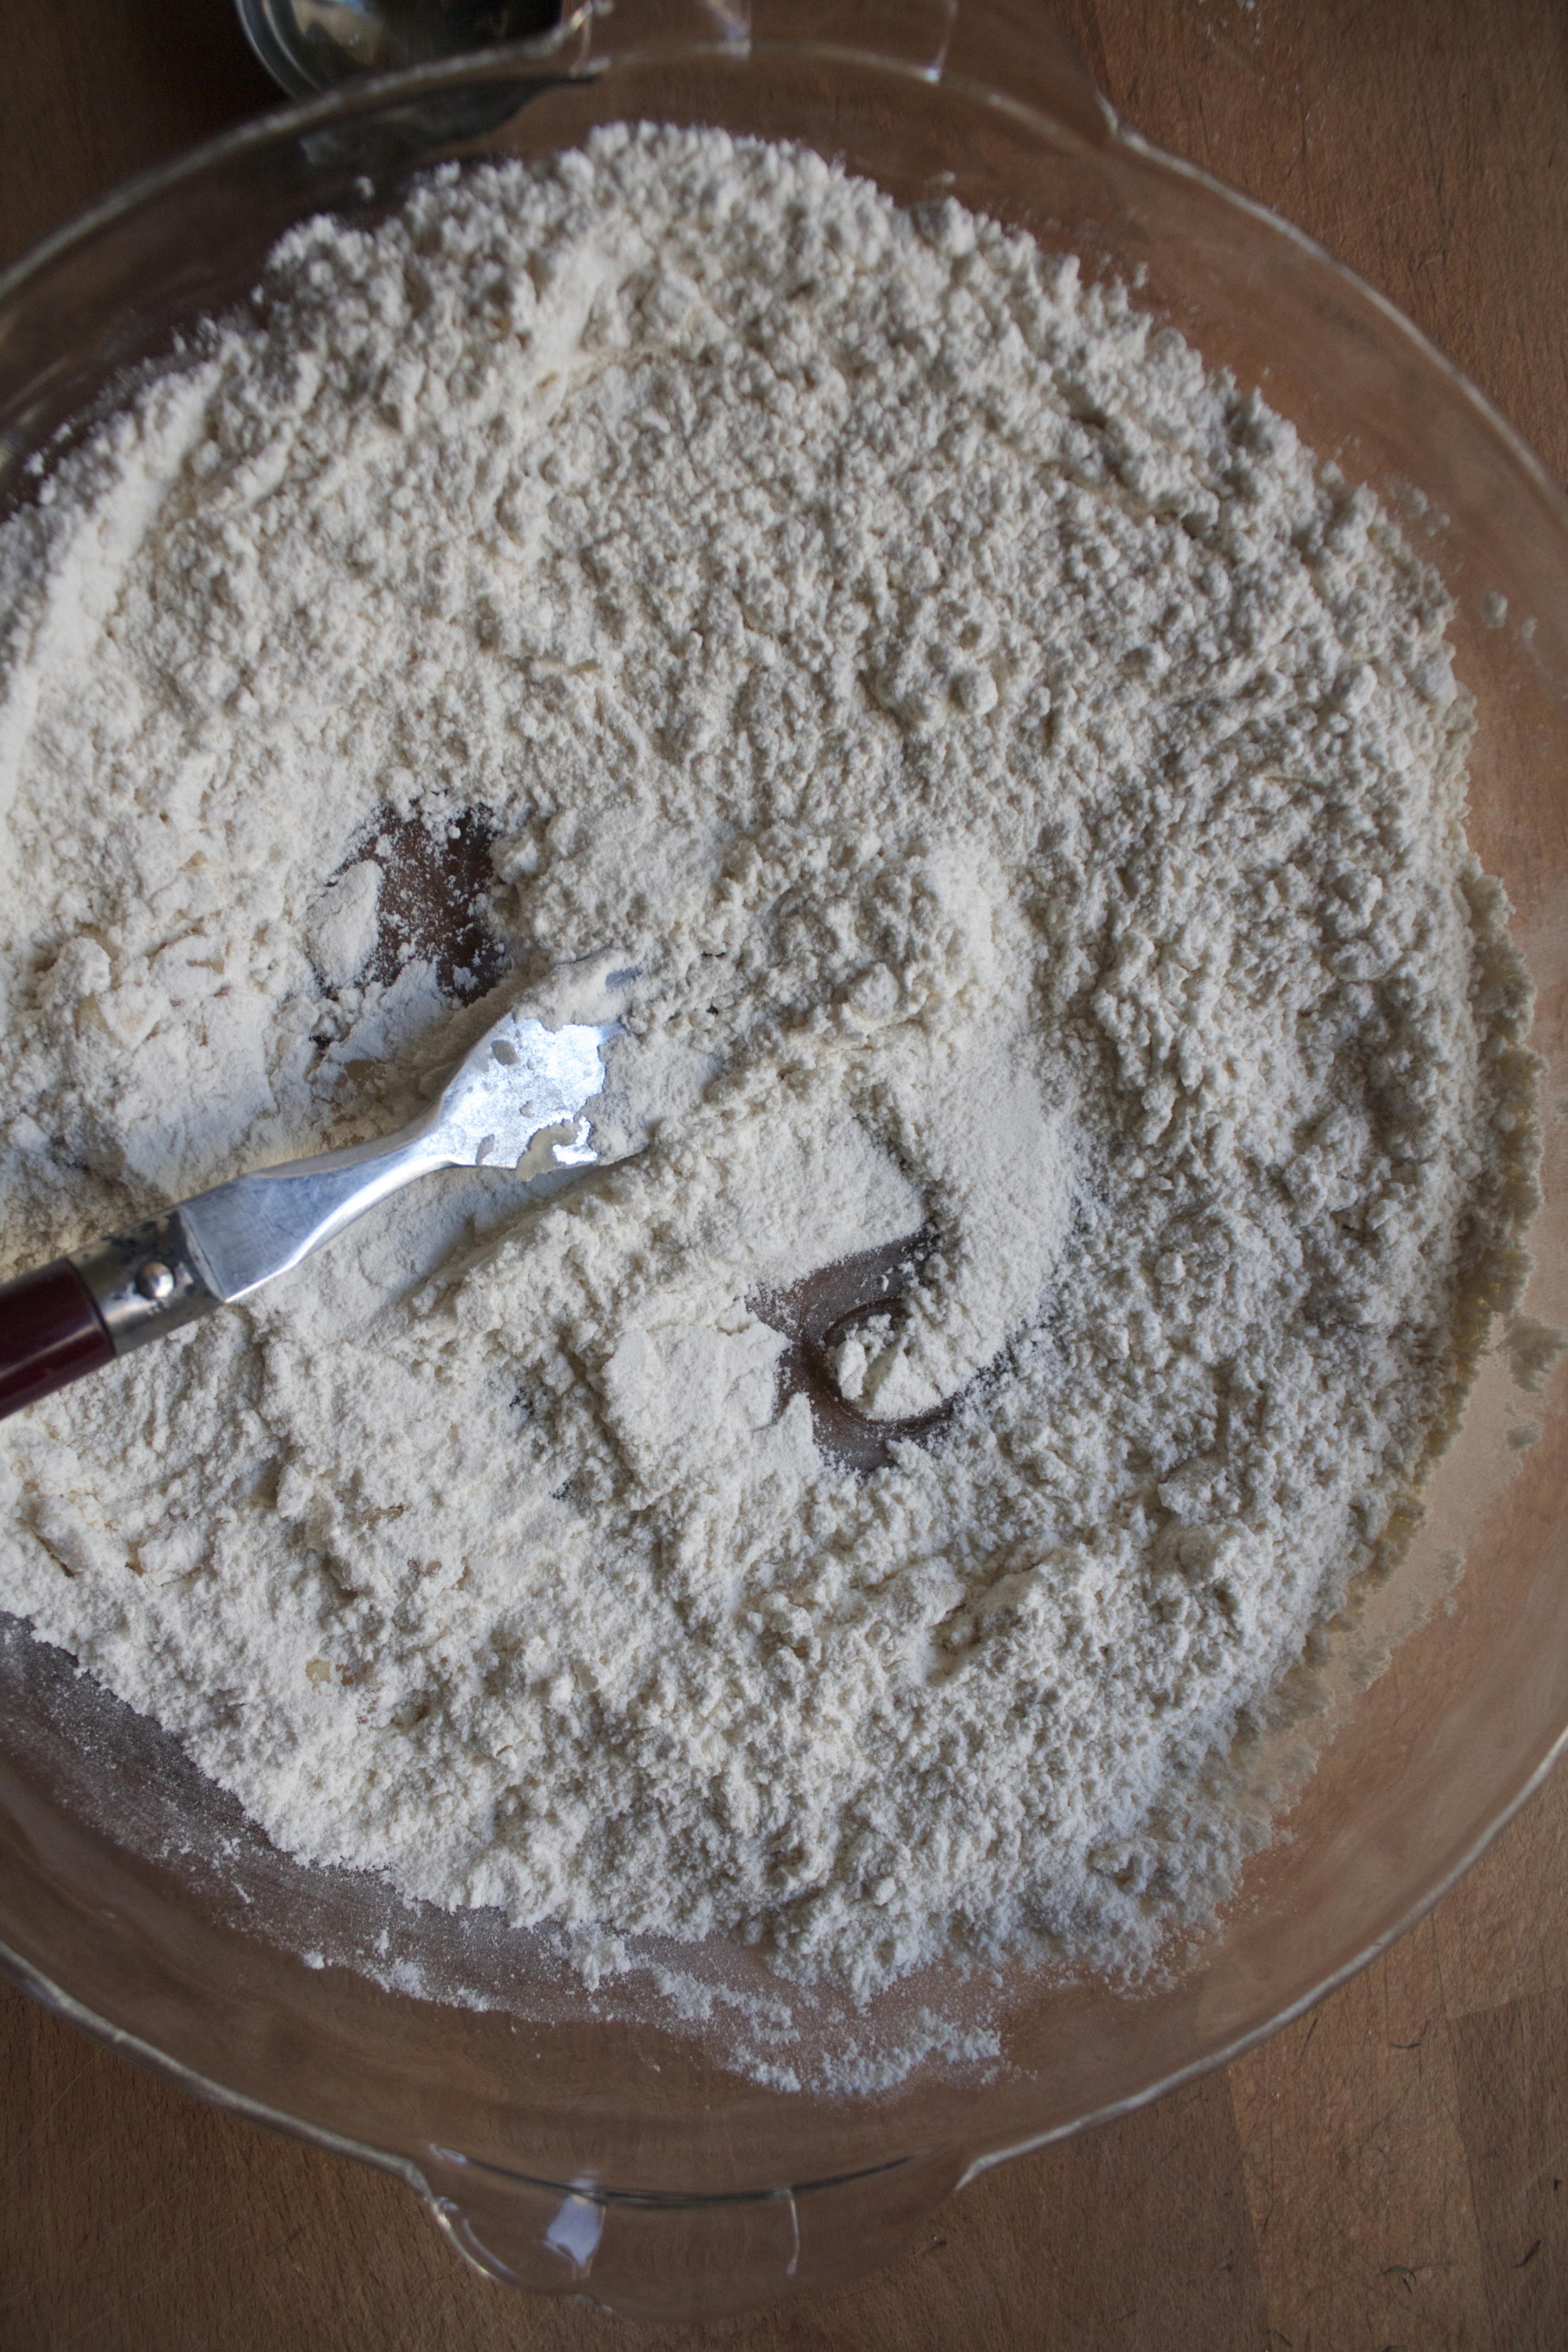
Flour into a bowl gets drizzled with olive oil and mix around with a fork.

 Then in goes the pickles juice , same deal, mix together with a fork until the mixture forms a dough. (almost resembling a pie dough)

Place dough down on counter. Let it sit there for a few minutes to give it time to rest.

After the rest, roll the dough out as thinly as you can (try for about an 1/8 inch).

I found that when I slightly damped the counter that the dough was easier to roll. It might be because I have wood counter top so this may or may not work for you, but is worth a try.

And with a knife or dough cutter (or fancy cracker cutting tool), trim off sides (if you want) and cut into 2 inch squares.

Note. IF you want to, poke a couple little wholes into the tops of the crackers. Doing so will prevent the crackers from poofing up (I was told the poof is good)

And place the crackers on a baking sheet, brush tops with the pickle juice, then sprinkle with chopped dill and a tiny bit of salt.

Stick into the preheated oven.
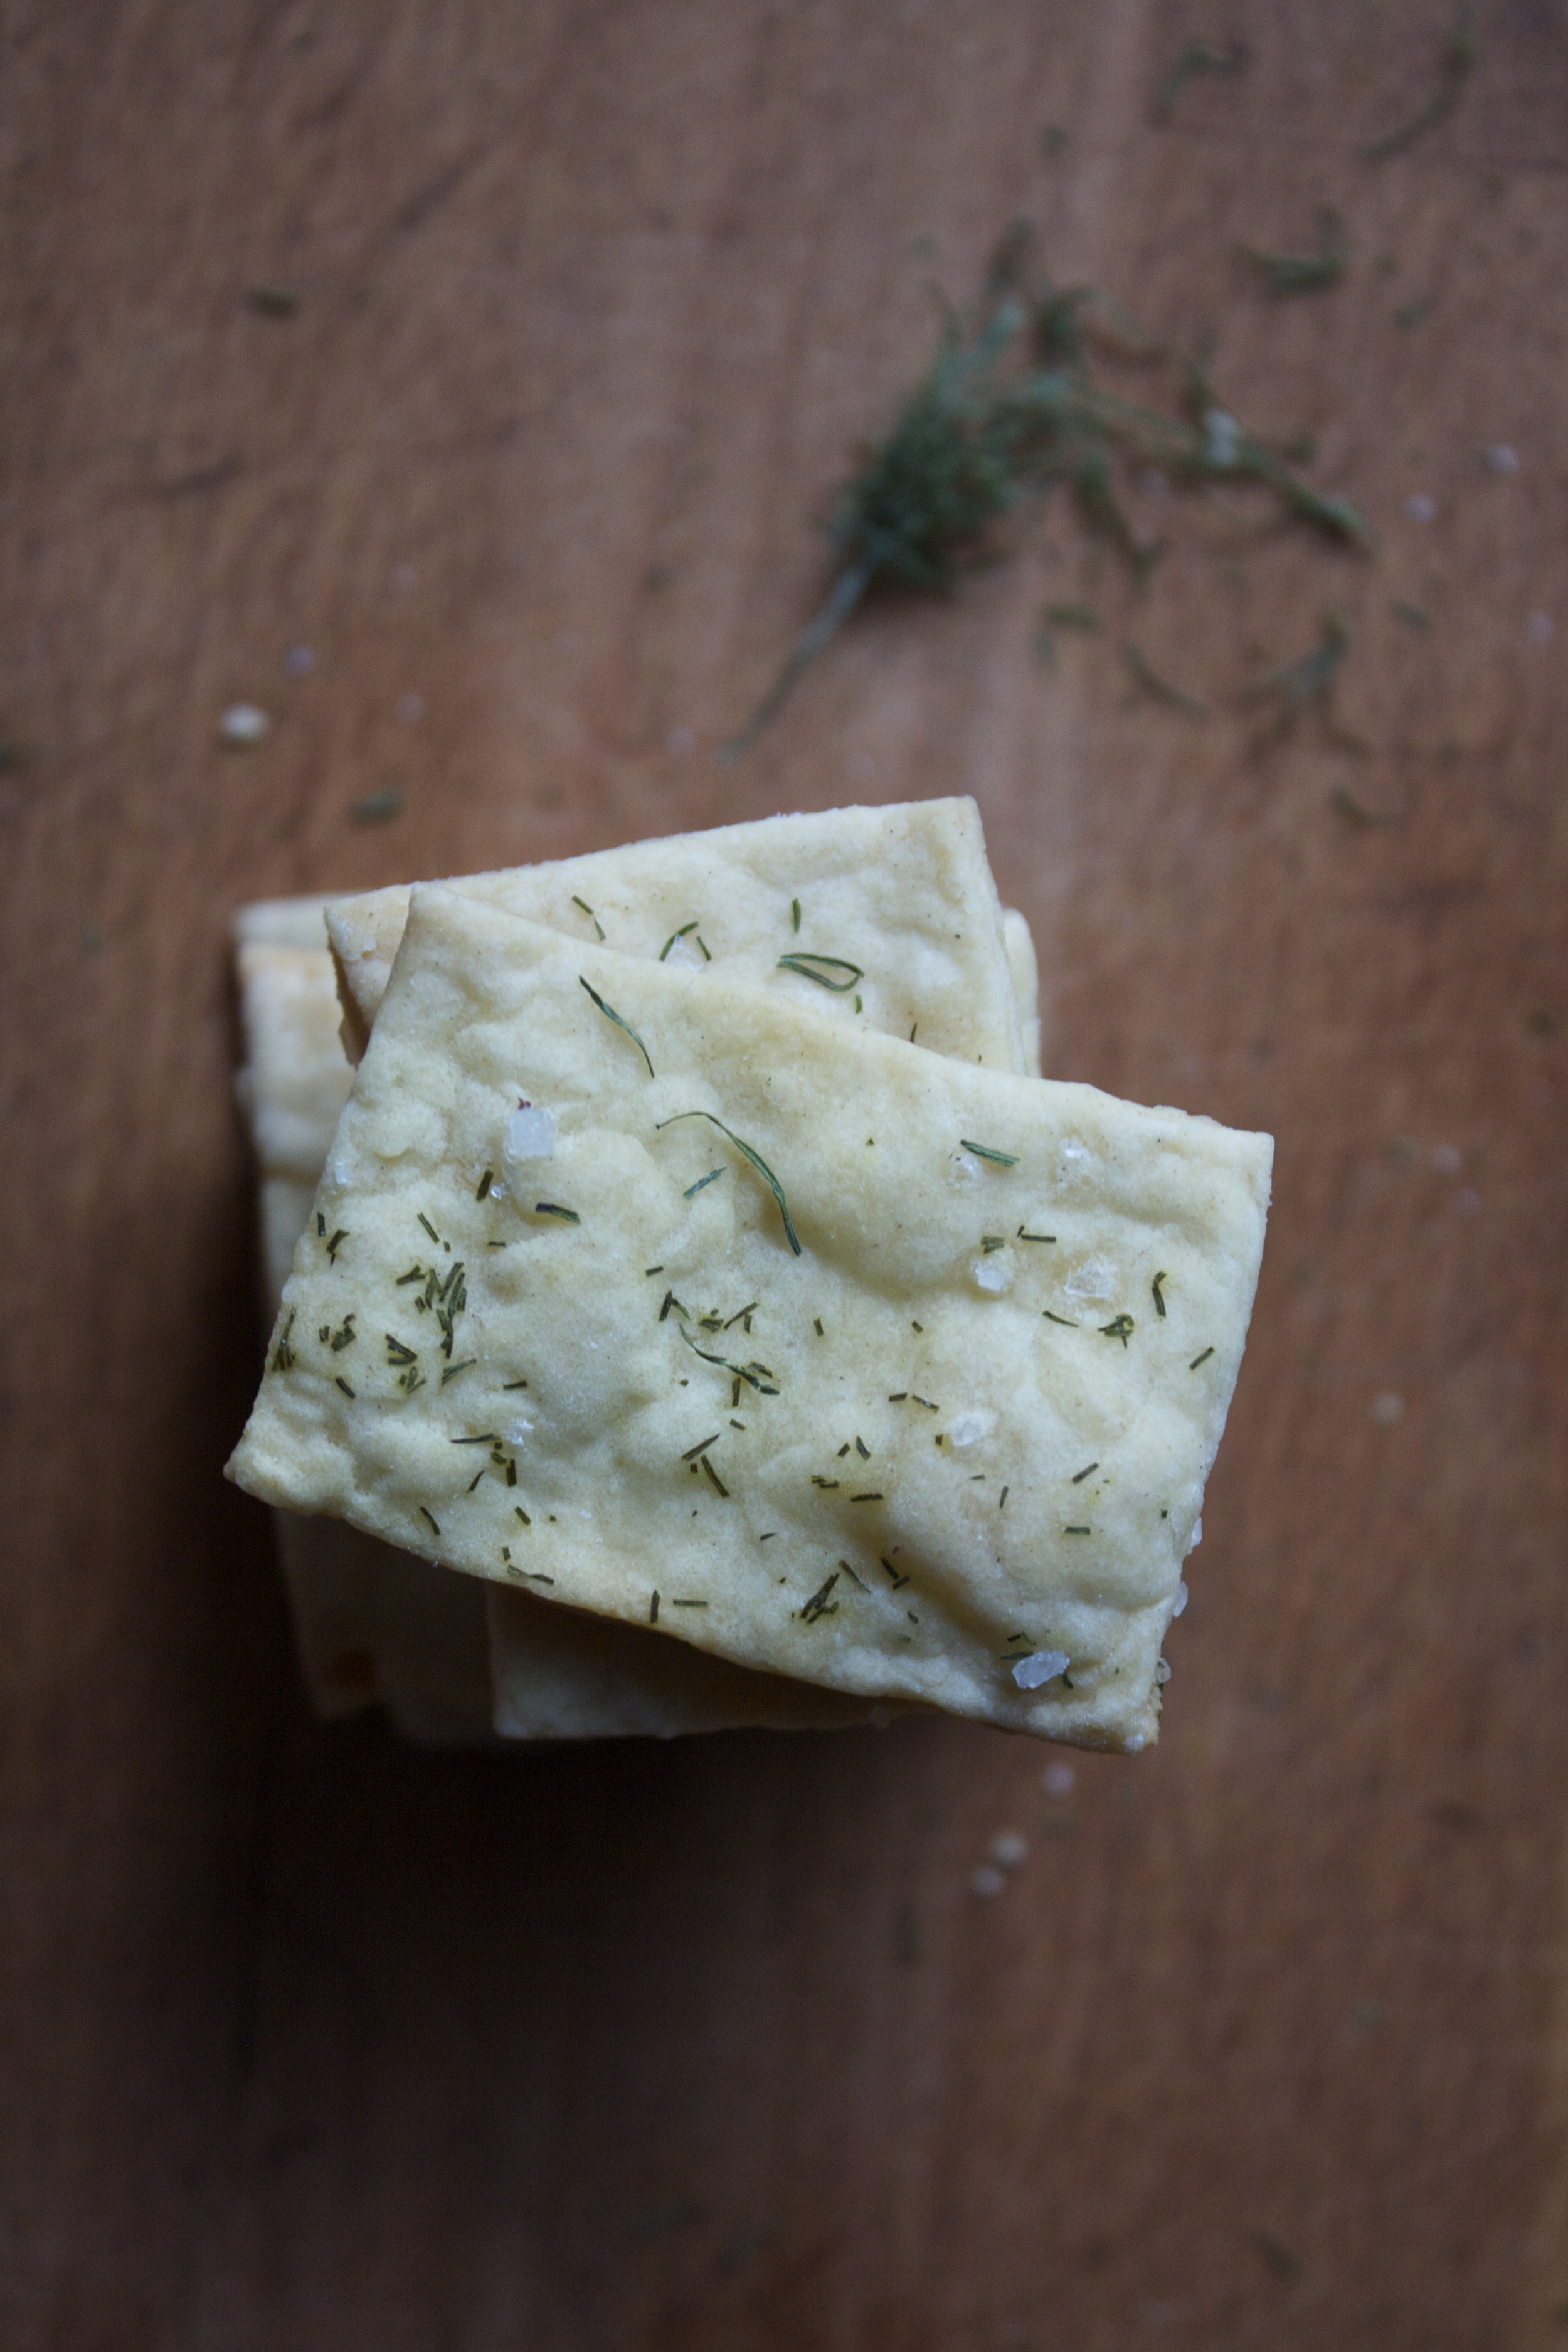
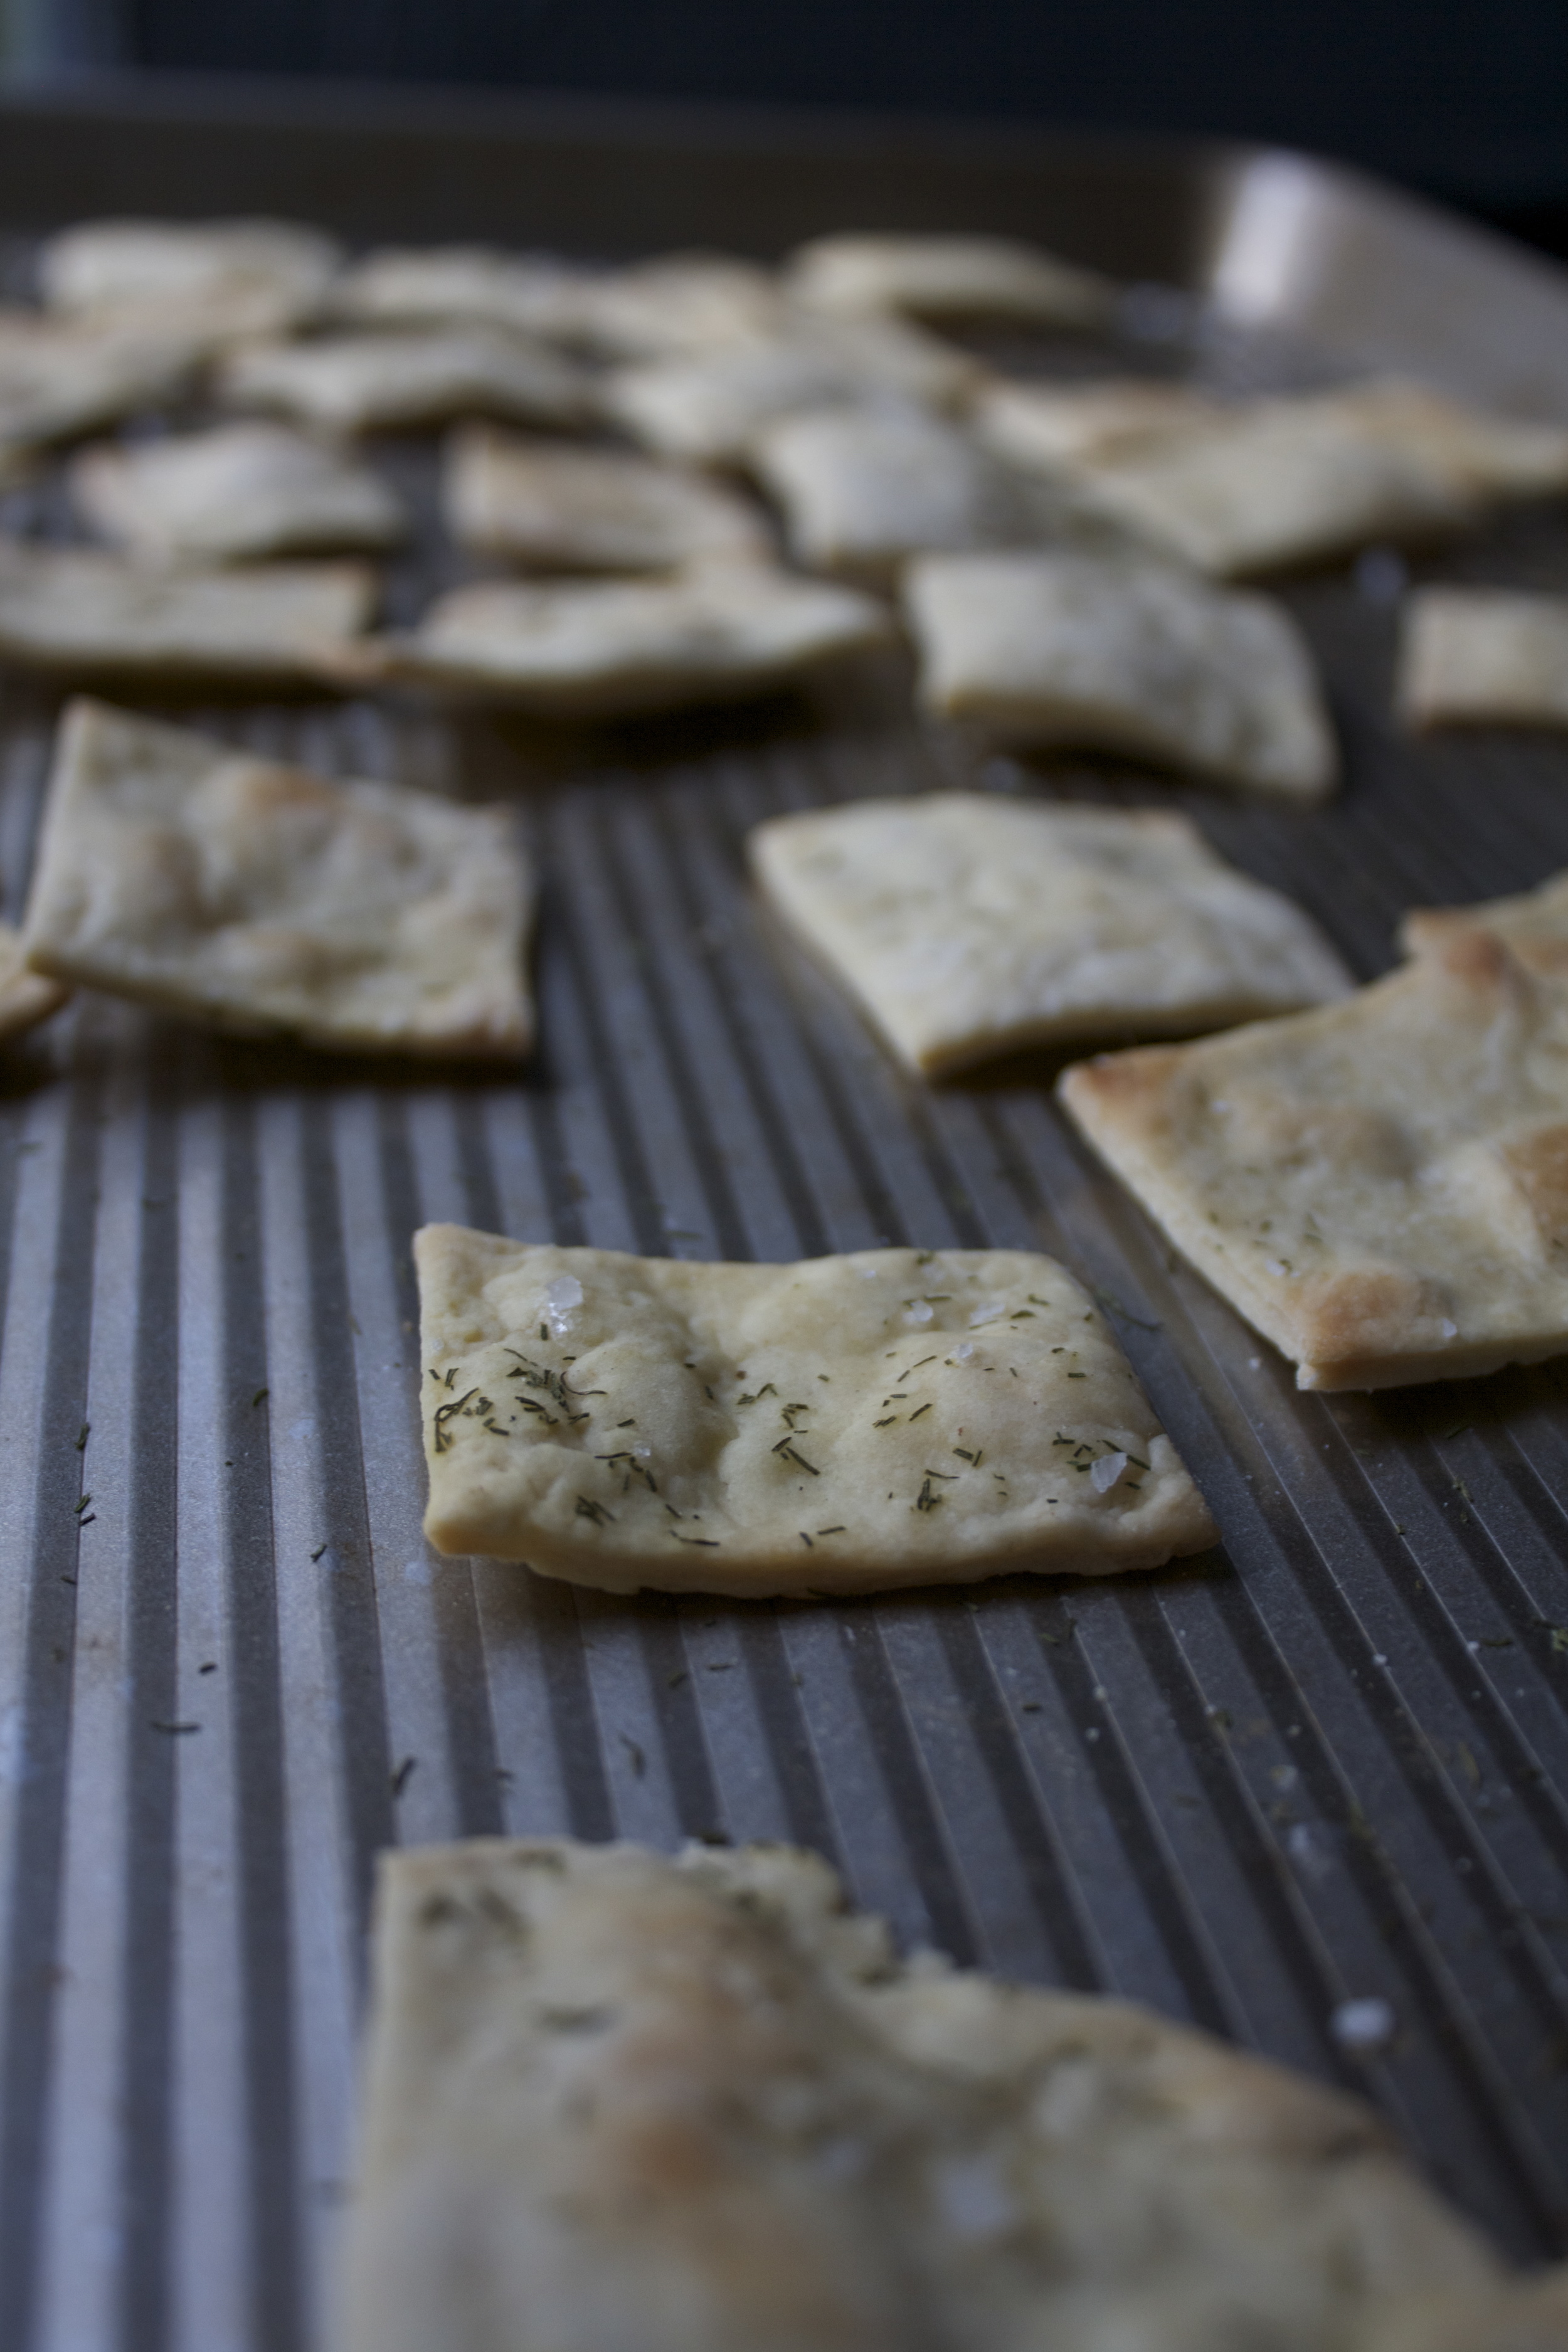
Bakeuntil they start to turn a light golden brown and arepoofing up a little (go ahead and grab one now for quality control)

These crackers be cracking. And wouldn't you know it, they are already all gone. Next time I make them I am going to have to hide them.

Have a great weekend!

-C


 Dill Pickle Saltine Crackers

Makes about fifty 2x2 crackers

  • 1 cup all purpose flour
  • 6-8 tablespoons pickle juice
  • 3 tablespoon olive oil
  • finishing salt to taste
  • tablespoon chopped dried dill

Preheat oven to 350

Place flour into a shallow bowl and drizzle the olive oil in. Mix around with a fork. Grab pickle juice and drizzle in 6 tablespoons of the juice and mix with the fork until a dough forms. Add in another tablespoon or two if the dough needs more moisture to come together.

Form dough into a ball and let rest on the counter for a few minutes (good time to wash the dirty dishes)

After the rest, take the dough and roll it out to about 1/8 inch or as thinly as you can. Weirdly enough, I found that I was able to roll my dough out better when I damped my counter. The dough didn't slide around and it still lifted up easily with a spatula.. but do what works for you.

Once you have rolled the dough, trim sides to clean lines and cut into 2x2 inch squares (you can cut into any shape and or size you like) Any trimming reform into a ball, roll out, and make a few more. (If you want a more authentic looking cracker, you can poke little whole into them. Doing this also make the crackers not poof up when bakes)

Place crackers on a lightly colored (or parchment lined) baking sheet. Brush each cracker top with a little pickle juice and sprinkle the tops with salt and dill. Place in the oven to bake for about 12 minutes or until the crackers have poofed up and are turning slightly brown.

Remove from oven, let cool completely and either eat right away or place in a air tight container for later.

These crackers had no later.


In Dairy Free, holiday, recipes, Vegan Tags dill pickle saltine crackers, crackers, vegan, saltines, homemade crackers, dill, pickles, savory crackers, snack food, easy, clean eating, plant based, king arthur flour
Comment

Countertop Cucumber Onion Pickles

August 4, 2015 Colleen Stem
IMG_3971.jpg
IMG_3964.jpg

And now the cucumbers are growing shit crazy.

Every time I open the fridge, at least one (if not a few) come falling out from all the places that I have managed to squeeze them in. (the egg tray in the door is not a safe place for cucumbers) This is a slight problem, but a problem that I kind of like having.

This past weekend I had planned on doing a bunch of pickling and canning. Like a whole day of music blasting, dancing around the kitchen in a cute little apron with wooden spoon in hand, (pretending its a microphone) canning all sorts of fruits and veggies that a piling up in massive amounts for the winter months. 

That didn't happen, and I still have a million cucumbers and not a whole heck of a lot of time this week to inact my canning day day dream.

My simple solution. Cut um up, stick in a bowl with a some fresh dill, a lithe vinegar and leave them on the counter…..  And watch as they disappear. It's crazy. I find if you leave a bowl of cut up anything on the counter, anyone that walks by will stop and eat a few pieces (if not the whole bowl) It's a scientific fact (no not really, but maybe)

As for my blissful canning day. It will be happening soon. But until then, this is the way to go with those all those cucks. (this works fantastic will zucchinis too!)

The stuff. Cucumbers, onion, fresh dill, salt, pepper, and red wine vinegar.

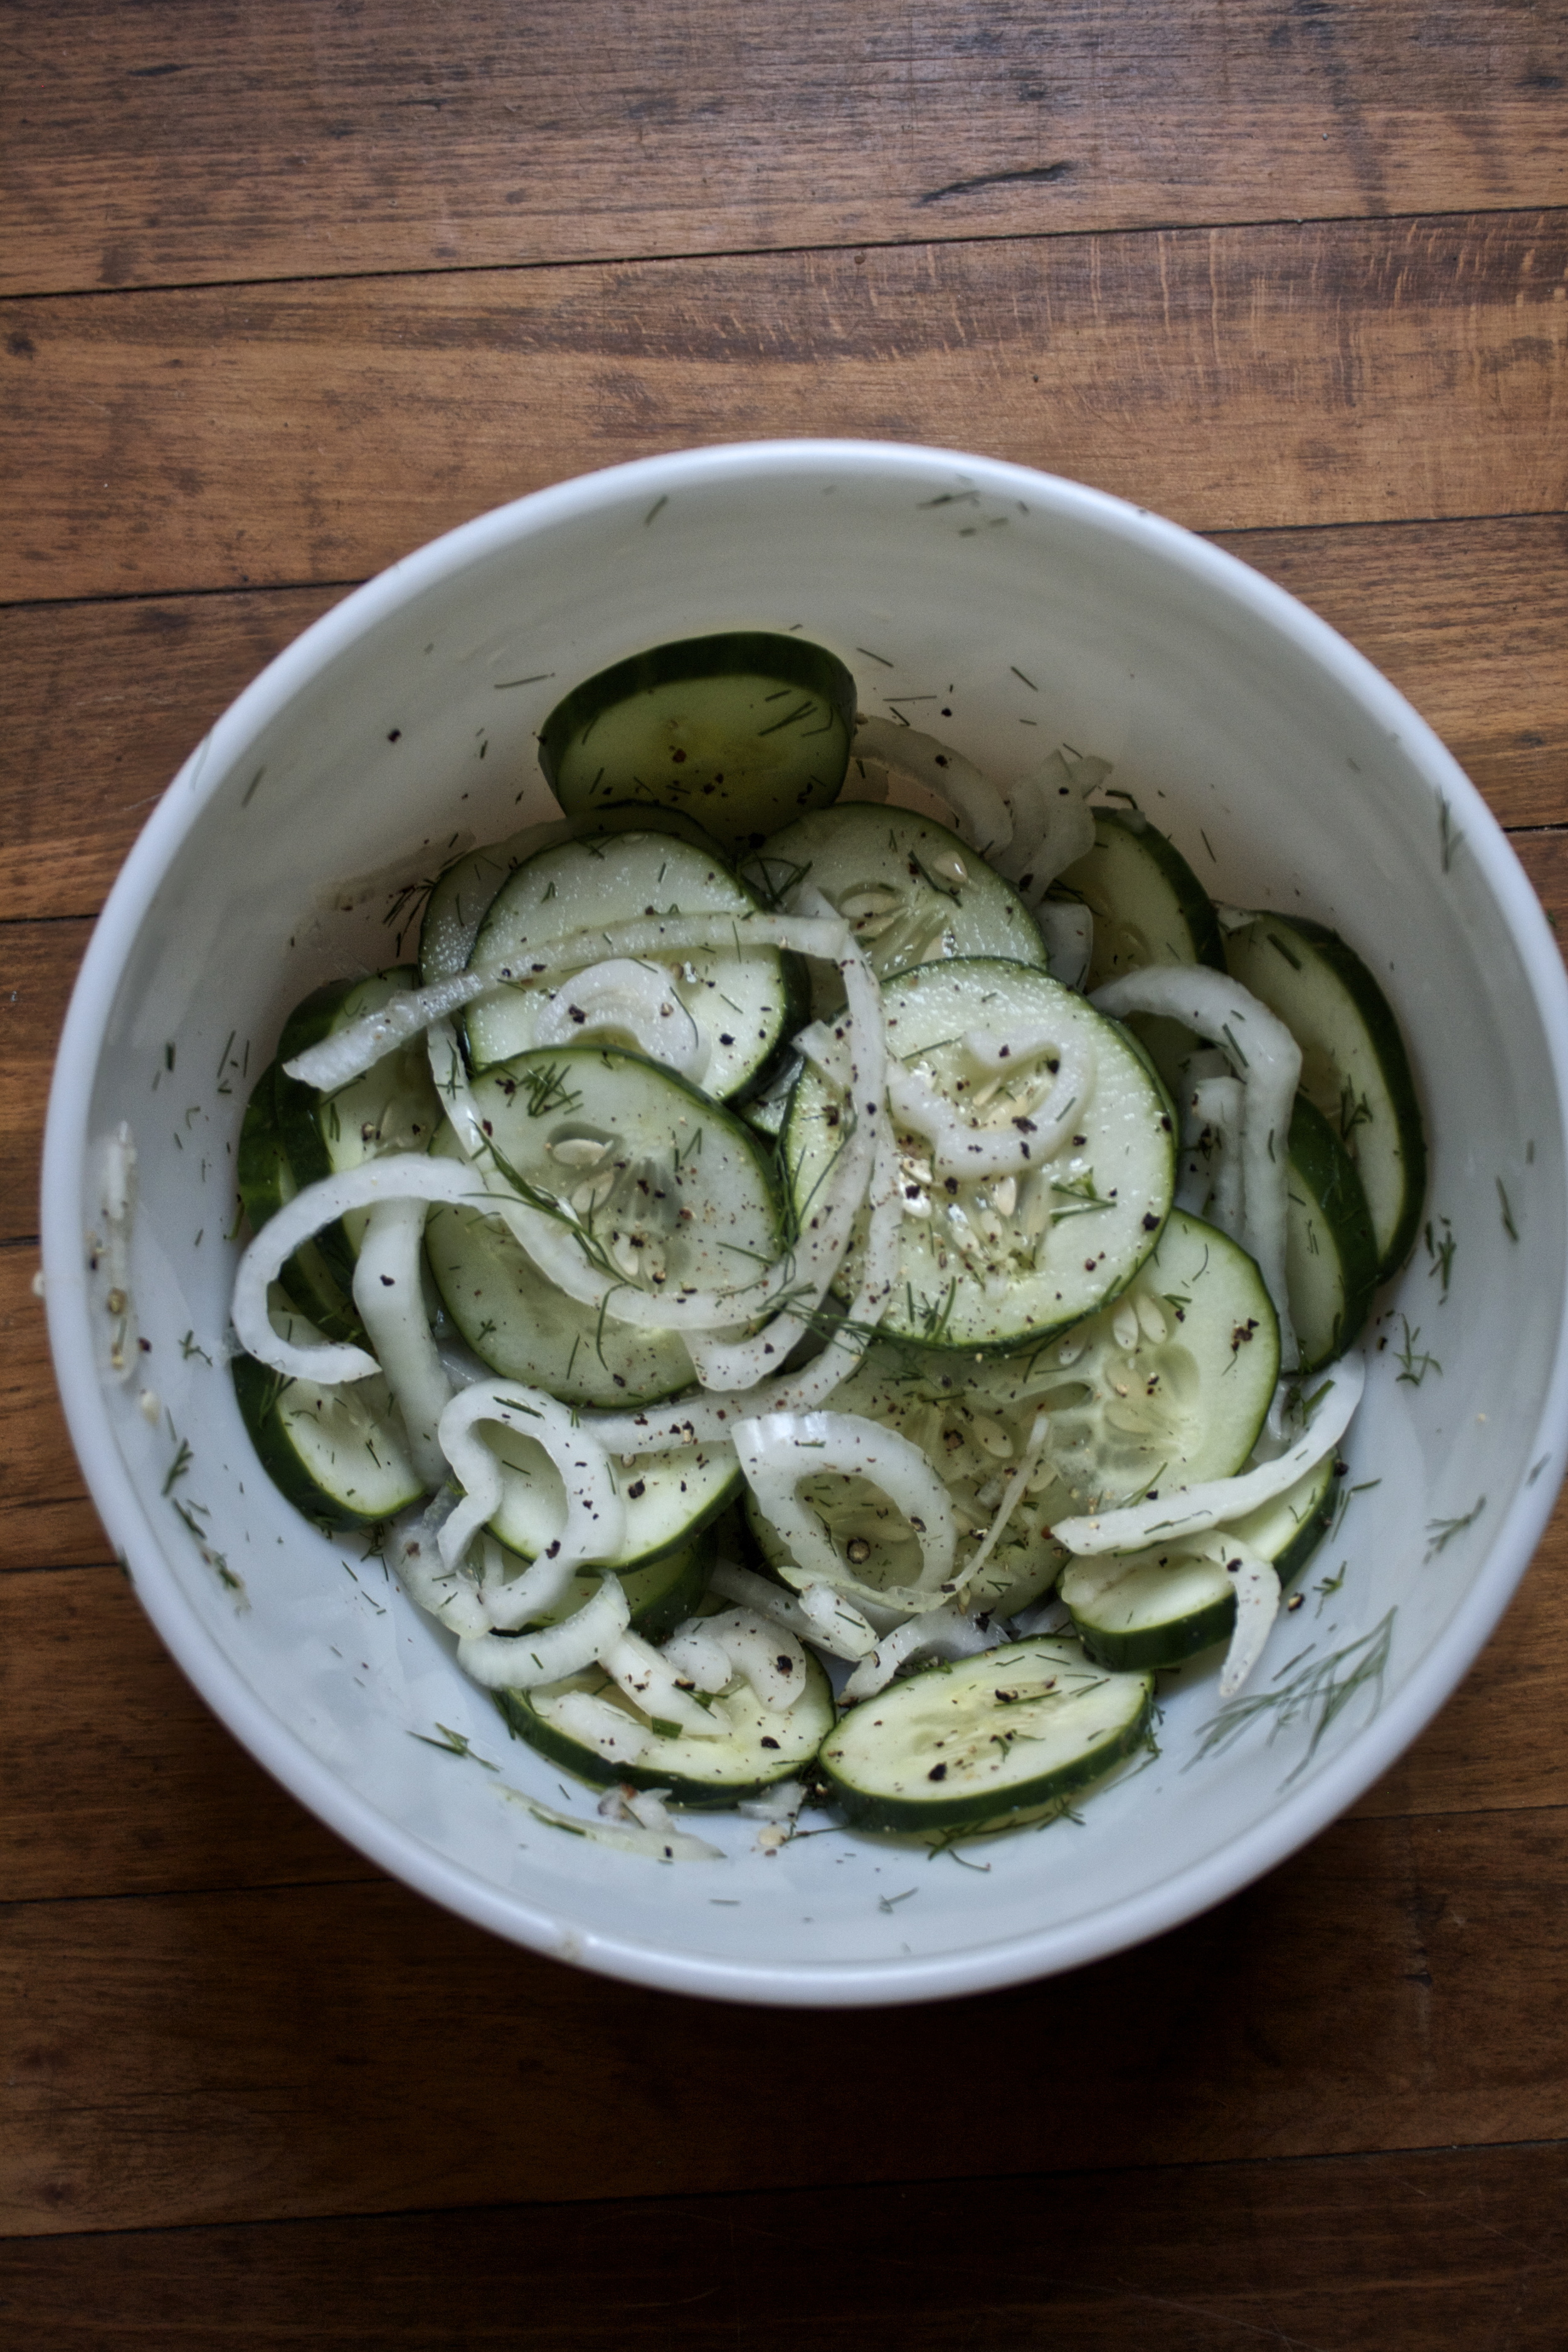
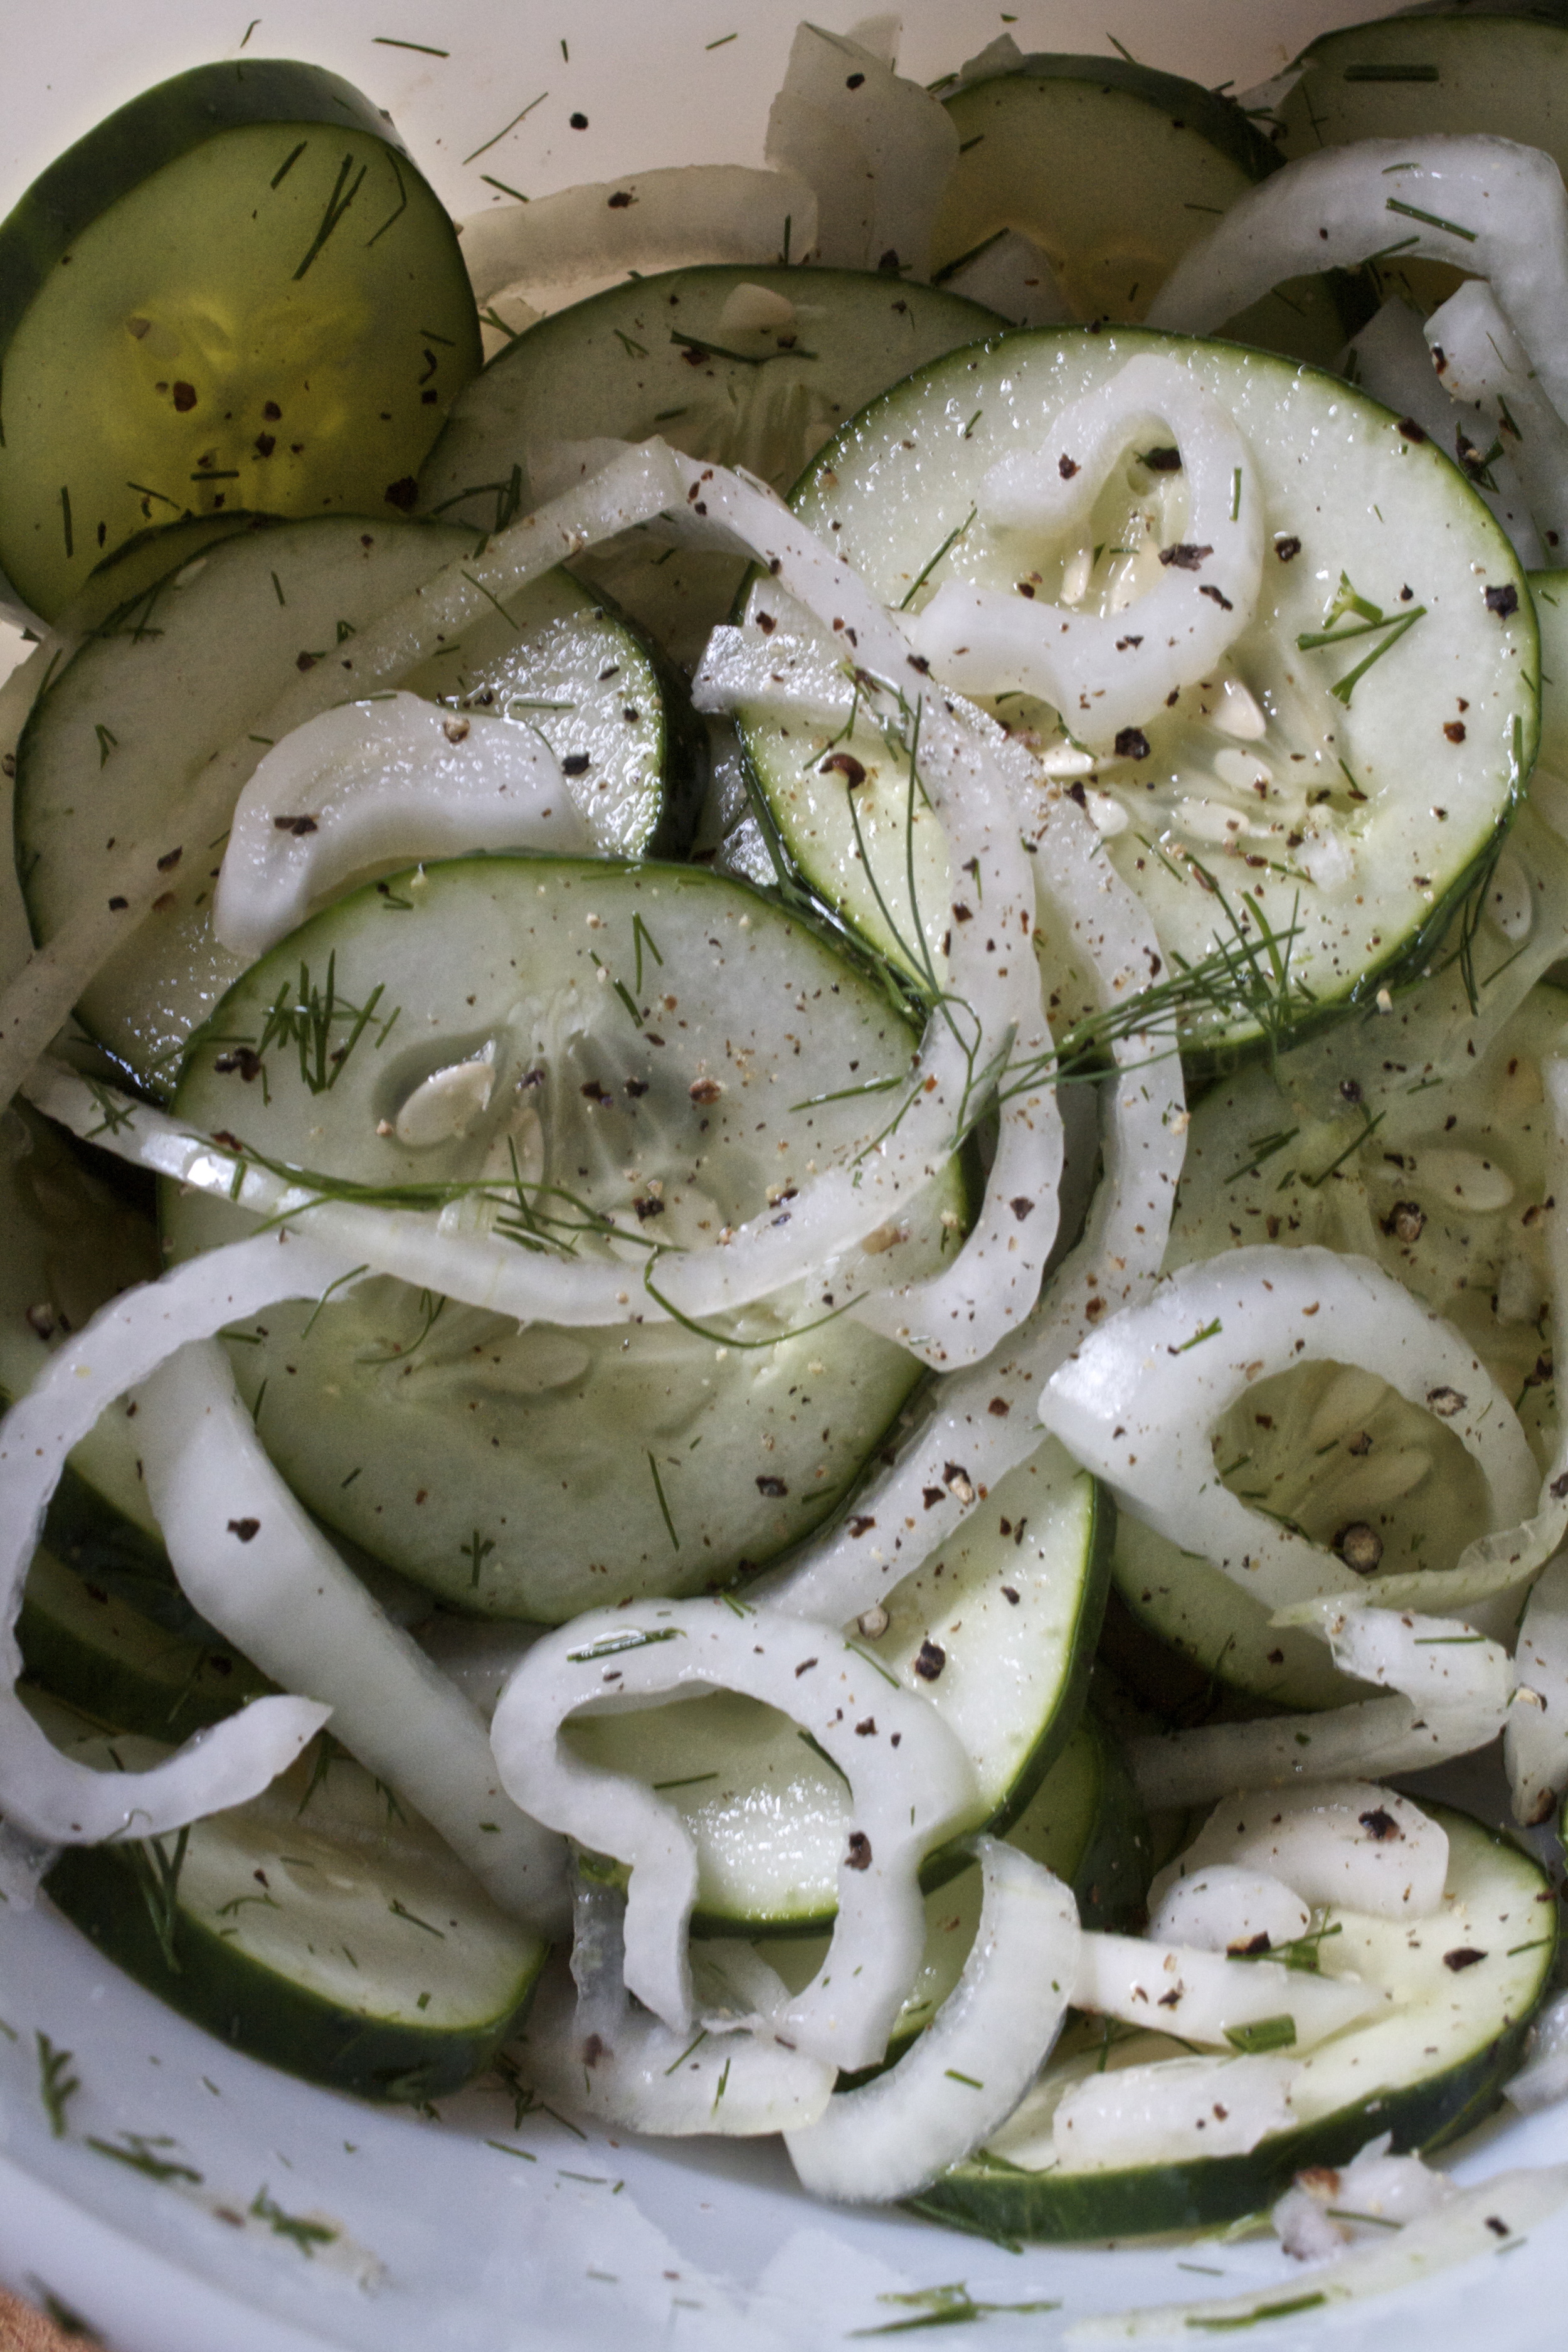
Slice up the cucumber and onion and toss into a bowl. Spinkle with salt, pepper, and lots of fresh chopped up dill. Splash in the vinegar and toss it all around.

Let it sit on the counter for at least 2 minutes, but the longer they sit, the more pickley they taste.

And eat.  Leave on the counter until they are all gone..which won't take too long.

Enjoy the Tuesday!

-C


Countertop Cucumber Onion Pickles

  • 2-3 medium to large cucumbers
  • 1 medium  sweet onion
  • a bunch of fresh dill
  • salt and pepper (fresh cracked is best)
  • red wine vinegar

Slice cucumber and onion into thin slices. and stick in a big bowl. Sprinkle with salt. pepper, chopped up dill. Pour on a few glugs of vinegar. Toss around, taste and adjust seasoning if needed and let sit on the counter for a few minute… or as long as you want*.

Eat all day long or until they are gone.

IF there are still cucumbers left over after 2 hours and you are worried about leaving food out all day  (I don't worry, but that's me), stick in the fridge until you ar ready to eat them.

In recipes, Vegan, Raw, Gluten Free, Savory Tags cucumber, dill, onion, quick pickle, pickle, fresh, vegan, gluten free, paleo, raw, clean eating, healthy, organic, local, csa, farmshare, summer
Comment
Older Posts →
 

https://thelovelycrazy.squarespace.com/config#/|/about/

Me. Food Maker.Food eater. Woo HOO!

STEM+NODE  SMALL BATCH AND ONE OF A KIND POTTERY

stem+node ceramics


____________________

Subscribe

GET NEW POSTS IN YO EMAIL

You are AWESOME!!!


@thelovelycrazy 2014-2021