• stem+node ceramics
  • HOME
  • Food Recipes
  • About
  • Contact
Menu

The Lovely Crazy

Street Address
City, State, Zip
Phone Number

Your Custom Text Here

The Lovely Crazy

  • stem+node ceramics
  • HOME
  • Food Recipes
  • About
  • Contact

Spiced Black Bean and Cauliflower Stuffed Acorn Squash

November 3, 2018 Colleen Stem
IMG_2096.jpg
IMG_2097.jpg
IMG_2069.jpg

The thing with having an abundance of squash in the house, and having the abundance keep growing (we get a lot of squashes at farm share) is that I need to cook just about every meal with said abundance, which I am totally on happy to do. I welcome all the squash. I am excited about all the squash. I could eat al the squash all day, everyday. And I do. But that is me. The mr and the others the I sometimes cook for, they are not as squash crazy as me and get sick of plain old roasted squash so I am trying to change it up and make new and interesting things out of the squash so no one gets bored with it.

Yes, I know stuffing an acorn squash is hardly a new idea, but this squash is not stuffed with the usual rice and stuff, it stuffed with lots of black beans and cumin and chili powder spiced cauliflower (and a few other things). The combination of all the flavors with the acorn squash really hit all the right spots for a tasty, not boring squash meal. It is a brilliant combination of flavors that even the not so keen on squash person will love.

That is my opinion of course but it will be your opinion too after you make and eat these. We will brilliant together.

To the stuffed squash.

The stuff. An acorn squash, some cauliflower, cooked black beans, an onion, and a few kale leaves. Also need some cumin, chili powder, salt and pepper. salsa, and olive oil.

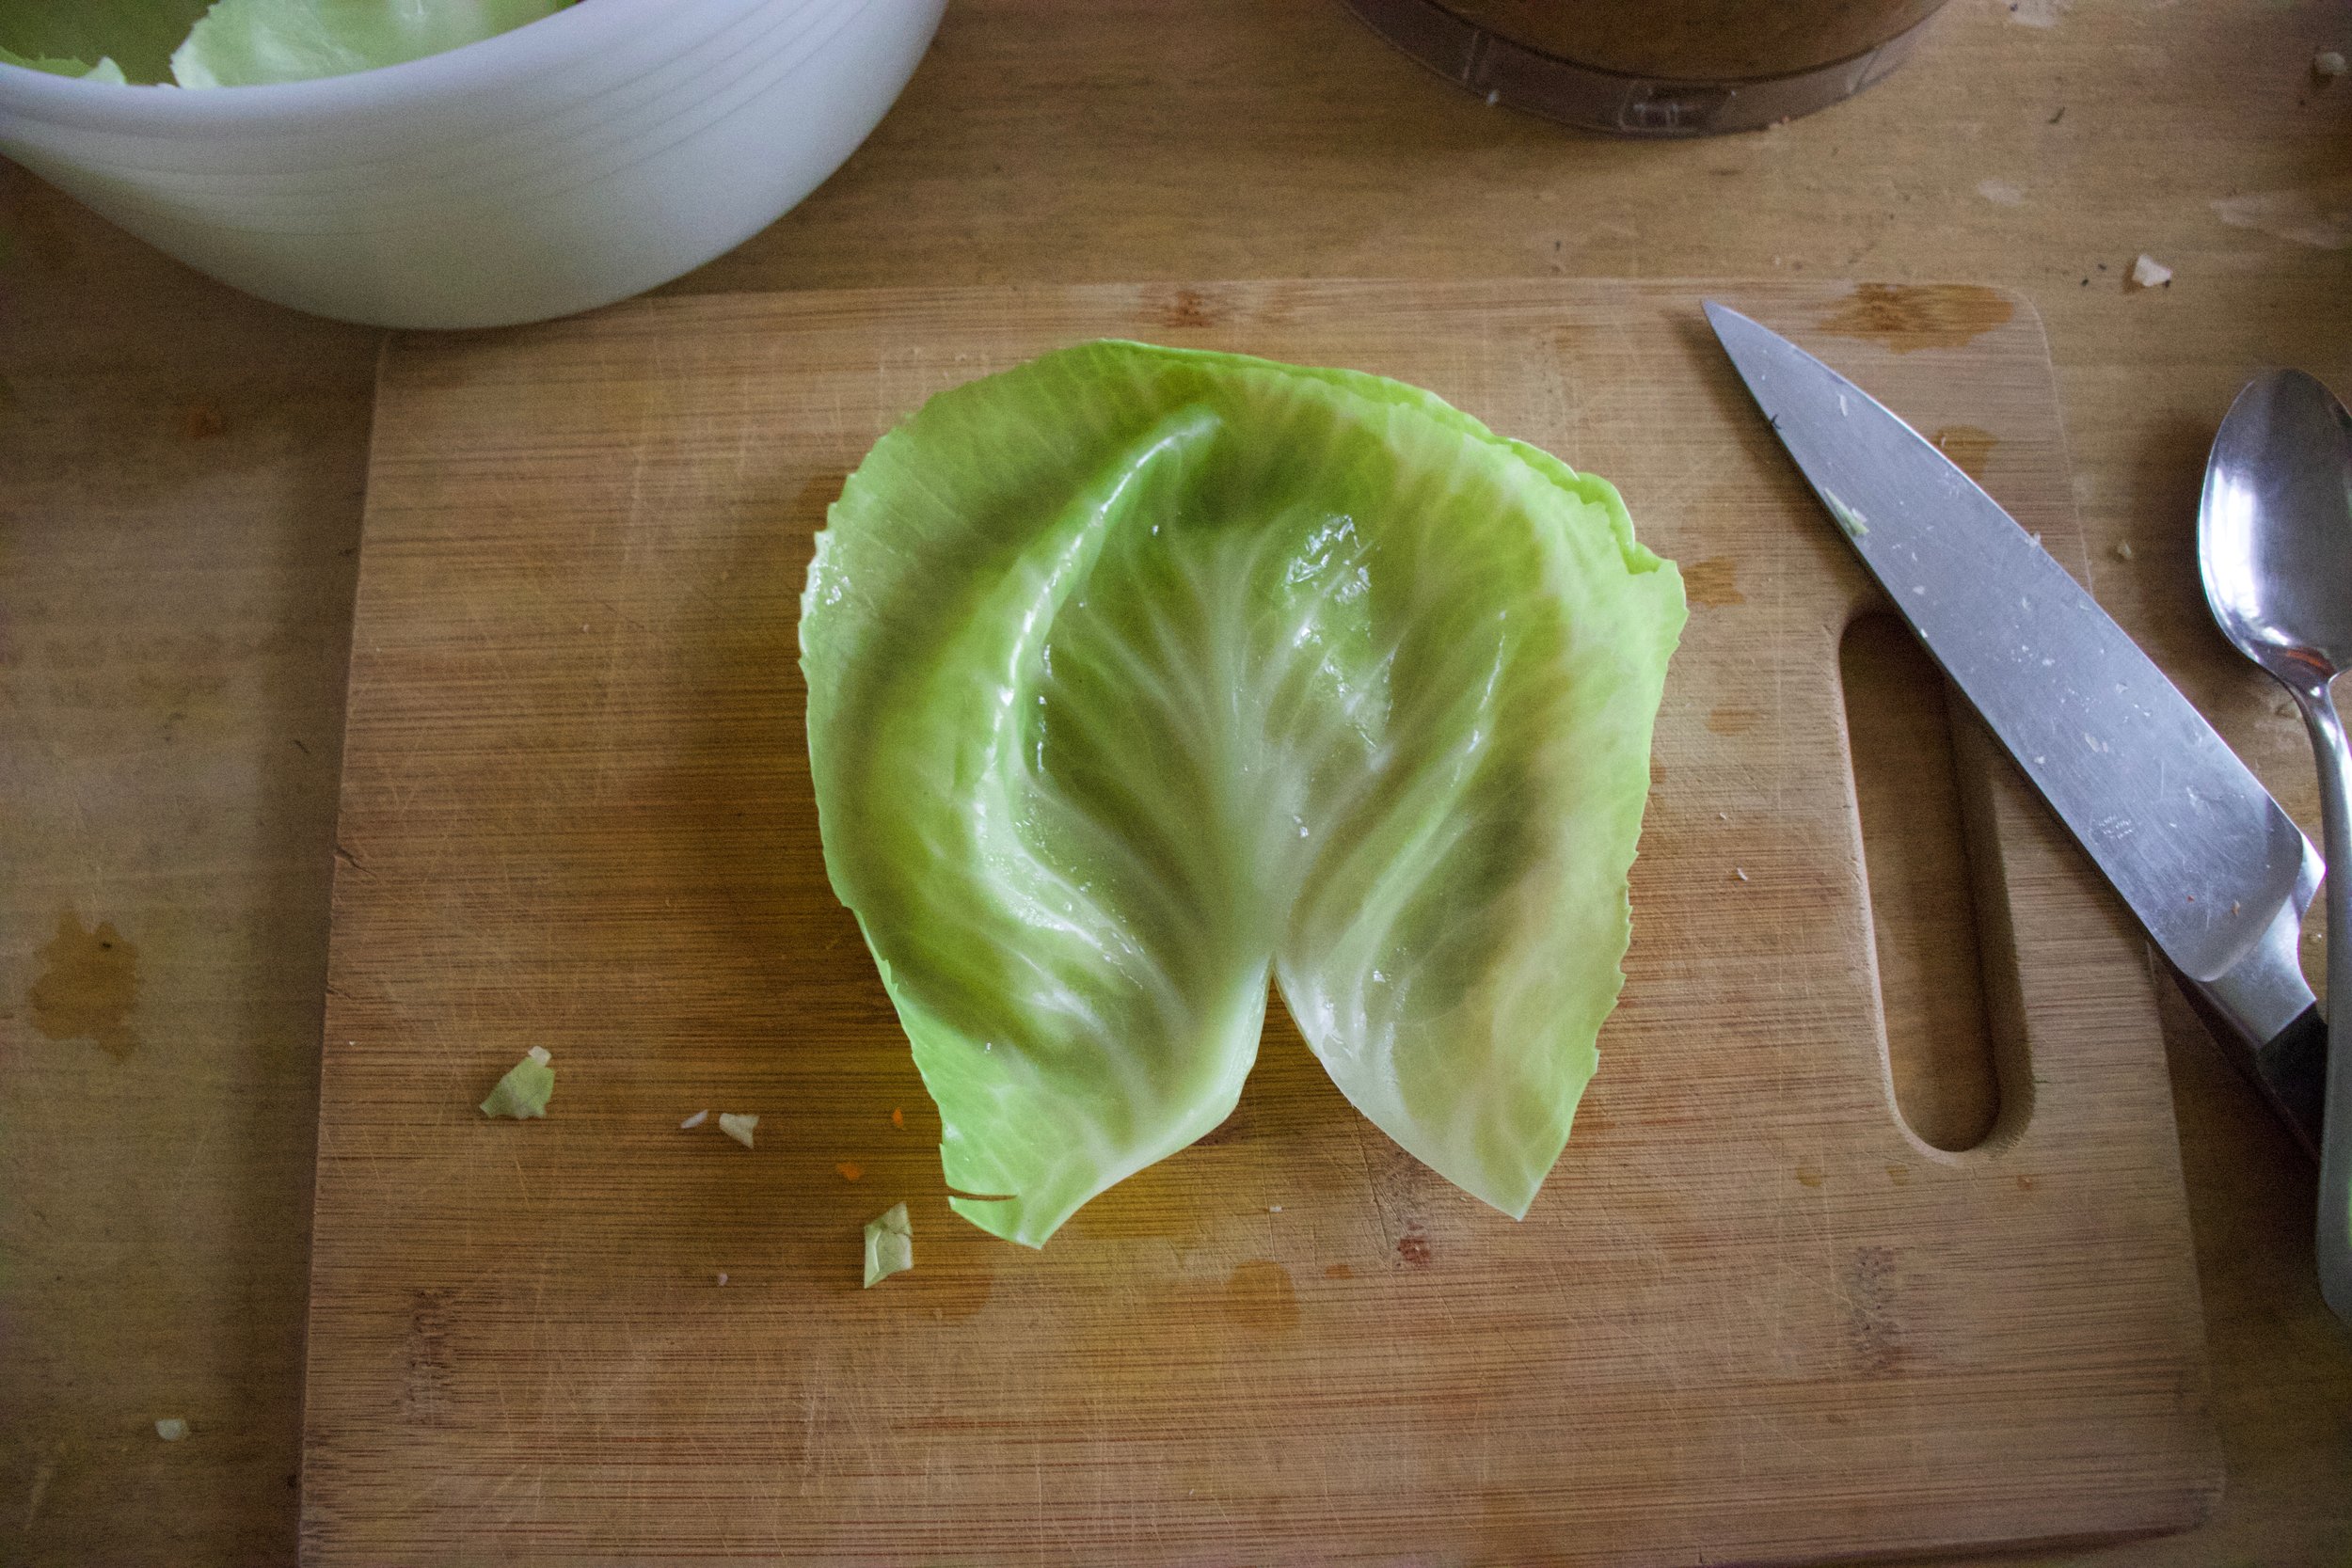
Start by cutting the squash in half and scooping out all the seeds.

Place the squash open side down on a baking sheet or in a skillet lightly oiled and then stick into a hot oven to roast.

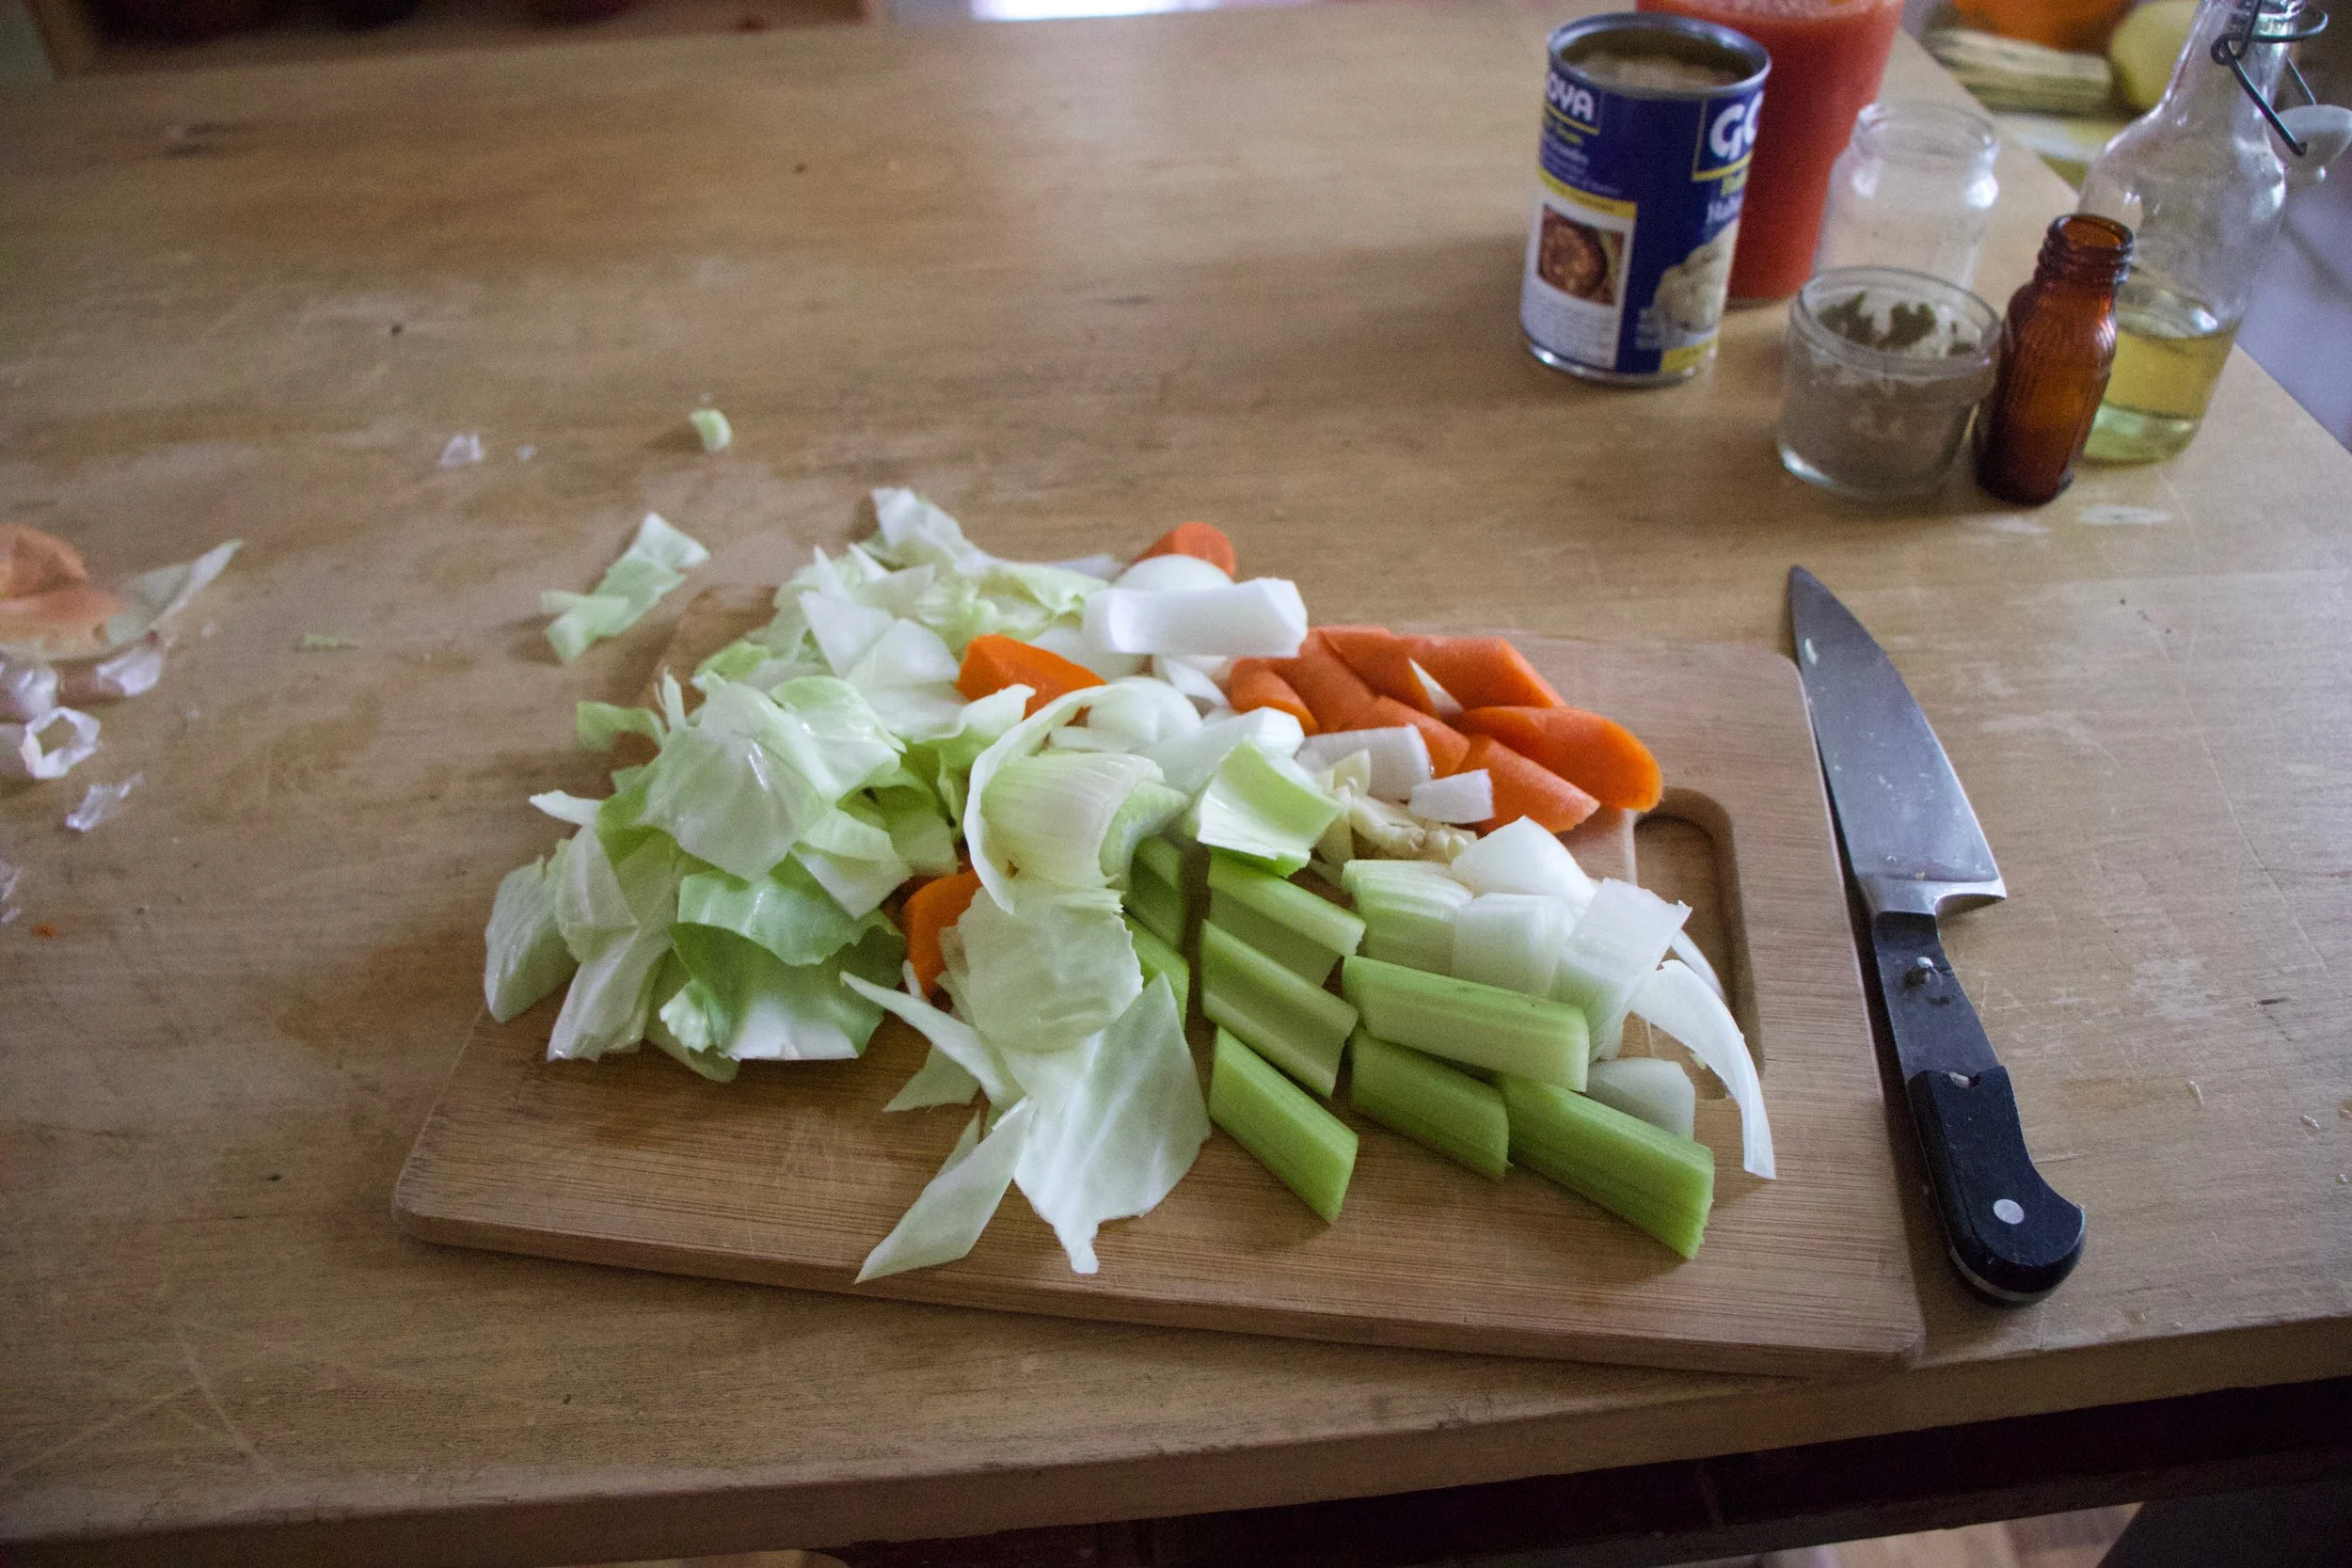
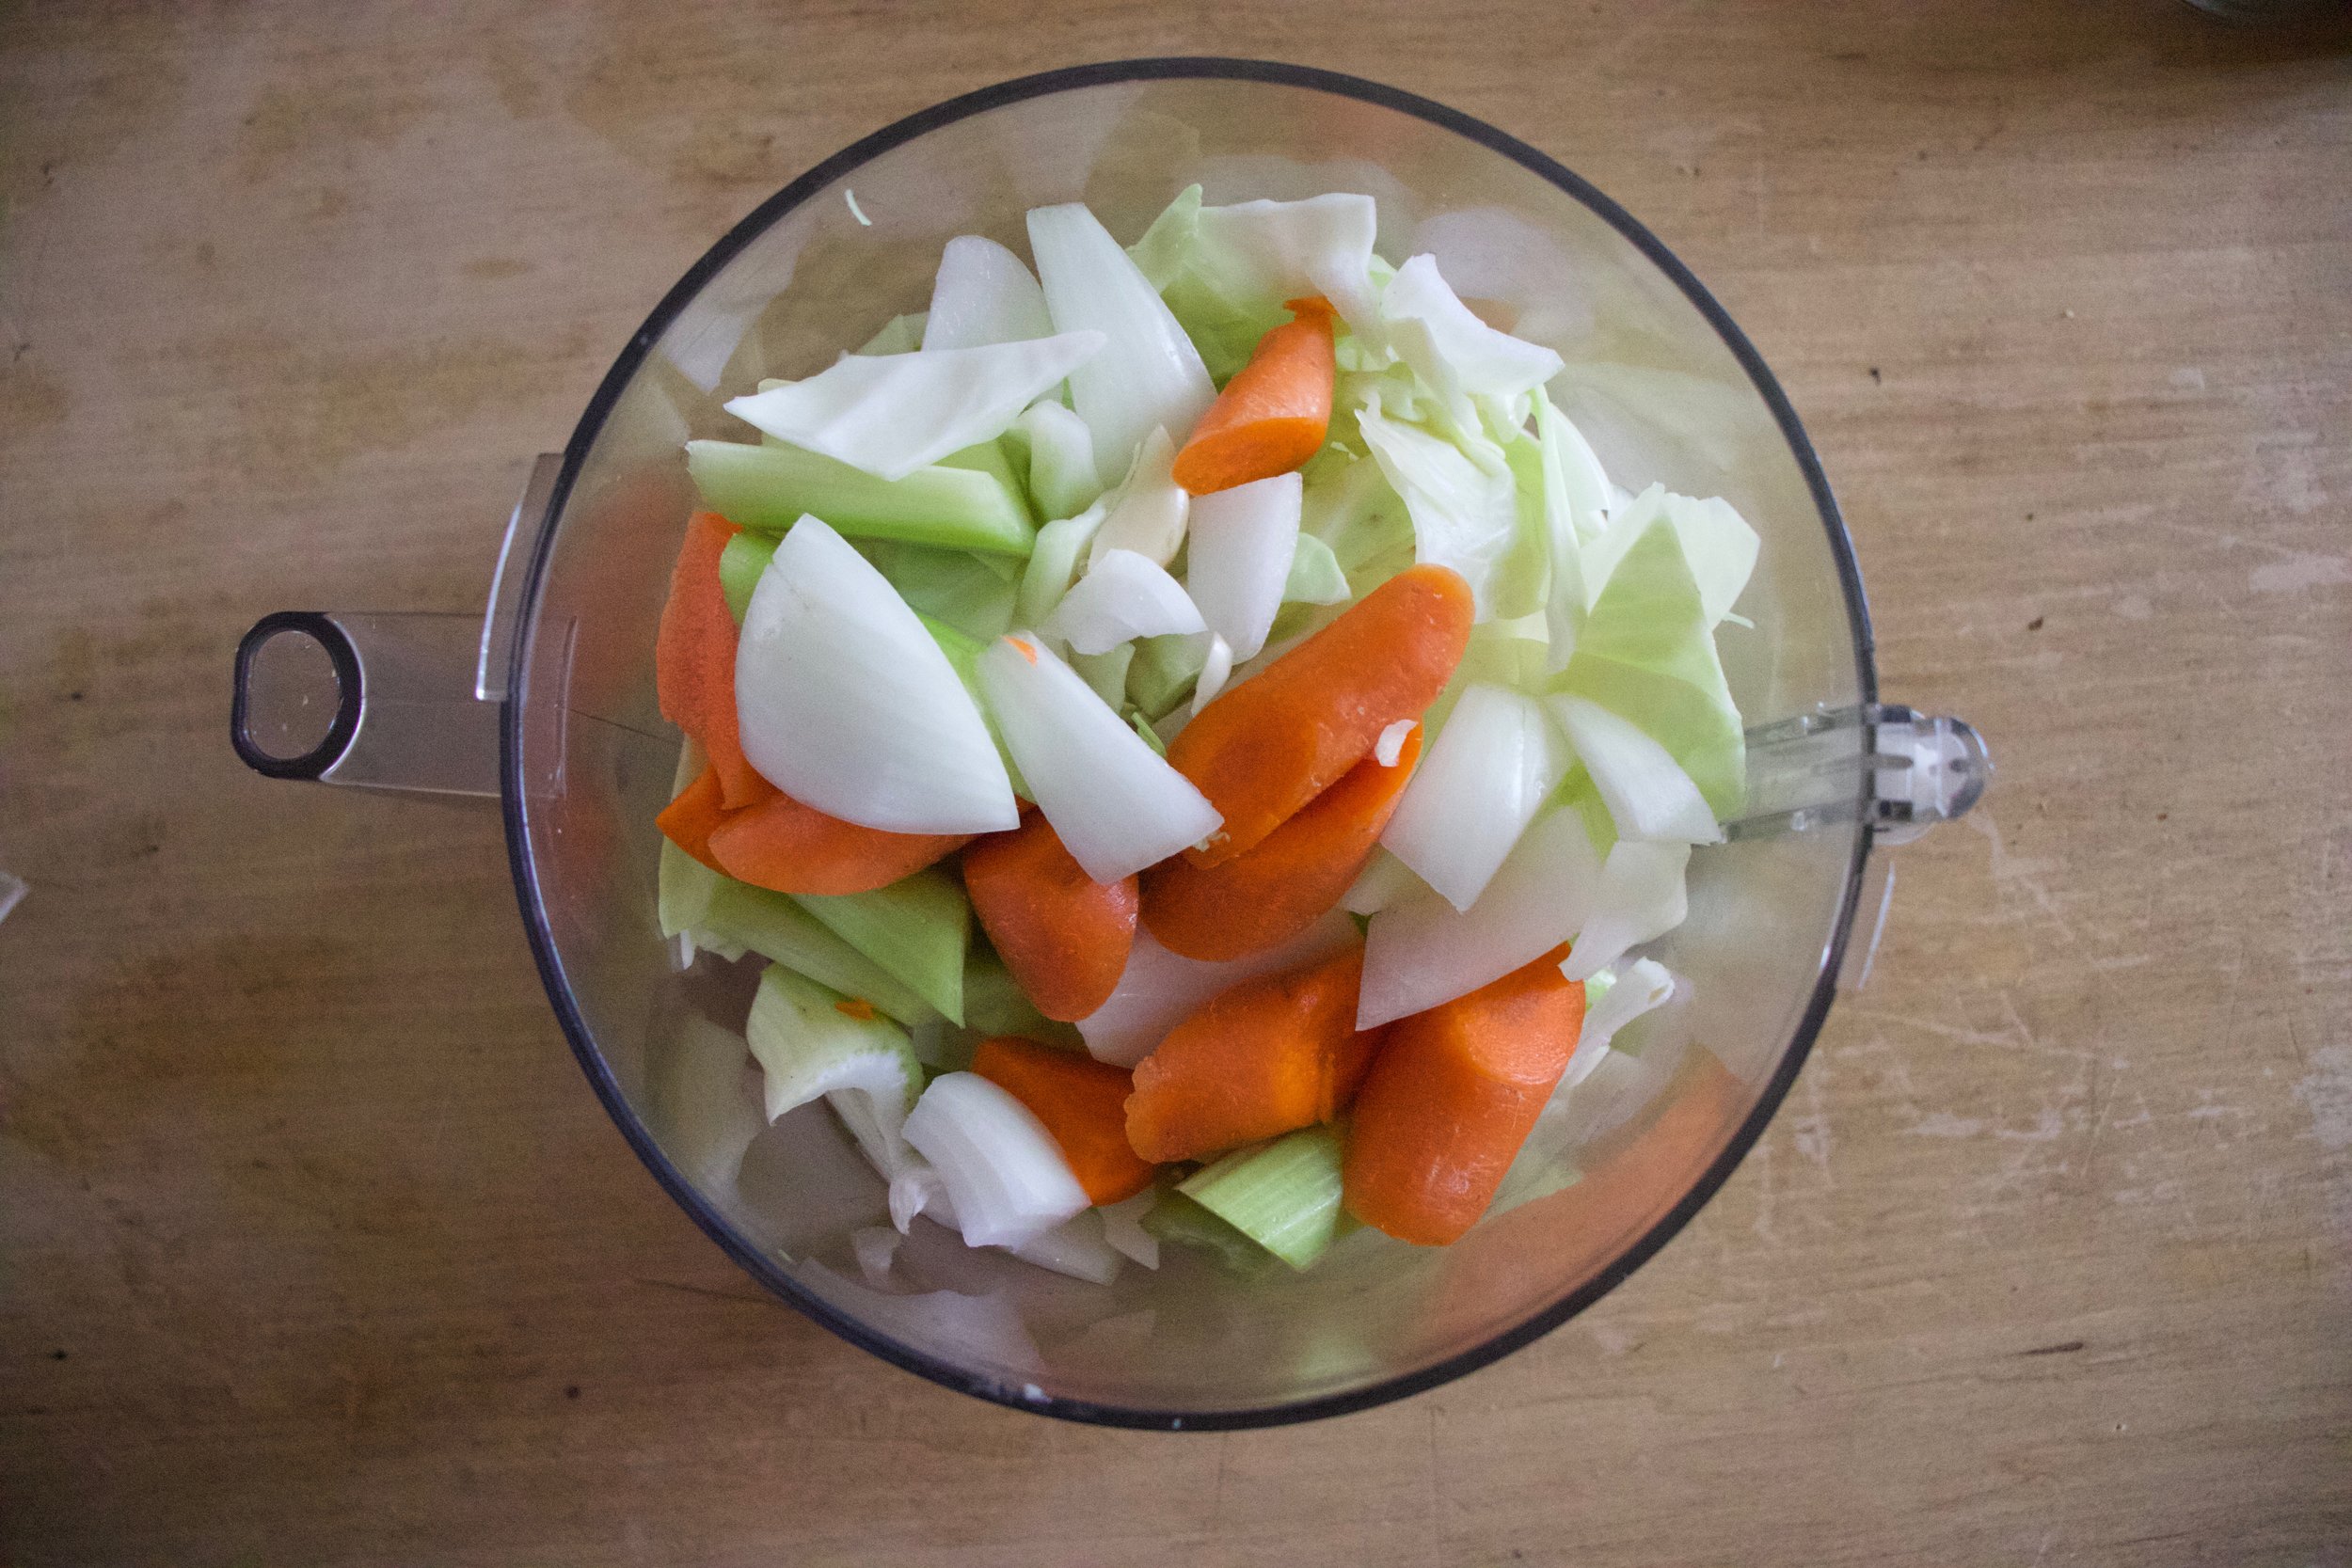
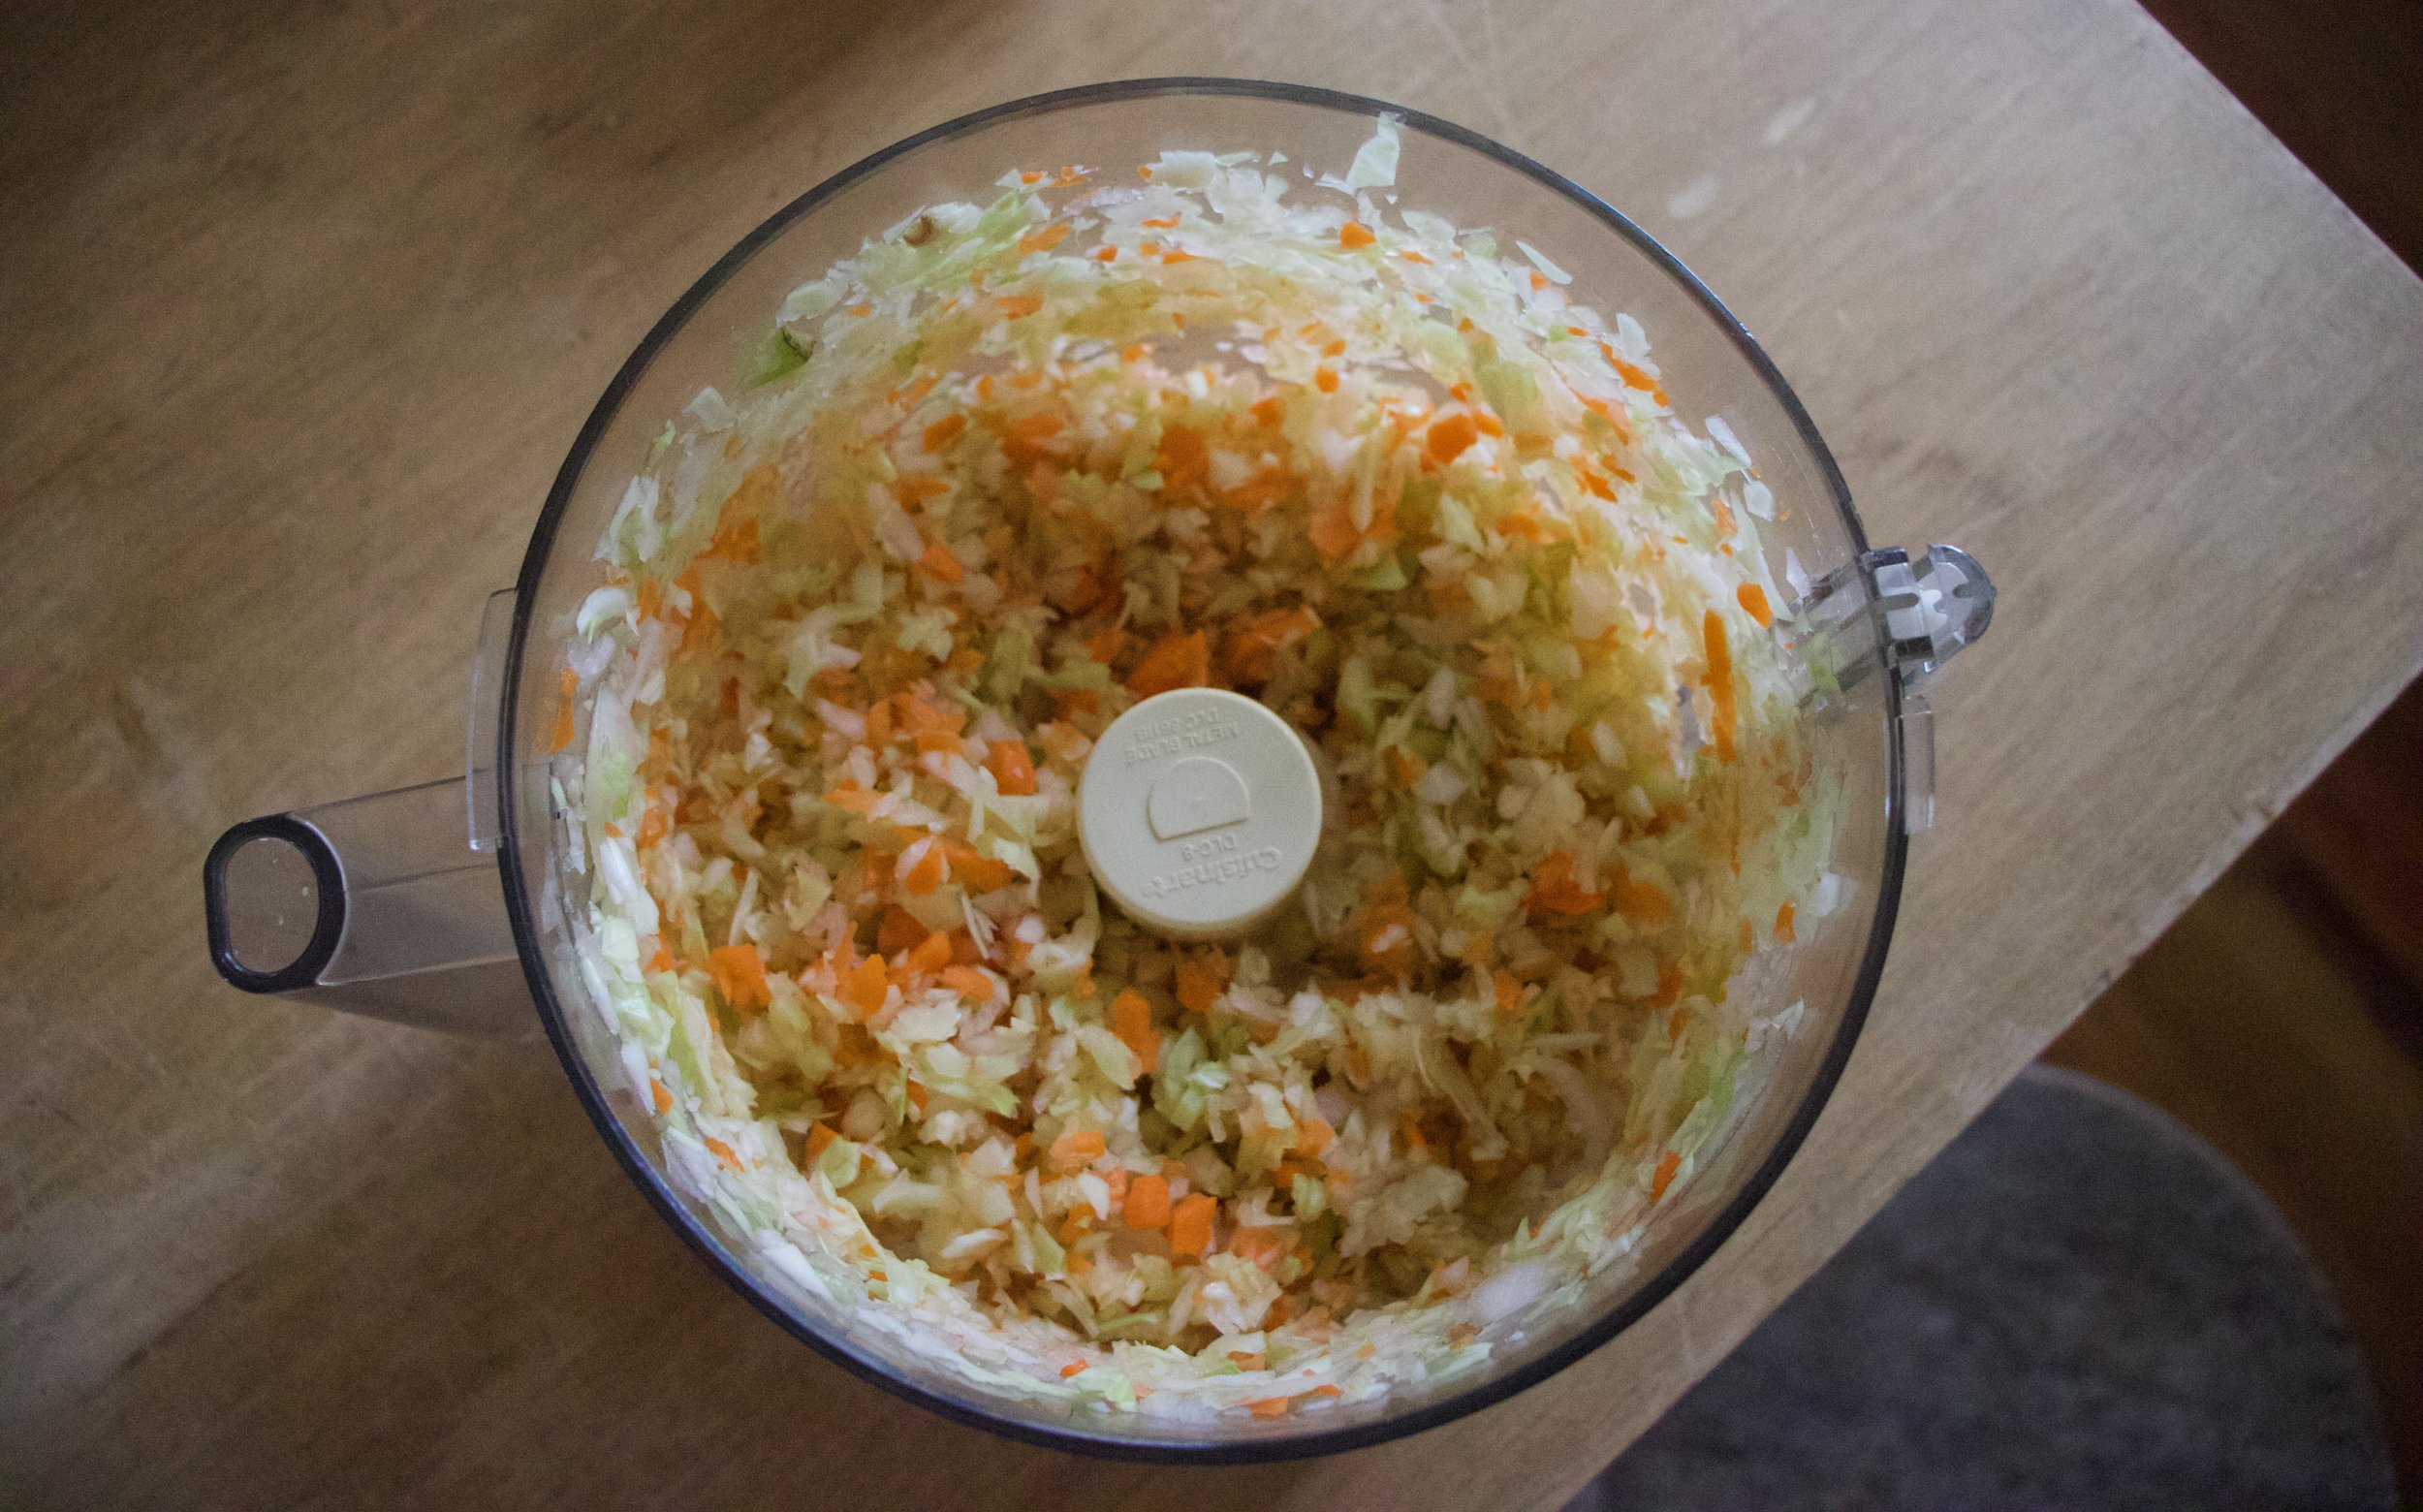
After the squash goes in, dice up the onion and cauliflower into small little pieces.

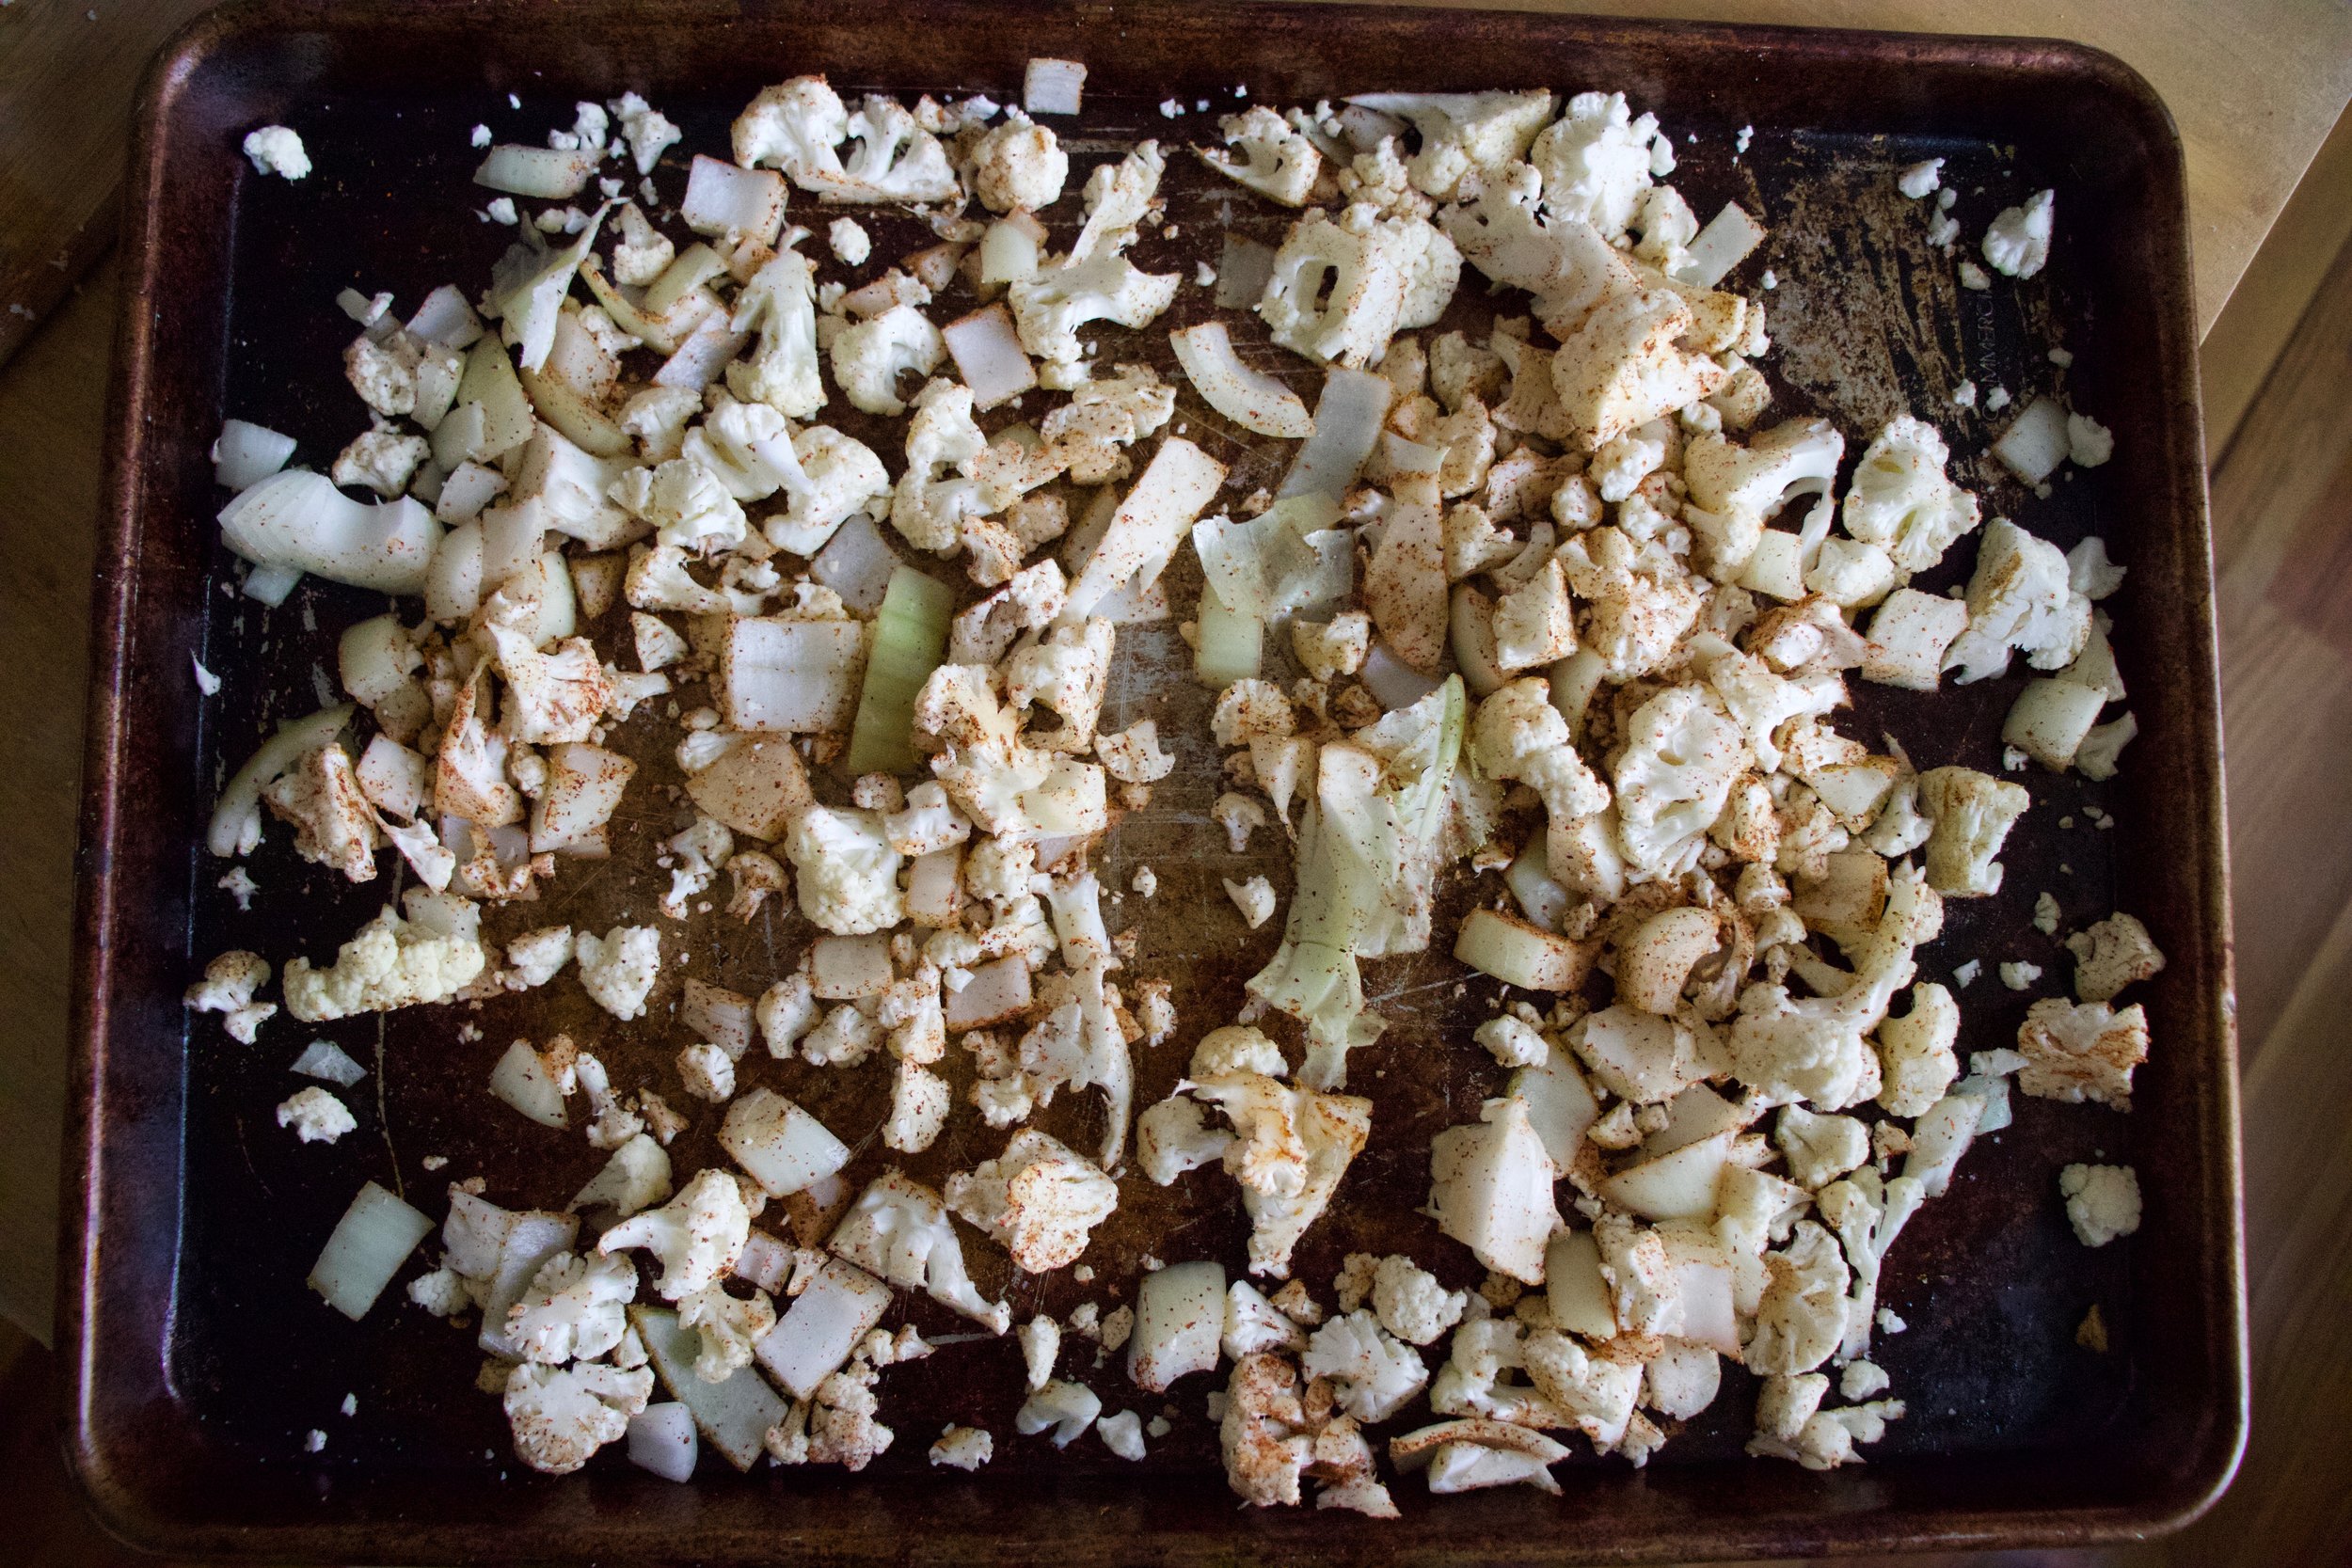
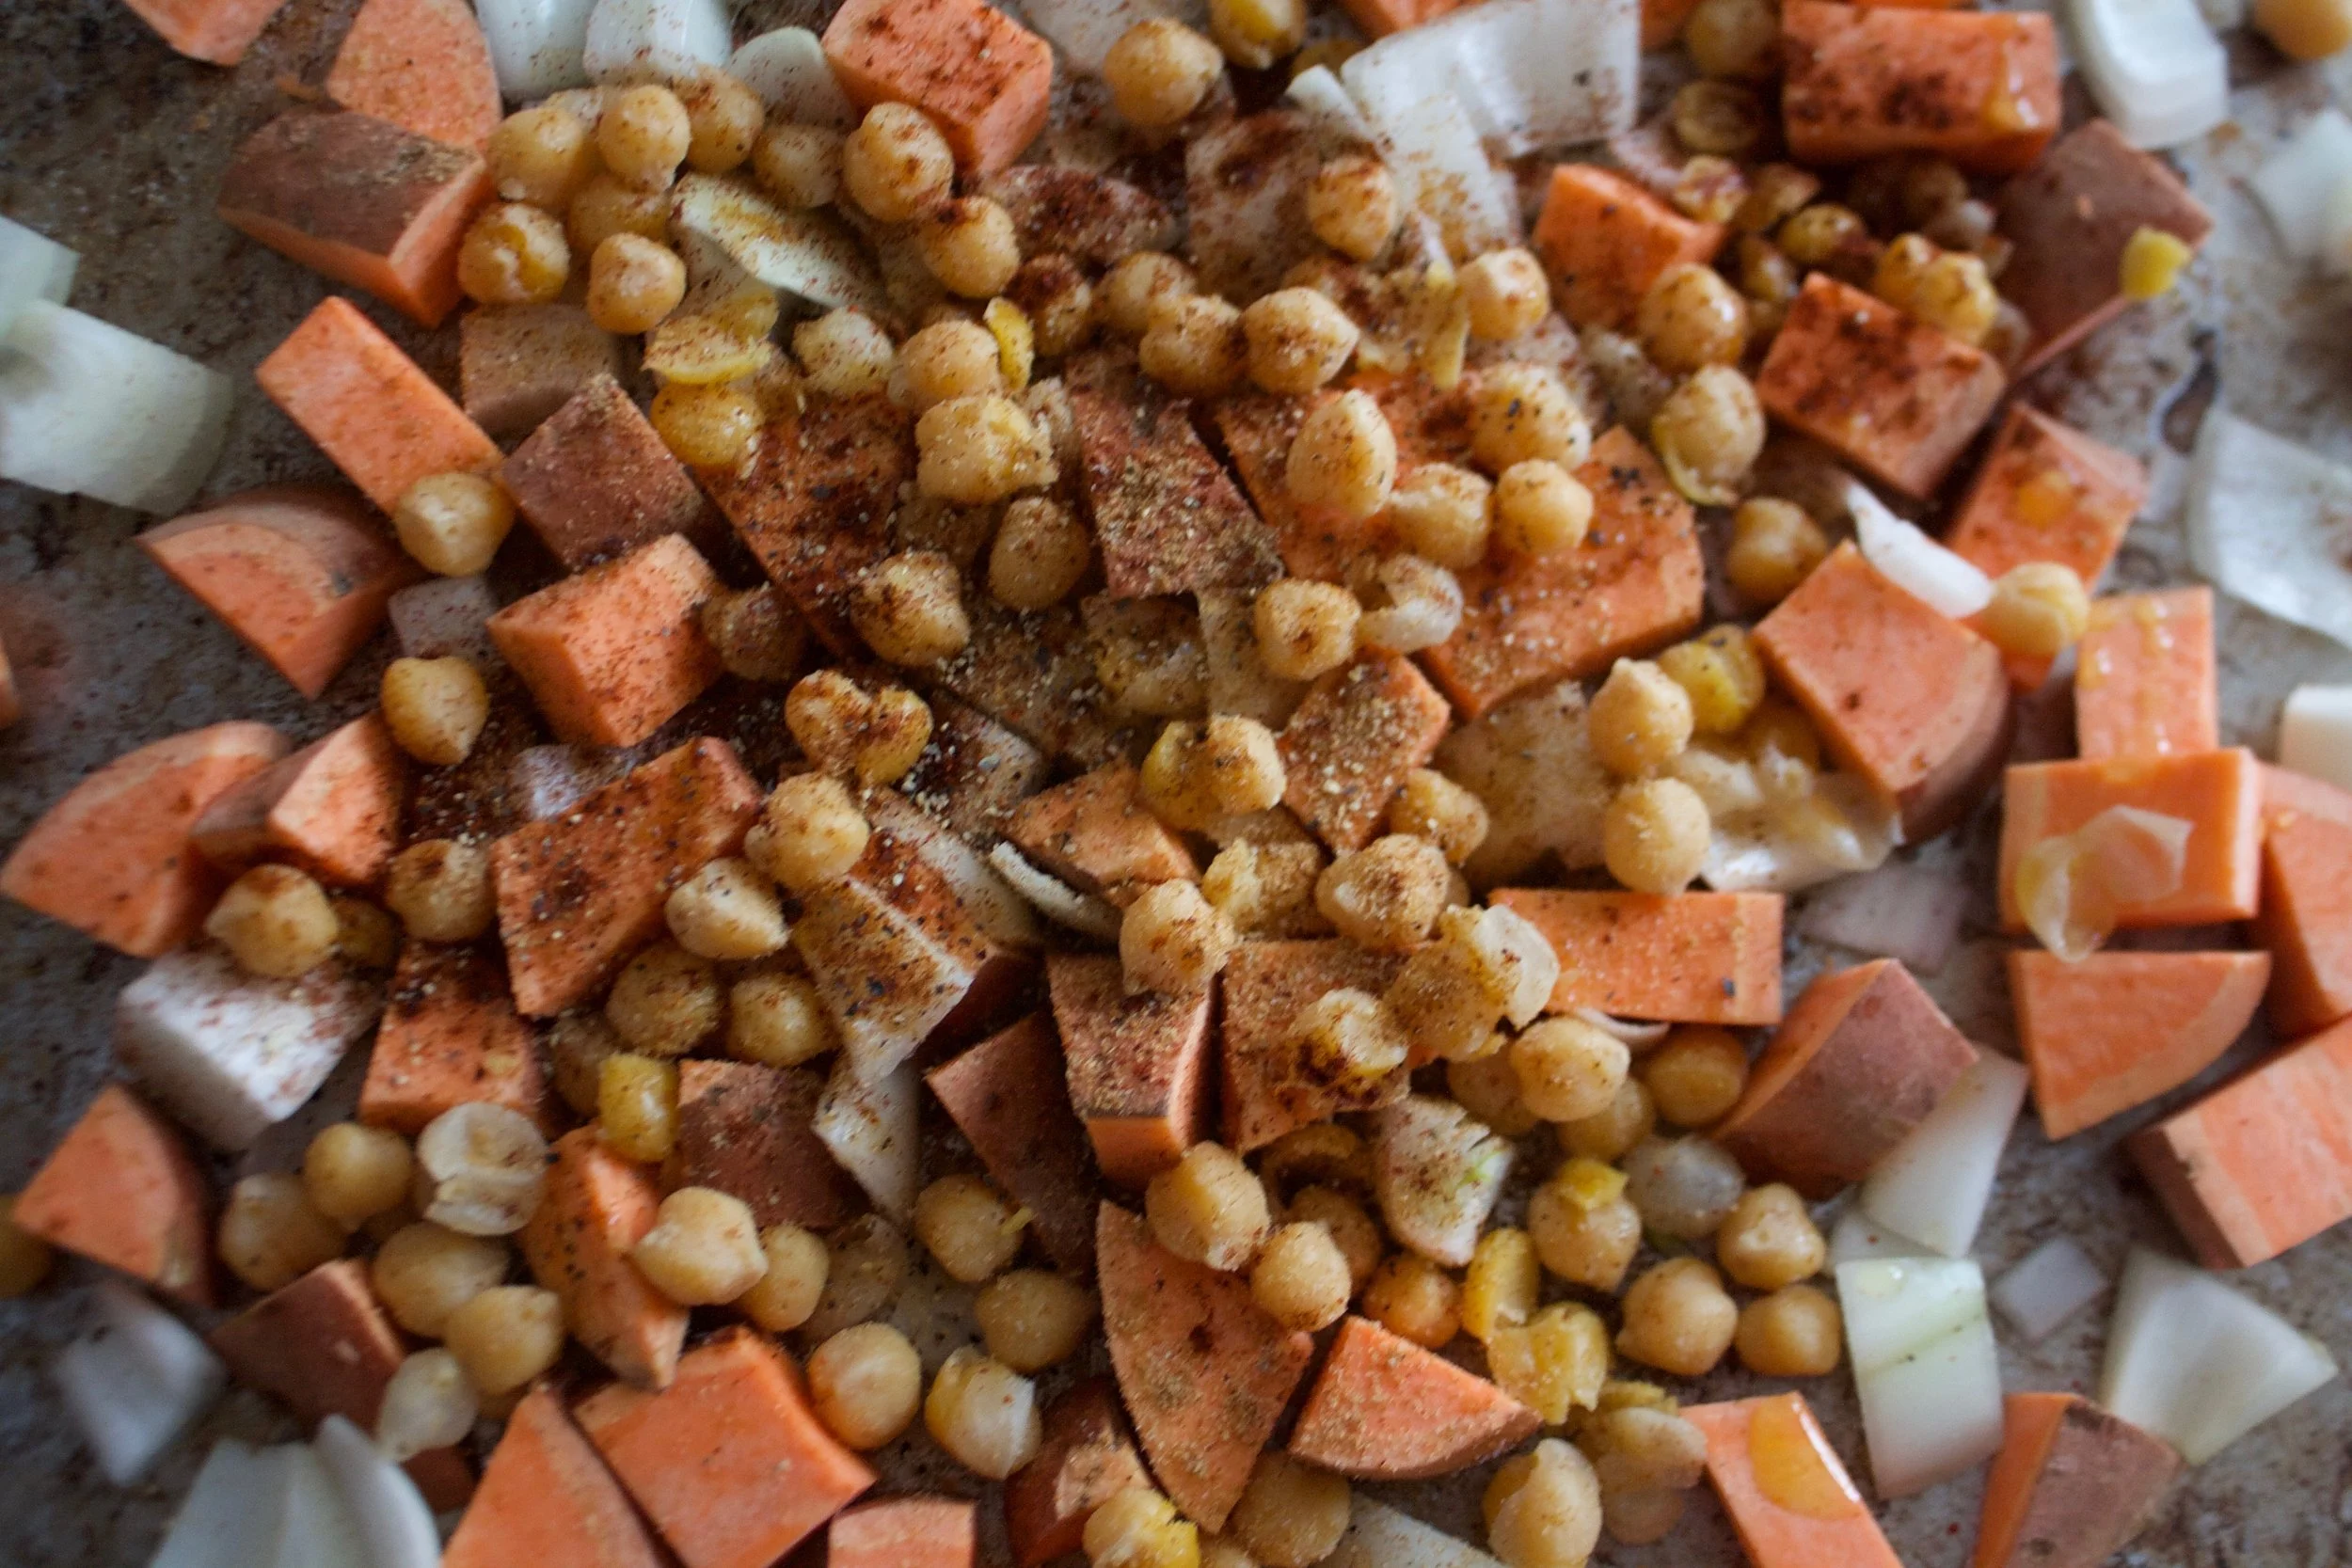
Place the chopped stuff onto a baking sheet. Drizzle with olive oil and toss with the cumin, chili powder, salt, and pepper. Get that into the oven too.

Roasted, and ready. Stop, do not eat it all, but you might want too, it is so freaking good.

And once this guy in fork tender, its ready as well.

IMG_2048.jpg

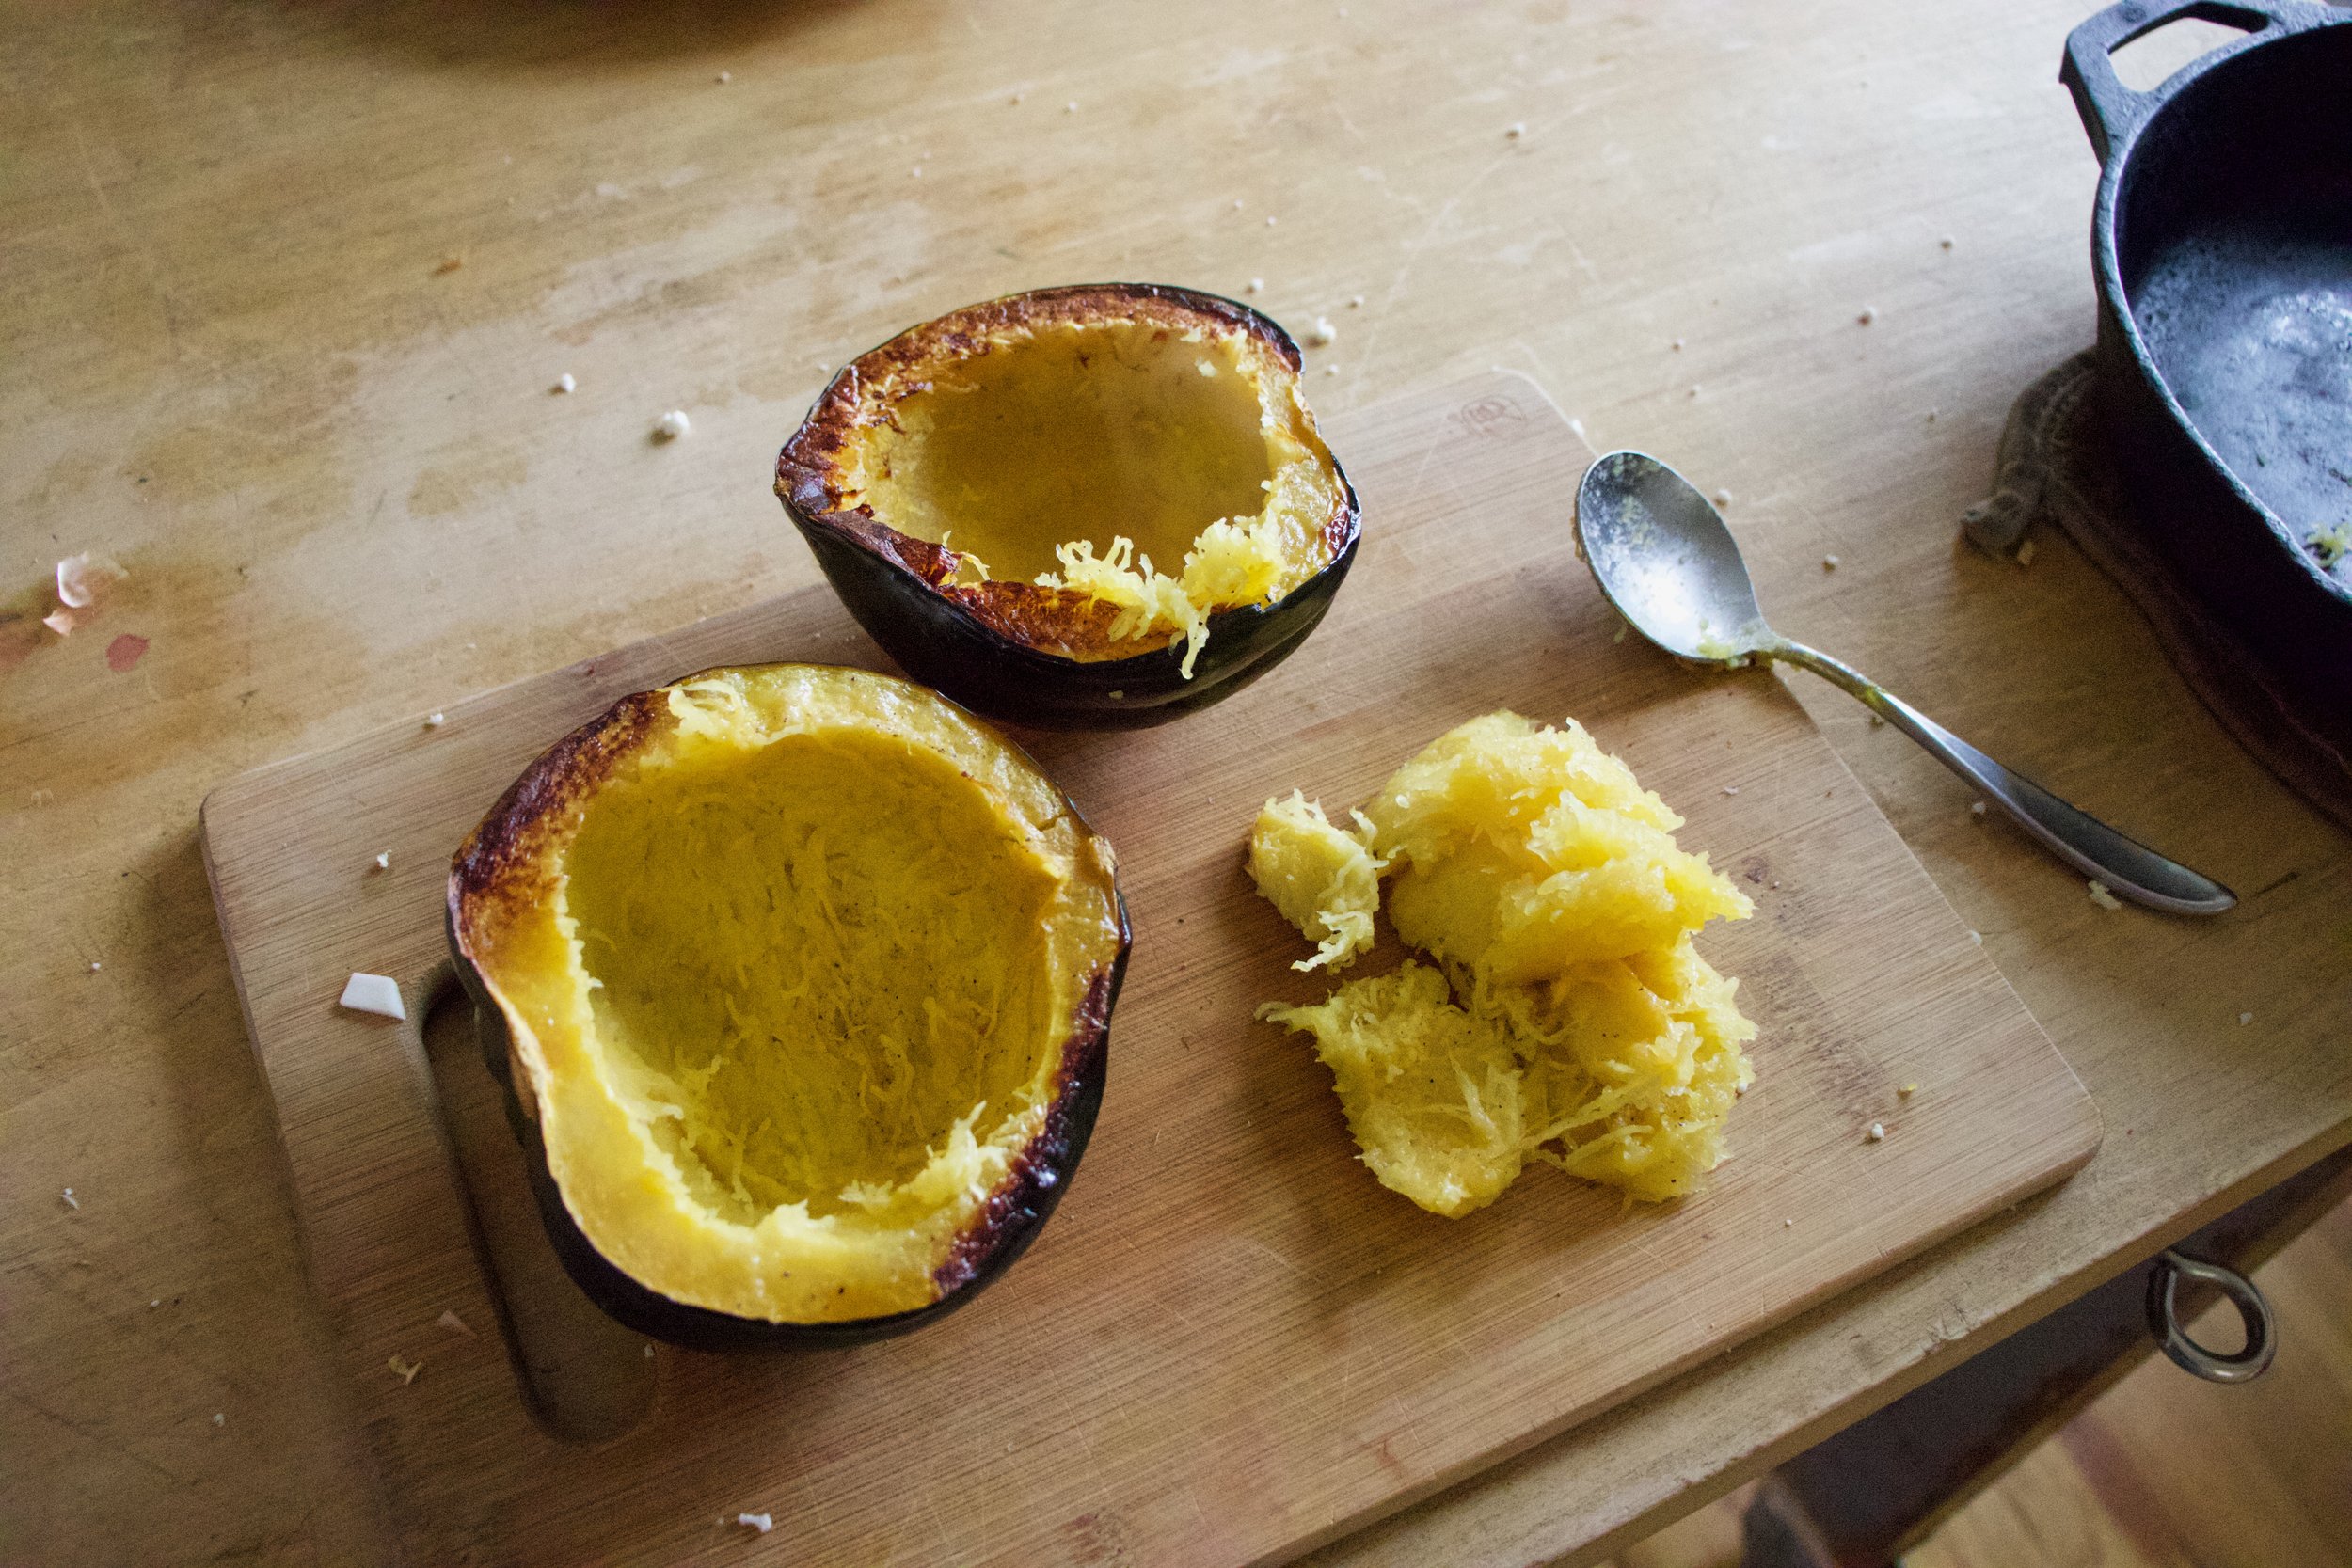
Scoop out a bit of the cooked squash from each side making the well bigger. More room to stuff.

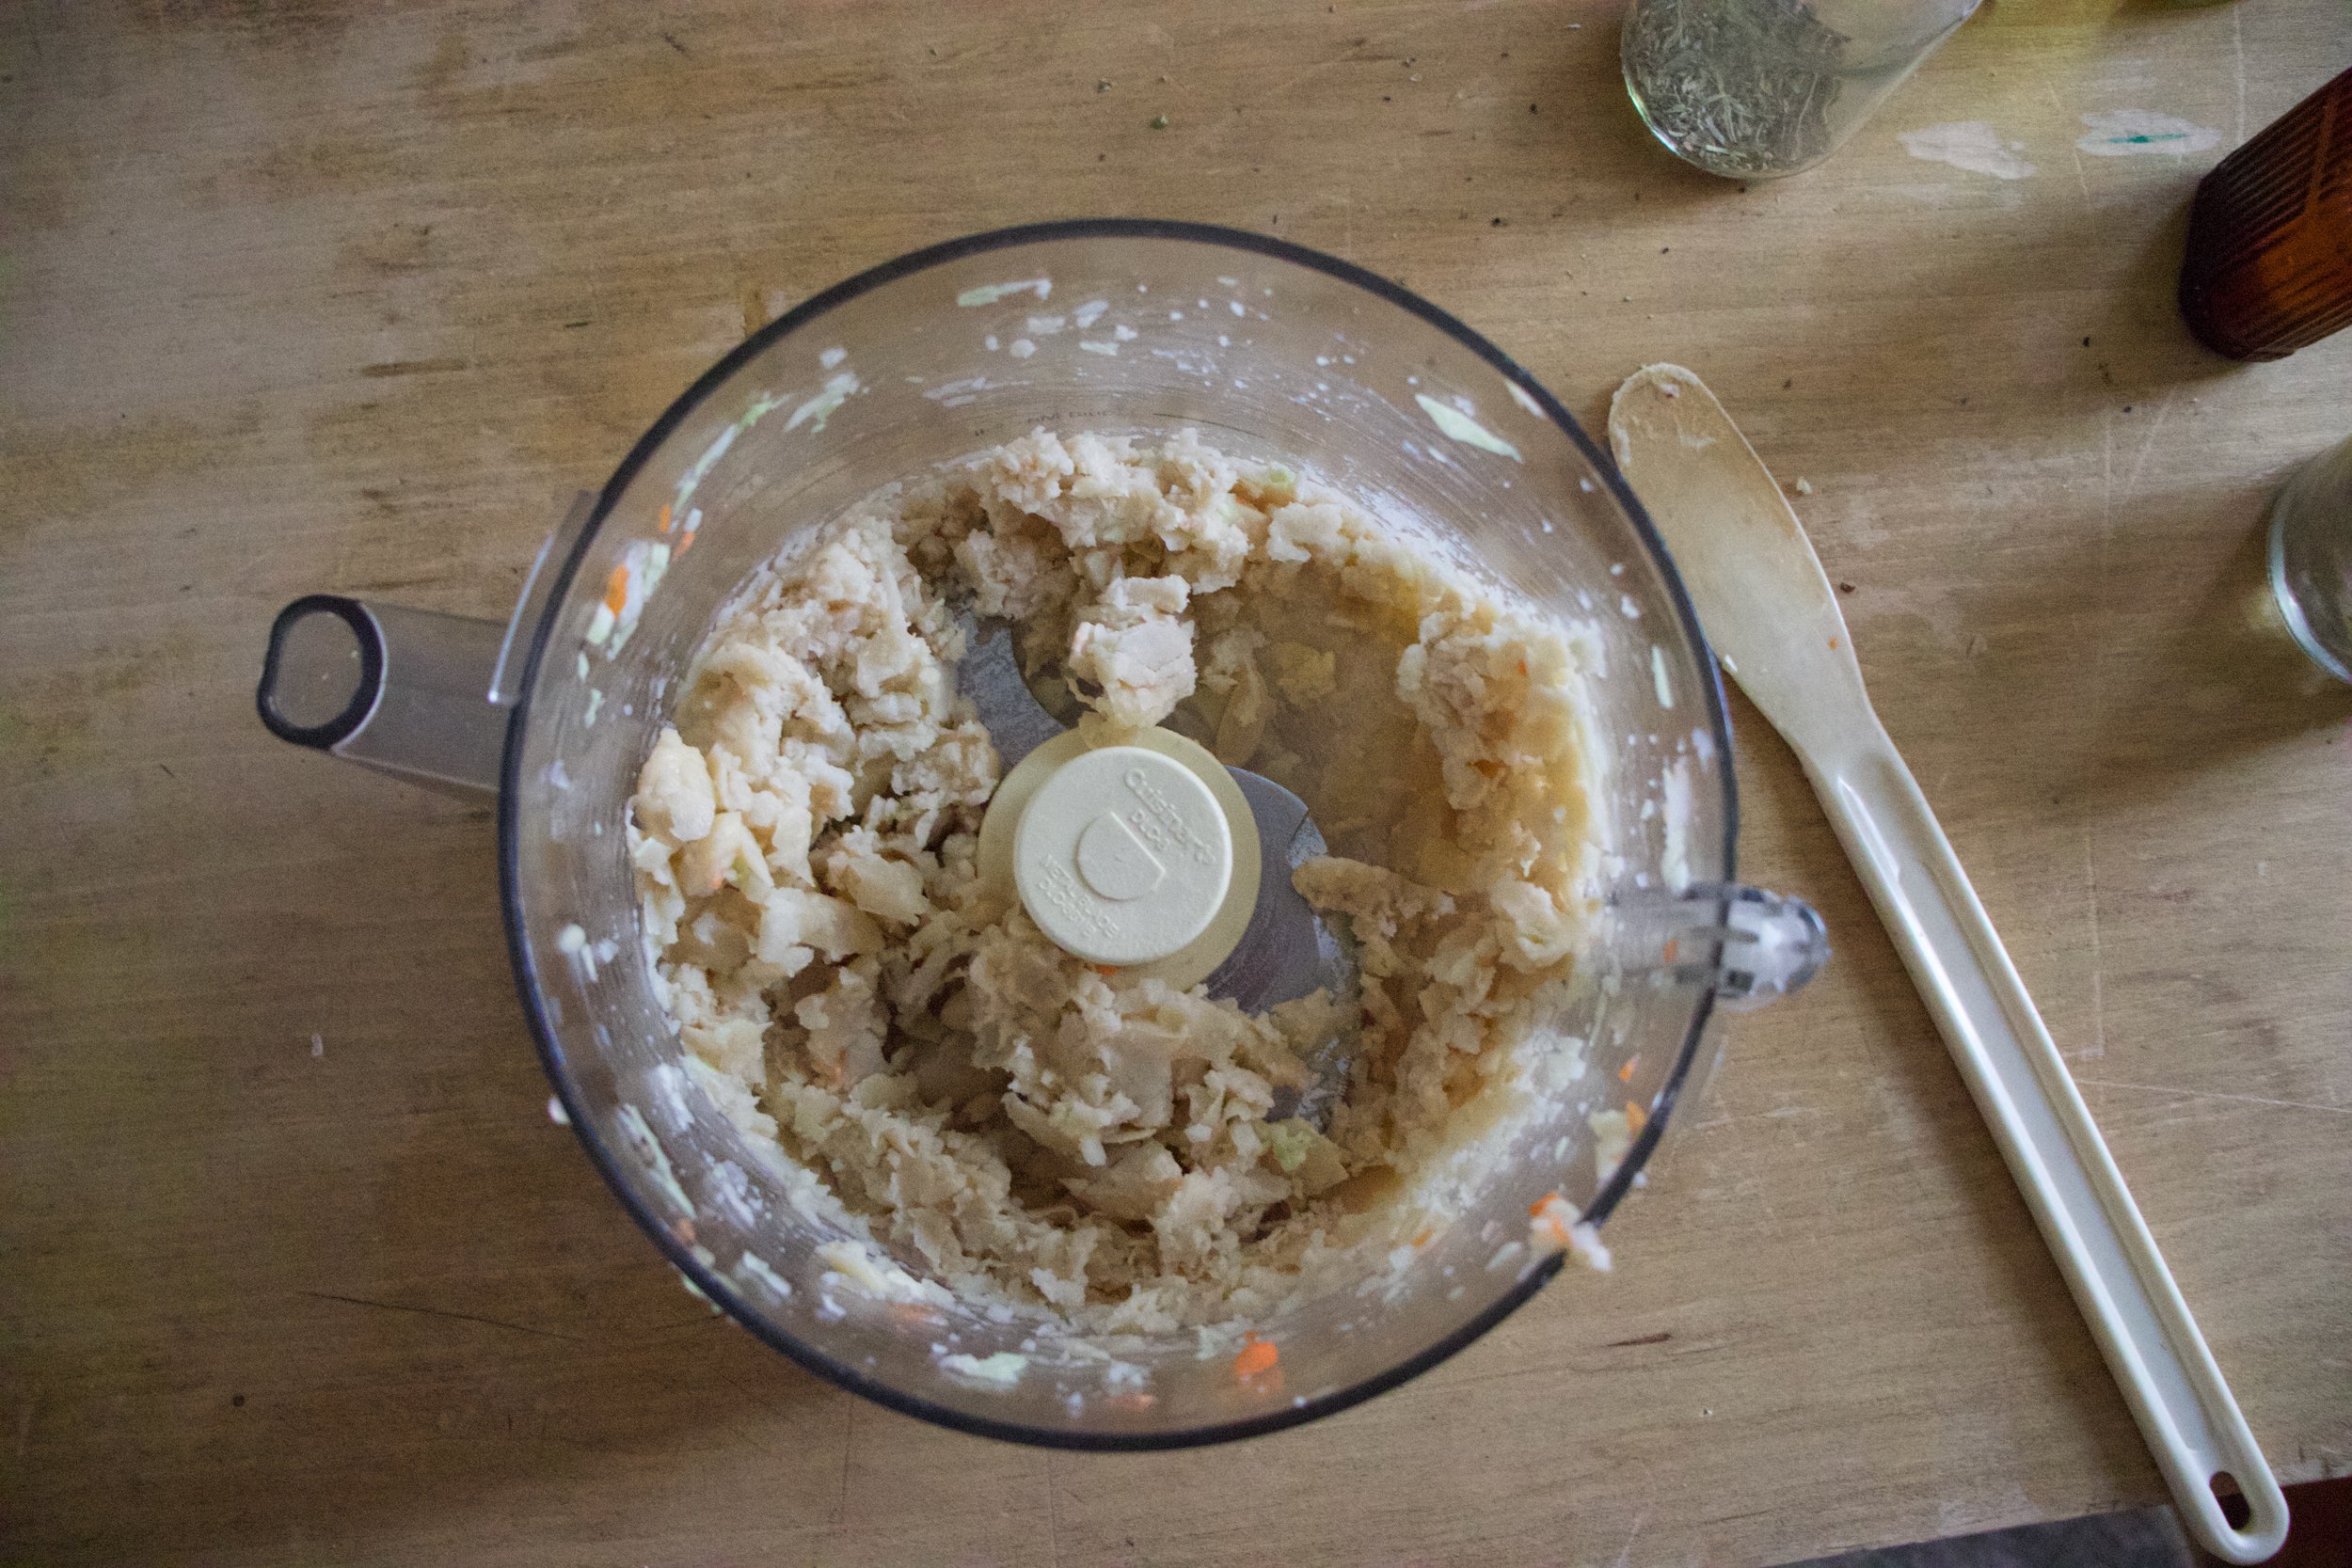
Get everything together. Chop the kale, grab a bowl.

IMG_2055.jpg
IMG_2059.jpg

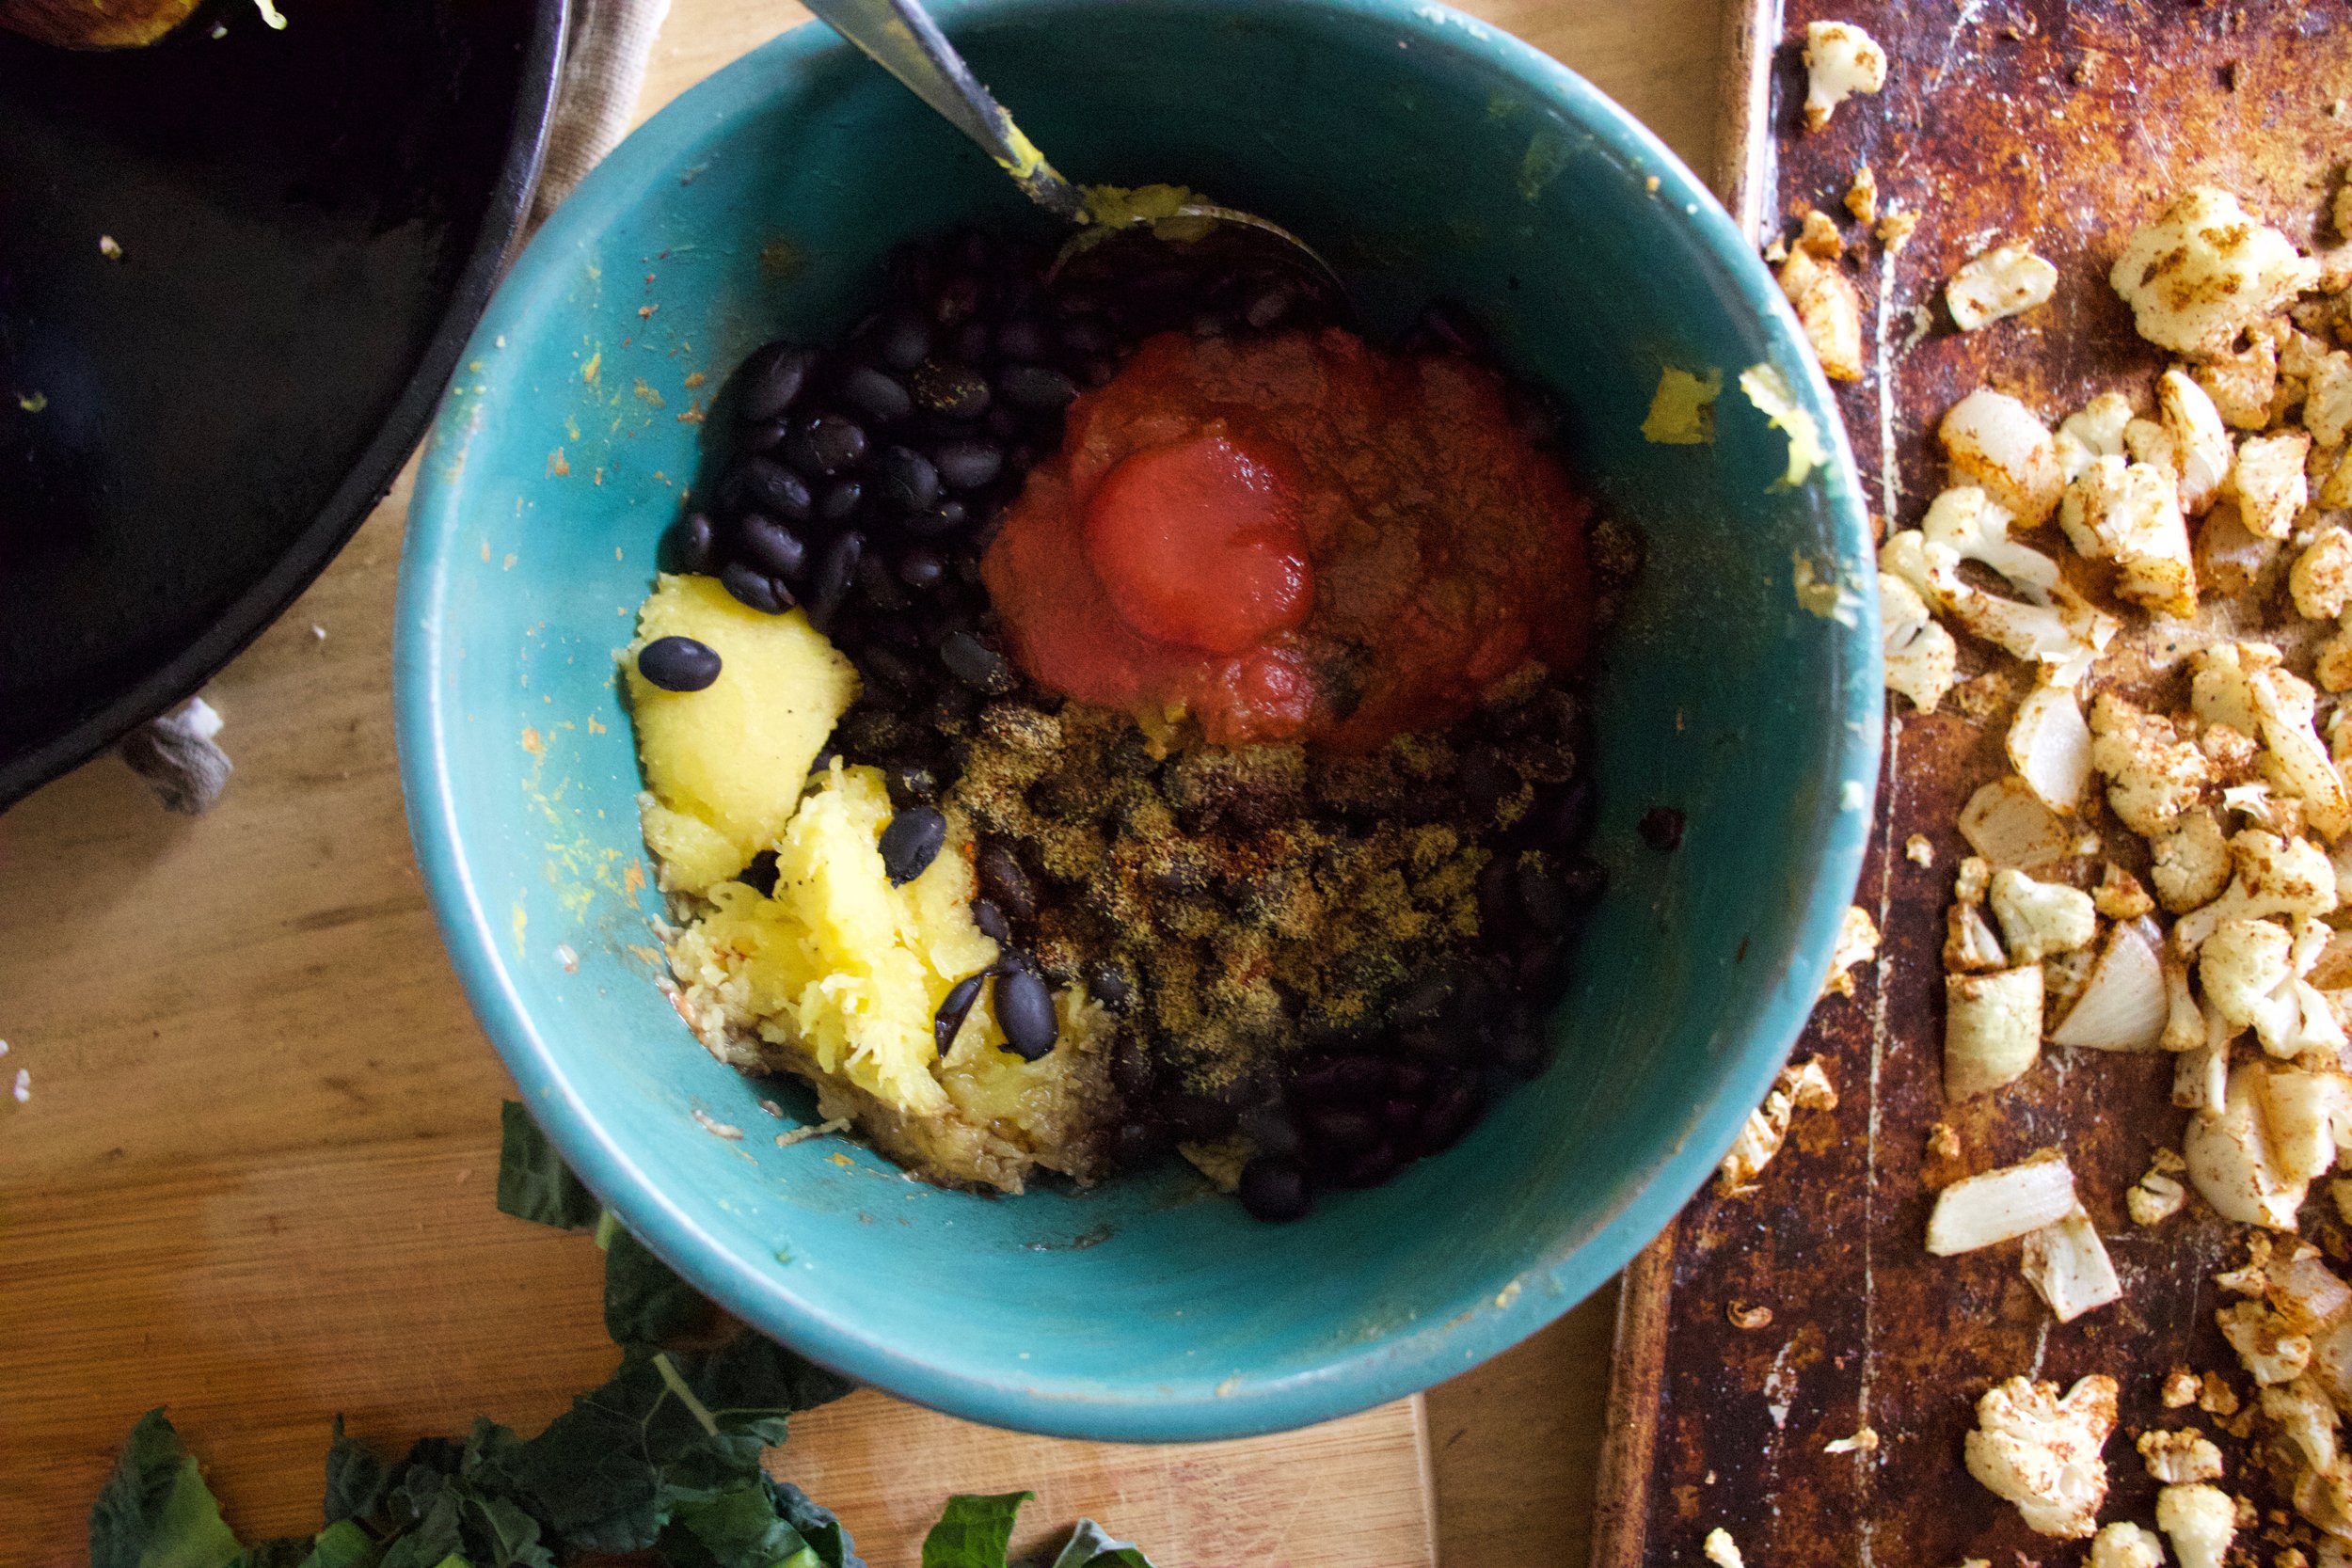
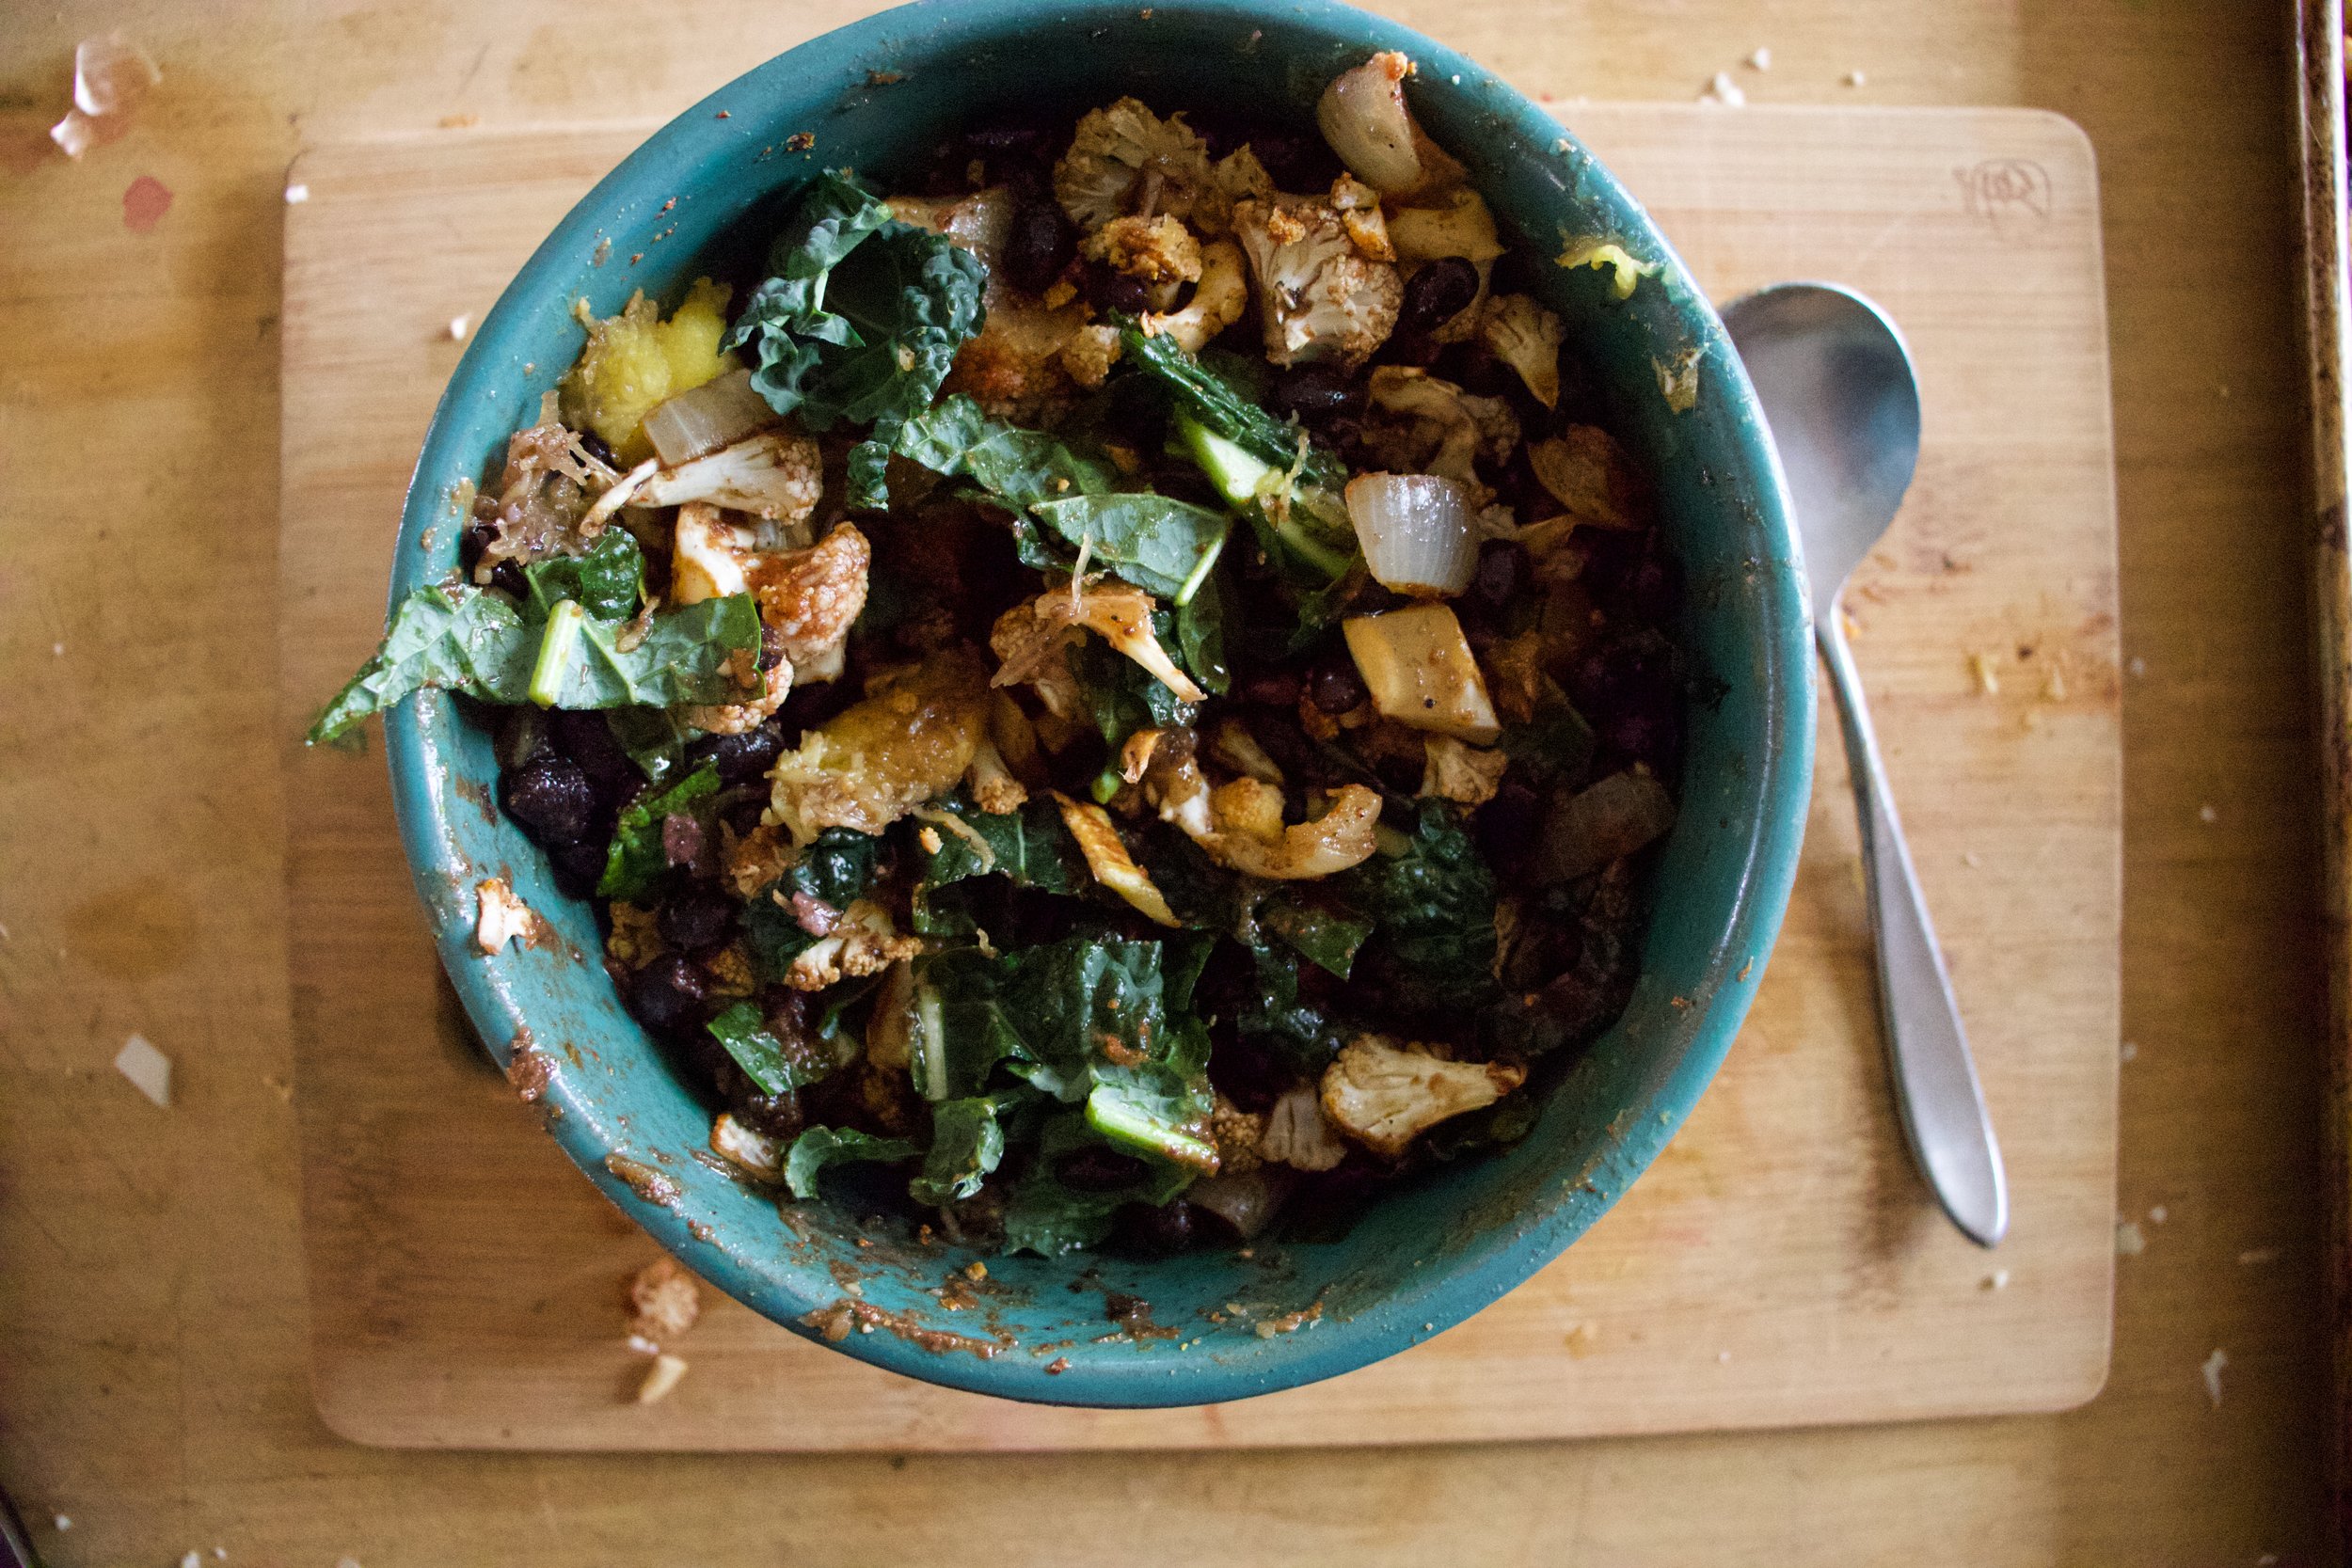
The black beans, salsa, scooped out cooked squash go into bowl. Add in the roasted cauliflower and onion and the chopped kale and mix.

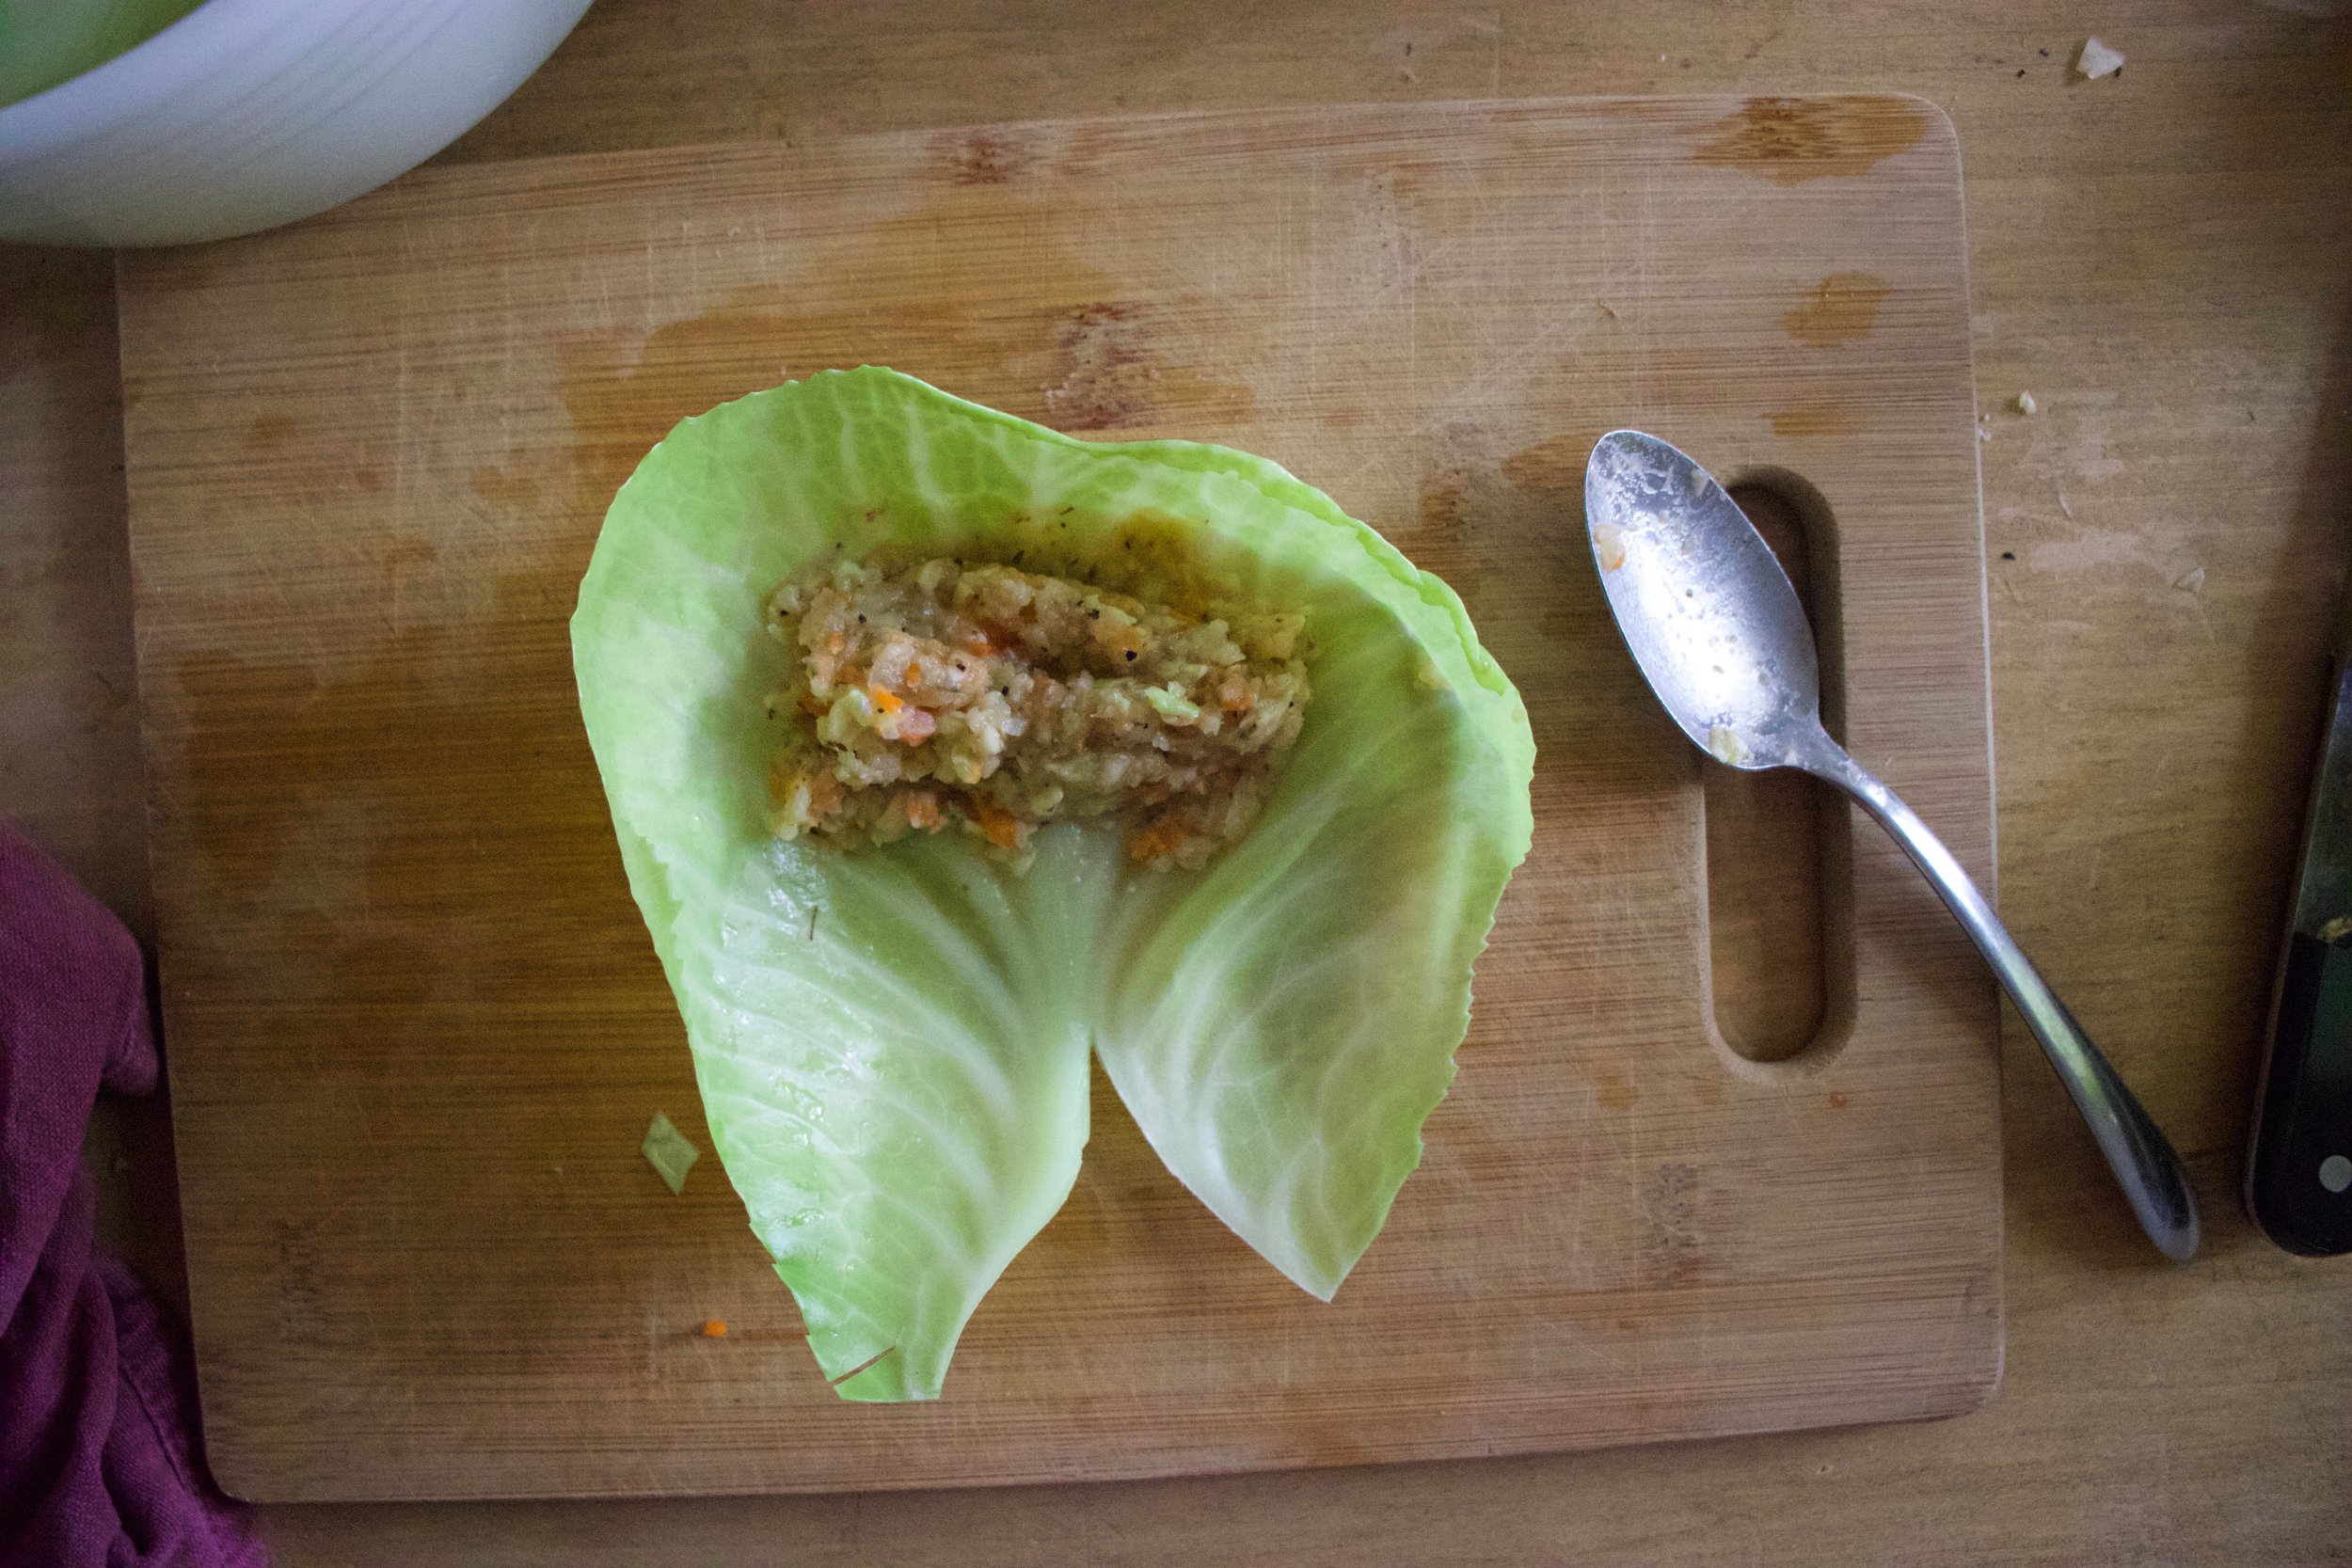
Now stuff each side. Get as much in as you can, mound it as high as you can and place back into oven to bake for a little bit longer.

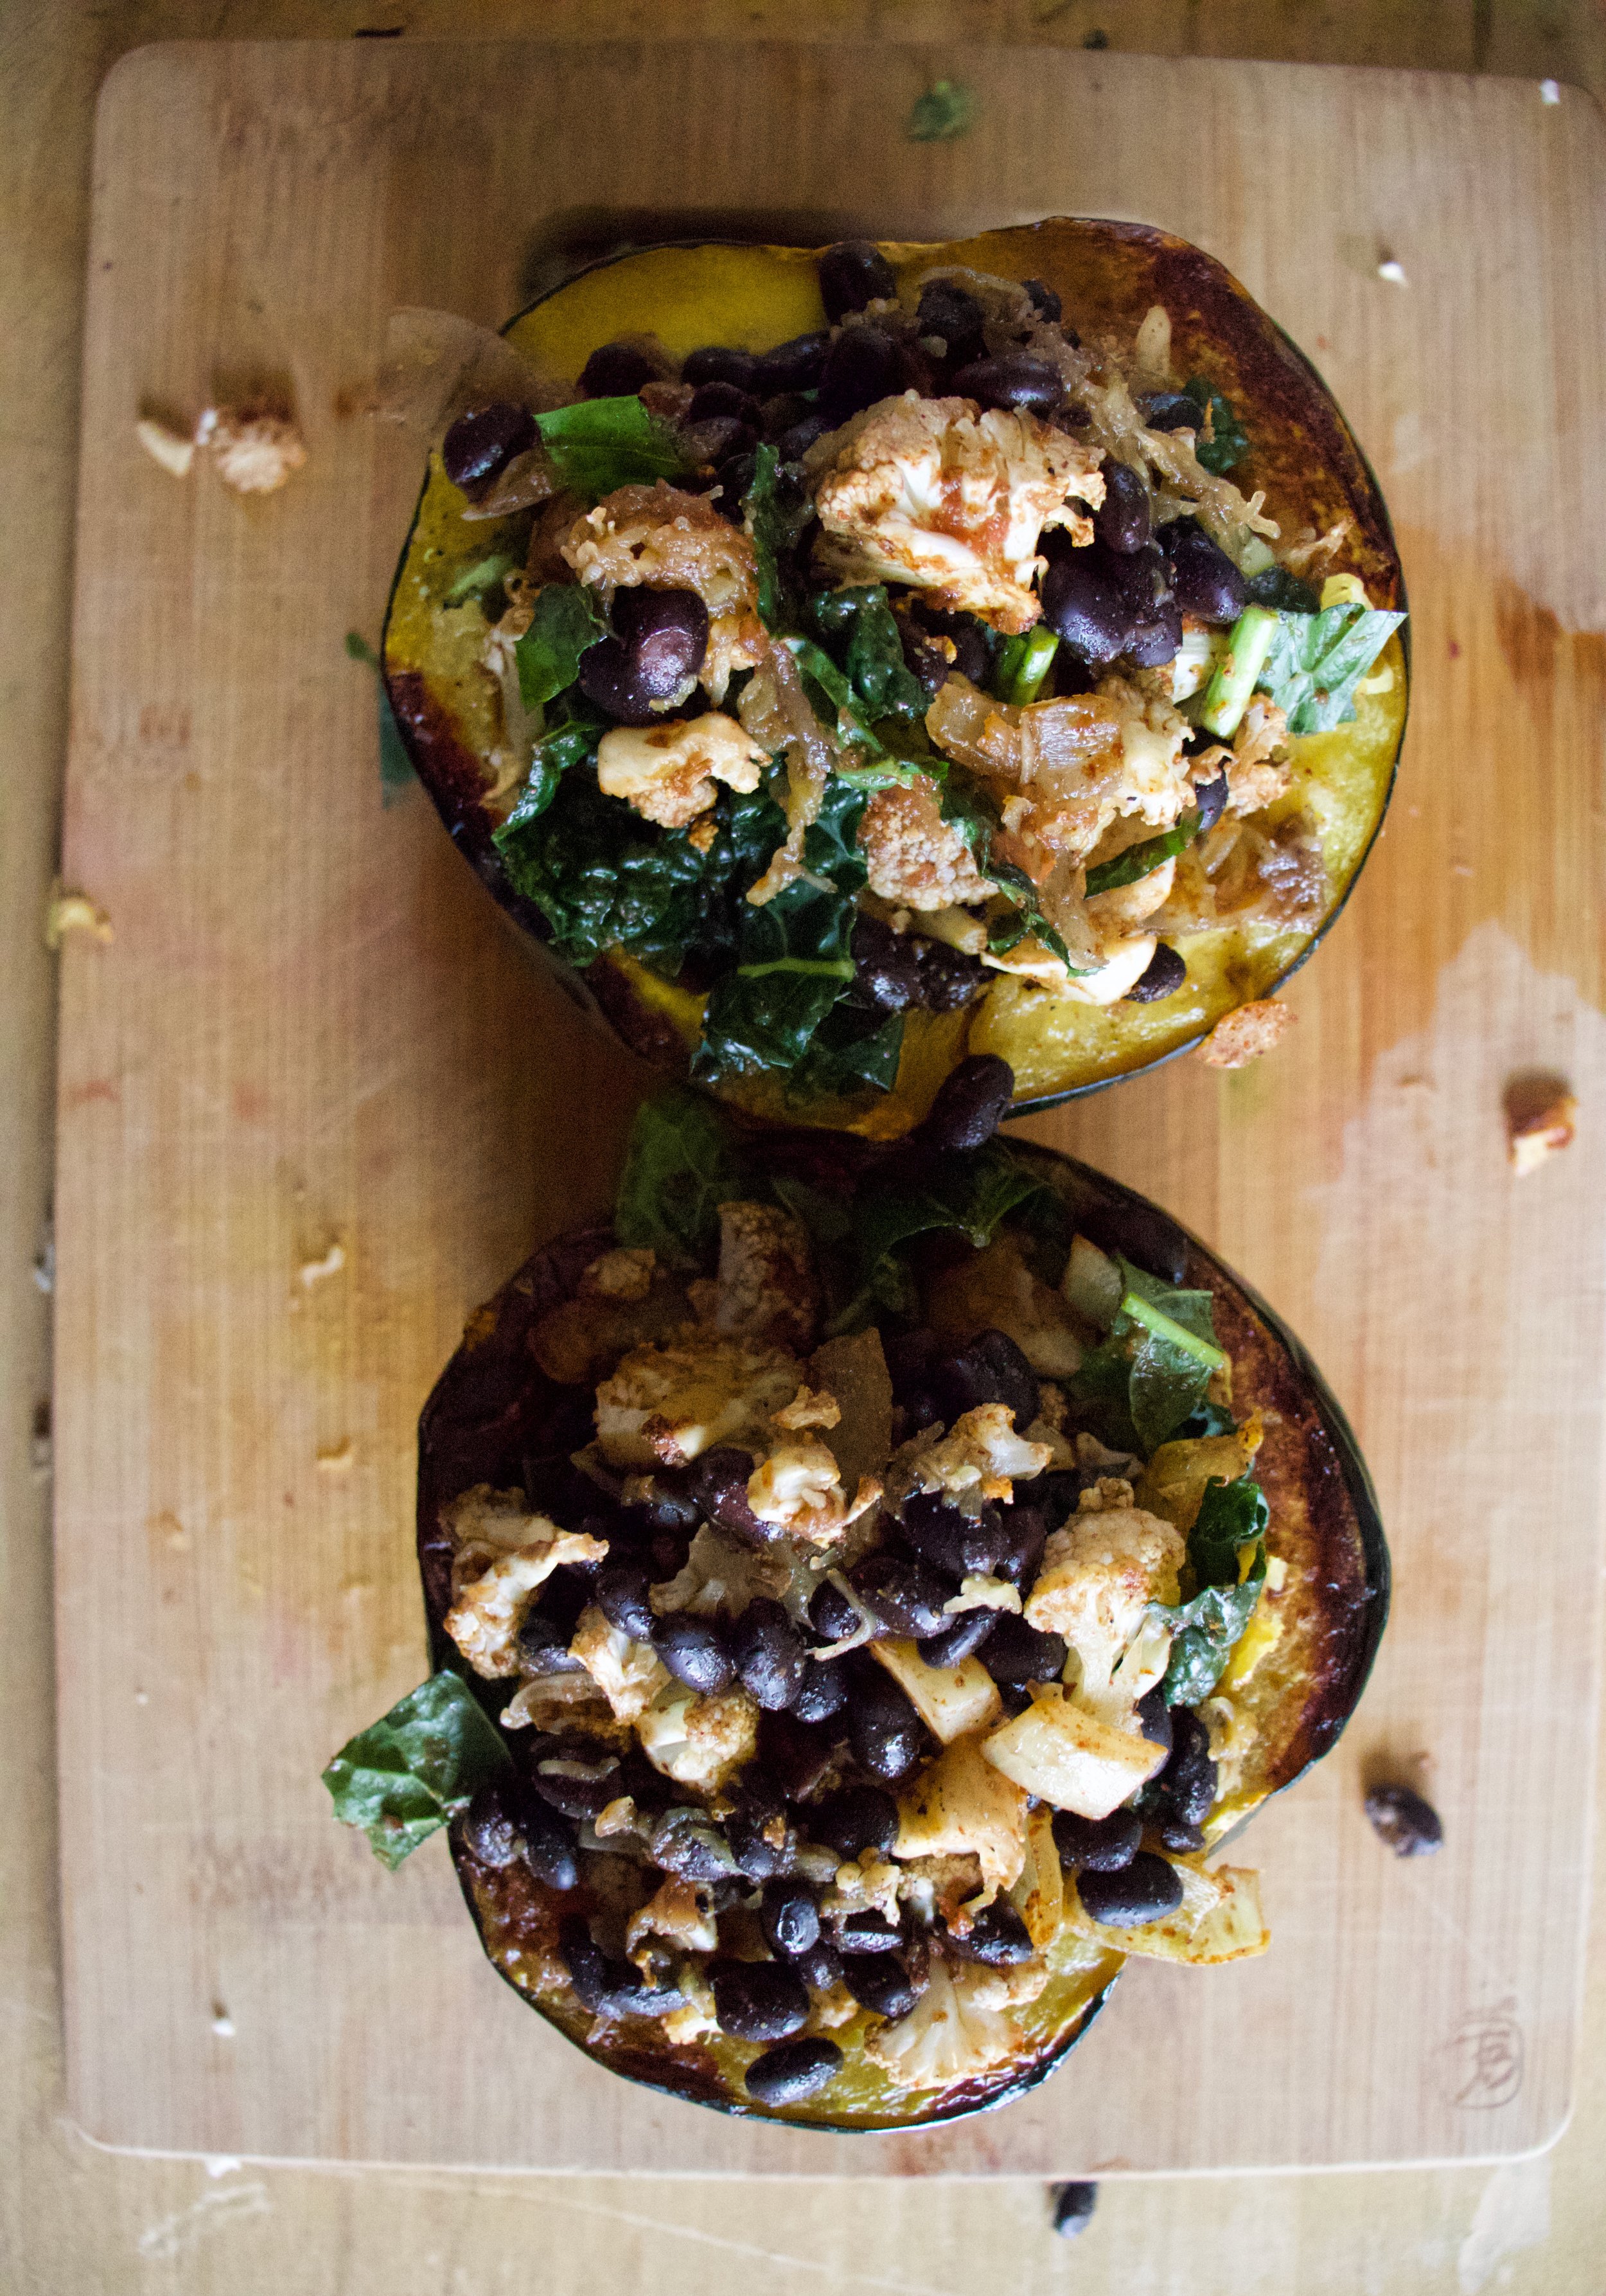
Cooked and slightly crispy in all the right ways.

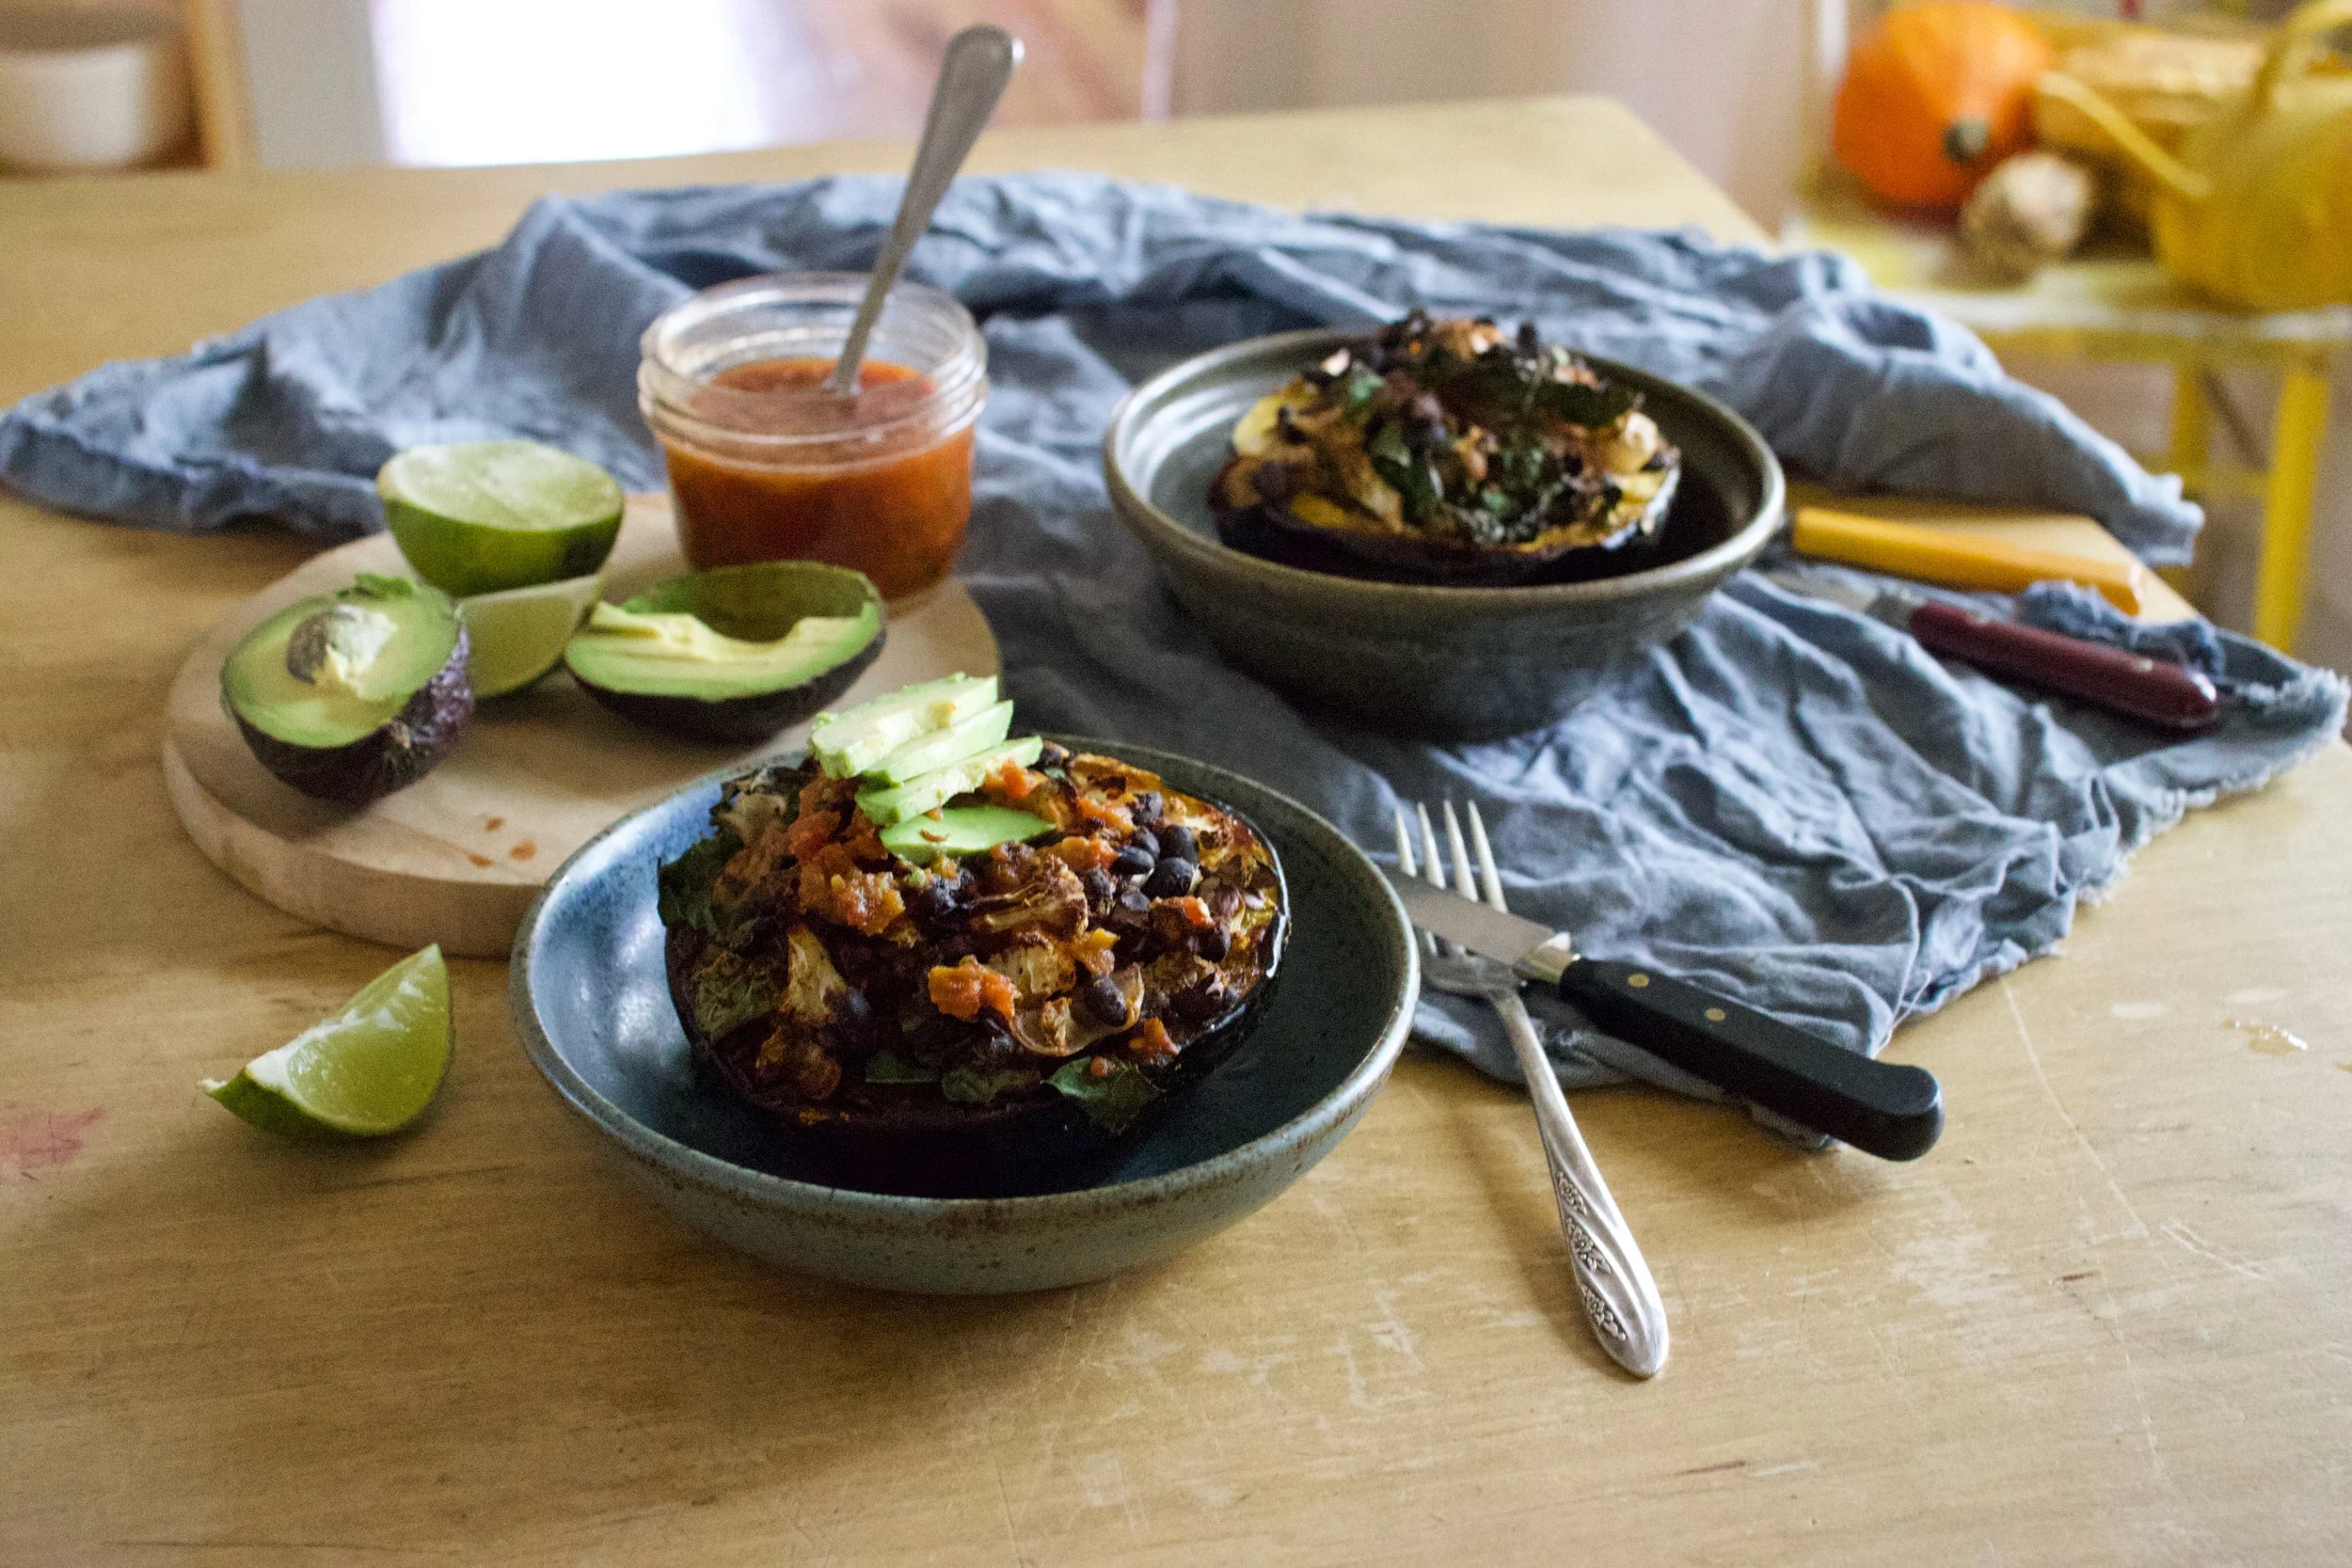
These stuffed suckers are everything we all wanted and didn’t know we needed. Fantastic, and all the more when serves with extra salsa, sliced avocado, and a wedge of lime.

Go get at it.

Bye!

-C


Spiced Black Bean and Cauliflower Stuffed Acorn Squash

Makes 2 stuffed halves. This recipe is very easy to fiddle with and can easily be double or tripled.

  • 1 medium sized acorn squash

  • 1 1/2 cups cooked black beans

  • 1/4 head of cauliflower (about 2 cups chopped before roasting)

  • a small onion

  • a few kale leaves

  • 1/4 cup thick and chunky salsa

  • 2 teaspoons cumin

  • 1 teaspoon chili pepper

  • salt and pepper

  • olive oil

  • Avocado, lime, extra salsa (optional)

Preheat oven to 400

Slice acorn squash in half and scoop out all the seeds. (seeds can be roasted). Place both halves cut side down on a lightly oiled baking sheet or oven safe skillet and place in oven to roast for about 30-35 minutes or until the squash is fork tender.

Once squash is in oven, dice the onion and cauliflower into small pieces and place on a baking sheet. Drizzle with olive oil and toss together with the cumin, chili powder, salt, and pepper. Place into oven along with the squash. Roast for 15-20 minutes or until the cauliflower is lightly browned and tender.

When the cauliflower is roasted and squash is cooked, get all the rest of the ingredients ready. Dice up the kale . Take each side of squash and scoop out about an inch more of cooked squash, leaving a good sized well. Place cooked squash into a bowl and kind of mash it up. Add in the beans, the salsa, the kale, and the roasted cauliflower and onions. Season with salt and pepper and mix it all up. Take filling and fill the squashes, stuffing as much as you can in and mounding it on top. Place the halves back onto baking sheet or skillet and place back into oven for 10-15 minutes until nice and browned and slightly crispy on top. Pull from oven and serve. Although not necessary, extra salsa, avocado, a lime are much appreciated.

In beans, dinner, entree, grain free, Gluten Free, pulses, Vegan, Vegetables, winter Tags Spiced Black Bean and Cauliflower Stuffed Acorn Squash, Stuffed squash, acorn squash, winter squash, vegan, dinner, plant based, beans, pulses, spices, protein, gluten free, grain free, dairy free
1 Comment

Butter Bean Cabbage Rolls

October 6, 2018 Colleen Stem
IMG_1293.jpg
IMG_1265.jpg

A lot of times I make food that I don’t nessasrily care to eat because well, I love to make for other people. Take all the cakes, I love to make cake, it makes me so happy to make a cake, but I don’t eat cake. I never eat cake.

This is not one of those times. I basically made these cabbage rolls all for me. Sure I shared them with the mr because it was dinner but honestly, he was’t the biggest fan (he hate celery). And to be honest, I was glad he didn’t really like them because these things were bonkers amazing to me whichh means I got to eat them all myself. In fact I thought they were so good that I made them twice this week. And not just because I have a shit load of cabbage right now, (I stocked up on cabbage and have like 15 heads in the pantry and stuffed in the fridge), although it helped that I do.

I ♥️ cabbage.

And now I ♥️ these cabbage rolls.

To the rolls!

IMG_1166.jpg

The stuff. A head of cabbage, a can of butter beans (cooked from dried beans or canned), crushed tomato (also home made or canned), a couple stocks of celery, a carrot, an onion, some garlic, Italian seasoning, salt and pepper, and a little olive oil.

IMG_0987.jpg
IMG_0997.jpg
IMG_0999.jpg

Start by getting the cabbage leaves to roll the filling in. You are basically just going to dunk the whole head of cabbage, with the core removed, into a big pot of boiling water until the outer leaves are tender enough to peel away. You are going to want to 12-14 nice leaves so peel away using tongs. Once you have all the leaves, remove the rest of the cabbage ans place the leaves back into the pot to cook until completely tender and soft. Remove then from the water and place them into a bowl and let them cool.

Meanwhile the filling. Take roughly half of the remaining cabbage and rough chop it up along with the celery, carrot, onion and garlic.

IMG_1176.jpg
IMG_1182 2.jpg

Place it all into food processor and pulse until its a small chunky chunk consistancy.

Add a splash of olive oil to a pan then dump the veggies on in. Sprinkle with salt and pepper and the Italian seasoning then set on a medium heat on the stove to start to cook the veggies a bit.

IMG_1190.jpg
IMG_1193.jpg

One the veggies are out and cooking, pulse up the butter beans in the food processor until not quite smooth. Some chunk is good.

Veggies a bit cooked.

Dump the veggies back into the food processor with the beans, along with a little of the crushed tomato. Pulse a few times.

IMG_1208.jpg

That is the filling. Time to roll.

IMG_1220.jpg
IMG_1222.jpg
IMG_1225.jpg

Pat each leave dry and lay flat on counter. If your cabbage leaves have thick ribs you can slice them down the middle, just not to far up into the leaf. Add about 1/3 of a cup of the filling (add less for smaller leaves) and then roll as tightly as you can like a burrito without the filling coming out. Repeat until all the filling is gone.

IMG_1229.jpg
IMG_1243.jpg

Place all of the rolls nice and cozy into a oven safe pan, preferably the pan you have been using to cook the veggies in (you want them to fit close together, it helps then from opening up during cooking ) and cover then all up with crushed tomato.

Now all you need to do is stick the whole thing in the oven.

IMG_1251.jpg

Cooked and looking good.

IMG_1270 2.jpg

If you got it, spinkled with some green scallions and parsley for color and flavor and the all you need to do it eat. Eat one or eat them all because they are freaking fantastic!

P.S. Left overs are just as good, if not better cold.

YAY CABBAGE!

Stay cool.

-C


Butter Bean Cabbage Rolls

  • A medium sized head of cabbage

  • 2 cups (or 1 can) cooked butter beans

  • an onion

  • 1 large carrots

  • 2 stalks of celery

  • 3 cloves garlic

  • 3 1/2 cups crushed tomatoes (or a 28 oz can)

  • 1 tablespoon Italian seasoning

  • olive oil

  • salt and pepper

First thing, bring a large pot of water to a boil. Remove the core from the head of cabbage and place the cabbage head into the boiling water. Gently peal away 12-14 of the outer leaves from the head then remove the head. Place the leaves back into the boiling water until they are soft and plyable. Remove from water and place in a large bowl.

Preheat oven to 400

Rough chop about half of the remaining cabbage head (like a little more then a cup) the carrot, celery, onion, and the garlic and place into a food processor. Pulse until its a small chunk consistency. Add a drizzle of olive oil to a skillet (if you can, use a oven safe skillet the can also be used to bake the rolls in) and dump the veggies in. Sprinkle with the Italian seasoning, salt and pepper, and place on a medium heat to cook for a few minutes. While the veggies are cooking, drain the beans and dump them into the food processsor. Pulse until not quite smooth. After the veggies have started to become fragrant and are not completely raw, dump those veggies back into the food processor with the beans. Add about 1/3 cup of the crushed tomato and pulse until combined.

To assemble the rolls. Pat the leaves dry and lay flat. If a leaf has a really thick rib, cut it down the middle, but not to far up the leaf.. Place about 1/3 cup of filling into each leaf (less if the leaves are small) and roll each one up like a burrito, as tight as you can without ripping the cabbage. Place rolls into oven safe skillet, bumped up against each other if they can. Once all the rolls are assembled and in skillet, pour the crushed tomatoes all over, getting the sauce in between each of the rolls.

And then place the rolls into oven to bake for an hour.

Once the rolls looked cooked and maybe a little crisp on an edge or two, remove and let cool a few minutes before serving.

Chopped parsley and scallions are nice to sprinkle on top if you got it.

Eat, and eat some more. Any left over should be placed into the fridge and eaten just a short few hours later cold, while standing in from of the fridge because these cold are almost better then hot. So good!

In Vegetables, Vegan, pulses, grain free, Gluten Free, entree, Dairy Free, casserole, beans Tags Butter Bean Cabbage Rolls, beans, pulses, lima beans, vegan, gluten free, grain free, dairy free, plant based, dinner, cabbage rolls, healthy, entree
Comment

Black Bean Tortilla Chips

May 5, 2018 Colleen Stem
IMG_1812 2.jpg
IMG_1840.jpg

The mr has a soft spot for tortilla chips. He doesn't get chips often, but when he does it is usually the super fried, super salty, in a plastic bag, tortilla chips. And I am ok with that because it is not often and the dude deserves chips when he wants them. But I hate how crappy they are for him, especially all the salt. So much salt that I can smell it in my mouth (yes, I said that right). So, as with everything else we eat in the house, I now make chips from scratch. (Slowly I have eliminated just about everything that is pre packaged and started making it myself. I think it's pretty much just the dried pasta and the mr's yogurt and cheese that I haven't gotten to.Yet.) This way he can eat his chips and I don't have to sit there tasting the smell and thinking about the crap that he is eating.  I know I say this a lot, but lets just take a minute here and acknowledge how I really am the best girlfriend ever. 

Ok, now about these chips. I have made plan tortilla chips a few times before and figured it was time for a twist.  In come black beans. Why, because I was pretty sure beans were going to be awesome, and lo and behold, I was completely right. Adding the beans take little to no more effort then making the chips without, and bonus here, more fiber and protein and good stuff going into a chip. Then they are lightly oil, lightly salted, and eaten without any guilt because I made them and they are the best. Seriously, the mr thinks they are amazing and doesn't miss those pre package ones a bit.  And sure, they might take a little time and minimal effort, but really they are super easy and the time and effort to make them is probably no more then going into a store, waiting in line to pay, and driving home to eat your chips. You can have these chip made in that amount of time. So you might as well just make them.

To the chips. 

The stuff. Masa harnia, black beans, water, salt, and a little oil. There should be a lemon or lime here too, but I forgot to stick it into the picture. Oops. 

IMG_1707.jpg
IMG_1710.jpg
IMG_1713.jpg
IMG_1716.jpg

Pretty easy.  Add the beans to a food processor and blend untill completely smooth. Add in the masa and pulse then gradually add in water until a dough forms. Stop and feel the dough. If it feels like play dough and comes together into ball easily, then you are good. If it is to wet, add a little more masa, to dry, more water.

IMG_1719.jpg

Dump the dough onto the counter and form into a ball. Place the doguh into a bowl and cover with a damp closer for 15-30 minutes to let the dough rest.

After the rest, divide the dough into 12 pieces and roll into balls. Place the balls onto a damp cloth and cover while you are making the tortillas so they don't dry out. 

IMG_1735.jpg
IMG_1739.jpg
IMG_1741.jpg

To flatten those balls into tortillas.  After doing this a bunch of times, I have a system that works the best for me.  I use a large ziplock bag (the plastic is a little thicker and easier to deal with, plus I don't use plastic wrap), a cutting board, and a rolling pin. Place a dough ball into the center of the bag then take the cutting board and press directly on top, placing all your weight onto it. It gets flat, but not flat enough so take the rolling pin and flatten some more. Then press the rolled out dough with the cutting board one last time. Carefuly remove from bag and place direrely onto a hot dry skillet. 

Cook each side 3-4 minutes or until it starts to get a few light brown spots. Once cooked, place on a plate or baking sheet. If I were just making tortillas, I would place then in between a kitchen towel to keep them warm, but because they are destined for chips and don't care. 

IMG_1758.jpg

Black bean corn tortillas. Hey, you could stop here and make a taco or something if you need to. Feel free to use a tortilla or two before using the rest to make the into chips. 

IMG_1769.jpg

So chips. Grab baking sheets, oil, salt, a knife, and the tortillas. Take a few of the tortillas and oil them. (The easiest way I found to do this is to rub oil on with my hands then rub the oil onto the tortillas. ) Oil 3 at a time, stacked them on top of each other and cut into 8 triangles, 

Get as many of the triangles onto a baking sheet as you can, without overlapping.  Once all nice and tight, sprinkle the tops with salt and pop them into preheated oven. 

Pull the chips out of the oven when they are crispy and done (about 10 minutes) then squeeze a little lemon juice all over the chips. Toss around and pop the pan back into the oven for another minute or two just so the juice doesn't  leave the chips soggy.

Dump cooked chips  onto a wire rack to cool. Eat as you work, you deserve it.

IMG_1837.jpg

Pile chips into a bowl, and serve with some salsa or guacamole or whatever you eat you chips with.  They are your chips. 

-C


Black Bean Tortilla Chips 

Makes 98 chips, or like a good sized bag worth

  • 2 cups masa harina 
  • 1 cup cooked black beans in bean juice
  • 1- 1 1/4  cups warm water
  • couple teaspoons neutral oil (I used grape seed oil)
  • 2-3 teaspoons salt
  • A lemon or lime

Beans go into a food processor and blended until completely smooth. Add in the masa and blend, slowly adding 3/4 cups water until a dough starts to forms.  Stop and check dough. It should feel like play dough and come together easilty onto a ball. If it feel wet, add in a couple of tablespoons more of the masa. If it is still too dry and crumbly, add in more water until it's to the right consistnacey. Dump dough onto counter and form in a ball. Place dough in a bowl and cover with a damp towel and let sit for abut 15-30 minutes.

Preheat a skillet on medium high heat on stove.

Once dough has rested, divide into 12 pieces and roll into balls. Place balls onto a damp towel and cover when not working with them. Grab a large ziplock bag, a cutting board, and a rolling pin. Take a dough ball and place in the center of the bag. Press down with the cutting board, placing all your weight on top. It got flat, but not flat enough. Continue to flatten out with the rolling pin until it is about  1/8 inch thick. Press again one last time with the cutting board. Gently remove from bag and place directly onto the hot skillet. Cook each side for 3-4 minutes or until it  starts to get a few light brown spot. Place cooked tortilla on a baking sheet or in between a kitchen towel. Repeat until all 12 dough balls are cooked into tortillas.

Preheat oven to 375

Working in 3's. dump a little oil onto your hand then lightly rub it all over the tortillas. Stack them on top of each other then cut into 8 wedged. Place wedges onto a baking sheet, get as many as you can onto sheet without any overlapping, then sprinkle with salt. to taste. If you have them, use multiple baking sheets.  Place in oven for about 10-12 minutes or until the chips are crispy. Remove and sprinkle lemon juice all over the chips. Toss around and place back into oven for a minute or two just until lth lemon juice evaporates. Remove and dump chips onto a wire rack to cool.

Eat chips. Any left over can be placed into a airtight container or bag and will last about 3-4 days. 

In 5 ingerdients or less, beans, Dairy Free, Vegan, snack, Savory, pulses, Gluten Free, crackers and chips Tags Black Bean Tortilla Chips, Masa harina, chips form scratch, cinco de mayo, cron chips, Vegan, Gluten free, plant based, beans, black beans, black bean chips, corn chips, snack, chips, dairy free, gluten free
1 Comment

Sweet Potato Chickpea Hash with Lemon Tahini Sauce

March 10, 2018 Colleen Stem

Easy quick dinners are no joke because sometimes life happens and then you are hungry, then hangry,  then maybe yelling and or tears start and nothing is ever going to be good again. And then you eat and everything is A OK, but that time between tears and food can be long, especially when you just can't think so one should have a least a good 2 or 3 good dinners up there sleeve (besides pasta) that can be made quick and easily to avoid the fallout of food deprivation. This bowl of goodness here is one of those. And sure some people might not always have a sweet potato, tahini, or chickpeas is the house  (I ALWAYS have a sweet potato or some type of winter squash and tahini and chickpeas... they are staples here) but with a tiny it of foresight, you can make these things happen too. And then you will make it and realize that you must have these ingredients on hand at all times because yeah, a good go to meal that will prevent the tears.

Admittedly I have made this for the mr but he is not that into it. Says he is not a huge fan of sweet potatoes. (what the fuck is wrong with him?) But me, I eat is and I eat it all.. The sweet potato/chickpea/tahini combination is classic fantastic. This hash is sweet potato sweet, a little chickpea crunchy, salty, savory, and creamy citrusy.  It's all sorts of goodness. I tossed this hash on a big bed of kale (any sturdy green would be good) and only good things happen in my mouth. So the mr. might not like it but I am starting to realize (after 15 years) that my taste is far superior to his. Haha. (but really)  Quick and easy (and healthy) and good.  Make it once and it will turn into on of your go to dinners, unless you don't like sweet potatoes. In that case there is pasta. 

The stuff. Chick peas (I had just made a batch but if you don't have any made already, grab a can) a sweet potato, an onion, a lemon, some tahini, and garlic Also some cumin and chili powder, olive oil, and salt and pepper. 

Preheat your oven and chop up the onion and sweet potato into mouth sized pieces. 

IMG_0745.jpg

Toss the chopped stuff onto a baking sheet with the chickpeas.

IMG_0743.jpg

Drizzle the whole shebang with olive oil and toss with cumin, chili powder, and salt and pepper.  

Into the oven it goes.

Half hour later it is all roasted and ready.

IMG_0733.jpg

Oh quick, make this before the stuff is out of the oven. Tahini, minced garlic, a dash of salt, a bit of the liquid from the chickpeas and the juice of a lemon. Just stick it all in a cup or bowl and mix it around. Then it's done.

IMG_0766.jpg

Scoop the hash into a bowl (I like a large pile of greens underneath) and cover with the tahini sauce. 

Eat is all to your face.

-C


Sweet Potato Chickpea Hash With Lemon Tahini Sauce 

dinner for one, a side for two. Very easily doubled or tripled. 

  • 1 sweet potato
  • 2 cups or 1 can cooked chickpeas drained but liquid reserved 
  • 1 medium yellow onion
  • 1 tablespoon cumin
  • 1 teaspoon chili powder
  • salt and pepper
  • 2-3 tablespoons olive oil
  • 3 tablespoon tahini
  • 1 lemon
  • 1/4- 1/2 cup of aquafaba (chickpea liquid)
  • 2-3 cloves garlic

Preheat oven to 425

Chop sweet potato and onion into mouth sized cubes and place on a baking sheet. Add the drained chickpeas and drizzle with olive oil and toss around. Sprinkle on the cumin, chili powder, salt and pepper, and toss that around again. When the oven is preheated, slide the baking sheet on in. 

While the stuff is baking, mince the garlic and place it in a bowl with the tahini, the juice of a lemon, and a pinch or two of salt to taste. Add in 1/4 cup of aquafaba and mix it all around. If to thick for your liking, add a little more of the aqaufaba until its a good consistency. 

Check the stuff in the oven after 20 minutes and give it a toss.  Keep baking for another 5-10 minutes or until the sweet potato is cooked and starting to brown. Remove from oven and dump into a bowl (maybe on a bed of greens or rice) and drizzle all over with the tahini sauce.

Eat


In Vegetables, Vegan, side dish, sauce, quick and easy, pulses, Potato, grain free, Gluten Free, entree, dinner, Dairy Free, beans Tags Sweet Potato Chickpea Hash With Lemon Tahini Sauce, vegan, grain free, gluten free, sweet potato, tahini, dinner, quick and easy, plant based, heathy, vegan dinners, pulses, beans, chickpeas, sheet pan dinner
Comment

Vegetable Soup

January 6, 2018 Colleen Stem
IMG_9302.jpg
IMG_9296.jpg
IMG_9274.jpg

Whether you are stuck at home because you have the flu or because you do not want to leave the house for fear of turning into a human popsicle, or maybe even you just don't want to because this is the first weekend that you have no plans, no obligations, no parties, well then you are in good company. 

Unfortunately for me, I have to leave the house. I have obligations, I am getting over the flu, and I am pretty sure I am going to turn into a popsicle because when -8 is the high for the day, well, it's bound to happen. 

But lucky for me I already made the soup, in my fitful sicky, but able to think about and eat food again state. Yes I had the flu, or better yet, the stomach flu. And the stomach flu and food do not mix. Even the thought of food would send me reeling and it was just no good. I seriously thought I would never be able to think or better yet, eat food again without turning straight to the bucket. But I will stop there because you don't need to hear about my misery. Anyway, the death spiral subsided and food was no longer the enemy. I actually wanted (kinda of) to eat again. So food it was to be.

Because it was my first day back to food, I really wanted to take it super easy. (Before I made this soup I actually boiled a carrot until it was mush and ate that just to test my tummy)  Nothing heavy, obviously hot and warming, not to spicy.  Just soothing and nourishing. And I didn't really want think about it and worry about it and spend much time in the kitchen. Sure I could have bought a can of soup but actually no, canned soup is not for me. And I know the mr would have thrown something together for me but I was determined to be a slightly productive human and do something with my day even if it was minimal.  I had to make the soup, I had to do it. 

This soup was exactly what I needed and could not have been any easier to make. Chop up some shit, toss it into a pot, and walk away (or nap on the couch) for a little while. It can be done on the stove, in a slow cooker, or if you have a Instapot and want to do that, I should say go for it. And I am not saying this because I was starving, but  this was one dang fantastic tasting soup. Right in every way. It's going on my semi permanent soup rotation for the next few months.    

No bad after 48 hours of dying and no food. (stupid flu)

The stuff. Carrots, celery, a small rutabaga, and and onion. A red potato, a parsnip, some green been, garlic, canned tomatoes, navy beans,  thyme, rosemary, a bay leaf, and salt and pepper.

Note here that all this stuff was already in my house. Say you do not have a rutabaga or a parsnip, it's totally fine. You can add 

IMG_9218.jpg

Here is the hardest part. Chop it all up into little pieces. All of it all mixed together, just get it chopped.

And toss it all into a big pot with he green beans, a handful of dried beans, and the spices.

Add in the can of tomatoes

IMG_9241.jpg

Then fill the pot with water.

Now stick the pot on the stove and bring to a boil then reduce heat to a little lower the medium and loosely cover with a lid. 

A couple hours later, once the beans are cooked and the veggies are tender, you got yourself a big ol' pot of some fantastic home made, easy as can be, vegetable soup. 

Chunky, hearty, and easy as can be. And the best part is that I have left overs and we all know that left over soup is the best soup. 

Stay warm, don't turn into a popsicle.

-C


Vegetable Soup

Makes a big pot of soup

  • 2 carrots
  • 3 stalks of elery
  • 1 onion
  • 1 small rutabage
  • 1 red onion
  • 1 parsnip
  • 2 cups frozen green beans 
  • 1/2 cup navy beans
  • 3-4 cloves garlic
  • 1 28oz can  (no salt added) crushed tomatoes
  • 1 teaspoon roasemary
  • 1 teaspoon thyme
  • 1 bay leave
  • salt and pepper
  • water

Note. You might not want rutabaga in this or you might want to add some cauliflour or peppers, so go for it. It's a pretty adaptable soup so use what you got and like. 

Grab all you raw veggies, give them a quick wash, then chop them all up into bite sized pieces. Mince up the garlic. Dump it all into a large heavy bottom pot. Add in the frozen green beans, the dried beans, the spices and the can of tomatoes. Add a pinch of salt and pepper and  enough water to cover the everything 3-4 inches. 

Place pot on stove, bring to a boil, then reduce heart to medium low and loosely cover wit a lid. Cook, giving it a stir once in a while,  for a least 1.5 hours ( can cook all day on long on simmer if you like)  or until the beans are coooked through and the veggies have soften. Add more water if needed.

Serve when you are ready to eat. Refrigerate leftovers.

In winter, Vegetables, Vegan, soup, pulses, one pot meal, grain free, Gluten Free, dinner, Dairy Free, beans Tags one pot meal, soup, Vegetable soup, vegan, gluten free, dinner, plant based, healthy, vegetabes, pulses, beans, easy, simple, tomato based soup, slow cooker, instapot, nourishing, clean eating, whole 30
Comment
← Newer Posts Older Posts →
 

https://thelovelycrazy.squarespace.com/config#/|/about/

Me. Food Maker.Food eater. Woo HOO!

STEM+NODE  SMALL BATCH AND ONE OF A KIND POTTERY

stem+node ceramics


____________________

Subscribe

GET NEW POSTS IN YO EMAIL

You are AWESOME!!!


@thelovelycrazy 2014-2021