• stem+node ceramics
  • HOME
  • Food Recipes
  • About
  • Contact
Menu

The Lovely Crazy

Street Address
City, State, Zip
Phone Number

Your Custom Text Here

The Lovely Crazy

  • stem+node ceramics
  • HOME
  • Food Recipes
  • About
  • Contact

Blackberry Black Pepper Scones

August 17, 2019 Colleen Stem
IMG_1286.jpg
IMG_1272.jpg
IMG_1296.jpg

10 years ago, or maybe even longer, the mr and I planted 2 little blackberry canes in the way way back yard of our first house. Nothing big and we were not expecting much, which was good because for the years we lived there after that, nothing really happened with them beside becoming bigger and more thorny.

And then we moved and I kind of forgot about them.

But the other day while the mr was over there (we still own the building and have a barn that the mr works out of) he told me to go check out the bushes. Holy shit, those suckers are humongous, viscous as all hell, and were dripping (literally) with big, fat, juicy blackberries. So many in fact that I could barely pick them off before they all started to just fall off. I filled up two big containers, after eating like 2 pounds at least, and could have gotten more but I had no where else to stick them. Plus I was covered in gashed from the thorns. So I left the rest for another day.

I asked what the mr wanted me to make with the berries (in between eating big handfuls of the berries) and he asked for scones. So scones it was. Easy enough but I felt that I needed to add a little something something to spice it up a bit and that is why I added the black pepper. And because I like pepper and berried together and figured everyone will too. And let me tell you, so far they do, like really really do.

I mean who wouldn’t like a sweet and spicy scone made with hand picked berries from berry bushes long ago planted with love that grew into monsters with thorns the size of knives that nearly killed me?

No one wouldn’t. Everyone wants a scone.

And don’t worry if you don’t have killer blackberry bushes in which to harvest berries from. You can buy them too. Just won’t be as special is all. HA.

To the scones.

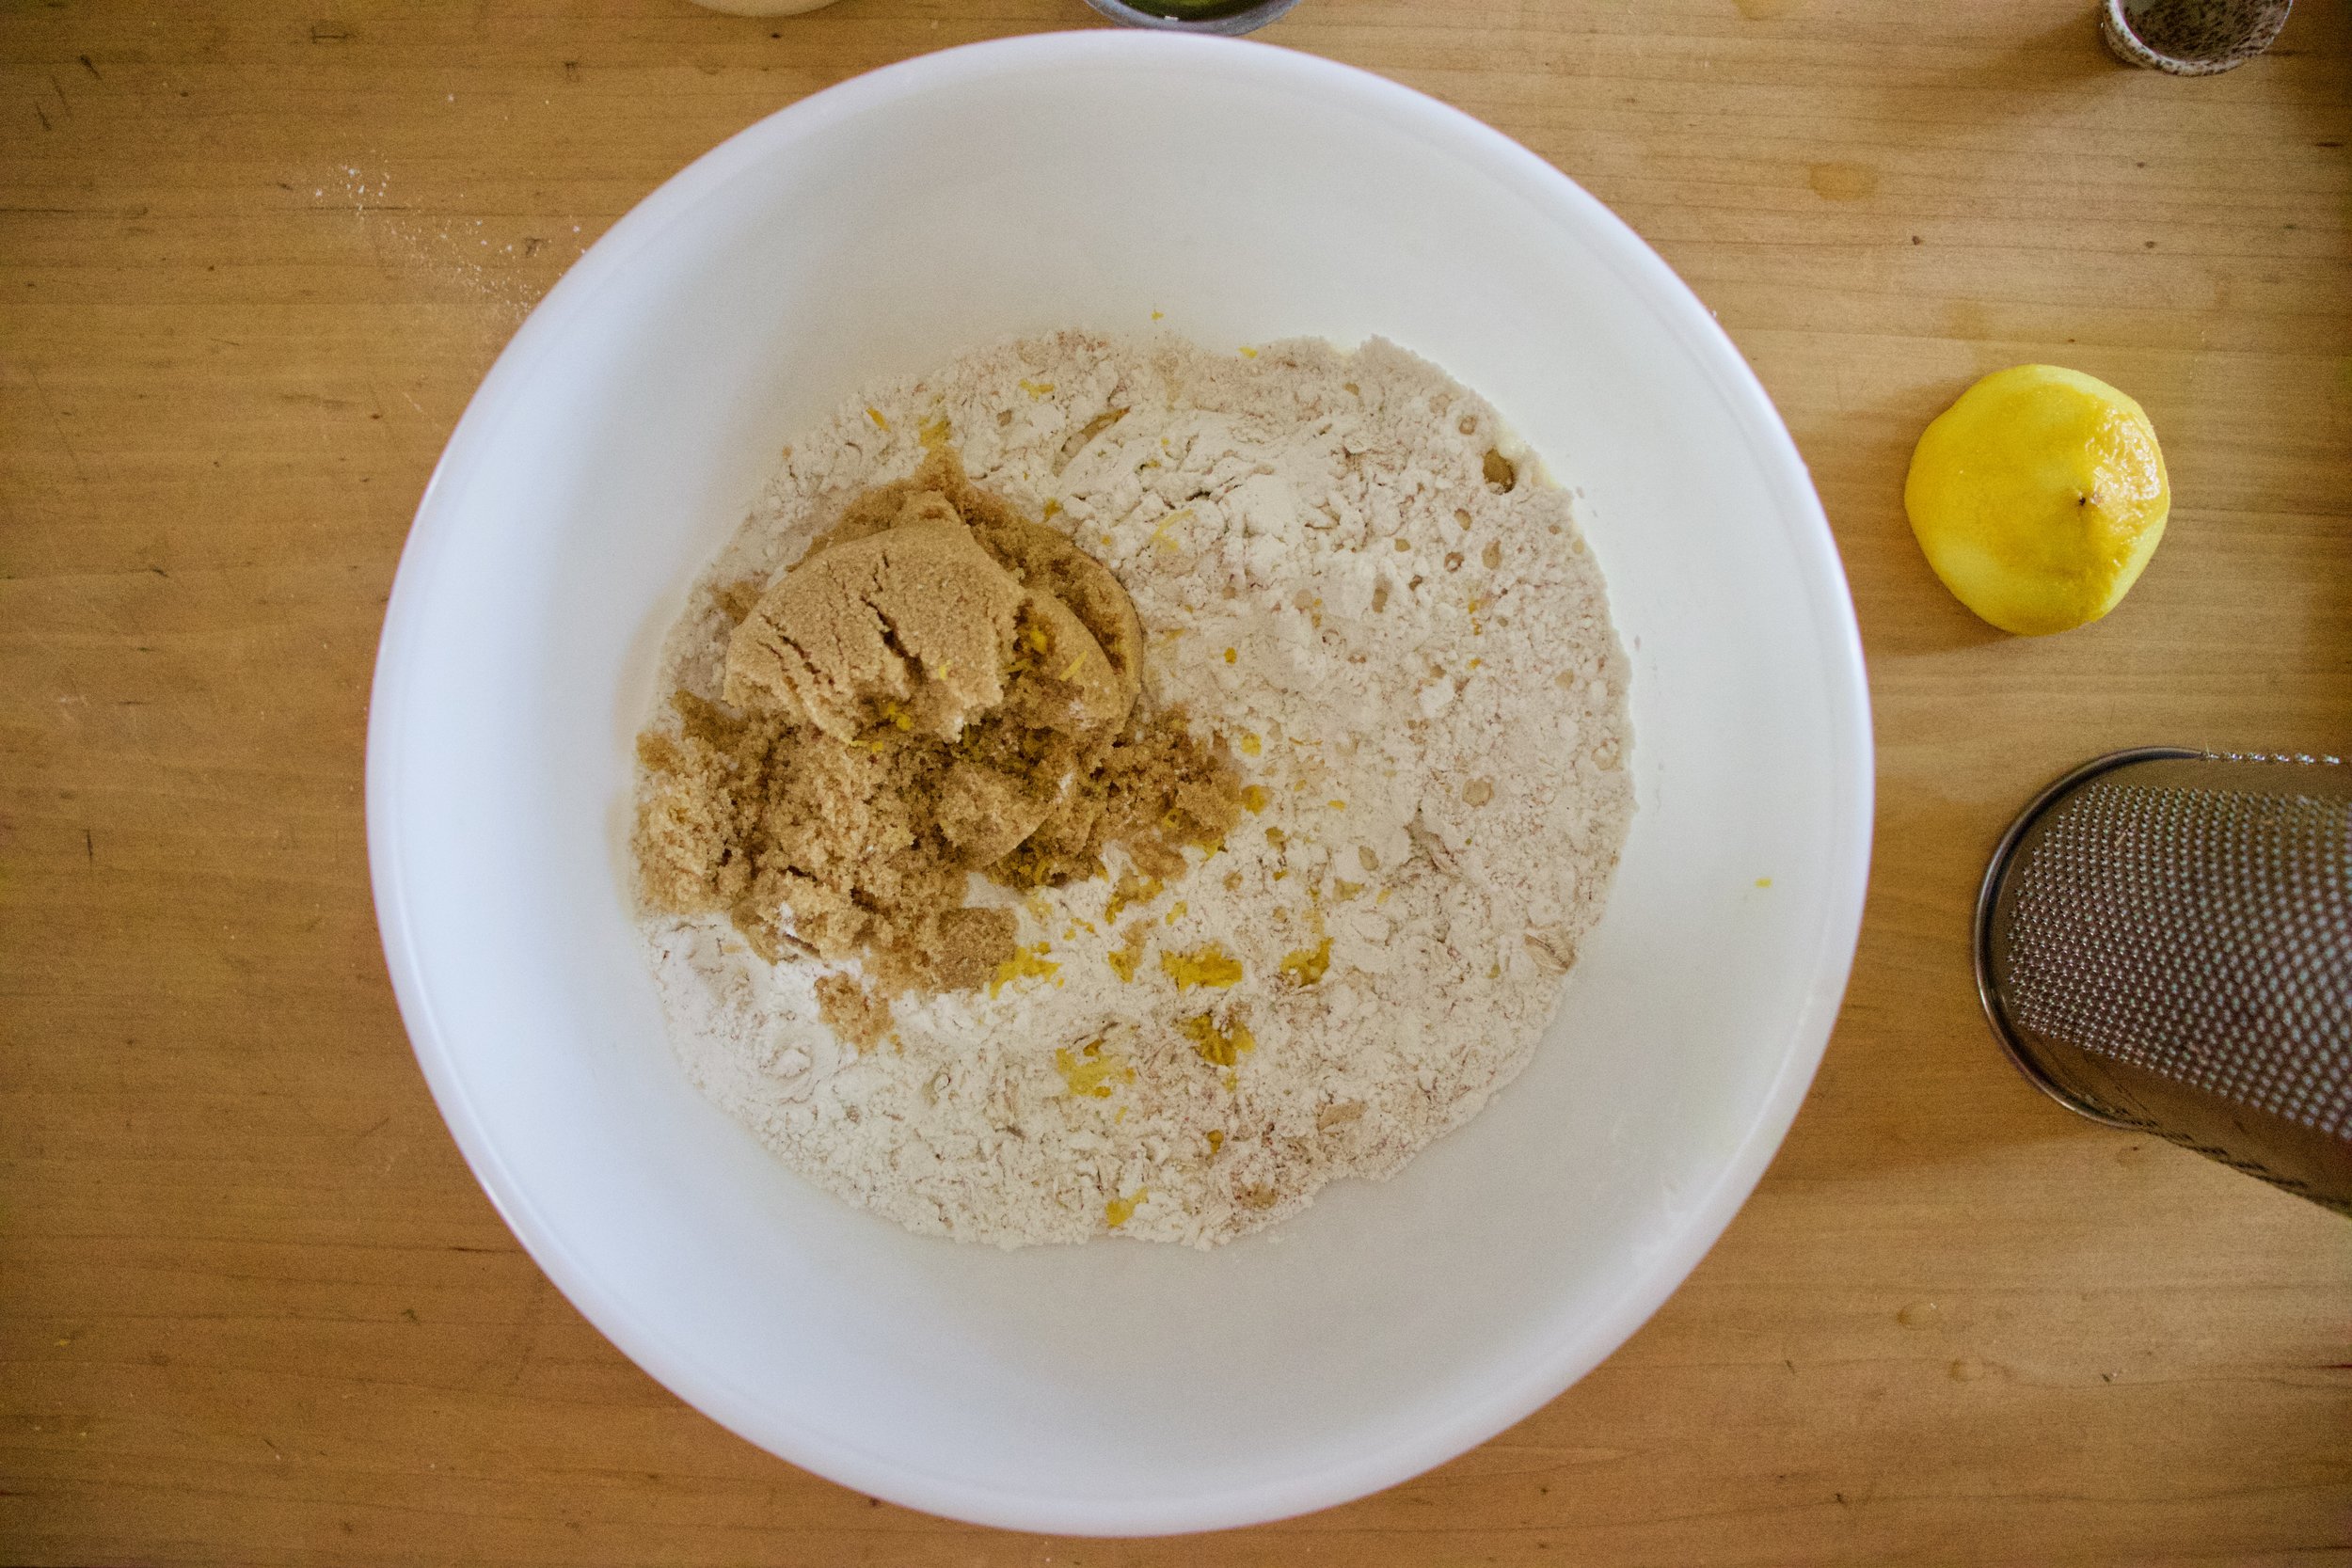
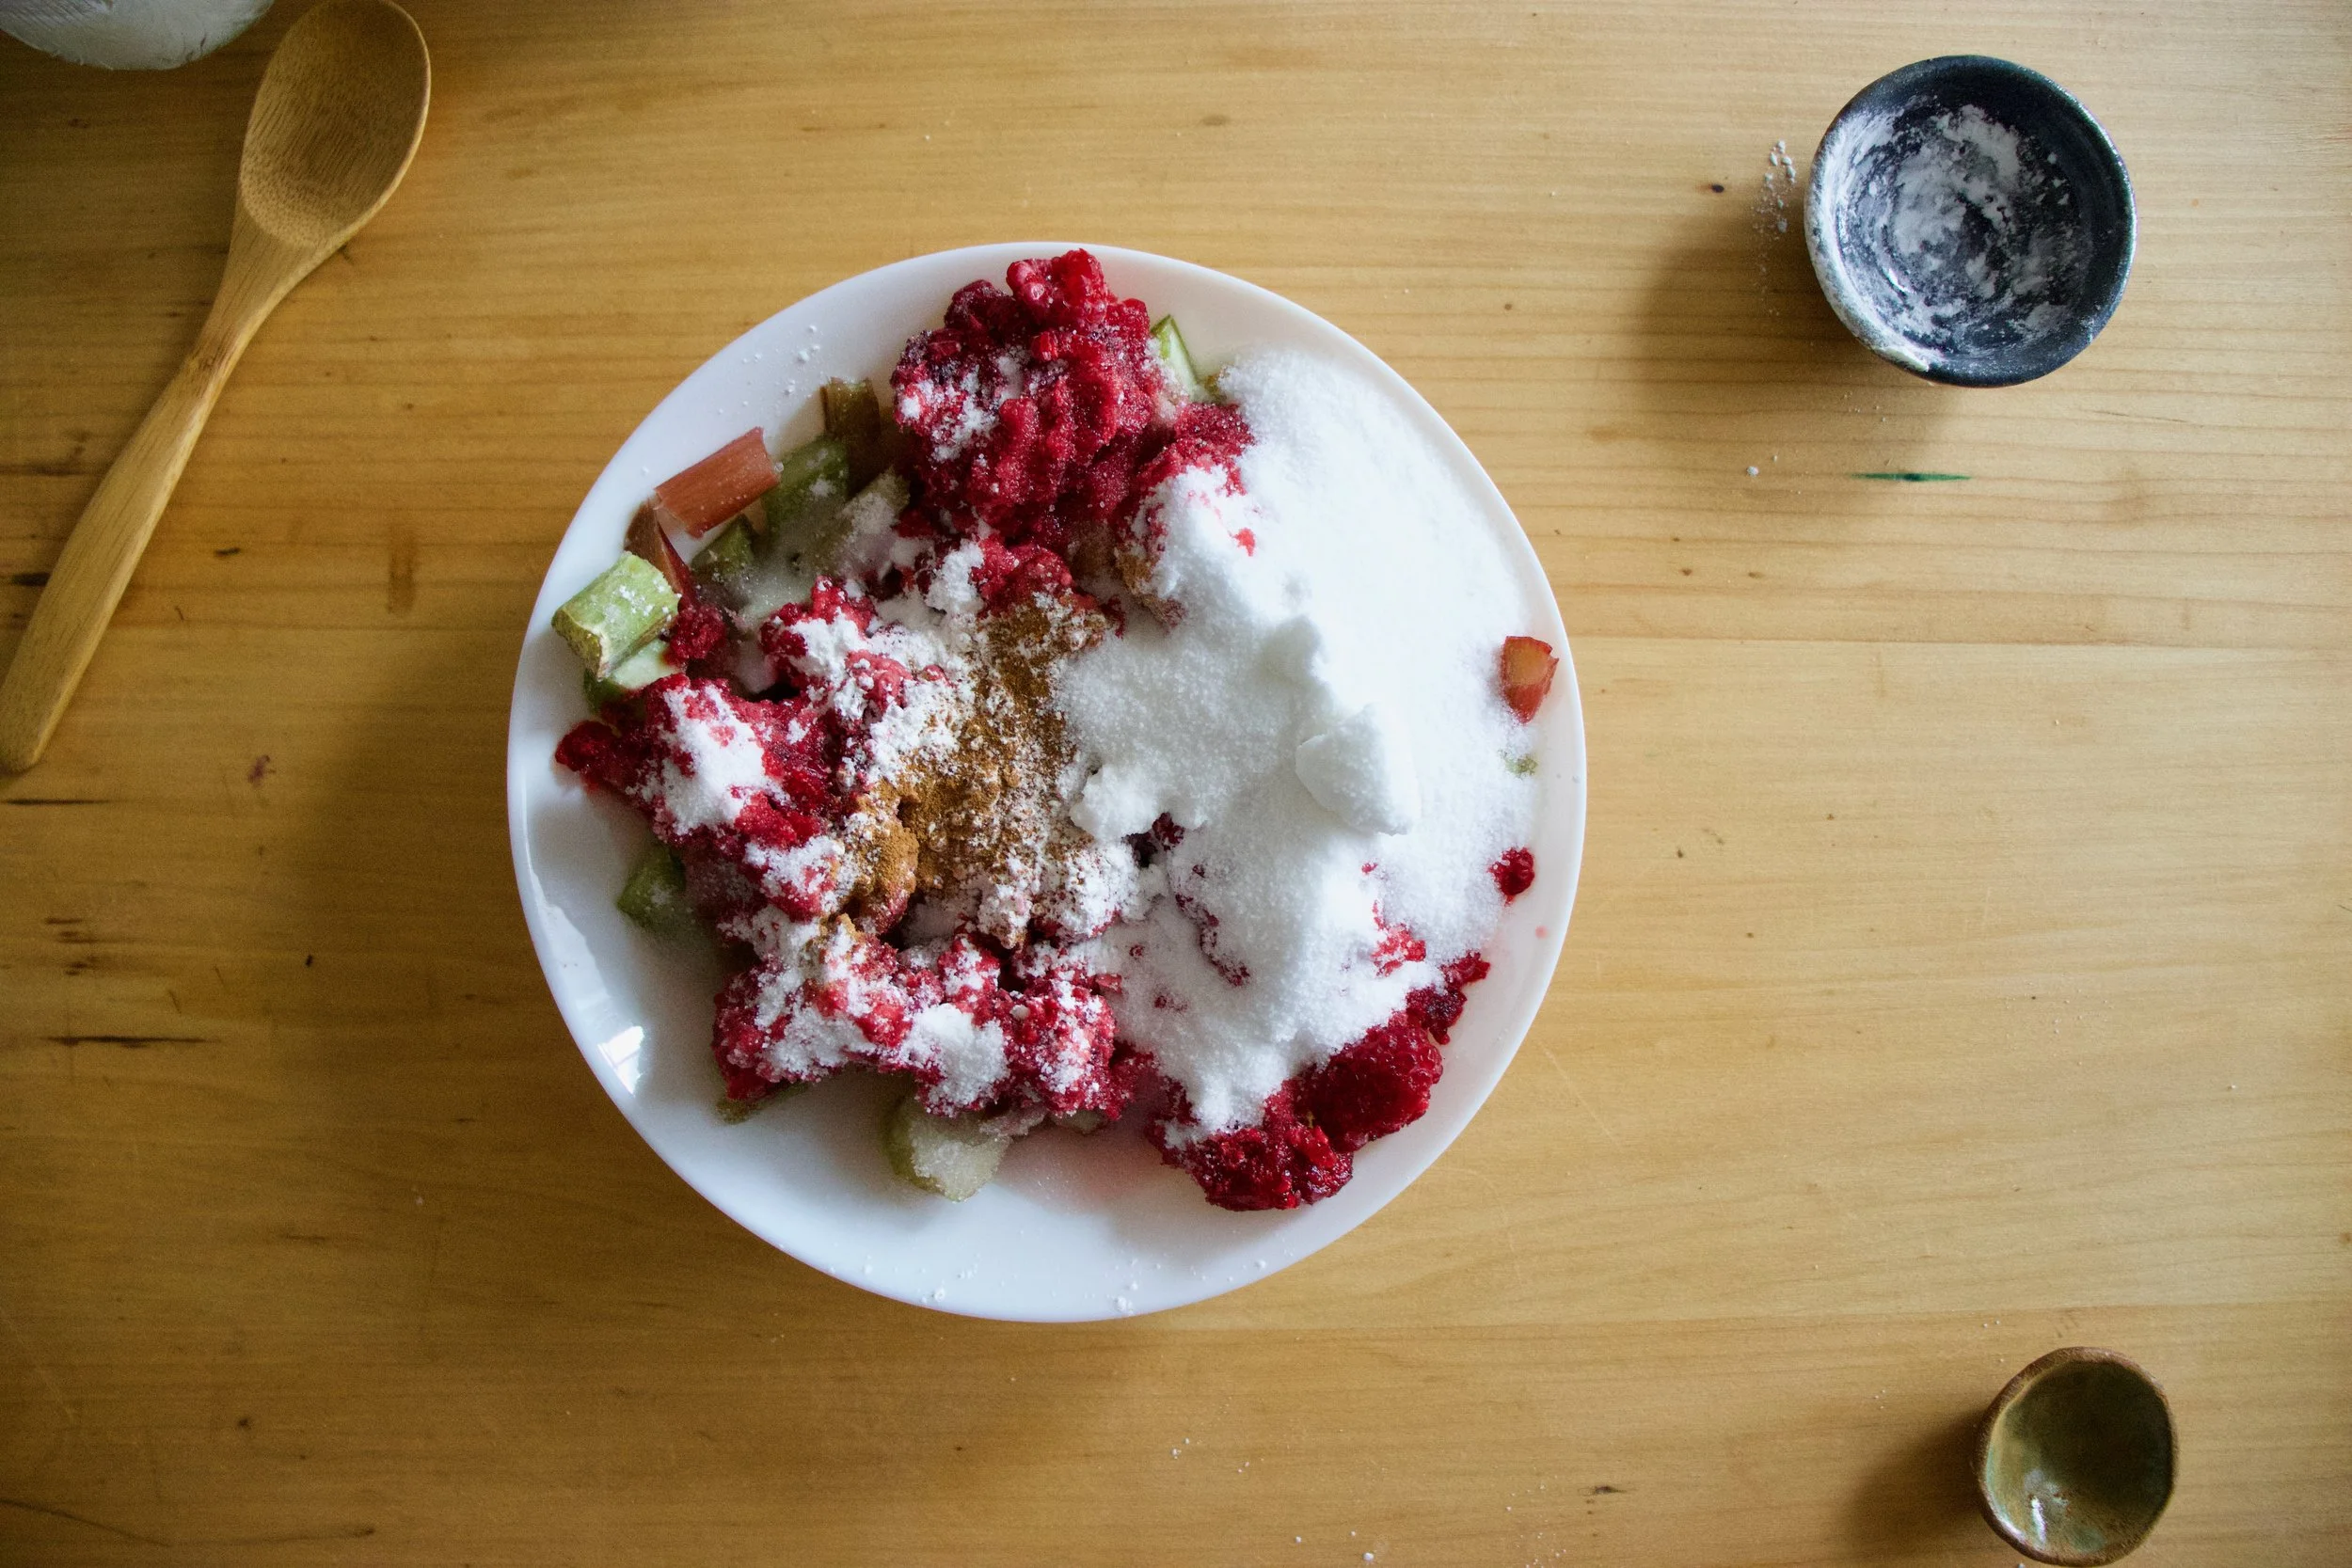
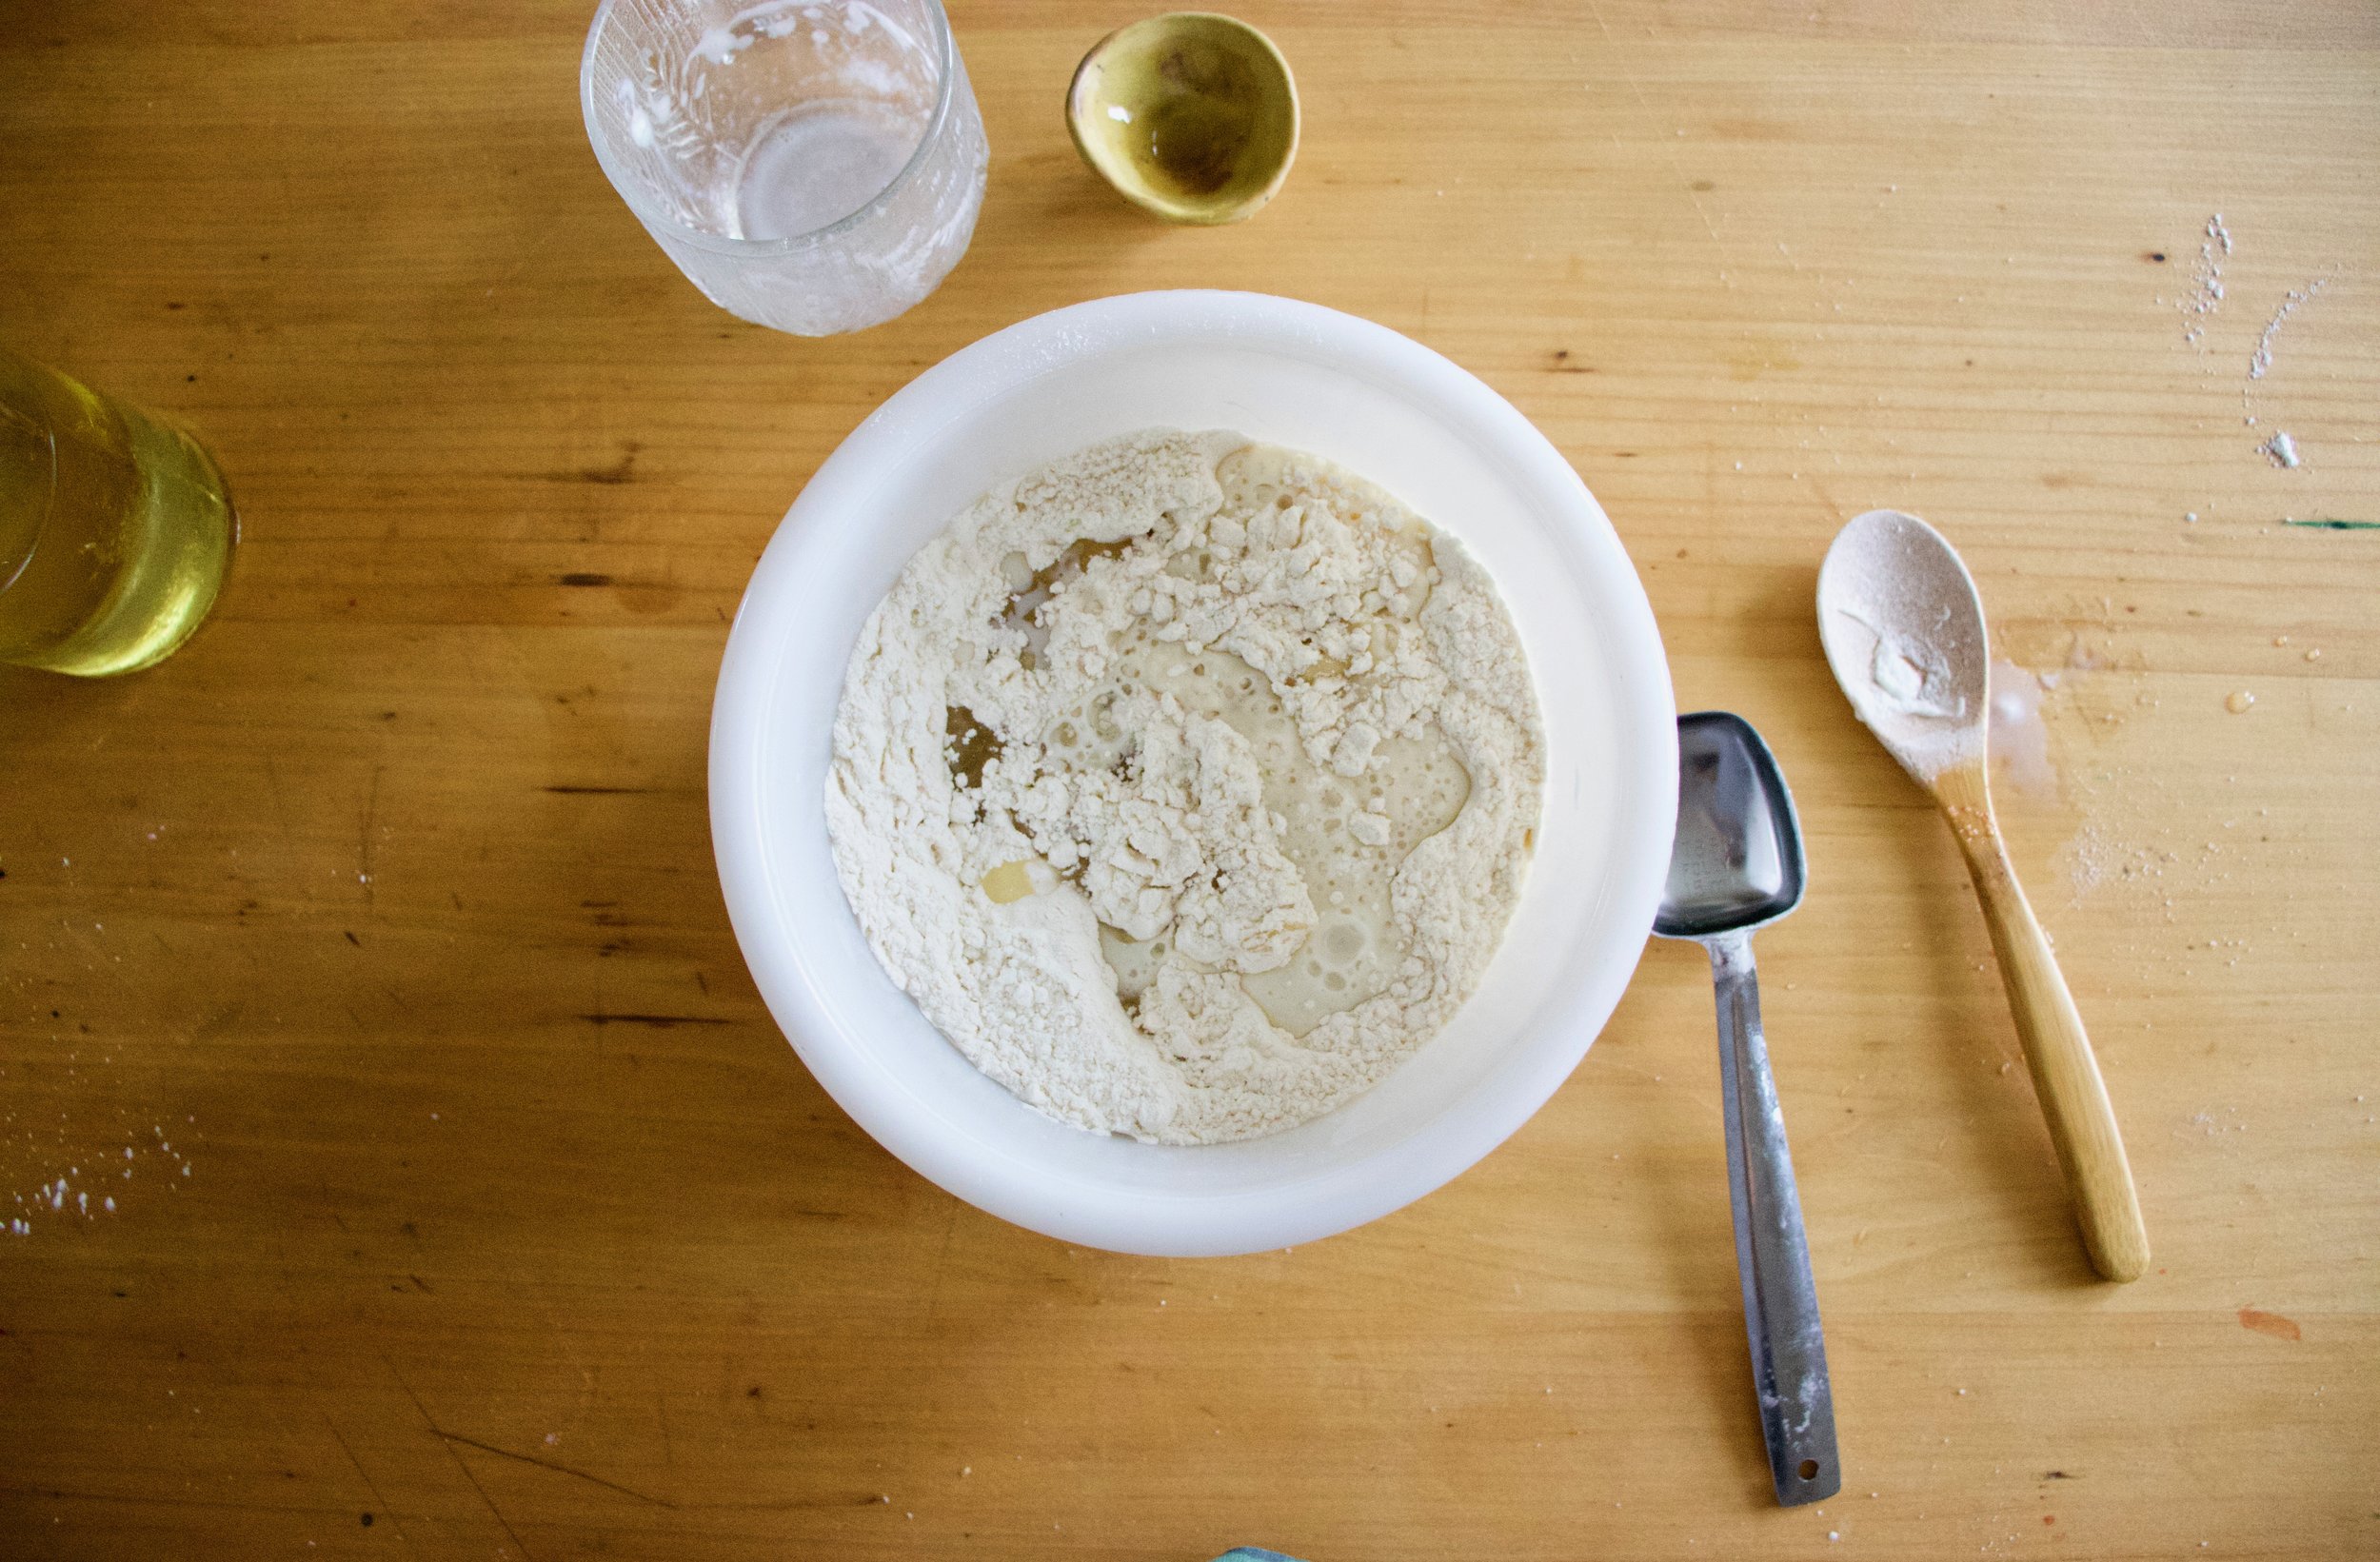
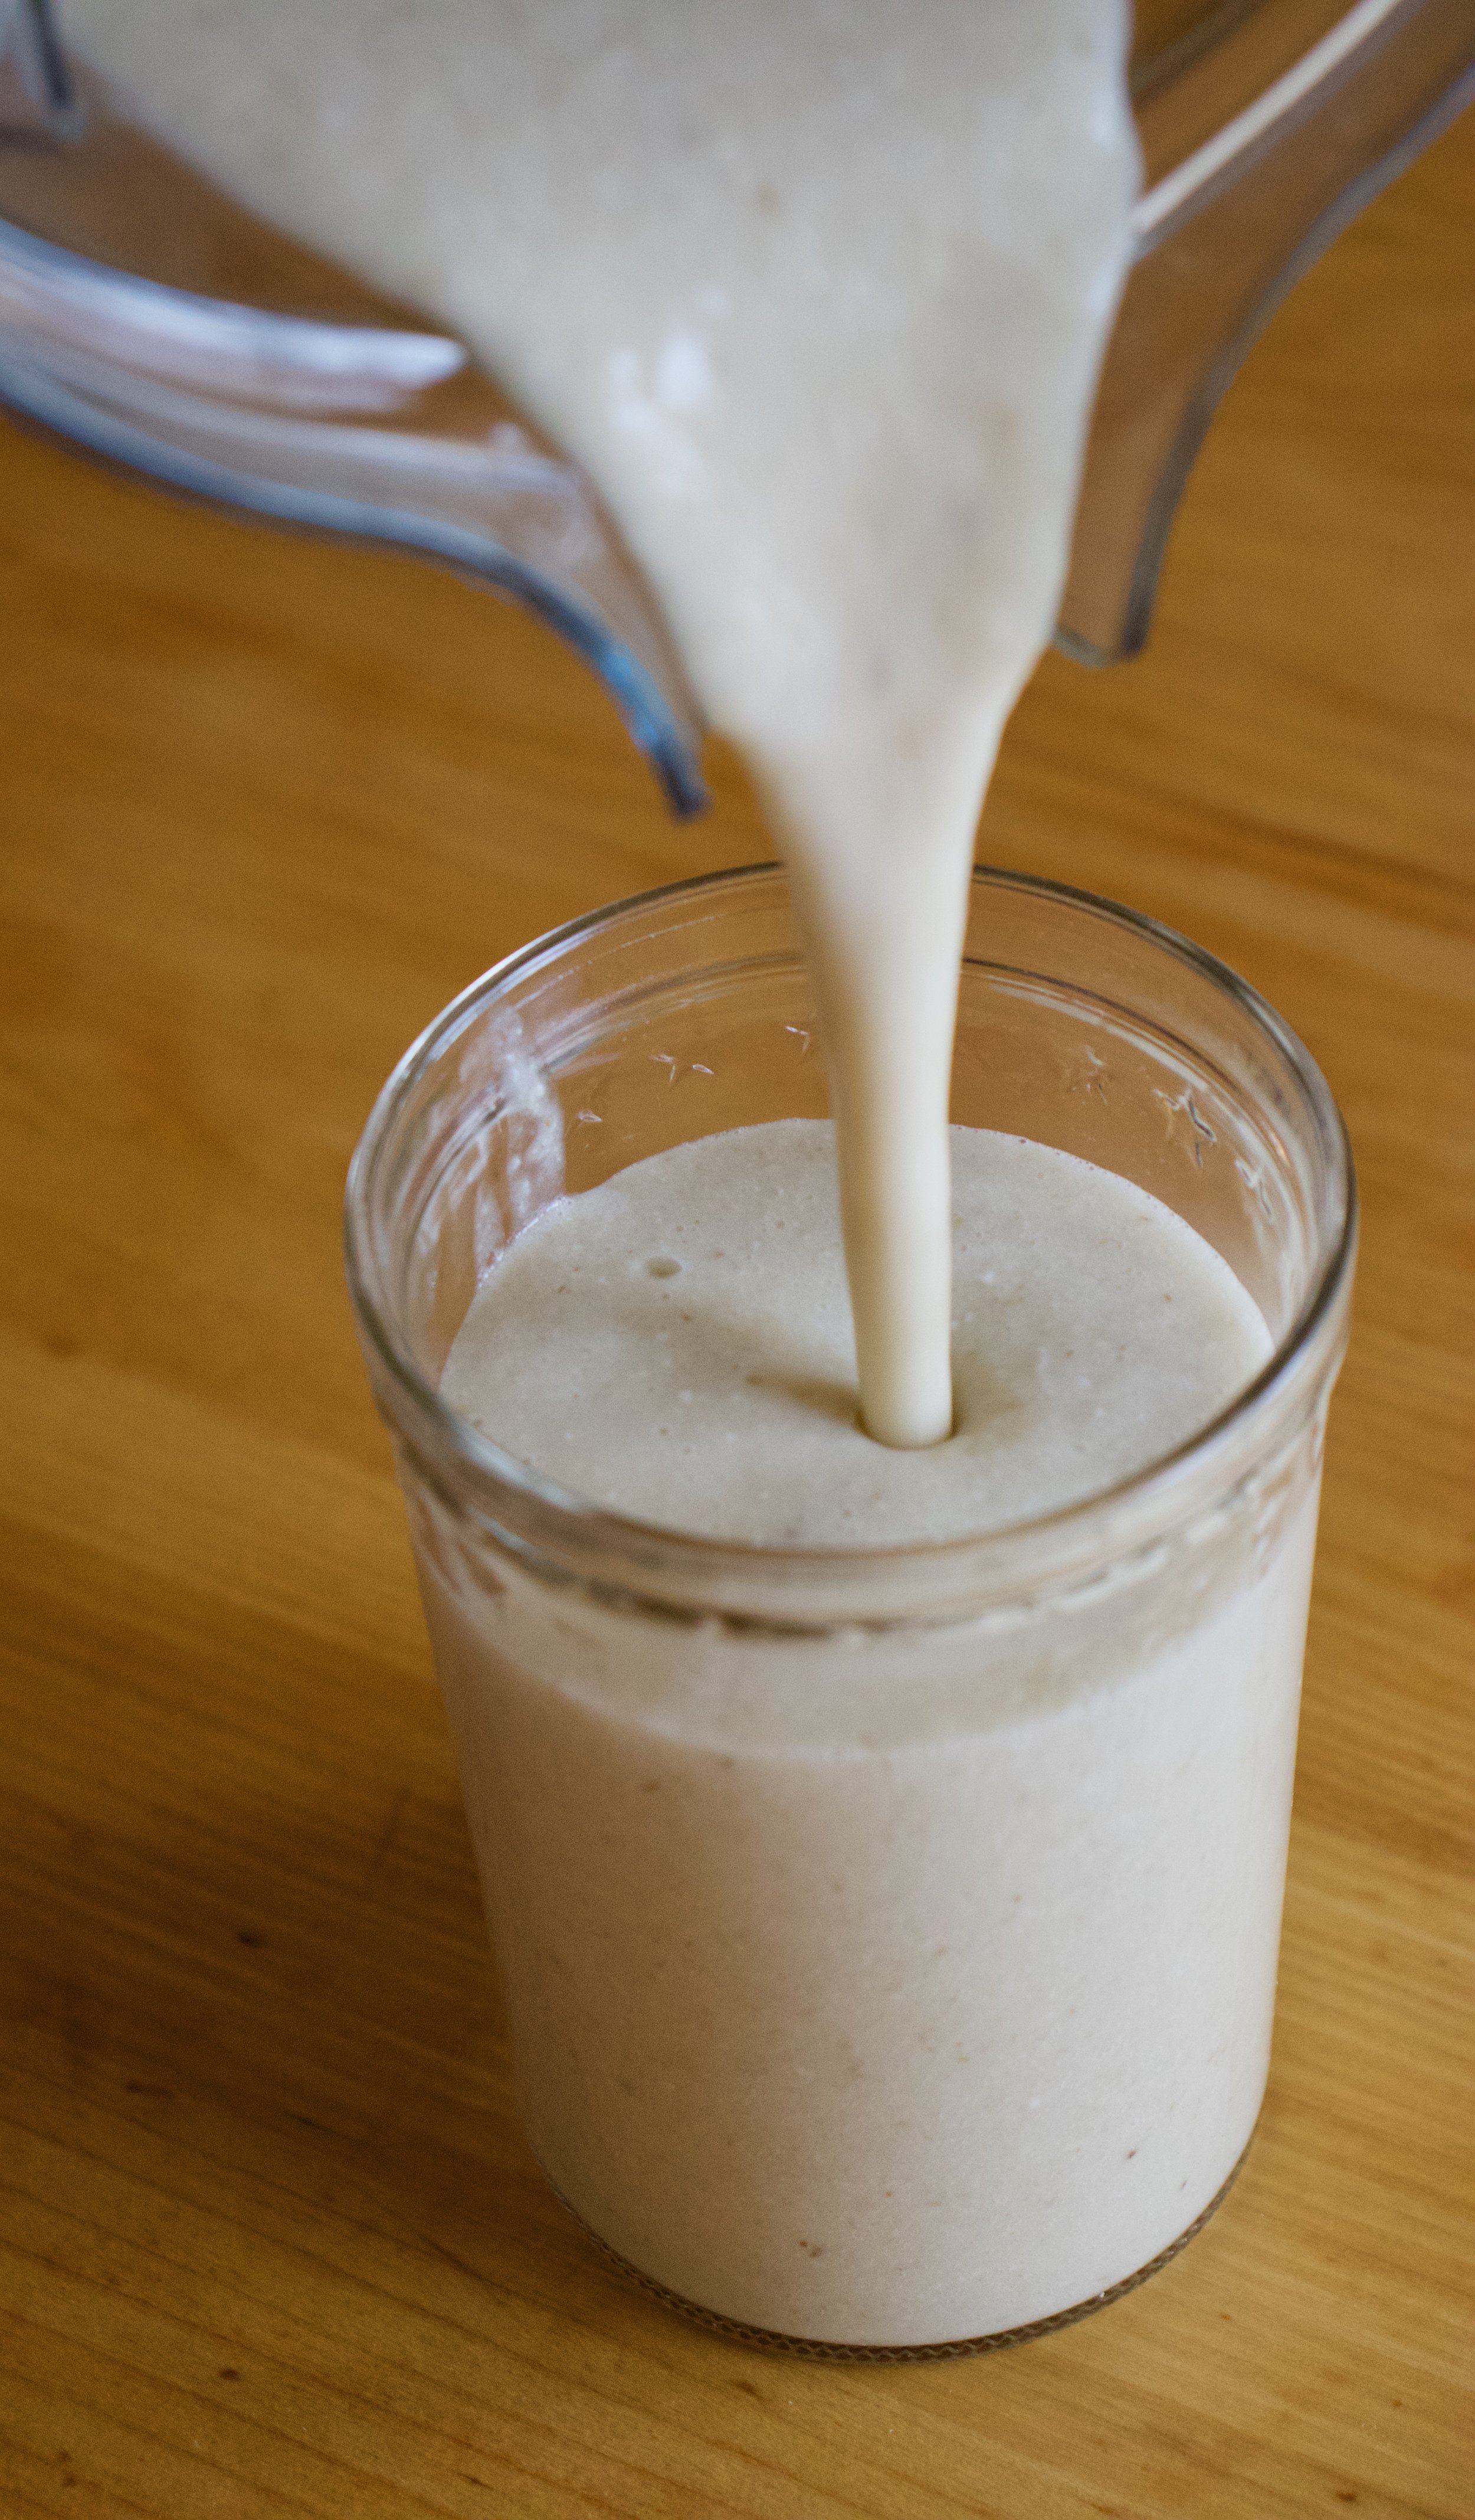
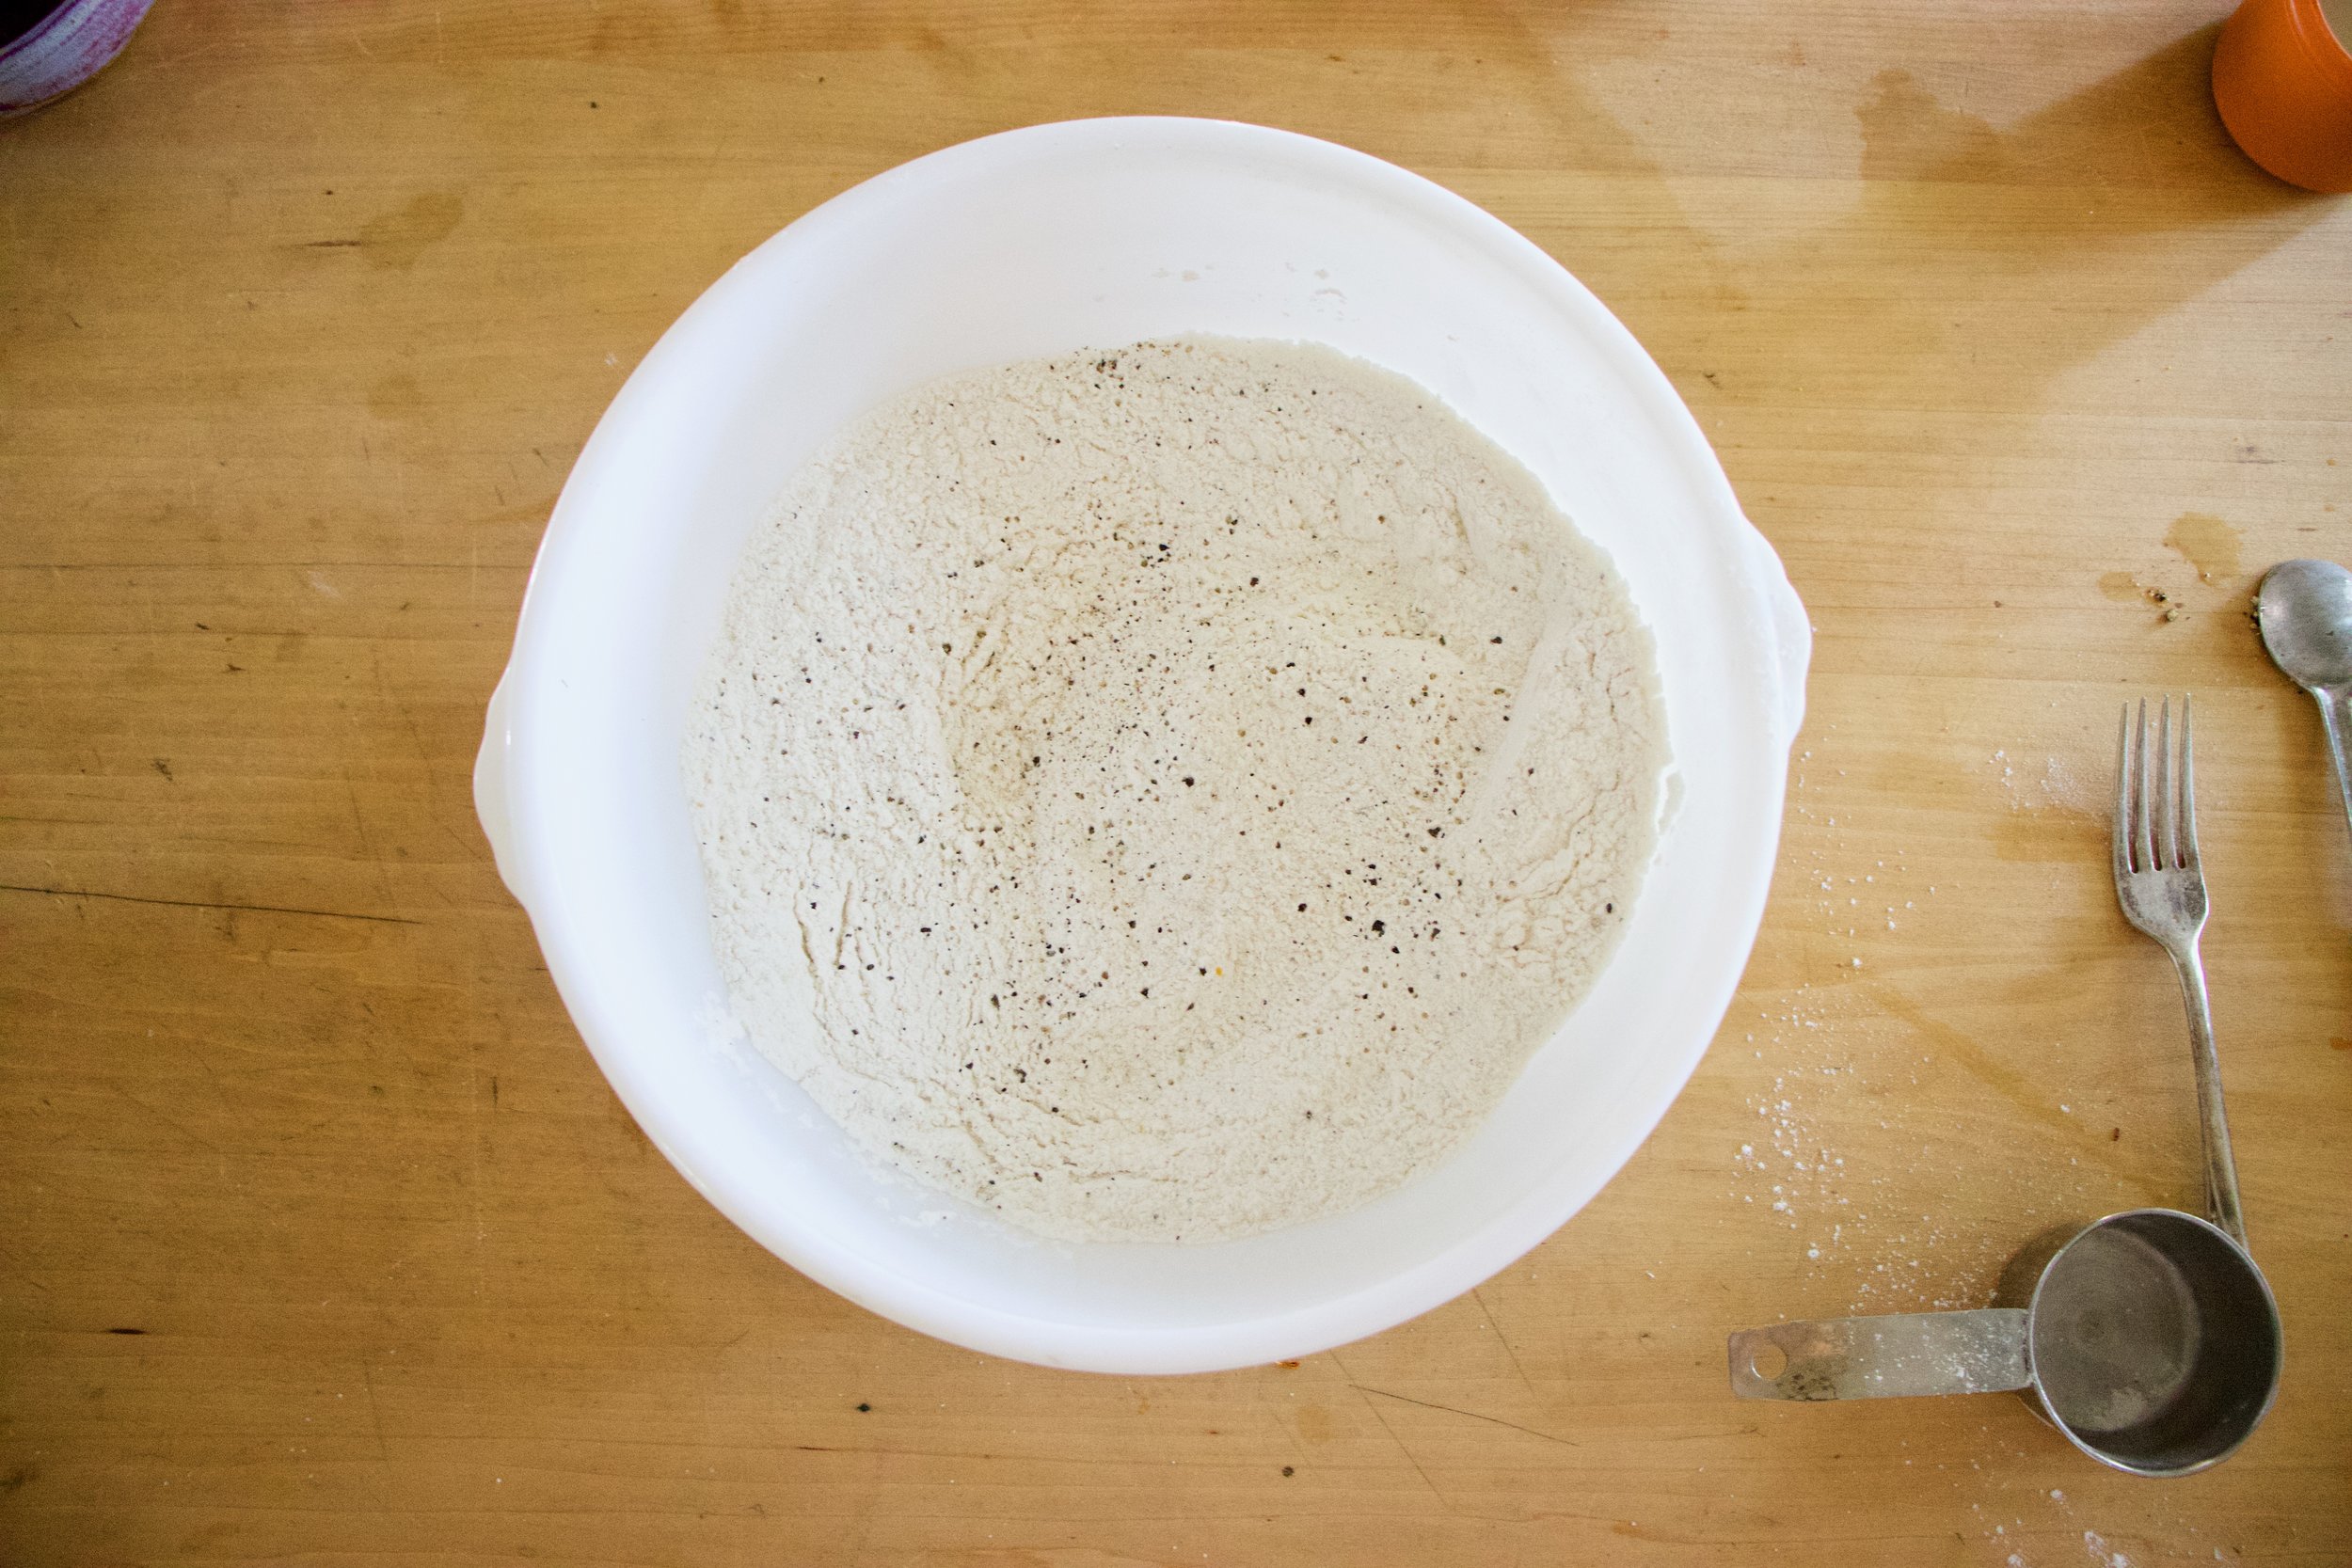
The stuff. Flour, baking powder, baking soda, and salt are in the big bowl. Then there is coconut oil, almond milk, sugar, vanilla, and apple cider vinegar. And course ground black pepper and blackberries that I froze. You need to use frozen berries or else you will have yourself a hot mess.

IMG_1069 2.jpg
IMG_1072 2.jpg
IMG_1082 2.jpg
IMG_1084 3.jpg
IMG_1092 2.jpg
IMG_1096 2.jpg

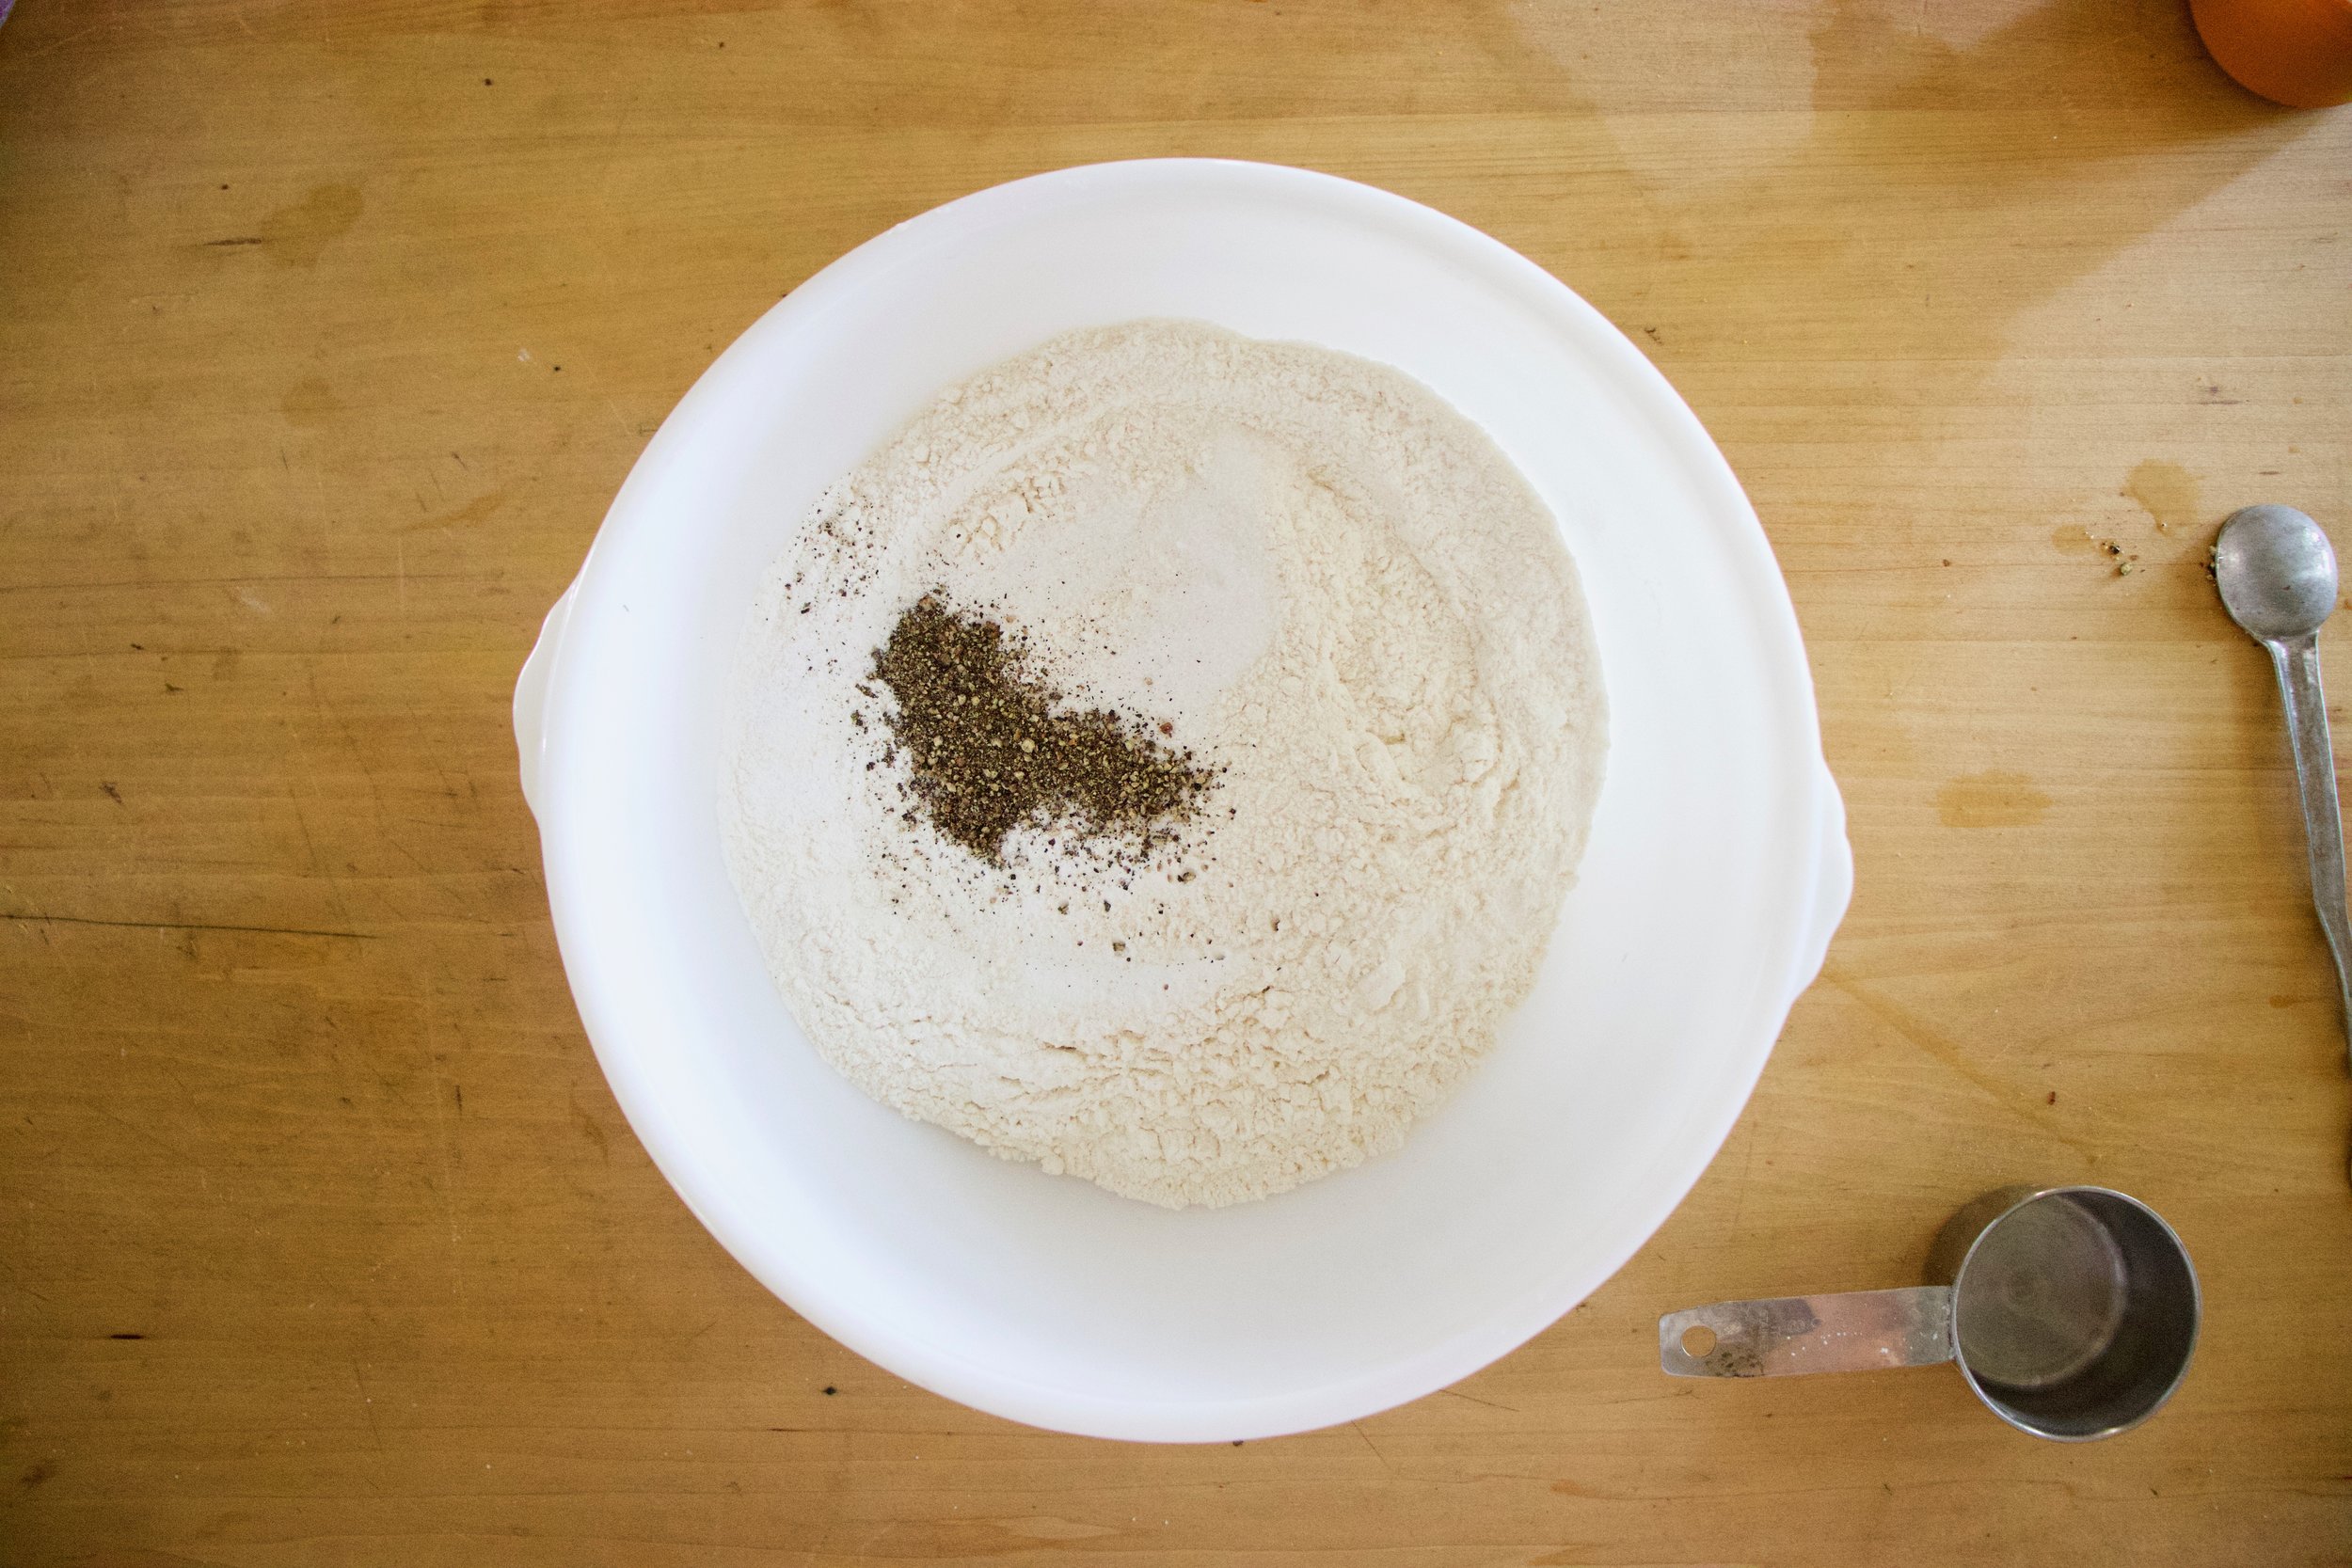
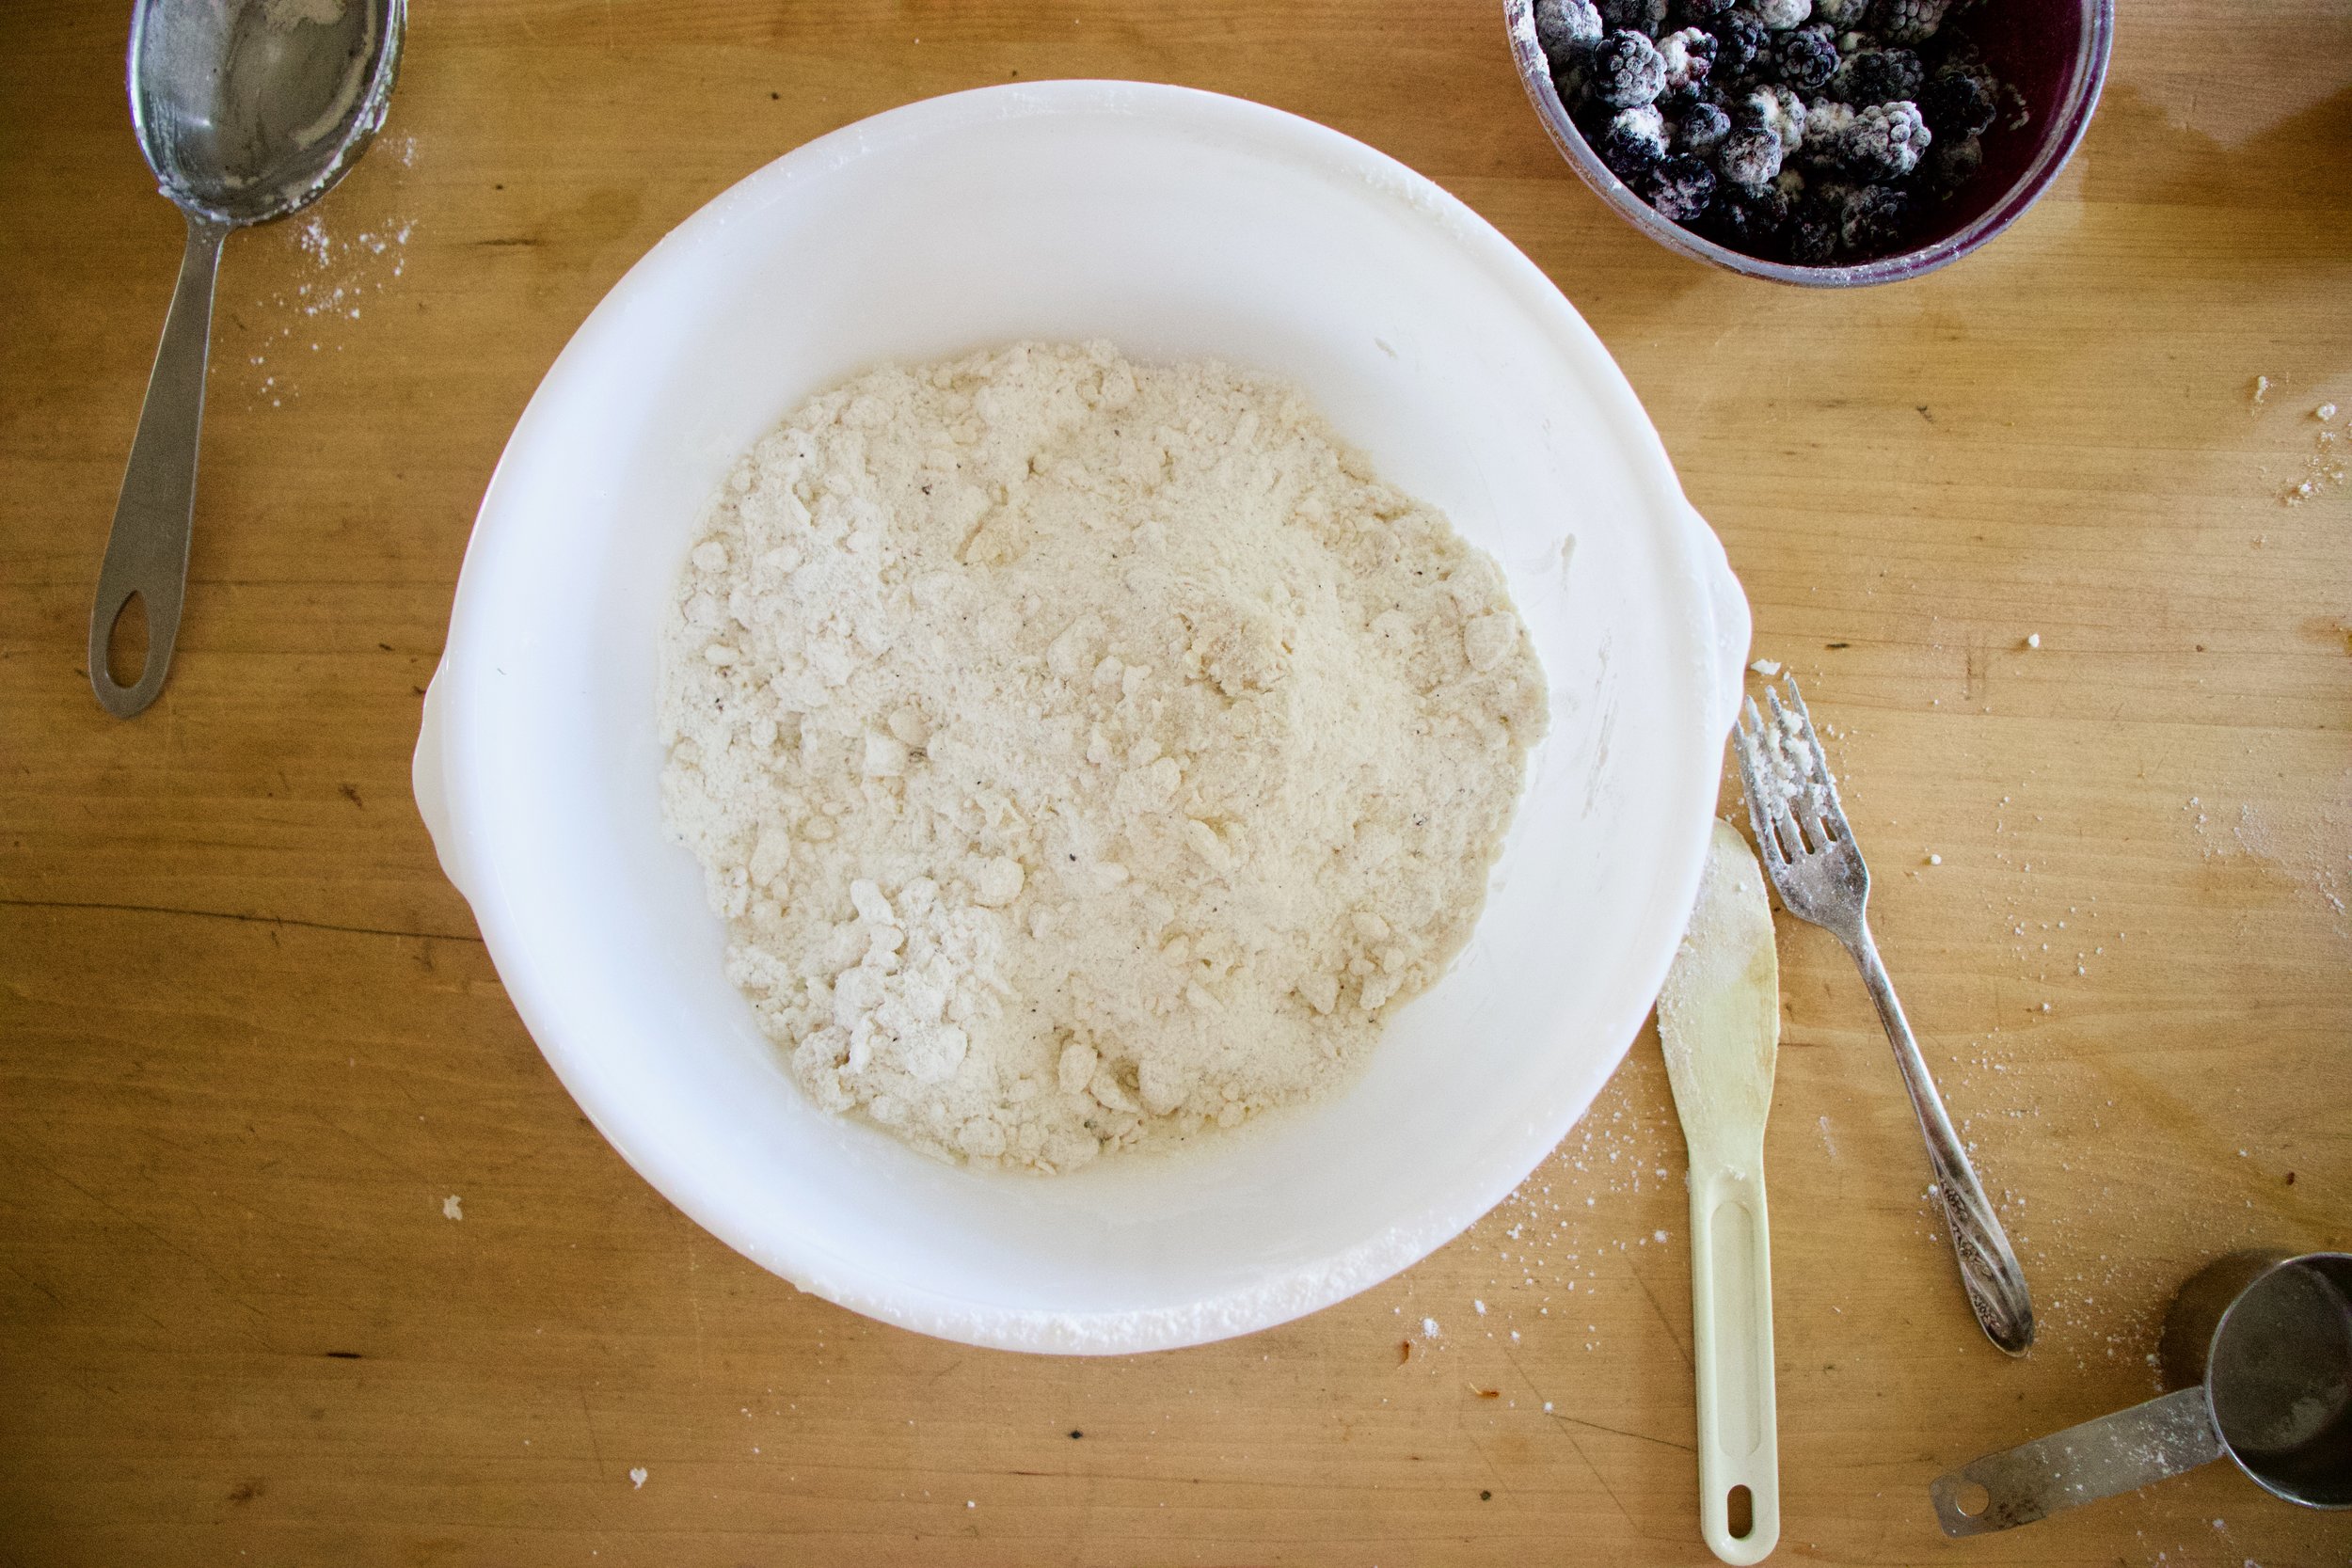
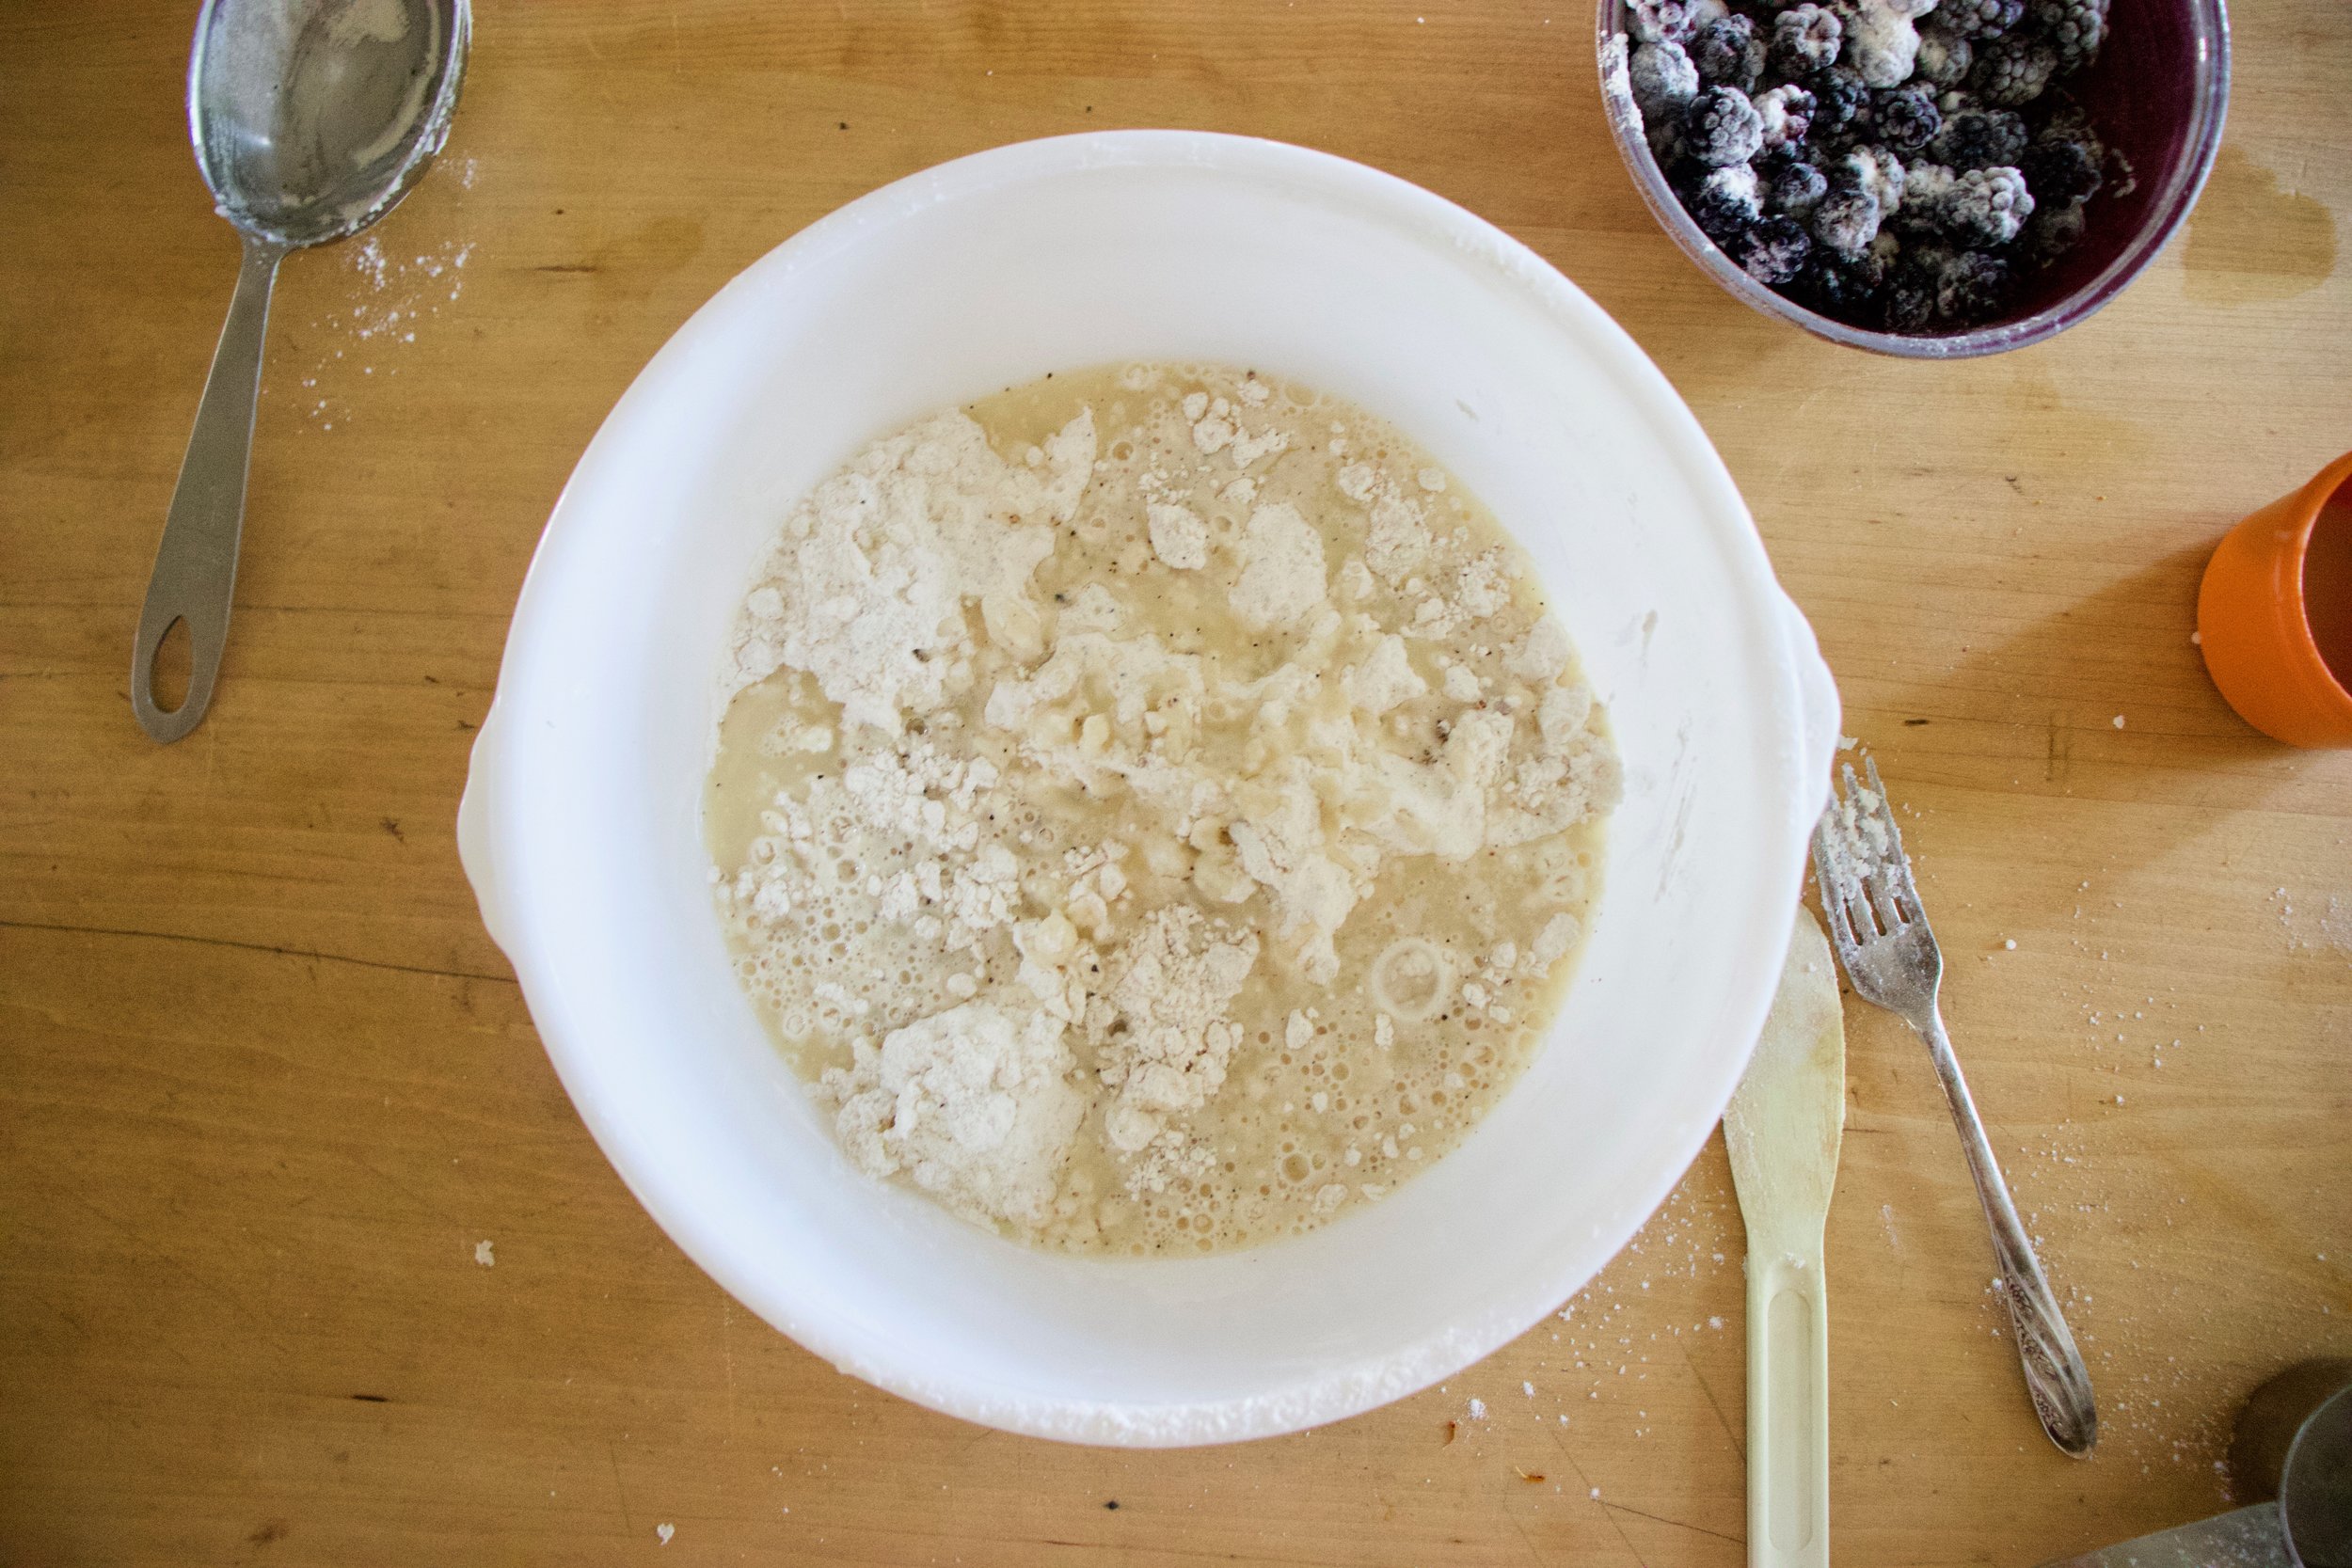
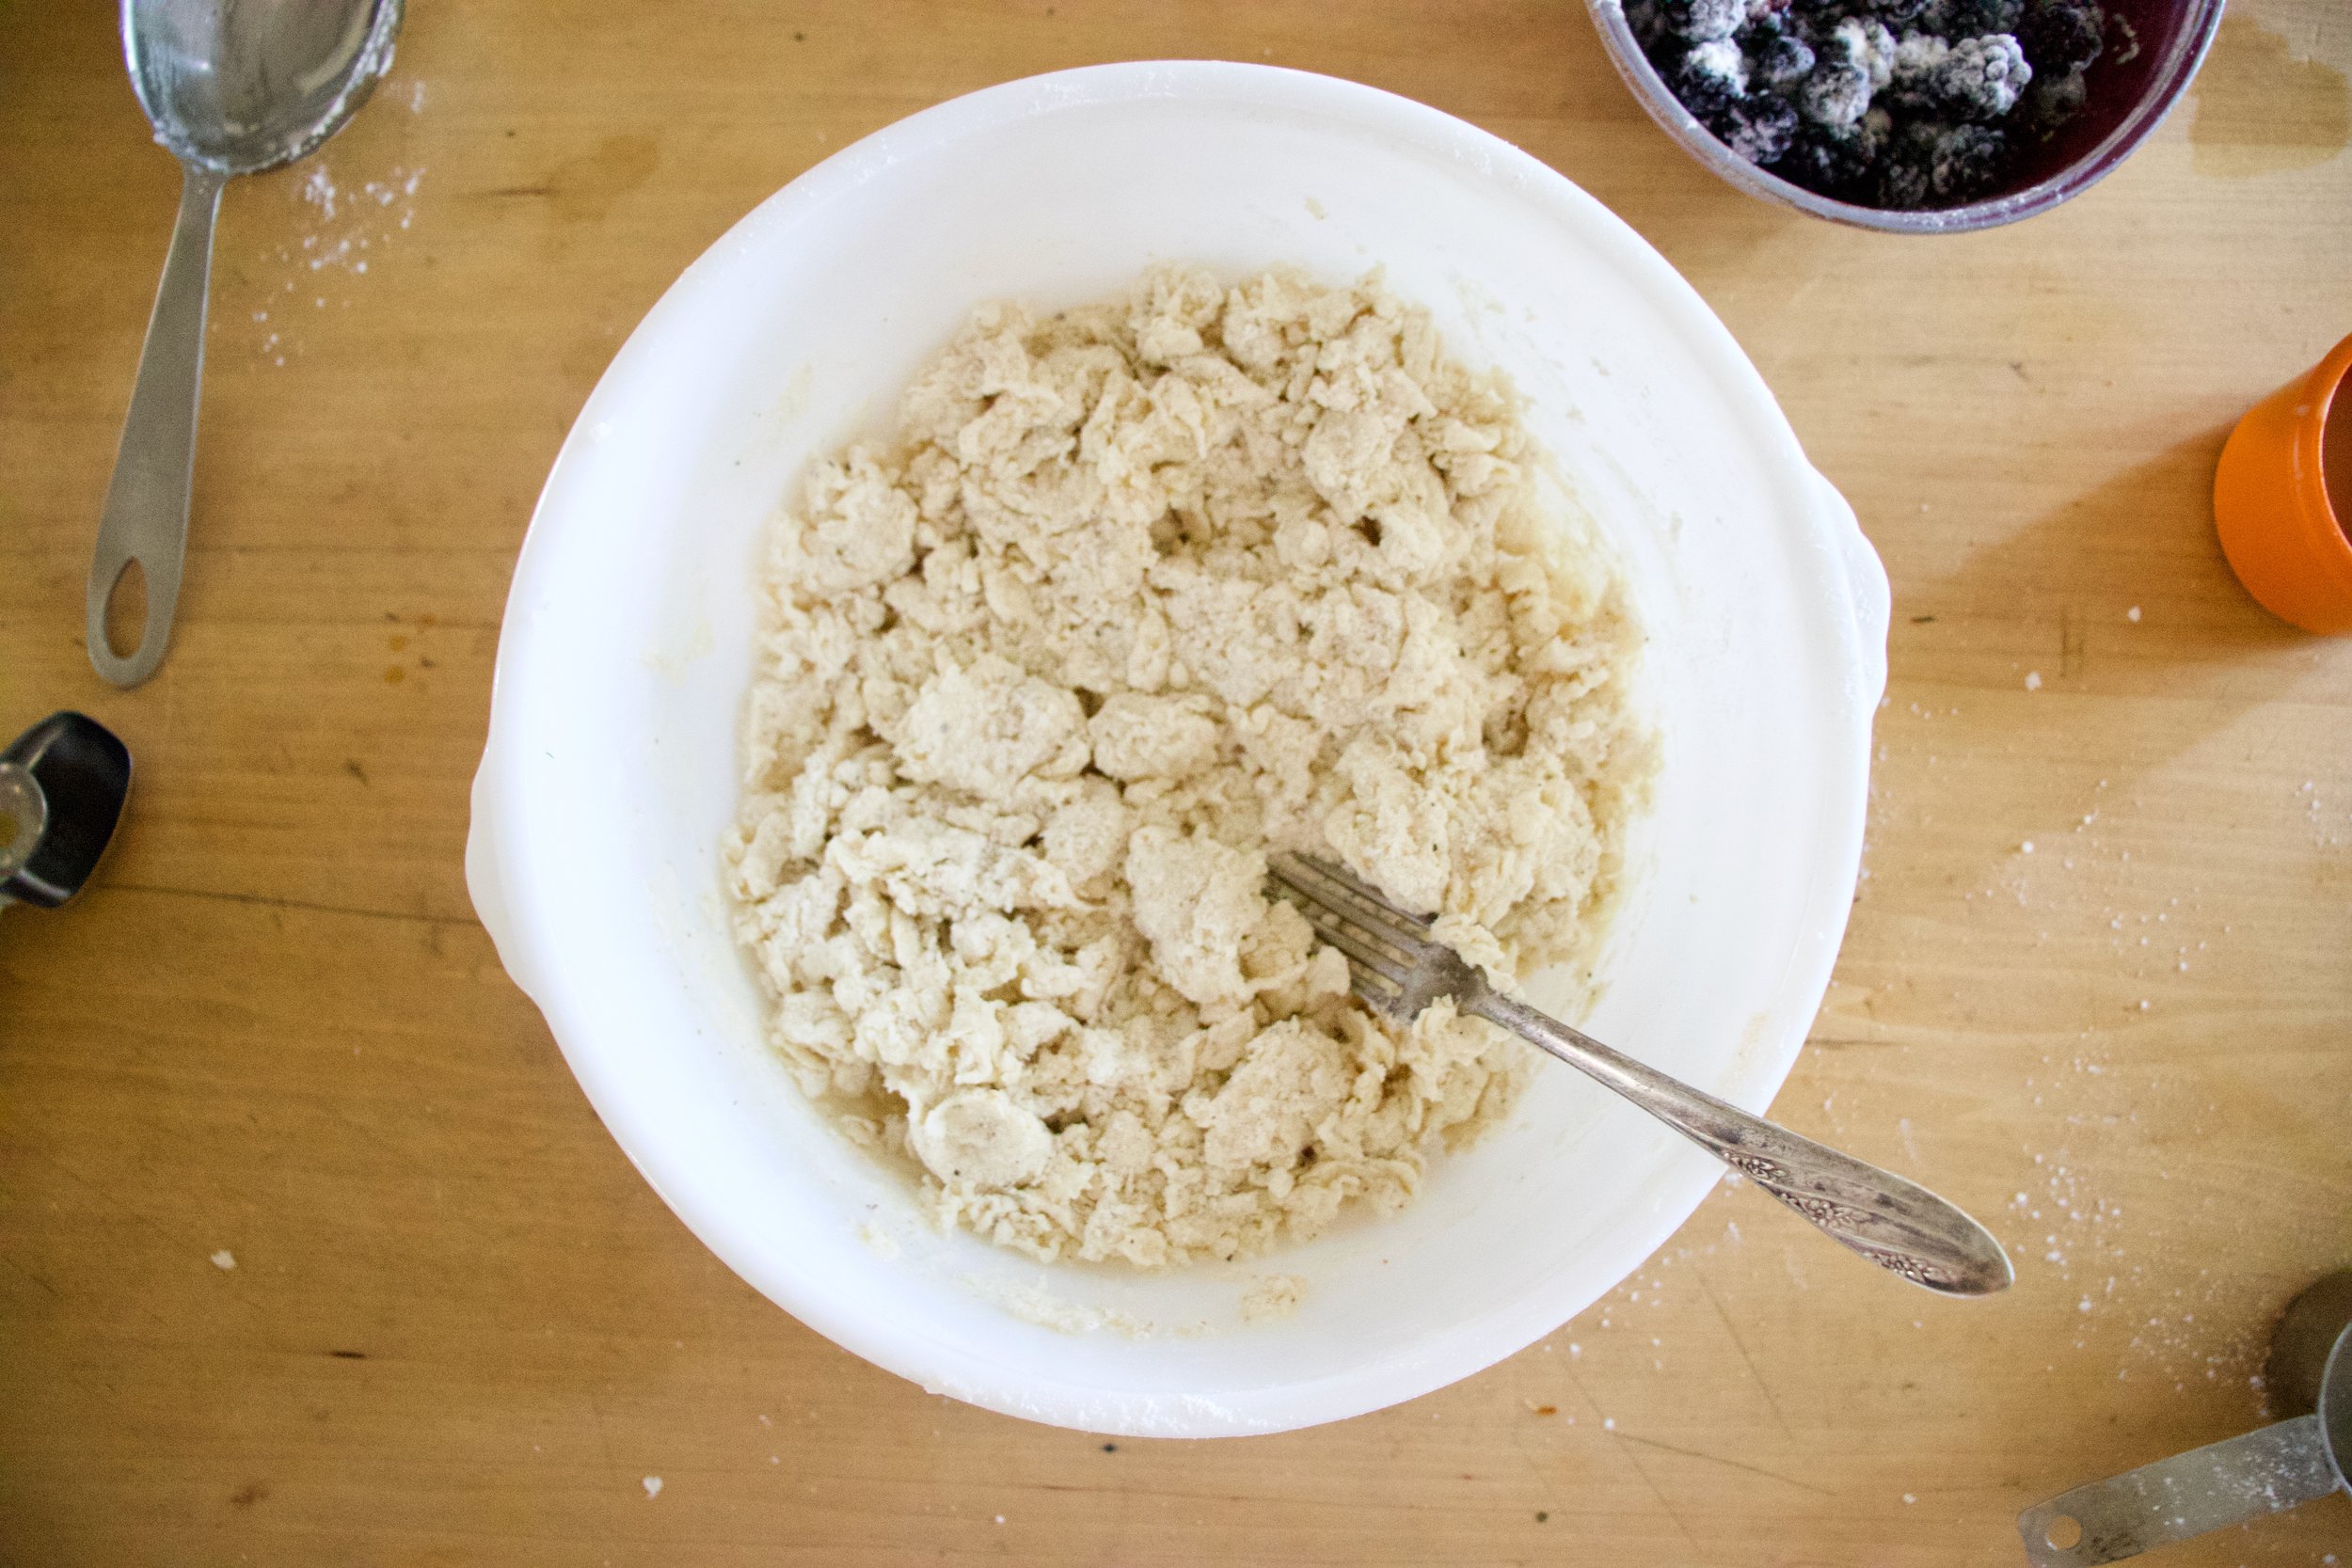
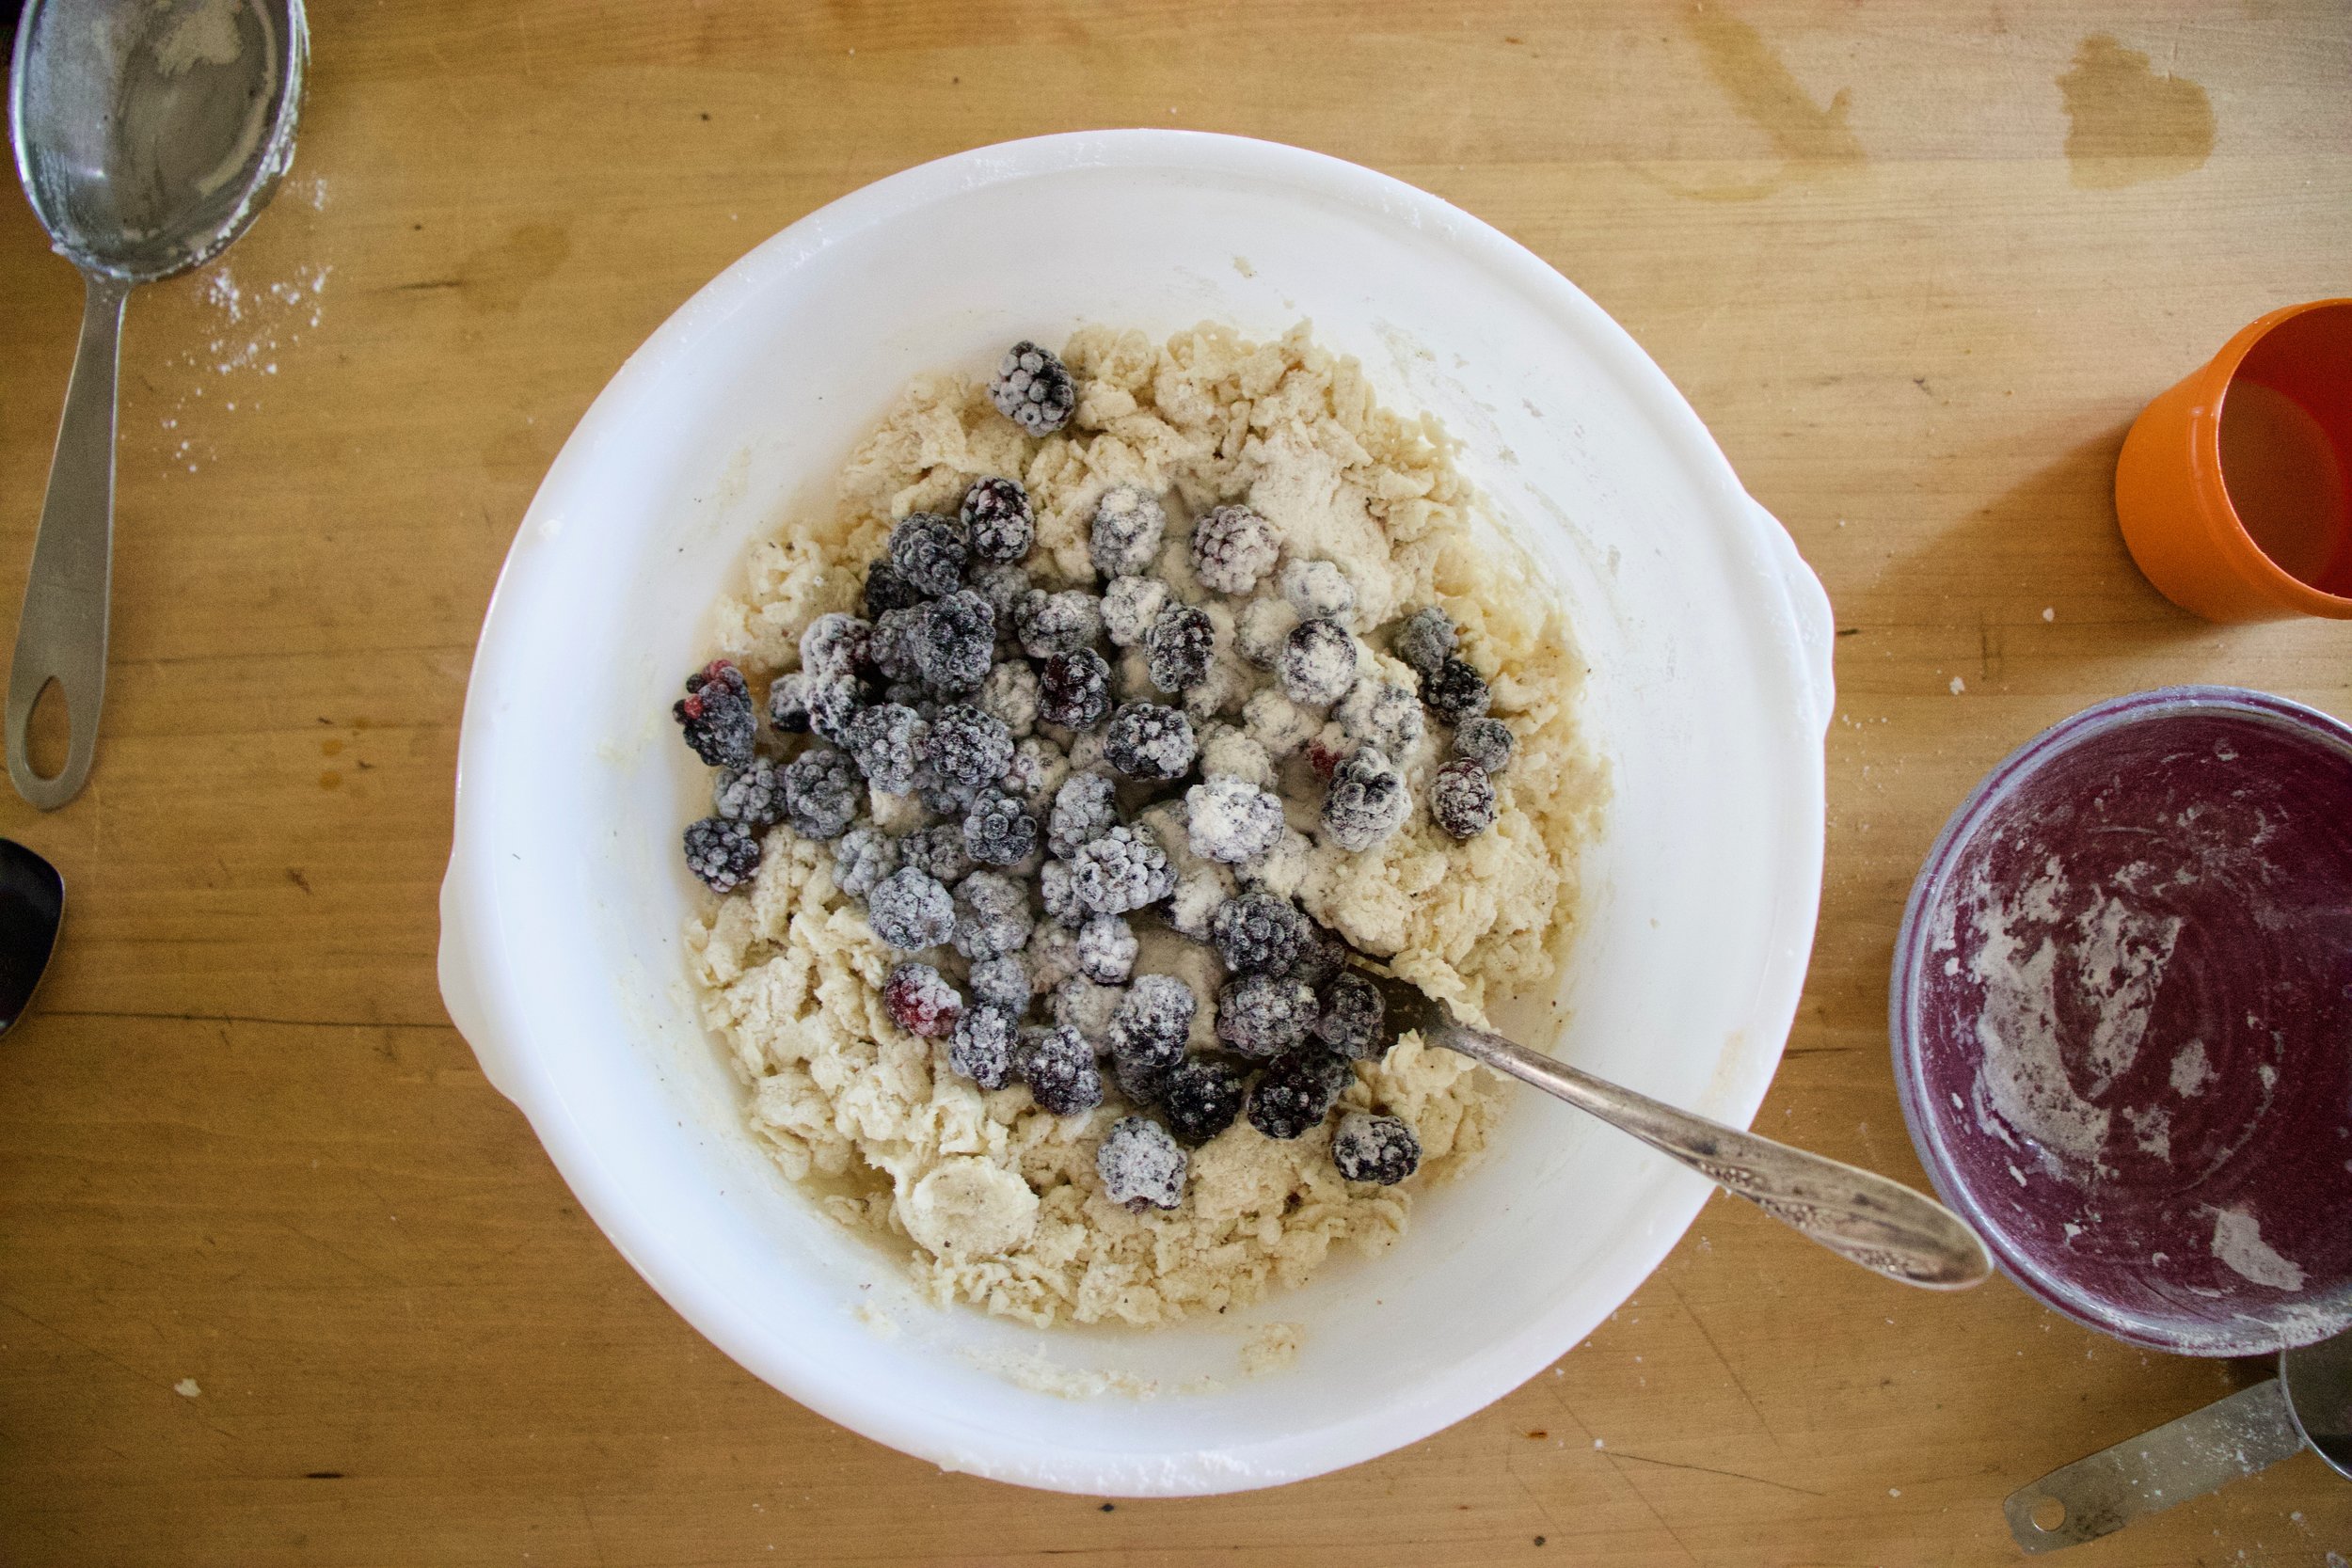
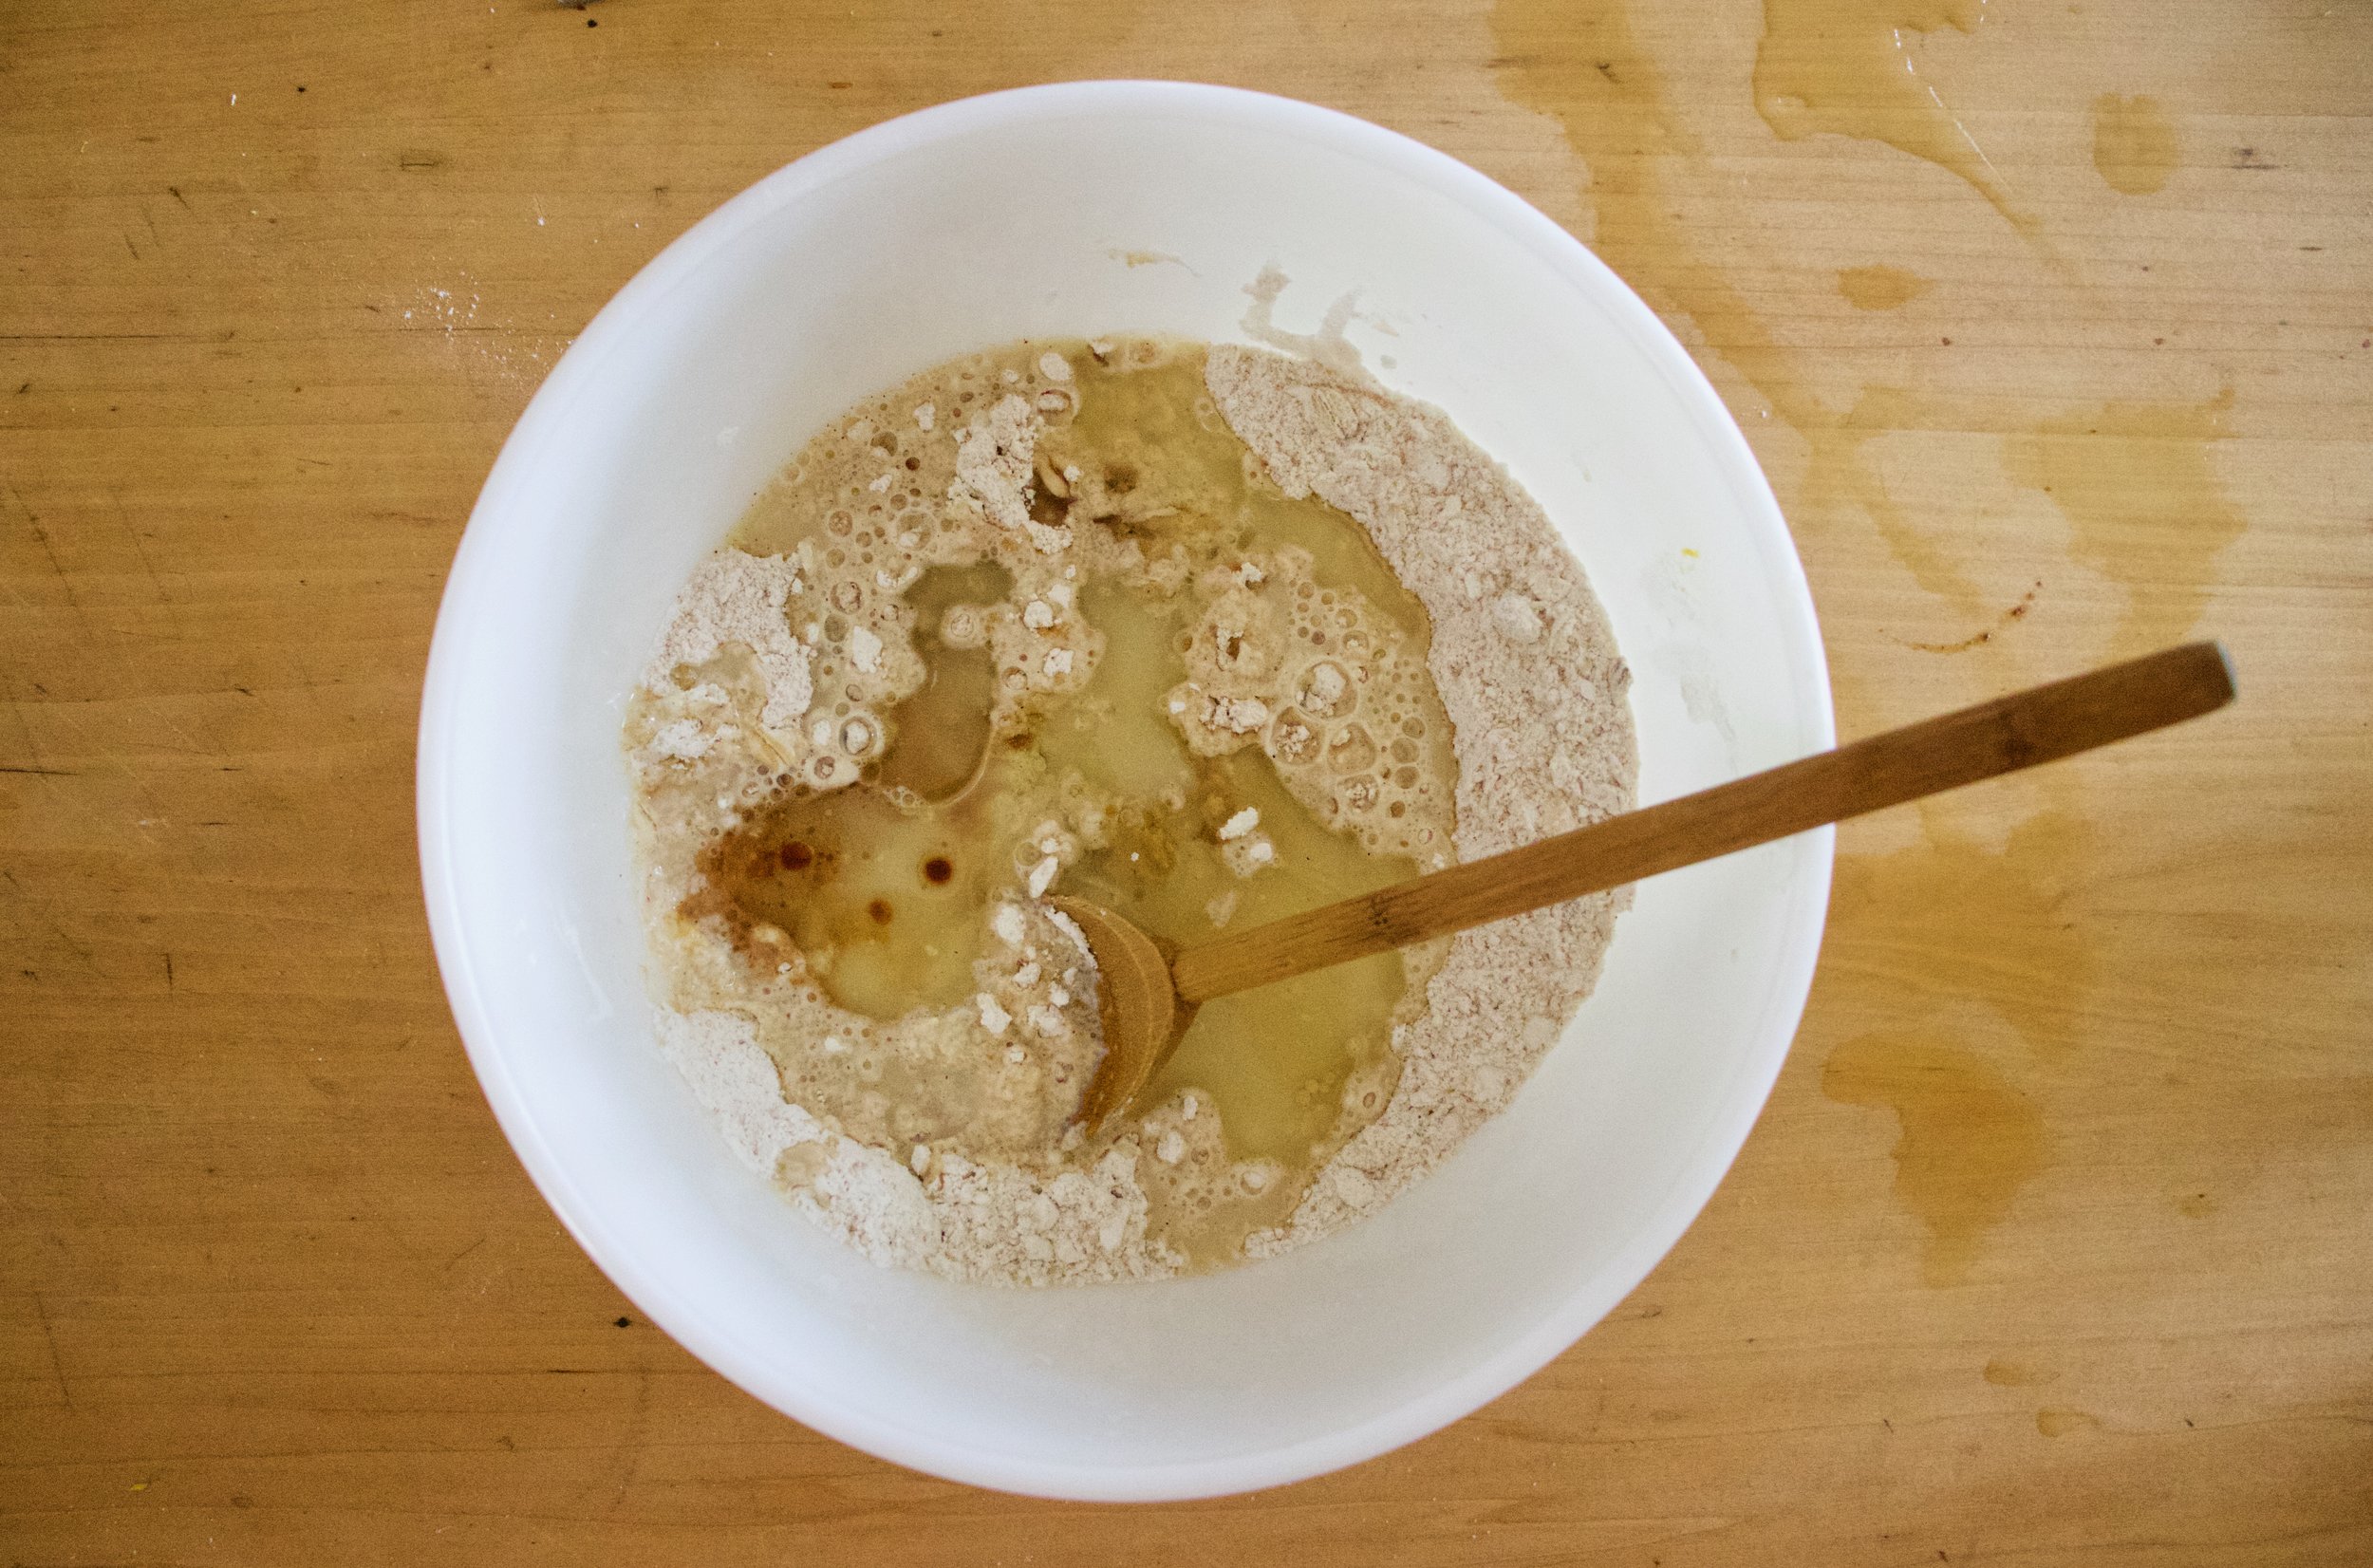
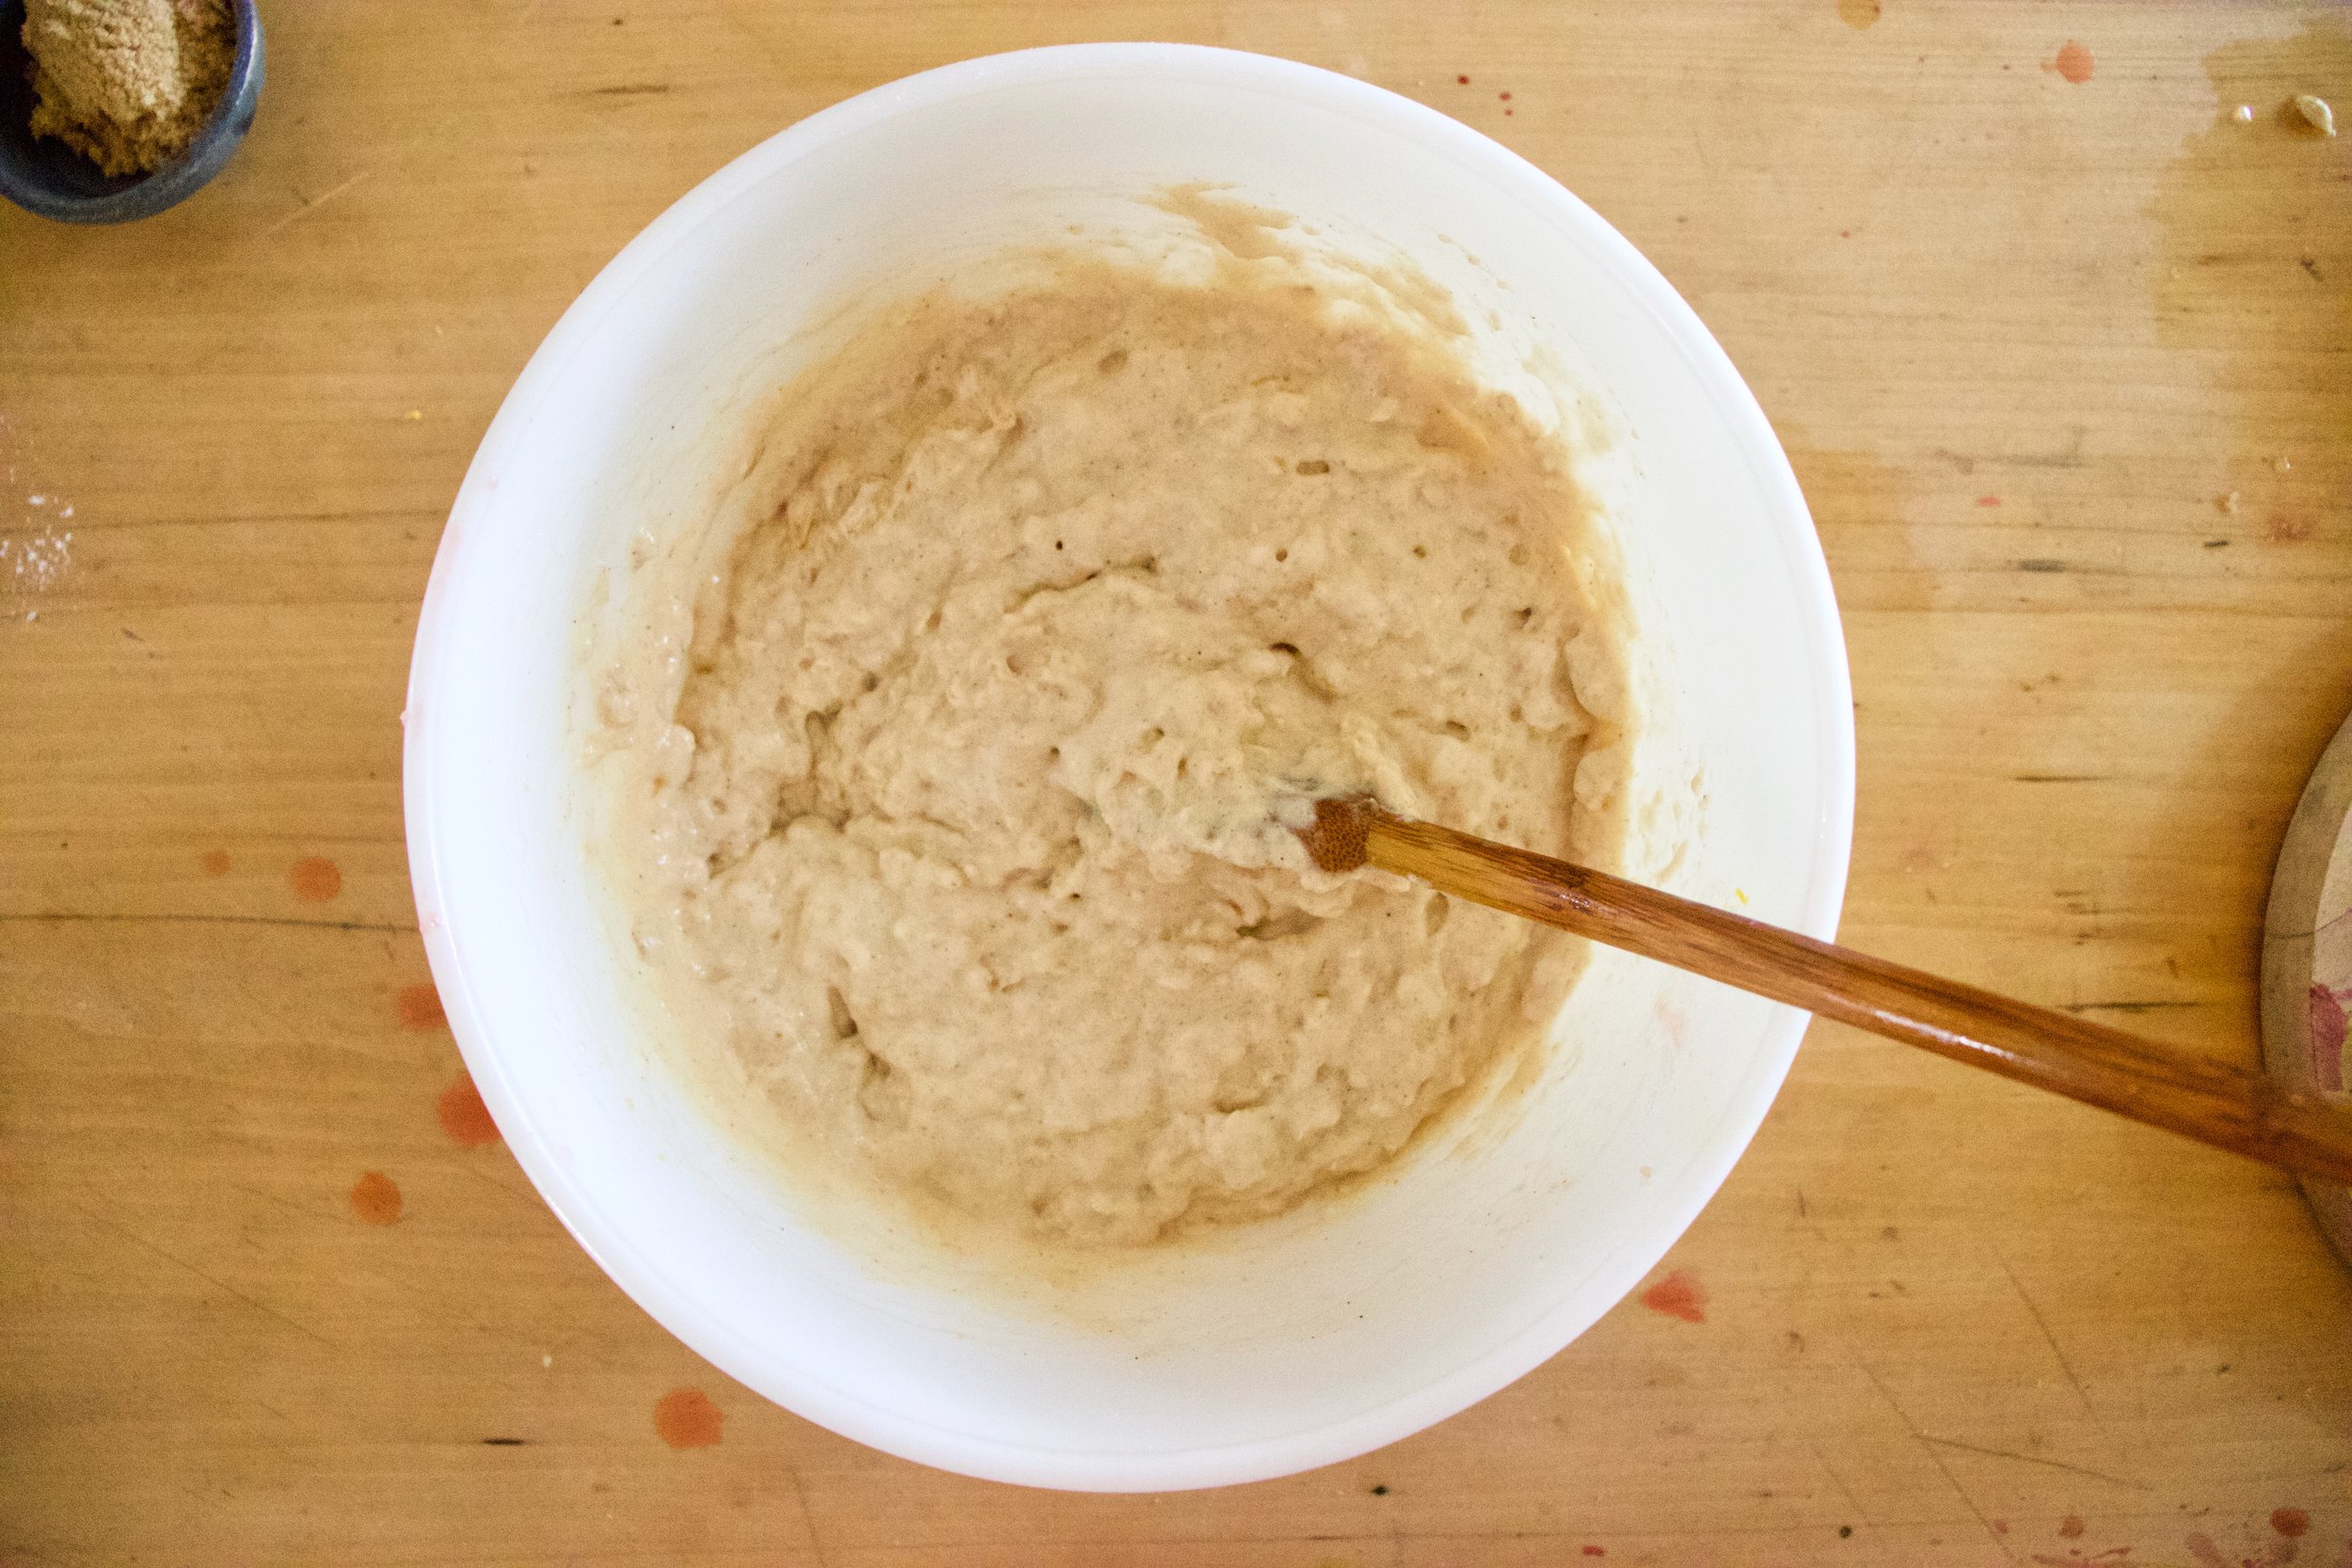
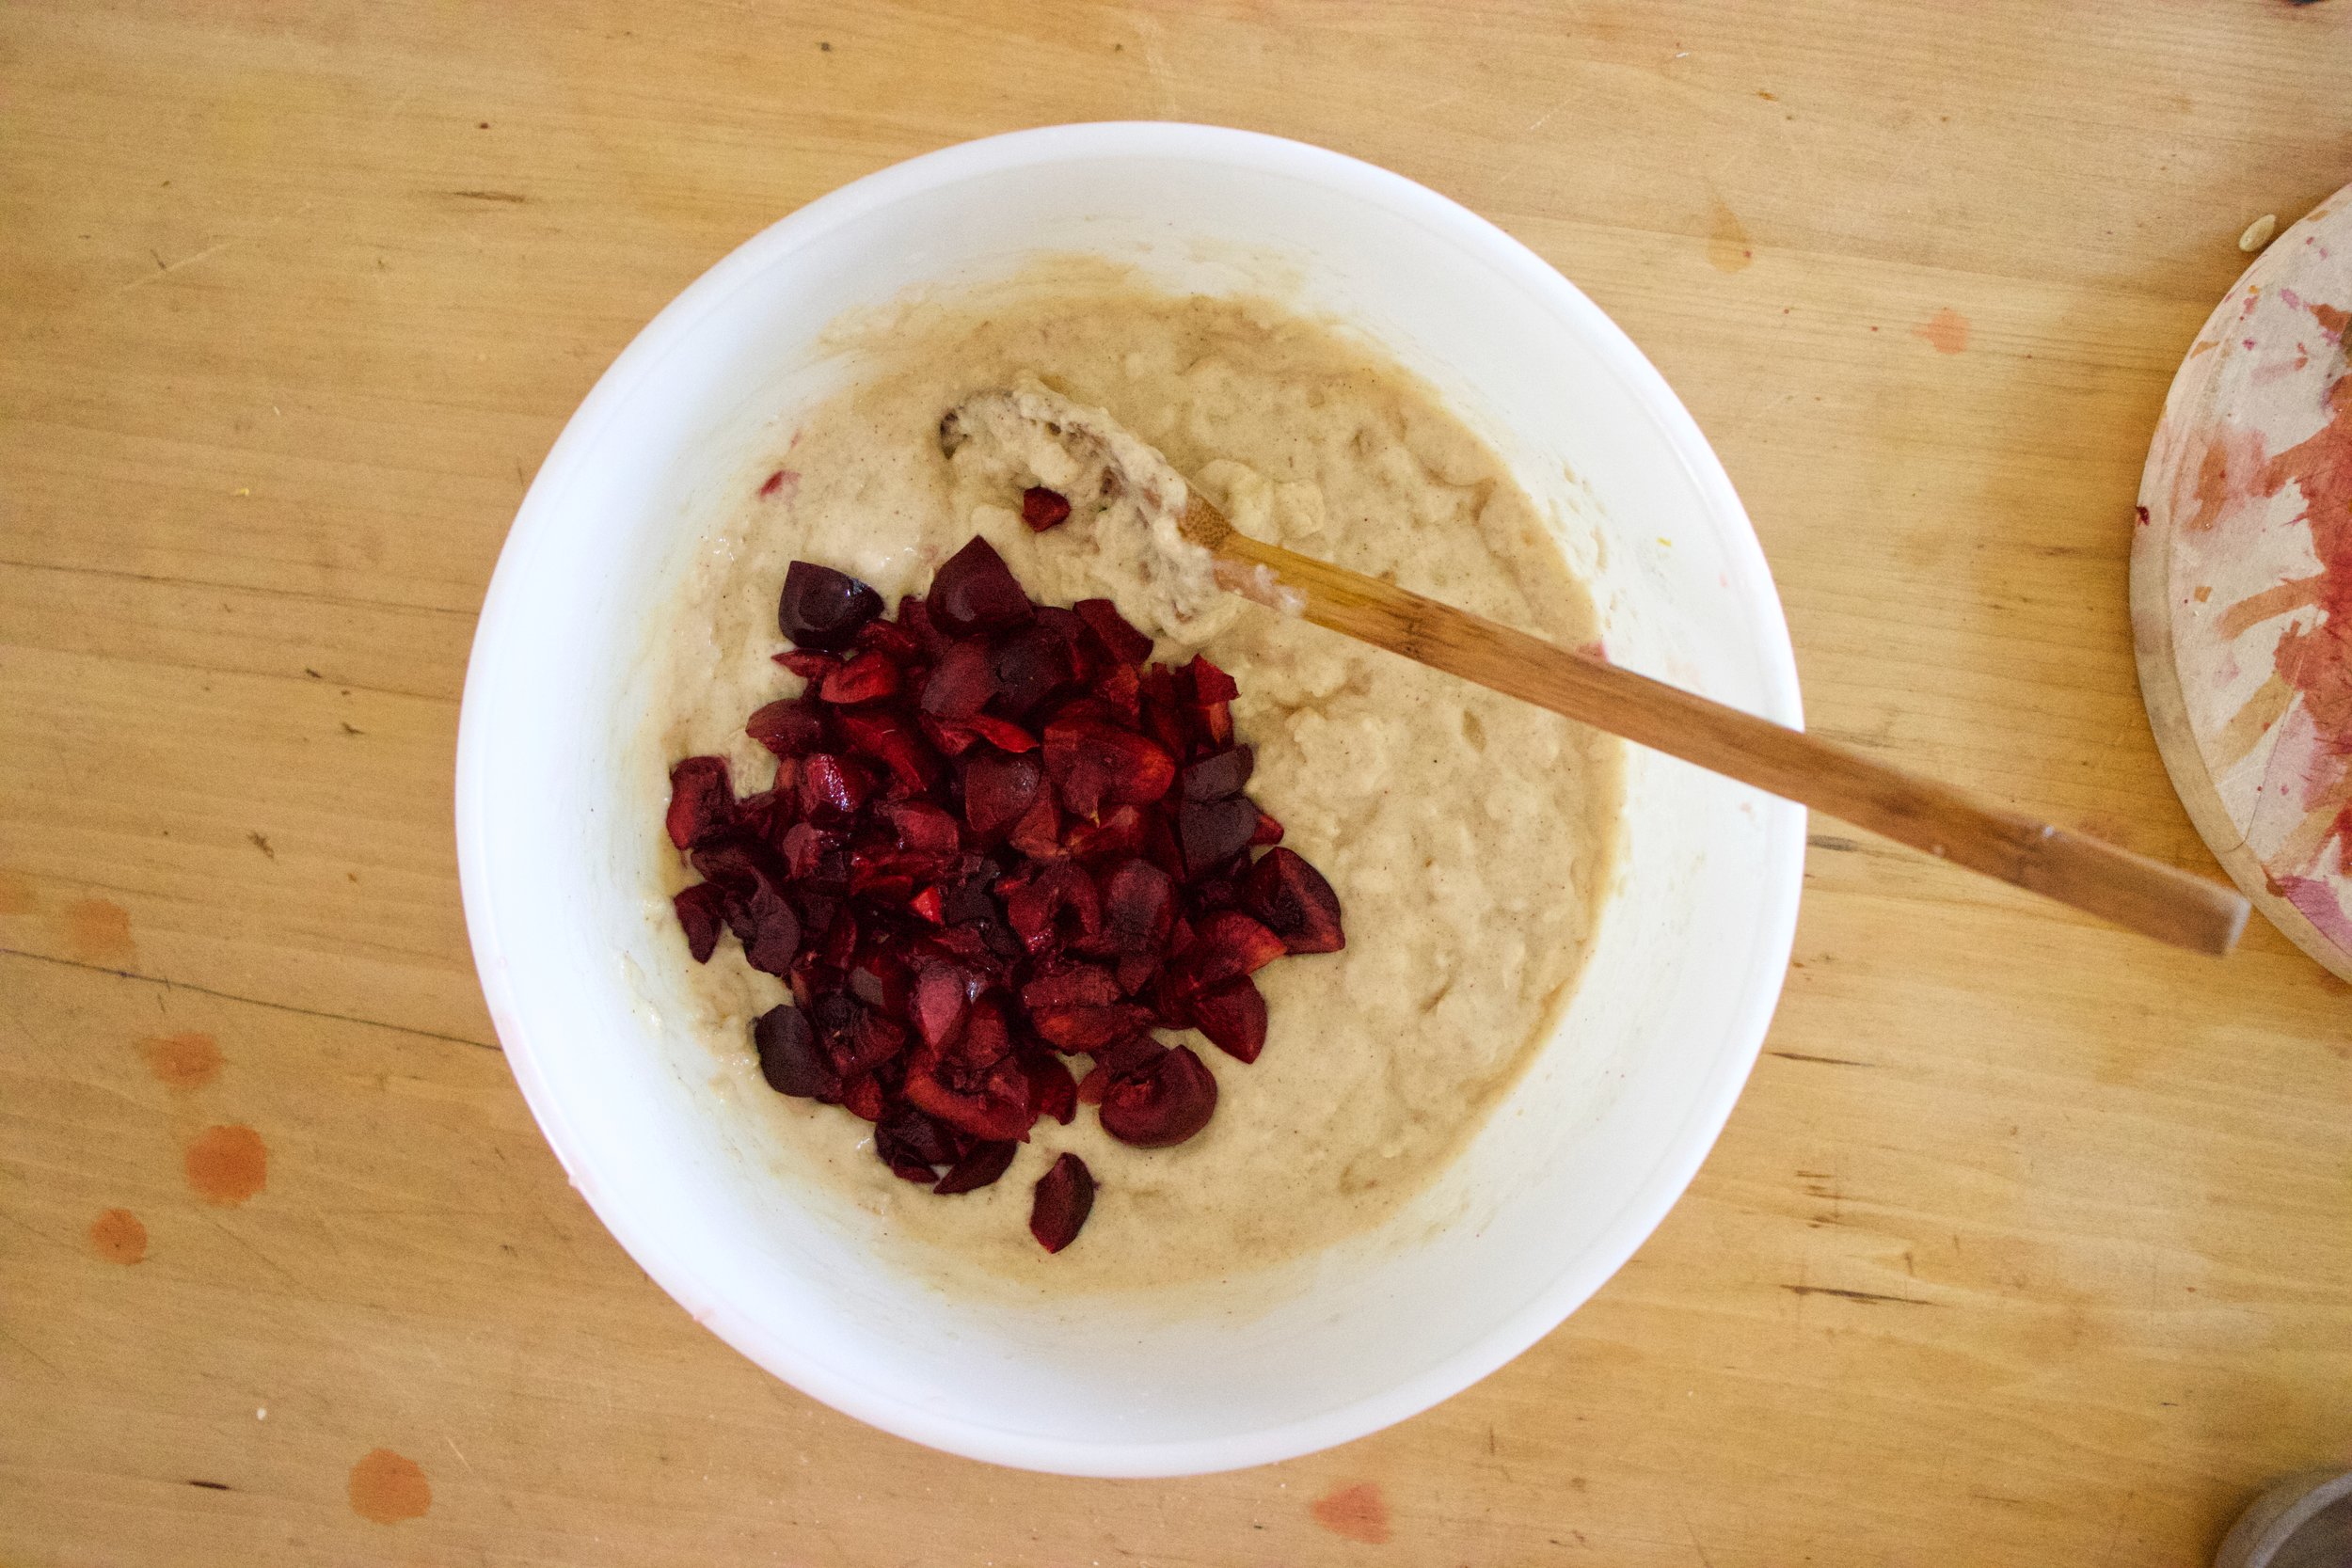
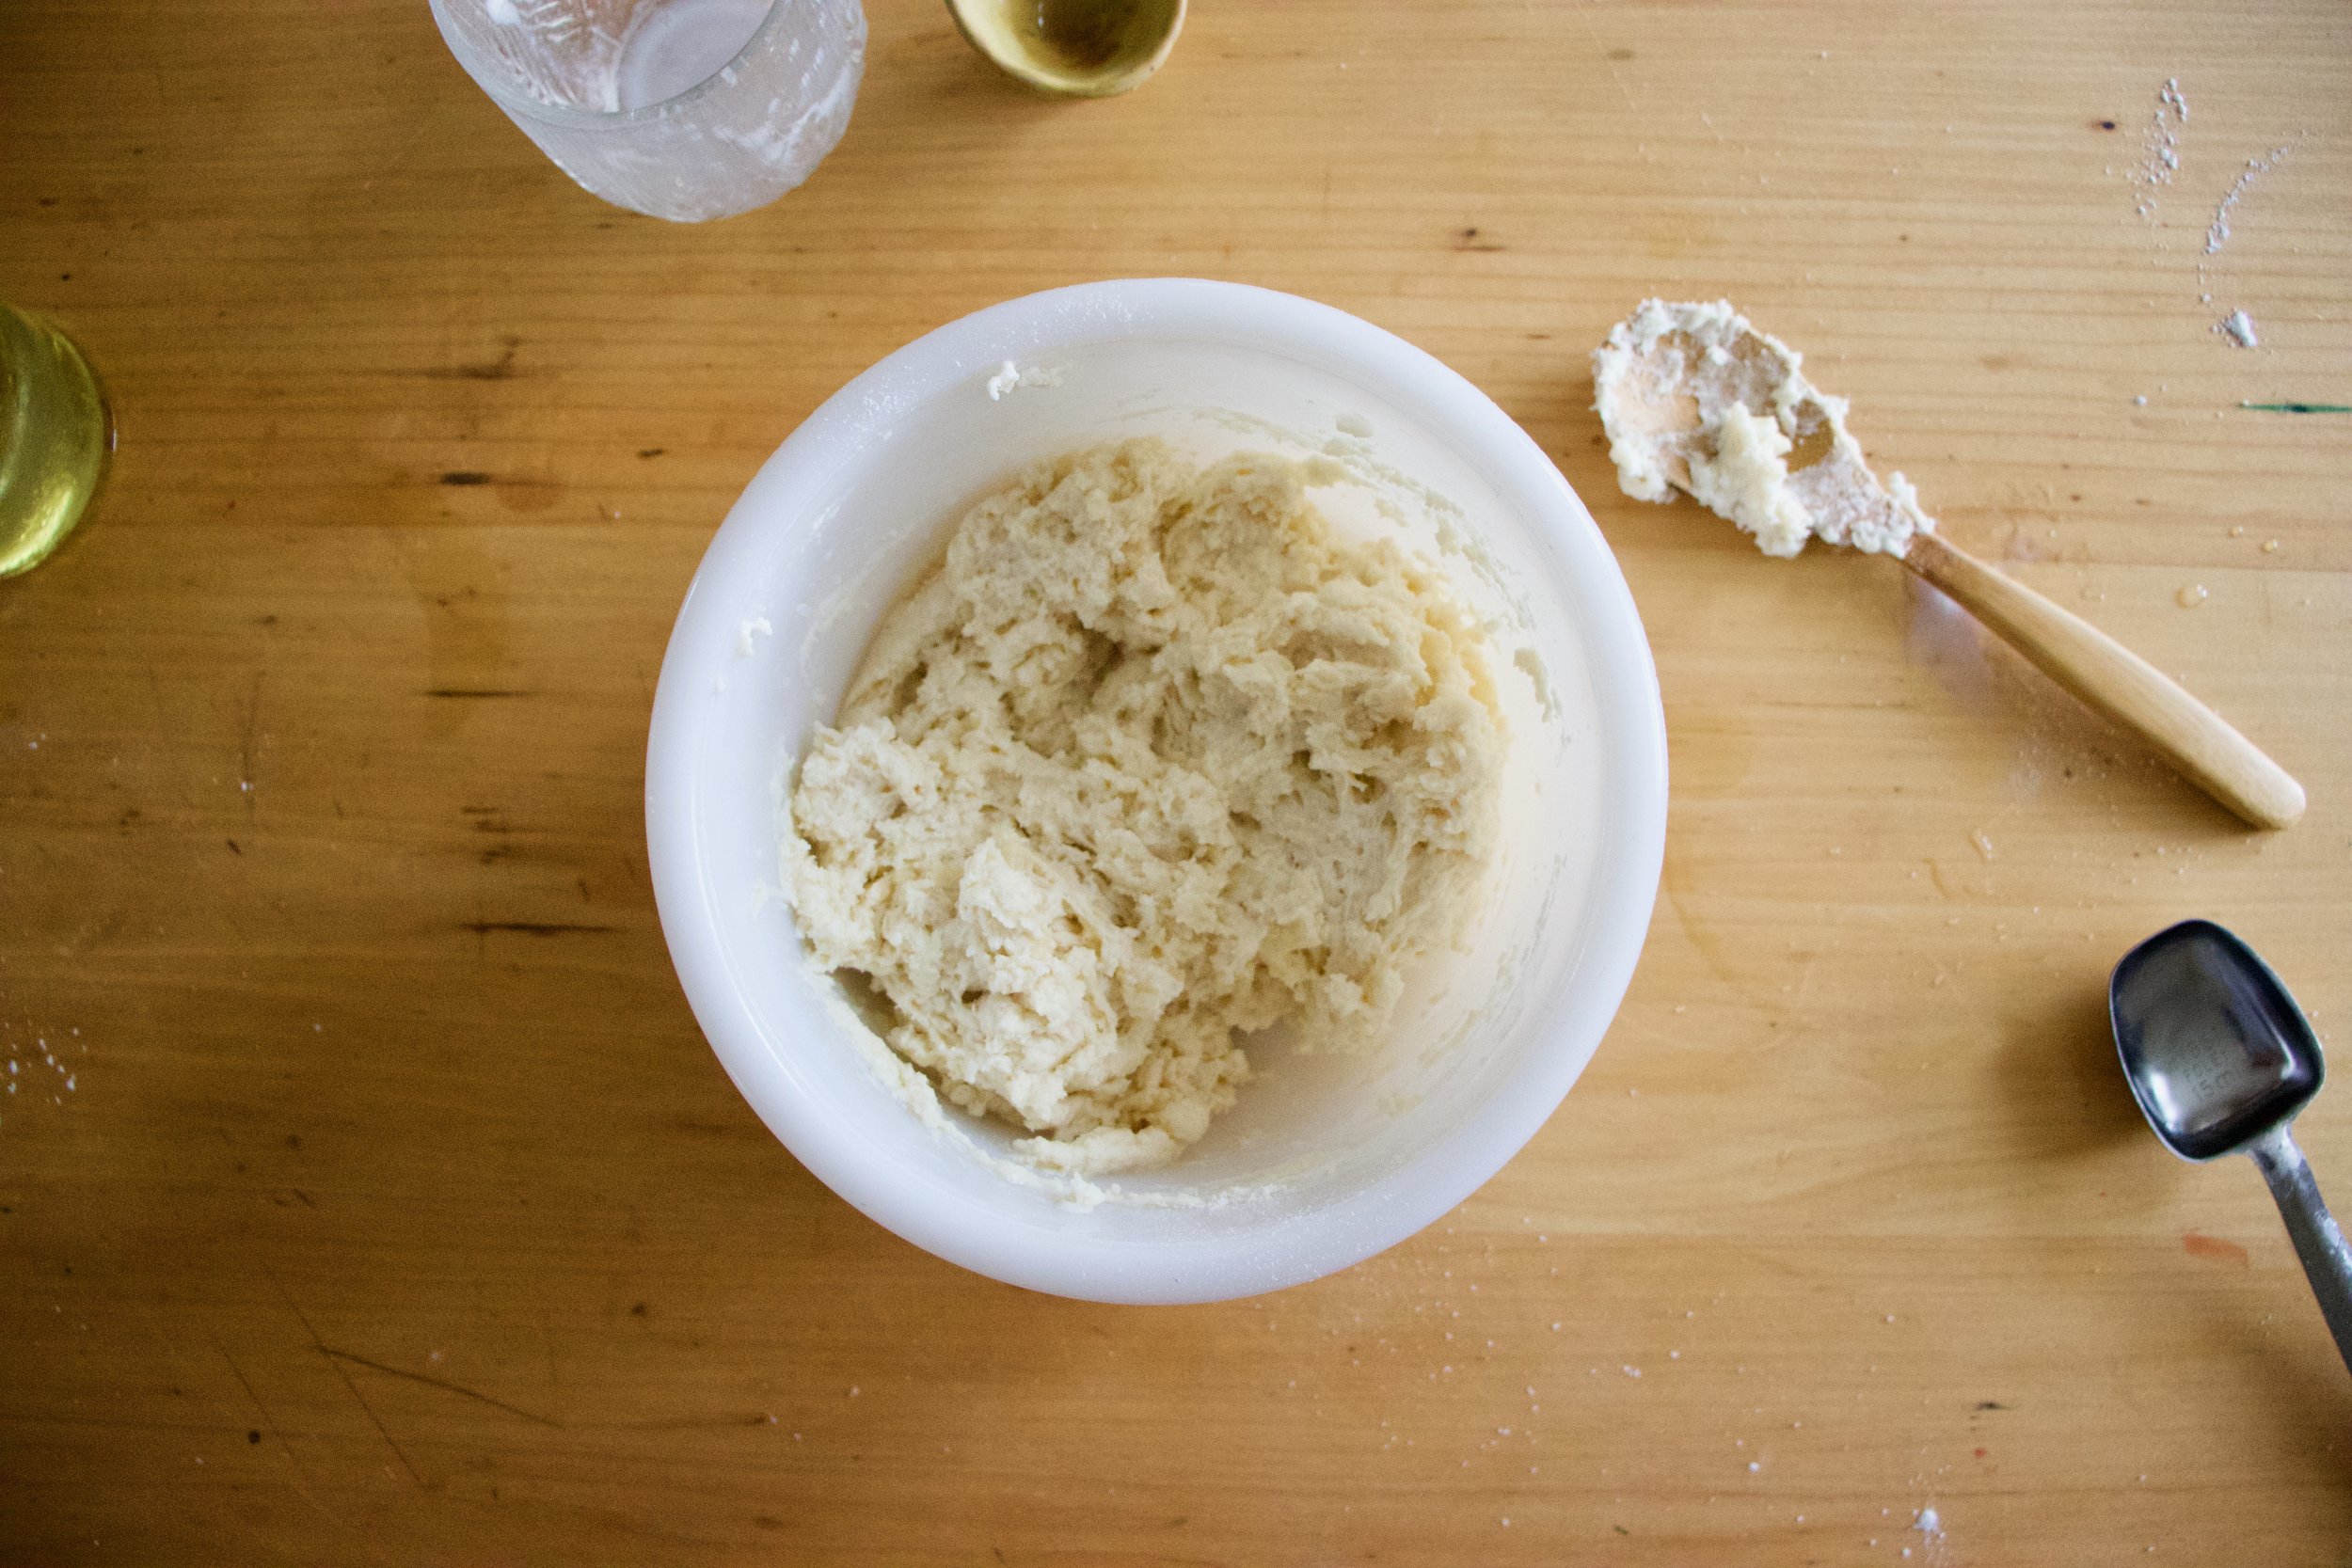
Easy peasy. Dump pepper and sugar into the bowl with the rest of the dy and mix well. Dump in the solid coconut oil and cut it in like you would butter, until it is crumbly. Add in the milk, vinegar, and vanilla and gently mix until most the dough starts to come together, then add in in frozen berries.

Dump the dough onto a lightly flour surface. Yes, the dough is barely sticking together but that is alright, just smash and pat it until it sticks and comes together. Once together, pat it down into a round disk about an inch thick. Just know, as you are working it, the berries are gonna start to break apart which is totally fine, but your hands will turn purple.

Flatten and cut. Just about scones now, but not quite.

Place scones on a baking sheet and brush the tops with a little milk then lighty sprinkle more sugar and black pepper on the tops and then pop them into a hot oven.

IMG_1138.jpg

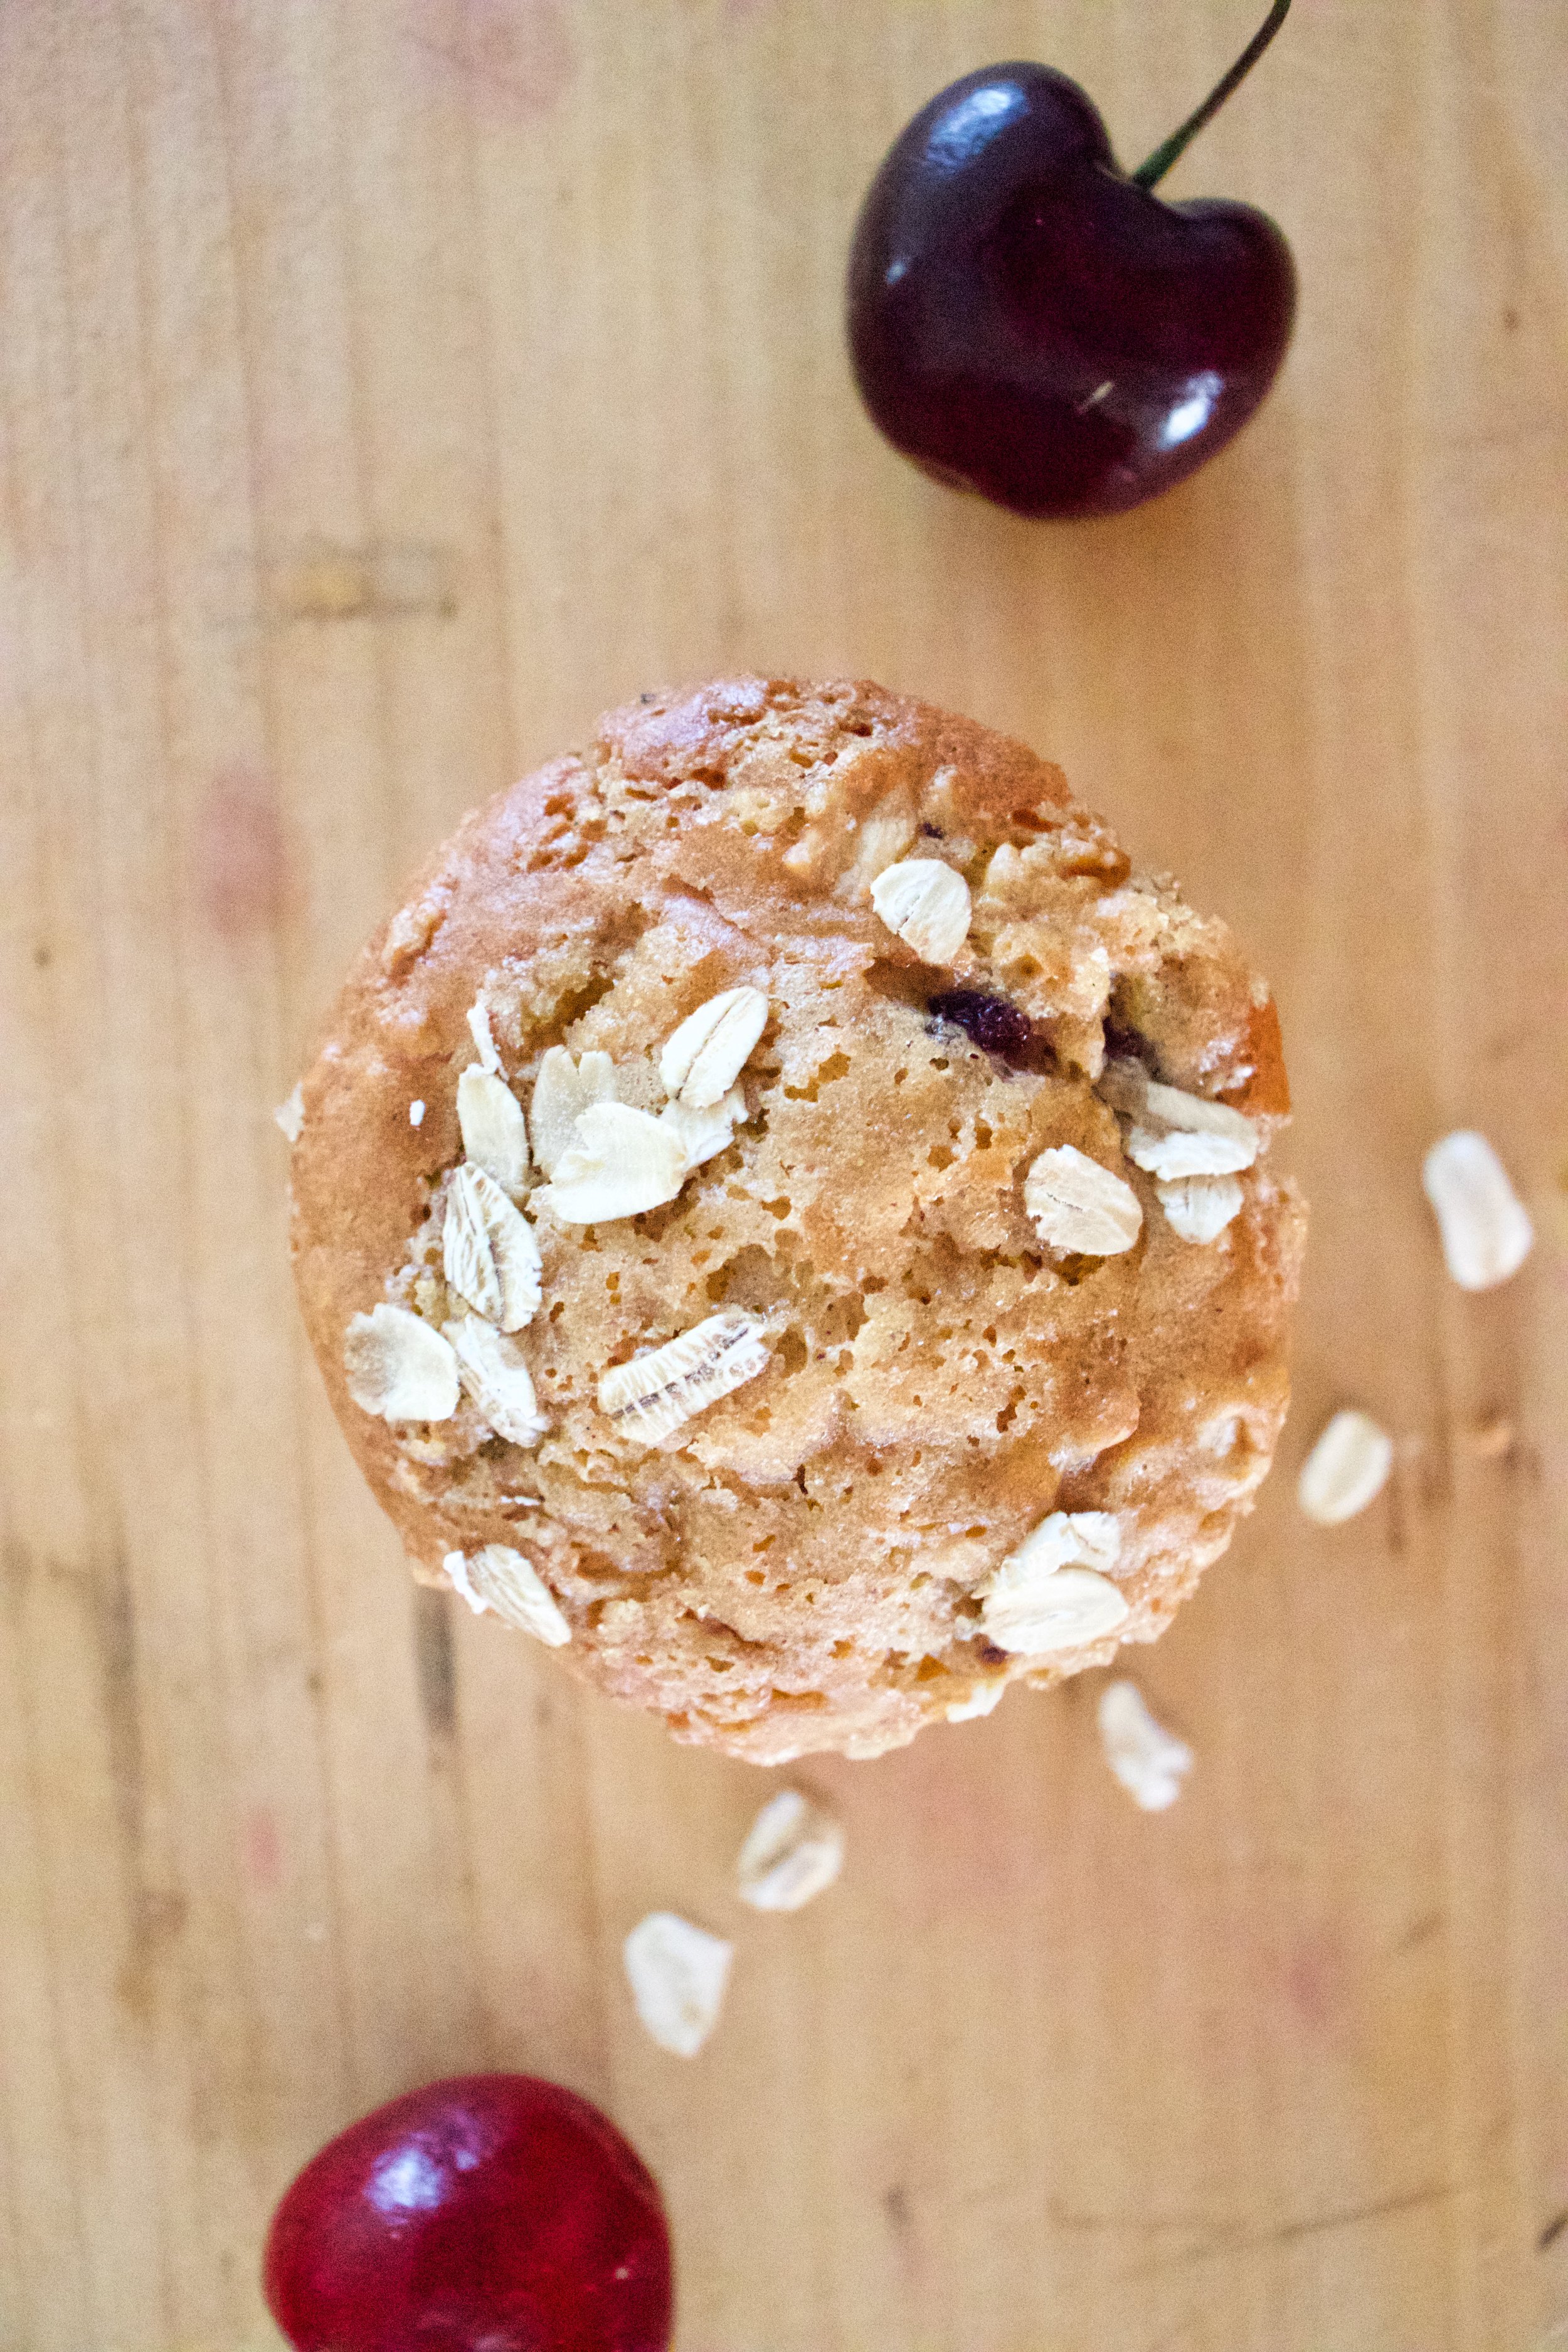
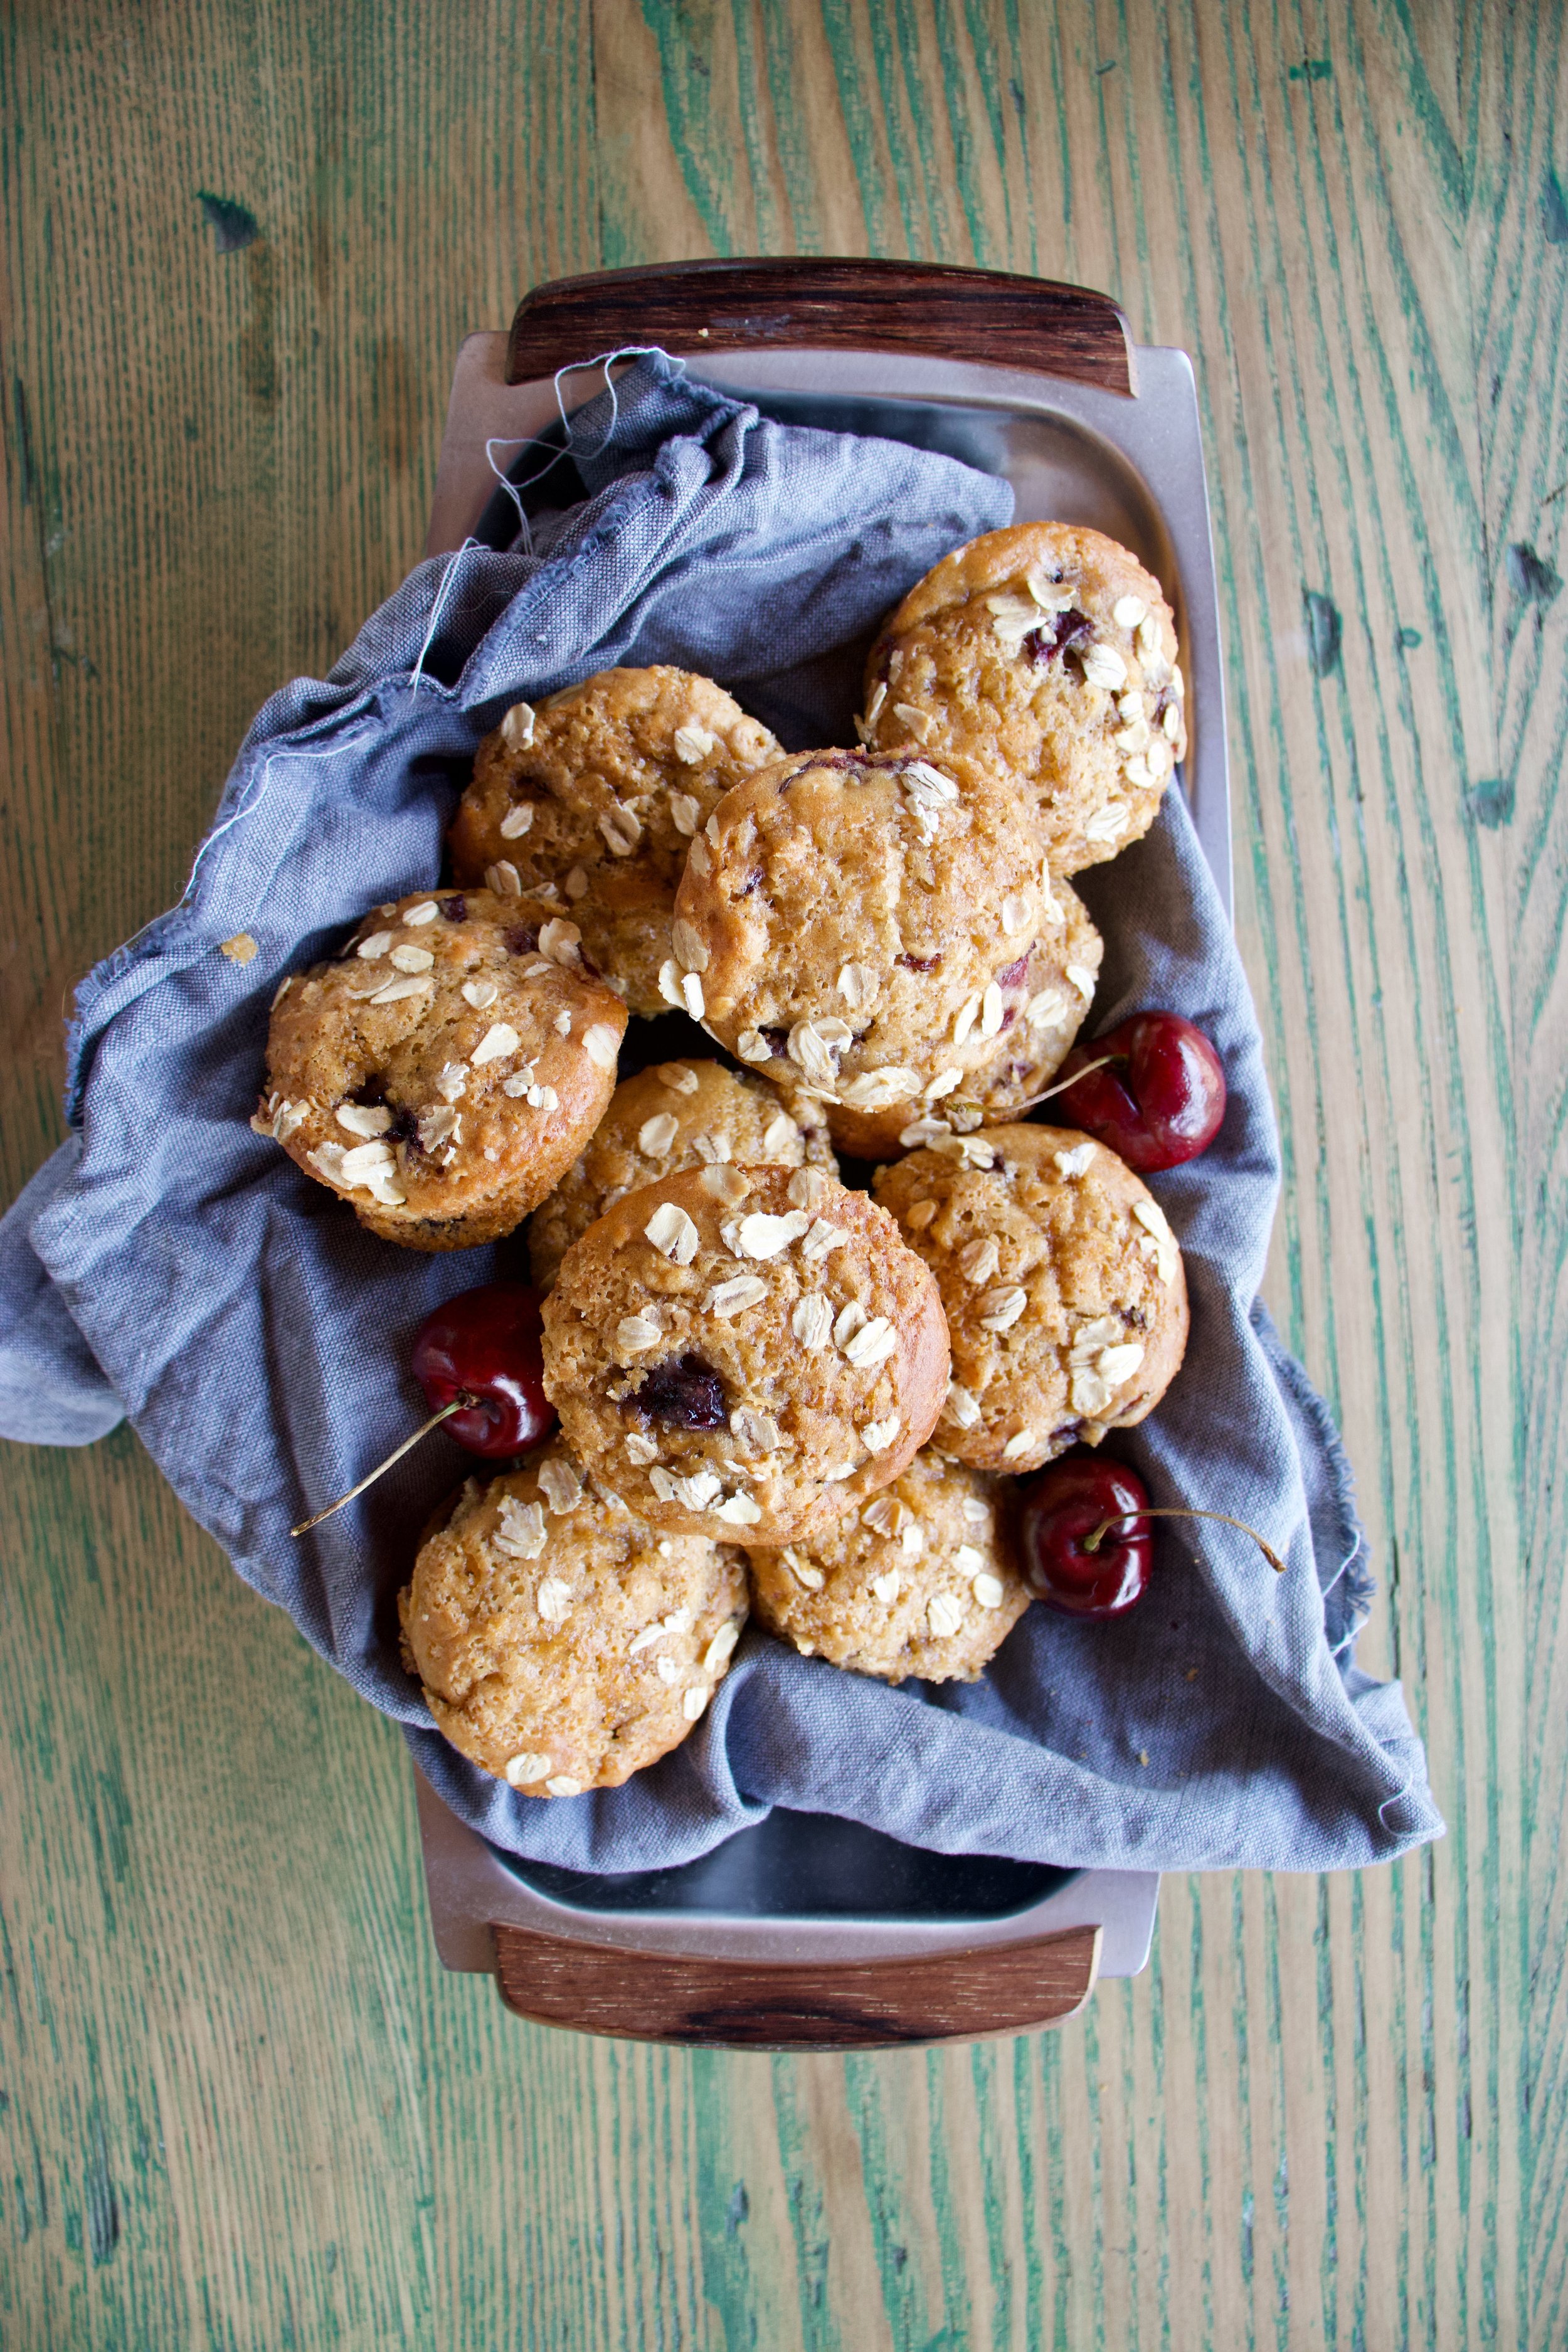
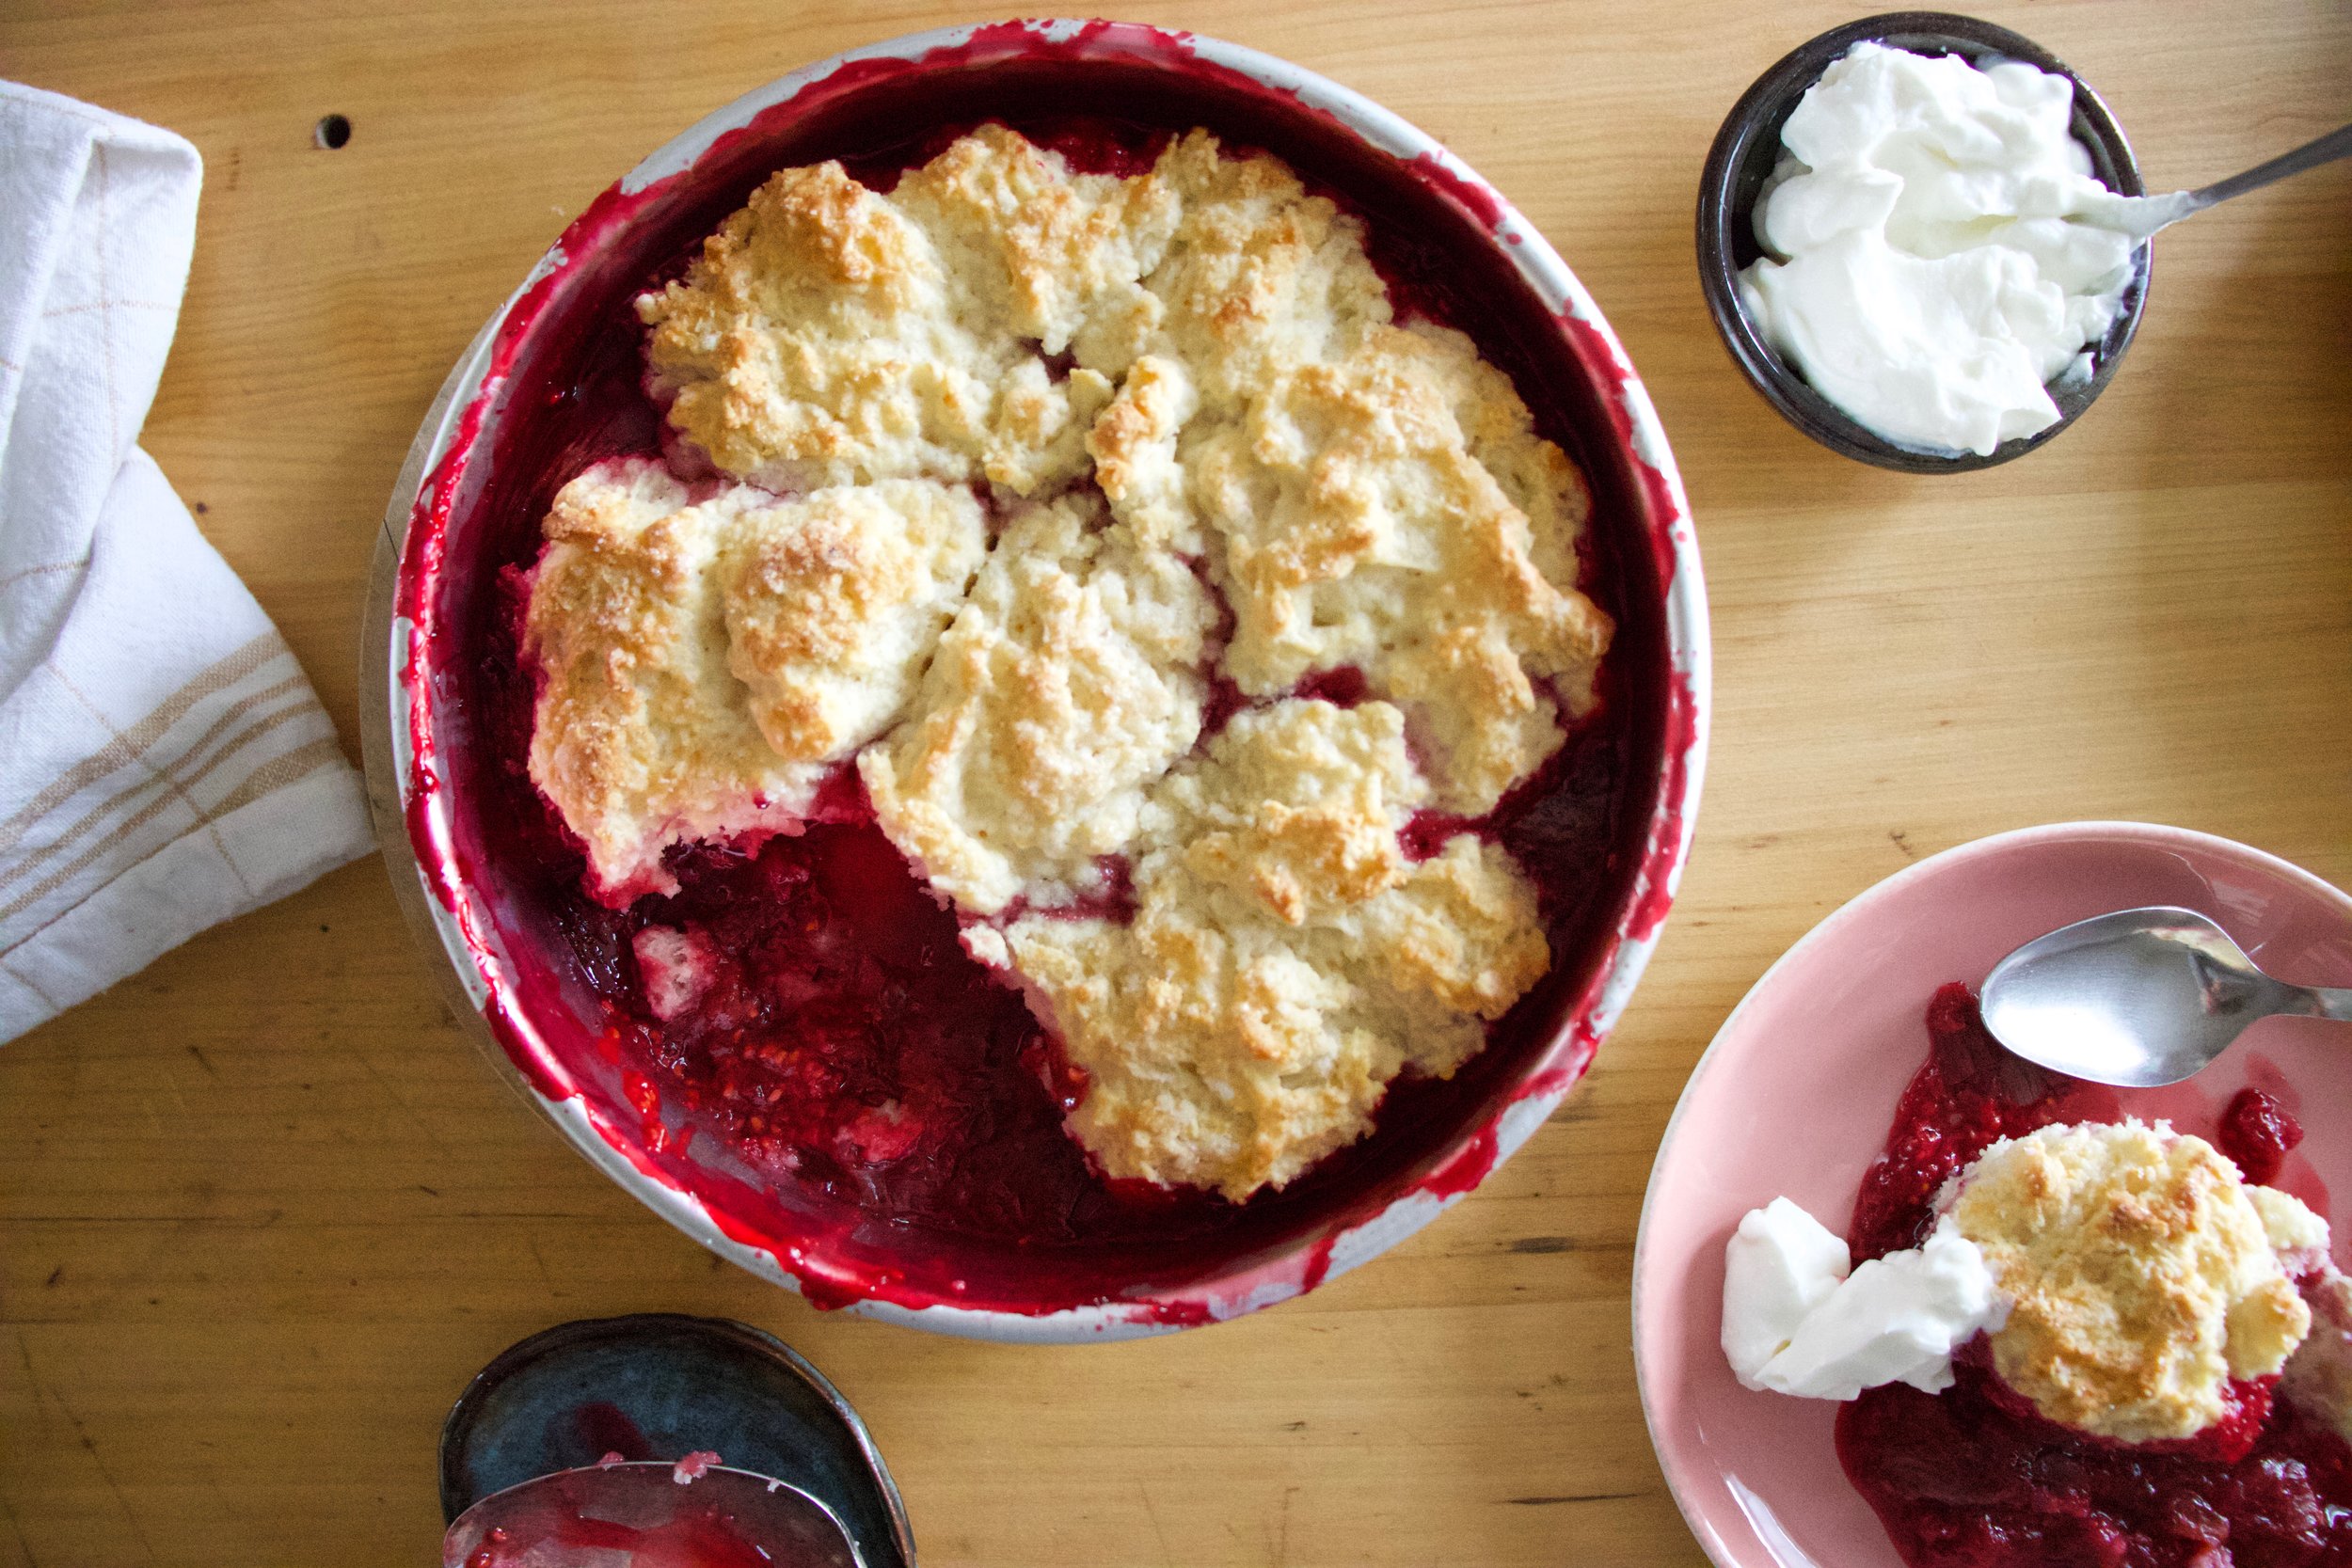
Bakes and lovely and cooling ever so slightly..

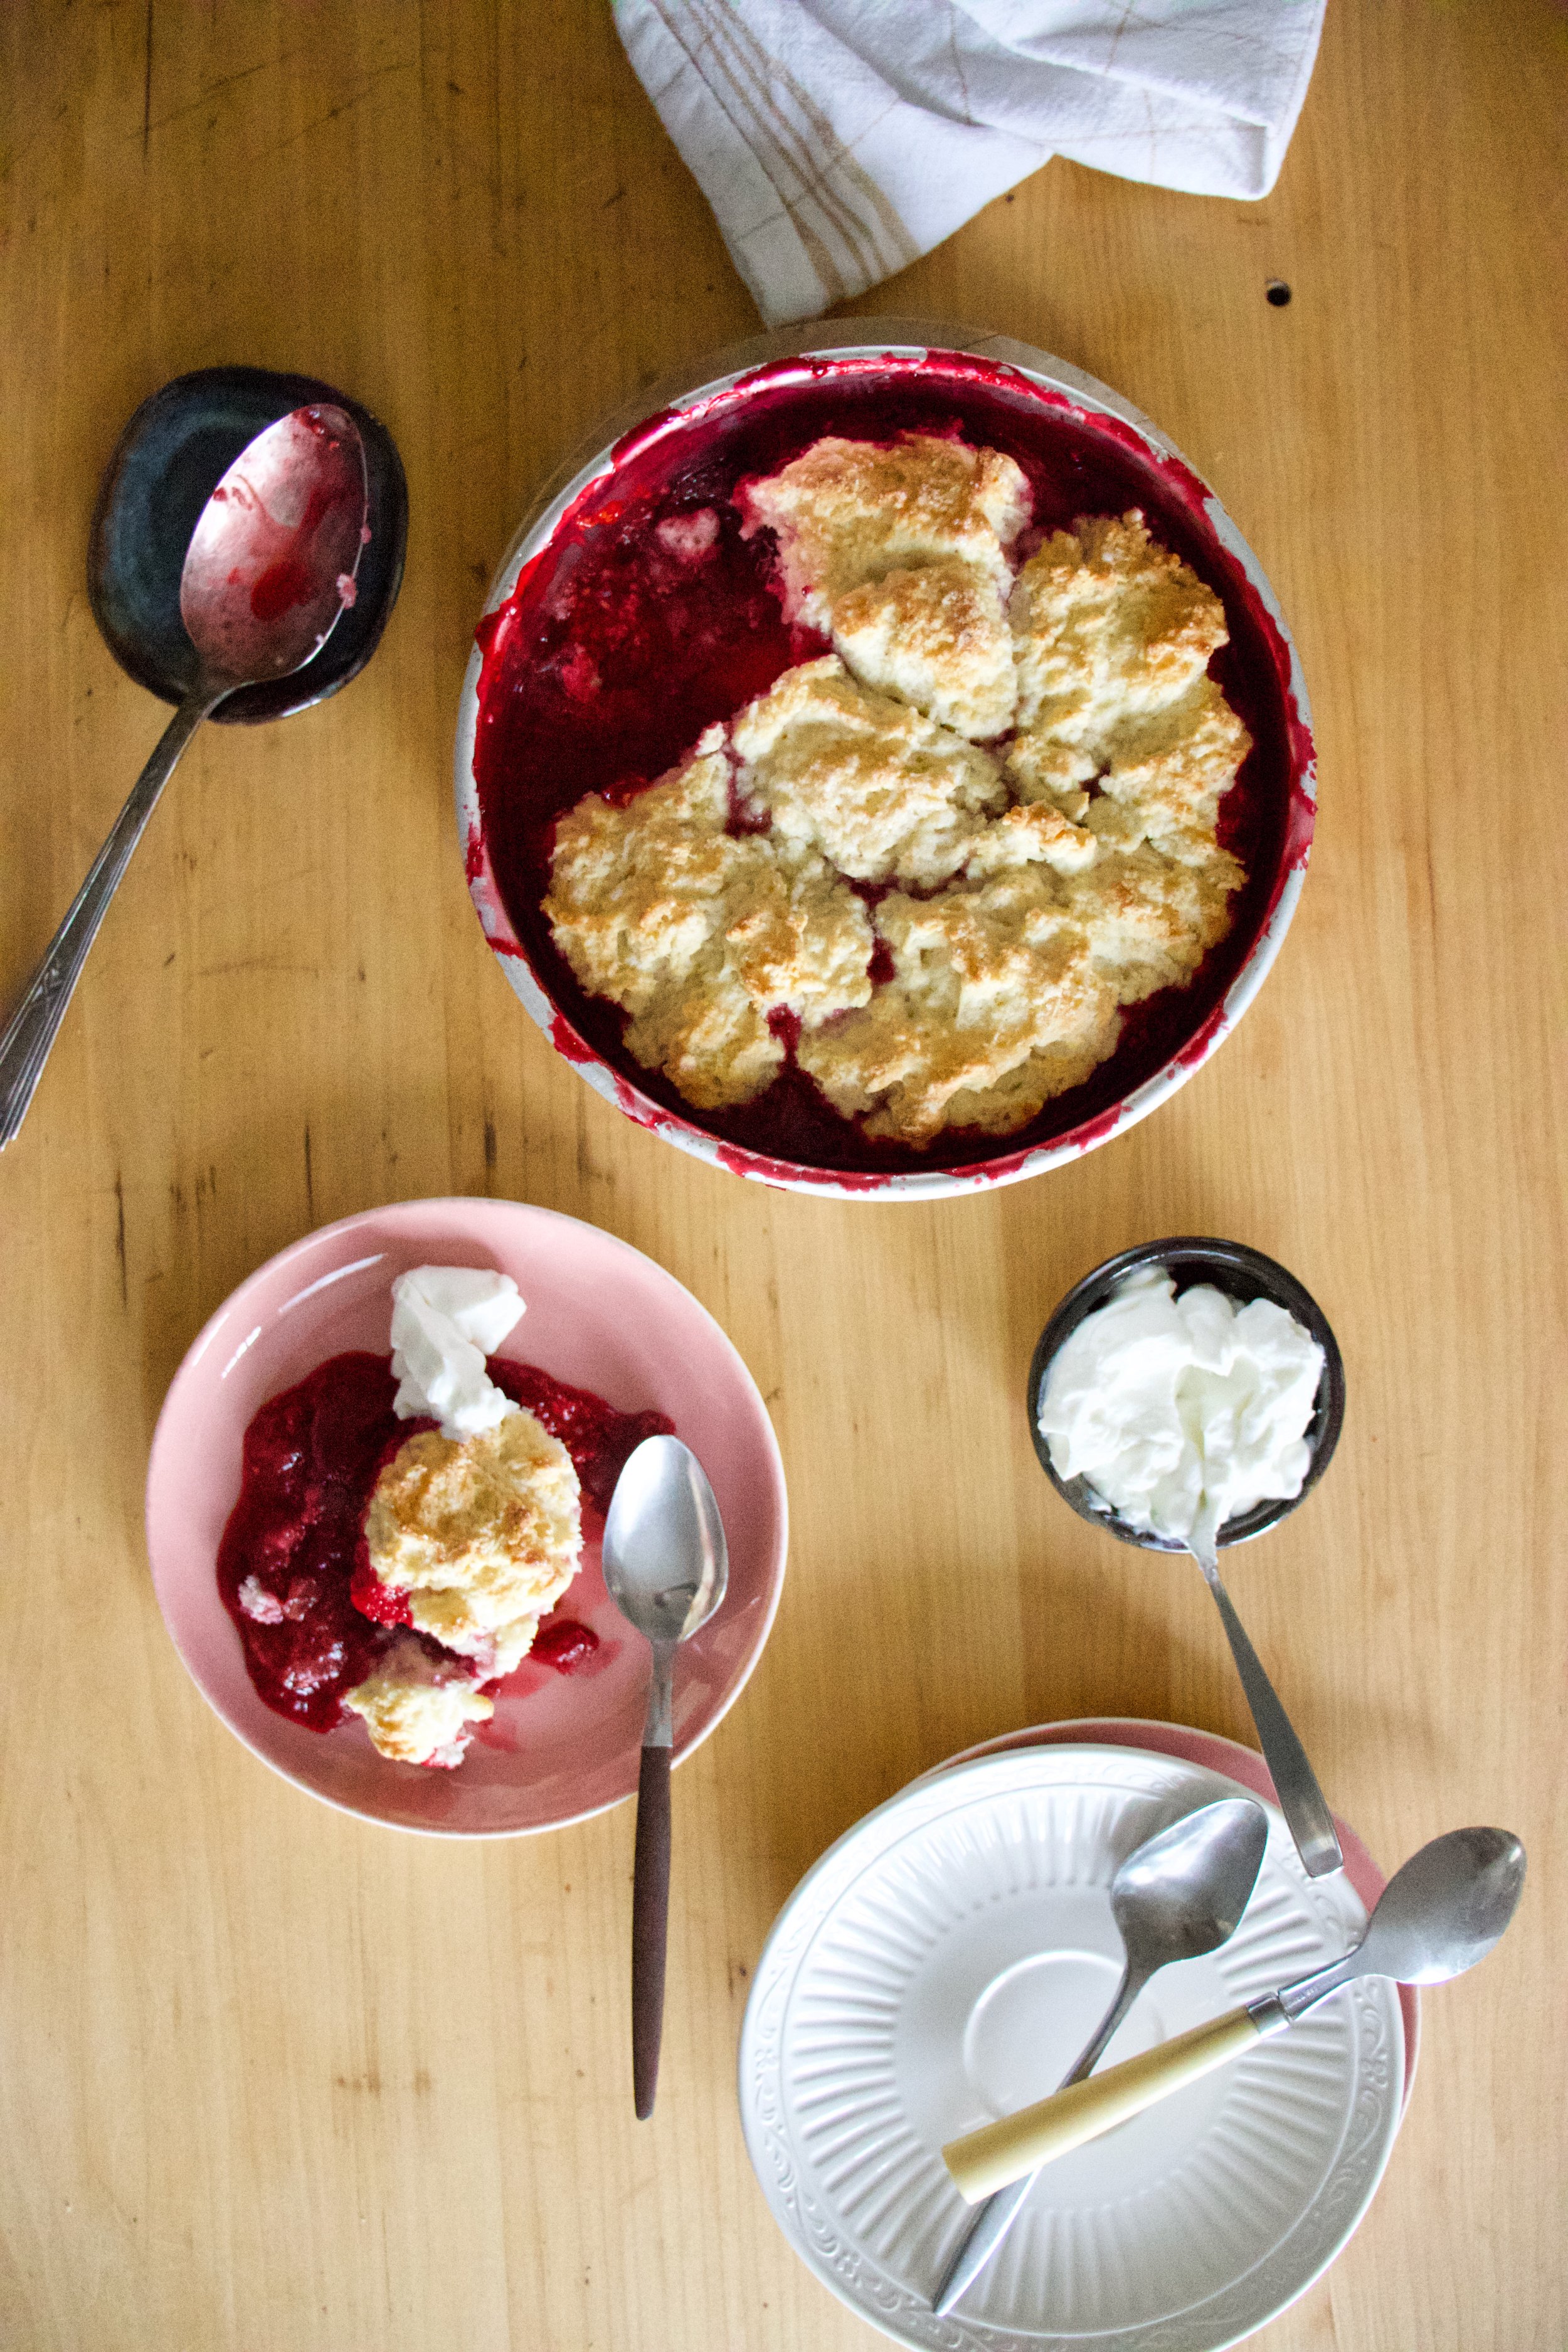
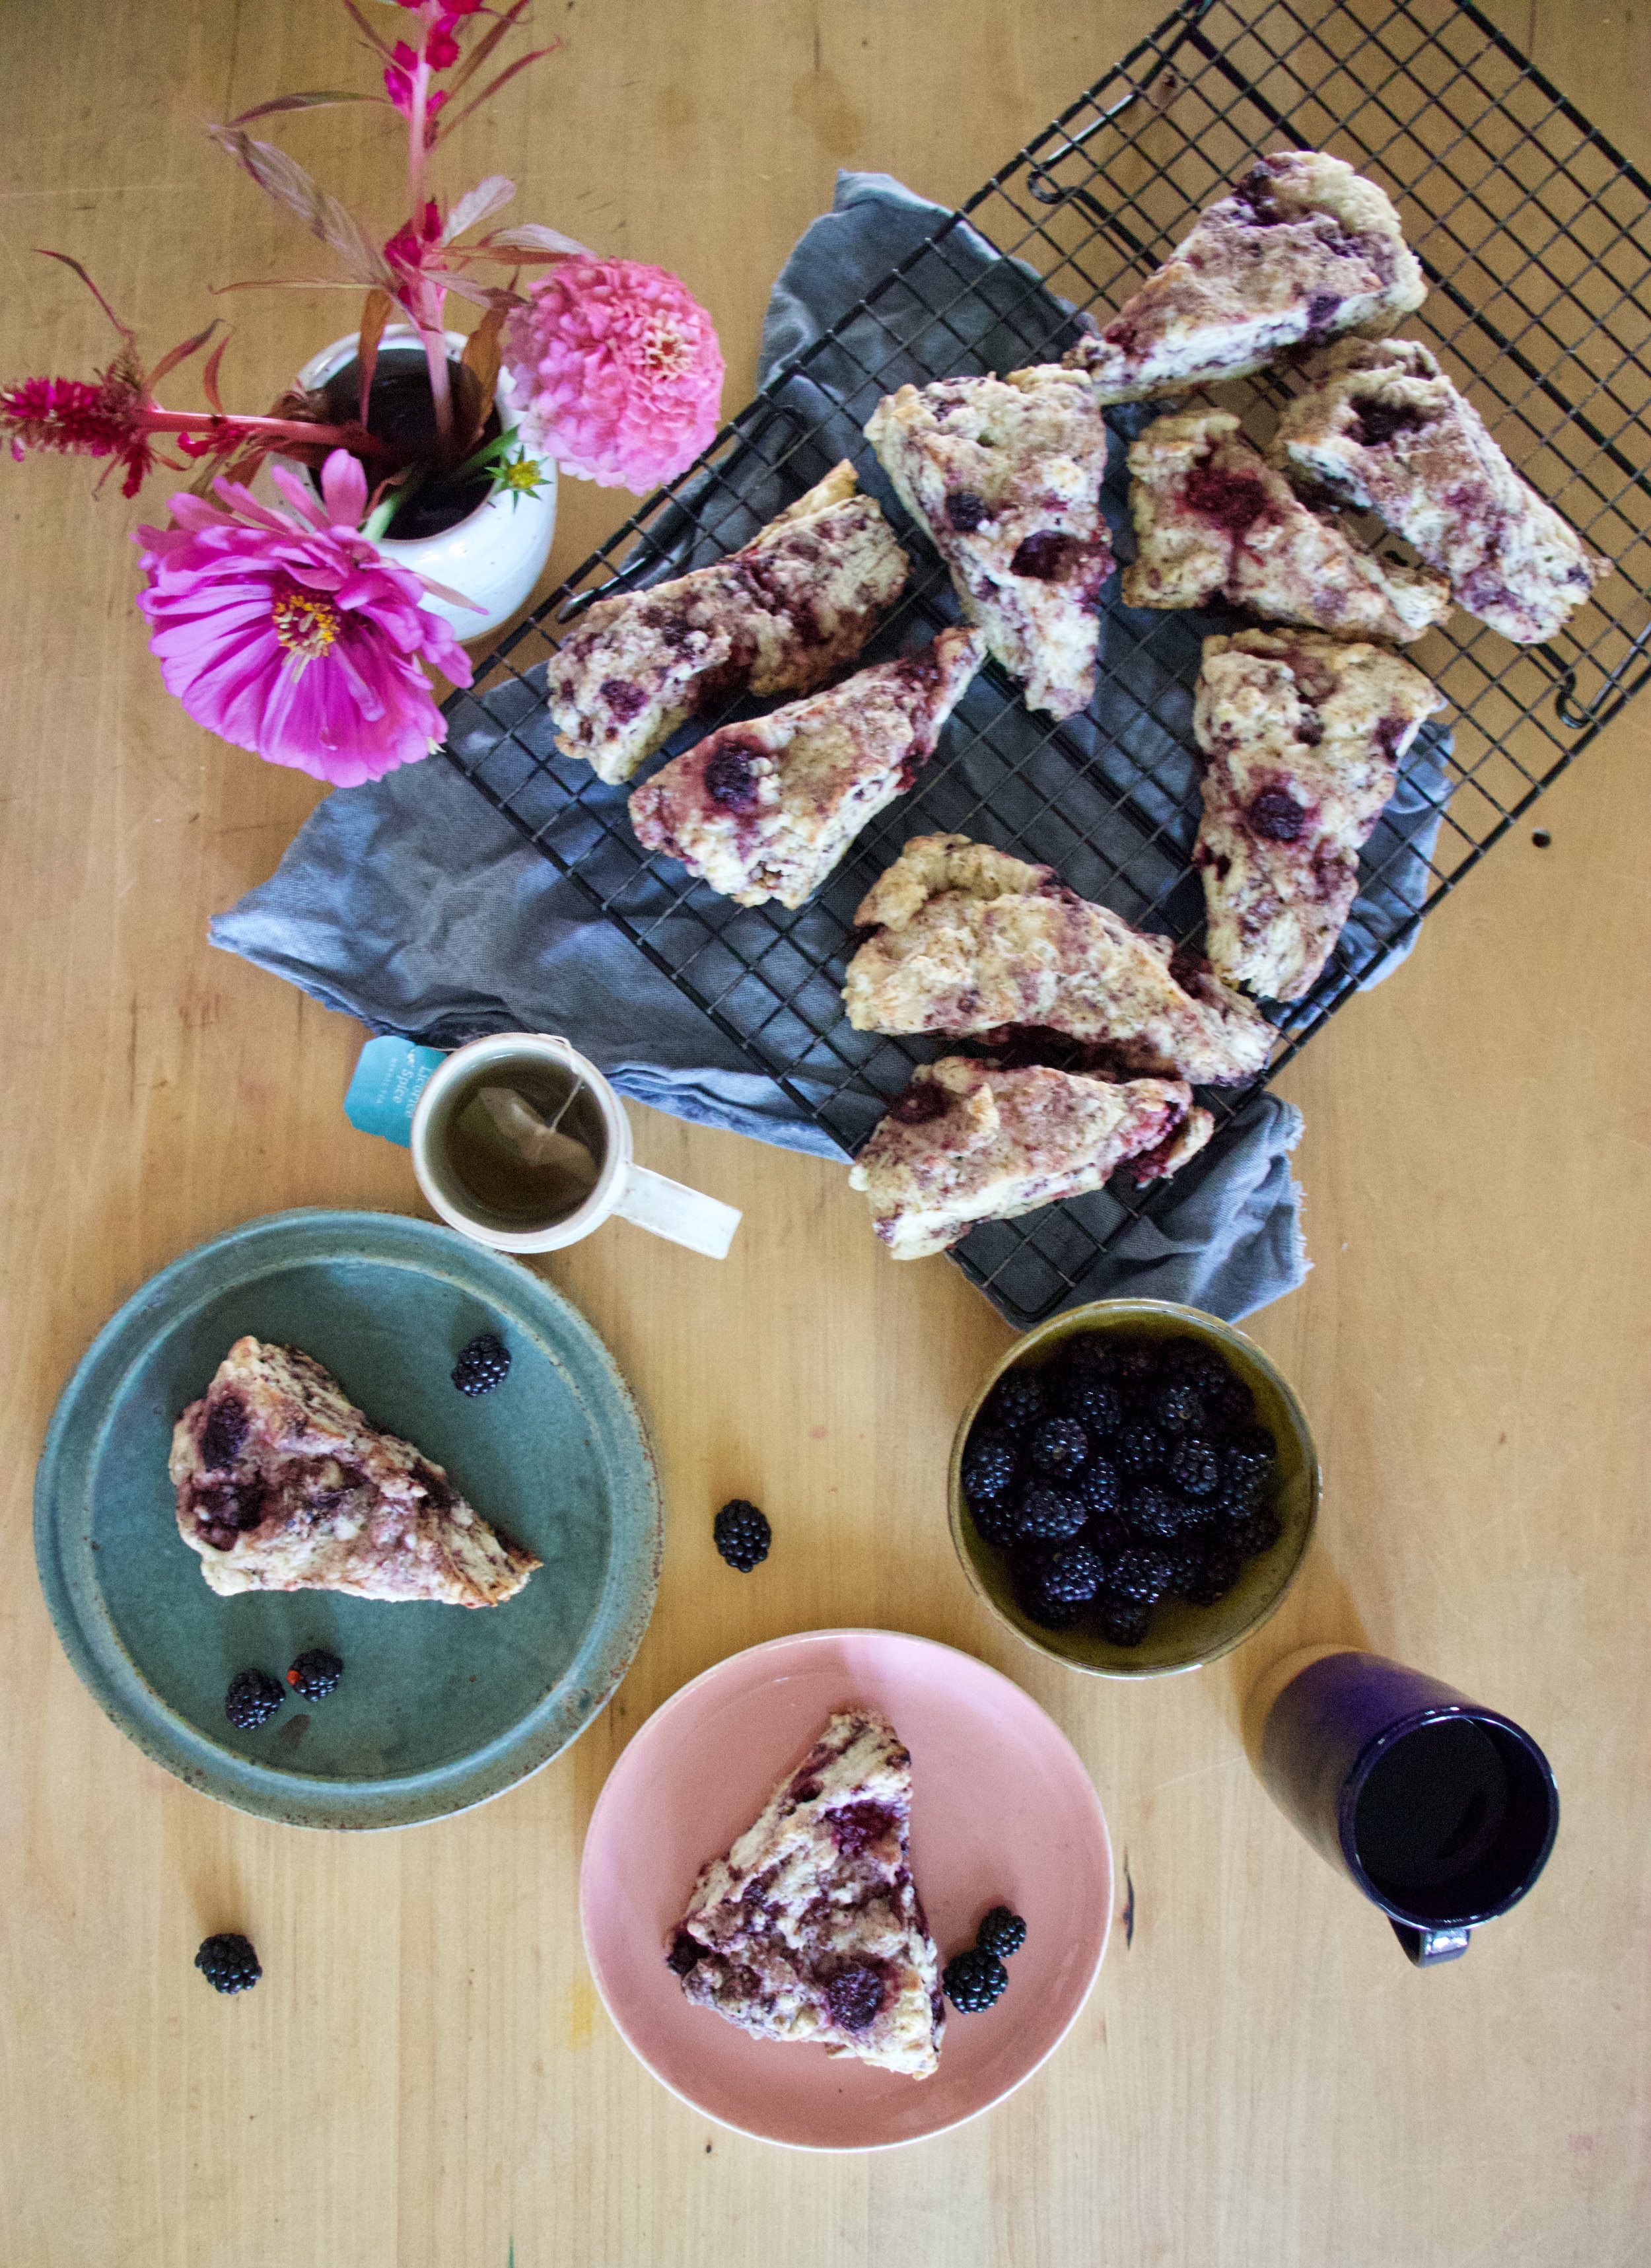
Grab a plate, something hot to drink, and more berries because you can never have to many berries.

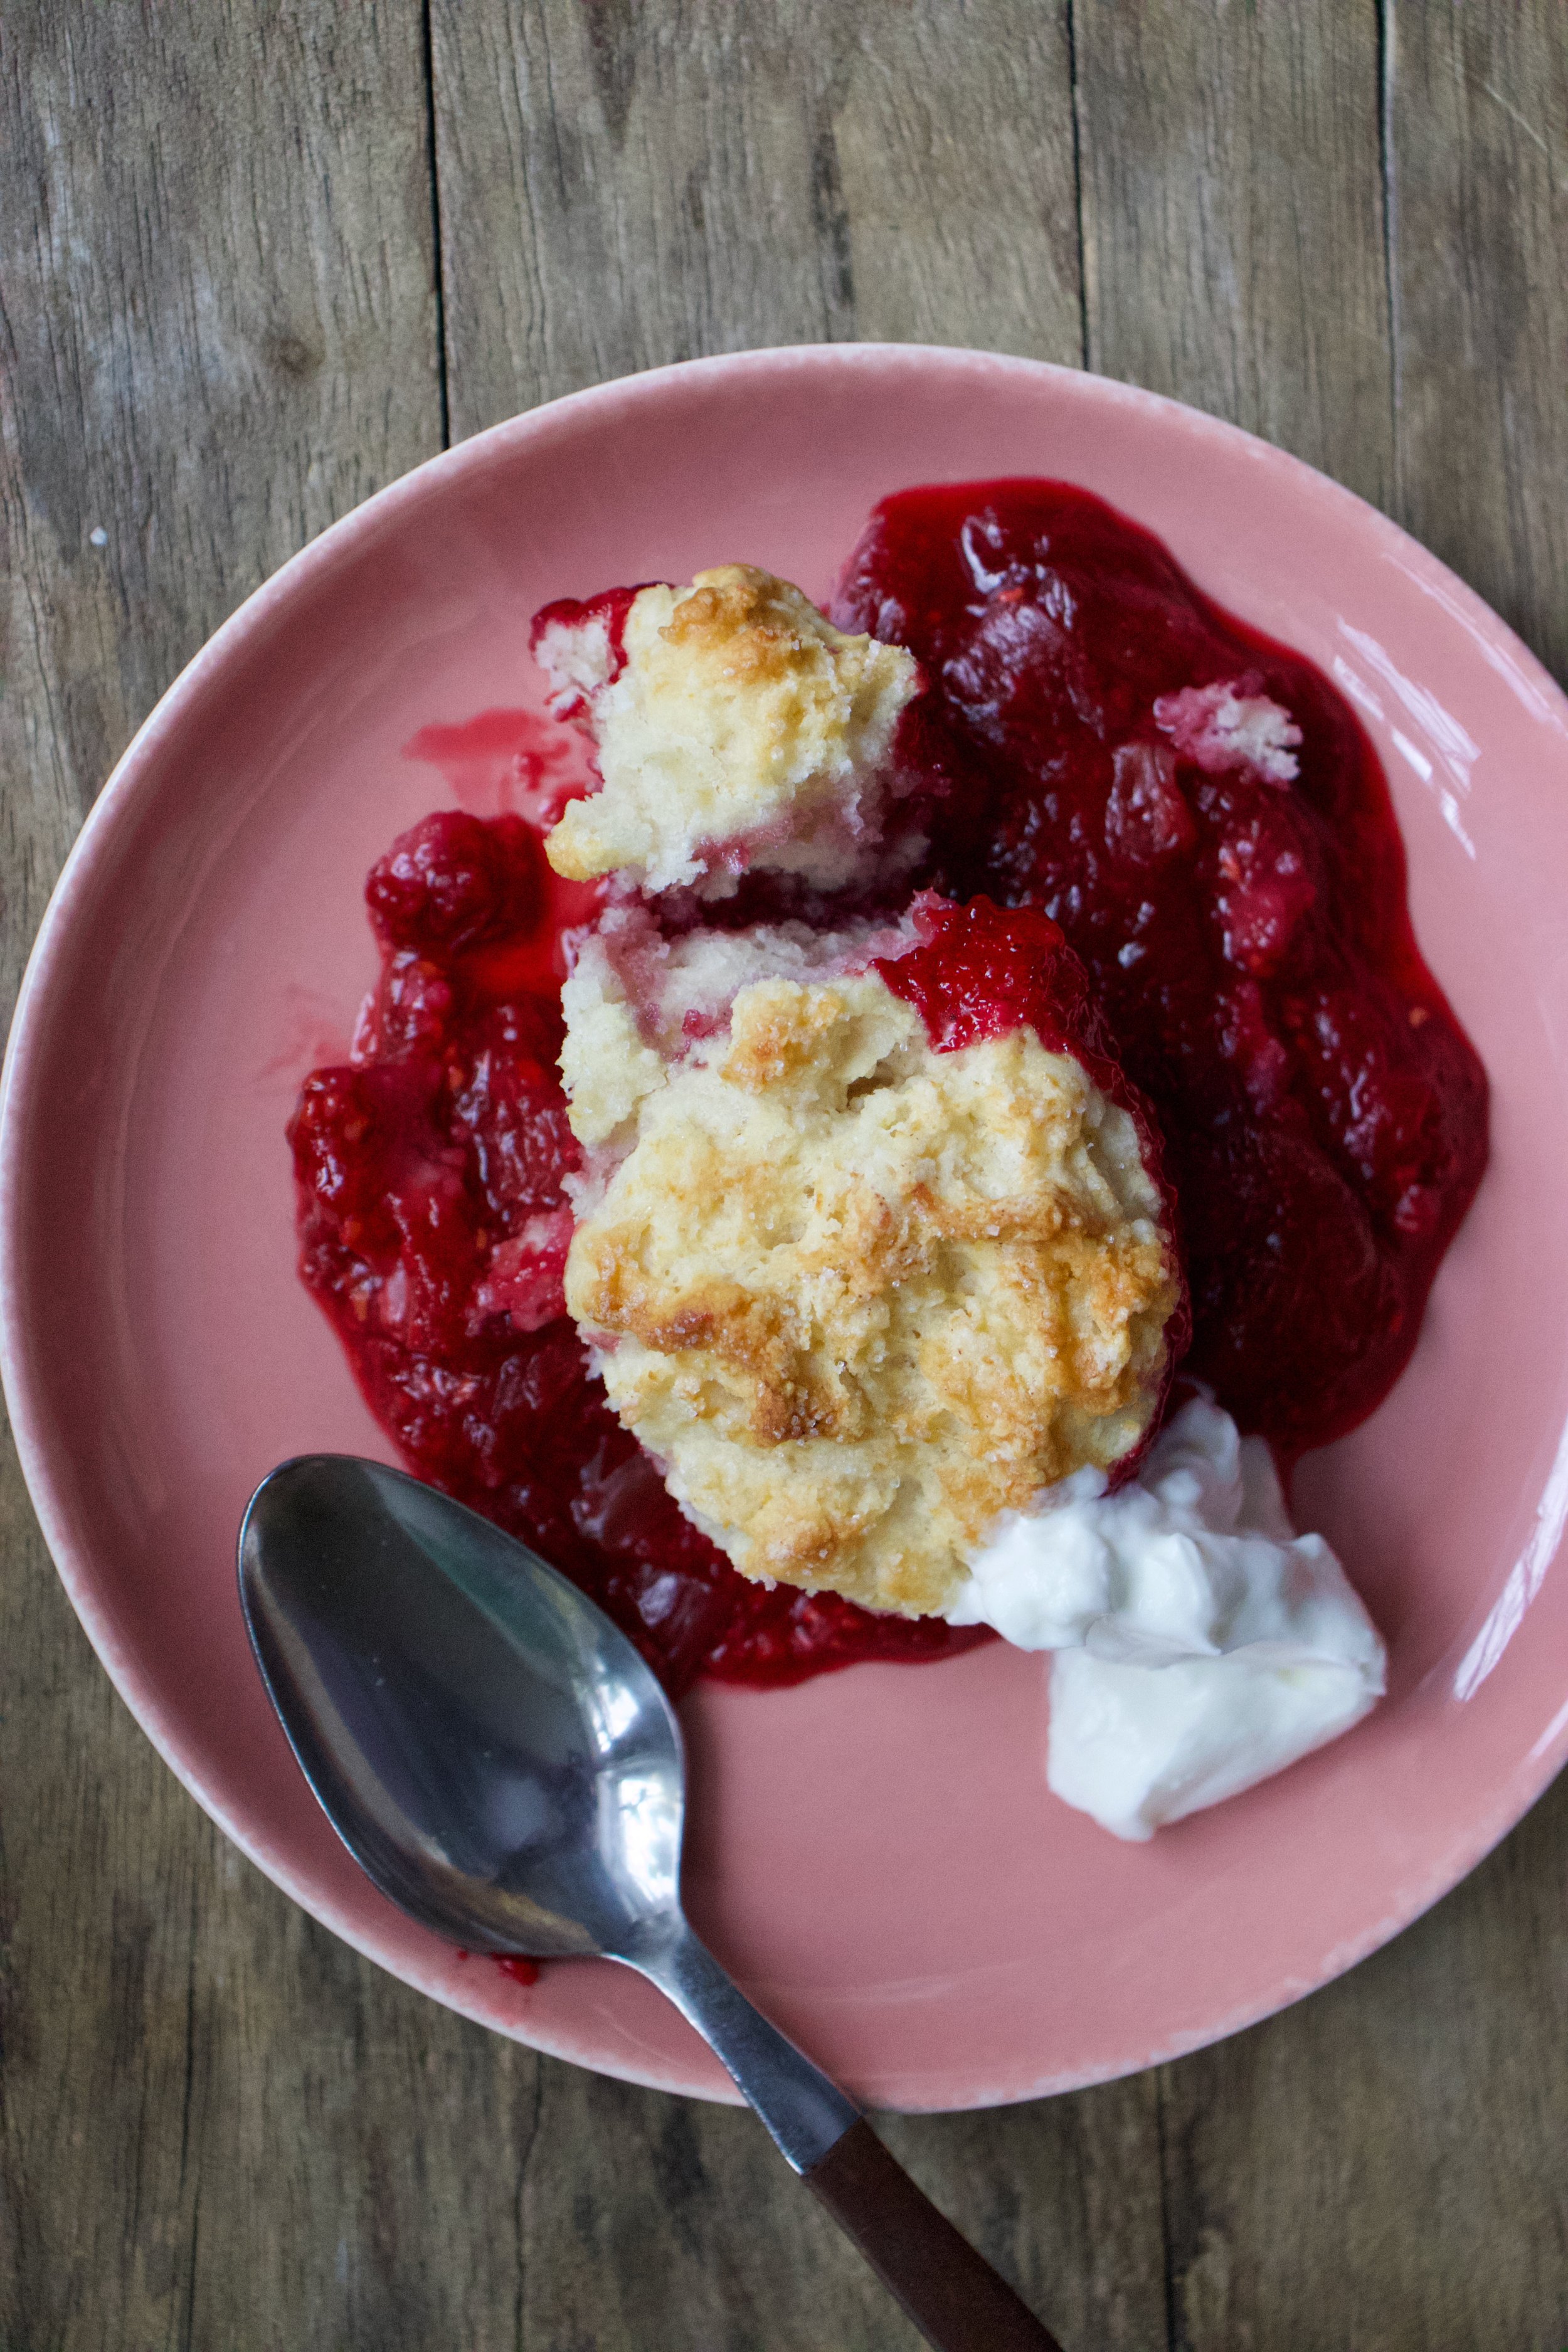
And eat. Still warm and all sorts of good.

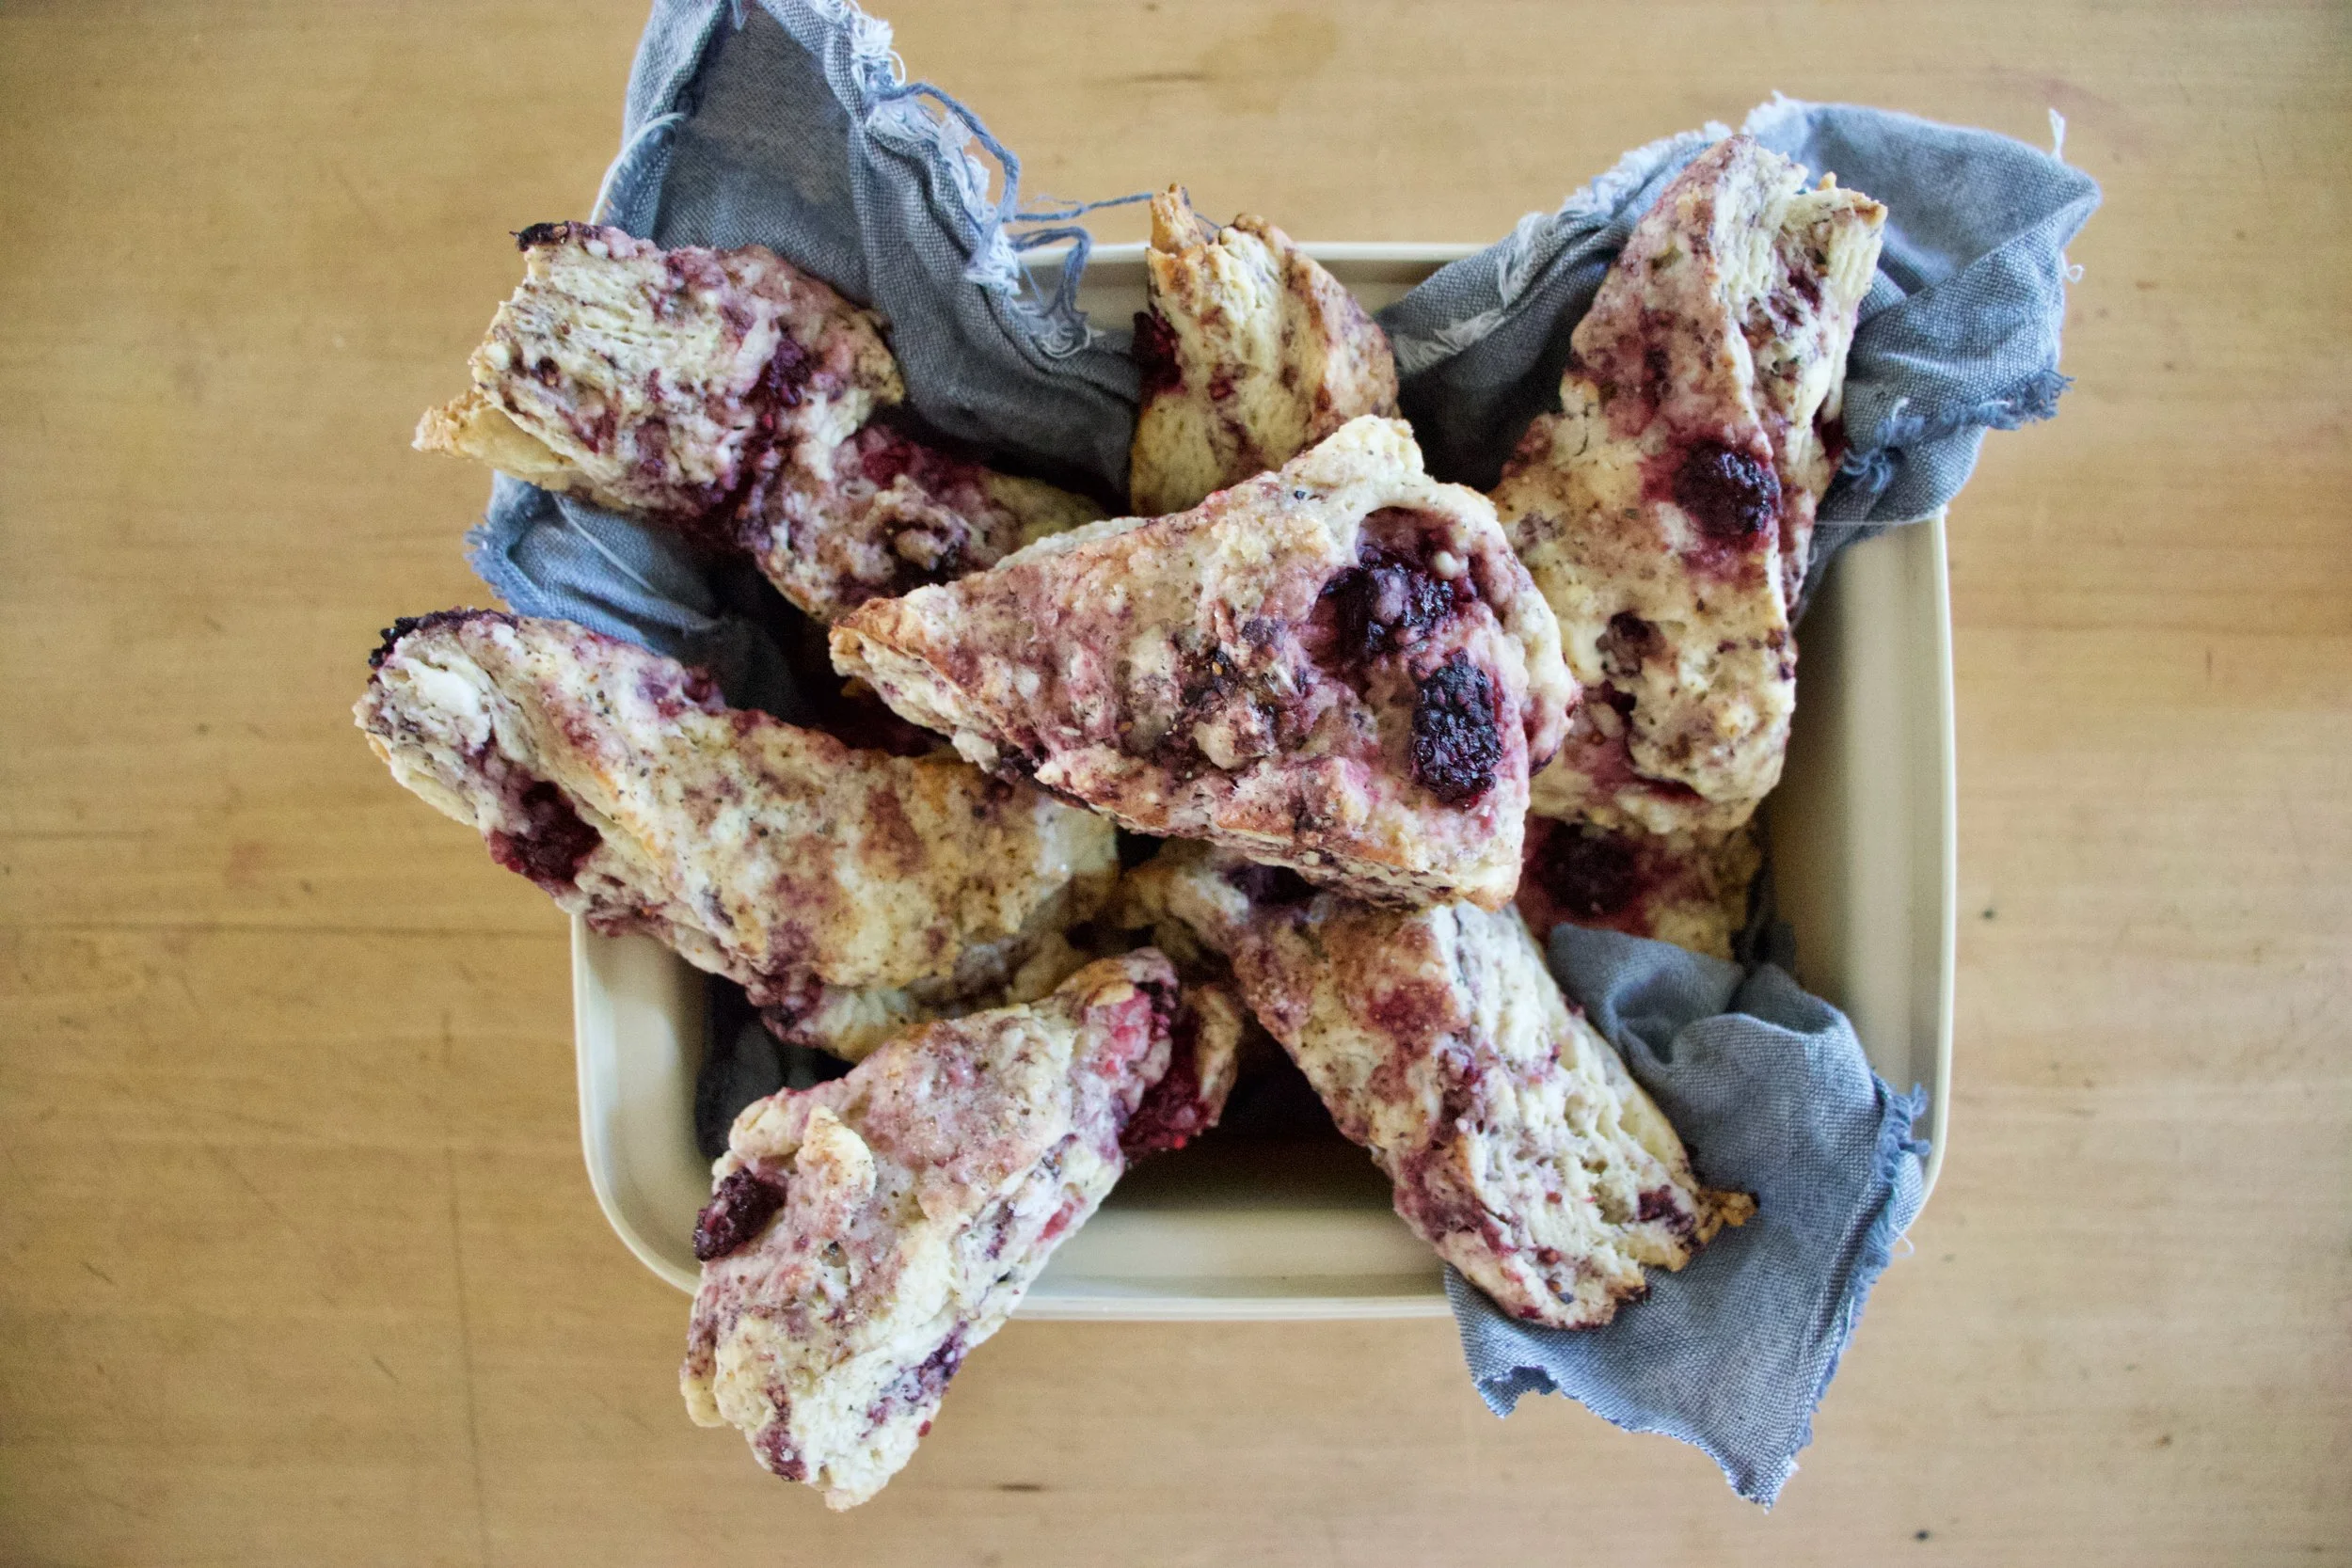
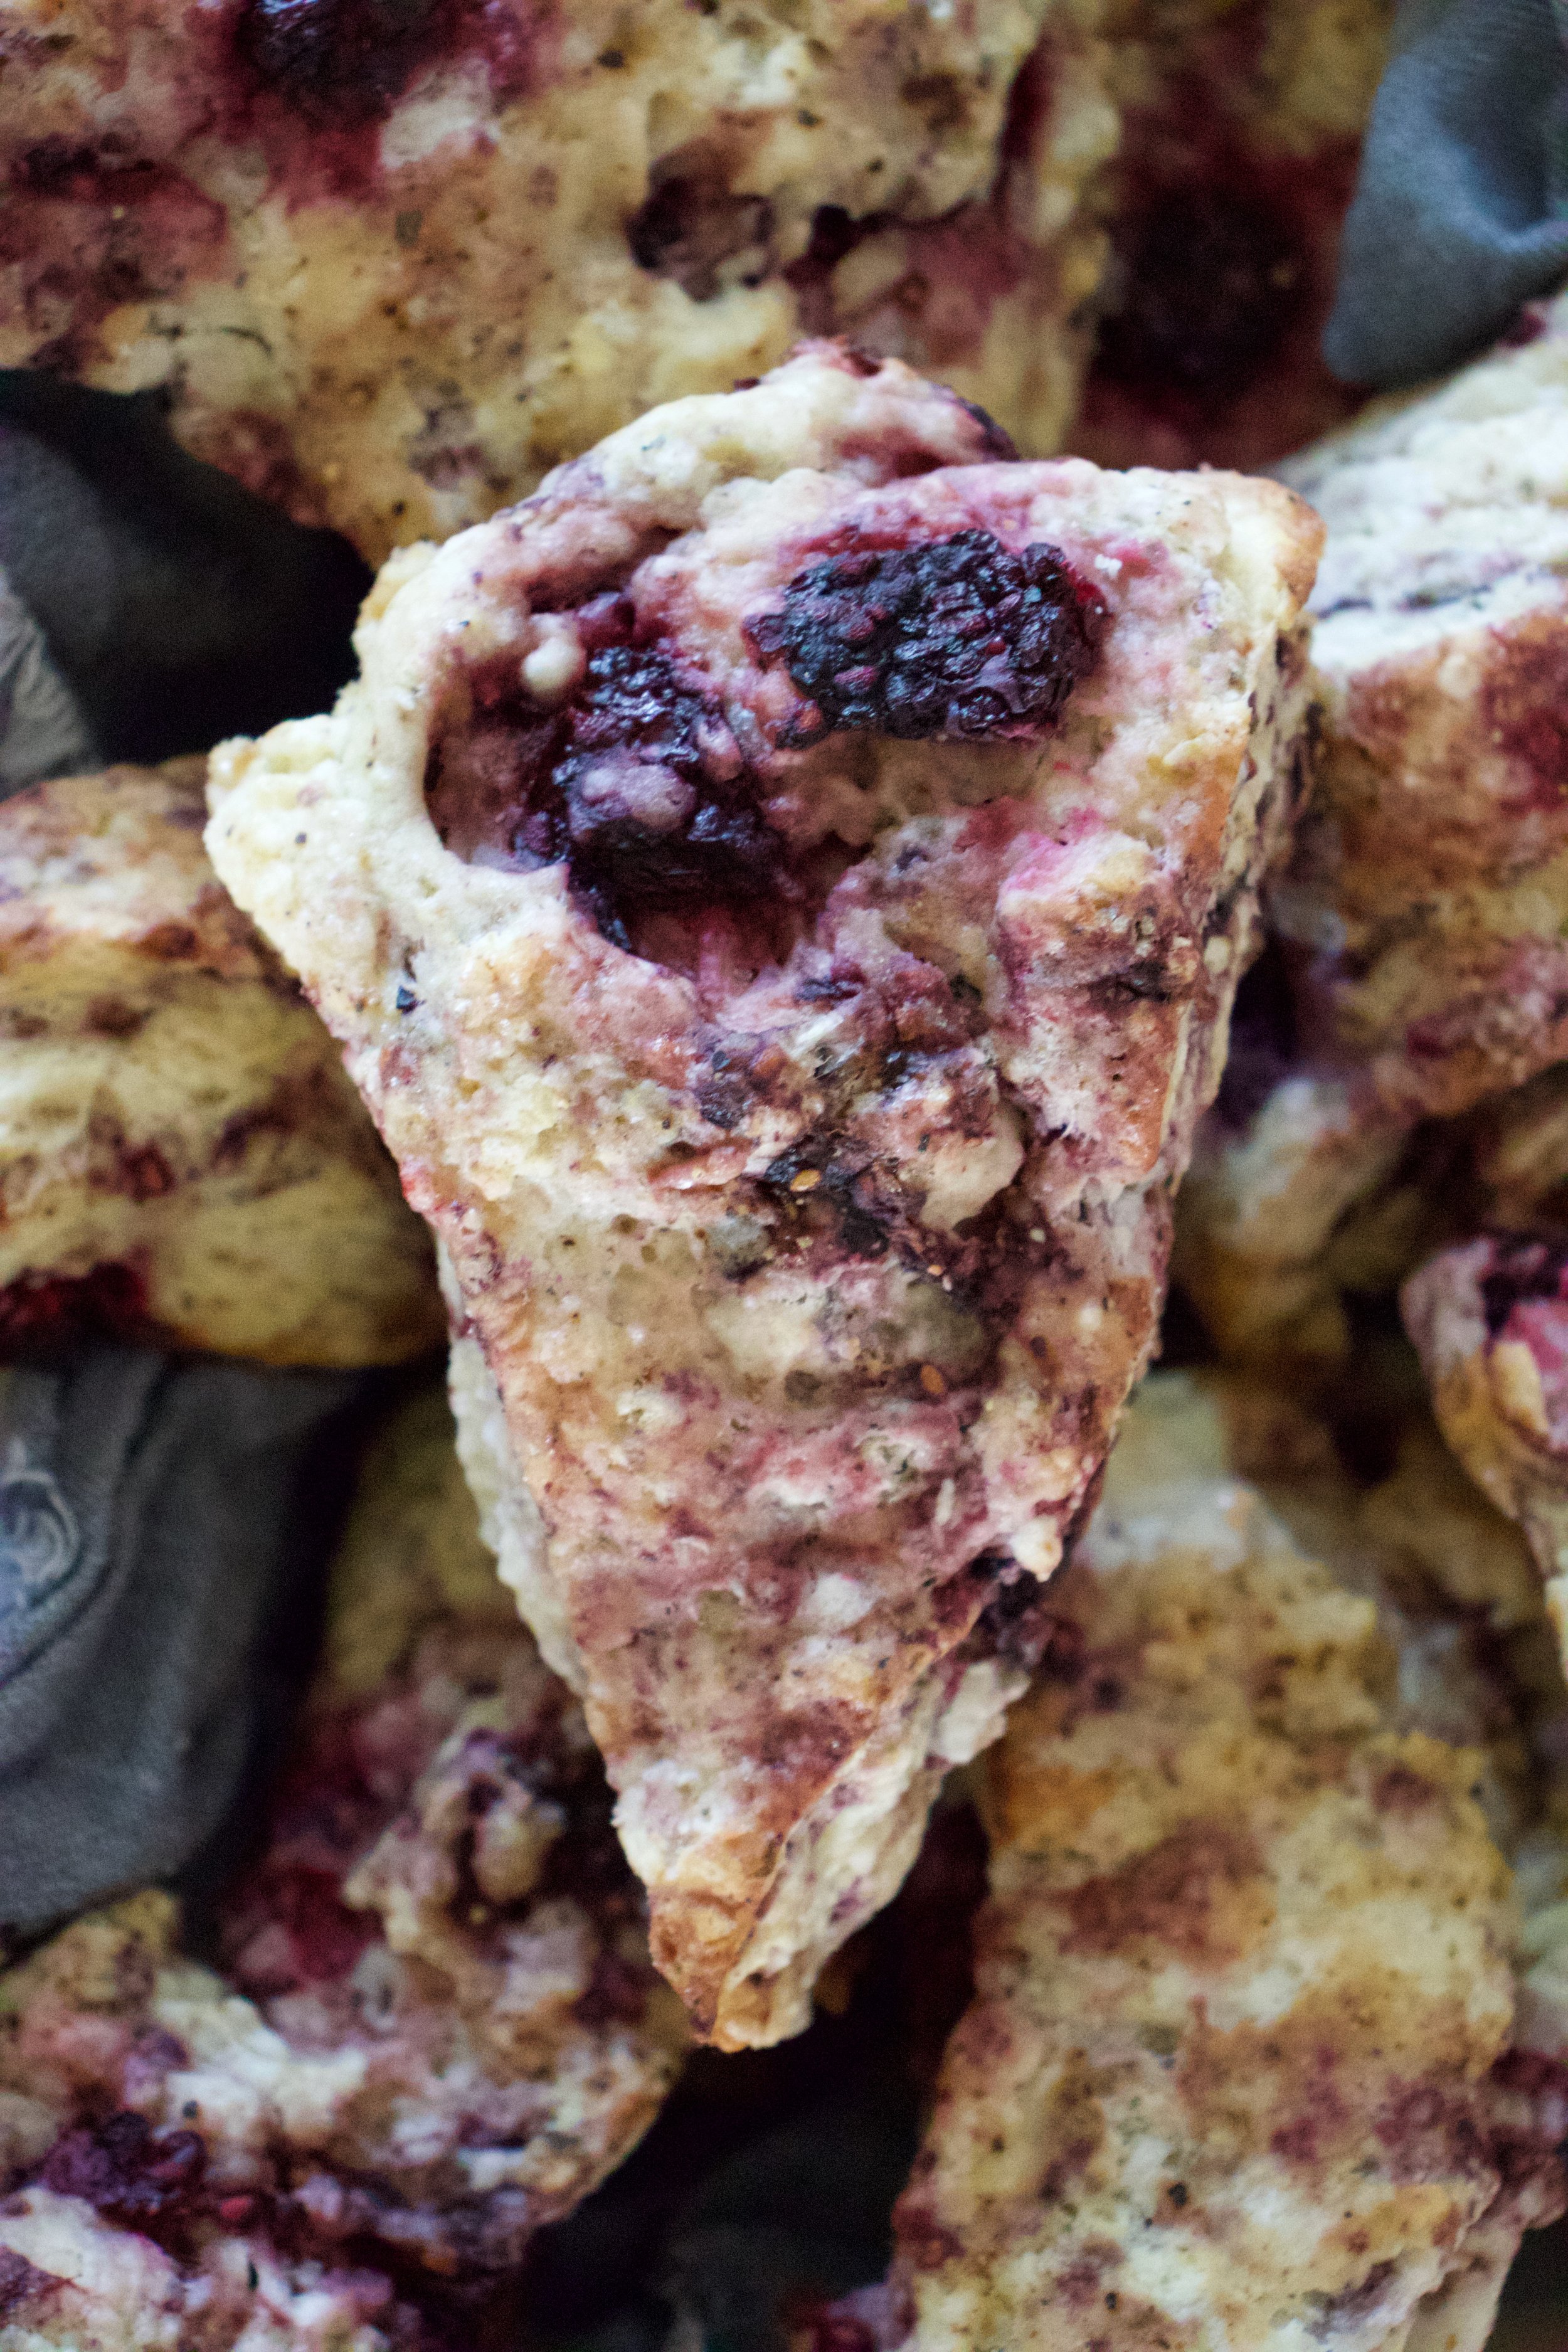
Blackberry black pepper scone. Now you have them and everyone will want them. But know, there is no shame in hiding what you don’t not want to share.

-C


blackberry black Pepper Scones

makes 8-12 scones (depending how big you cut them)

  • 2 1/2 cups all purpose flour

  • 1/3 cup white sugar plus a tablespoon more for dusting tops

  • 2 teaspoons baking powder

  • 1/2 teaspoon baking soda

  • 1 1/2 teaspoons course ground black pepper plus a little more for dusting tops

  • 1/2 teaspoon salt

  • 1/2 cup solid coconut oil

  • 1 teaspoon vanilla

  • 1 hefty cup frozen blackberries

  • 1 tablespoon apple cider vinegar

  • 3/4 cup cold plant milk plus about a tablespoon more for brushing on top

Preheat oven to 375

In a large bowl mix together the flour, baking powder and soda, salt, sugar, and pepper until well combined. Dump in the solid coconut oil and using a fork or pastry cutter, cut it into the dry until the mixture becomes crumbly. You do not want to fully incorporate the oil. Now dump in the cold milk, the vanilla, and the vinegar and gently mix until a dough starts to form. Dump in the blackberries and continue to gently mix until the dough just start to stick together.

Dump dough onto a lightly flour surface and gently squish, mush, and part the dough until it forms a ball. The berries will start to break apart and that is ok. Then flatten the dough into a disk that is about an inch thick. Take a knife of dough cutter and cut in half, then those halves into half, and then those halves in half. (8 pieces) You can even cut a few smaller if you want.

Place cut scones on a baking sheet and brush the tops with remaining milk then sprinkle tops with sugar and a little more pepper

Bake for 30 minutes or until golden brown. Once baked, remove from oven and place on a wire rack to cool.

Eat, warm of room temperature. Just don’t wait too long.

Store left overs in airtight container at room temperature for 2 day, 3-5 in fridge, or freeze individual scones for months. Just pop them back into a hot oven for 10 or so minutes to reheat.

In Vegan, sweet breads and muffins, fruit, Dairy Free, biscuits and such Tags Blackberry Black Pepper Scones, scones, vegan, king Arthur flour, vegan scones, blackberries, berries, vegan desserts, coconut oil, breakfast, black pepper, peper and fruit, spice, dairy free
Comment

Cherry Oat Muffins

July 13, 2019 Colleen Stem
IMG_0325.jpg
IMG_0334.jpg

I recently found my old cast iron muffin pan hiding in the basement over at the loft. I totally forgot I had it and was very much happy to find it not covered in rust and still looking all nice and basically ready for use. Not even the seasoning and non stickness that I worked hard to produce on it was messed up, which is amazing because I also found another cast iron pan that I left down there and it did not fair as well. It had a little rust and was grimy. Fine by me, I didn’t even want that pan anyway.

And that is basically why I made muffins. Because I wanted to use my muffin pan again.

These muffins. First off, muffins are muffins and are not meant to be a pain in the ass to make. This muffins are not, unless you think pitting cherries is a pain. For that I am sorry, but that is a small price to pay for a tasty ass muffin situation. Secondly, these muffins are well worth the tiny effort it takes to pit cherries because you end up with cherry muffins, and that alone should be enough of a reason. And the fact that they are damn tasty. The mr, who eats everything but never says too much about whatever is going into his mouth, texted me at 630 in the morning while I was at the gym just to tell me how amazing he thought they were….

Amazing at 630 am. That’a validation.

Now go get yourself some cherries and make some muffins. And it is ok if you don’t have a super sweet cast iron muffin pan. Most don’t. But you are still cool, don’t worry.

To the muffins!

The stuff. In the bowl is flour, rolled oats, baking soda and powder, salt and cinnamon. Also have cherries, brown sugar, almond milk, canola oil, apple cider vinegar, vanilla extract, and a lemon.

Hardest part of the whole shebang… pitting the cherries. Not my favorite thing to do, but definitely not the worst.

Do it any way you see fit, but I just cut them in half and kind of wedge the pit out with my thumb.

Once all the pits are removed, chop those sherries up into small pieces.

IMG_0117.jpg
IMG_0126.jpg
IMG_0149.jpg
IMG_0165.jpg

Then make the batter. Mix the dry together with the sugar and the zest of the lemon. Just make sure there are not huge clumps of the sugar in the mixture. Then add in all the wet and gently mix until combined. And then fold in the cherries.

IMG_0174 2.jpg

So purty.

IMG_0178.jpg

Fill up well grease muffin pans with the batter then sprinkle a little brown sugar and a few oats on top.

Pop those soon to be muffins into a hot oven.

IMG_0204.jpg

Baked for your pleasure.

IMG_0231.jpg

Remove the muffins from pan and let cool on a wire rack.

IMG_0296.jpg

Cherry oat muffins. You are good.

-C


Cherry Oat Muffins

makes 11-12 muffins

  • 1 1/2 cup all purpose flour

  • 2/3 cup of old fashion rolled oats (plus 2 tablespoons to sprinkle tops with)

  • 1/2 teaspoon baking soda

  • 1 1/2 teaspoon baking powder

  • 1/2 teaspoon salt

  • 1/2 cup brown sugar (plus 2 tablespoons to sprinkle tops with)

  • 1/2 teaspoon cinnamon

  • A lemon (juice and zest)

  • 1 teaspoon vanilla

  • 1 tablespoon apple cider vinegar

  • 1 cup plant based milk

  • 1/3 cup canola oil

Preheat oven to 350

First thing first, remove steams and pits from cherries. Do it any way that you want, but I find just cutting them in half and kind of popping the pit out with my thumb works best for me. Anyway, once the pits are remove, chop cherries up into small pieces.

Place flour, oats, baking powder and soda, salt, cinnamon, brown sugar, and zest of lemon into a big bowl. Mix together until completely incorporated. Make sure there are not huge clumps of brown sugar, if there are, break them up with your fingers. Add in the milk, oil, vanilla, vinegar, and juice of half a lemon. Gently mix until just incorporated. Now fold in chopped cherries.

Evenly scoop the batter into a well greased muffin tin. (There is enough batter for12 normal sized muffins.) Sprinkle the tops with the extra brown sugar and oats then pop the pan Ito the oven. Bake for 28-32 minutes or until the tops of the muffins are a nice golden brown and a taster poked into one of the muffins comes out clean.

When fully baked, remove muffins from oven and pop them out of the pan. Let cool on a wire rack but feel free to eat one or two warm.

Store any extra in an airtight container on counter for a day or two but in the fridge for about a week. Individual muffins can be wrapped and frozen for a good long will too.

In breakfast, Vegan, sweet breads and muffins, fruit, Dairy Free Tags Cherry, Cherry oat muffins, muffins, vegan, vegan food, food, breakfast, snack, plant based, king Arthur flour
Comment

Toasted Coconut And Corn Popsicles

June 1, 2019 Colleen Stem
IMG_9023.jpg
IMG_8962.jpg

Yes you read that right. Corn. In a popsicle.

What?

No it is not weird or gross or anything. I wouldn't do that to you. These popsicles are down right deeee-lightful. Rich and creamy and sweet. Both the creamy coconut and the toasted coconut pair perfectly with the sweet corn flavor. They truly are delicious and I think that if you give them a try, you will think so too. And really, now that it is like almost summer, who doesn't have a little extra corn laying around. So you might as well just make a batch.

And then you will thank me for introducing you to the goodness that is a toasted coconut and corn popsicle. Heck, the mr even ate one and he (still, after I have proven him wrong on a many occasions) says he hates corn. So if a corn hater likes these, imagine what a corn lover will think. HAHA. Corn lover.

To the popsicles!

The stuff. Corn, full fat coconut milk, shredded coconut, and maple syrup.

IMG_8851 2.jpg
IMG_8869.jpg

First, remove corn from cob and place on a baking sheet. Bake in oven for 10-ish minutes until corn is cooked and all nice and sweet.

IMG_8897.jpg

And don’t forget to toast the coconut. A few minutes in the oven is all it needs.

IMG_8879.jpg
IMG_8911 2.jpg

Now to blend. Corn and coconut milk go in first to blend until nice and smooth. Then add in the maple and coconut and blend until just combined. That will leave a little coconut texture. If you want it smooth, well just blend until completely smooth. Do what feels right to you.

IMG_8913.jpg

Thick, rich and creamy popsicle mixture.

IMG_8931.jpg

Now pour it into the molds and stick into the freezer. You could probably stick the sticks in now or wait a little while for the mixture to set a bit, but just don’t forget to get sticks in those popsicles before they completely freeze. That would suck.

Frozen POPSICLES!

Pop those lovelies out of the molds and there you go.

The anticipation is over. Eat a popsicle

-C


Toasted Coconut And Corn Popsicles

makes 4 average sized popsicles

  • 2 ears corn (about a cup of corn kernels)

  • 1 cup full fat coconut milk (the canned stuff)

  • 1/4 cup shredded unsweetened coconut

  • 2- 4 tablespoons maple syrup

Note. If you have left over cooked corn, just use that. You don’t need to recook it so skip the cooking corn step.

Preheat oven to 400

Remove corn kernels from cob and place on a baking sheet pretty evenly. Pop into the oven for 10 minutes of so or until the corn is cooked through and nice and sweet.

Remove corn and dump it into blender and set aside to cool for a few minutes. Place the coconut onto the baking sheet and pop into the oven for 3-4 minutes to just lightly toast. When the coconut is toasted, remove from oven.

Grab the blender with the corn and pot in the coconut milk. Blend until smooth. Add in the maple (start with 2 tablespoons and work your way up to the sweetness you like) and the toasted coconut. Blend quickly just to combine for a slightly more textures popsicle or blend completely smooth if you would rather a smoother popsicle.

Pour mixture into popsicles molds and place into freezer. After the mixture sets up (about an hour) pop sticks into molds. Continue to freeze until completely frozen. Usually 4-6 hours.

And then when it is popsicle time, remove popsicles from molds and eat them.

In 5 ingerdients or less, Dairy Free, frozen, Popsicles, summer, Vegan Tags popsicles, popsicle week, toasted coconut, corn, toasted coconut corn popsicles, frozen, dairy free, vegan, breakfast, dessert, summer, plant based, 5 ingredients or less, toasted coconnut
Comment

Raspberry Rhubarb Cobbler

April 27, 2019 Colleen Stem
IMG_7865.jpg
IMG_7904.jpg

I found another bag of frozen rhubarb in the chest freezer which is never a bad thing, but my rhubarb patch outside is growing strong and I will have all the fresh rhubarb I could possible eat within the next few weeks. So found rhubarb just means I need to eat it right fast before the fresh stuff comes in. (I haven’t had a problem with that. it’s almost gone already). Plus the other day while I was digging up and transplanting raspberry bushes to the back yard, my neighbor came over and gave me a gallon of frozen raspberries, harvested from said bushes that I was currently planting in my yard. Score for me! Free bushes and berries…I have such nice neighbors.

So the logical thing to do with my new found and giving bounty was of course to hurry up and bake something. Cobbler. Why cobbler? Well, why not? I figured the mr would really like it and eat it and I also didn’t want to make anything to fussy because I was just to dang busy spending all of my extra time outside doing outside things. And cobbler, it’s not fussy because it is basically biscuits and jam baked up all together. Not a lot to think about and comes out looking all homey and sweet and smelling all nice and cozy. Doesn’t that sound nice? And not a pain in the ass?

And best part. A made cobbler works as dessert or breakfasts or just a snack. Just asked the mr. He ate it for all the reasons. With a dollop of yogurt or cream of course because he is fancy like that.

And yeah the fruit I used was frozen, but fresh works just the same here too.

Now, lets get to that cobbler.

The stuff. Raspberries (frozen), rhubarb (frozen), sugar, flour, salt, baking power, cinnamon ,almond milk, apple cider vinegar, cornstarch, and oil.

IMG_7777.jpg

Raspberries, rhubarb, sugar, cinnamon, cornstarch. Its all there in the bowl. Just needs to be mixed. So mix it.

IMG_7781.jpg

Dump fruit mixture into well greased 8 inch pan and pop it into a hot oven to get a head start on baking.

IMG_7797 2.jpg
IMG_7802.jpg

While the fruits in the oven, make the biscuit dough. Mix the dry together then mix in the wet until just incorporated and a sticky dough forms.

IMG_7805.jpg

Pulled from the oven, the fruit is starting to cook down and whoa, it just smells so good!

IMG_7816.jpg

Drop on the biscuits dough on top of the fruit (careful of the hot pan). Evenly if possible, but don’t work to hard to make it look perfect. Imperfection makes it look perfect, you know?

Once biscuits are on, lightly brush the tops with a little milk and sprinkle with more sugar then pop it back into the oven for another 25-30 minutes or until the biscuits are baked.

IMG_7817 2.jpg

Pulled from the oven with a bubbly filling and a golden brown biscuity top. Things are looking good here.

IMG_7929.jpg

And now it’s time.

Dig on in my friend. Sever with something creamy like whipped coconut cream or some type of yogurt or ice cream situation of your choice. And again, this can be your breakfast.

Happy spring people!

-C


Raspberry Rhubarb Cobbler

make a a 8 inch round which serves 5-6

For the Filling

  • 2 cups raspberries (fresh or frozen)

  • 2 cups rhubarb chopped into 1/2 inch to inch long pieces (fresh or frozen)

  • 1 1/2 tablespoons corn starch

  • 3/4 -1 cup sugar (lesser amount if you like a little more tartness. I used lesser amount)

  • 1 teaspoon cinnamon

For the dough

  • 1 cups all purpose flour

  • 1 1/2 teaspoon baking powder

  • 1/2 teaspoon salt

  • 3 tablespoons sugar

  • 3 tablespoons neutral flavored oil

  • 1/2 cup plant based milk

  • 1 teaspoon apple cider vinegar

Preheat oven to 350.

In a large bowl mix together the rhubarb and raspberries with the corn starch, sugar, and cinnamon. Grease a 8 inch round pan the is at least 2 inches deep (can use a slightly large pan or a square) and dump in fruit mixture. Place into oven to bake for about 15 minutes or the fruit starts to break down.

While fruit is baking, mix up biscuit dough. Flour, salt, 2 tablespoons sugar, and baking powder go in a large bowl and mixed until combined. Add in the oil, the milk, and the vinegar. Mix until just incorporated and a dough has formed.

Remove the fruit cooking from the oven. Turn heat up to 375.

Carefully drop spoonfuls of biscuit batter on top of fruit. Brush the top of the biscuits with a little milk and sprinkle with remaining tablespoon sugar. Place the pan back into the oven and bake for another 25-30 minutes or until the biscuits are all nice and golden brown on top.

Remove from oven and let cool for a few minutes before serving. Serve warm with a scoop or dollop of soothing creamy (coconut cream, yogurt, ice cream…..whatever floats your boat.)

Left overs can be stored in pan, just cover it with something and place in fridge. Can be eaten cold to or reheated in microwave or oven.

In Vegan, Spring, fruit, desserts, brunch, breakfast, biscuits and such, cobblers and crumbles Tags Raspberry Rhubarb Cobbler, Cobbler, dessert, raspberries, rhubarb, spring, fruit, plant based, vegan, vegan dessert, biscuits, easy, dairy free, breakfast, brunch
1 Comment

Banana Oat Smoothie

April 6, 2019 Colleen Stem
IMG_7190 2.jpg
IMG_7170 3.jpg
IMG_7159.jpg

It’s a smoothie. And no, we have never really been smoothie people in this house, but what can I say, sometimes smoothies happen, especially when you have about 20 ripe bananas in the fruit bowl with no room in the freezer and no need for 7 loafs of banana bread.

So I smoothied. And I like it (a lot).

This is a smoothie of simplicity. Nothing fancy. Simplest of simple. Straight to the point. And all sorts of good.

You might think, does this simple smoothie you speak of taste very good? Yes, yes indeed it does. It is all sorts of fantastic. Basically if you like creamy, nutty, oaty, bananery things, you will like this. And it’s a perfect breakfast, snack, dessert, or just wanting a little treat like thing that is not garbage food. A smoothie of all smoothies with the most basic ingredients. And takes about 15 seconds to whip up. Can’t complain about that.

To the smoothie goodness!

IMG_7097.jpg

The stuff. A ripe banana, some old fashion rolled oats, a pinch of salt, water, and a smidge of maple syrup if you want it.

IMG_7114.jpg

Everything goes into blender.

And blended until smooth. Hence the word smoothie.

Pour it into a cup (or if you are feeling primal, drink it straight from the blender… it’s totally cool)

And done.

A banana oat smoothie.

Let the good time roll!

-C


Banana Oatmeal Smoothie

makes 1 smoothie

  • 1 very ripe banana

  • 1/3 cup raw old fashion oats

  • 1 1/2 cups water

  • pinch of salt

  • a tablespoon or two of any sweetener you like (optional)

  • a pinch of cinnamon (optional)

Place everything into a blender and blend until smooth. Pour into a cup, sprinkle with cinnamon if you wish, and drink right away.

In 5 ingerdients or less, breakfast, Dairy Free, drinks, fruit, Gluten Free, quick and easy, Raw, snack, Vegan Tags Oats, old fashion oats, oat milk, banana, banana oat smoothie, Oatmeal, smoothie, simple, done in seconds, fresh, vegan, gluten free, dairy free, plant based, snack, breakfast, drink, dessert, healthy, protein, fruit, raw
Comment
← Newer Posts Older Posts →
 

https://thelovelycrazy.squarespace.com/config#/|/about/

Me. Food Maker.Food eater. Woo HOO!

STEM+NODE  SMALL BATCH AND ONE OF A KIND POTTERY

stem+node ceramics


____________________

Subscribe

GET NEW POSTS IN YO EMAIL

You are AWESOME!!!


@thelovelycrazy 2014-2021