• stem+node ceramics
  • HOME
  • Food Recipes
  • About
  • Contact
Menu

The Lovely Crazy

Street Address
City, State, Zip
Phone Number

Your Custom Text Here

The Lovely Crazy

  • stem+node ceramics
  • HOME
  • Food Recipes
  • About
  • Contact

Warm Balsamic Delicata, onion, and Kale Salad

November 9, 2019 Colleen Stem

Let us talk about how winter squash is like one of the best foods ever. Seriously. Hardy, creamy, rich, and full of the nutty, sweet flavors of all the good things. How anyone says they don’t like winter squash is beyond me. I sometimes even feel like I put myself in danger of exploding when I am around enough cooked squash. I can eat and eat it until it’s gone, which is fine if it’s a serving or two, but when you roast up a 10 pound butternut, well, that is when the danger is real. I am getting better at holding back, but man, sometimes I just can't (or don’t want to?) help myself. ( You might also wonder why I cook 10 pounds of squash at a time. It’s because I will eat it all in a few days and I might as well cook a bunch at once, for efficiency sake.)

Now the delicata squah. If you haven’t had it before, stop what you are doing and go get one. You need to try it because it is amazing. Sweet, nutty, creamy. So good! And another good thing is that they are not giant, so you can buy one and eat the whole thing and not worry about overeating until you can’t move, unless that is the goal. In that case, just buy a bunch. HA.

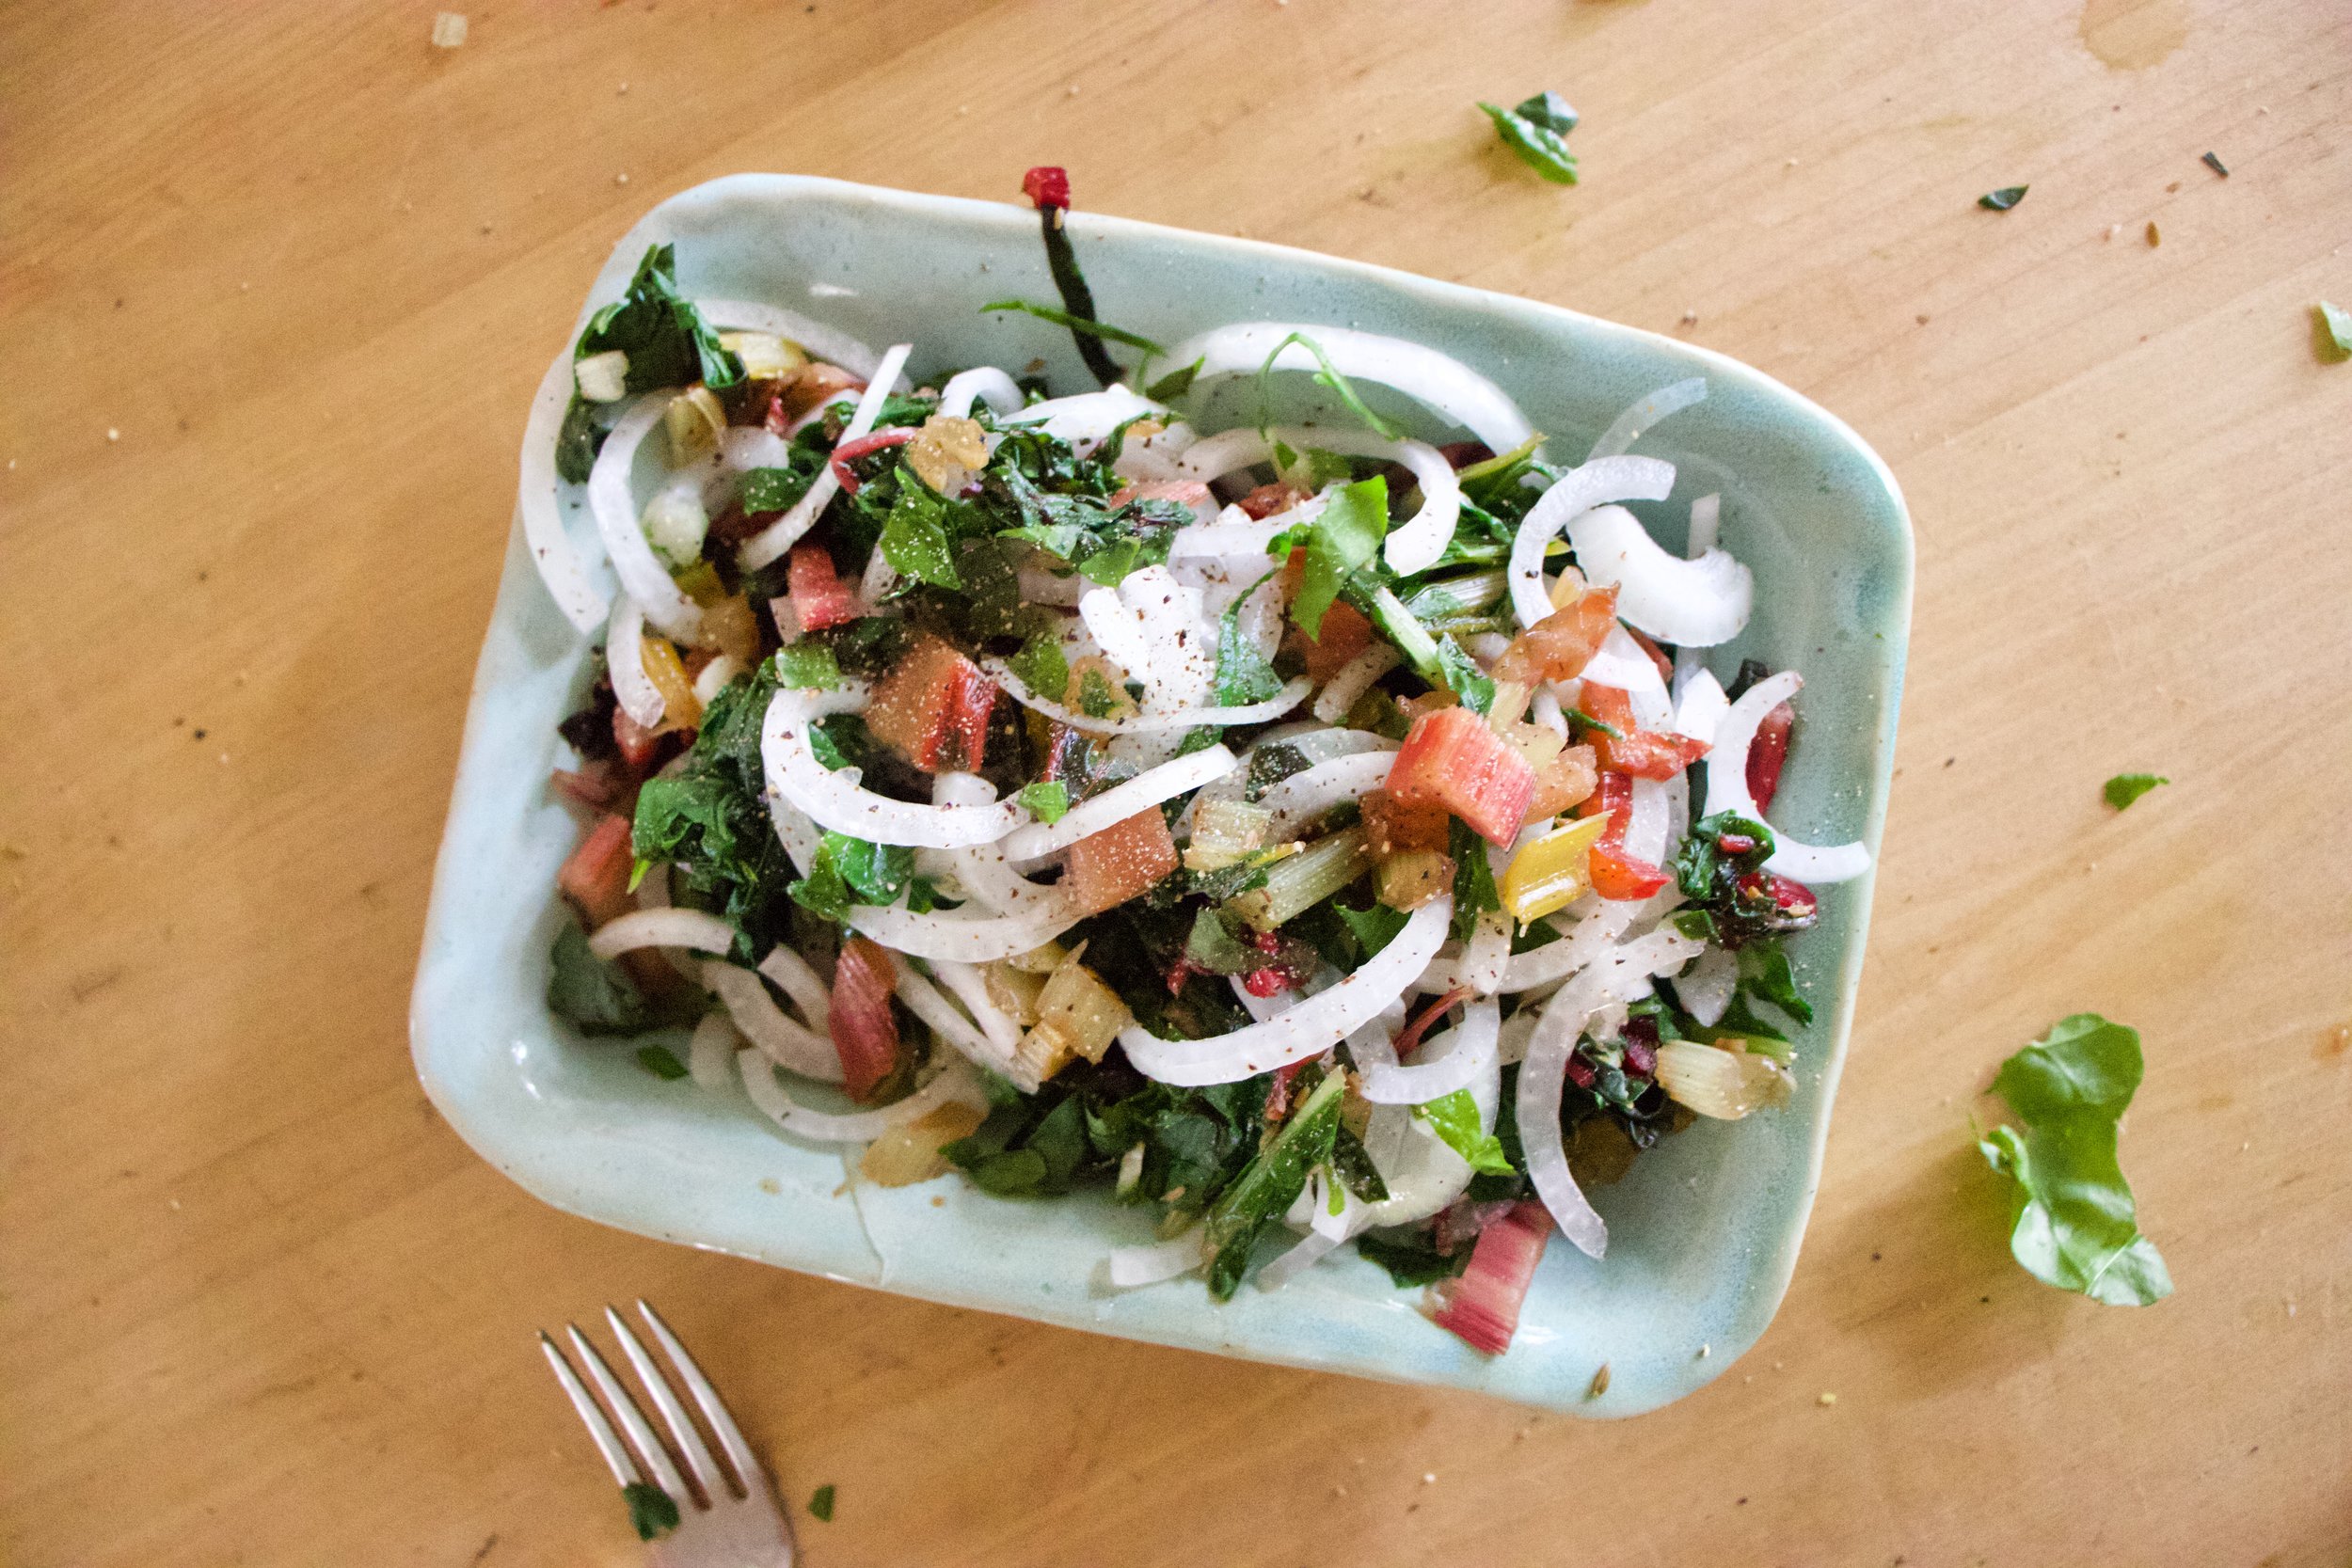
Anyway, it’s getting to that time of year where salad is still great, it is just great warm. And with winter squash. Don’t you agree? So we cook up the squash, grab the kale and make one heck of a salad to eat all to your face. Because that is what will happen. You will make it , taste it, and not want to share it. It is too good to share. (Yes salads can be too good to share, so if you are planning on feeding others, plan accordingly)

To the salad!

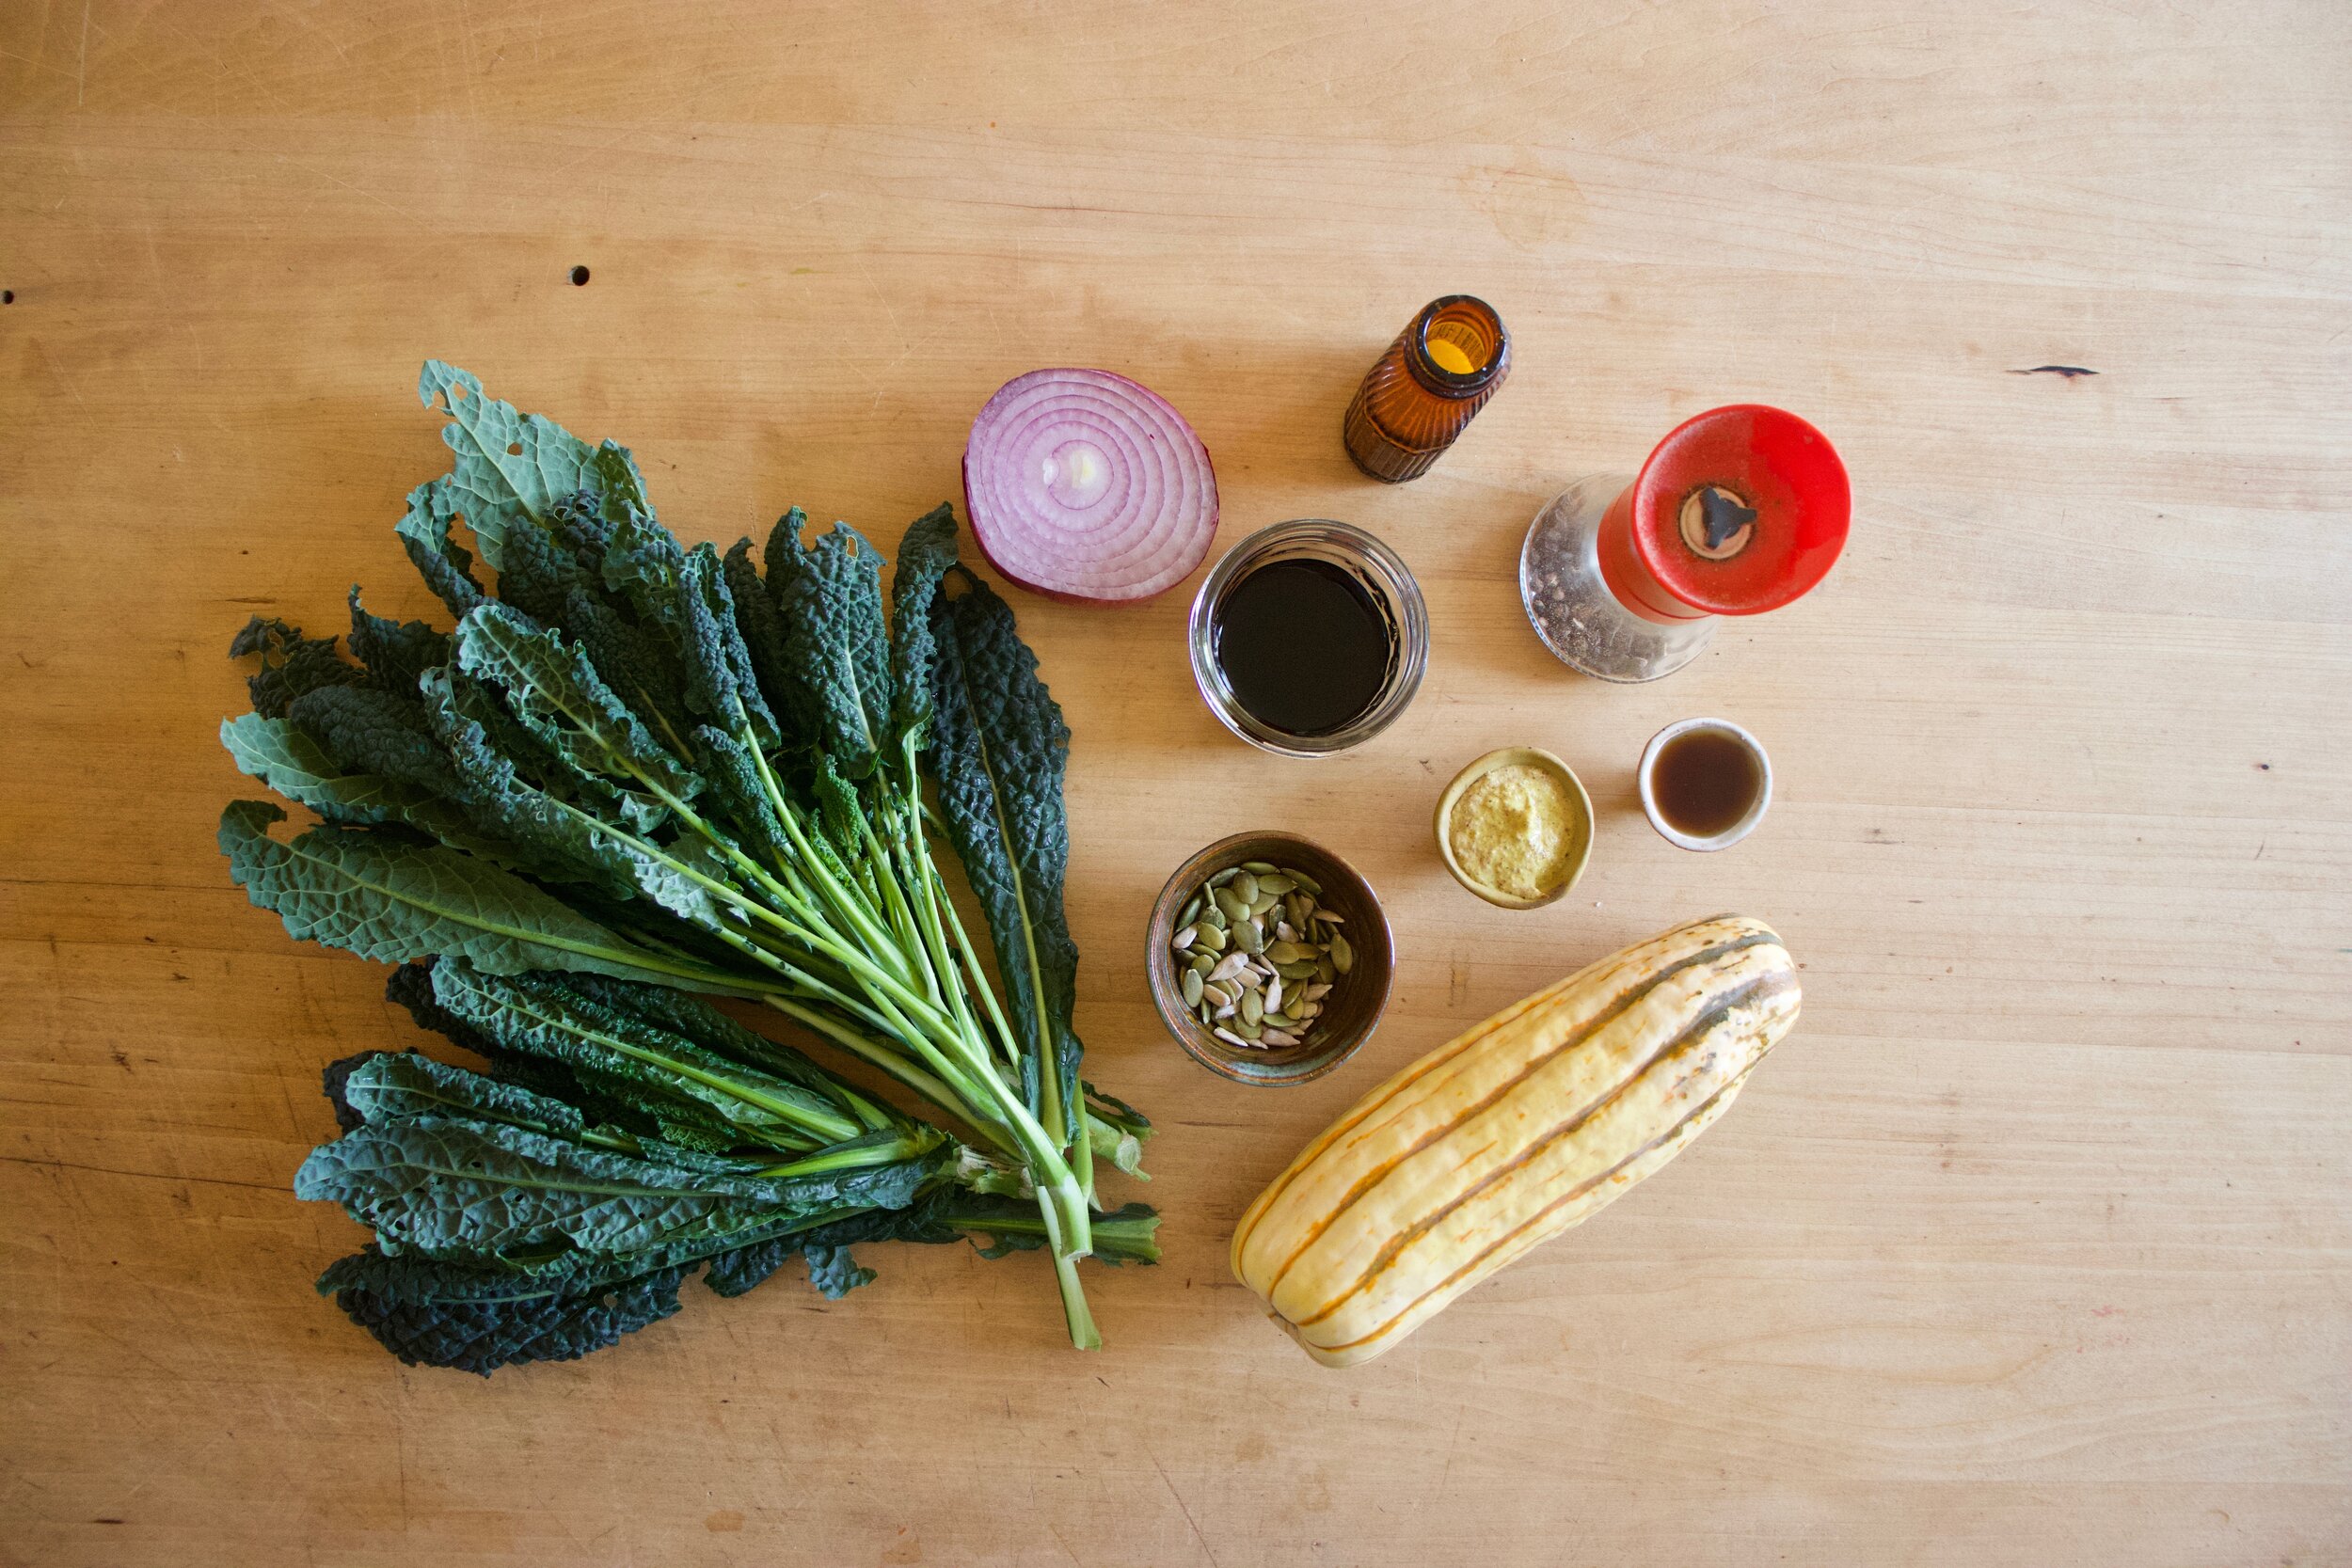
The stuff. Kale, a delicata squash, red onion, some balsamic vinegar, a touch of maple, spicy brown mustard, a handful of toasted seeds, and salt and pepper.

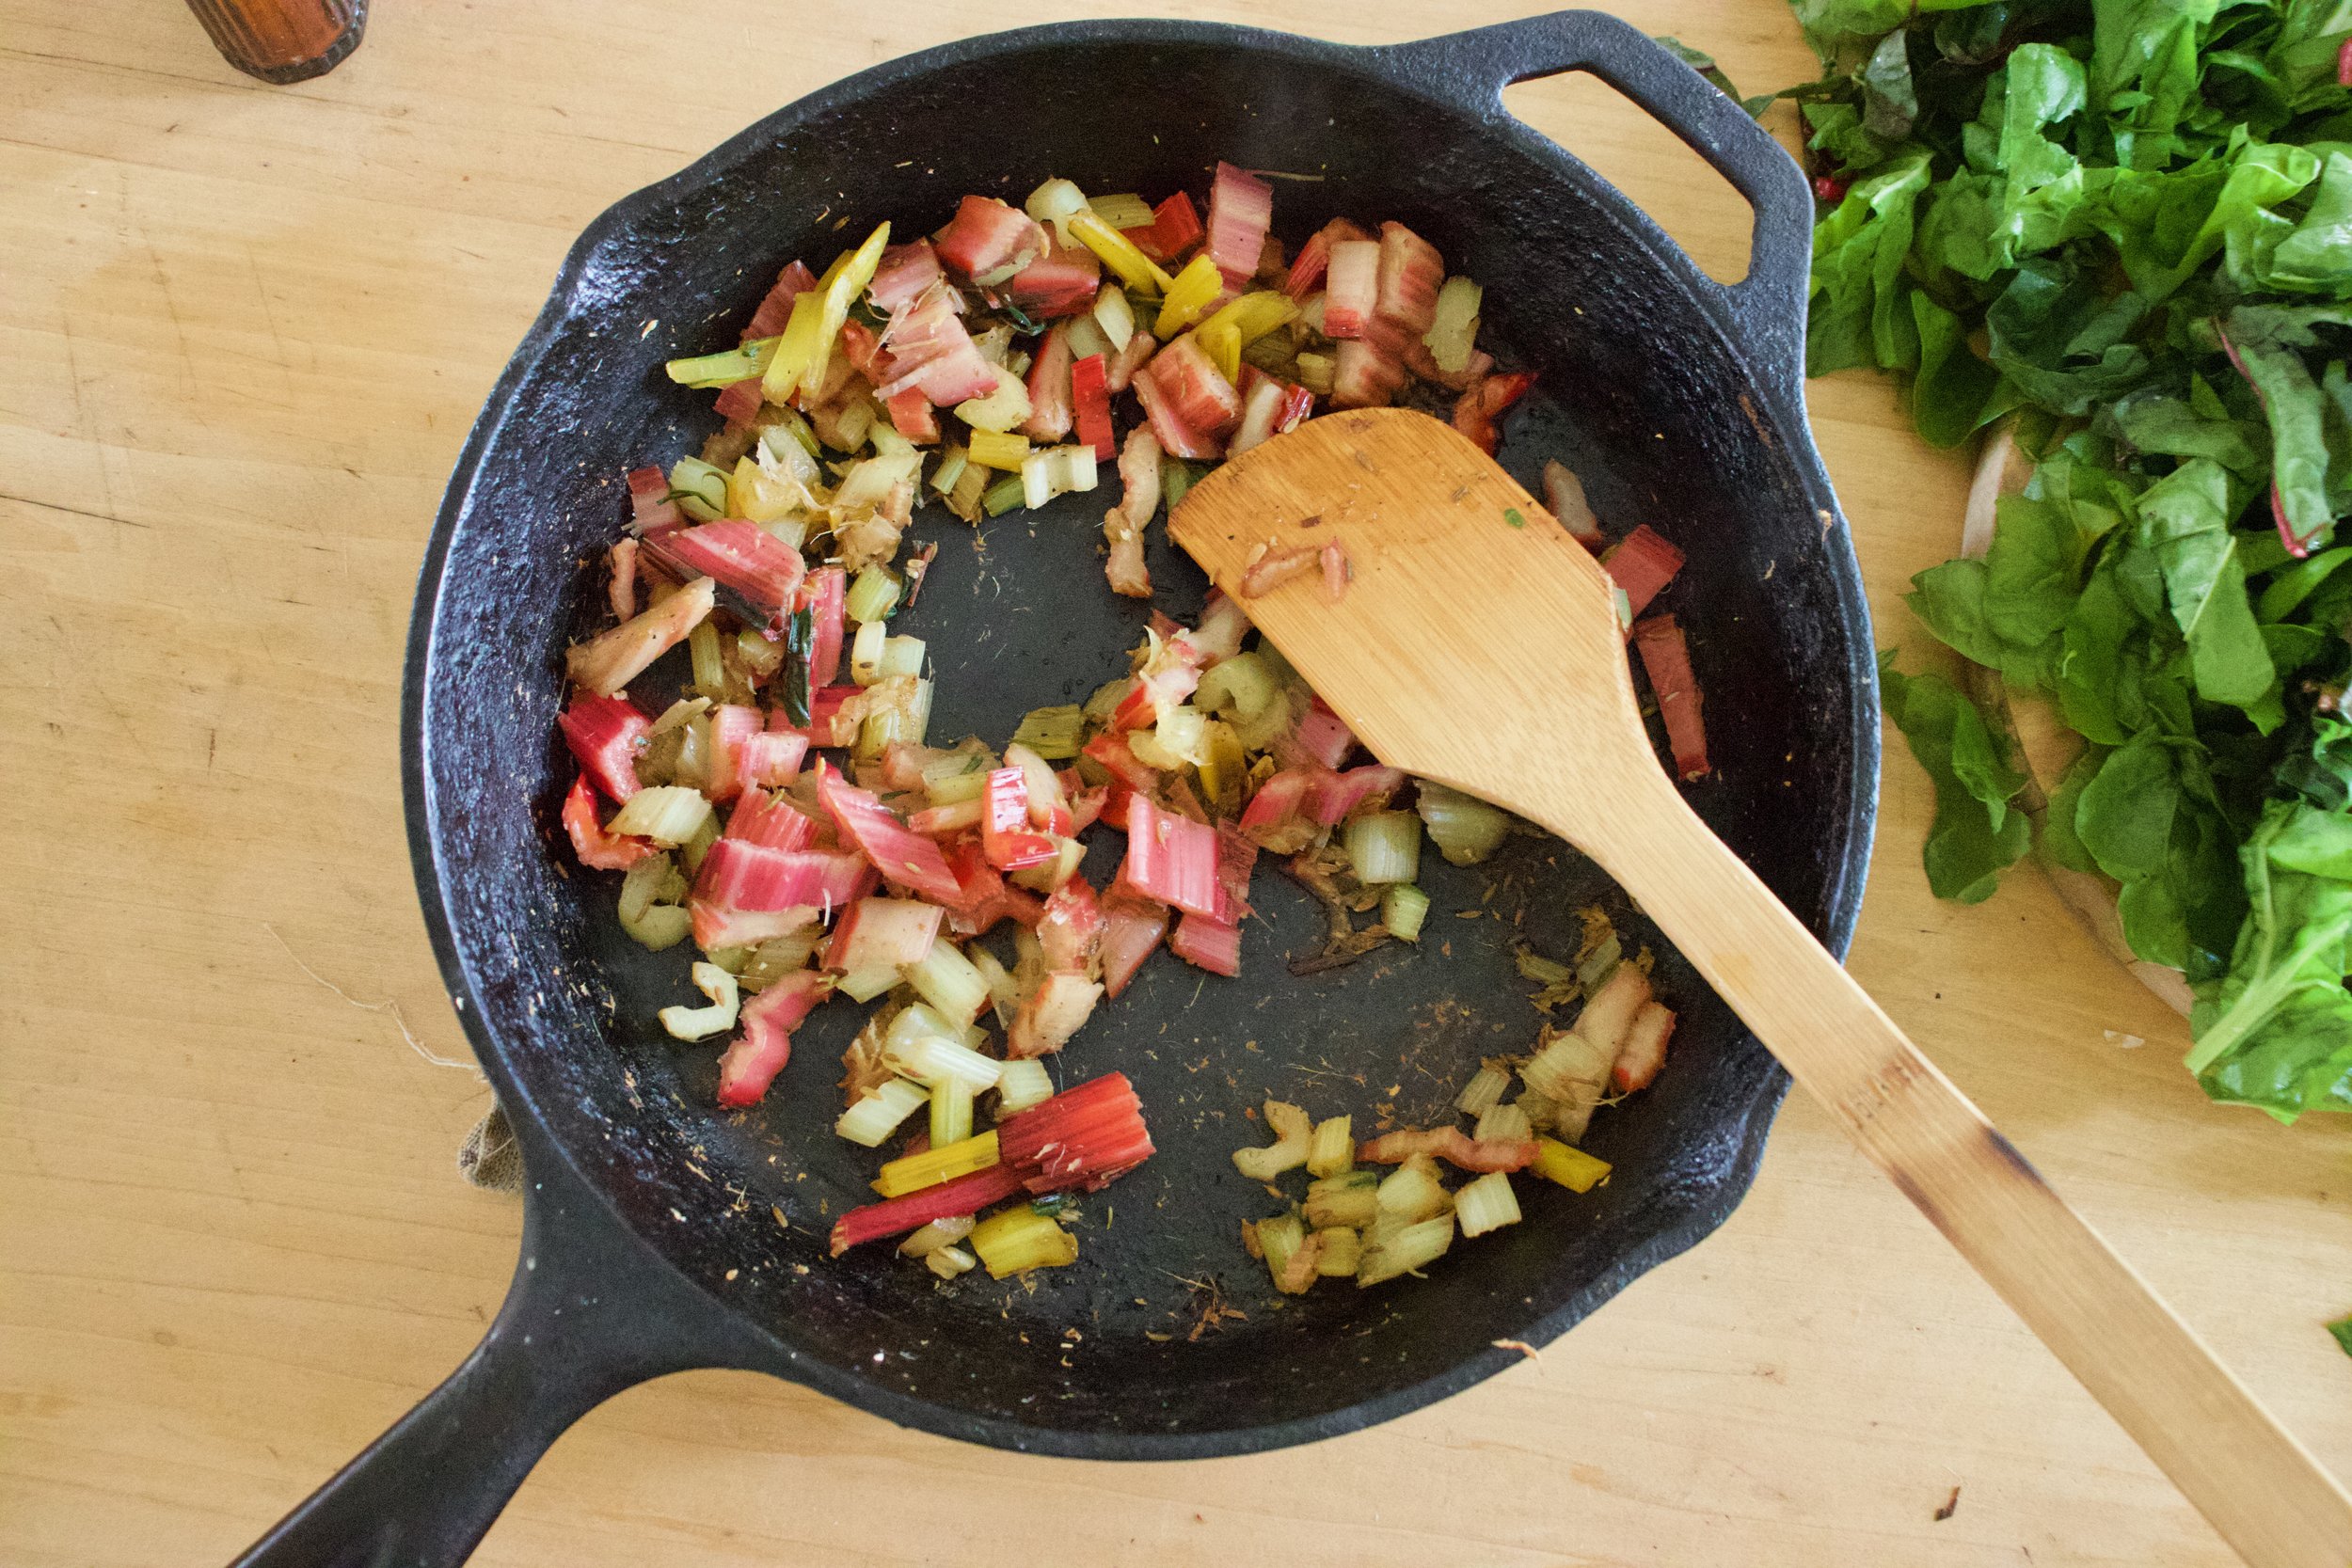
Start with the squash. Cut it in half and scoop seeds from booth sides (these seeds are great roasted). After deseeded, cut both pieces into 1/4-1/2 inch thick rounds. And NO!!!!, do not peel the skin.

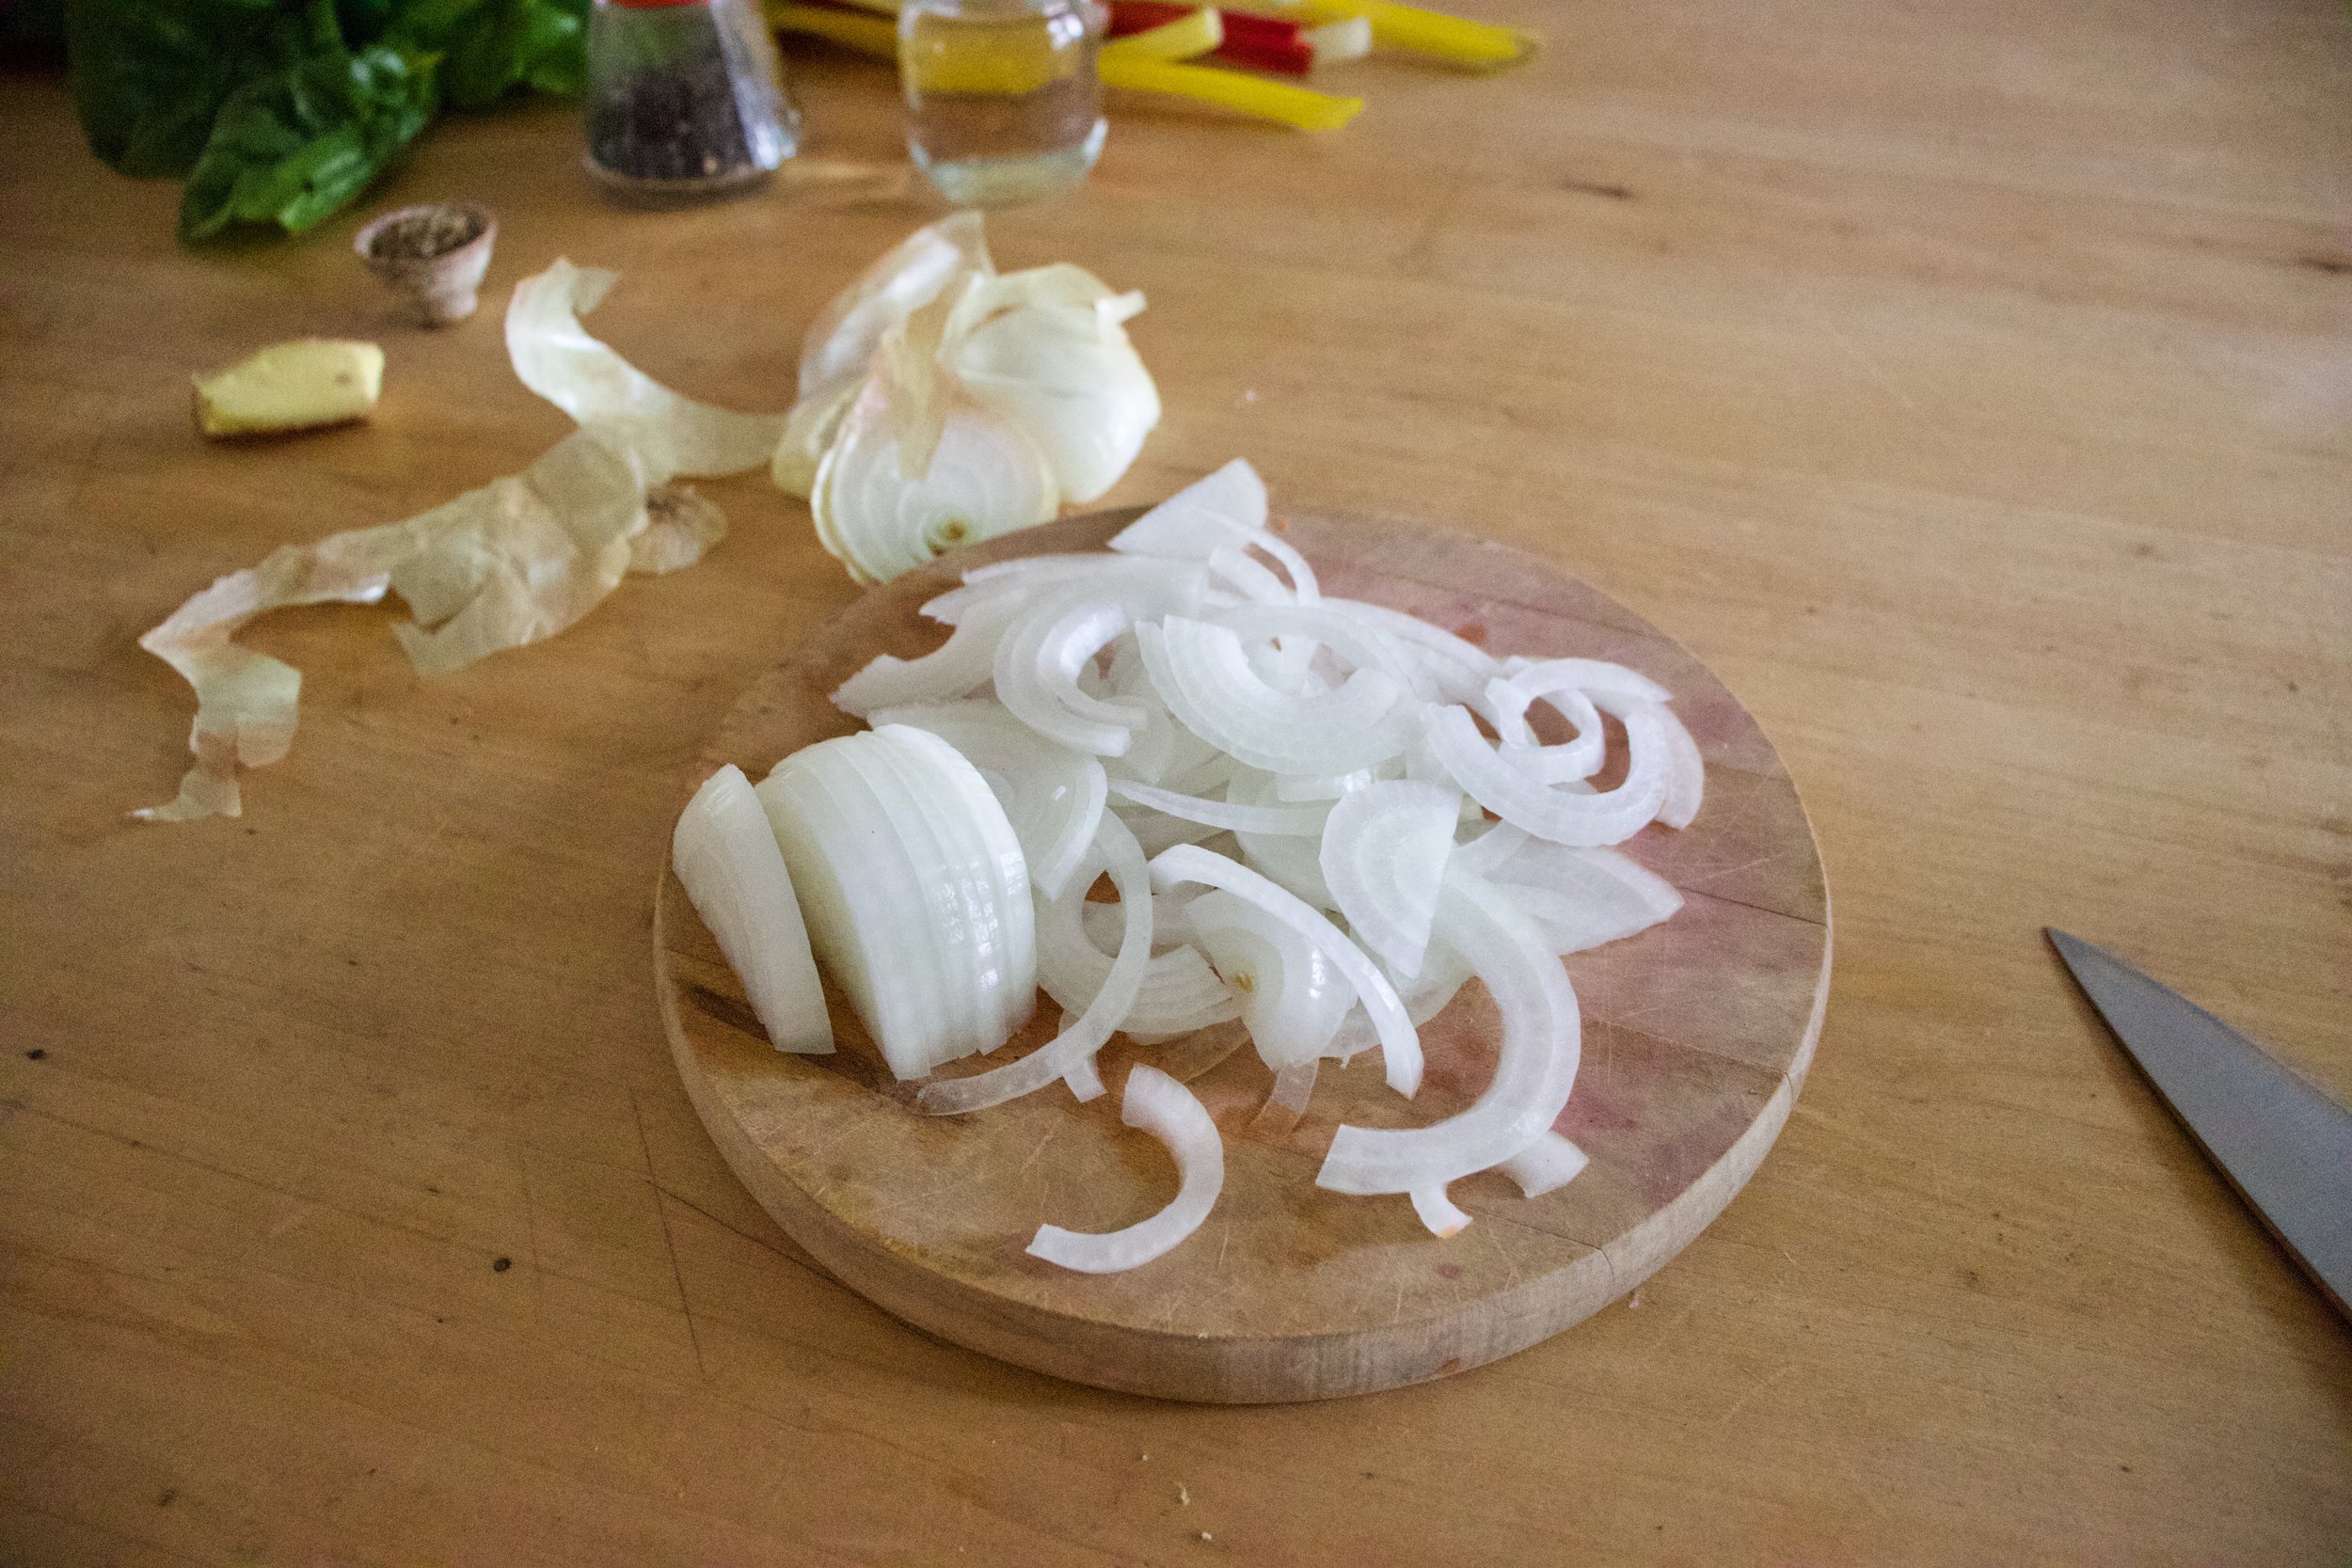
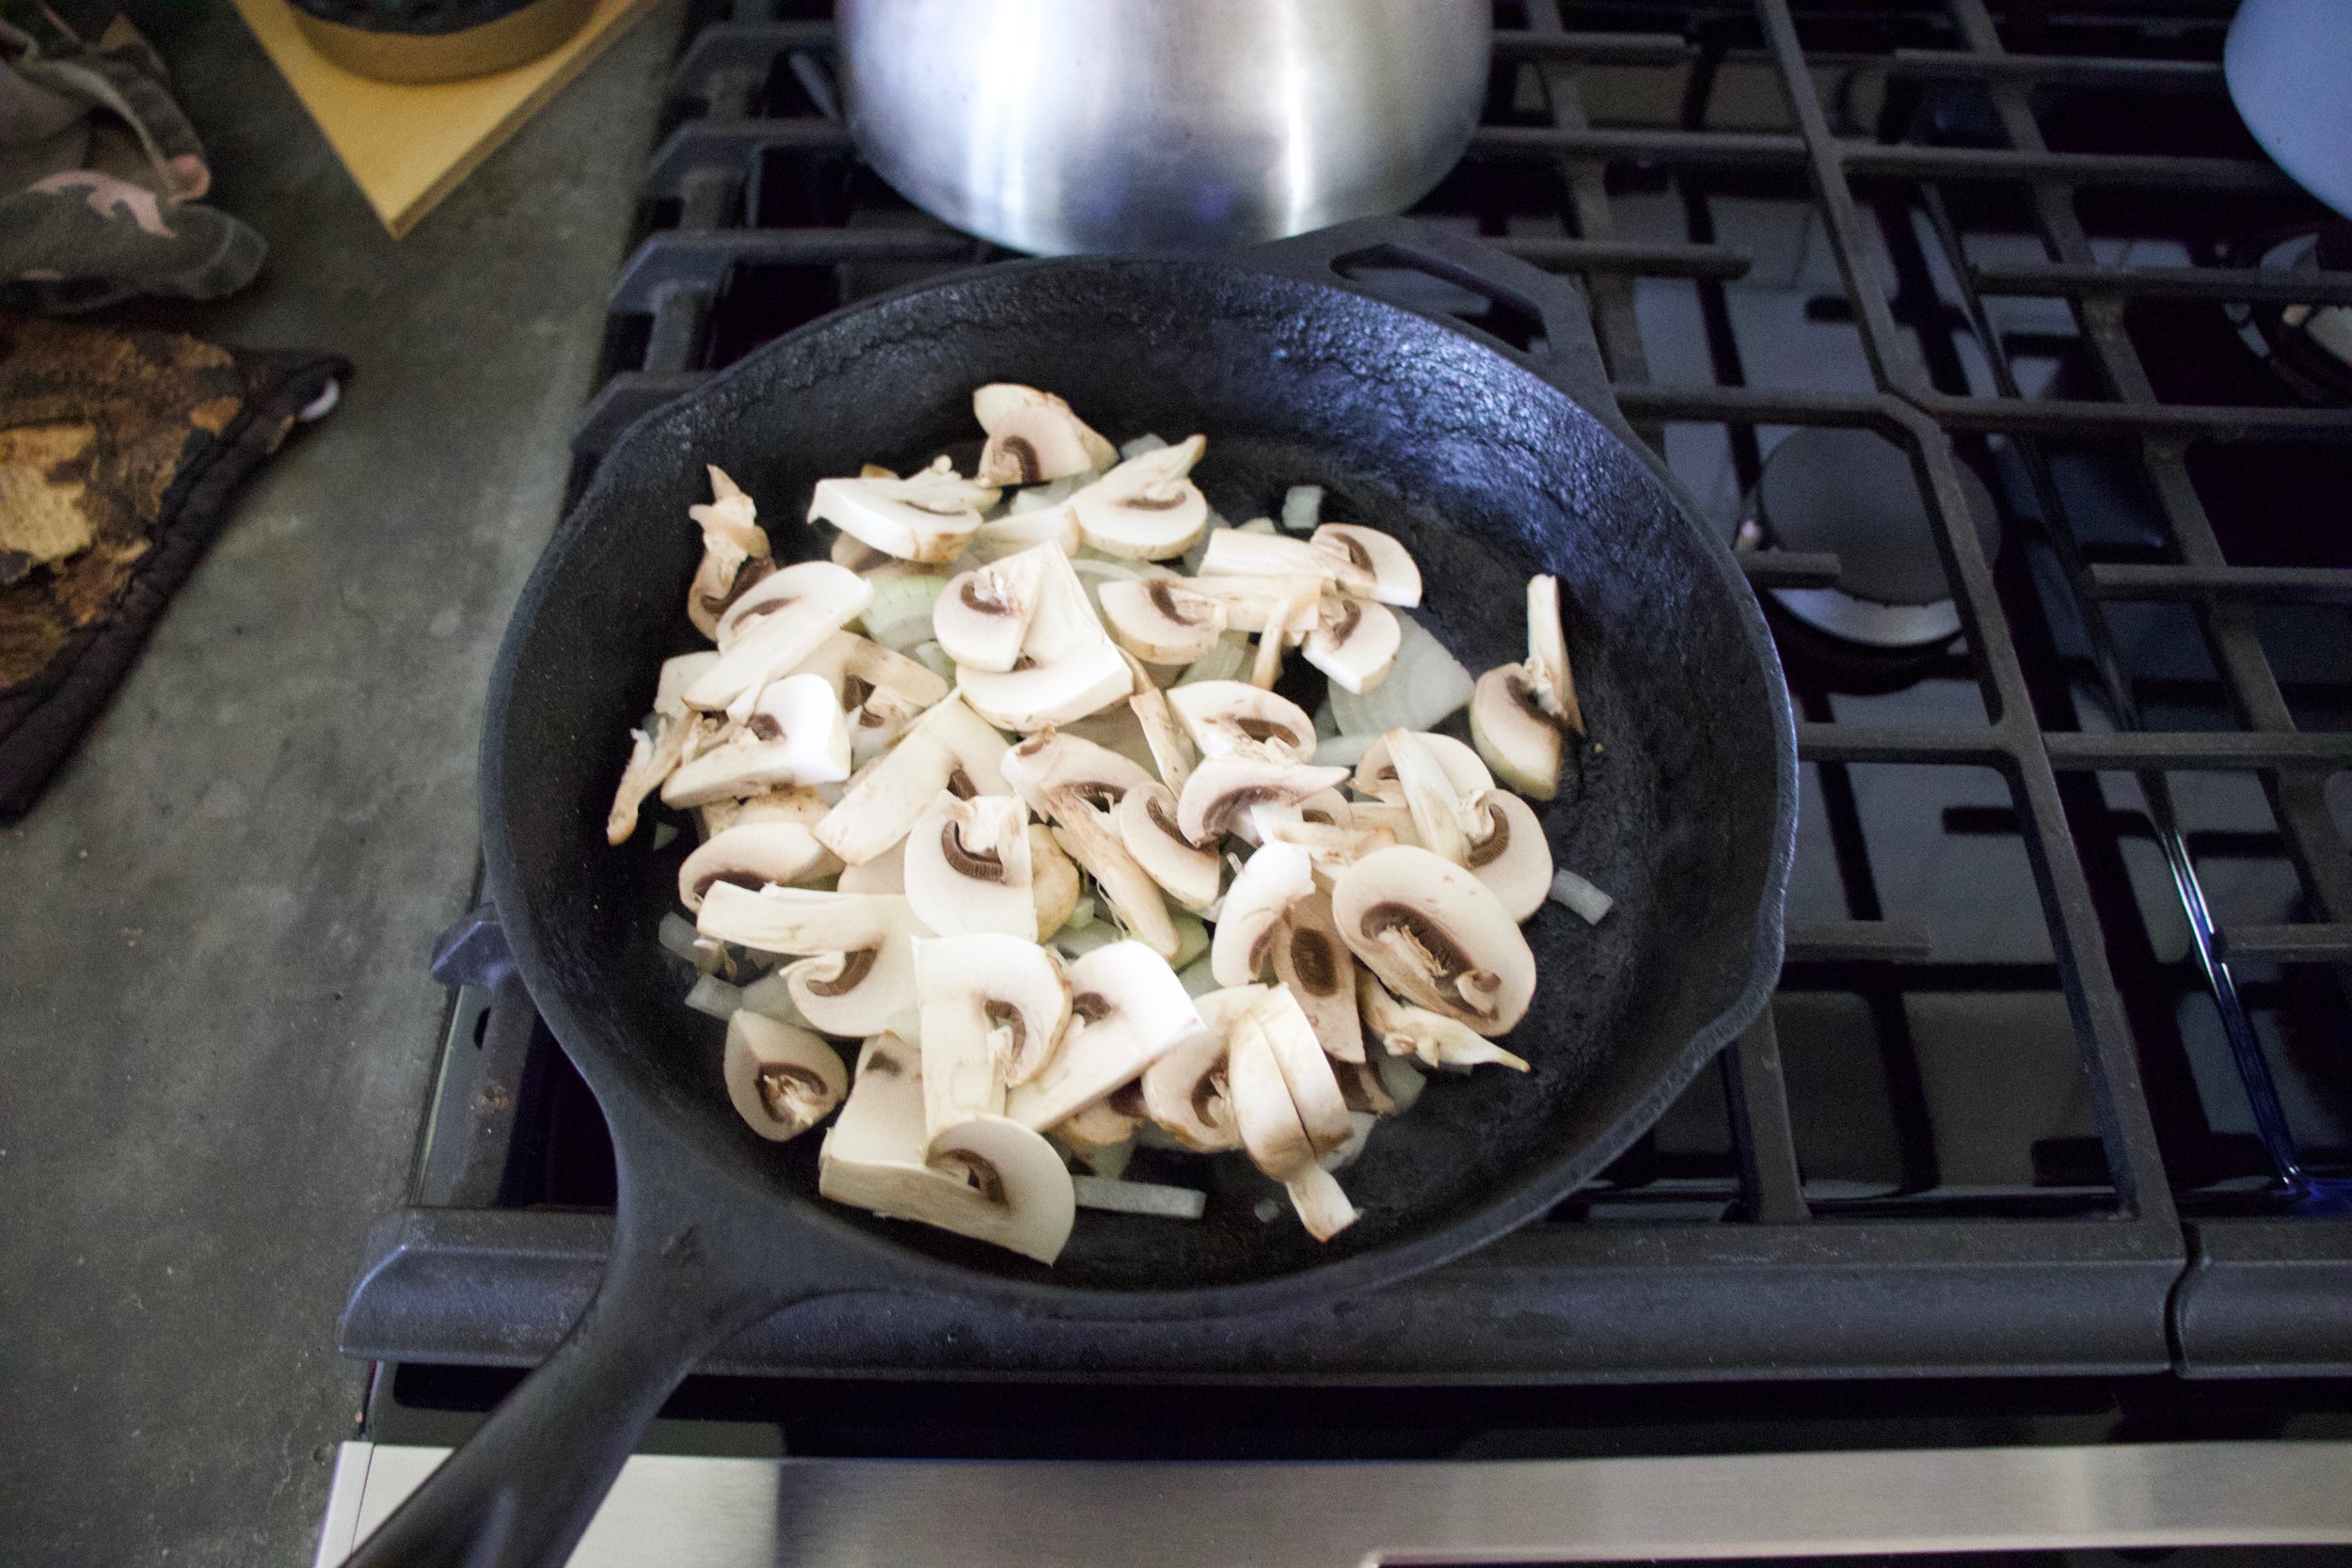
Grab the onion and cut into 1/4 inch rounds too.

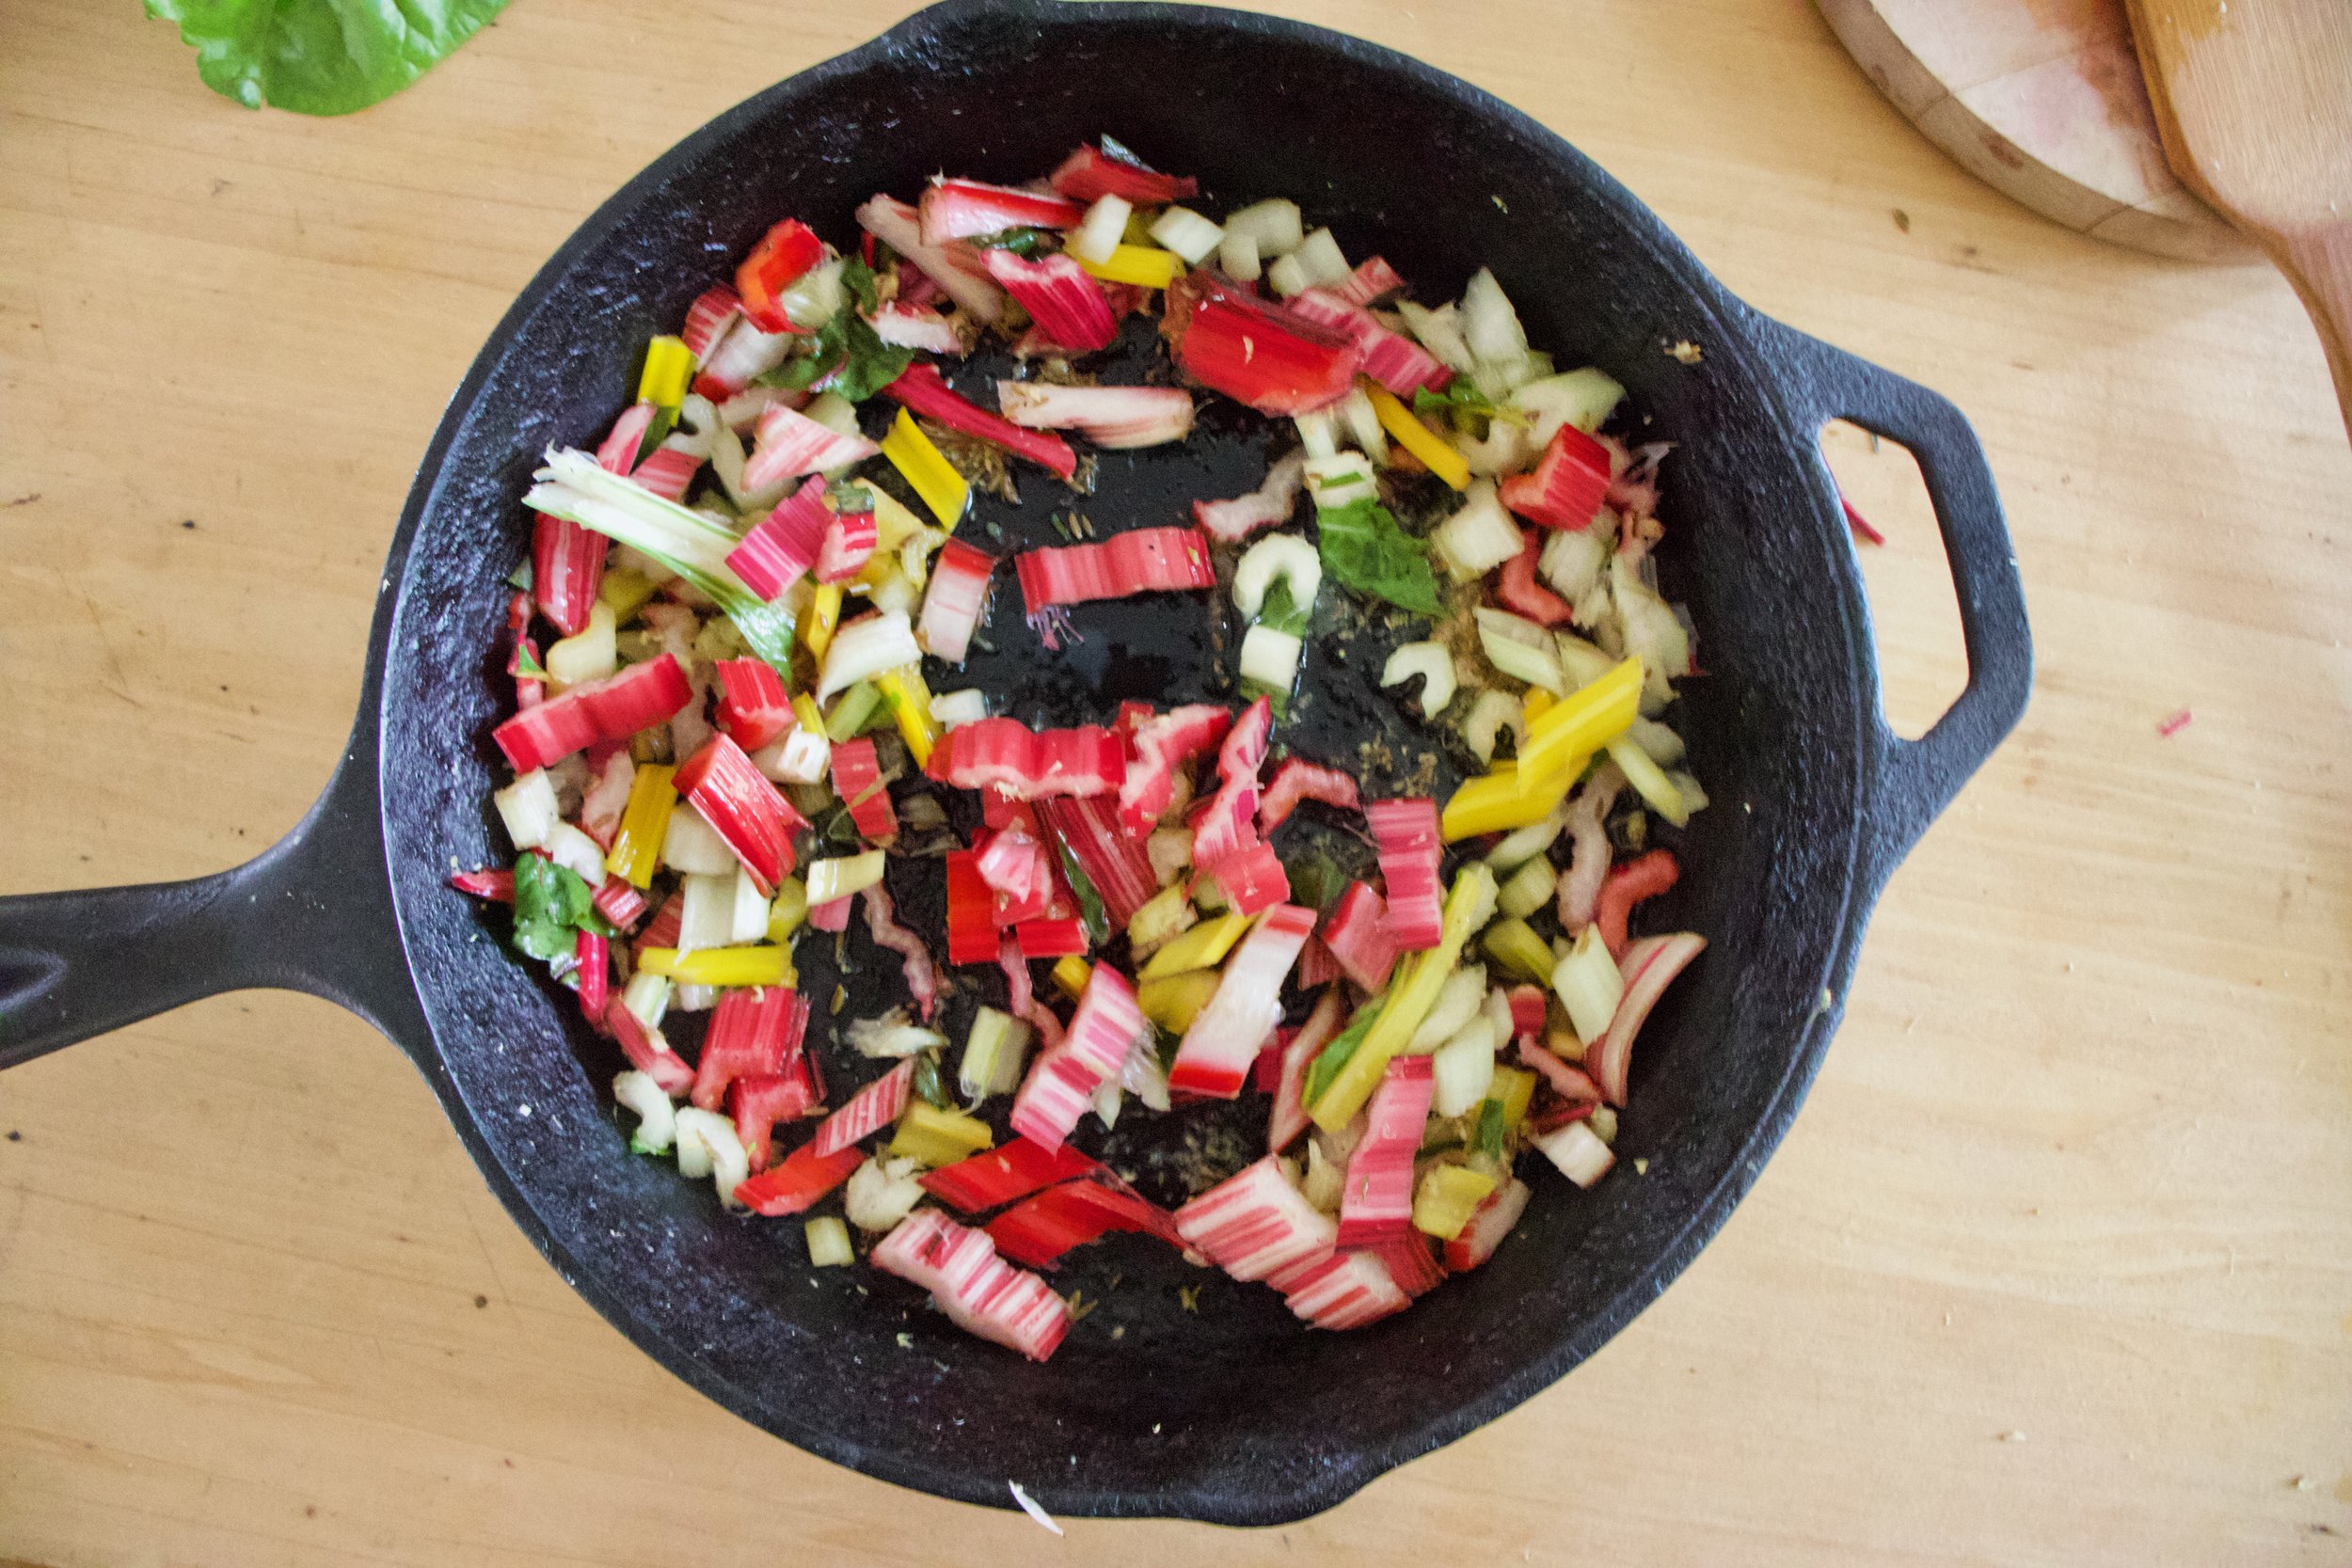
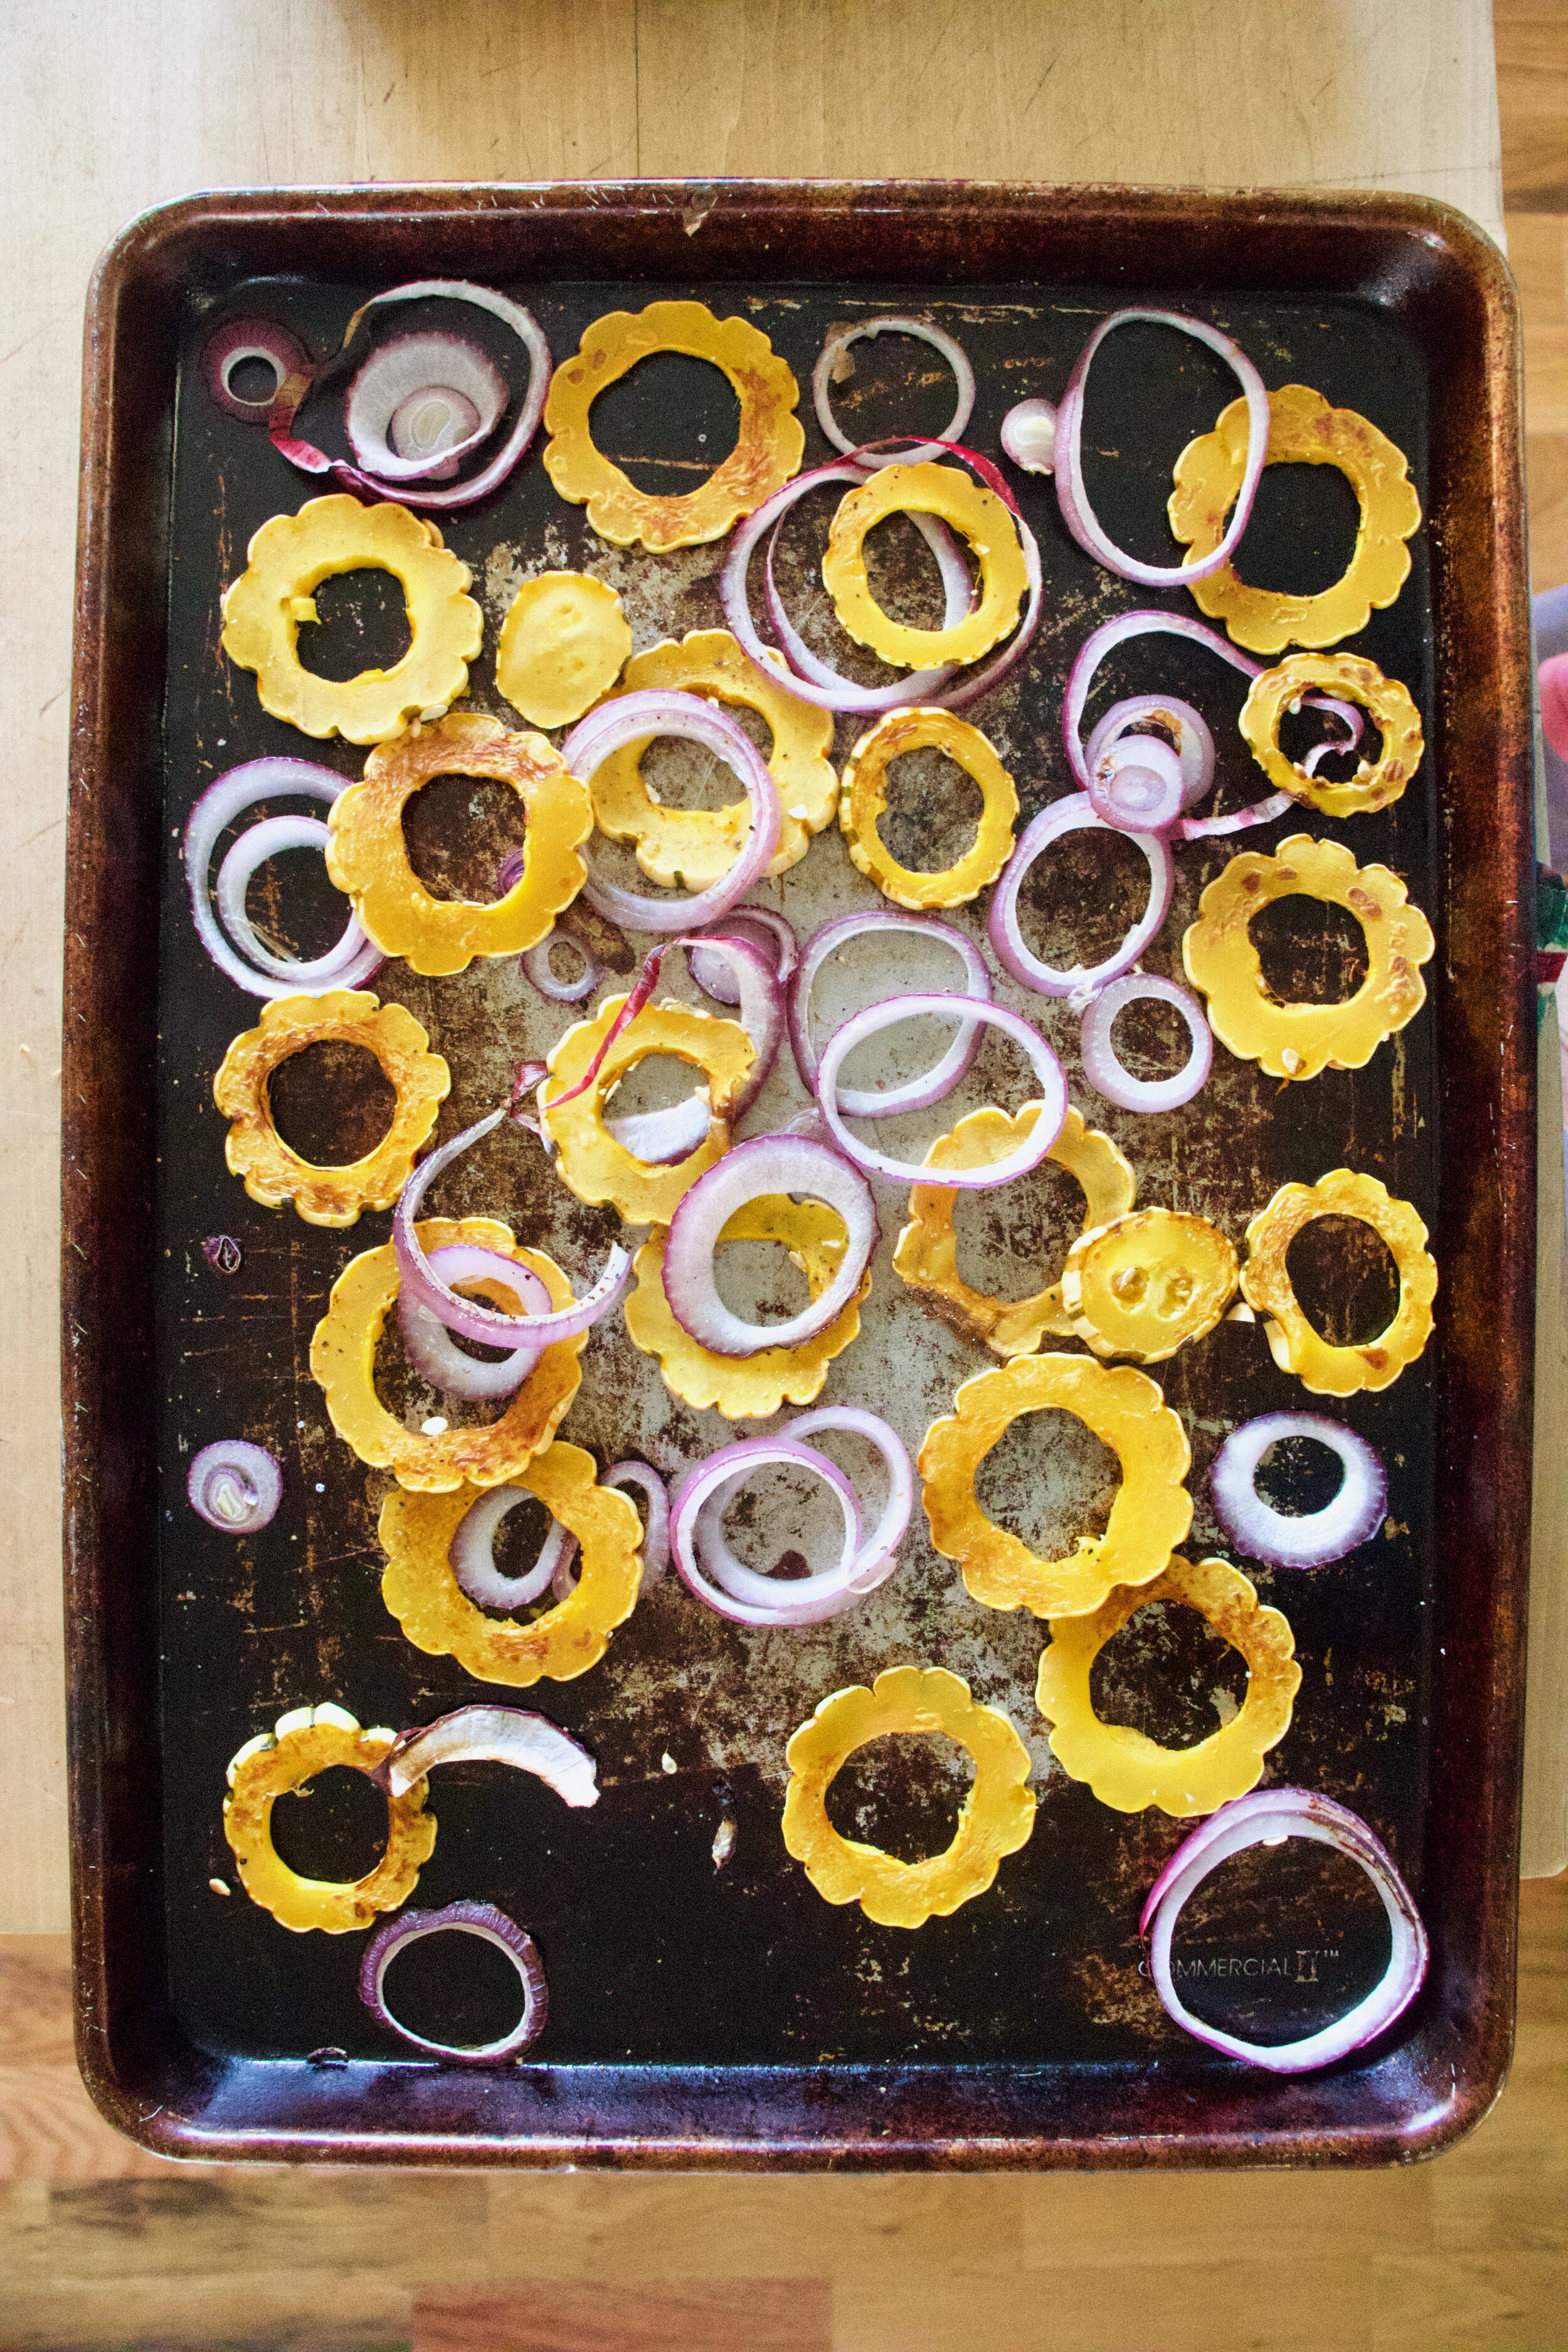
Place the squash on a very lightly oiled baking sheet so the pieces are not overlapping each other. Then toss on the onion which is fine if it overlaps. Sprinkle with a pinch of salt and lots of cracked pepper and pop into a hot oven.

IMG_3494 2.jpg
IMG_3501.jpg

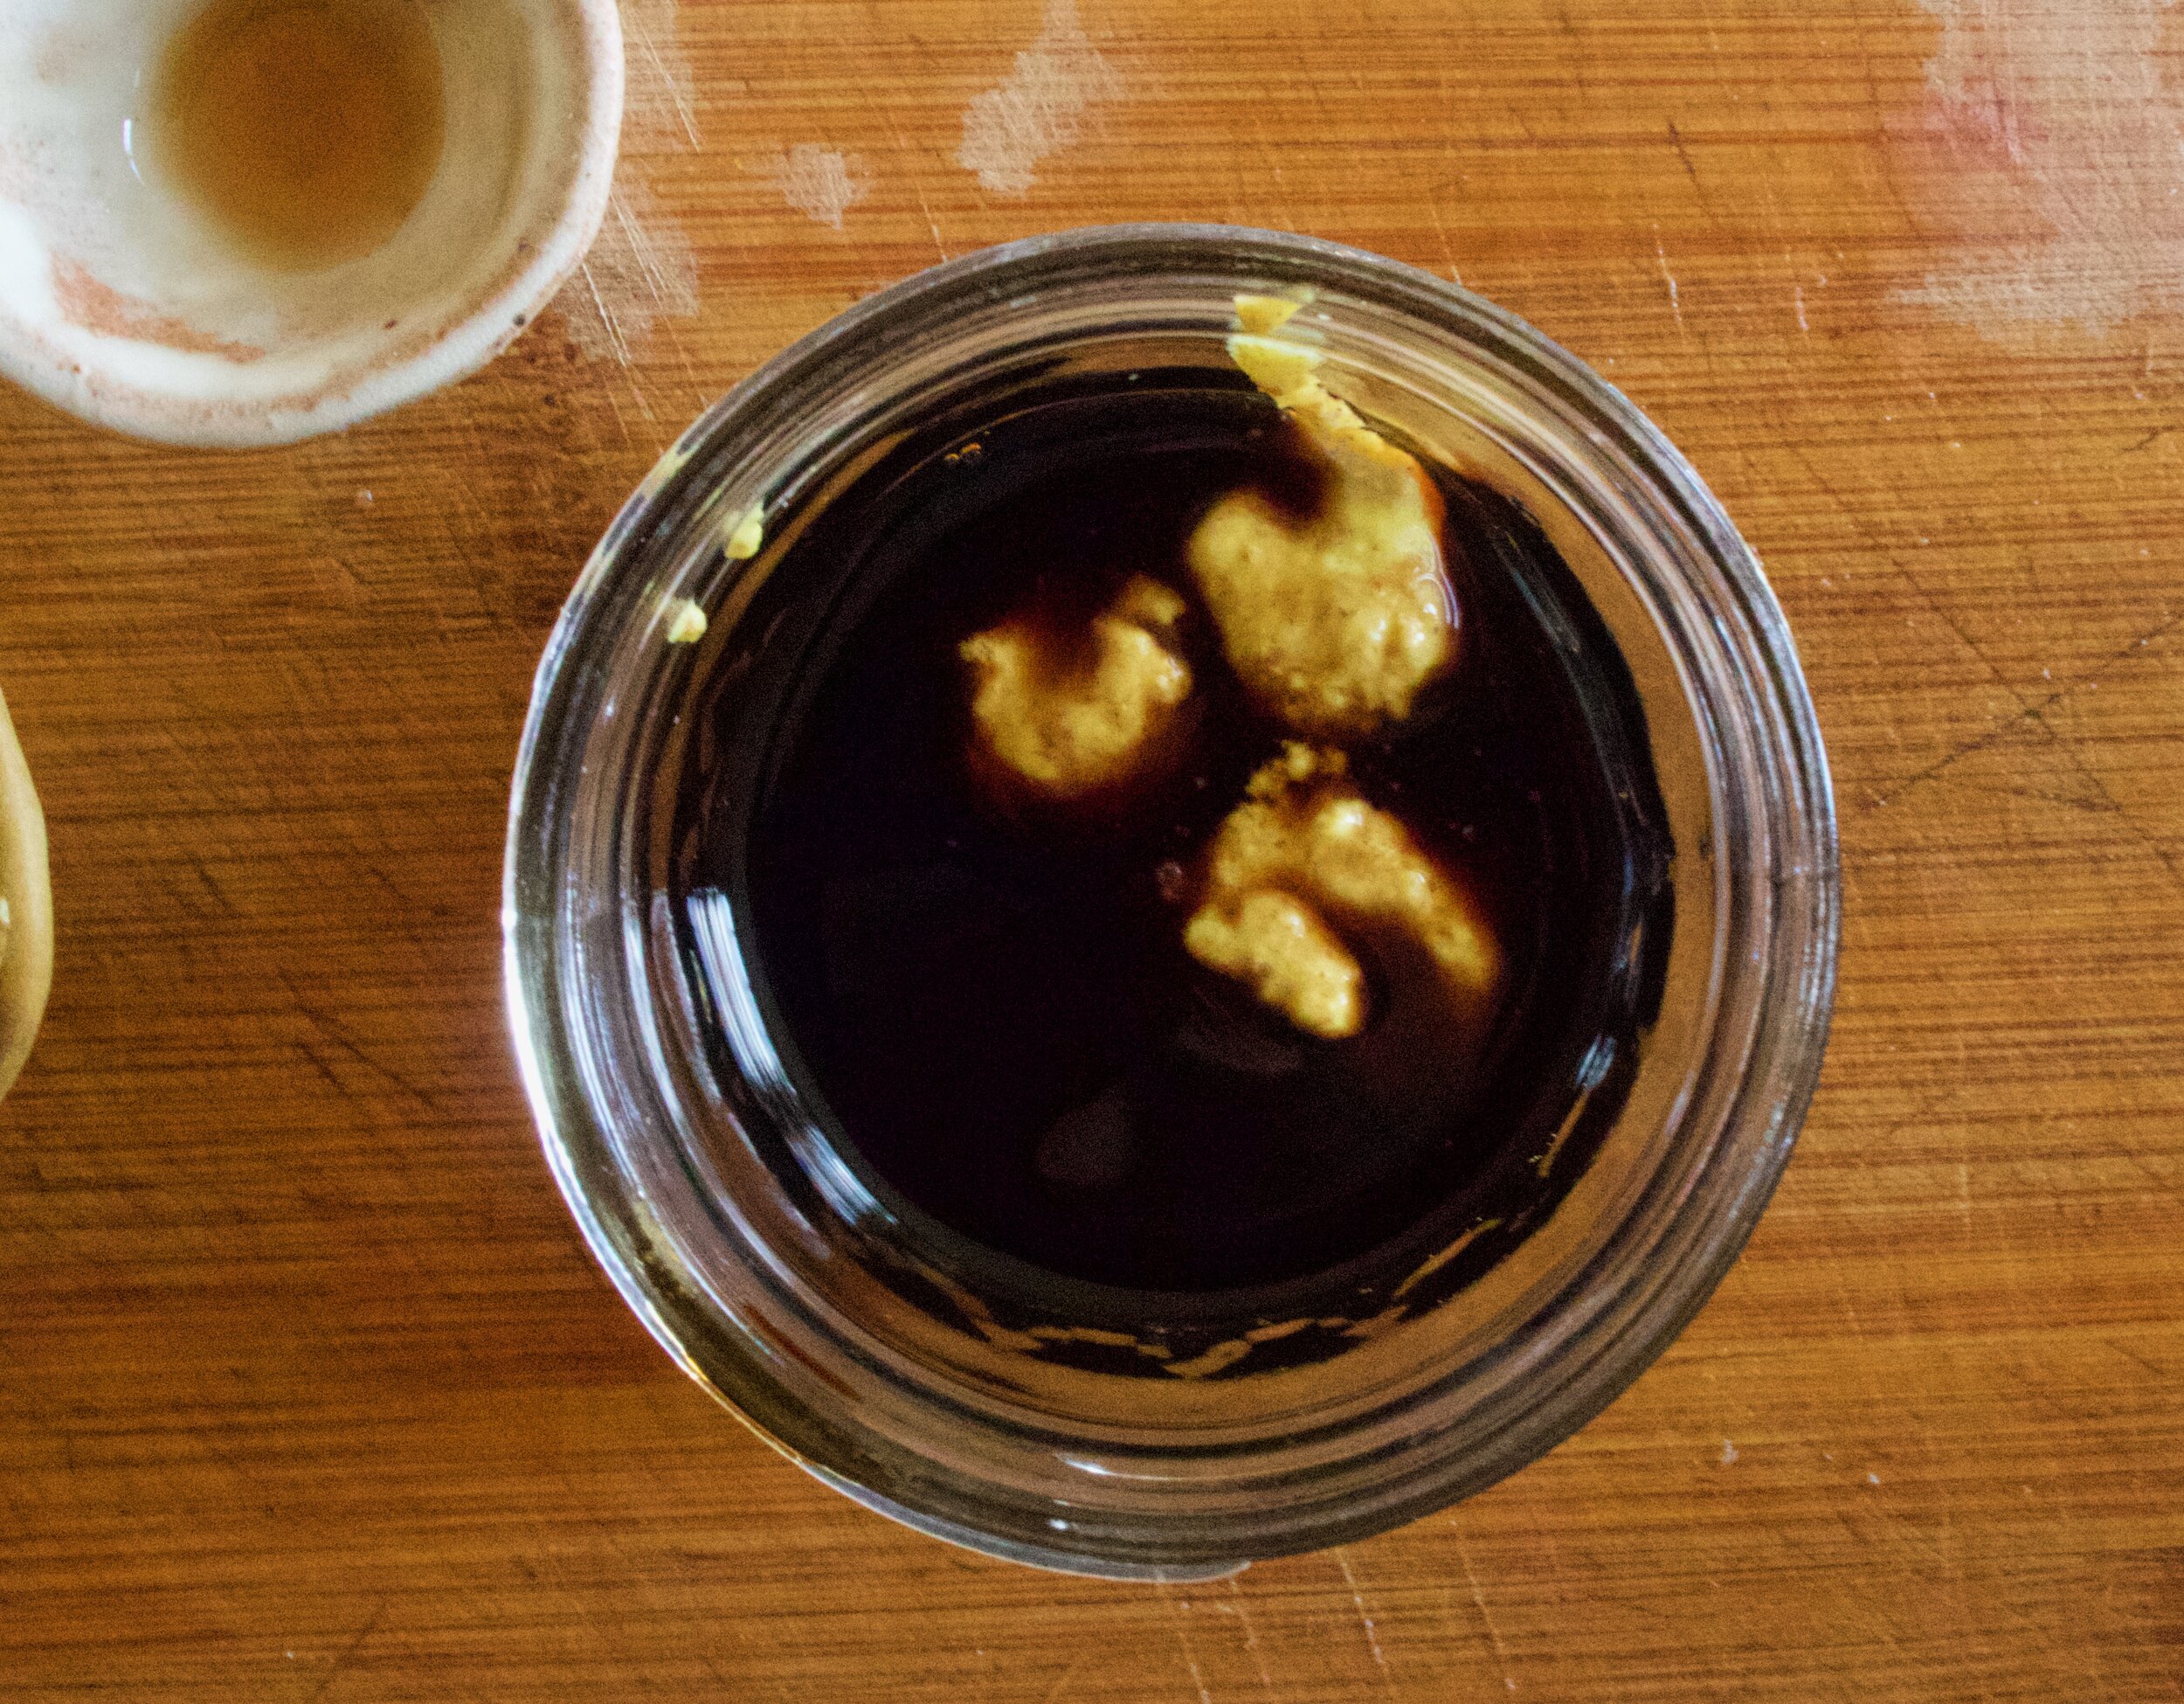
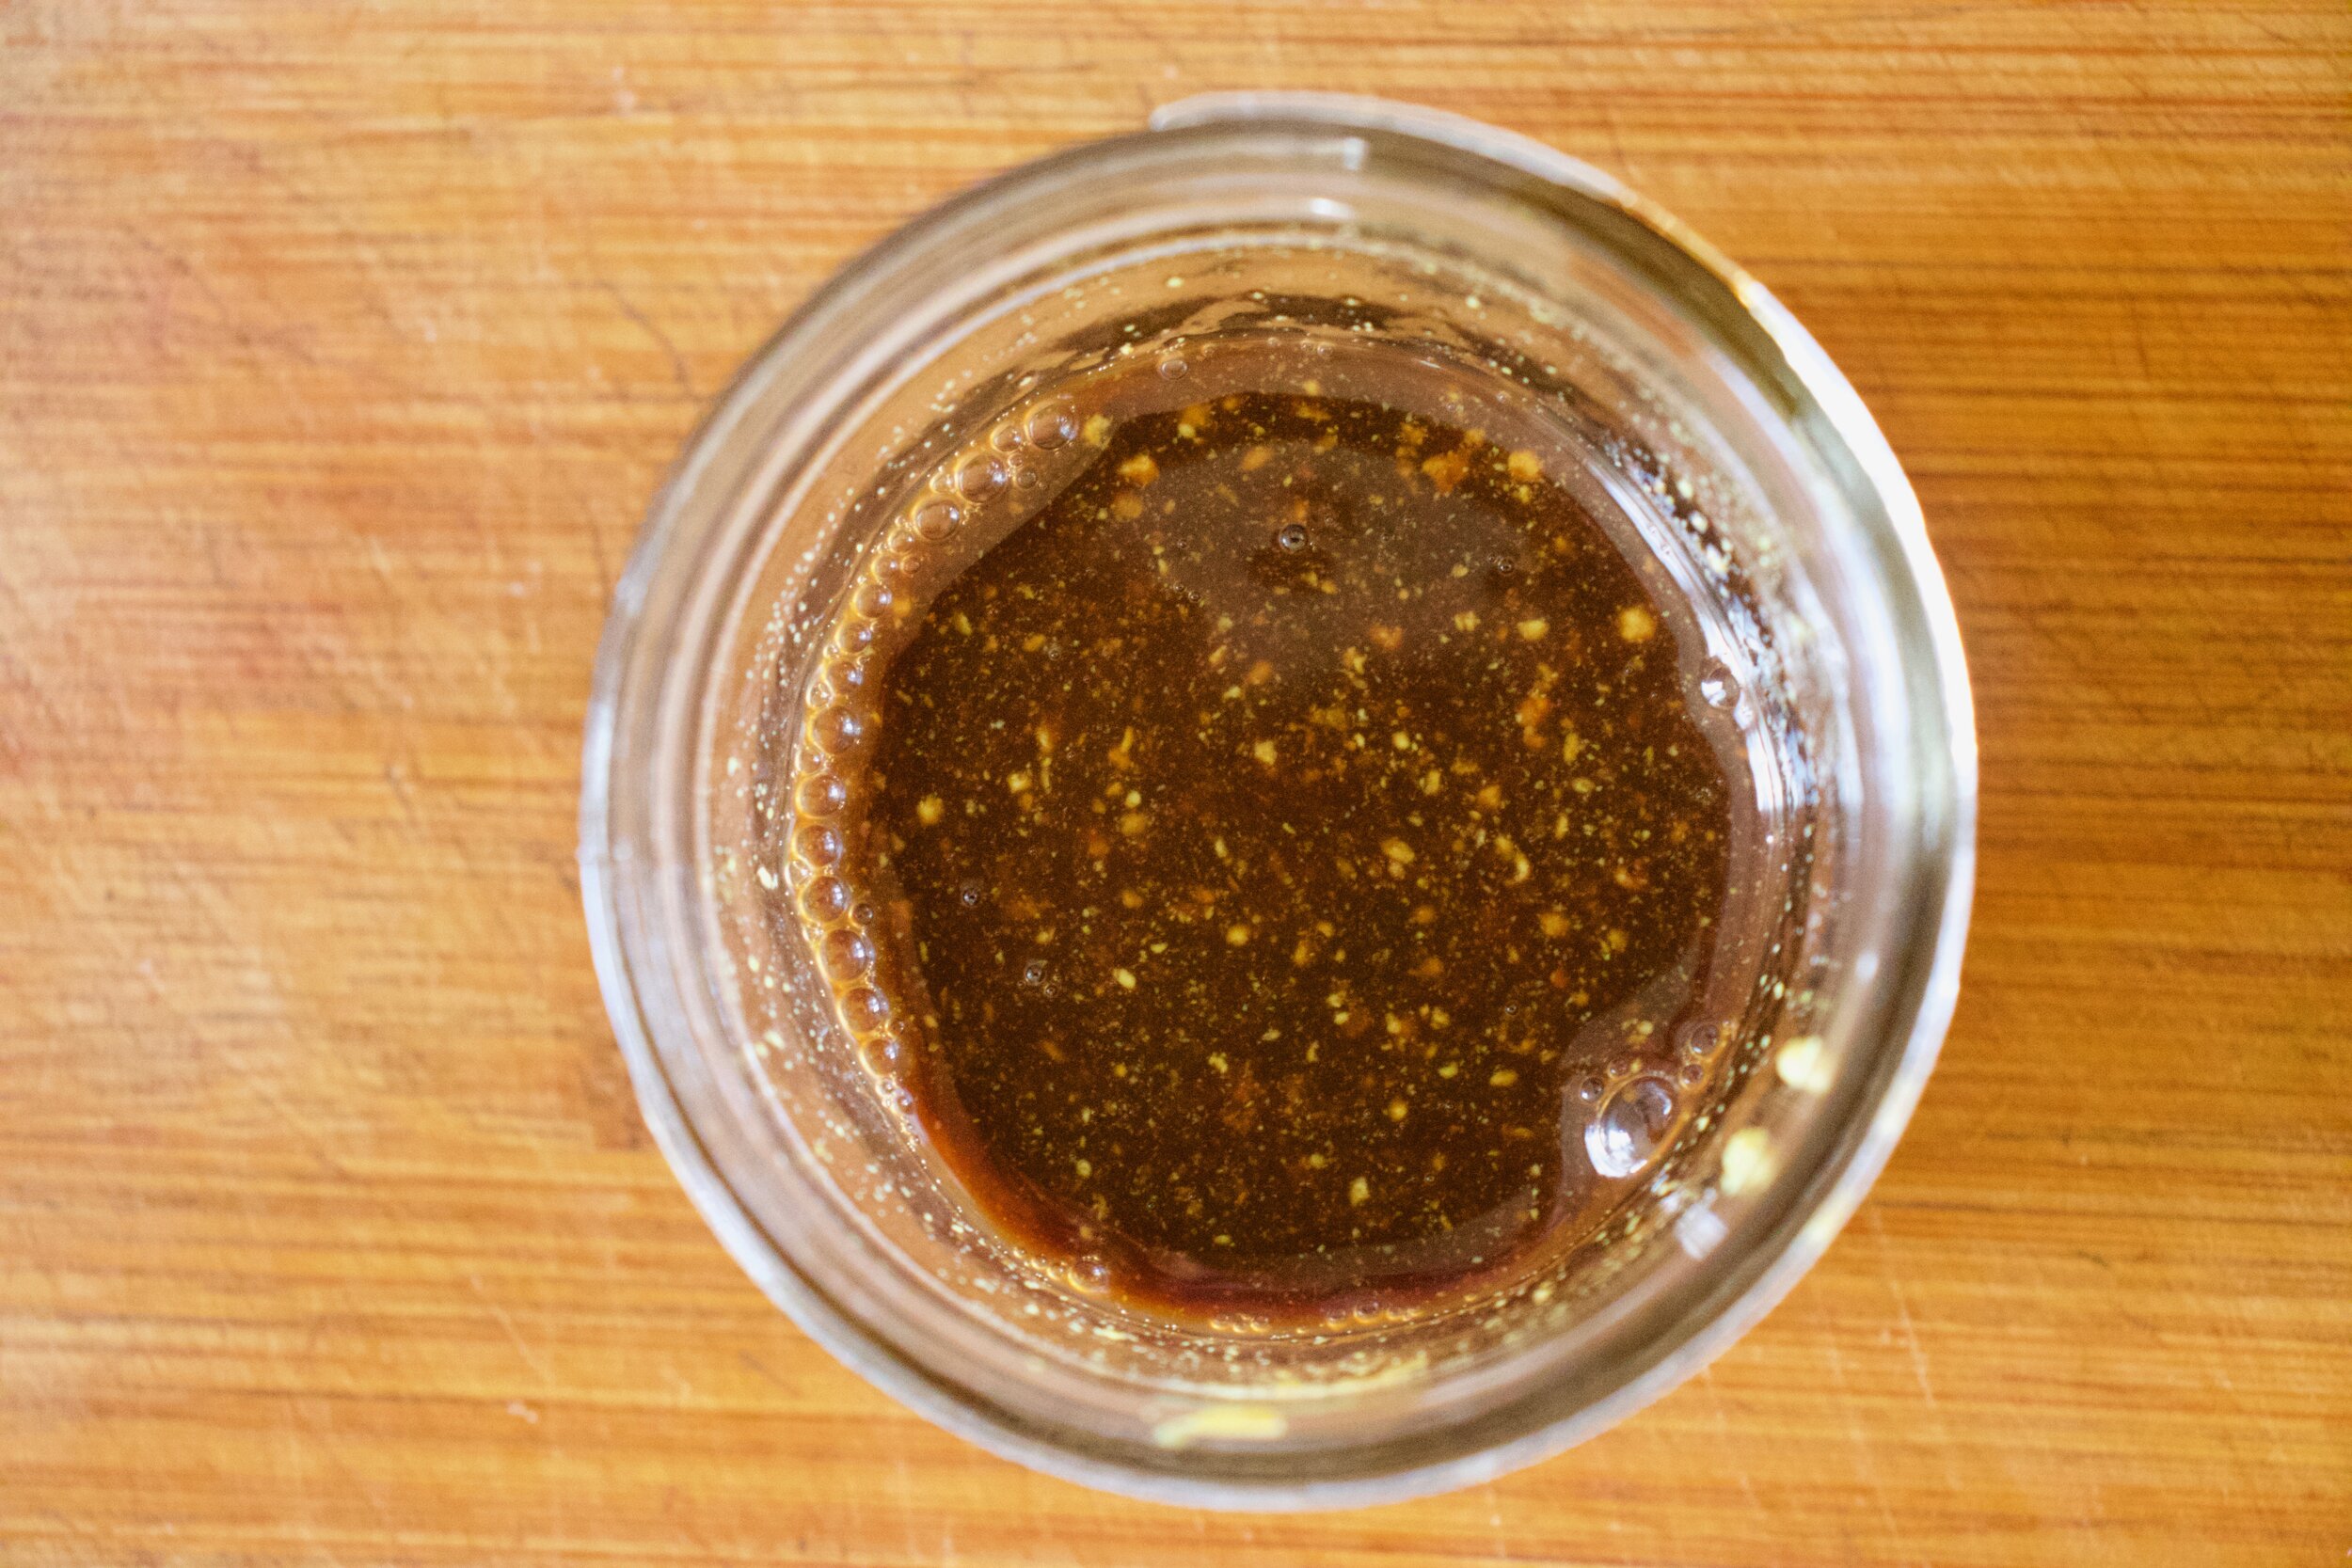
In the meantime, mix the dressing situation together. Mustard, maple, and balsamic in a jar, mix and done.

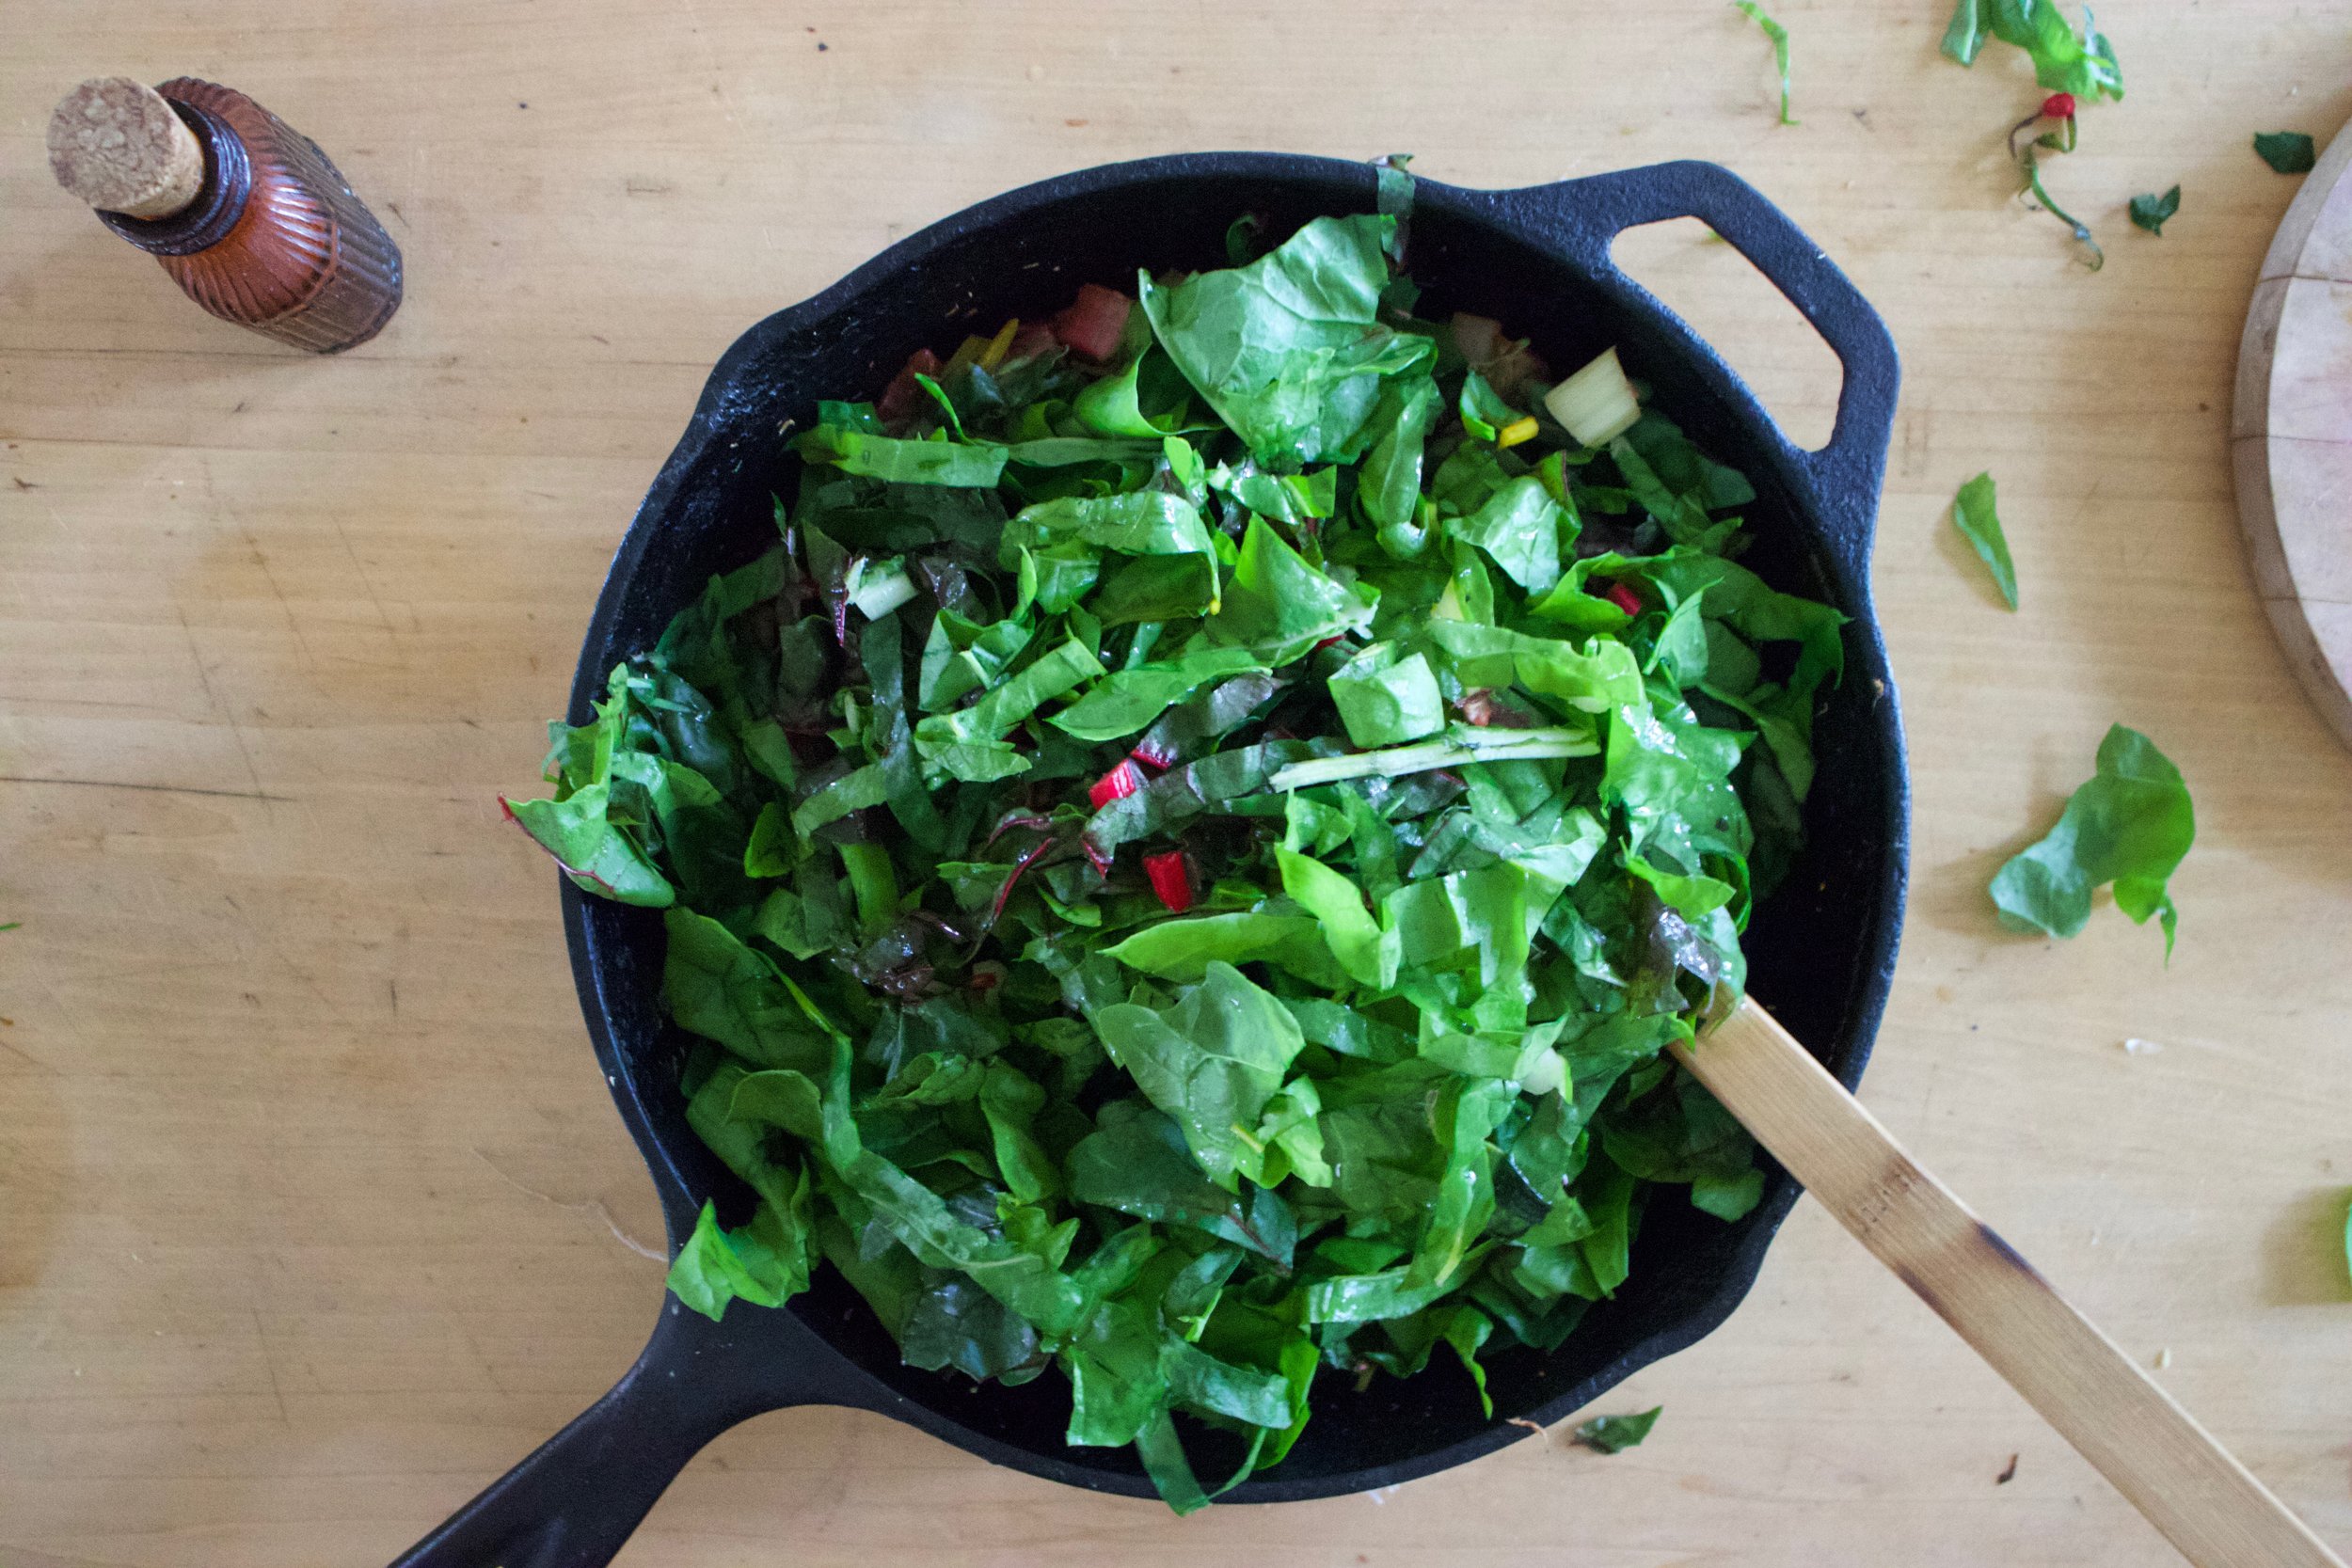
Chop the kale too. Into mouth sized pieces.

IMG_3515.jpg
IMG_3516 2.jpg

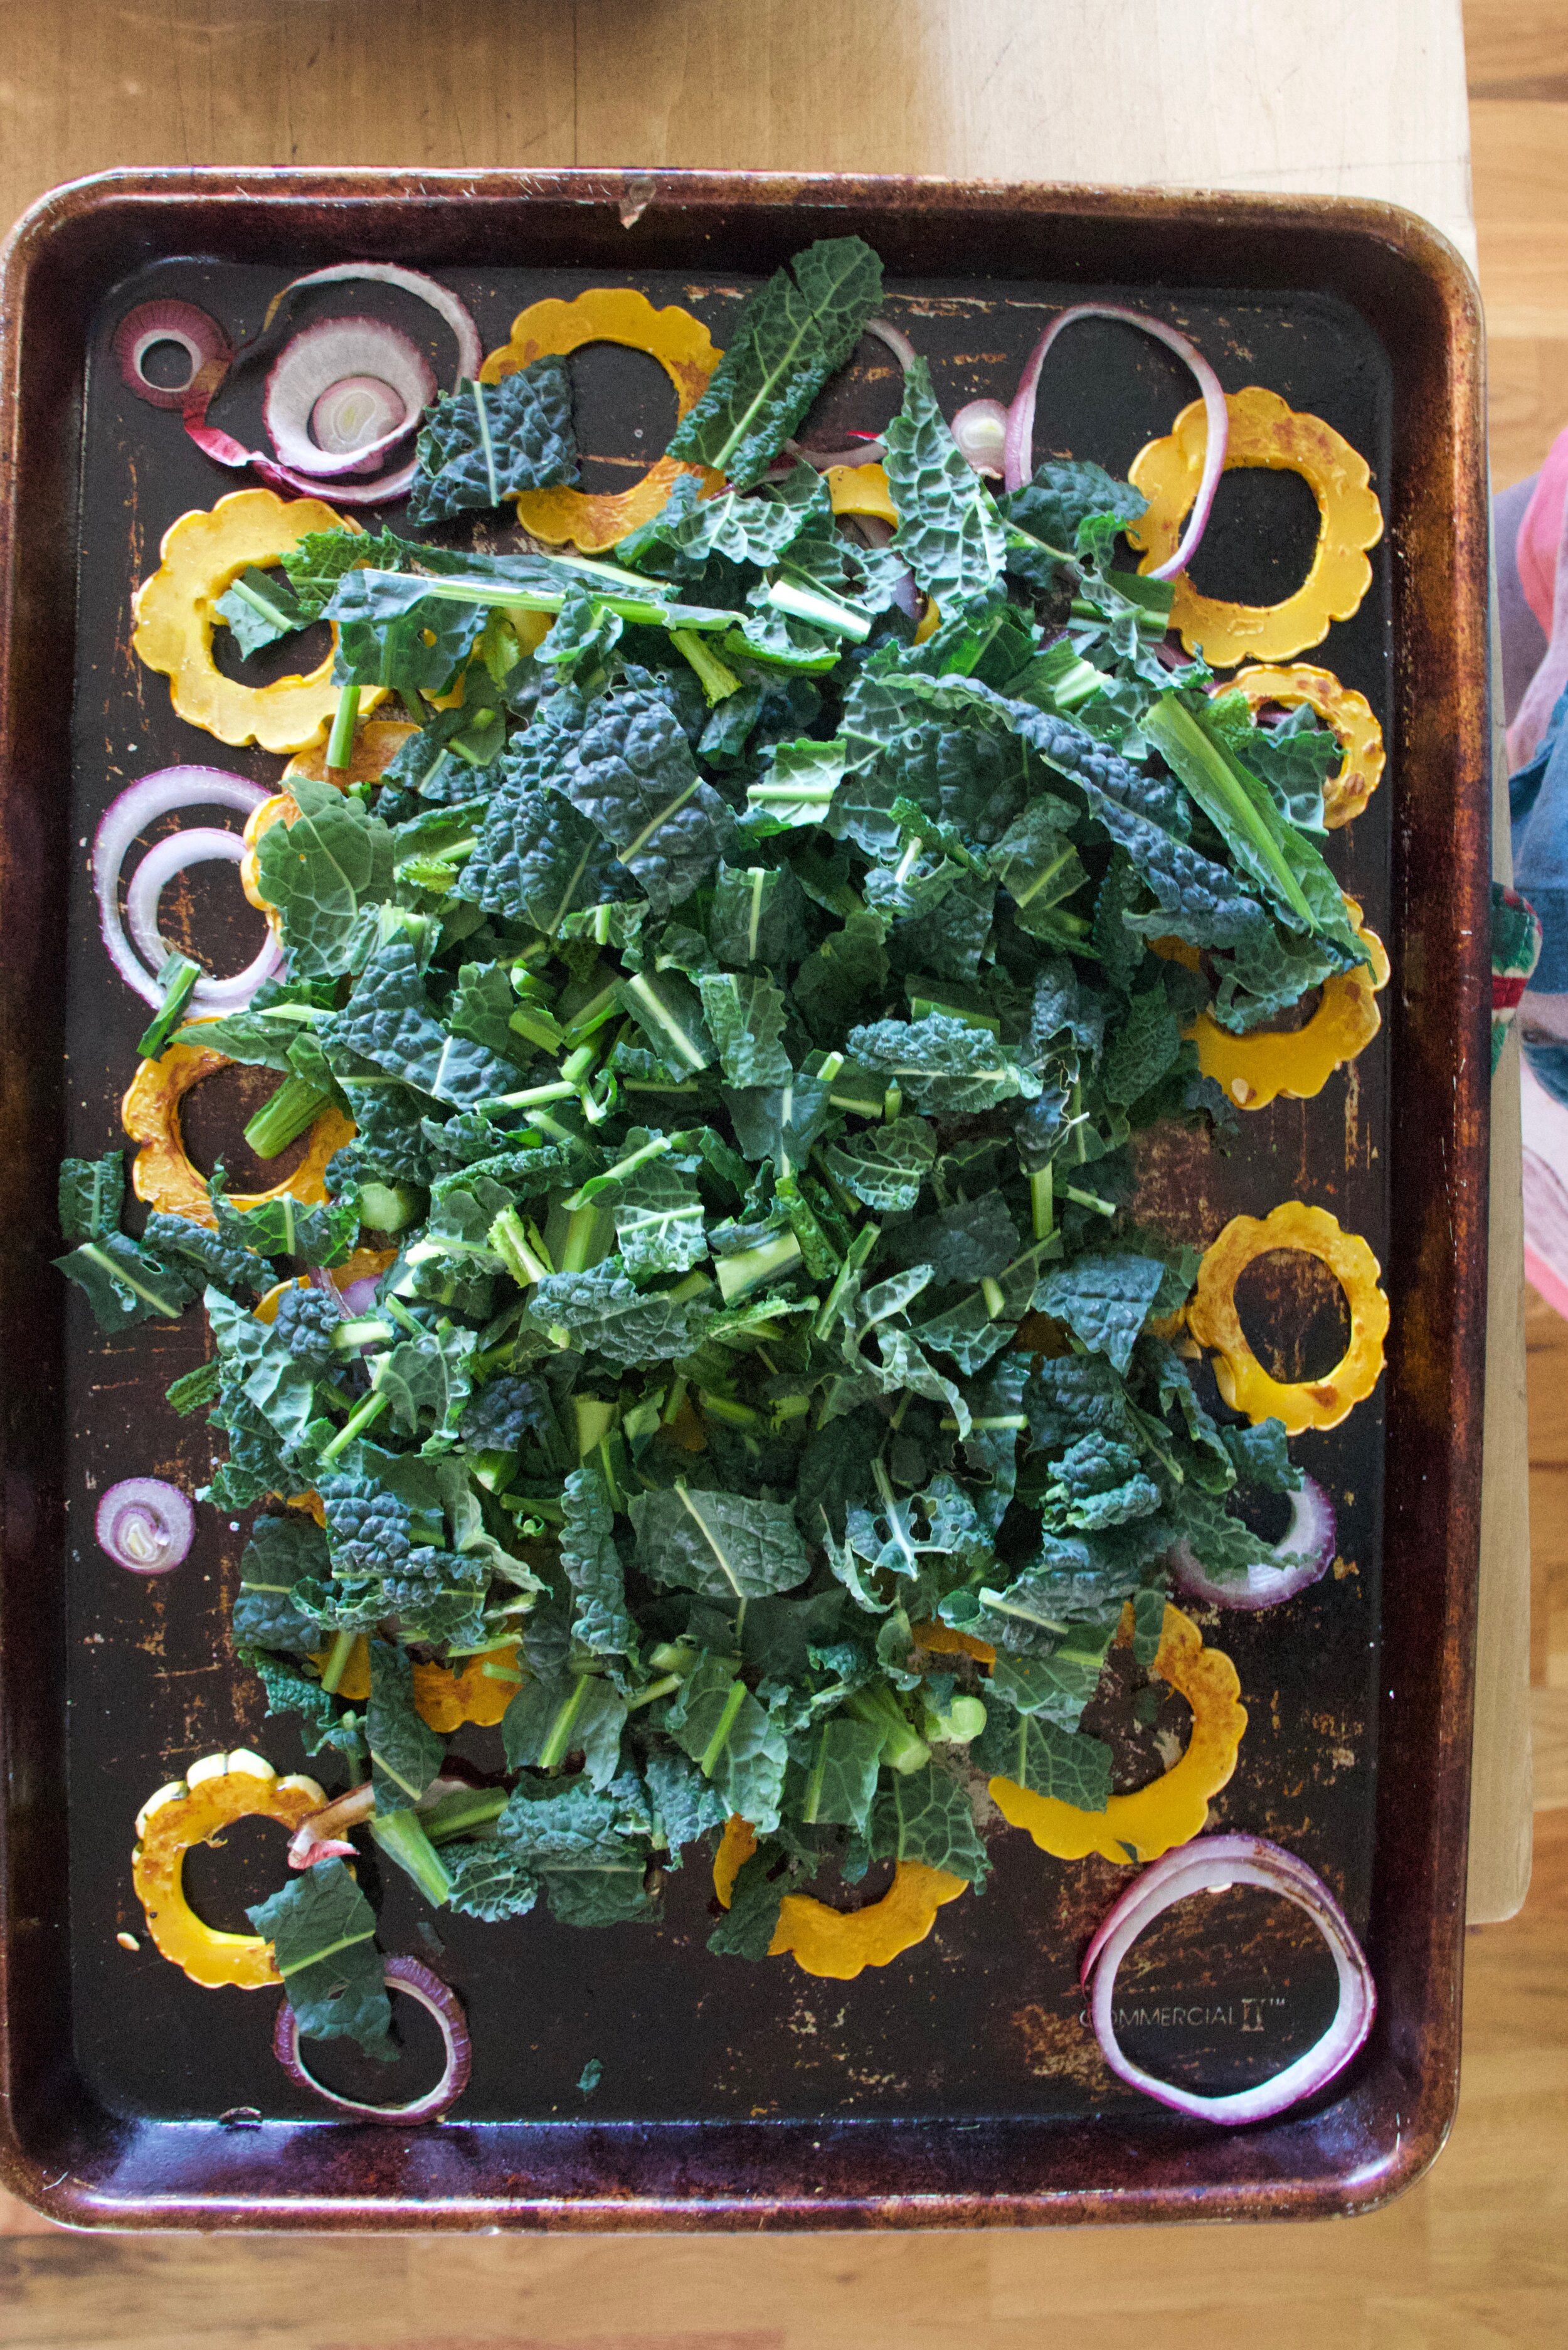
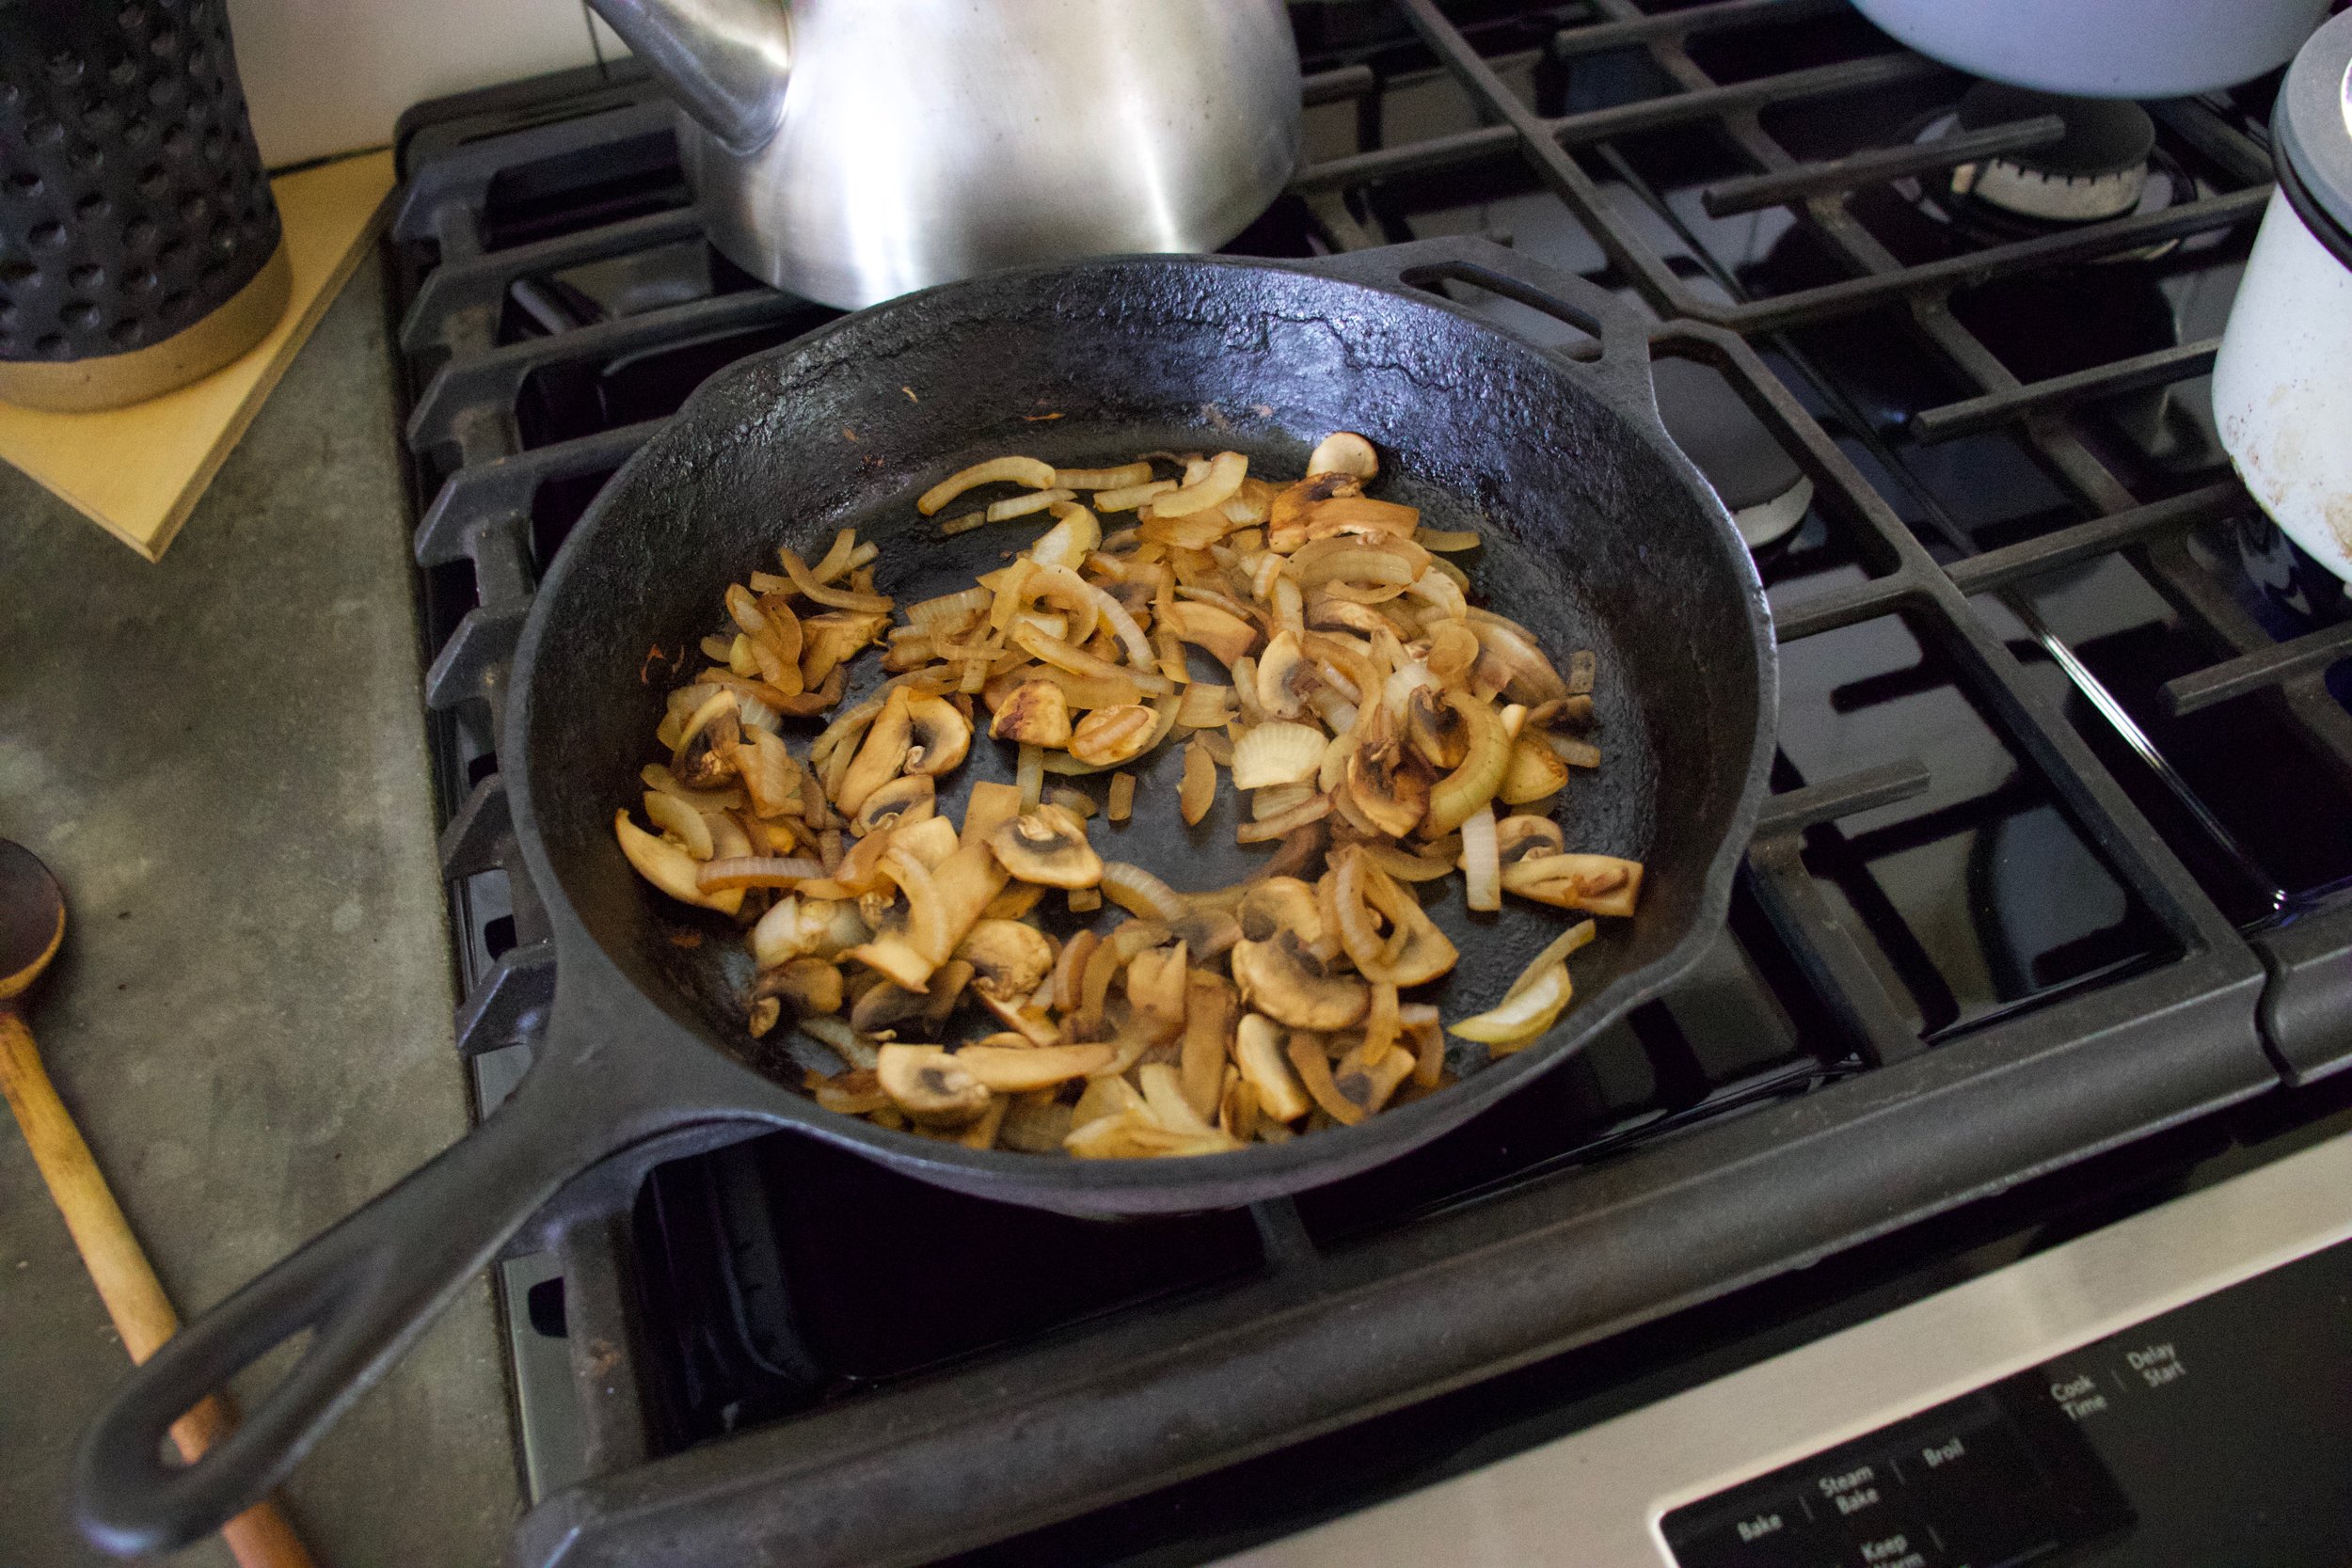
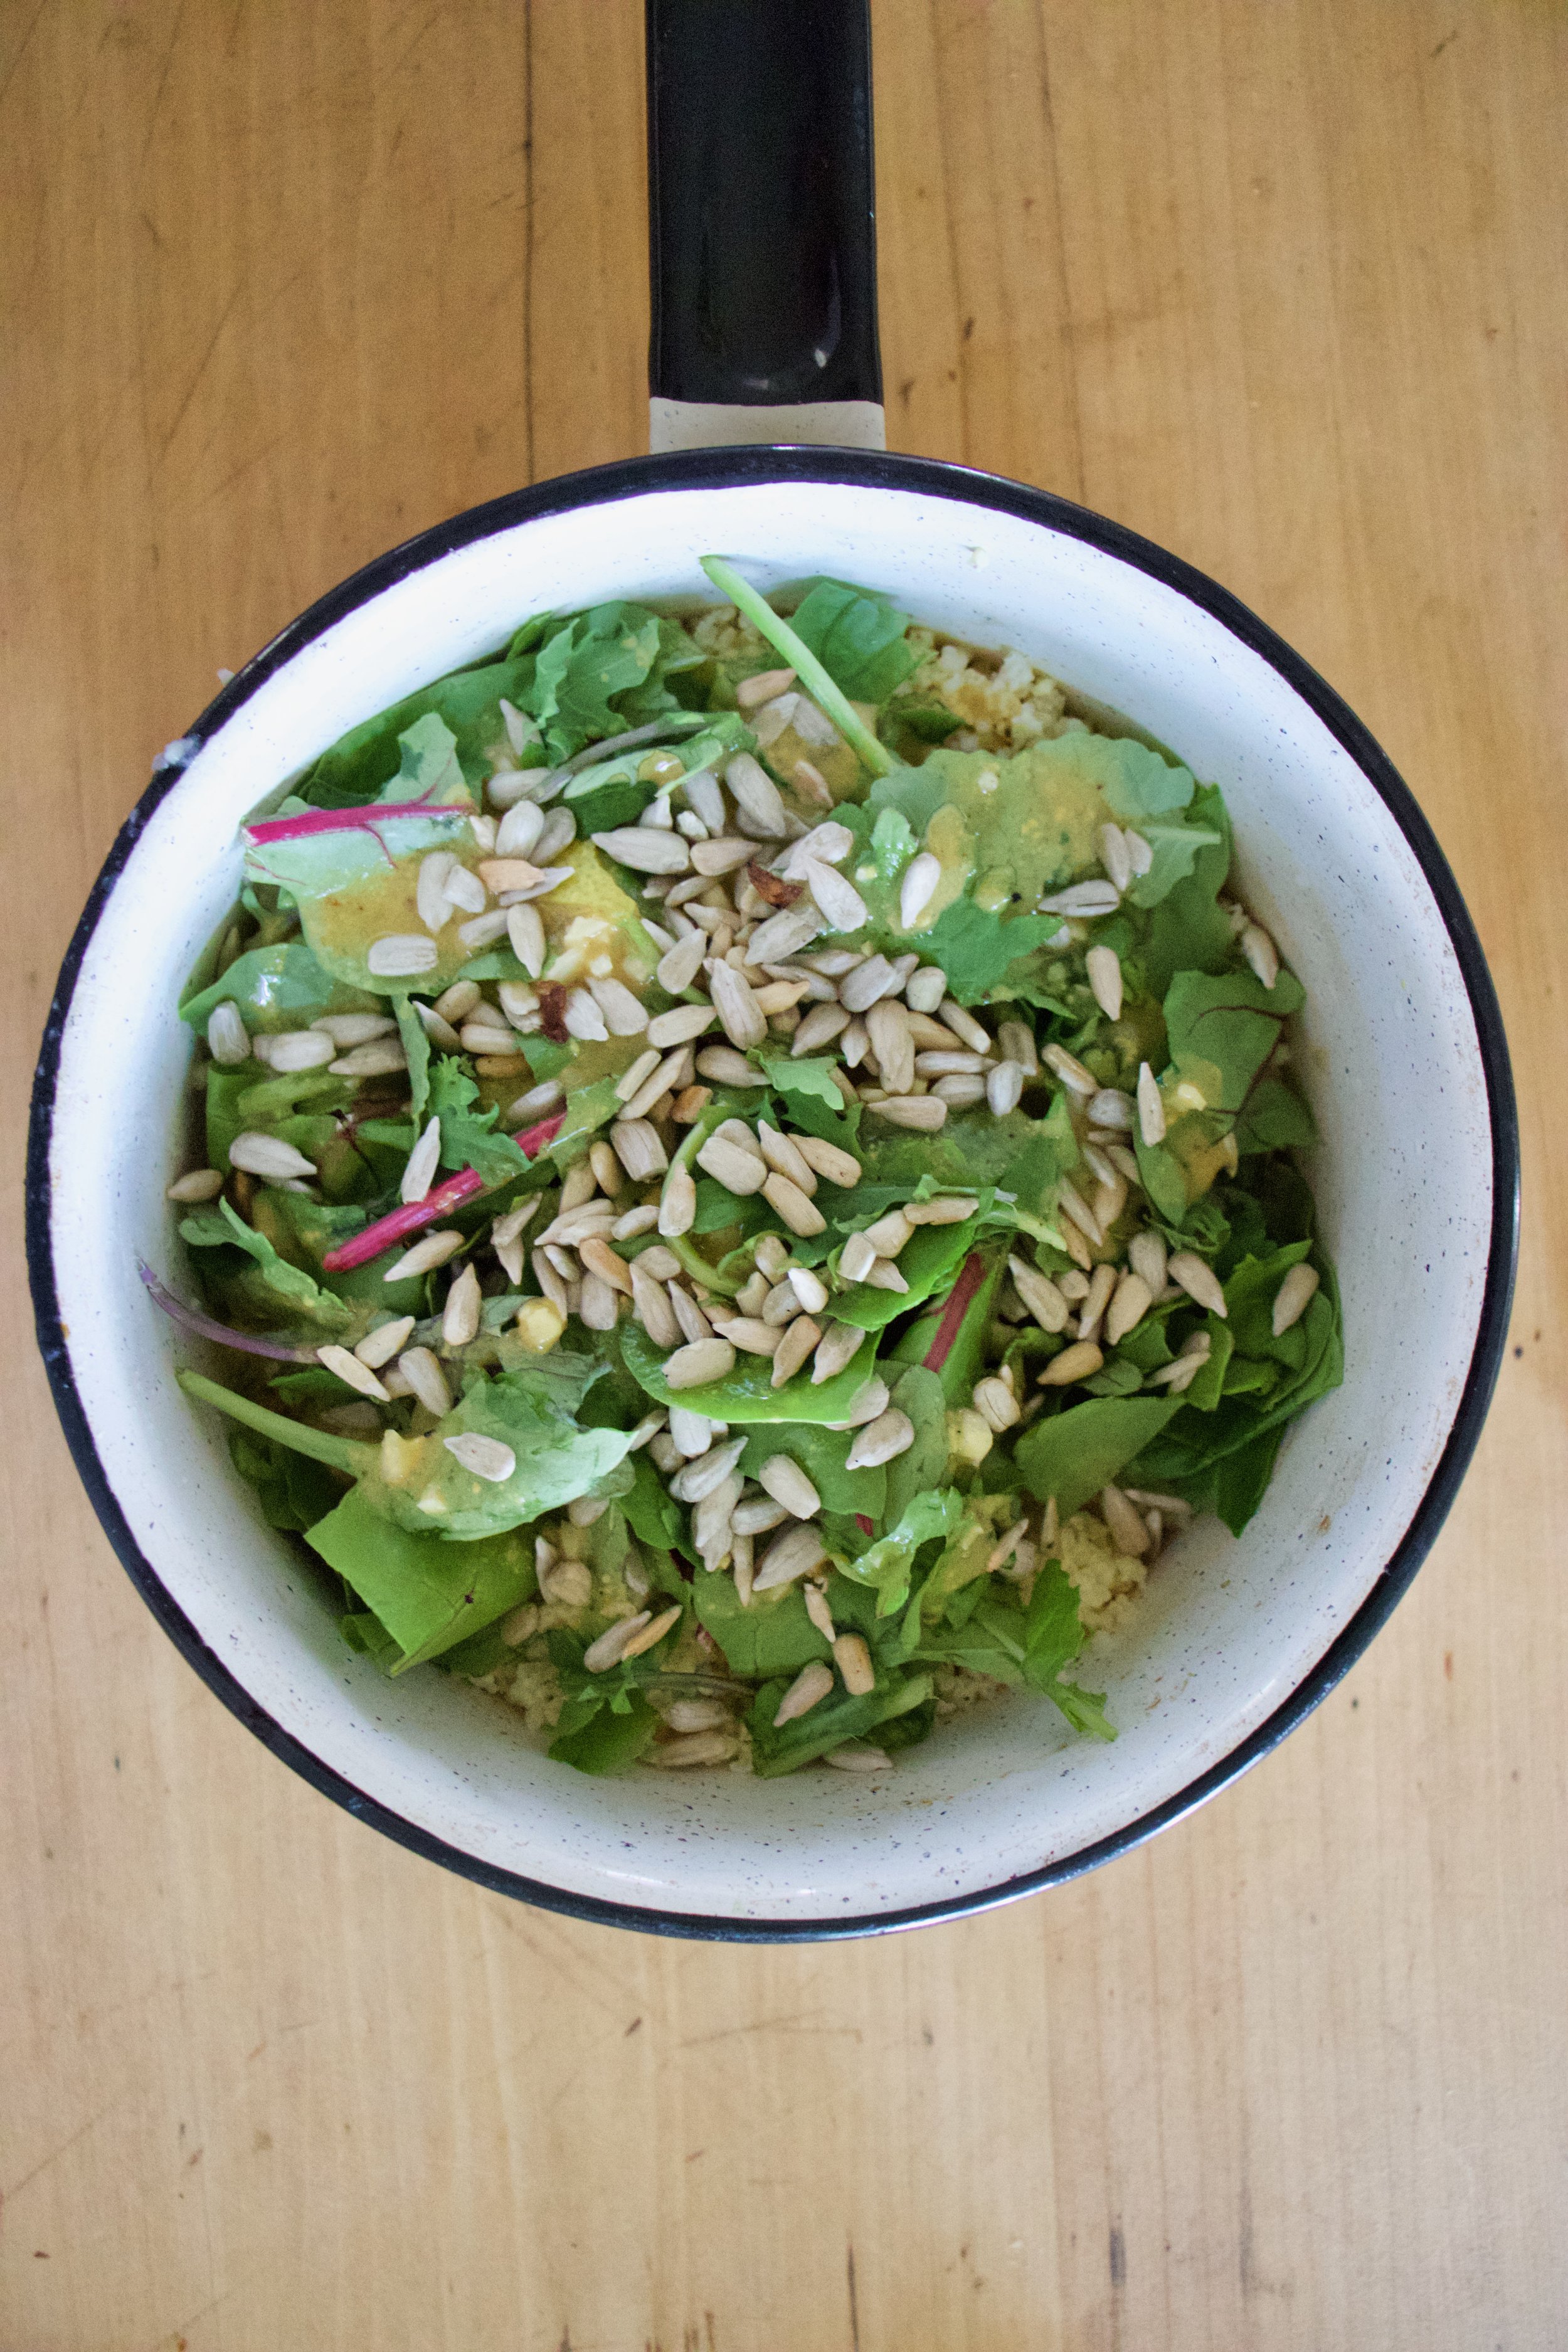
Once squash is cooked all nice and tender, remove pan from oven. Take all the kale and toss on top then take the dressing and drizzle it all over the kale. Pop the pan back into the oven for a minutes or two, just until the kale starts to ever so slightly wilt.

IMG_3536.jpg

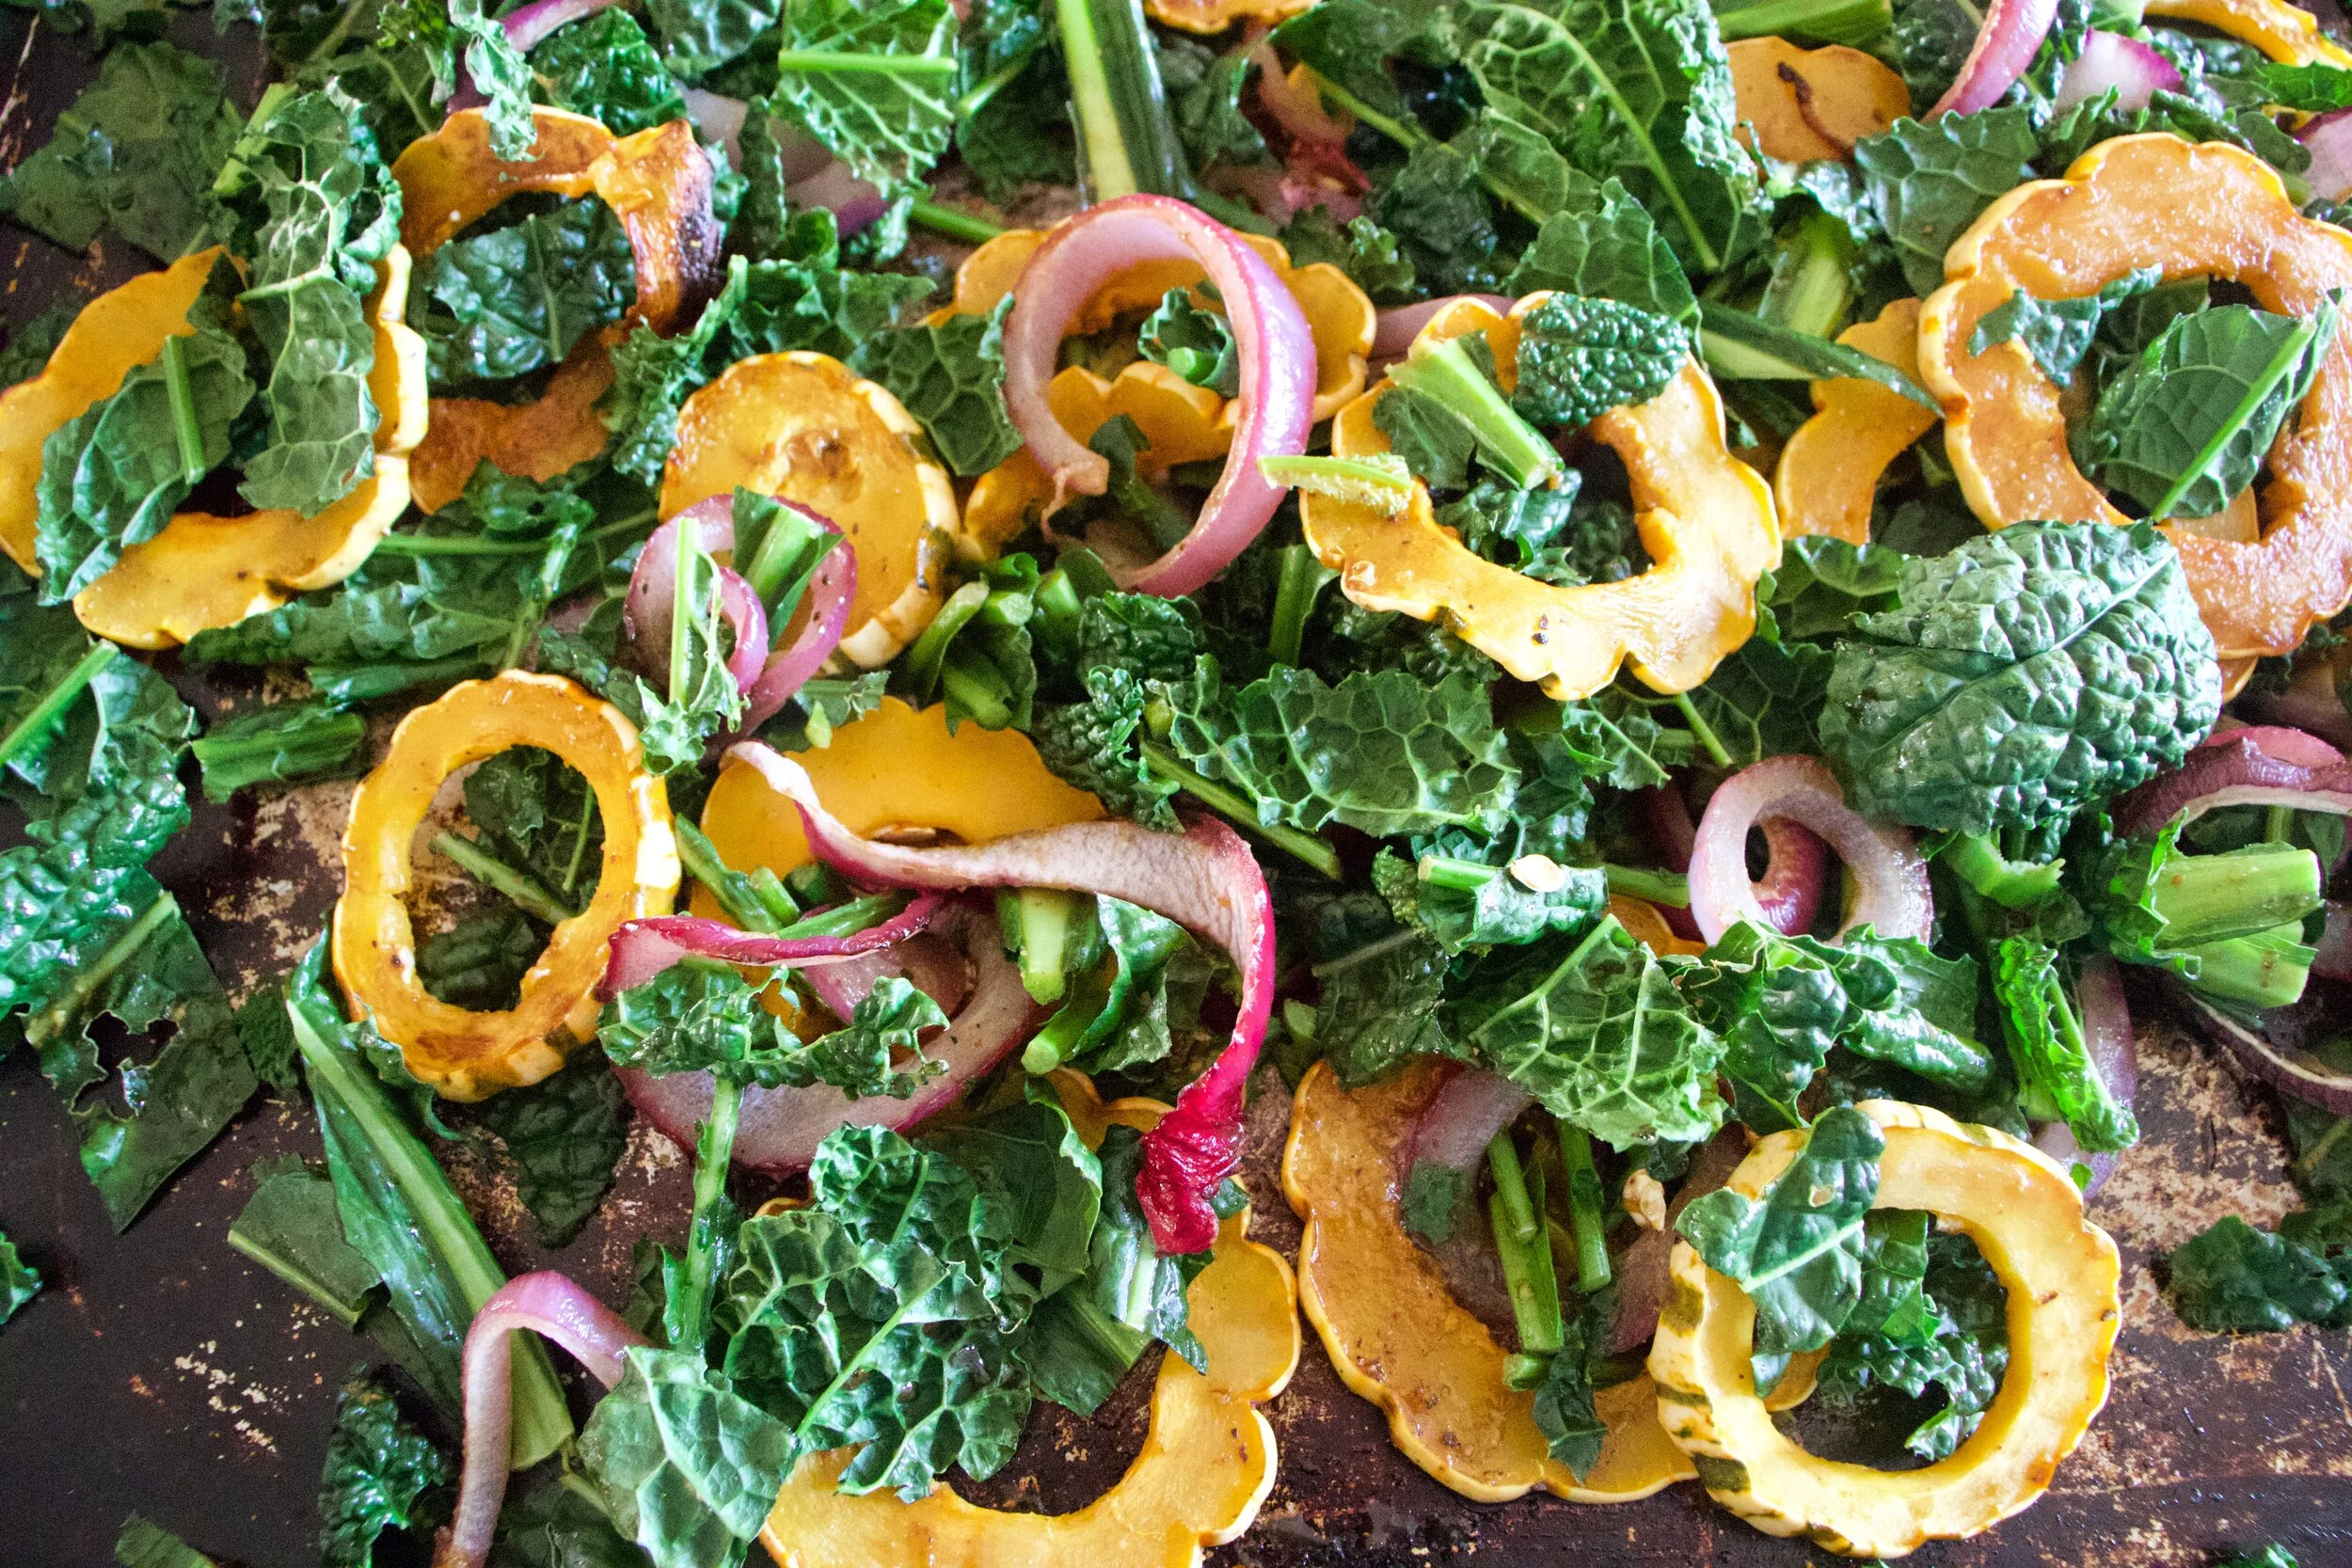
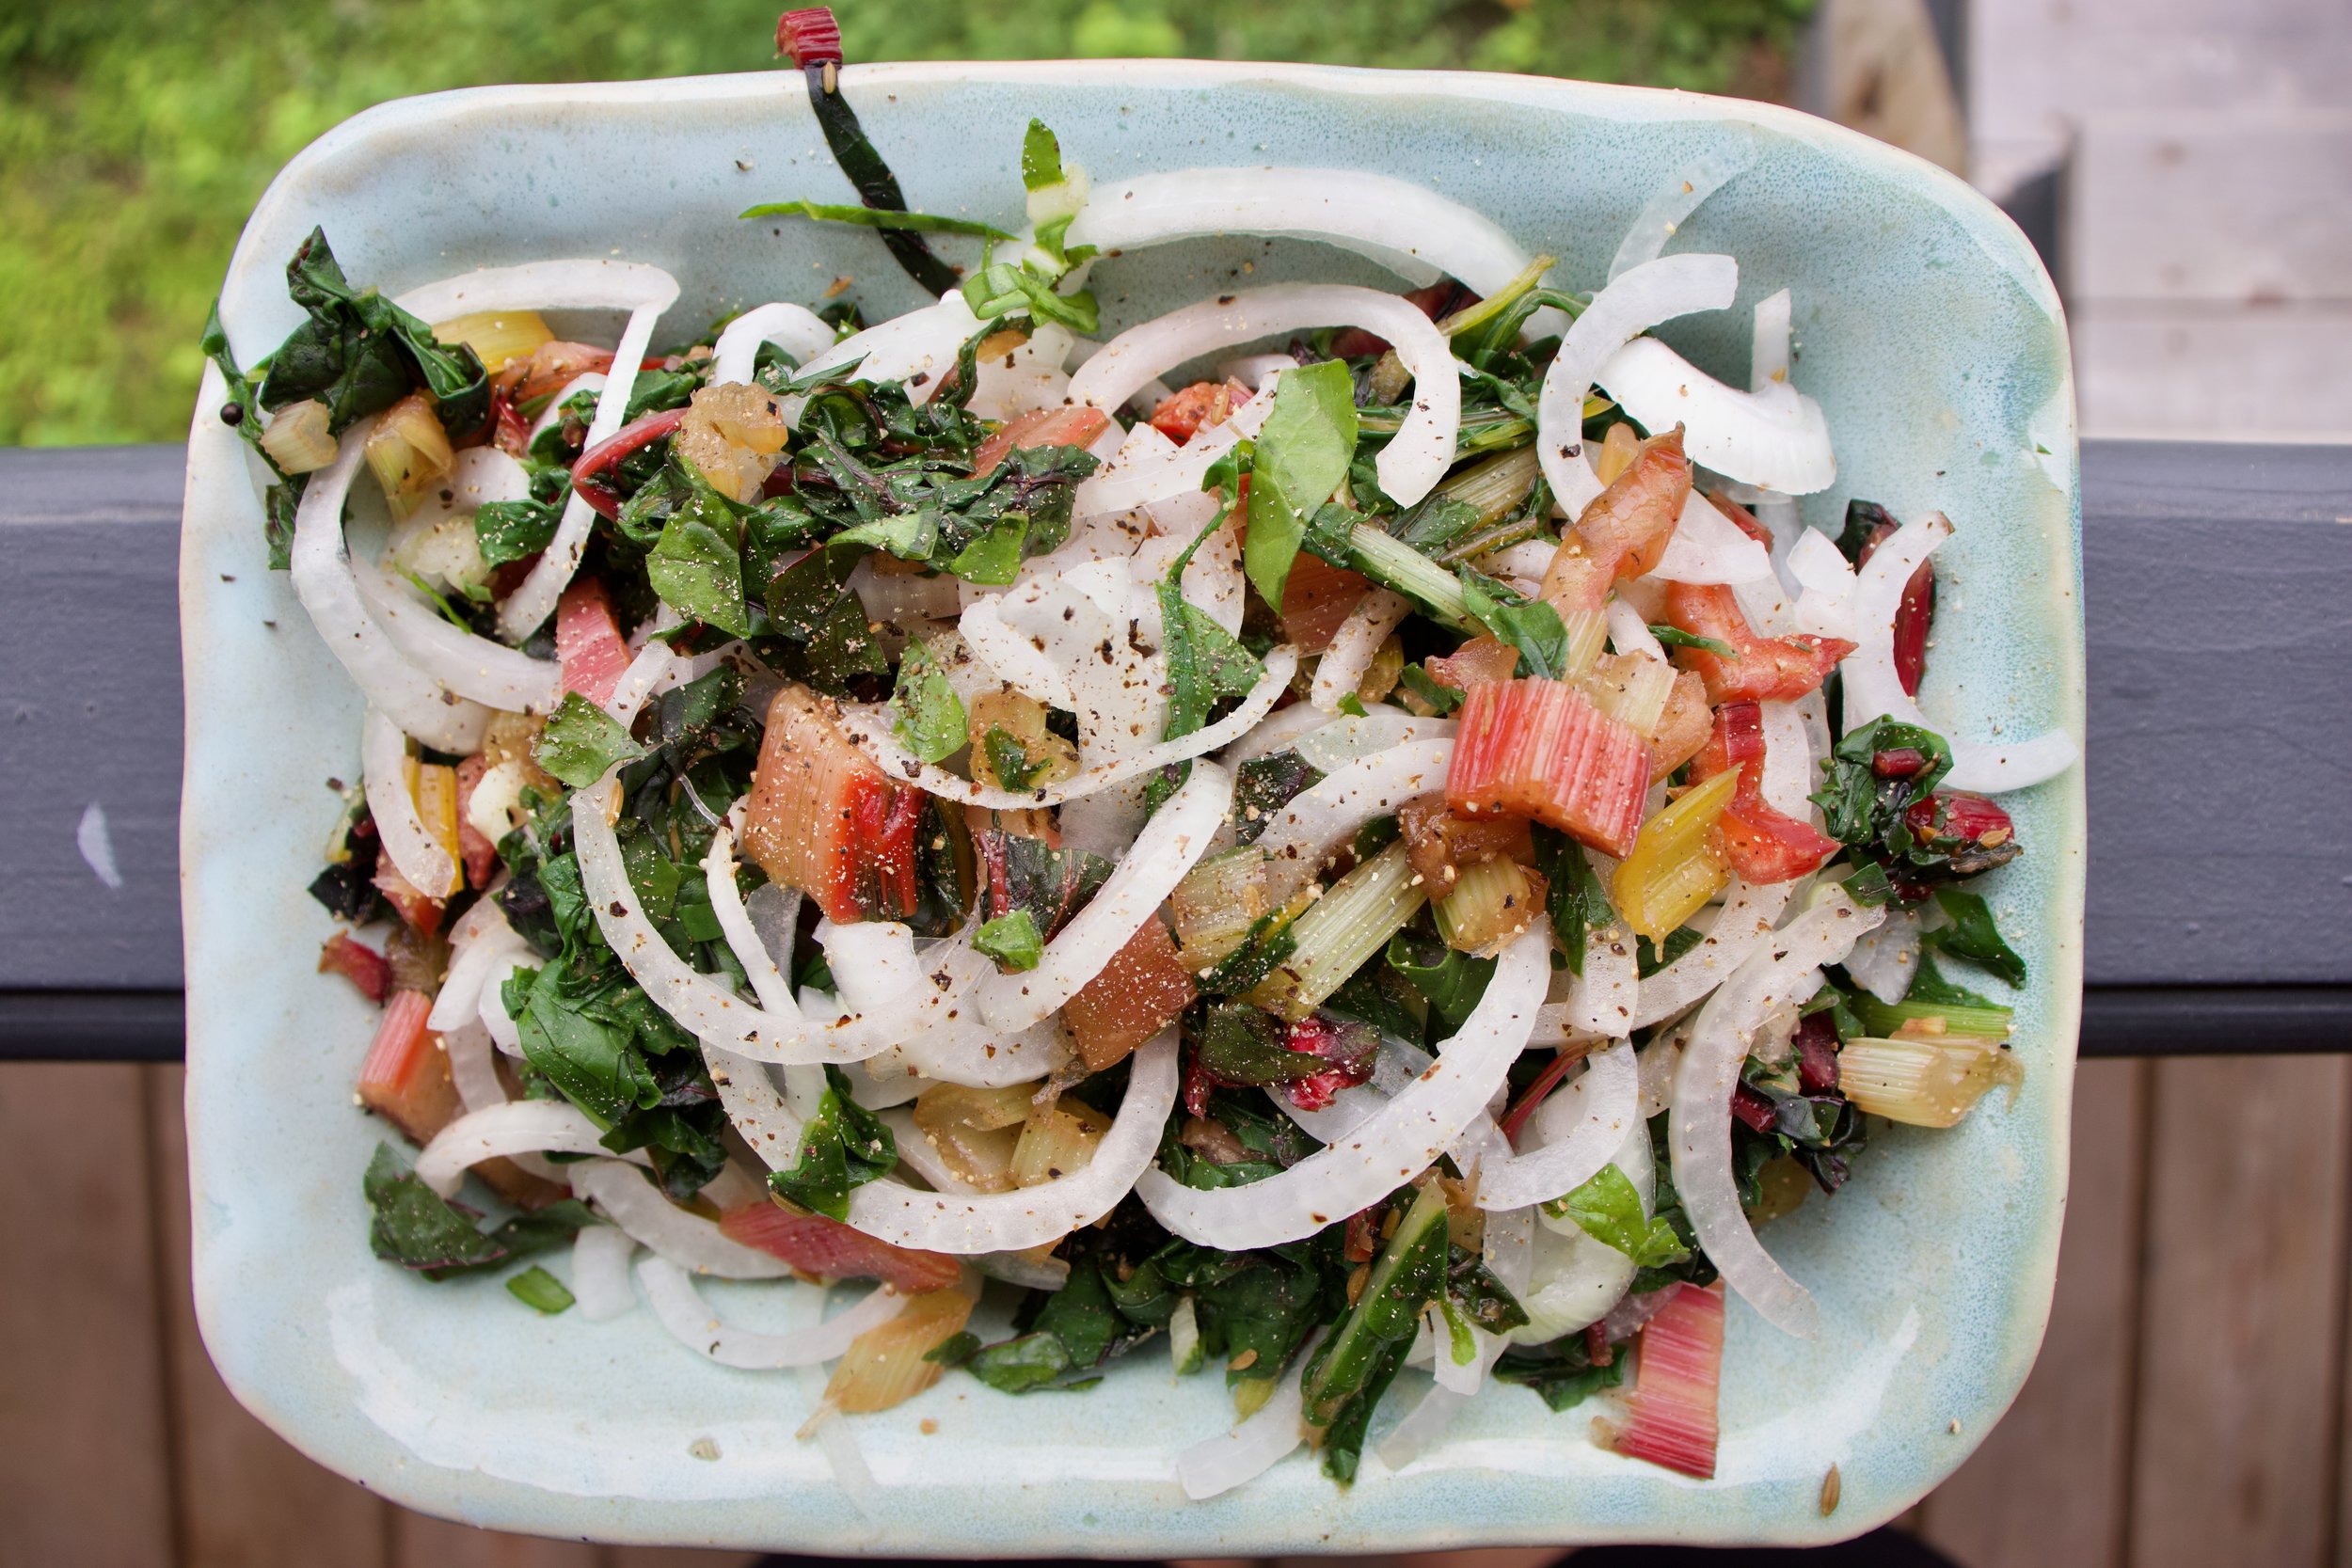
Pull the pan back out and give it a good toss.

IMG_3546.jpg

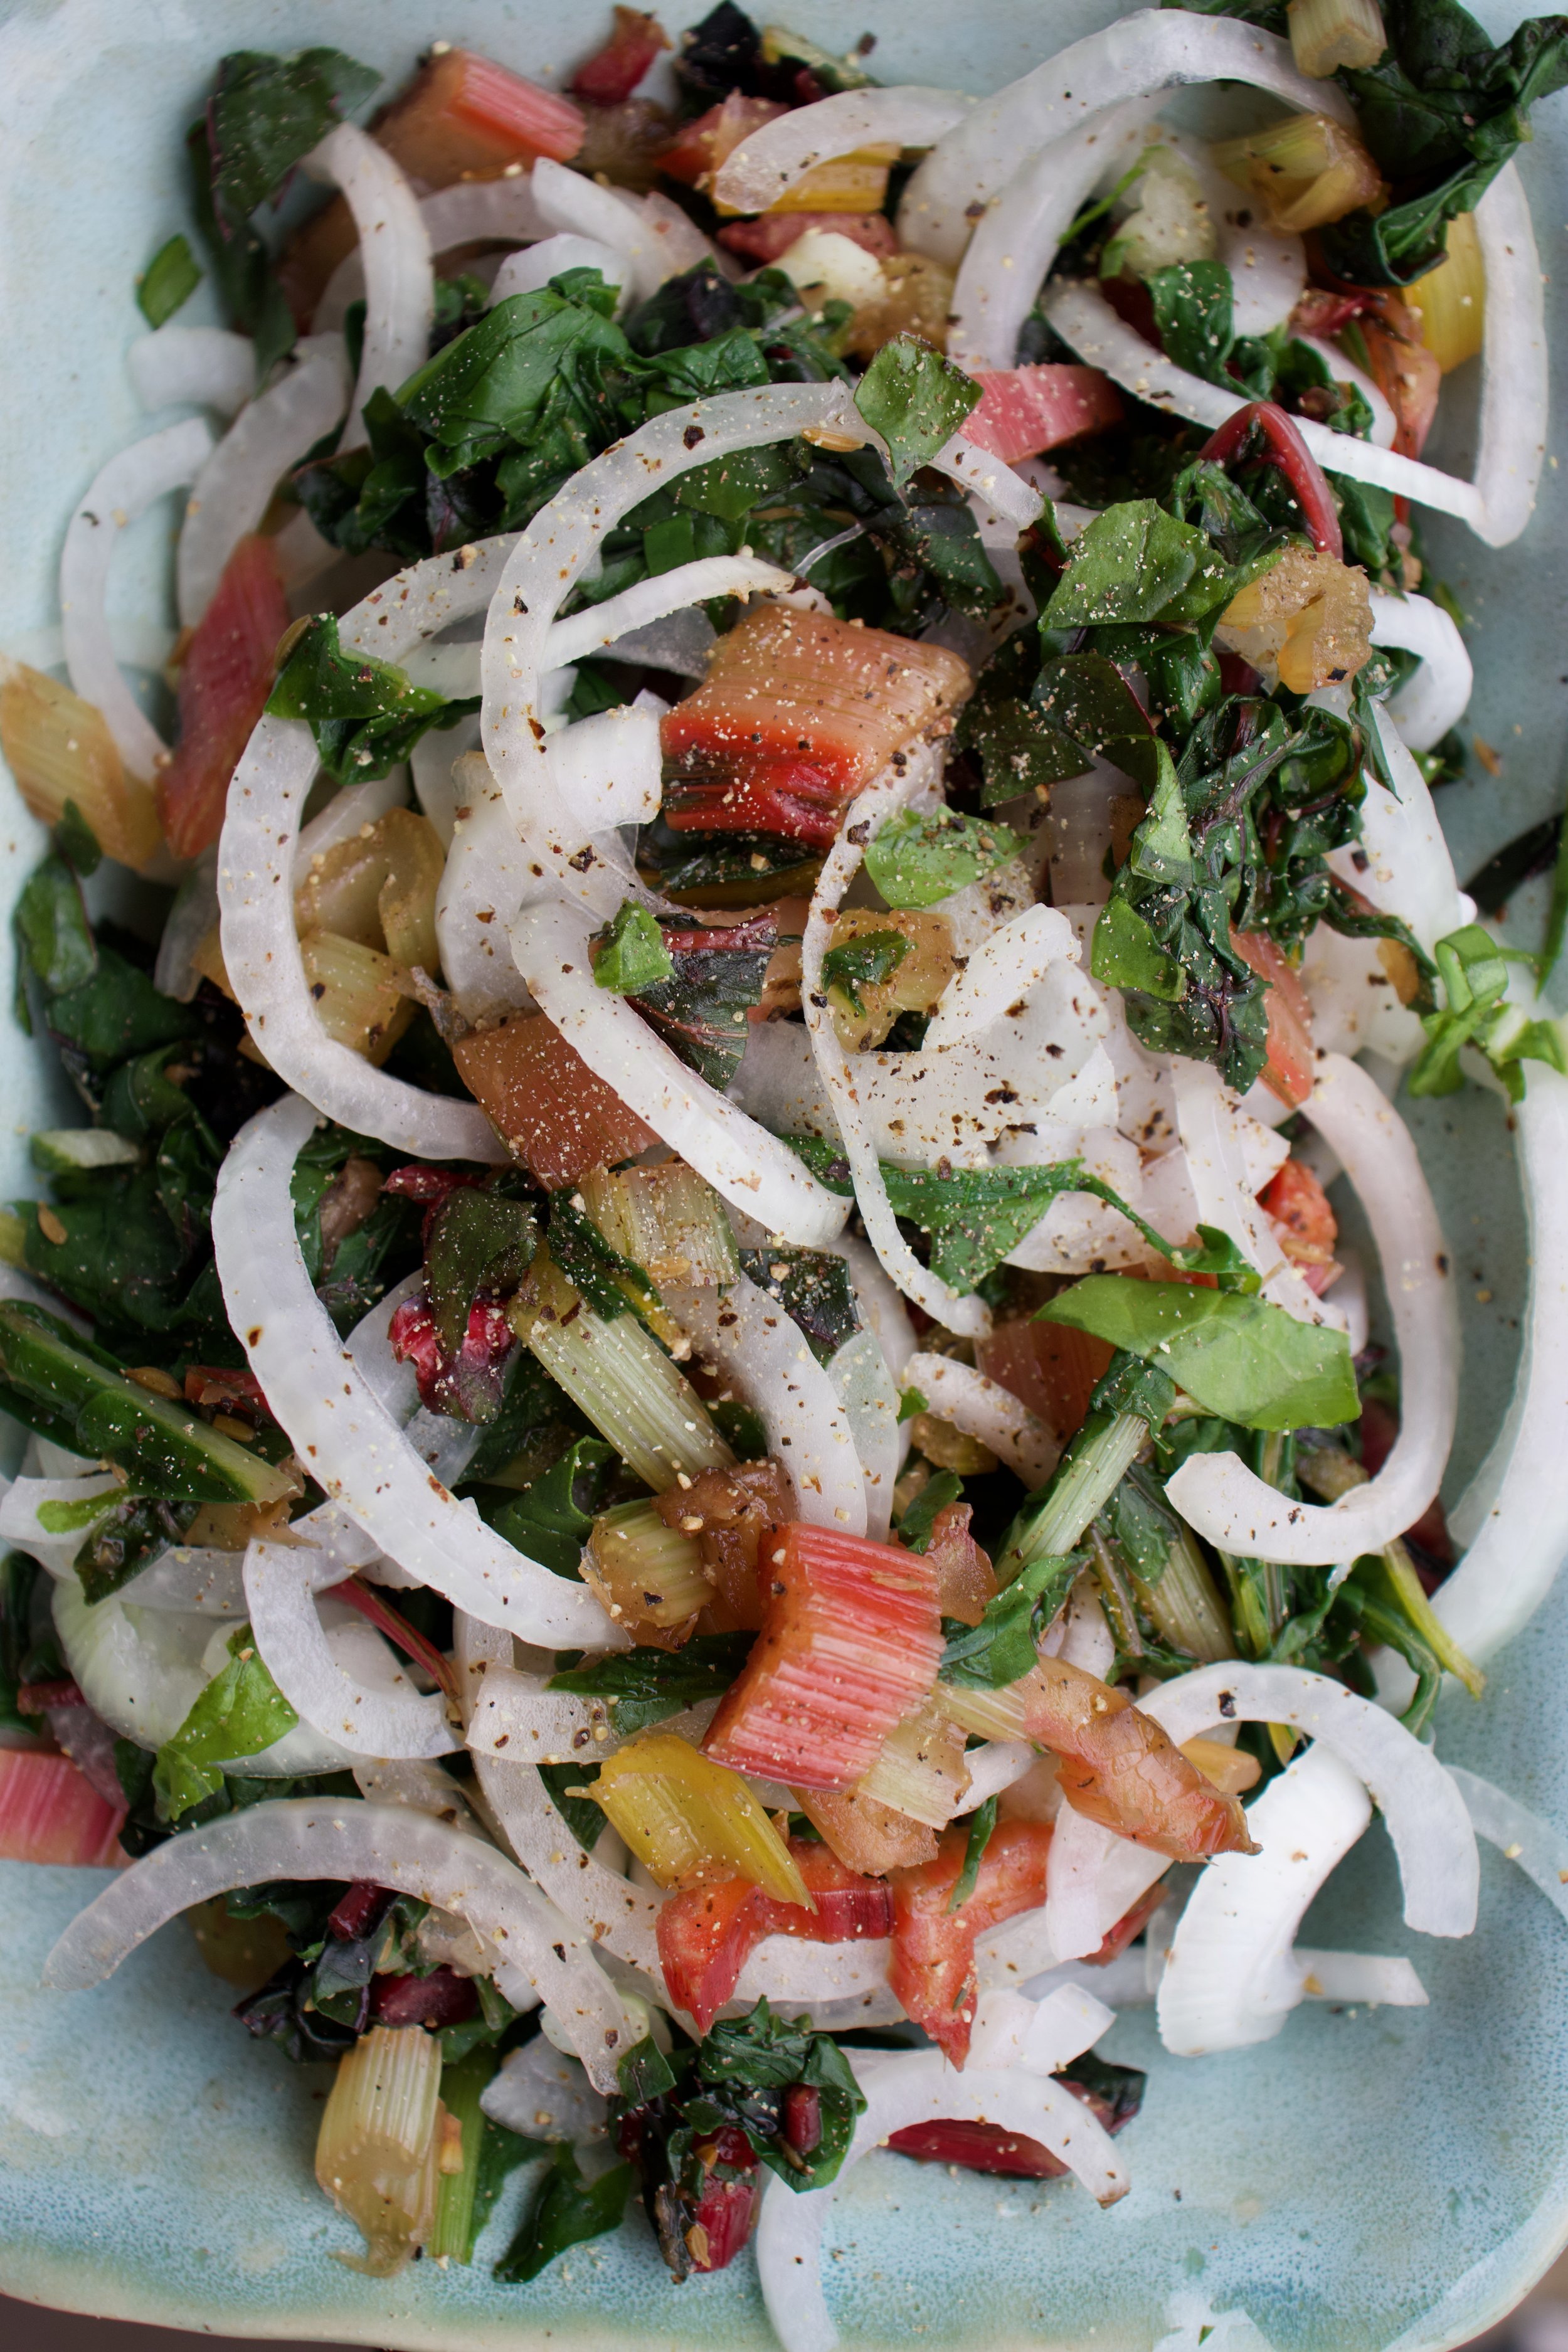
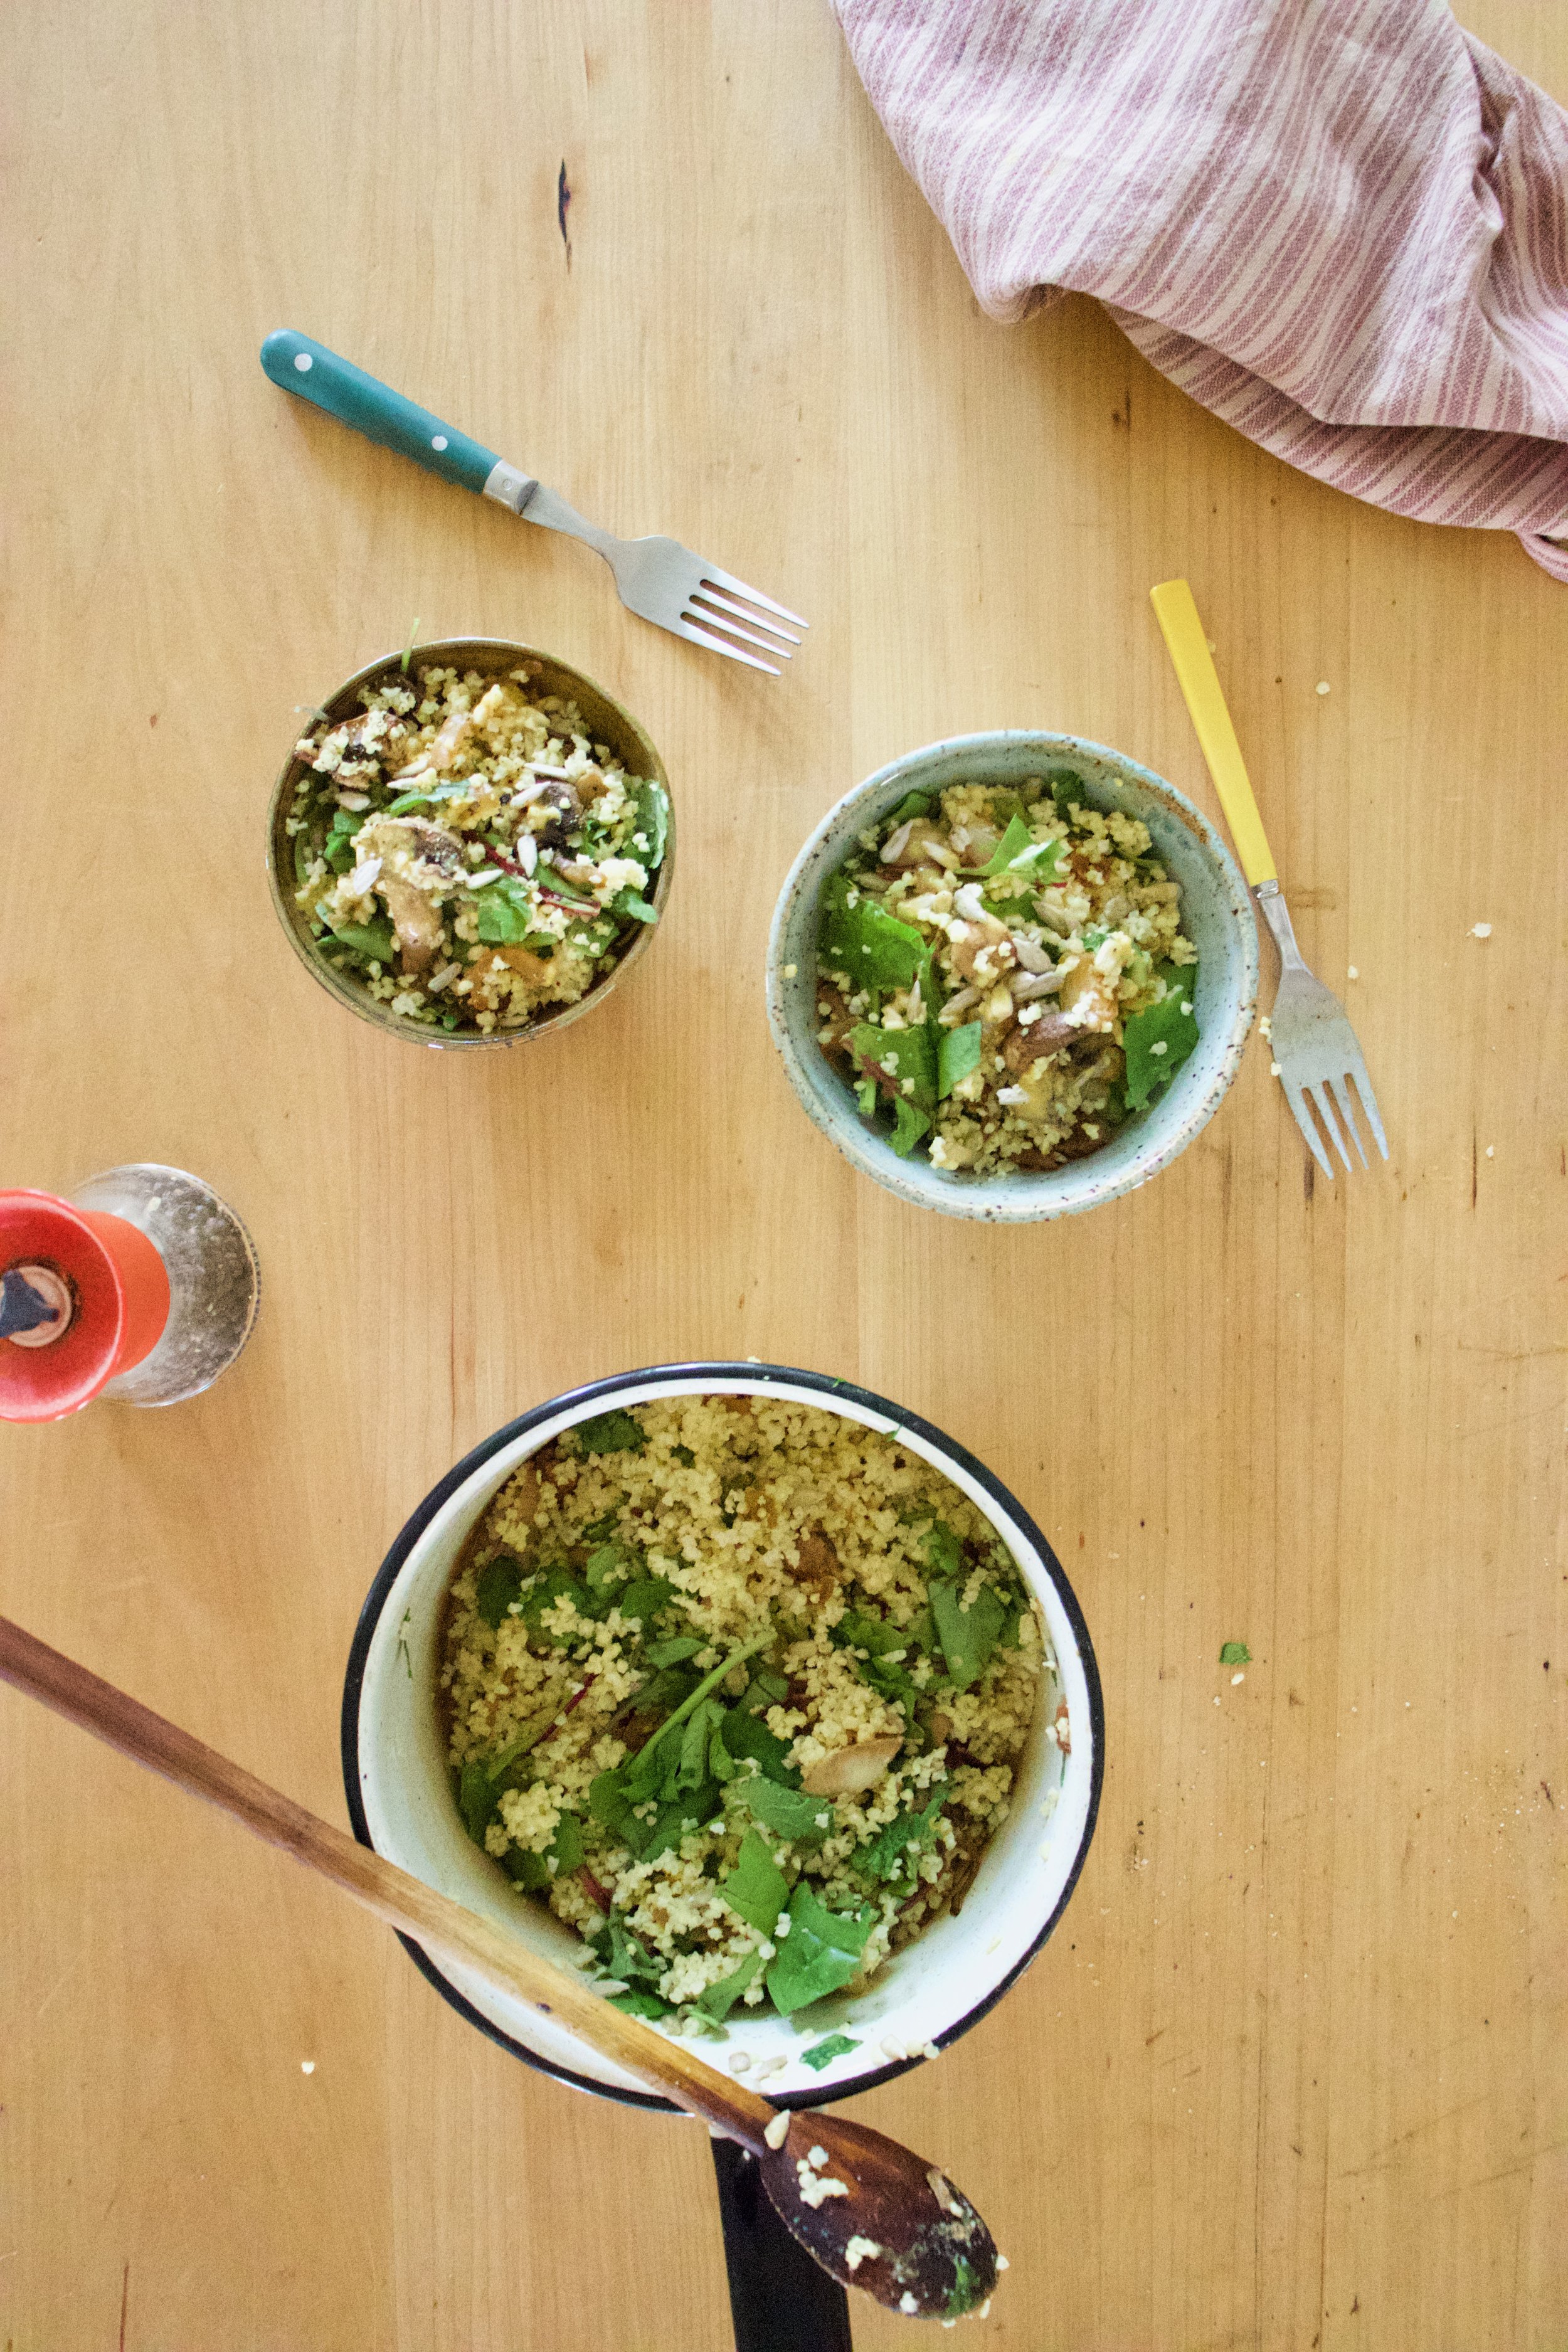
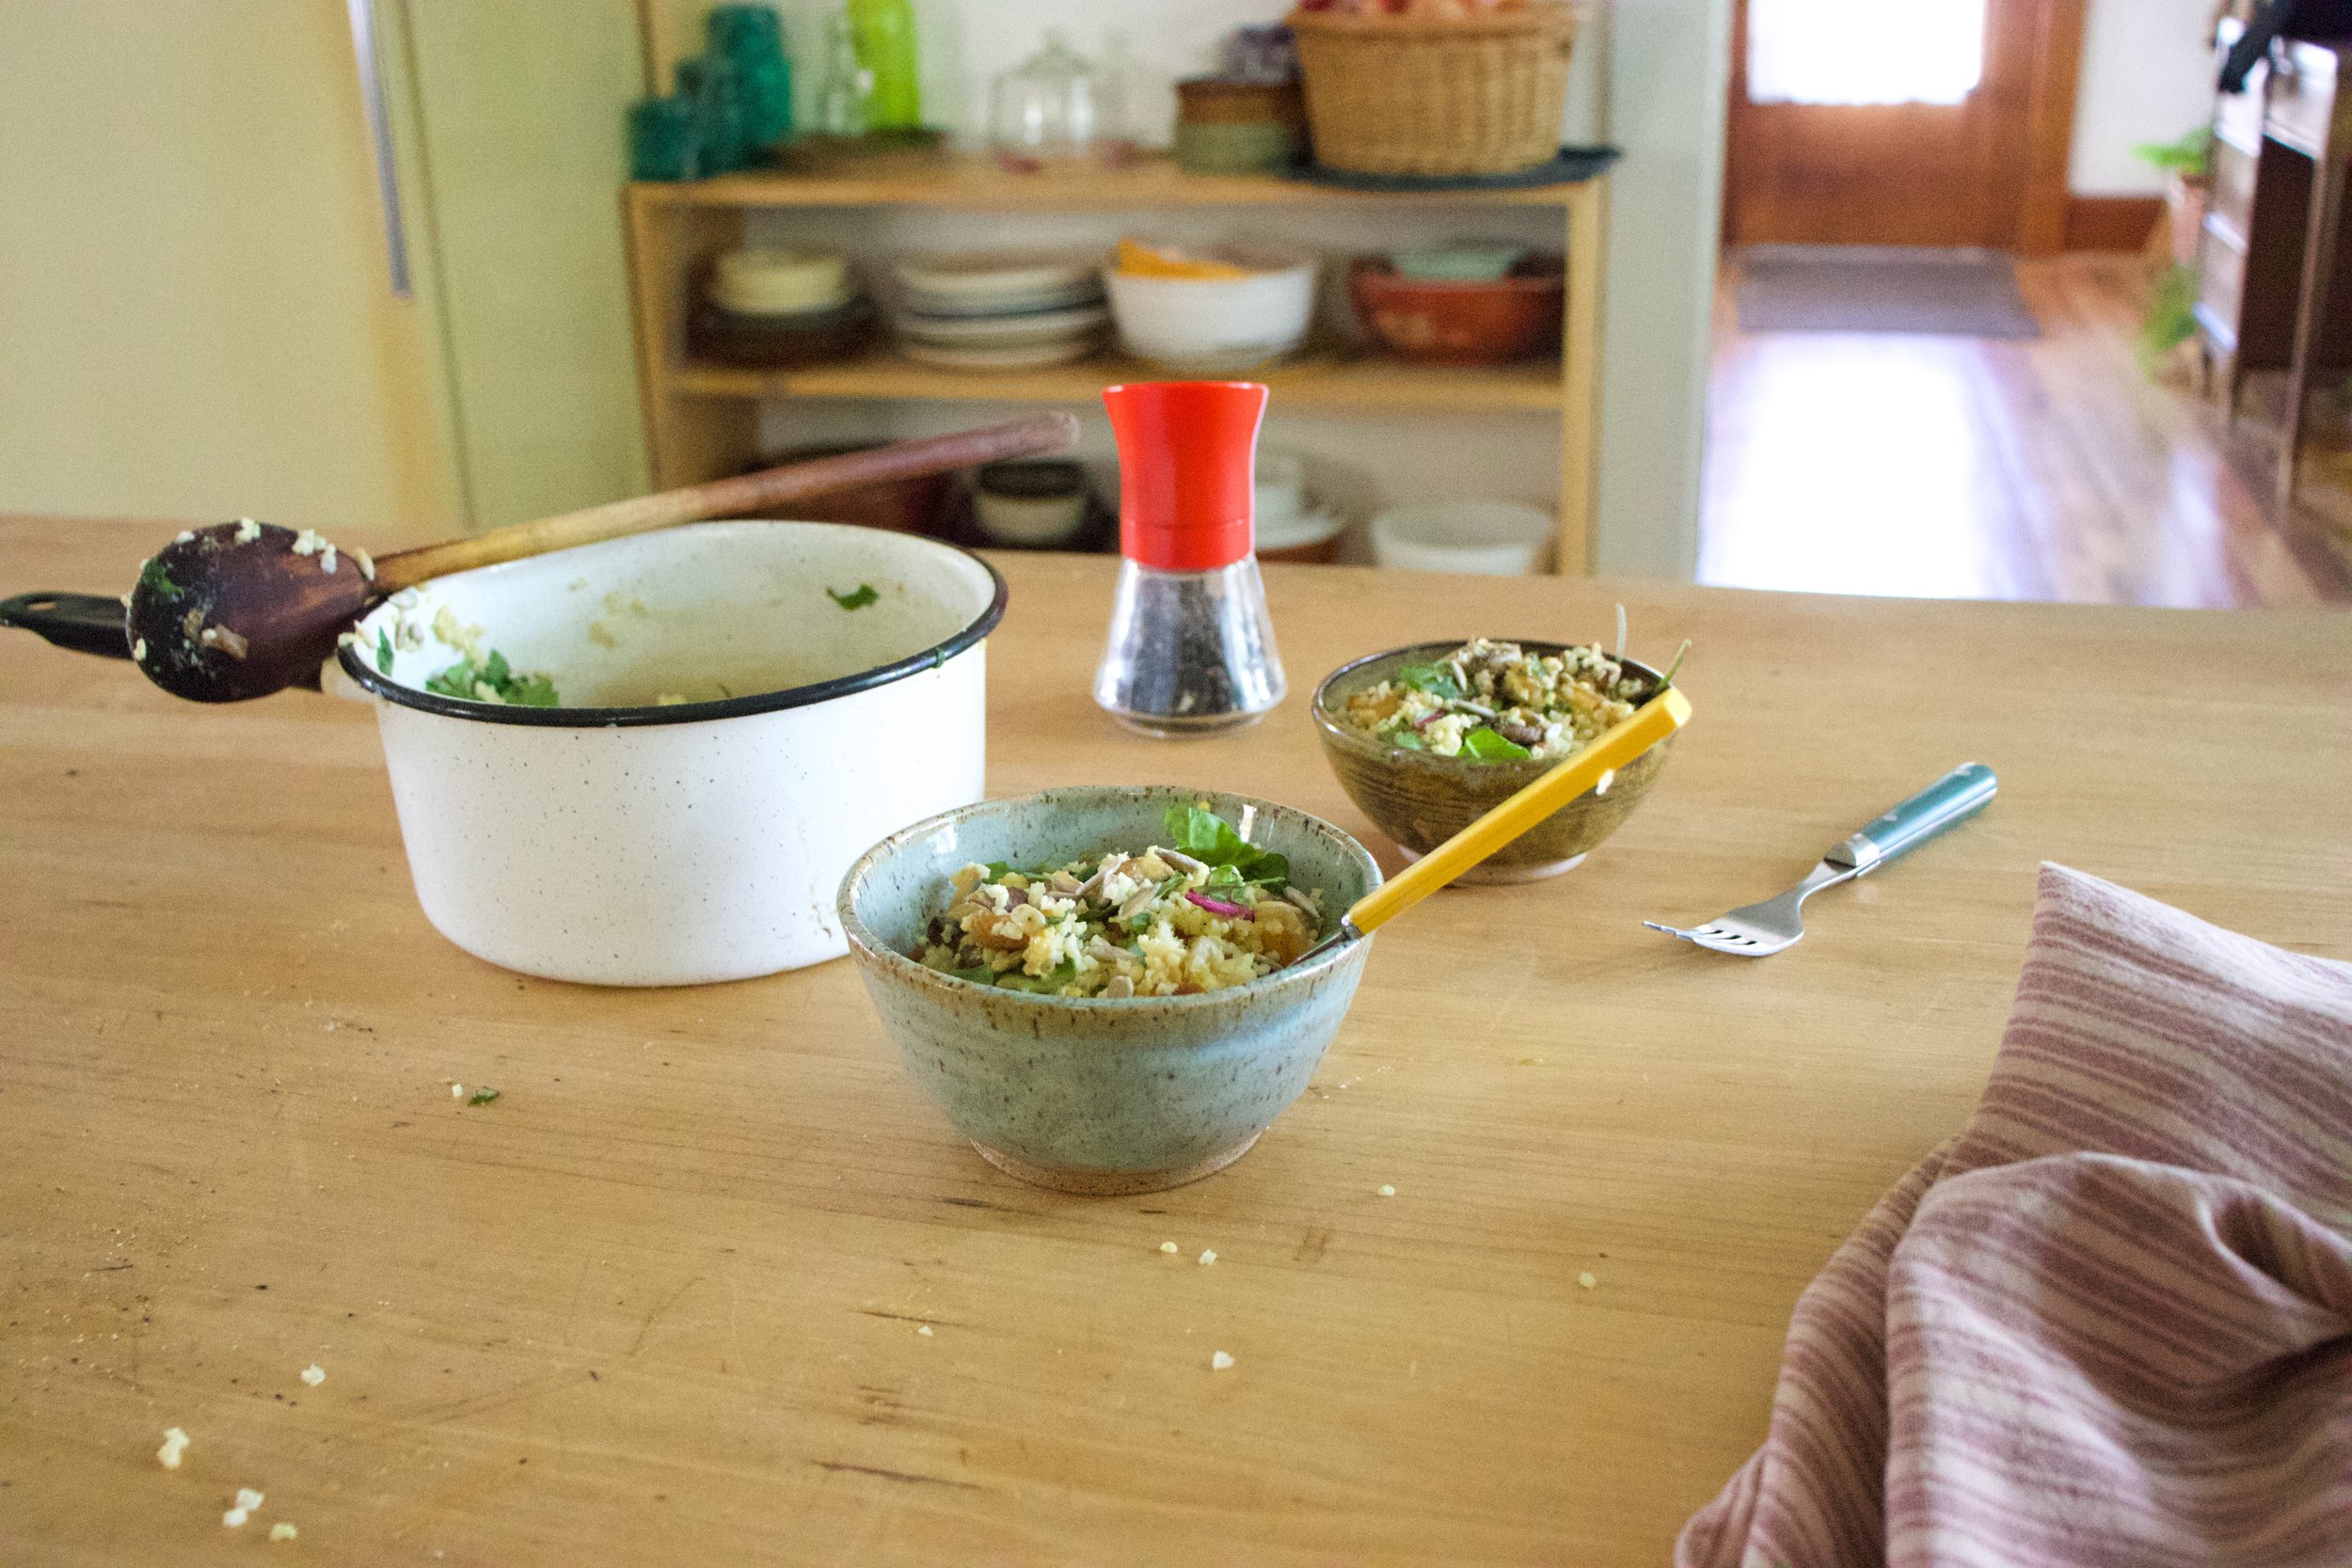
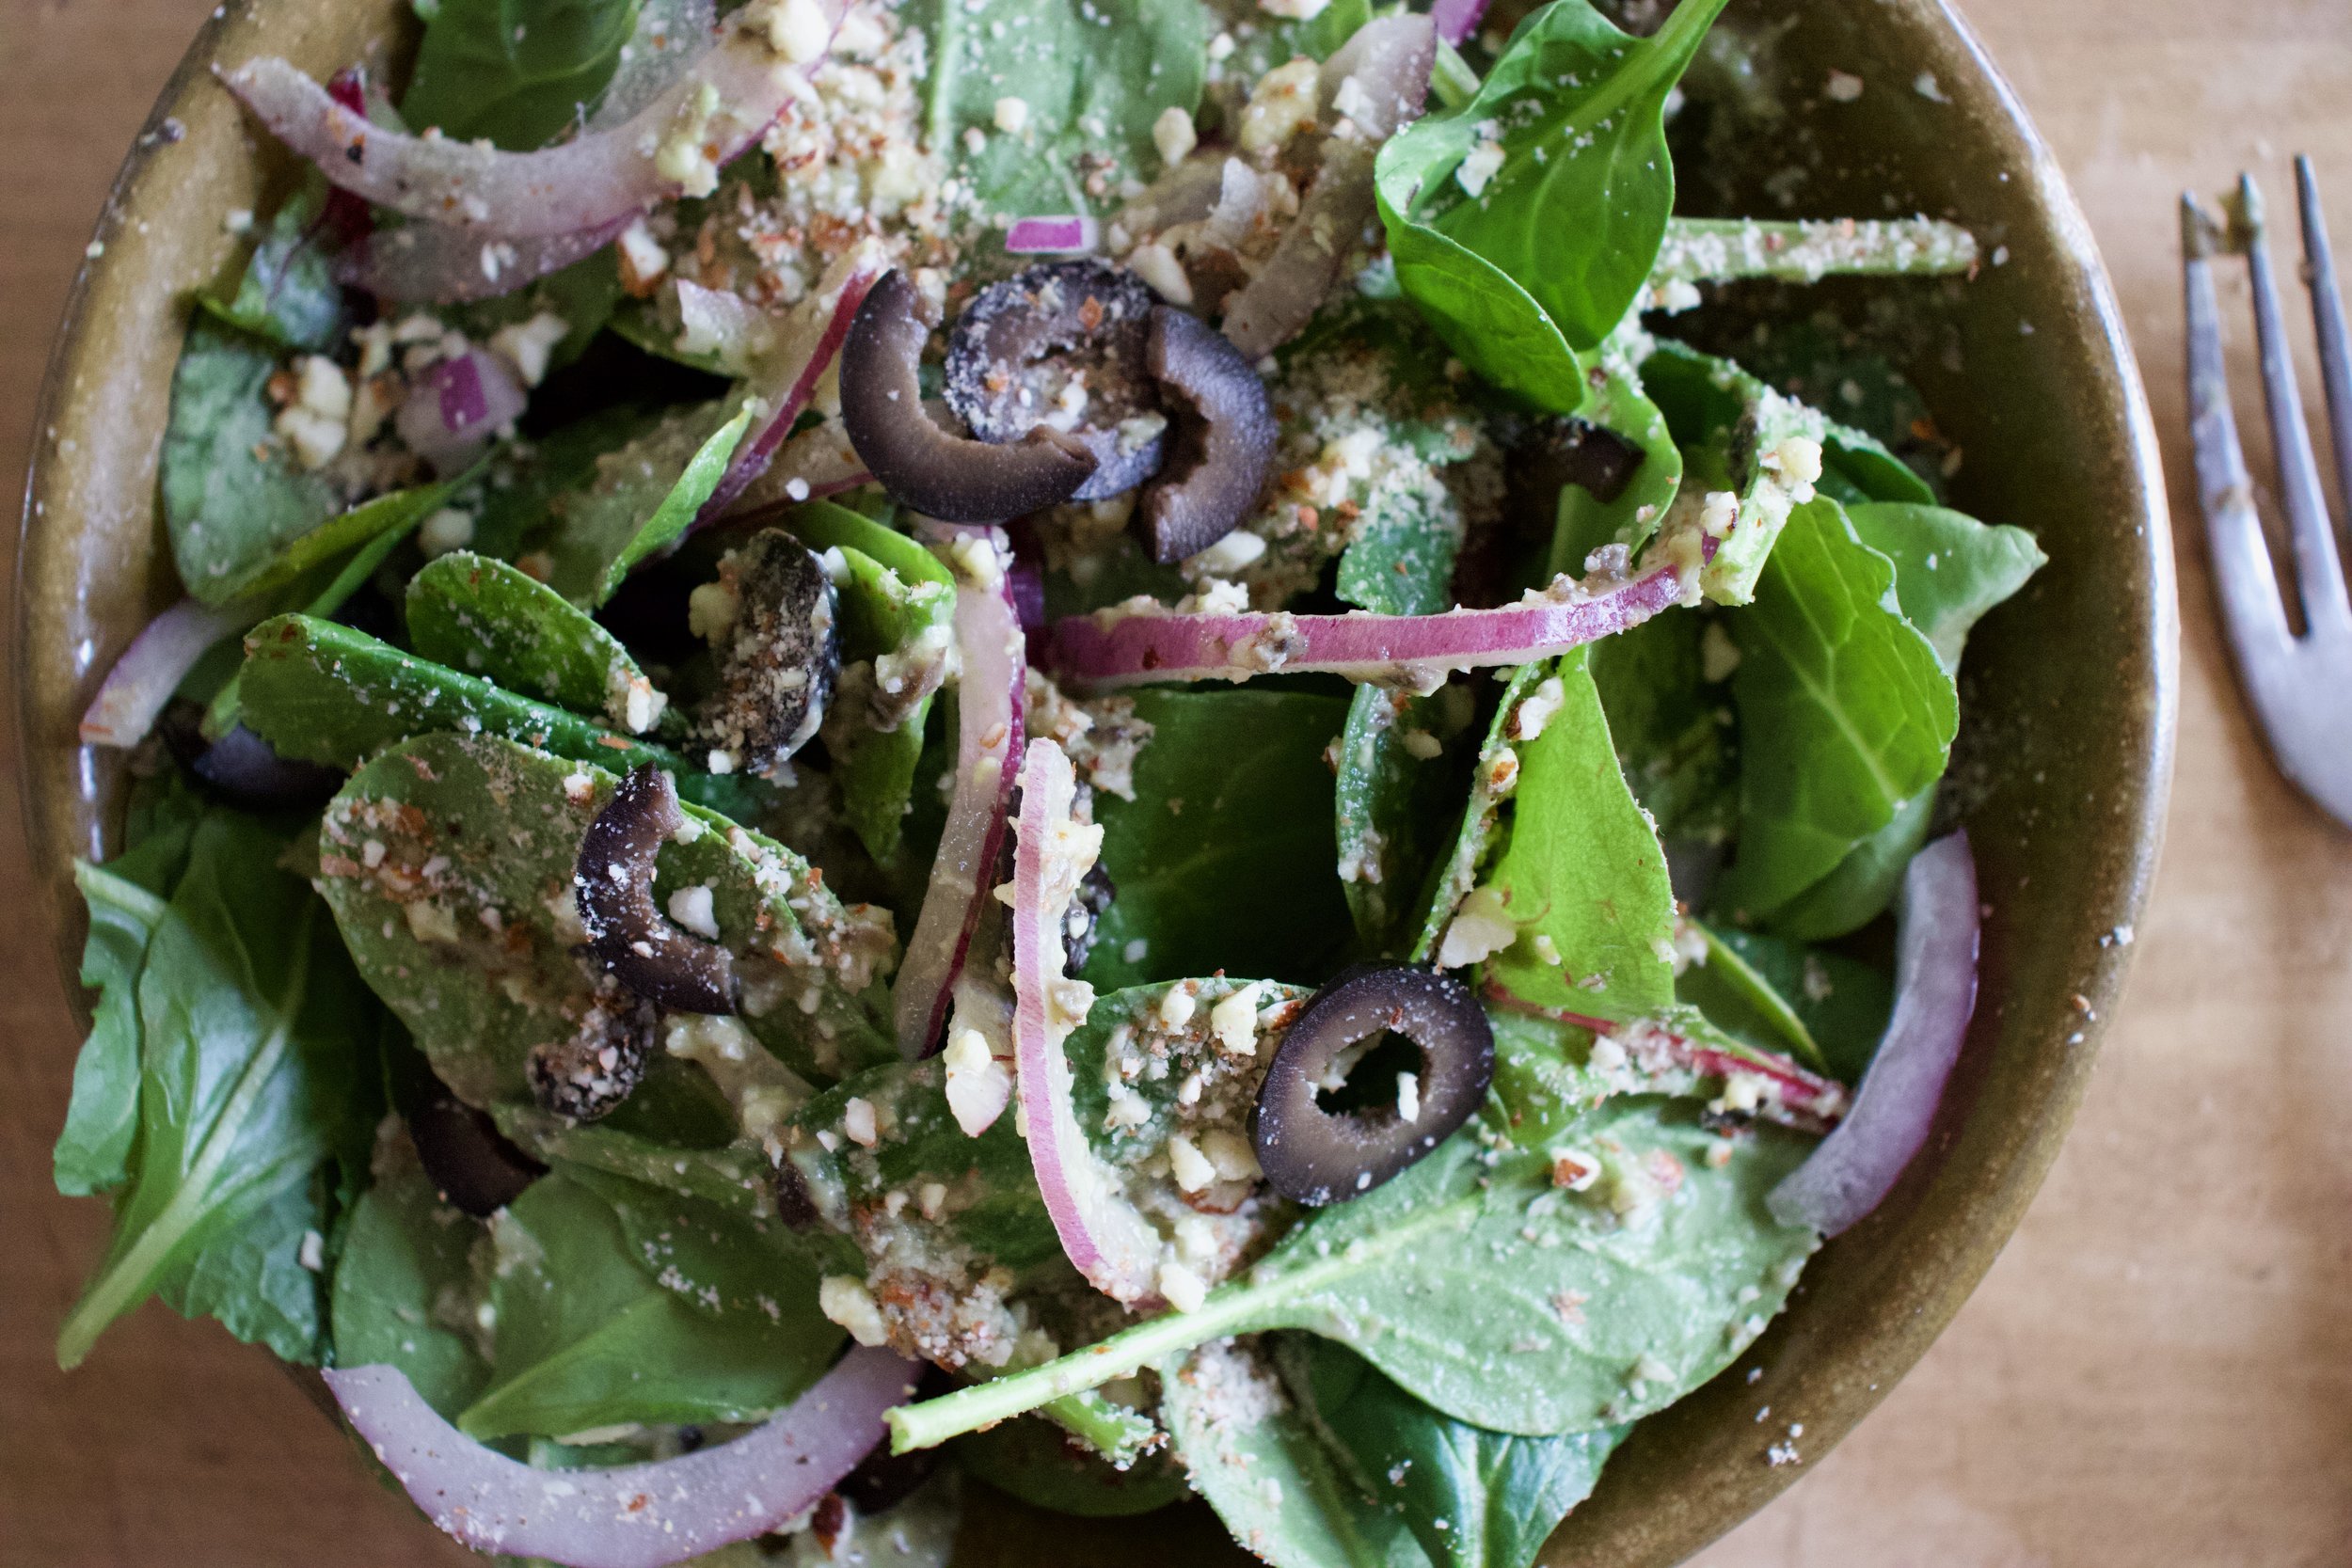
Dump it all into a big bowl, toss in the toasted seeds, and call it. Now grab a fork and start eating.

-C


Warm Balsamic Delicata, Onion, and Kale Salad

Can be a main dish for 1 or a side for a few

  • 1 delicata squash

  • 1 bunch of kale (around 3/4 pound)

  • 1 smallish red onion

  • 3 tablespoons balsamic vinegar

  • 1 -2 teaspoons maple syrup (more for a slightly sweeter, maple-y flavor)

  • 2 tablespoons brown or dijon mustard

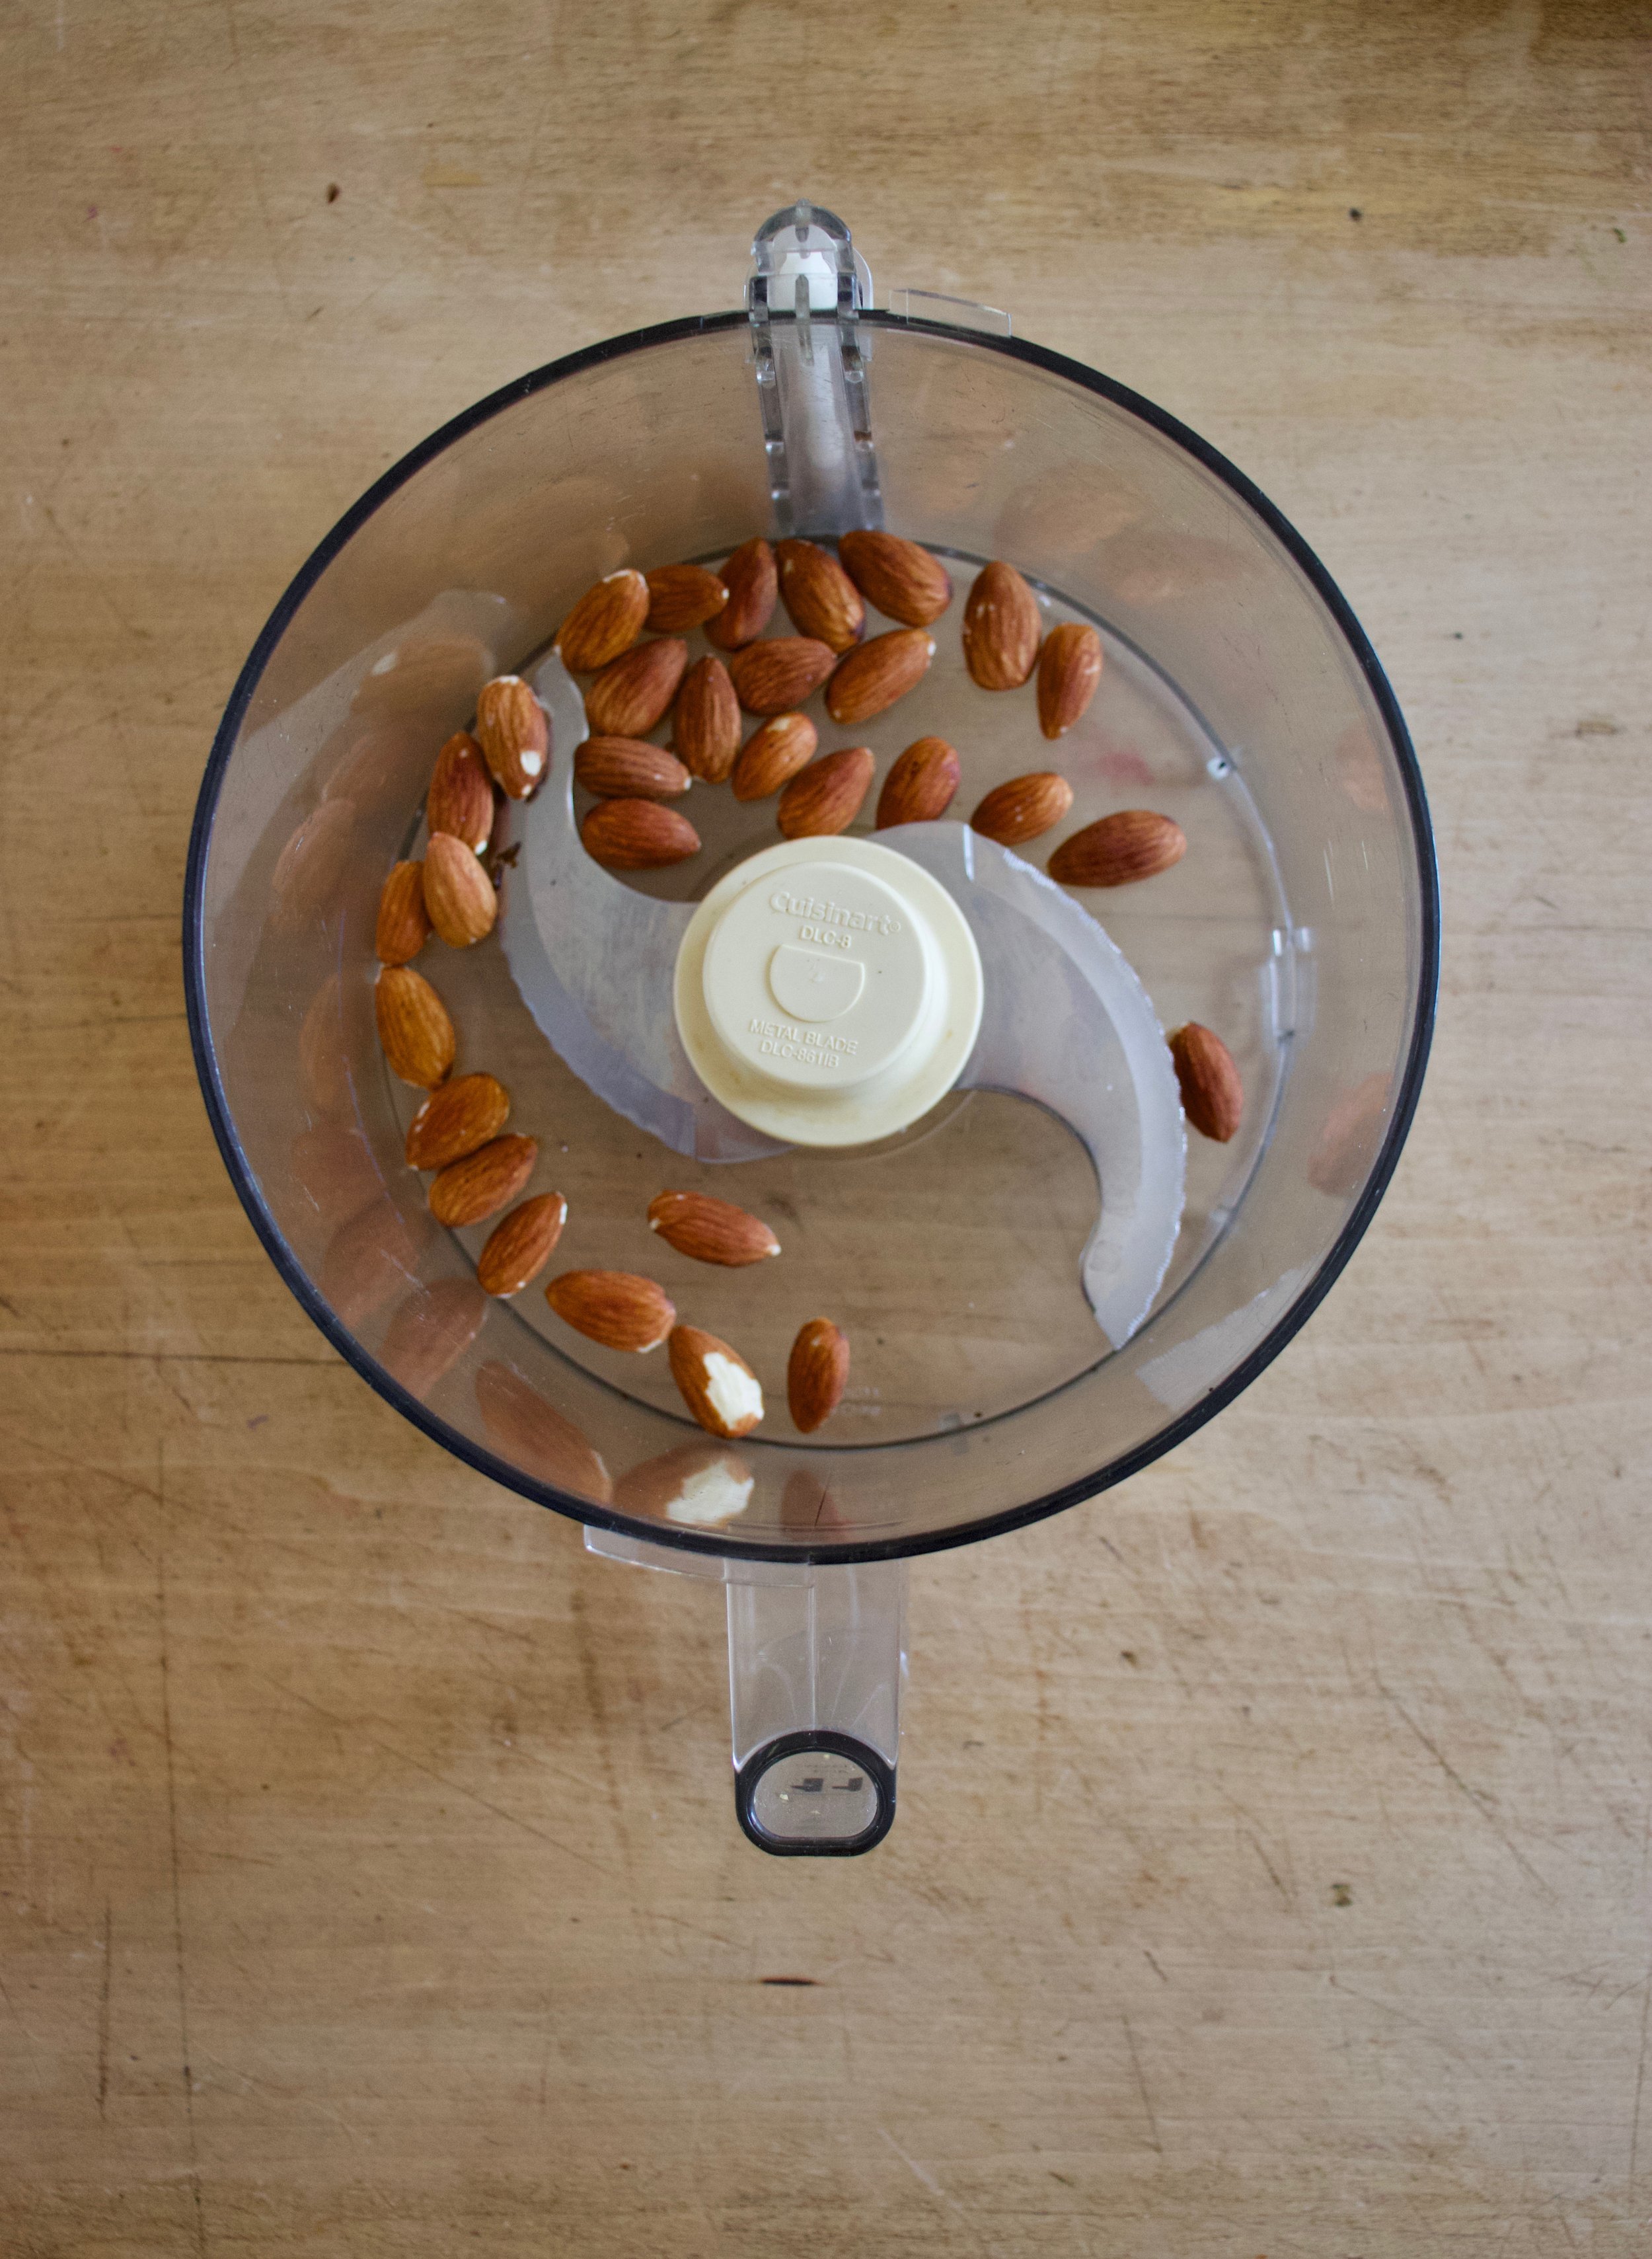
  • 1/4 cup toasted seeds of choice (I used pumpkin and sunflower)

Preheat oven to 400

Cut delicata squash in half and scoop out all the seeds (you can save seeds to toast up later if you want), then slice the squash into 1/4 - 1/2 inch thick rounds. Grab onion and cut into thin slices. Take onion and squash and place them onto a very lightly oiled baking sheet and sprinkle with salt and pepper. Don’t let the squash overlap, but it is fine for the onion to overlap the squash and itself. Pop the pan into the oven and bake until the squash starts to brown and is fork tender, which should take about 10-15 minutes.

In the meantime, chop kale into small mouth sized pieces and set aside. And mix the balsamic, mustard, and maple together to create the dressing.

Once the squash and onions are cooked, toss the kale onto the pan and drizzle the whole thing with the balsamic mixture. Toss it all around and pop pan back into oven for another minute or two, just to let kale get a touch wilted.

Remove pan from oven, dump everything from pan onto a plate, and toss in the toasted seeds.

Grab a fork. Eat.

In dinner, Dressing, salad, seeds, side dish, Vegan, Vegetables, winter, winter squash Tags Warm Balsamic Delicata, onion, and Kale Salad, Winter Squash, Delicata Squash, salad, seeds, vegan, gluten free, grain free, plant based, healthy, dinner, thanksgiving, holiday, winter salad, warm salad, fresh, esay, dairy free, oil free
1 Comment

Sautéed Cumin Ginger Chard with Pickled Onions

July 20, 2019 Colleen Stem
IMG_0386.jpg
IMG_0487.jpg

I am on a major swiss chard kick. Like I am eating it all day, every day. And I don’t know if it the heat or what, but the other night I was laying in bed, super hot mind you, and couldn't keep my mind from racing. All I could think about was swiss chard and how much I love it and all the ways I want to eat it. Yeah, I know, but that is my brain so what can I do? Anyway, I finally fell asleep, and when I did it was dreams of chard and rainbows and all sorts of colorful things that I cannot remember anymore. I do know I woke up hungry. And with a plan for lunch.

I will just tell you now, this chard situation is sooooo good! And besides me being on a major chard kick, I am also on a ginger and cumin kick and an onion kick as well so it just made sense to make something with them all together. Tender and gingery cumin-y chard with crispy pickled onions. Seriously, is your mouth watering yet? I have made it twice in the past few day and I plan on making it a whole bunch more. So freaking good!

If you like chard, or don’t know if you do (you probably do), this is a great way to enjoy it. You will not be disappointed.

Now to the chard.

The stuff. A bunch of chard in a few different colors, a medium onion, a chunk of fresh ginger, cumin seeds, white wine vinegar, and salt and pepper.

IMG_0364.jpg
IMG_0370.jpg

First and the sooner the better, cut onion up into very thin pieces and place into a bowl with vinegar, a pinch of salt, and a splash of water. Toss onions around and let sit, for at least 20 minutes, or if you think of it and can make it happen, do it a few hours in advance. . The longer the onions sit in the vinegar the better.

IMG_0380.jpg

Ginger. If you haven’t grated it yet, do that.

IMG_0383.jpg

Remove the stems from the greens of the chard then chop the stems into small pieces.

IMG_0417.jpg
IMG_0428.jpg

Now here we go. First, before anything, place the cumin seeds into the dry skillet and place on medium heat to toast for a couple minutes, Then add in the grated ginger, the chard stems, a pinch of salt, and about 1/2 a cup of water. Stir around. Keep on medium heat and let cook until the chard stems start to become tender. If all the water evaporates out before they are done cooking, add a little more.

IMG_0423.jpg

Now chop up the chard greens.

IMG_0438.jpg
IMG_0449.jpg

Greens go into the skillet with the stems and a little more water. Cook the greens down until all wilted and lovey and delicious.

IMG_0456.jpg

Dump the cooked chard into a bowl or on a place and mix in all the pickled onions. Drizzle with a little of the left over vinegar from the onions.

IMG_0490.jpg

All there is left to do now is add a lot of cracked pepper and grab a fork.

My dreams come true…..Ha.

-C


Sautéed Cumin Ginger Chard with Pickled Onions

Serves 1 as a meal or 3-4 as a side

  • I bunch (around a pound) Swiss chard Any color or a mixture of colors))

  • 1 mediam onion (red or white)

  • about an inch or so fresh ginger (1 tablespoon grated)

  • 1 tablespoon cumin seeds

  • 1/3 cup white or red wine vinegar

  • salt and pepper

  • around 1 cup water

Grab the onion and slice it very thinly into rings or half rings. Place in a bowl and add the vinegar plus a pinch of salt and about 1/4 cup of water. Toss around and set aside for at least 20 minutes. If you think of it, do this a few hours before sautéing the chard. The longer the onions sit in the vinegar, the better.

When you are ready to cook it, grab the chard and remove the stems from the greens. Cut the stems into small little pieces. Grab a big skillet and place on medium heat. Add in the cumin seeds and let toast for a few minutes and while that is happening, grate the ginger. Once cumin is toasted, add in the chard stems, the ginger, and about 1/2 cup of water. Keep on medium heat and cook until the stems are slightly tender. Should take 8 or so minutes. If the water completely evaporates before cooked, add in a little more.

And the greens. roll them up together and slice them into thin pieces. Add all the greens to the skillet with tender stems. Add in a splash more water if needed and a pinch of salt. Mix around and cook for another 4-5 minutes or until the greens are completely wilted. Remove from heat and dump the chard into a bowl or on a plate. Take the onions, remove from the liquid and mix together with the chard. Drizzle a tiny bit of the left over vinegar from he onions on top. Cover with cracked pepper.

Eat. Hot, room temperature, or cold. It fantastic any way.

In Vegetables, Vegan, summer, side dish, salad, quick and easy Tags Sautéed Cumin Ginger Chard With Pickled Onions, Swiss chard, vegan, plant based, gluten free, whole foods, healthy, no oil, salad, greens, easy, chard salad, pickled onions
Comment

White Bean Zucchini Salad Sandwich

July 6, 2019 Colleen Stem
IMG_9925.jpg
IMG_9985.jpg

Summertime is in full swing. Hot ass days, garden fresh veggies, zucchinis as big as whales, and did I mention that hot ass heat? If you have been around here before, you know how well I handle the heat. (NOT WELL AT ALL!)

I think we are all hot these days. But really, lets just focus on the good things, like fresh summa veggies!

This sandwich is all about summertime and not having to turn on a single flame or heat source and takes all of 5 minutes to make. Zucchini because it is everywhere, beans for more substance and they are delicious, all mixed up in a creamy bean and tahini sauce. Super fast, fresh and oh so delicious. I made a big batch for sandwiches but also I was just eating it with a fork. It’s a tasty one that will be on the summer rotation for sure for the next few months, or until the zucchini runs out and I dare to turn the oven on again. (Ok, I am being a whine ass. It’s not THAT bad and I did turn the oven on, early morning, to bake bread. So yeah.) But for real. This is a great, super fast, throw together, fresh, light but filling, sandwich situation for any and all of your summertime eating needs. What more do we need? The mr said all he needed with the sandwich were chips. Chips and a nice cold drink.

Done sir. Done.

Now to the sandwich!

The stuff. White beans, a zucchini, and a fresh spring onion. Also some tahini, a lemon, a few cloves of garlic, a little vinegar and water, and salt and pepper. And to serve as a sandwich you need bread. lettuce, and tomato. Well you only need the bread, but you get what I am saying.

IMG_9853.jpg
IMG_9857.jpg

Fist off. Half the white beans go into blender or jar with the tahini, the juice of the lemon, garlic, vinegar and a splash of water. Blended unit nice and creamy smooth. And yes, it is basically hummus but whatever.

Julienne the zucchini and chop up the onion.

Note. You don’t have a mandolin or done’t want to julienne with a knife, well just chop the zucchini into small little chunks.

IMG_9894 2.jpg
IMG_9895 2.jpg
IMG_9901 3.jpg

Bean, onion, and zucchini in a bowl. Add in the bean tahini mixture and mix. And ta da, all done. All of 5 minutes and no heat. Good for us.

Now here is the thing. This salad is ready to eat now. You can continue onto the sandwich path or just eat it like it is with a fork. What I really liked to do is scoop spoonfuls into lettuce cups with a slice of tomato and a squirt or mustard. So yes sandwich, but also whatever else you want it to be.

IMG_9933.jpg

But as a sandwich…. Bread. And lettuce and tomato and heck, whatever else you want to throw on there. (Again, mustard is A+)

IMG_9994.jpg

Now stop. Sandwich time.

Stay cool!

-C


White Bean Zucchini Salad Sandwich 

makes 3-4 sandwiches

  • 1 medium sized zucchini

  • 2 1/2 cups cooked and strained white beans (a can will do)

  • 1 spring onion (or a small white or red onion)

  • 3 tablespoons tahini

  • 2-3 cloves minced garlic

  • 1 lemon

  • 1 tablespoon white or red wine vinegar

  • 2-3 tablespoons warm water

  • salt and pepper

  • And to serve as a sandwich

  • bread or wrap of your choice

  • tomato slices

  • lettuce

  • anything else you want

Place half of the beans, tahini, garlic, juice of the lemon, and the vinegar into a jar and use a immersion blender or a regular blender and blend until creamy smooth. Add in a tablespoon at a time of water until the consistency is just slightly thinner then hummus.

Grab zucchini and using a mandolin or a knife and julienne it. (You can also just cut into small little cubes.) Dice the onion up into small pieces and toss with zucchini, onion, and the other half of beans into a big bowl. Dump the bean tahini mixture all over and veggies bean mixture and toss around. Add salt and pepper to taste.

To make it a sandwich… Place a scoop onto a bread situation, add some lettuce and tomato and whatever else you want, and eat it.

In beans, dinner, pulses, quick and easy, Raw, salad, summer, Vegan, Vegetables, sandwiches Tags White Bean Zucchini Salad Sandwich, Sandwich, vegan, vegan sandwich, gluten free, vegetables, beans, pulses, plant based, easy dinner, summertime, no cook meal, cold food, salad, zucchini, easy, fast, picnic
Comment

Millet with mushrooms, onions, Greens and a mustard vinaigrette

June 8, 2019 Colleen Stem
IMG_9275.jpg
IMG_9282 2.jpg

Salad season is here. Green salads, fruit salads, potato salads, and grain salads. All the salads and we are not mad about it.

This is a good grain salad using millet, which I am sightly surprised to hear that a lot of people have never had. Millet is kind of like quinoa, but not. I cooks fluffy and looks kind of the same, and is gluten free like quinoa. I think the biggest difference is that millet is slightly softer and tastes a bit more nutty. It also is really good at absorbing liquid flavors.

But who are we to compare. The main thing is that it is nutritious and delicious so we will eat it.

Back to the salad. This is one of those grain salads that is good cooked and served warm but only gets better with a little age (like an hour or a day) in the fridge. Served hot or cold or room tempature, and is hearty enough to be meal like but is also a fantastic addition as a side to any of you meal plans. Like maybe a BBQ? Whatever the occasion, or non occasion, this is just a really good grain salad situation and I think you will be pleased, smiling all smiles while eating it.

To the millet salad.

IMG_9091.jpg

The stuff. Millet, a couple handful of greens, a few mushrooms, an onion, dijon mustard, a little maple syrup, red wine vinegar, a lemon, a couple cloves or garlic, some toasted sunflower seeds, and salt and pepper.

IMG_9099.jpg

Start by giving the millet a little toast, just enough to really up the nutty flavor and make it that much more yummy. It only takes a few minutes in a skillet on medium heat. Not an entirely necessary step, but you should do it.

IMG_9107.jpg

Toasted millet goes into pot with water. Bring pot to a boil and then turn to the lowest simmer and cover.

IMG_9112.jpg
IMG_9128.jpg

While millet is cooking, get to the mushrooms and onions. Chop the onion thin and small and the mushrooms thin and small as well. Place them into the skillet with a drizzle of oil and place on medium heat. Mix around every now and then and cook until the mushrooms and onions are soft and a nice golden brown.

And make the vinaigrette. Minced garlic, mustard, vinegar, the juice of the lemon, and maple syrup get put into one place.

IMG_9137.jpg

Mixed and now all is one.

IMG_9147.jpg

Millet. Cooked and fluffed and ready to go.

IMG_9158.jpg
IMG_9177.jpg

Cooked mushrooms and onions go into the pot, along with the greens, the sunflower seed, and the vinaigrette. This step can be right away or you can wait a little while for things to cool as to not wilt the greens. Up tp you.

IMG_9185.jpg

Mixed with love and hunger.

Even if you are making it ahead of time, just do yourself a favor. Grab a bowl, grab a fork, and get down on it.

-C


Millet with mushrooms, onions, Greens and a mustard vinaigrette

Seves 4-6

  • 3/4 cup uncooked millet

  • 2 cups water

  • 1 sweet onion

  • 3-4 big button mushrooms

  • Large handful or two of bitter greens like arugula, spinach or a mixture.

  • 2 tablespoon brown or dijon mustard

  • 2 tablespoon red wine vinegar

  • 1 teaspoon maple syrup

  • 2 cloves garlic

  • salt and pepper

  • handful toasted sunflower seeds

To start, toast millet. Dump the uncooked millet into a pan and place on a medium heat tt for about 5 minutes or until you start hearing the millet crackle.This gives the millet a slightly more nutty flavor but you can skip this step if you don’t care.

Dump millet and water into medium pot. Place on high heat until water starts to boil then tun heat down to simmer and over. After about 15 or 20 minutes, when most of the water is gone, turn pot completely off. Let sit, covered for another 10ish minutes then take a fork and fluff it.

While the millet is cooking, cook the veggies. Grab the onion and slice it up into thin pieces. Clean off the mushrooms and chop them into small thin pieces too. Place the chopped stuff into the skillet with a drizzle of olive oil and a pinch of salt and place on a medium heat. Stir occasionally and cook for about 15 minutes or until the onion and mushroom are a nice dark, golden brown.

And make the mustard vinaigrette. Mince garlic and place into a jar or bowl with the vinegar, the mustard, the maple, and the juice of the lemon. Mix and set aside.

Once the millet is cooked, the mushrooms and onions are cooked, and the vinaigrette is made, all you have left to do is mix everything together. You can do this while things are slightly warm which will wilt the greens a bit, o let them cool so the greens stay fresh. Up to you. (I like the greens fresh)

Finally, dump cooked mushrooms and onions into pot with cooked millet. Add in the greens and sunflower seeds and drizzle the vinegertte all over. Toss around until fully mixed. Sprinkle with lots of fresh cracked pepper.

Then eat. Or place in a container to bring to the BBQ.

In BBQ, Dairy Free, Gluten Free, grains, salad, seeds, side dish, Spring, Vegan, Vegetables Tags Millet with mushrooms, onions, Greens and a mustard vinaigrette, gluten free, millet, vegan, salad, grain salad, grain bowl, grain, mushrooms, plant based, sunflower seeds, mustard, vinaigrette, dinner, BBQ, make ahead, healthy, dairy free
Comment

Black Olive Avocado Dressed Greens with Almond Crumbs

March 16, 2019 Colleen Stem

Do you ever wake up first thing in the morning with a craving, a maybe somewhat strange food craving? Lately I have been waking up and within an hour of being up, I start to think about olives. My mouth starts to water and it’s like I can almost taste the salty, briny, fattiness in my mouth, which in itself is kind of weird, but for me is really really weird because up until very recently I completely hated olives. Now, well now I just want to eat them all. And first thing in the morning.

I don’t pretend to understand such things. My brain is going to do what it’s going do. Tell me I like olives, well all right then.

Another thing I am desperately craving is freshy fresh greens which makes complete since because I always crave greens. I am still pretty deep in root veggies and cooked things because winter and Vermont and all, but all I really really really want to eat are buckets of greens. Any kind will do, but the sweet tender baby ones…. So good.

And so I combined my two cravings, greens and olives and hit those craving like POW! BAM! POOF? A salad so simple yet so amazing and mouth watering. I outdid myself here.

To the bestest, most amazingly perfect salad yet!

IMG_6477 2.jpg

The stuff. A big ol’ bowl of greens. Black pitted olives, half an avocado, a lemon, toasted almonds, a chunk of red onion, a couple cloves garlic, and pepper.

IMG_6481.jpg
IMG_6483.jpg

Almond crumbs. Exactly what it sounds like. Place almonds into a clean food prosessor and pulse until they are crumbs.

IMG_6495.jpg
IMG_6516.jpg

Dump the almonds into a bowl. Don’t bother cleaning it out, you are about to use it again. Olives, avocado, garlic, and all the juice of the lemon now get a go in the food processor. Pulsed together into a creamy, kinda of chunky but mostly smooth, mixture of amazing. Add a few tablespoons of cold water if the mixture seems really thick, but other then that, you be done.

IMG_6520.jpg

Very thinly slice up red onion and slice up a few extra olives.

IMG_6536.jpg

All here, all ready to go. Just got to toss it together now.

Greens, some slices olives and onion tossed all together in a good amount of the olive avocado goodness then topped with a hardy helping of almond crumbs. Fresh pepper to finish it off.

I was barely able to stop myself from eating it all before snapping a few pictures.

All of my cravings come true…

It’s salad time!

-C


Black Olive Avocado Dressed Greens with Almond Crumbs

Makes enough dressing and crumbs to feed 2-4 people

  • 1/2 of a ripe avocado

  • 1 cup pitted black olives

  • 1 lemon

  • 2-3 tablespoons cold water

  • 1-2 cloves garlic

  • 1/4 cup toasted almonds

  • 2-4 large handfuls of fresh greens (I used a mixture of baby spinach, baby chard, and baby kale. Spring mix or even chopped leaf lettuce would be grand as well)

  • about 1/2 a small red onion

  • pepper to taste

Place almonds in food processor and pulse until they are crumbly. Not to fine, a few big chunks are good.. Remove and set aside

Roughly chop the garlic and place in the food processor (no need to clean it out after the almonds). Add in the avocado and most of the olives (leave few behind to slice up). Add in the juice of the lemon. Pulse until mixture is combined but with little specks of olive left.or completely smooth if you wanted too. Scoop out into a container. You want it to be slightly loos so it will mix well with the greens. If the mixture seems really thick, add in a a few tablespoons of cold water to thin out.

Grab the onion and remaining olives and thinly slice.

Now to assemble salad. Place a handful of clean greens into a bowl. Toss a some onions and extra sliced olives into greens. Add as little or as much olive avocado dressing as desired then sprinkle as much or as little of the almond crumbs all over that. Top with freshly find pepper

Then eat it.

In Dressing, quick and easy, Raw, salad, Spring, Vegan, Vegetables Tags Black Olive Avocado Dressed Greens with Almond Crumbs, salad, black olives, olives, avocado, vegan, grain free, gluten free, plant based, vegetables, spring, fresh, simple, easy, almonds, heathy, raw, good fats, oil free
Comment
← Newer Posts Older Posts →
 

https://thelovelycrazy.squarespace.com/config#/|/about/

Me. Food Maker.Food eater. Woo HOO!

STEM+NODE  SMALL BATCH AND ONE OF A KIND POTTERY

stem+node ceramics


____________________

Subscribe

GET NEW POSTS IN YO EMAIL

You are AWESOME!!!


@thelovelycrazy 2014-2021