• stem+node ceramics
  • HOME
  • Food Recipes
  • About
  • Contact
Menu

The Lovely Crazy

Street Address
City, State, Zip
Phone Number

Your Custom Text Here

The Lovely Crazy

  • stem+node ceramics
  • HOME
  • Food Recipes
  • About
  • Contact

Hummus Bowl with Roasted Veggies

November 30, 2019 Colleen Stem
IMG_4035 3.jpg

I eat so much hummus. Everyday, all day. Homemade, store bought. If there is hummus, I will be consuming it. But the thing is, I usually don’t eat more then a little at a time. (A little being like 1/2 a cup). And sure, sometimes that is just fine and enough, but other times, what I really want to do is garb a spoon and a bag of carrots and eat it all. And then I do.

But there is that little voice in the back of my head telling me that if someone where to catch me eating mounds of hummus, they would liken my eating behavior to that of someone eating a jar of mustard (Not going to lie, it happens sometimes) or of a bottle of ketchup (but I don’t eat ketchup) and that have a problem and shouldn’t being eating it like that. Because hummus, for some reason, has been put into the condiment category. It’s treated like a dip or a spread and that is fine and dandy to eat it as such, but hummus is so much more. It can, and should be treated more like a main component to a dish. So let us step outside of that box and eat it how we really want to eat it.

Hummus by the bowlful. I know right! It just makes so much sense to me. And now to you too. We need to stop stopping ourselves from just a scoop or two because really, that is just not enough. Nope, this is for real. A bowl, full of hummus, topped with roasted veggies because that is just more deliciousness. And we get to eat it all.

Life can be pretty great sometime, you know. HA

Now to the bowl of hummus!

IMG_3887.jpg

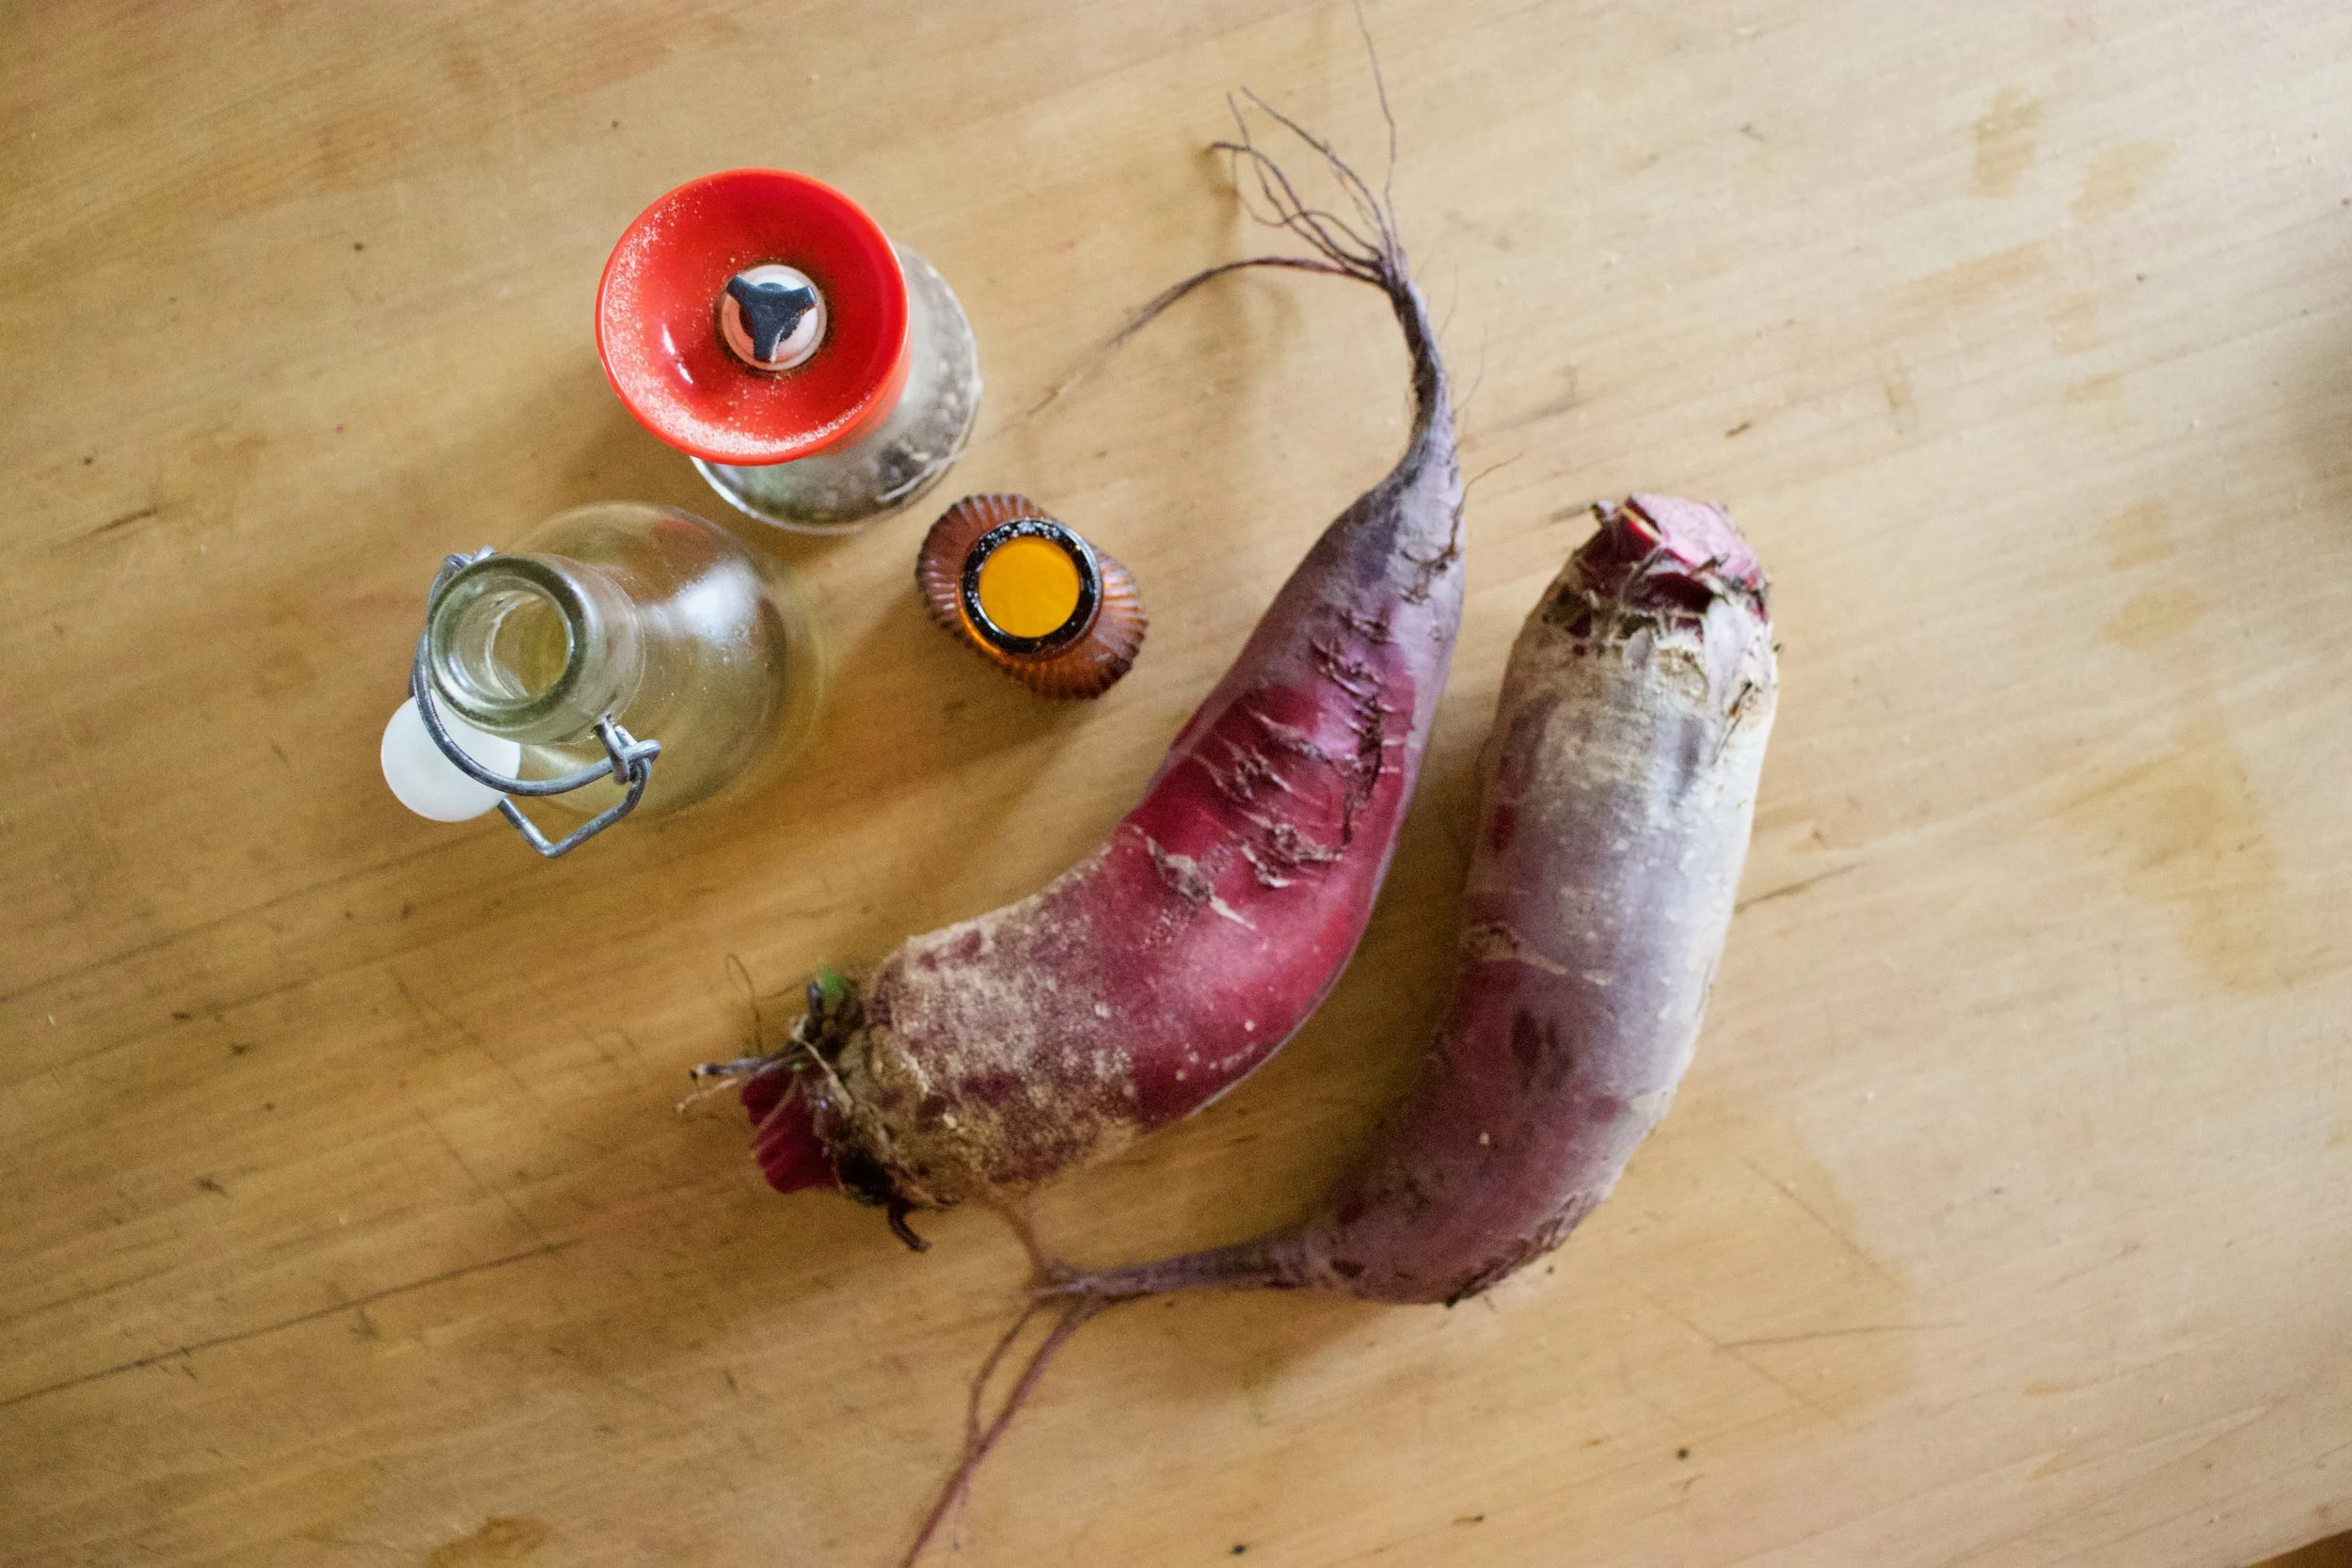
The stuff. We got chickpeas, tahini, a lemon, red wine vinegar, garlic, salt and pepper. And Veggies. Brussel Sprouts, broccoli, onion, Swiss chard, and kale.

IMG_3892.jpg
IMG_3931.jpg

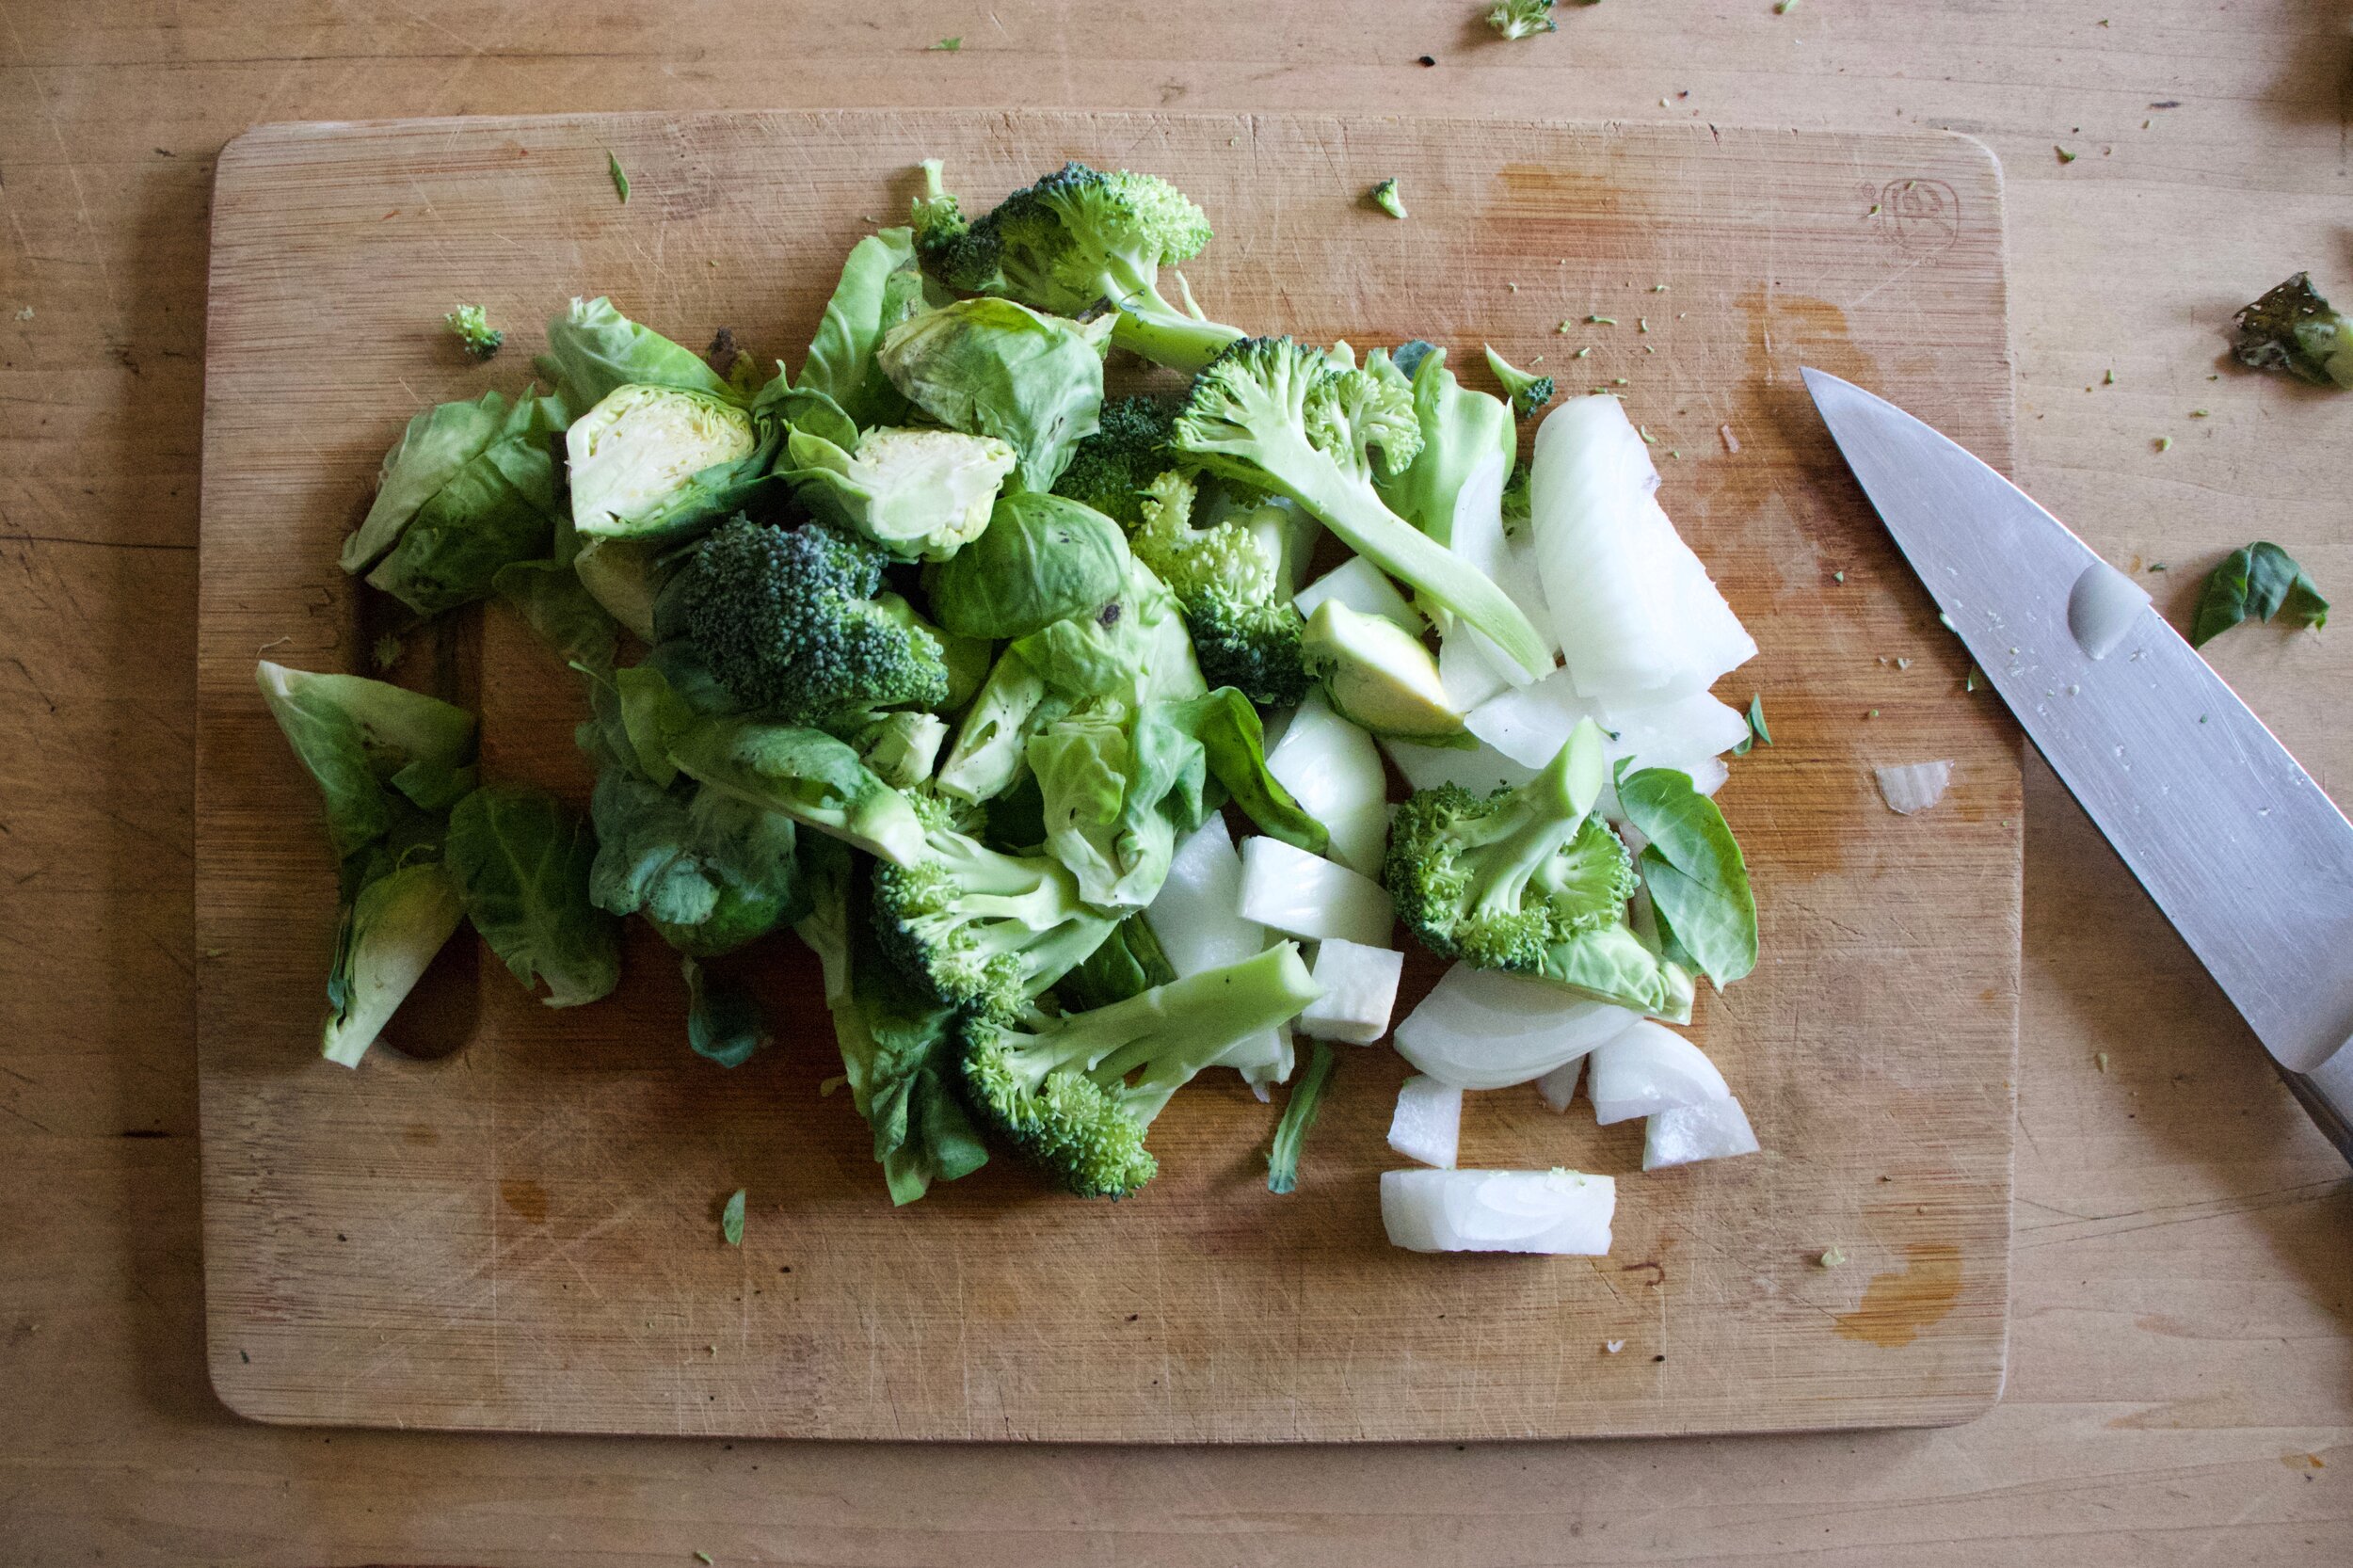
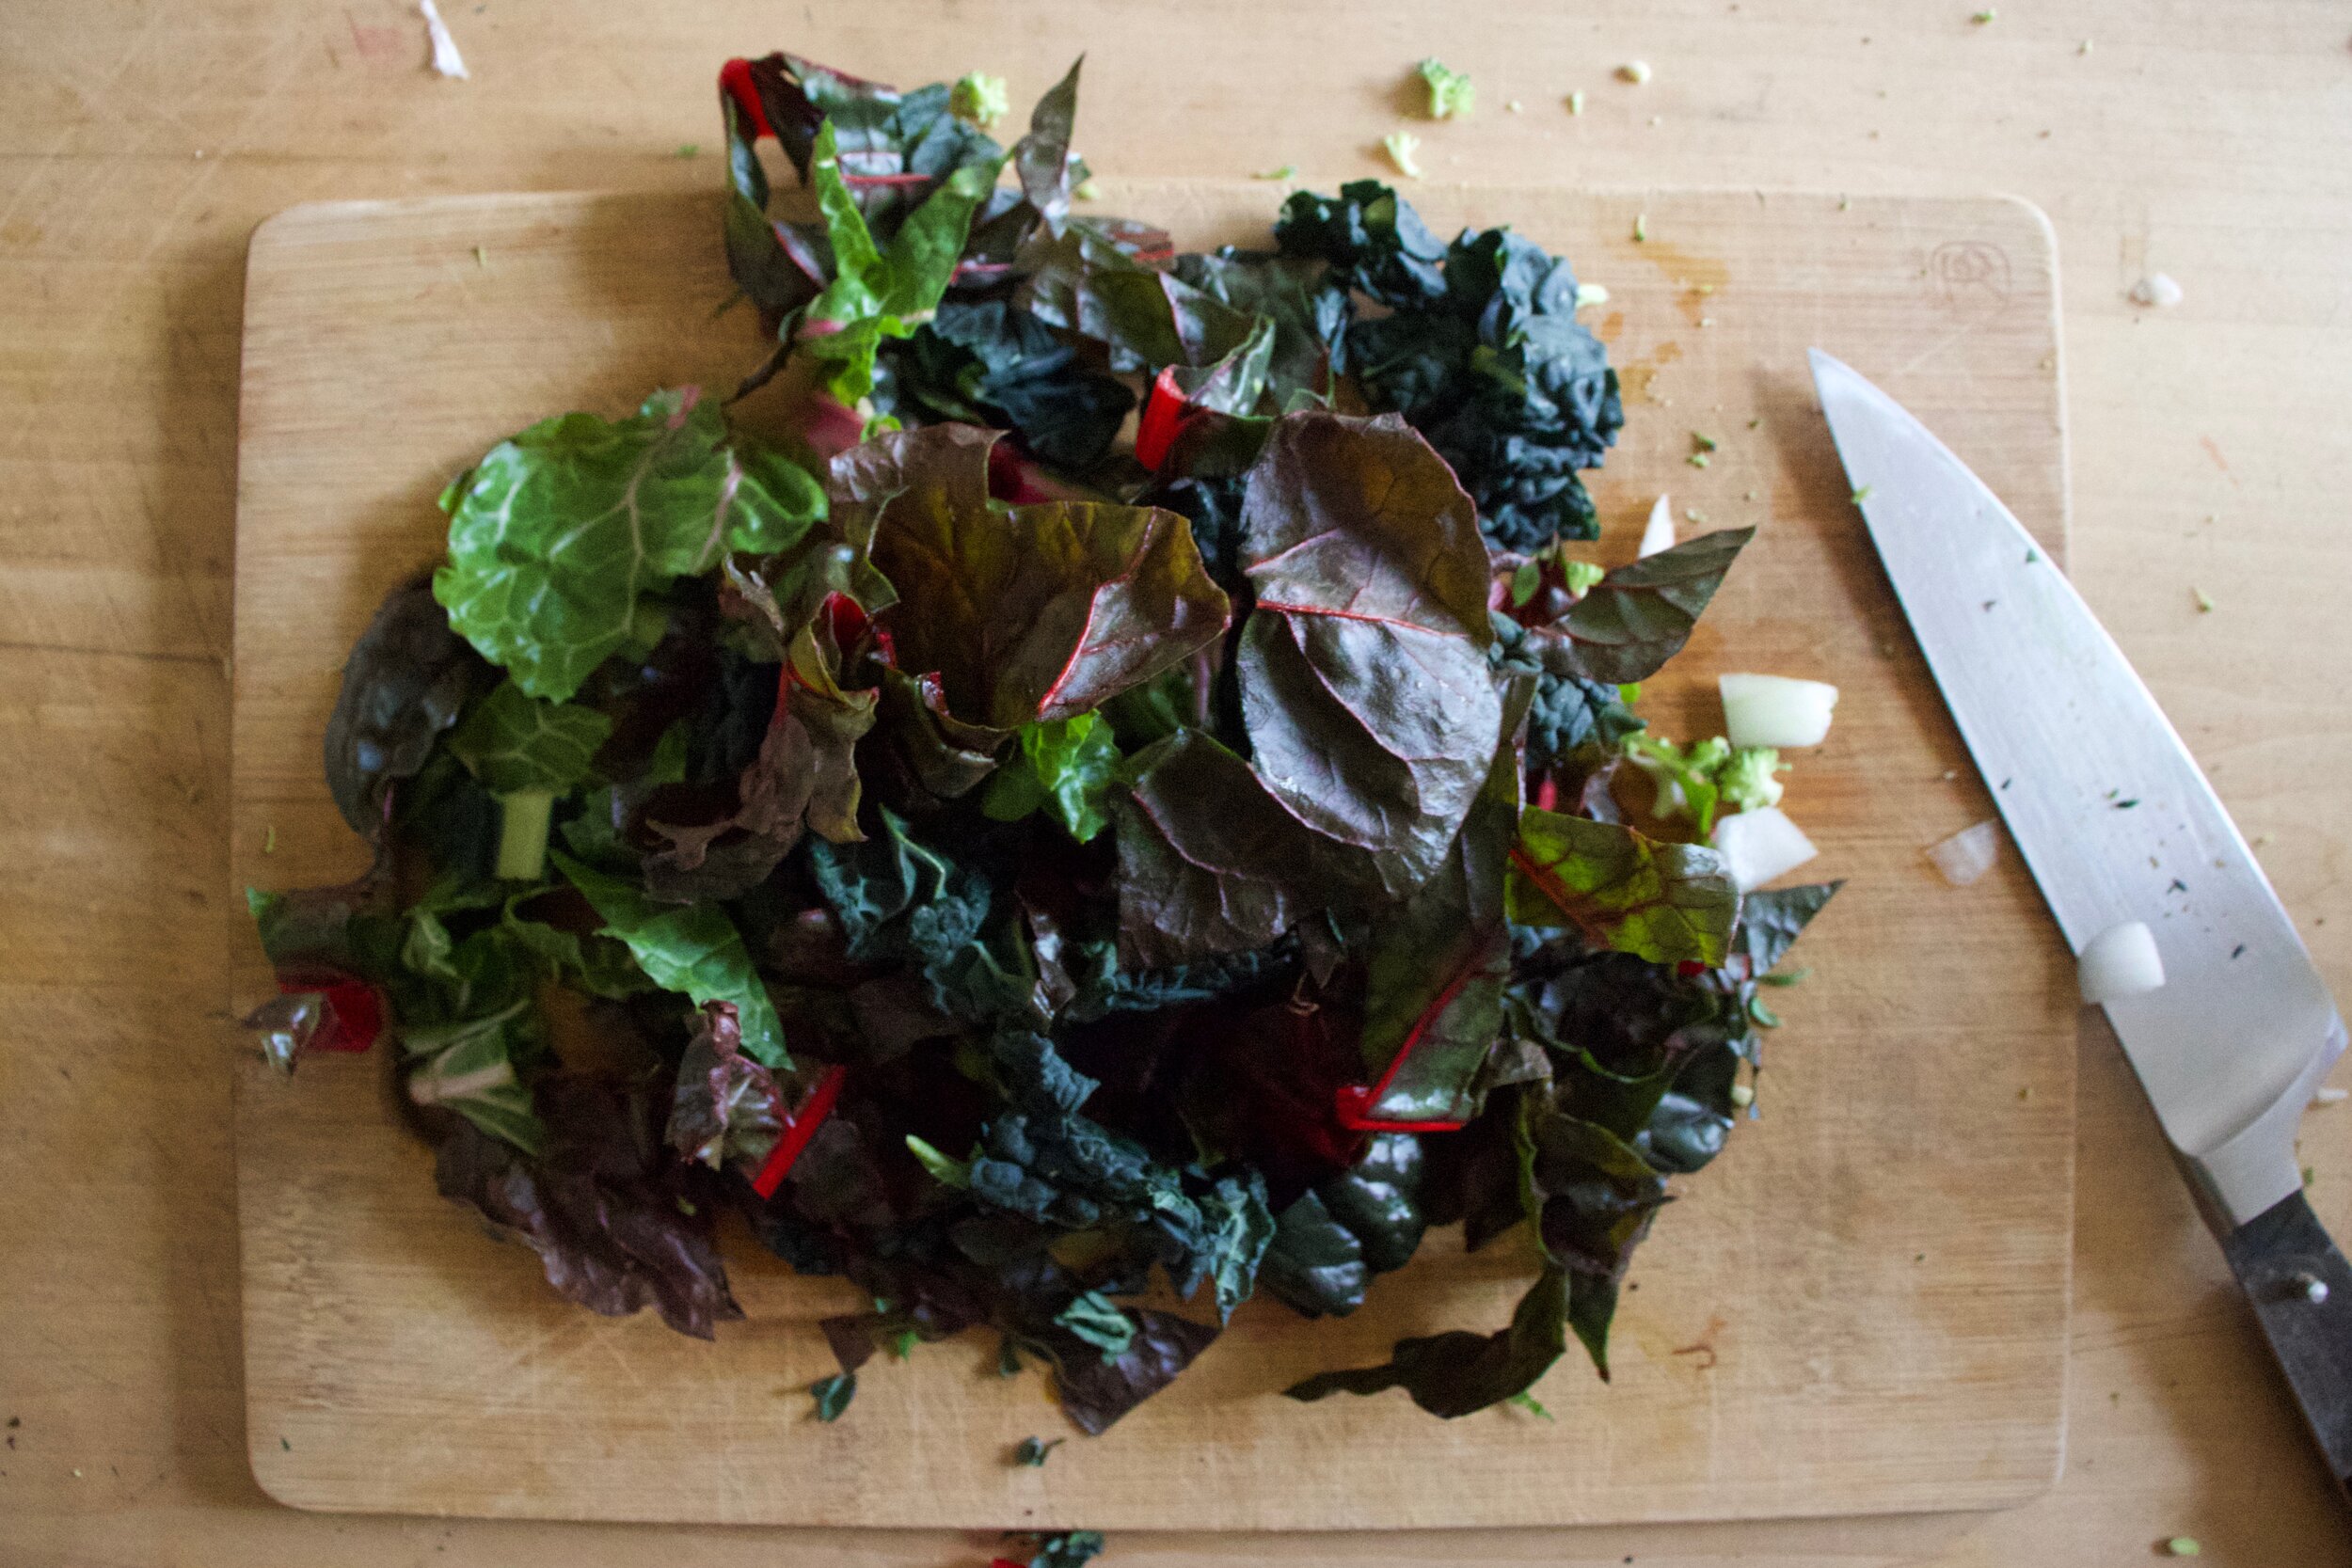
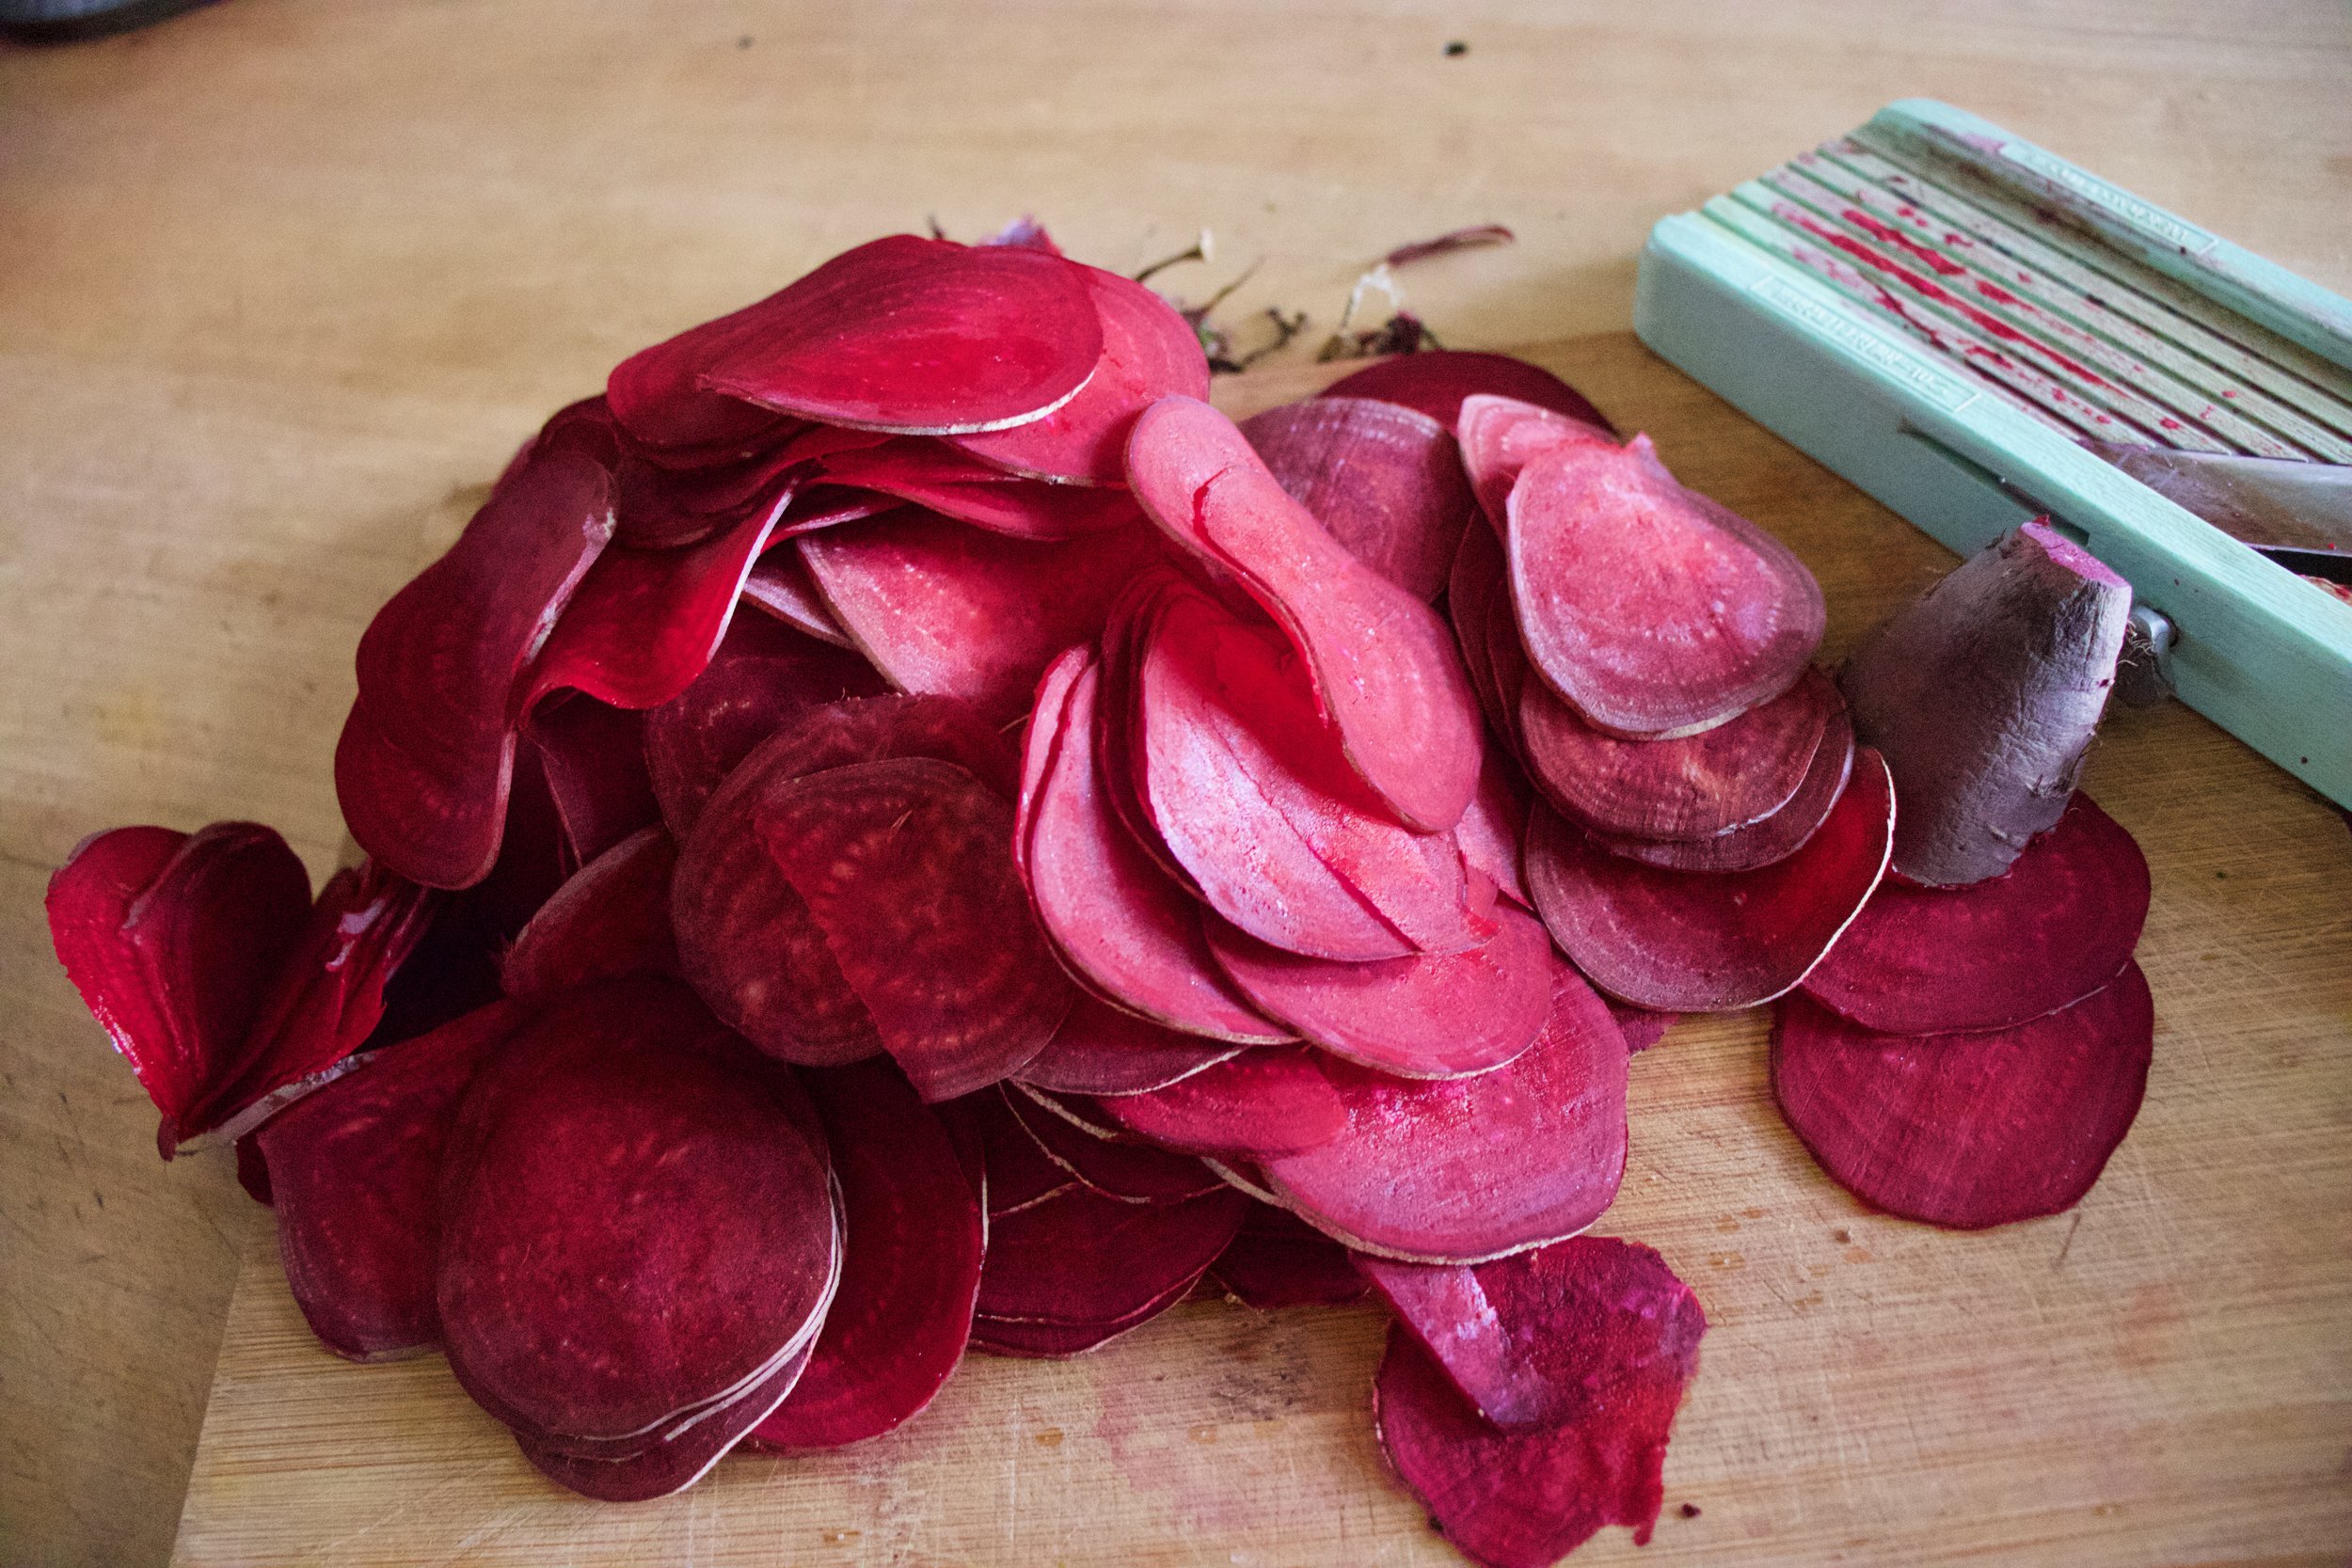
Chop up the broccoli, the onion and half or quarter the Brussel sprouts. And separately, chop up the kale and chard.

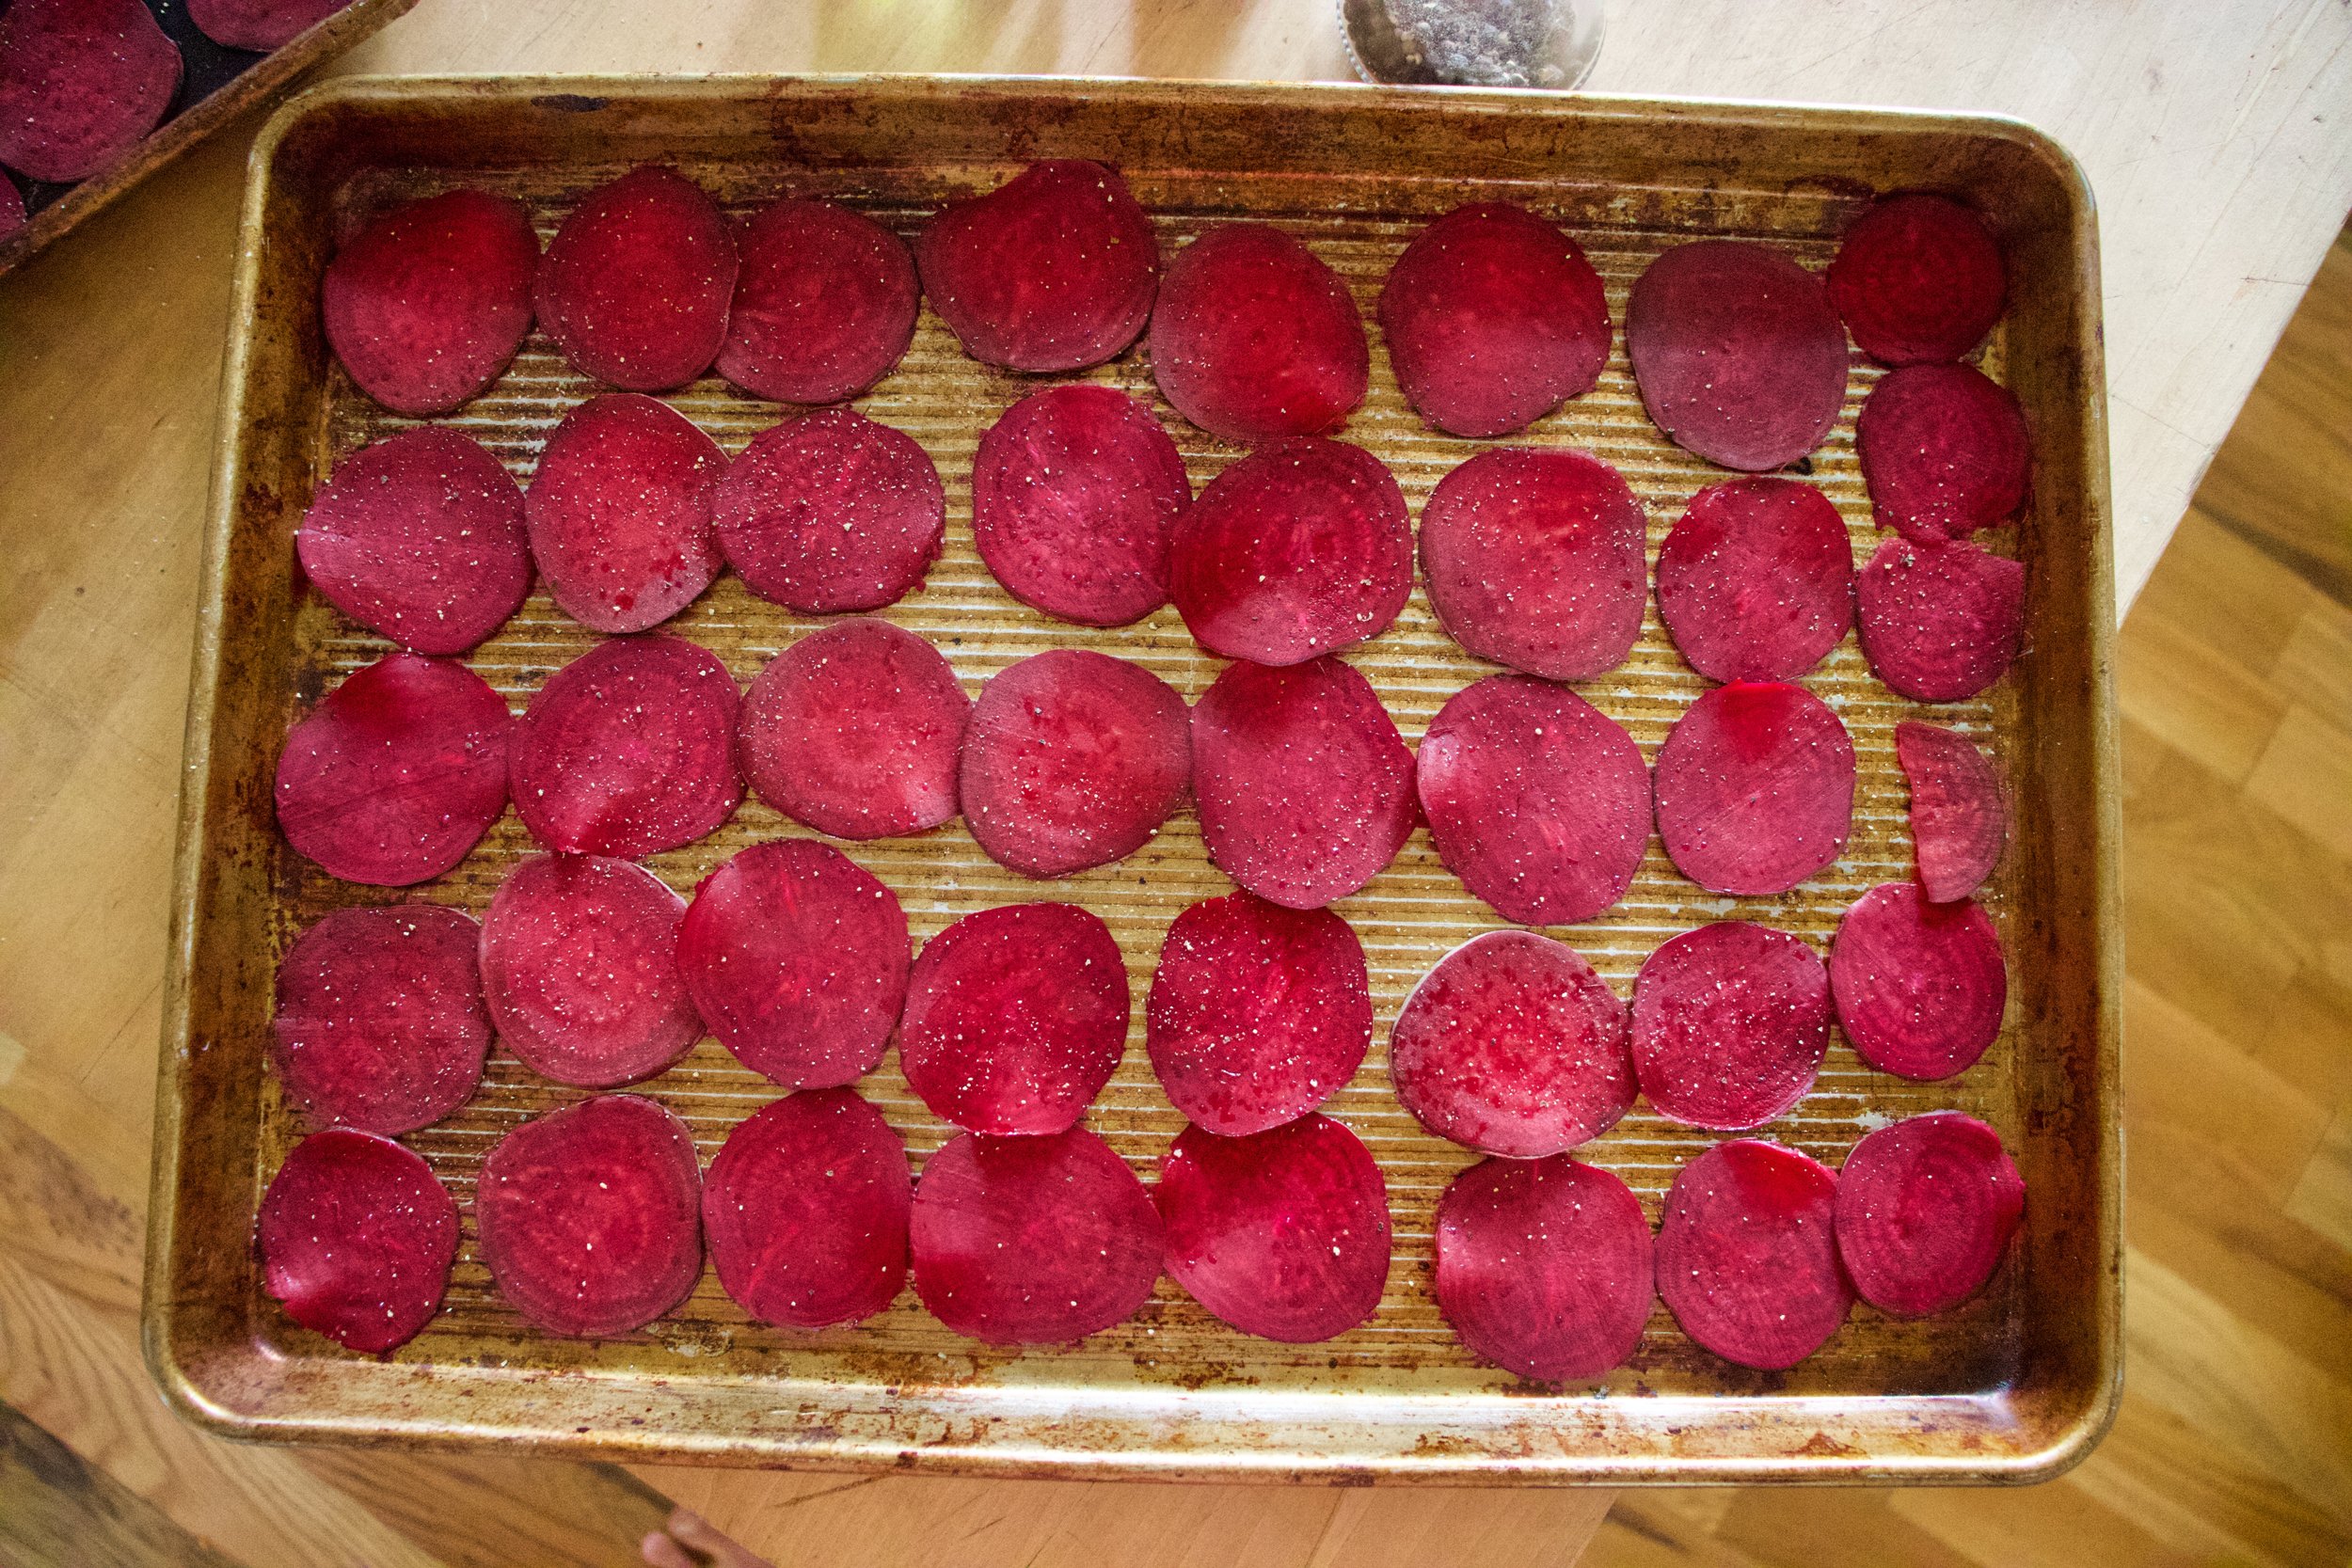
Toss the chopped Brussels, broccoli and onion into a baking sheet or oven safe skillet and season with salt and pepper. IF you want to toss in a little oil, go for it. Then pop the veggies into a hot oven to roast away.

IMG_3939 2.jpg

Once the veggies are just about done to your liking, grab the chopped kale and chard and off to the veggies. Toss and roast for a few more minutes.
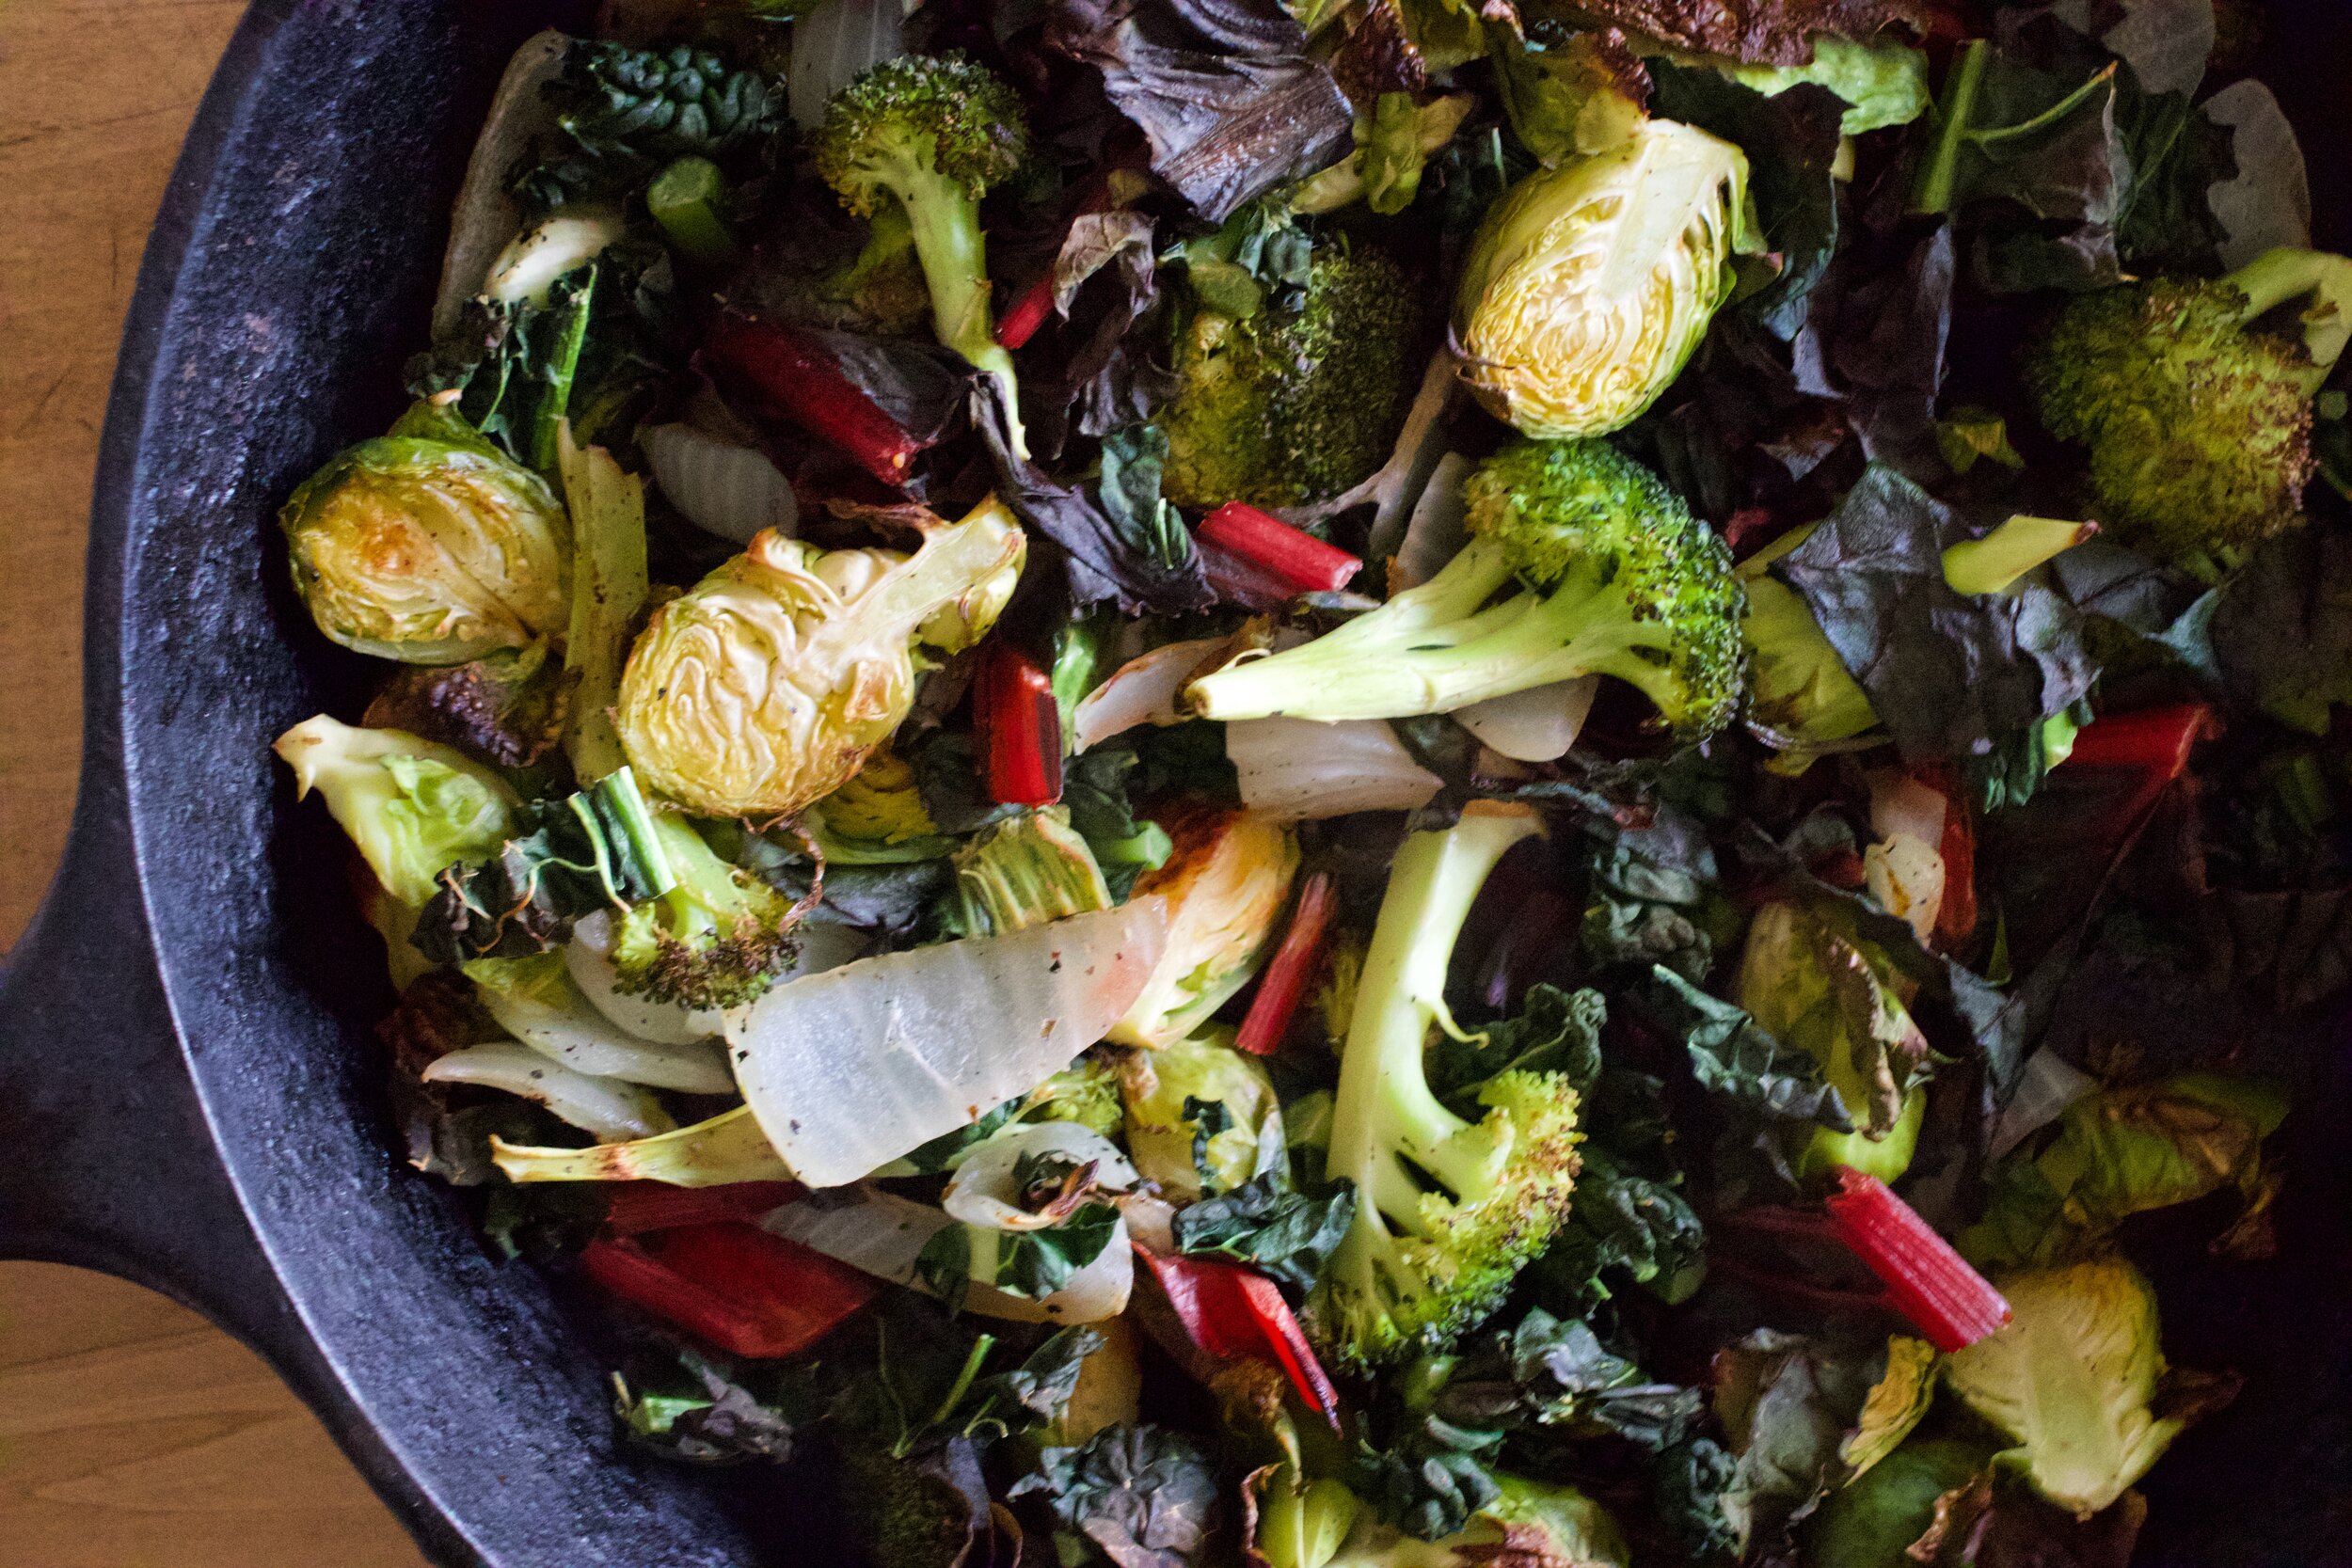
Done.

IMG_3904.jpg
IMG_3913.jpg

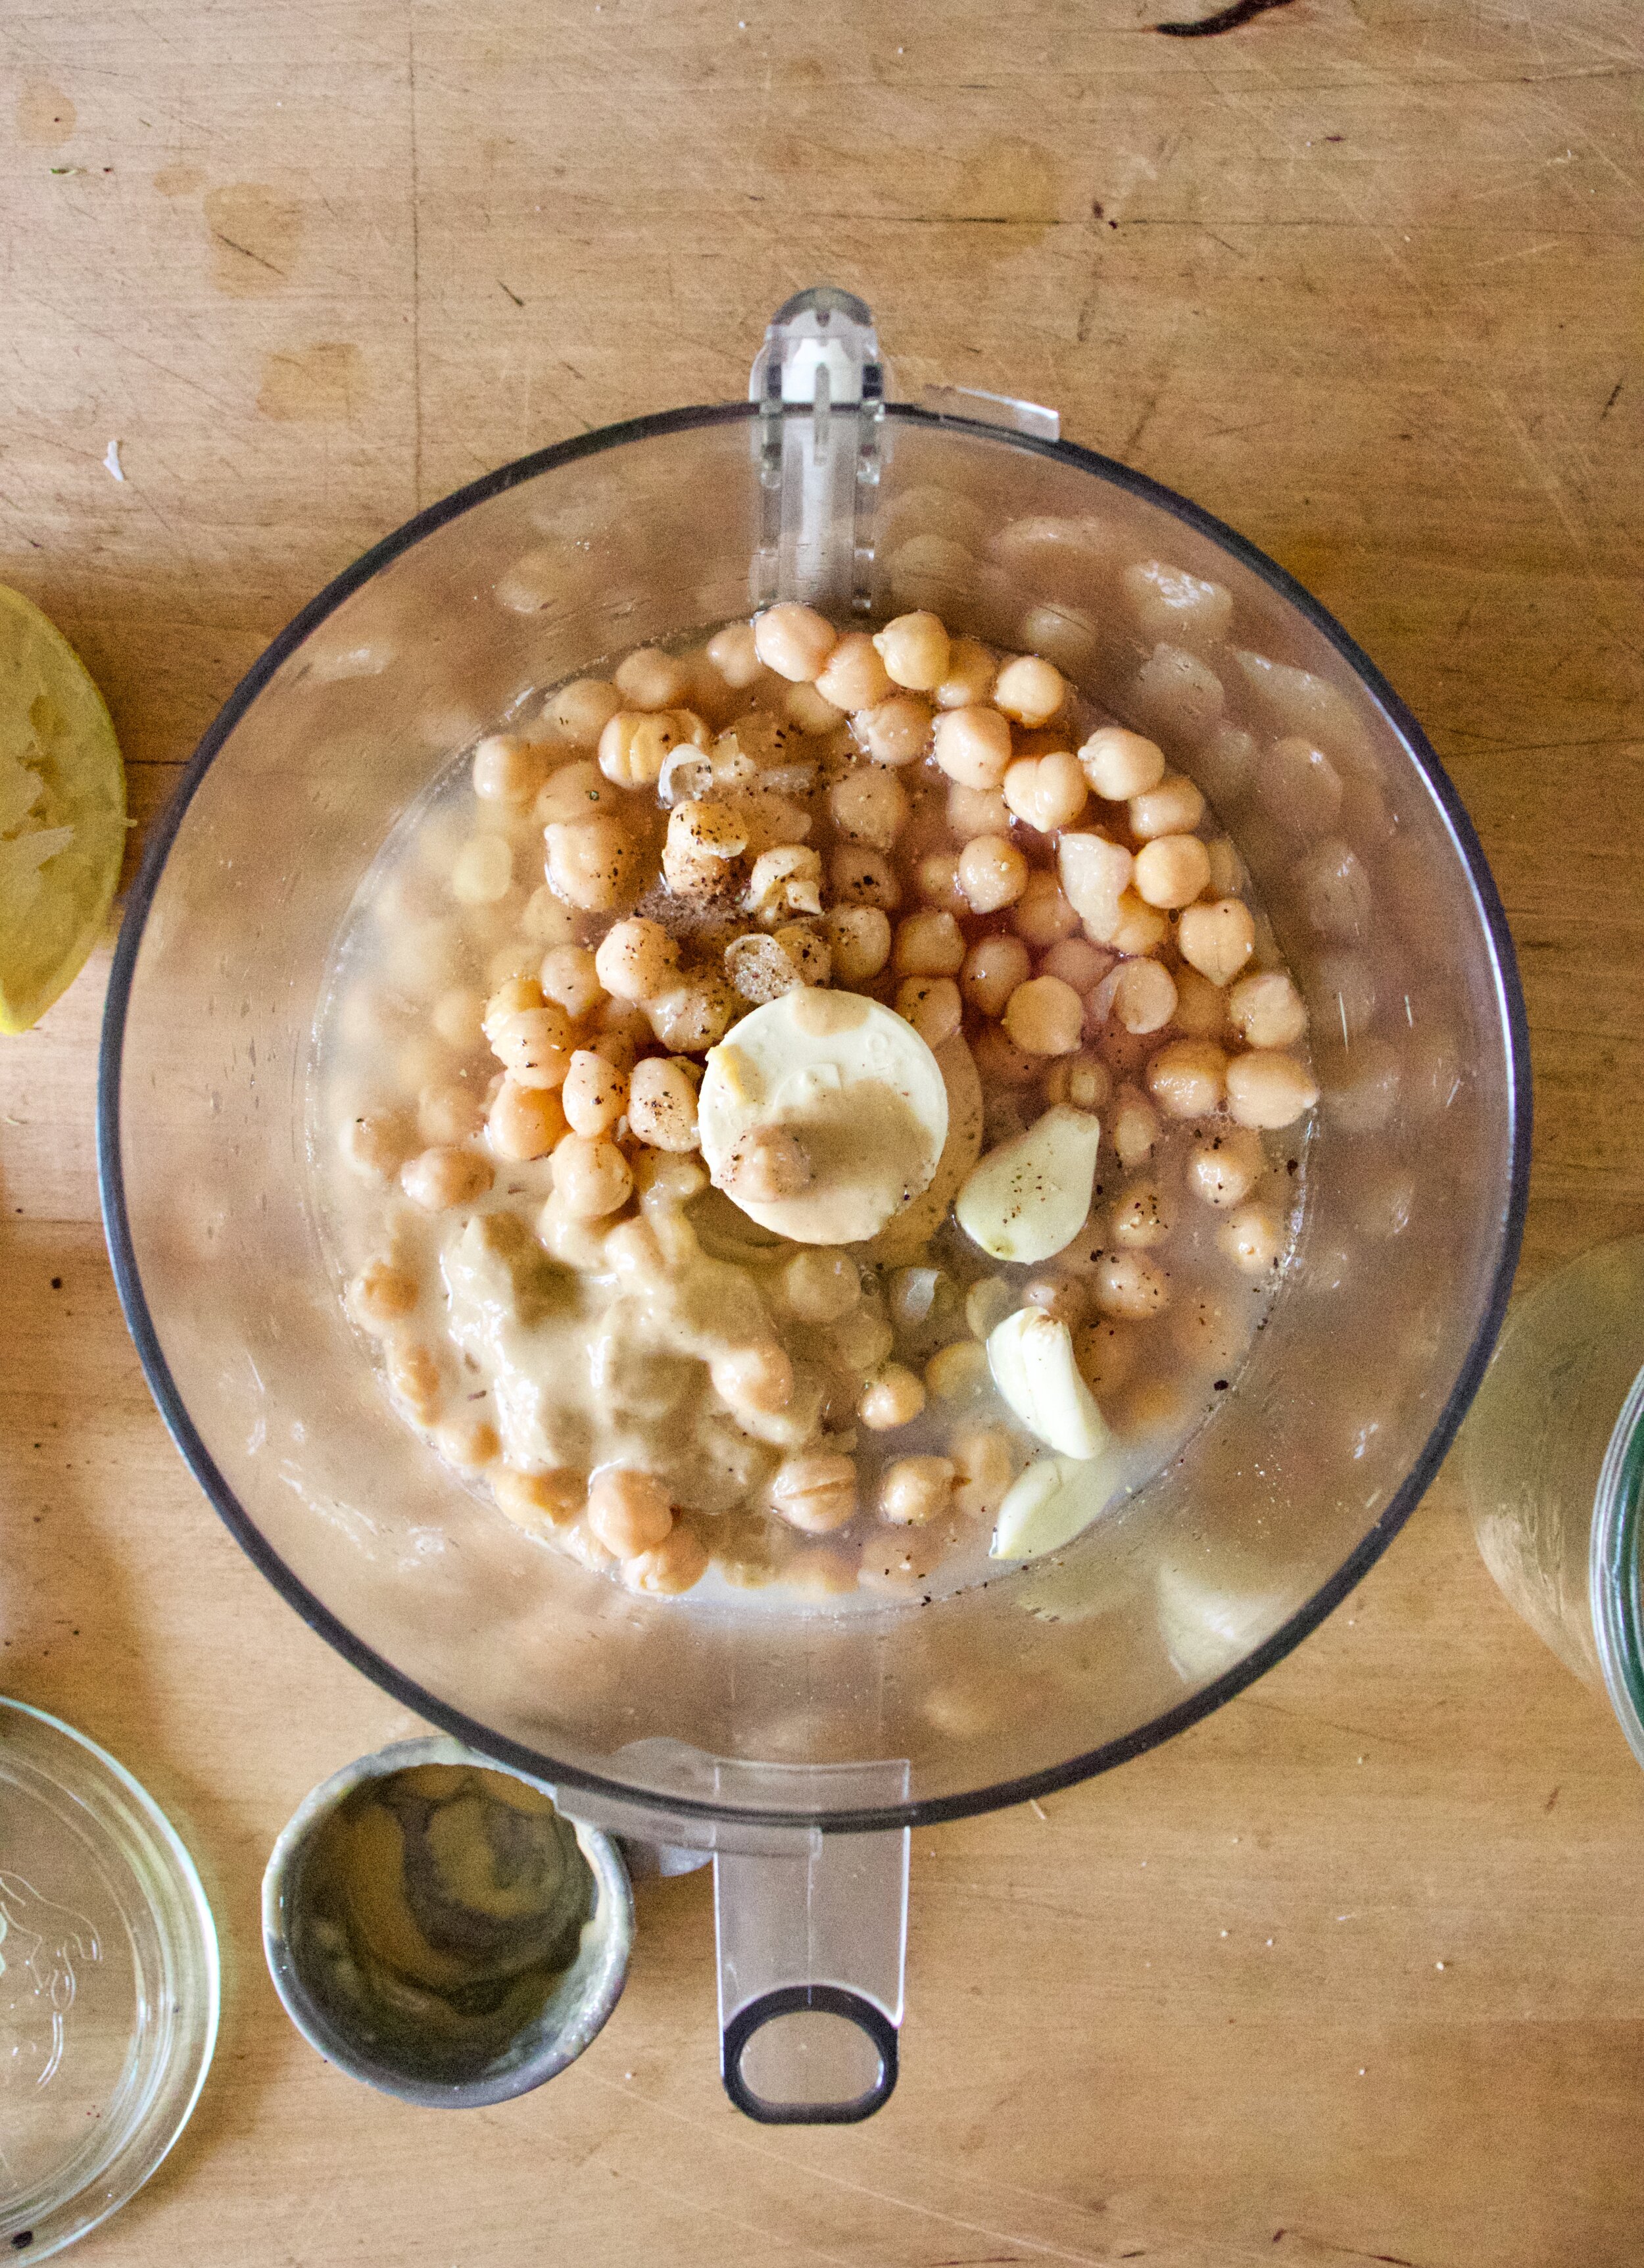
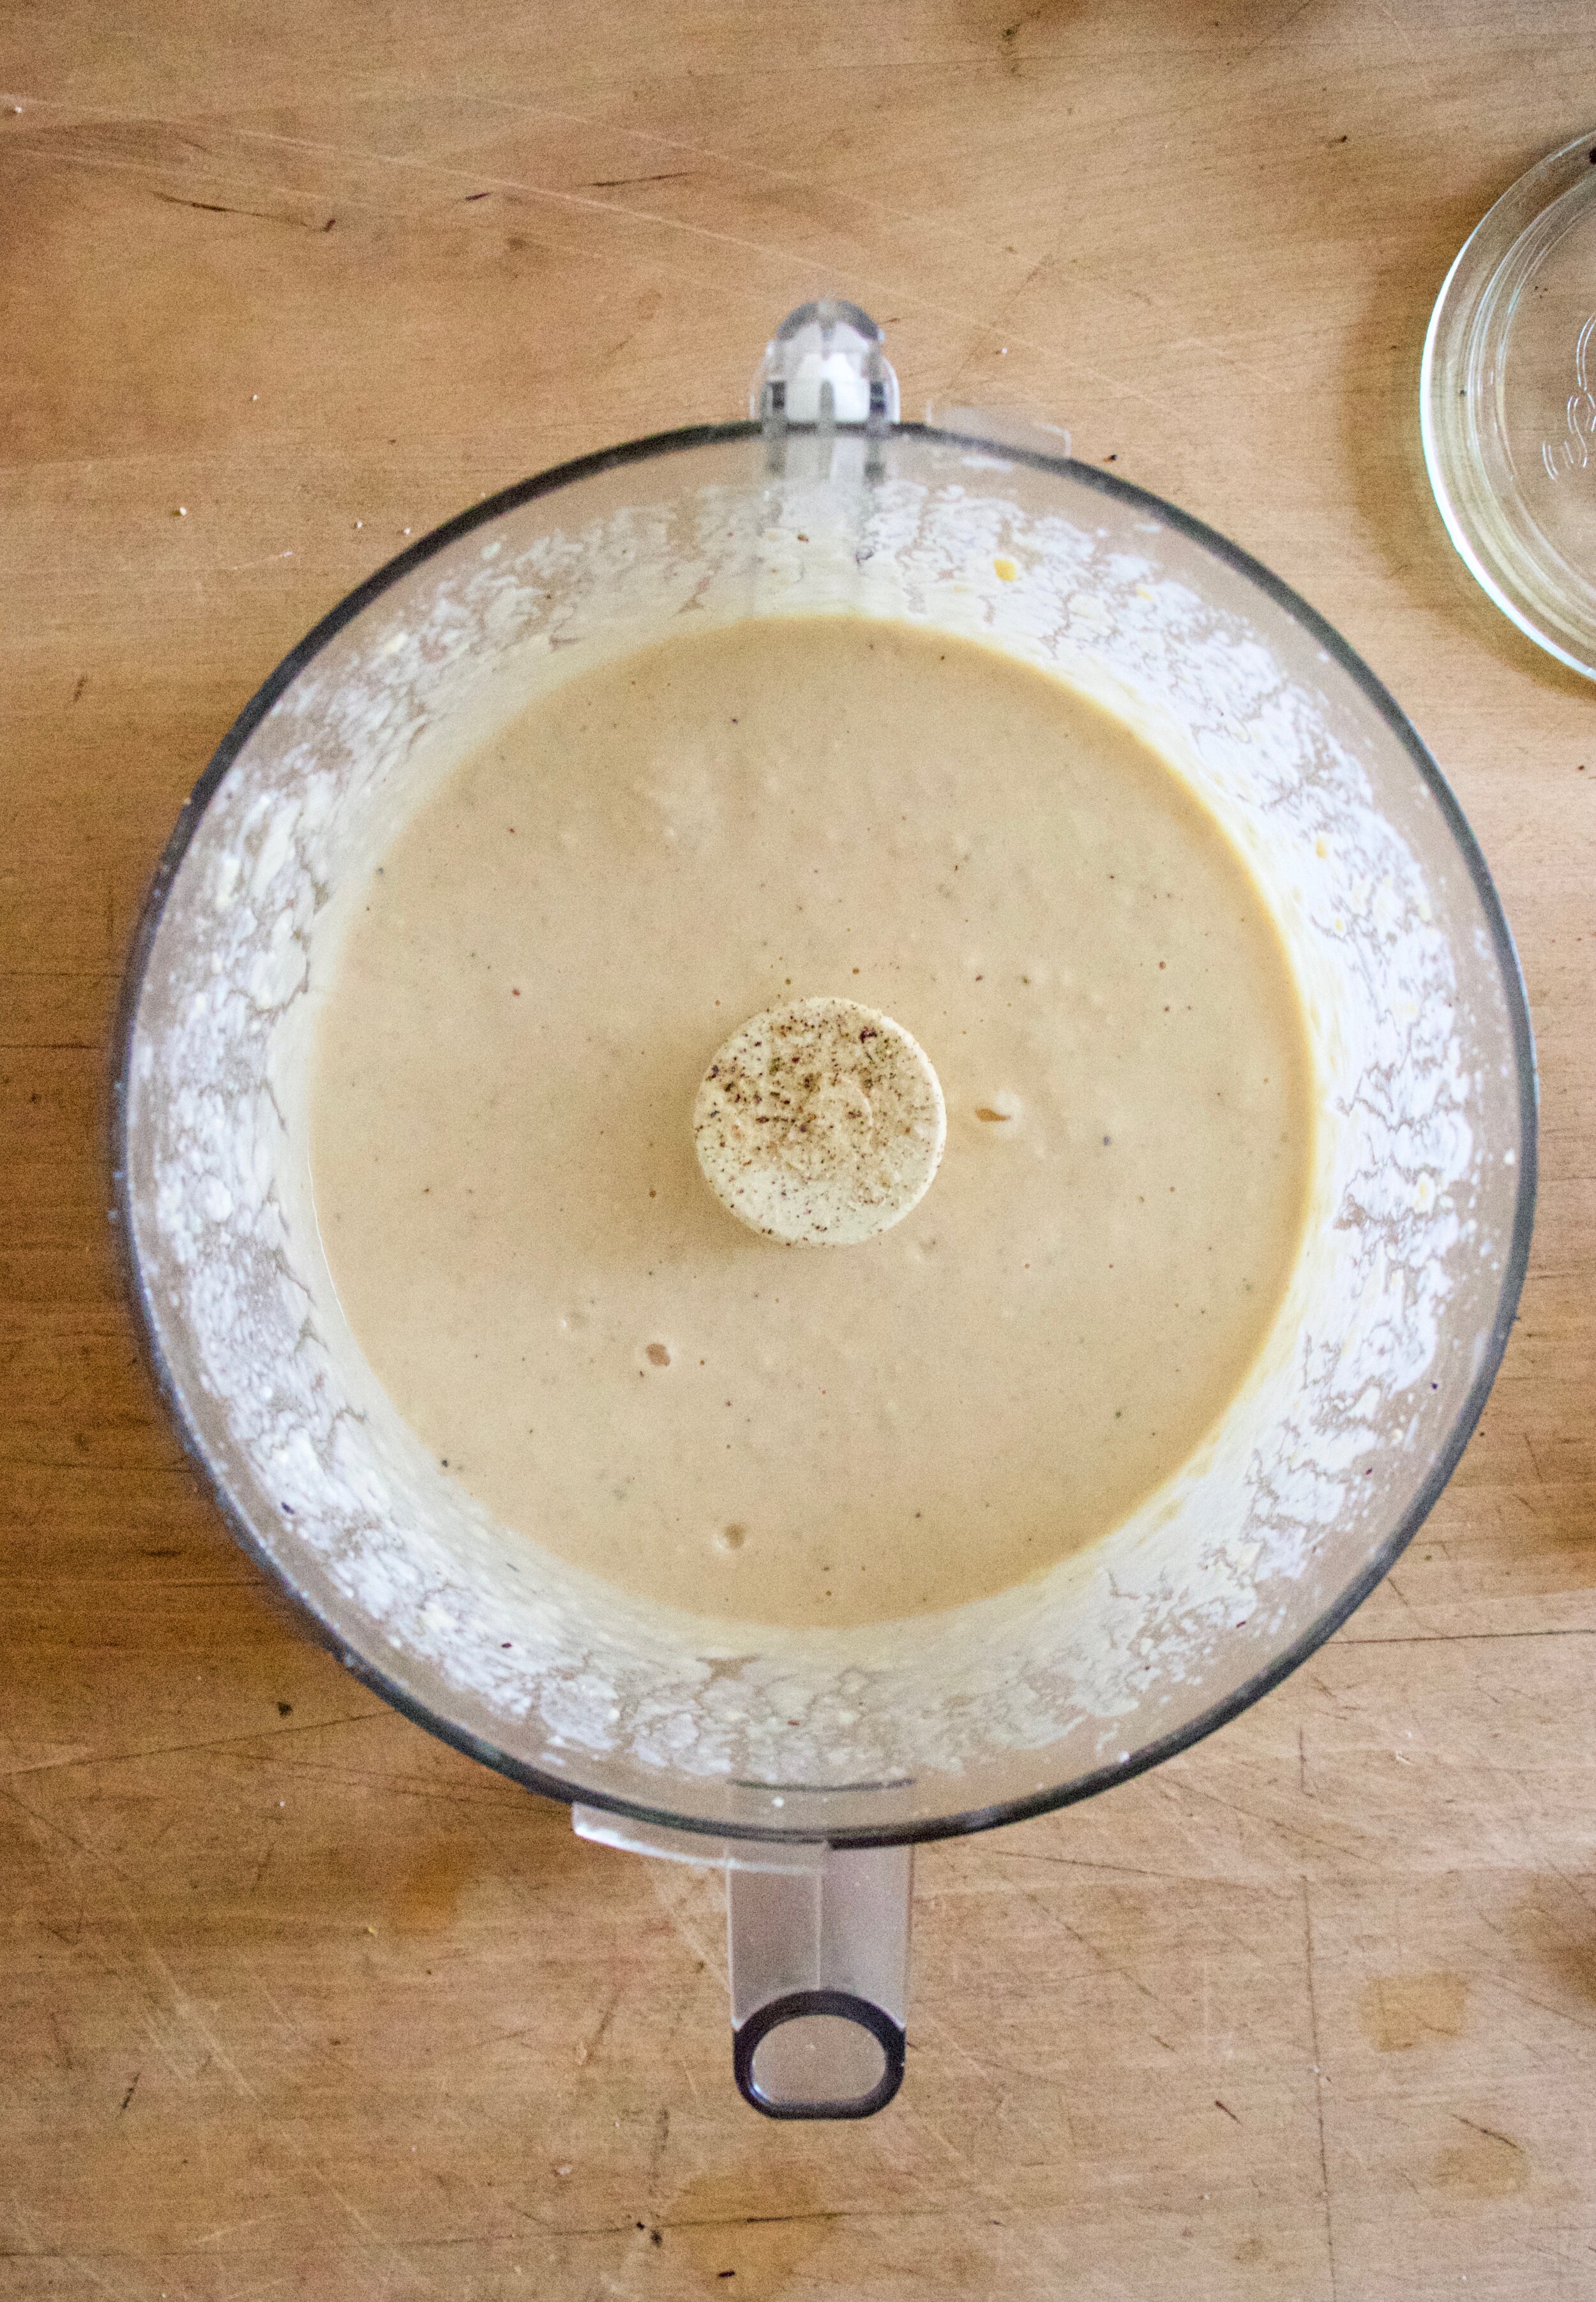
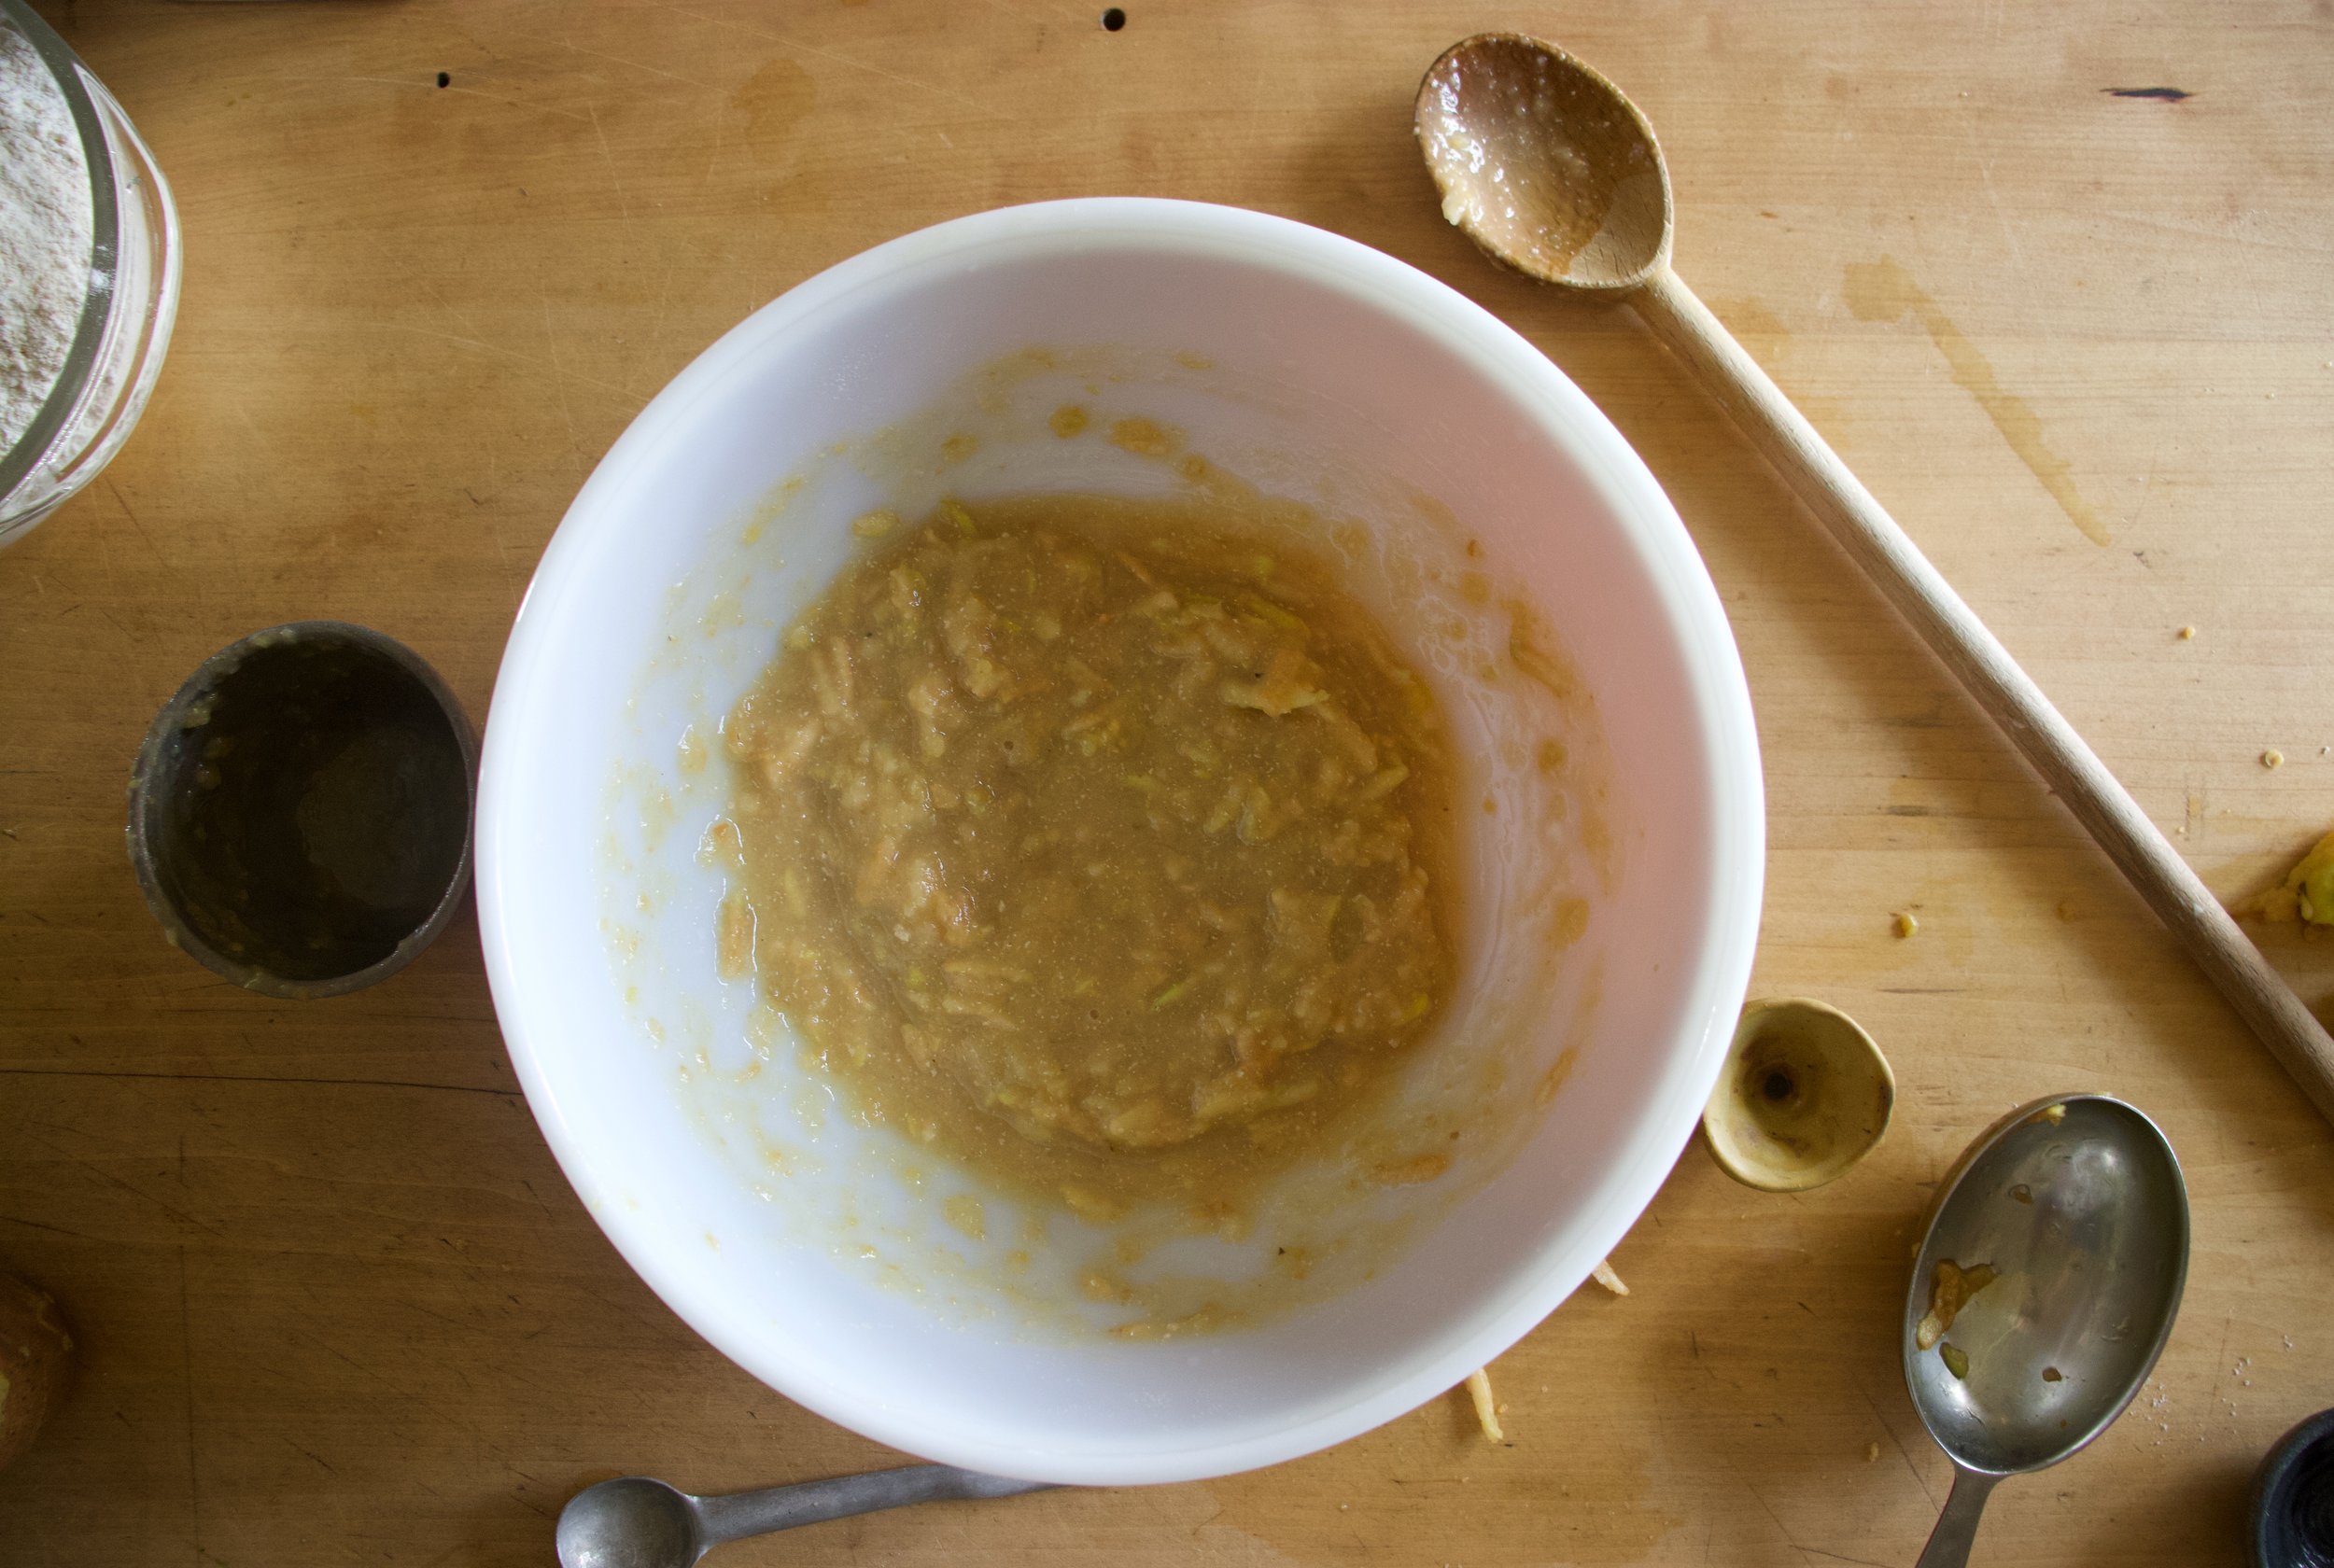
Hummus. Chickpeas with liquid, garlic, tahini, juice of lemon, and blend. Creamy smooth and delicious.

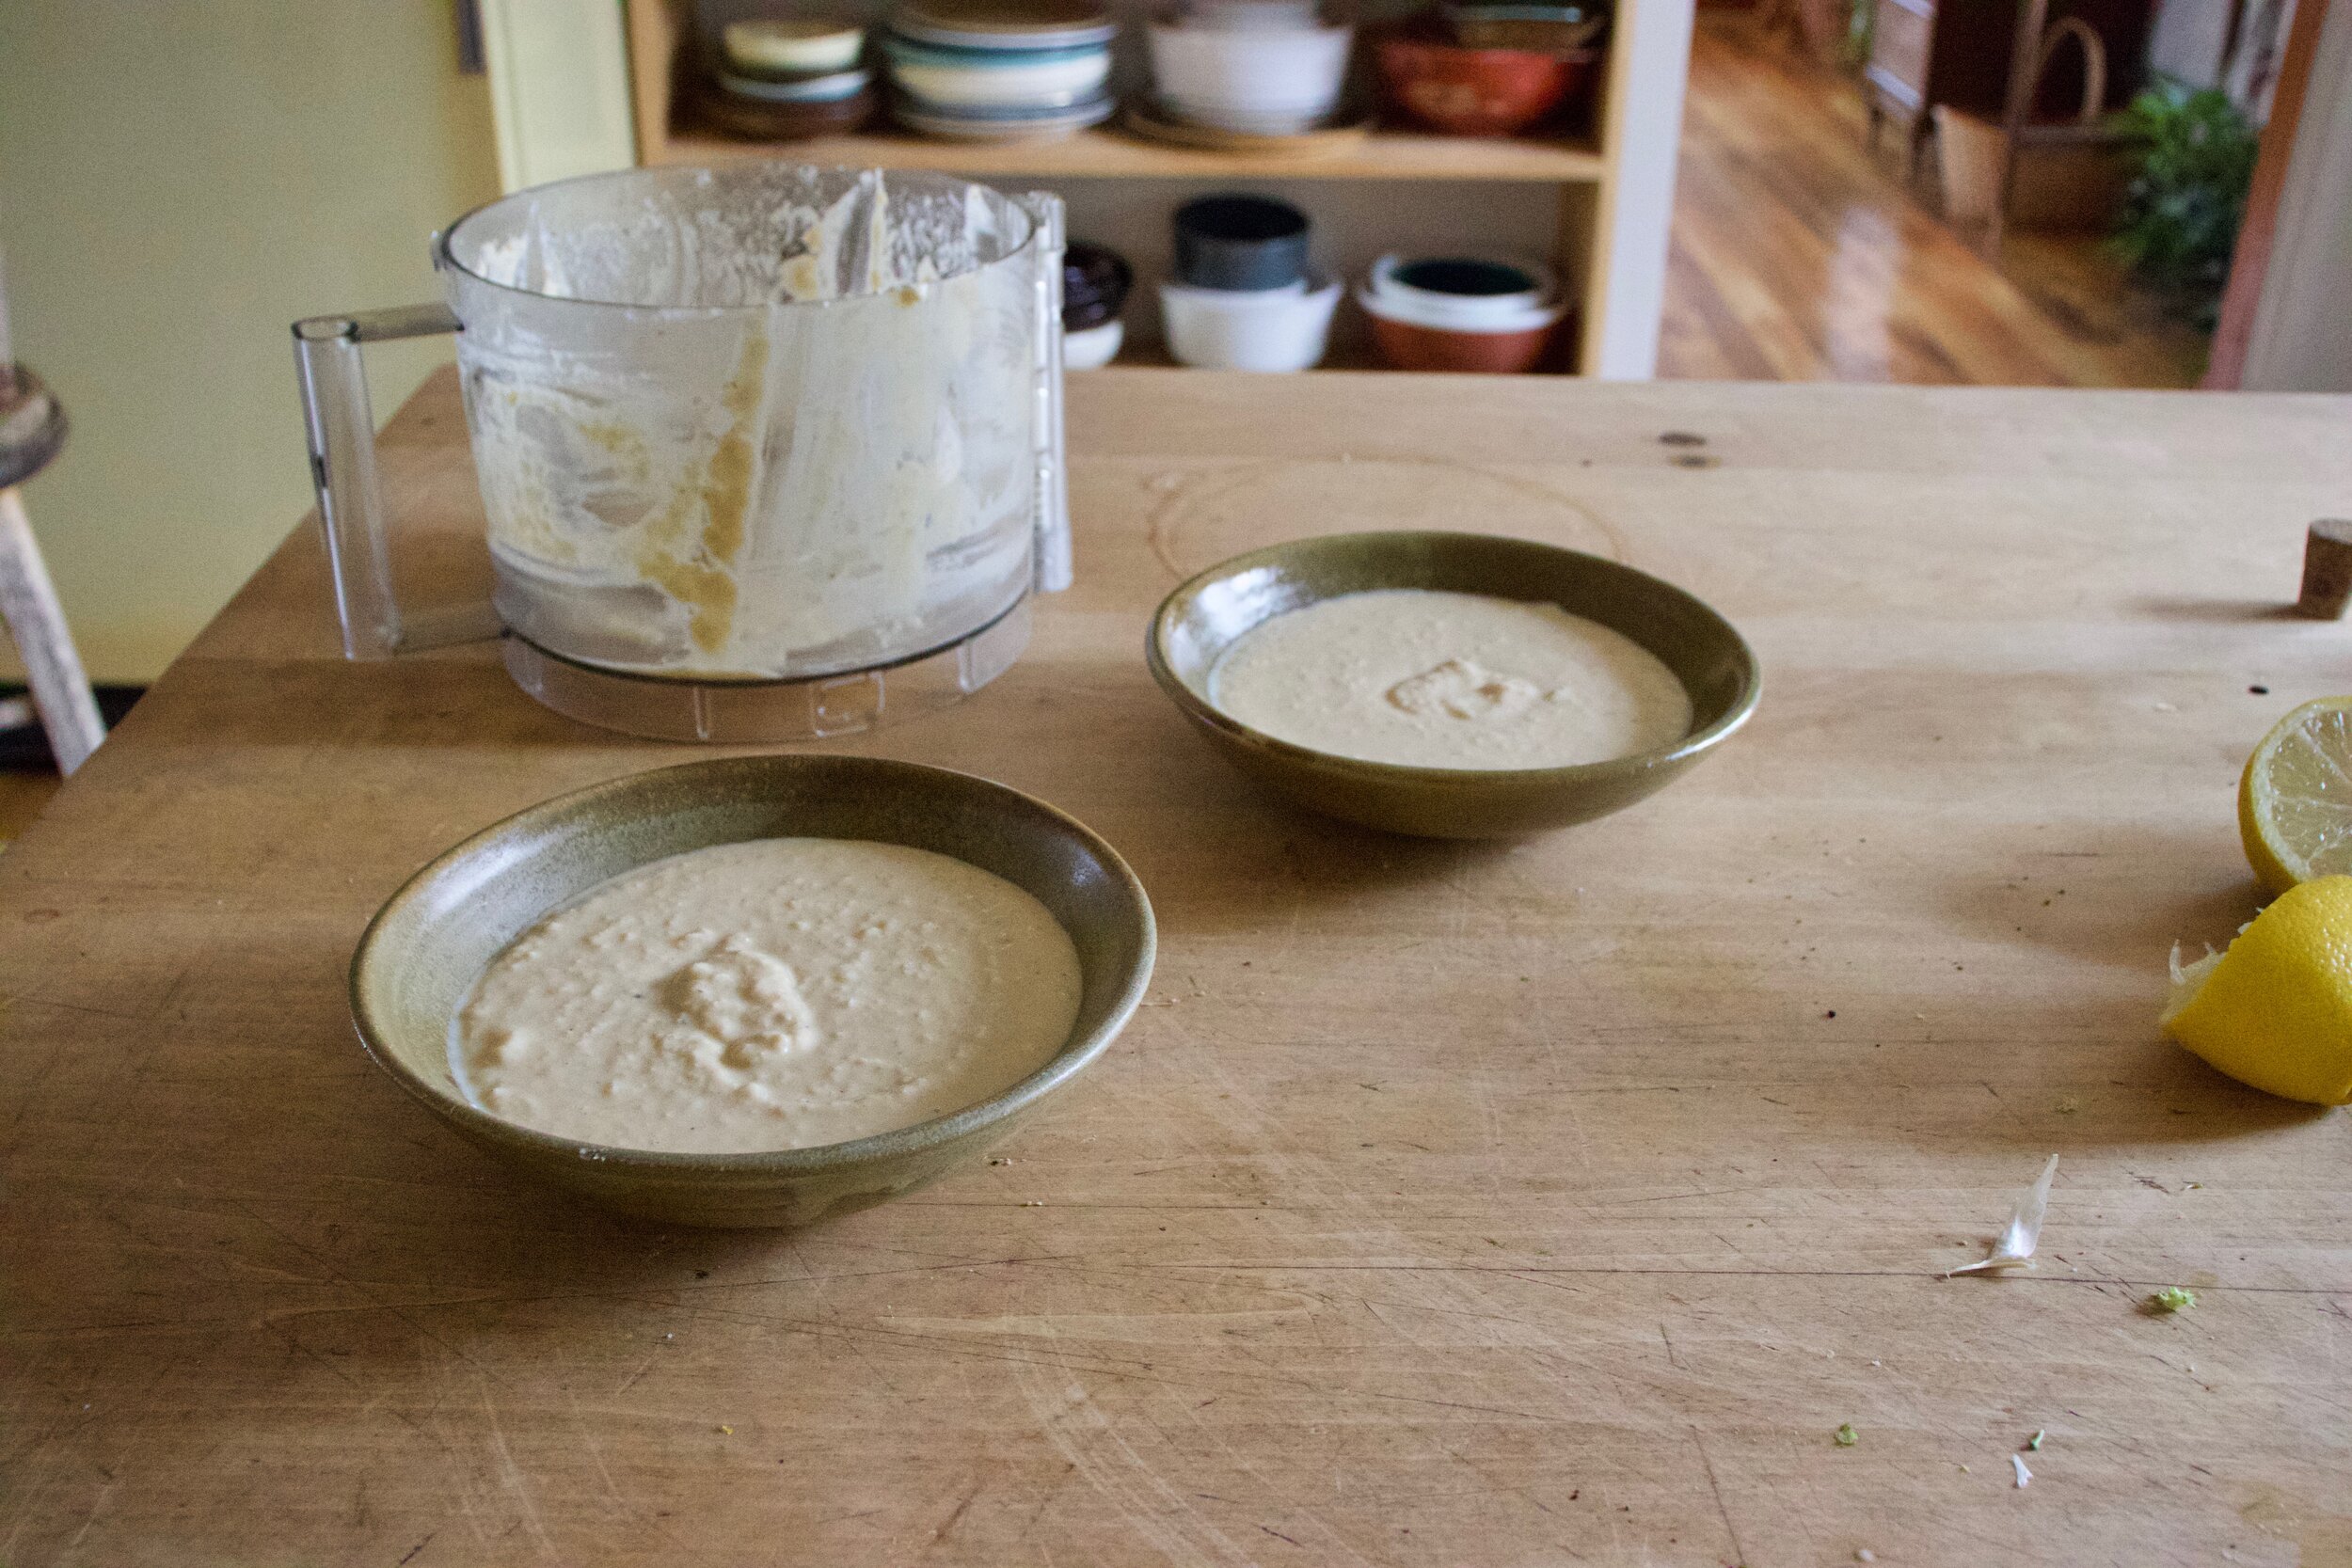
Dump that hummus into bowls.

And top with roasted veggies.

Would you look at that. Now all you need to to is dig in. Serve with extra lemon and black pepper. Grab your utensil of choice and eat.

-C


Hummus Bowl with Roasted Veggies

makes 2 servings if eating as a meal

  • 3 cups cooked chickpeas in liquid

  • A lemon

  • 1 tablespoon red wine vinegar

  • 2-3 cloves garlic

  • 1/4 cup tahini

  • salt and pepper

  • 10 or so Brussel sprouts

  • A small head of broccoli

  • A small onion

  • 5-6 kale and or Swiss chard leaves

Note. Use whatever veggies you want. Fresh or already prepared. All and any leftovers would be great.

Preheat oven to 450.

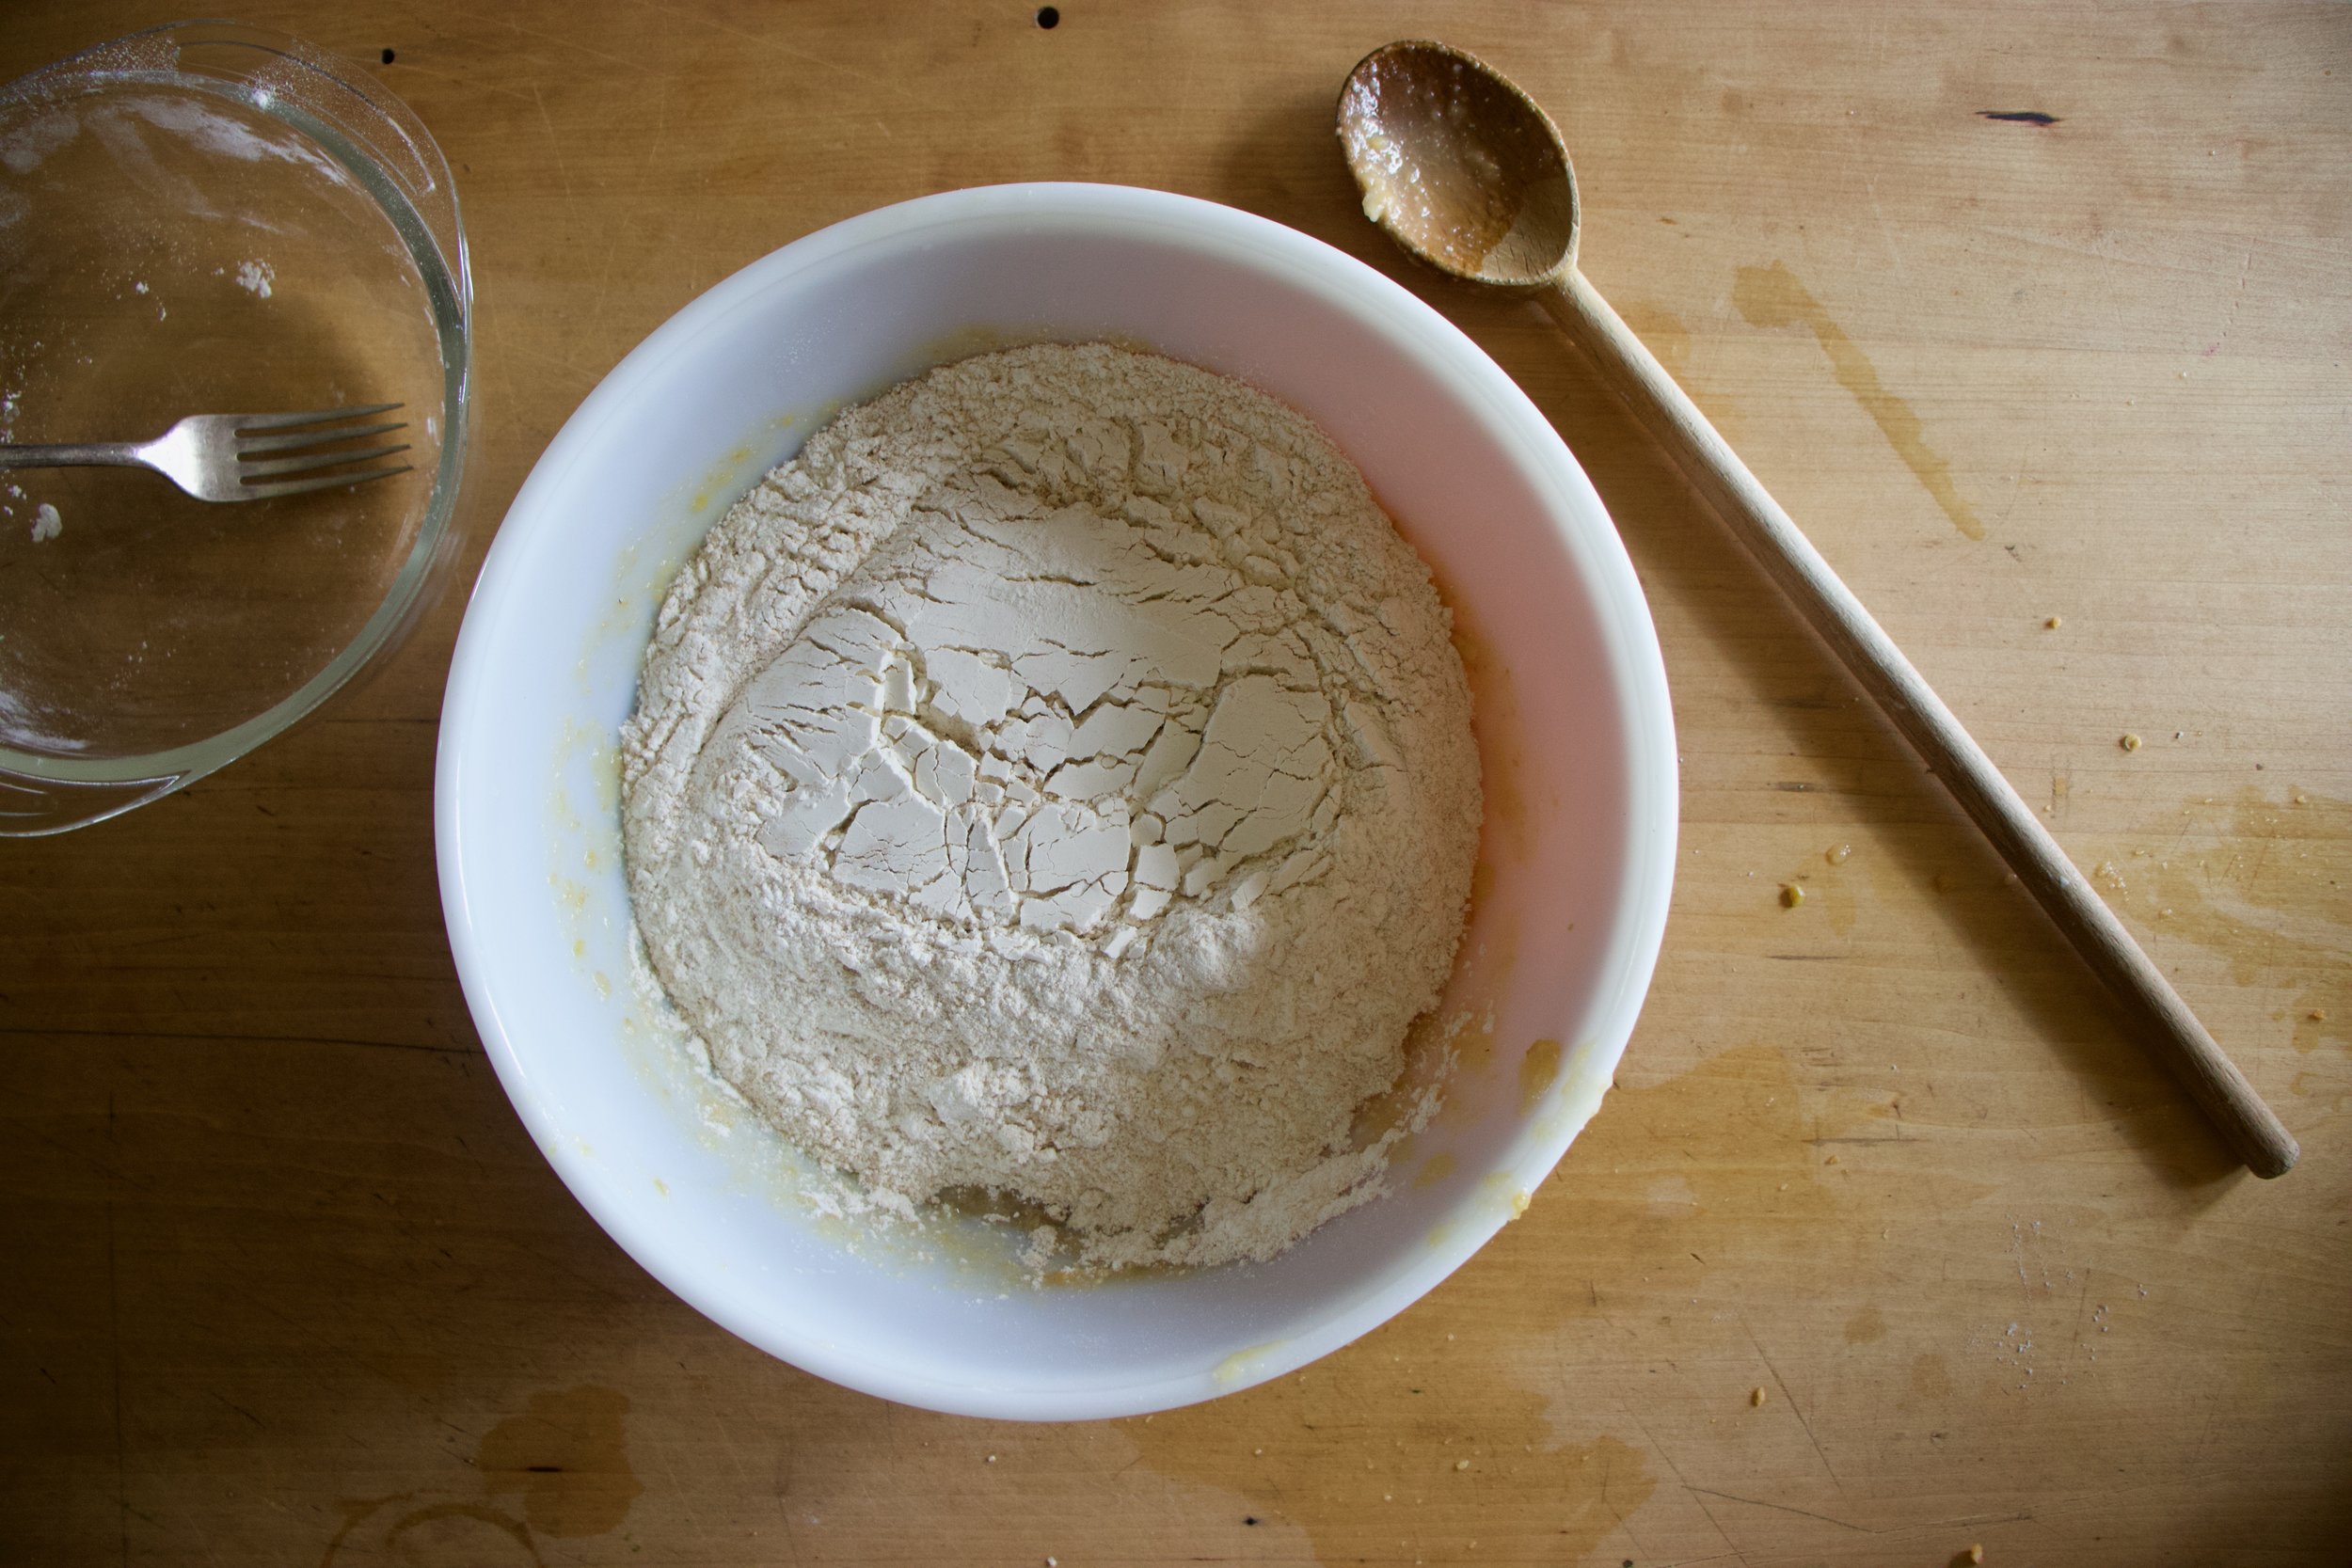
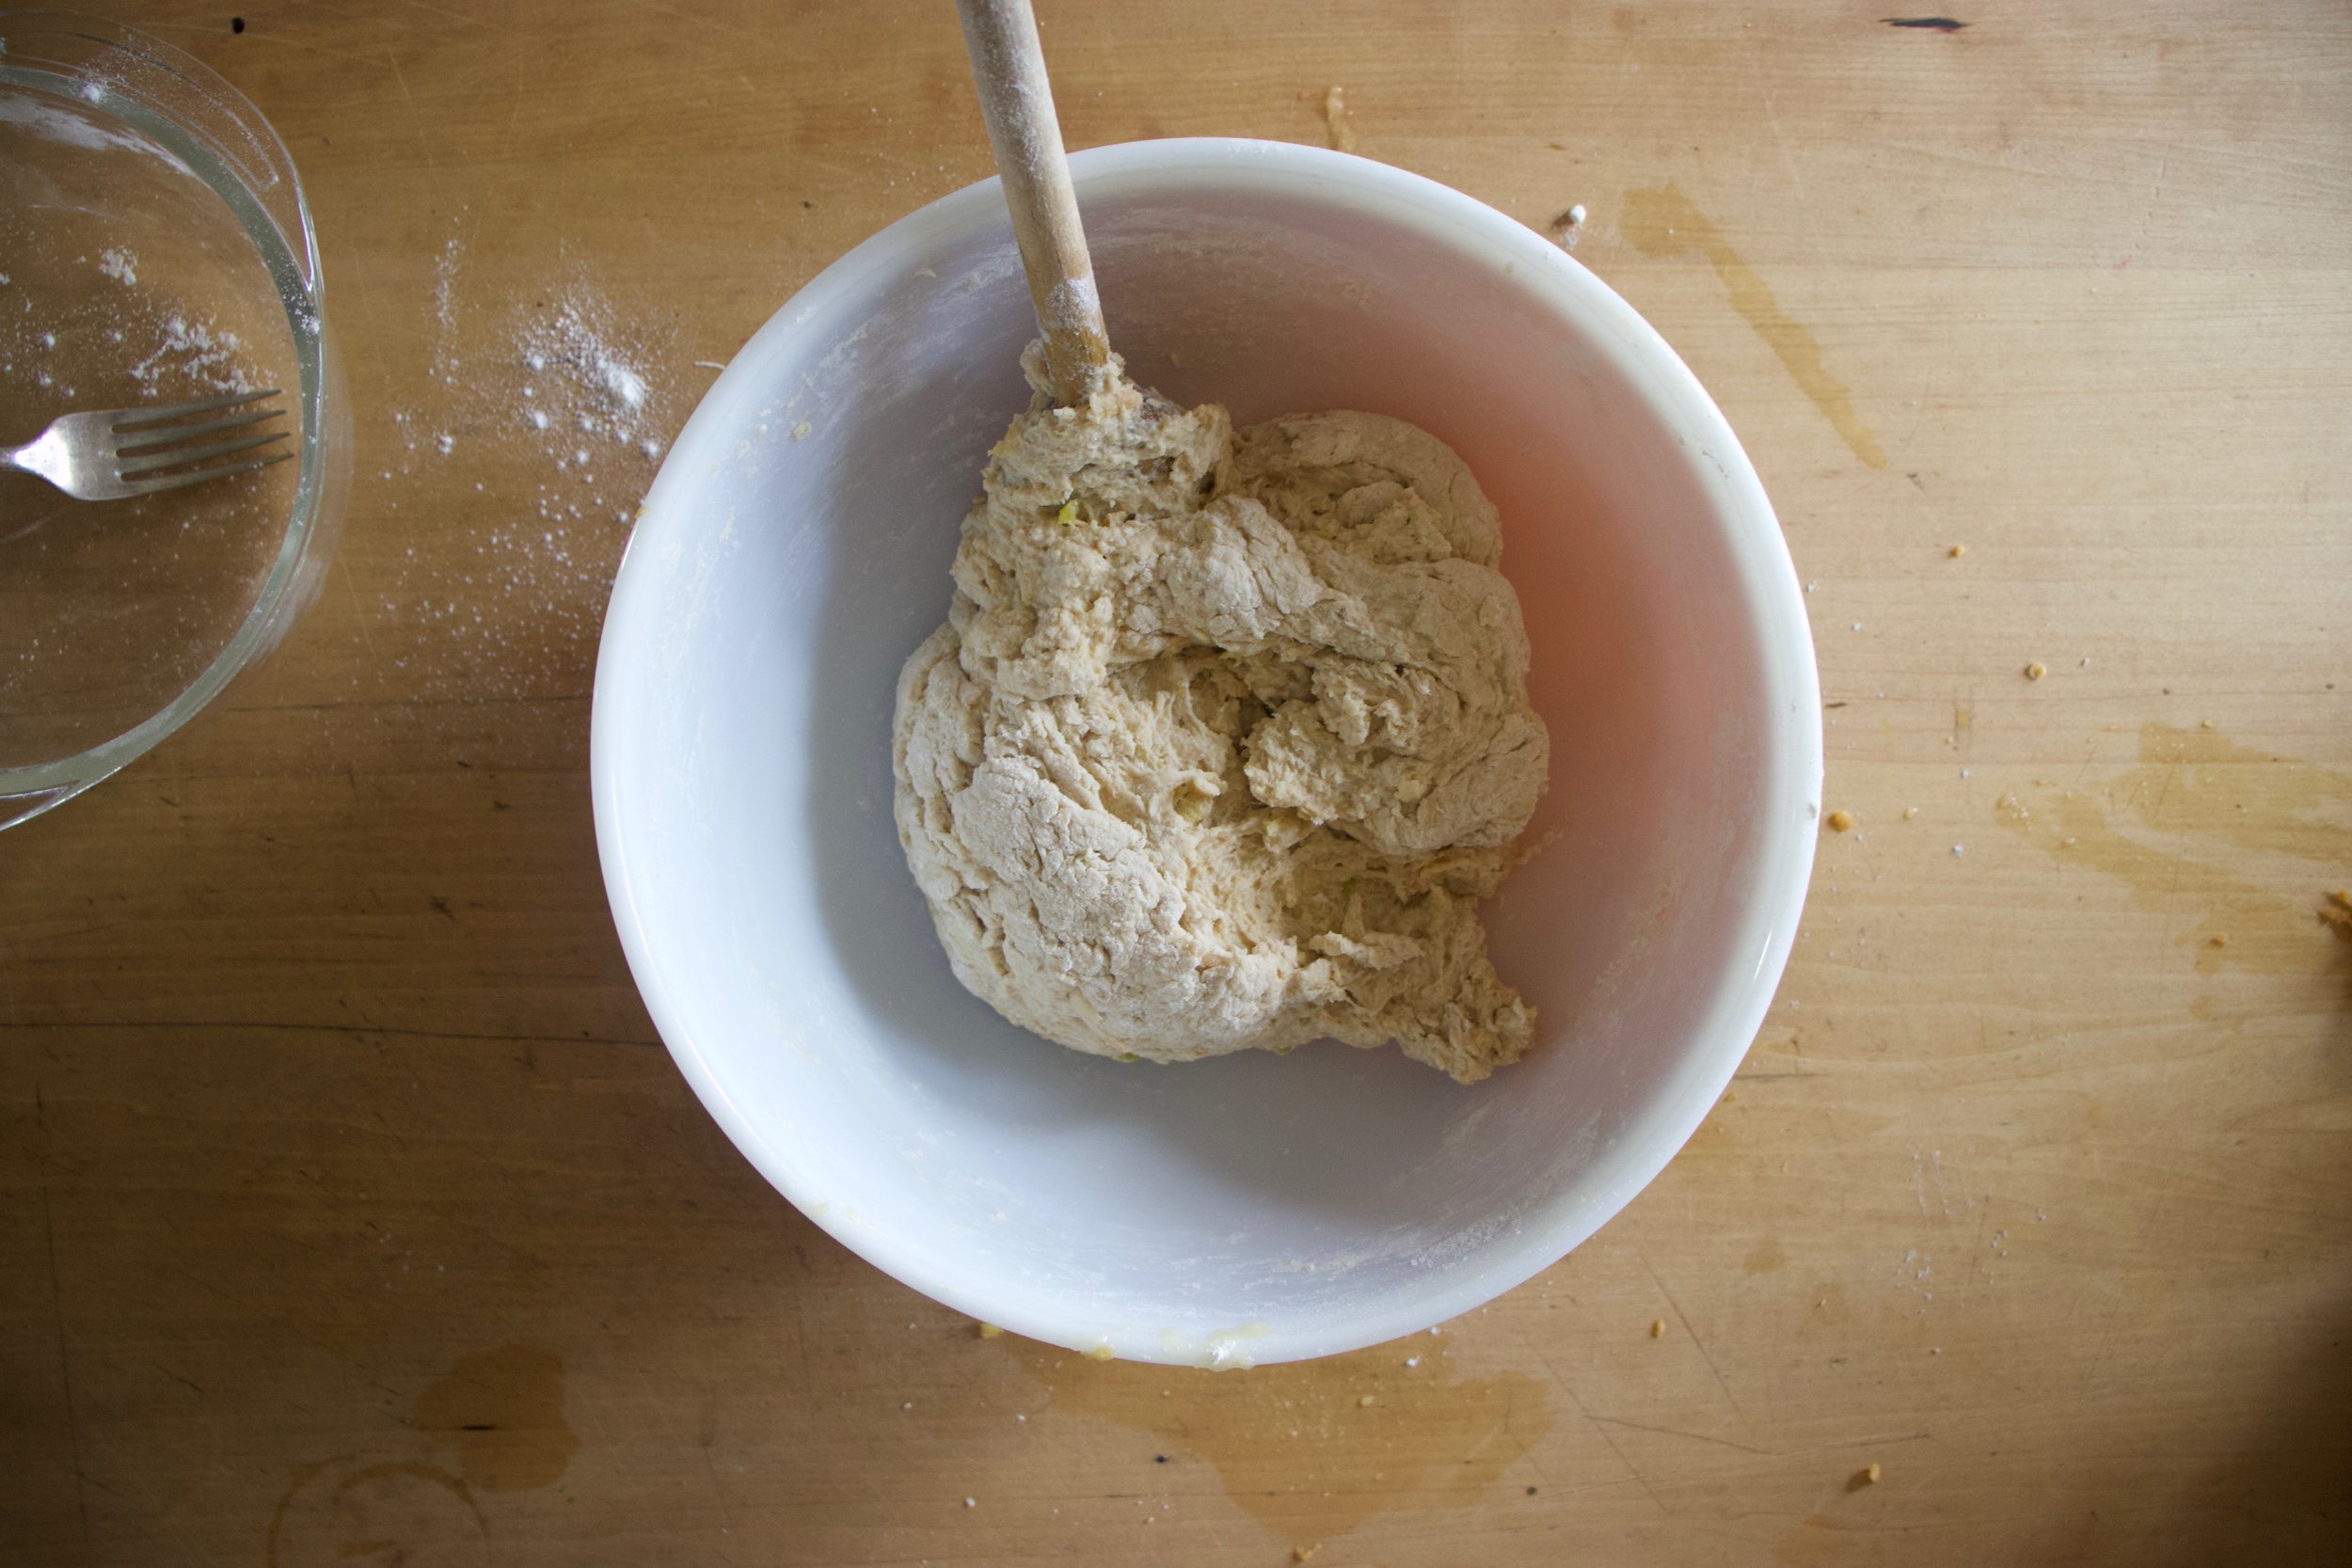
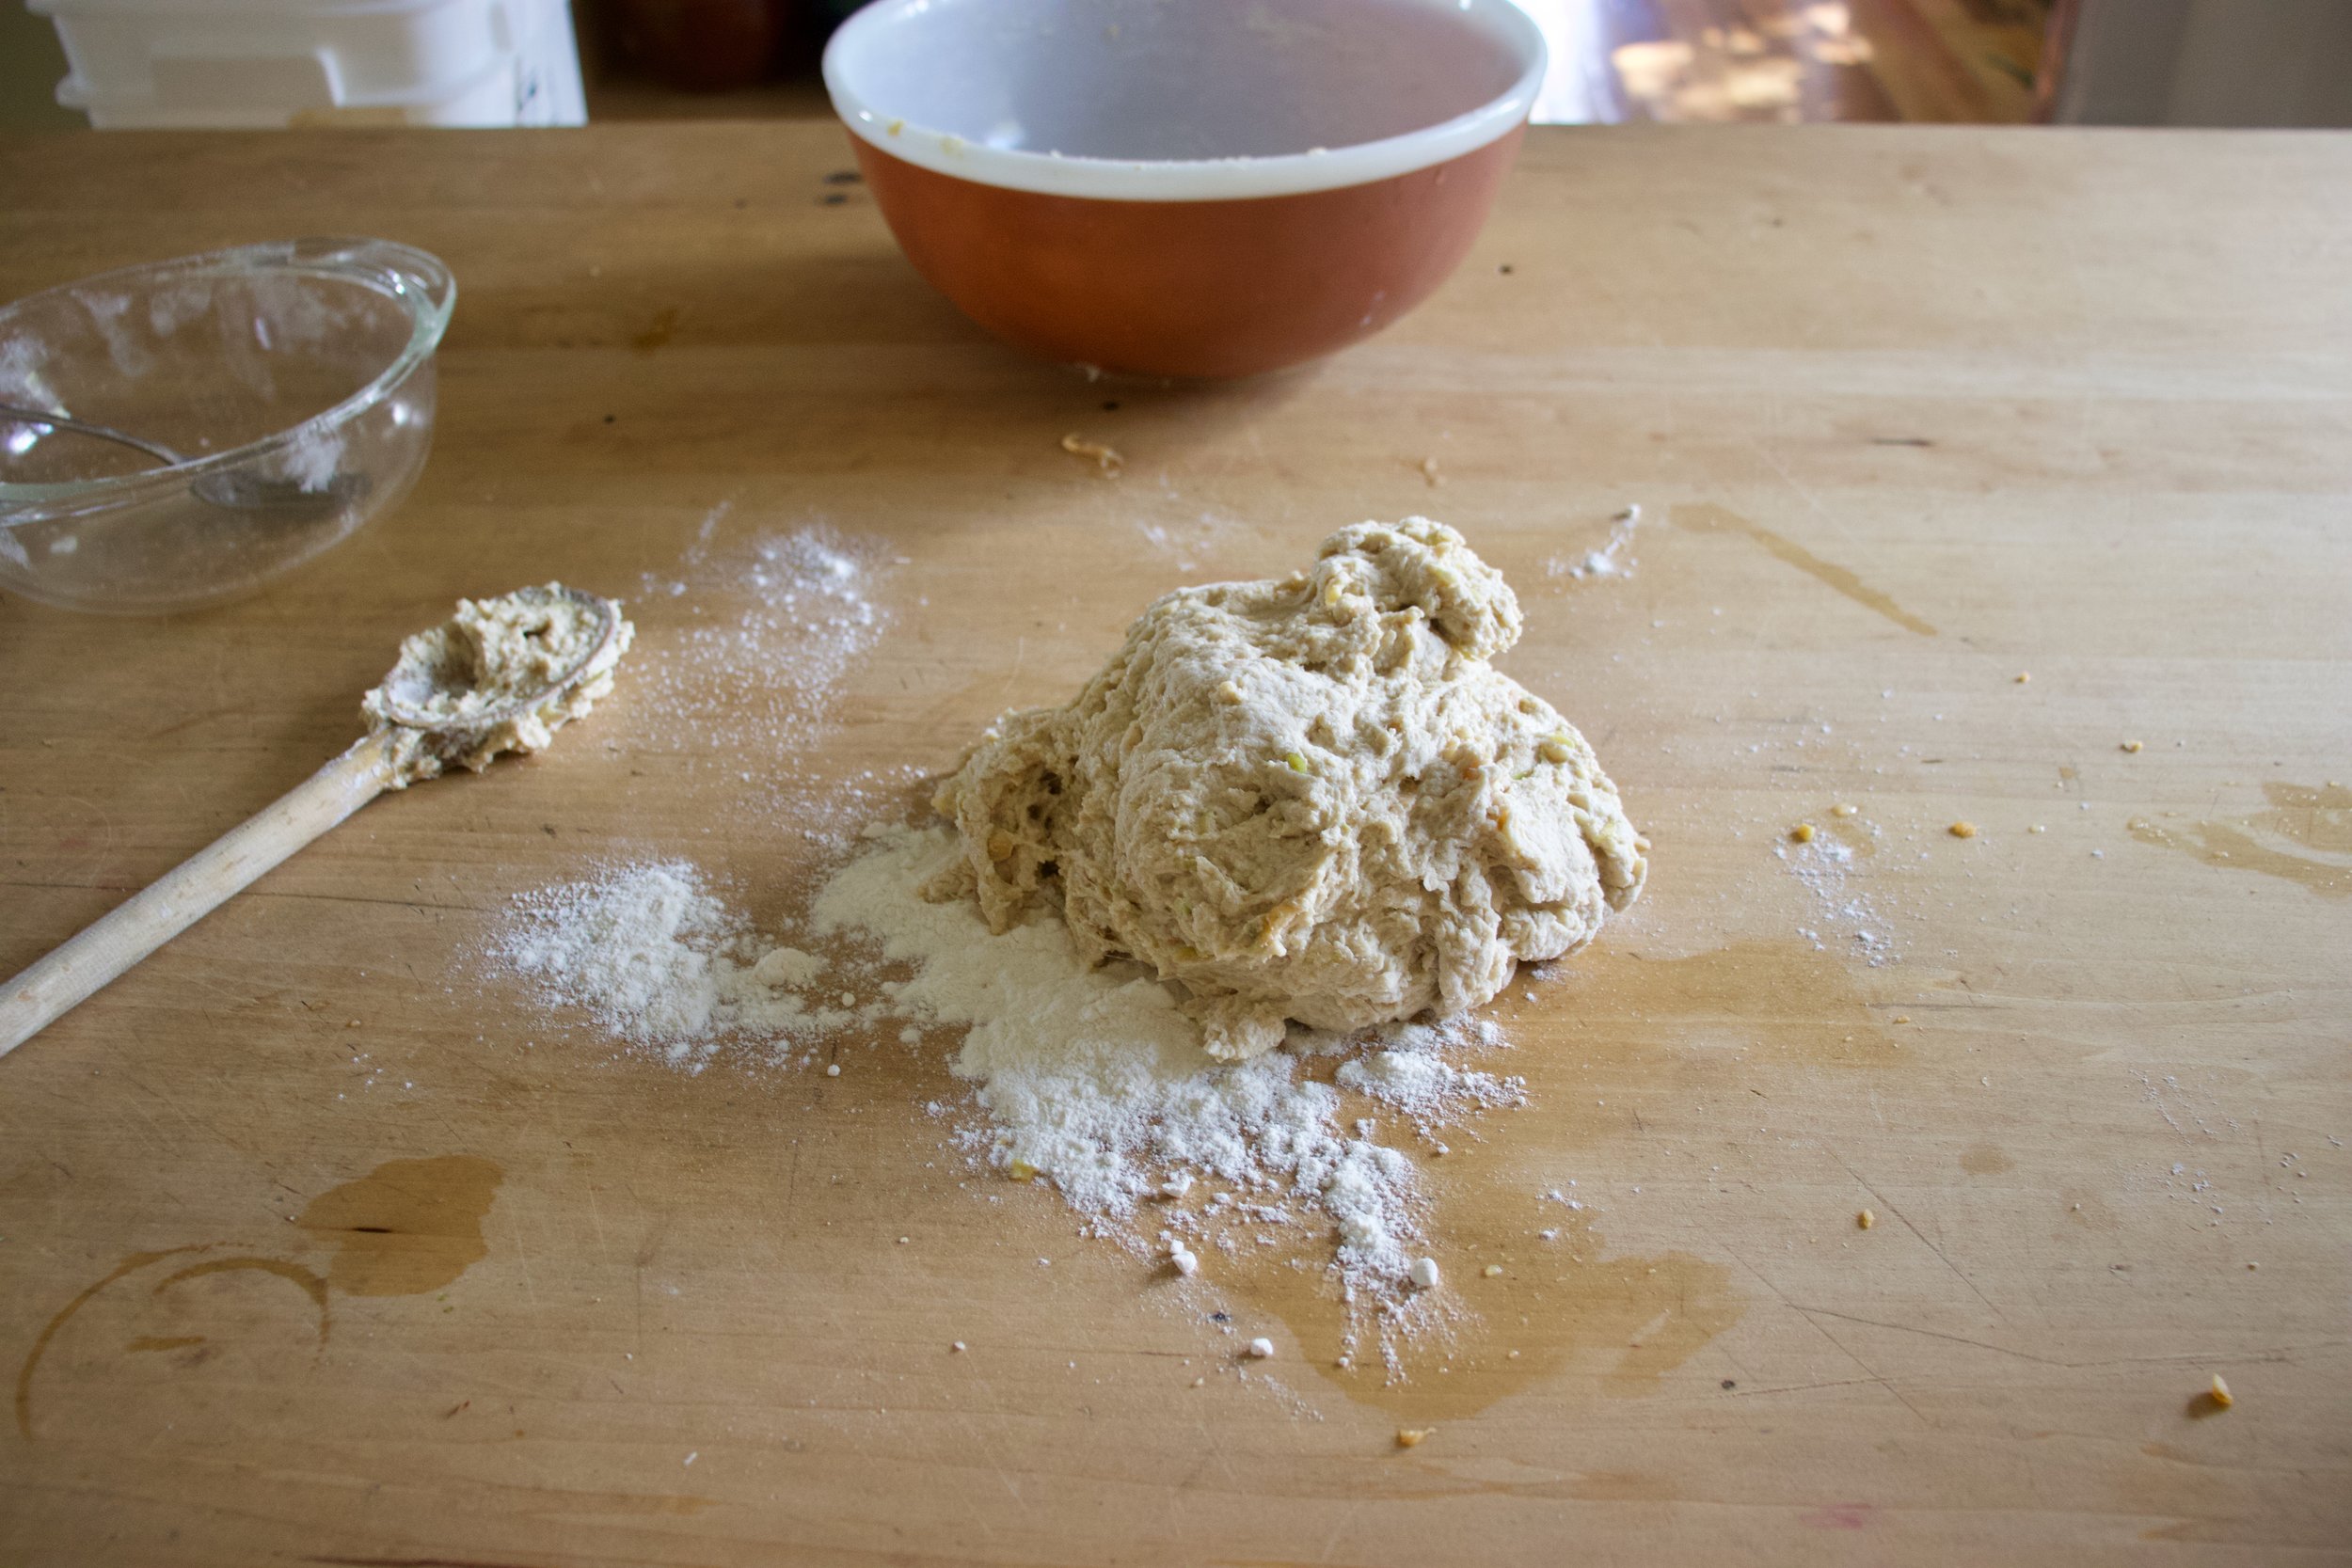
Cut Brussel sprouts in half, chop the onion into small pieces, and cut up the broccoli and toss onto a baking sheet or an oven safe skillet. Sprinkle with a little salt and pepper and stick into the oven to roast for about 20 ish minutes or until nice and roasted. Feel free to toss the veggies in a little oil if you want. Chop up the kale and chard into smaller pieces. Once veggies are just a few minutes from being cooked to you liking, remove from oven, and toss in the greens. Cook for another 5 or so minutes until those are nice and wilted. Remove veggies from oven.

While veggies are roasting, make hummus. Place chick peas with liquid, the juice of the lemon, vinegar, garlic, and tahini into a food processor. Blend until smooth and creamy. Taste and season with salt and pepper to your liking. Dump into a bowls.

And when you have hummus make and veggies roasted, its time to compile. Dump the hummus into 2 bowls. Dump half of the roasted veggies into each bowl.. Squeeze more lemon juice onto both then grab a fork.

Eat. And yes, lick bowl clean. No shame.

In beans, dinner, Gluten Free, grain free, pulses, quick and easy, Vegan, Vegetables Tags Hummus Bowl With Roasted Veggies, Hummus, roasted veggies, clean eating, plant based, grain free, gluten free, dairy free, vegan, vegetables, vegetarian, simple, easy, fast, pulses, beans, fresh, farm, protein, dinner, main dish, left overs
Comment

Yeasted Appley Applesauce Bread

September 28, 2019 Colleen Stem
IMG_2584.jpg
IMG_2535.jpg

It is exactly that time of year. Apples galore, cool days in need of a little extra warm, meaning a warm oven is welcome, if not needed. It’s the best time of year, or at least one of them.

And so I bake bread. Sometimes just a roll, and sometime a loaf, almost everyday. I love bread baking because, well just because. Plus it’s what people want to eat and will always eat because I guess bread=love. Makes sense to me.

This bread was made from a small dip in the 2 gallons of applesauce I made the night before. (We had sooooo many apples). The mr isn’t the biggest fan of applesauce, says he would rather eat a fresh apple. I kind of get it, but dude, warm, chunky, slightly cinnamon-y applesauce… I mean, that is happiness right there. Right? Anyway, I am trying not to eat all the applesauce to my face by myself at once (it has been a challenge) and plus I needed to make the mr some bread, so I figured what the hell. I’ll just use applesauce as my liquid in the bread. And so I did and that is that and now that mr really like applesacue (when it is baked into bread)

This bread is a basic sandwich type bread. The apple taste is there but not overwhelming so it can be used for sandwiches of all kinds, toast, just eating with a smear od something, or not. Just a overall good loaf of bread with a little extra from the apple. And braided because I was feeling classy. It’s amazing what at little braiding of bread dough can do for your self esteem. Made me feel like I was the coolest person in the world. Haha!

Now to the bread.

IMG_2420.jpg

The stuff. A few apples, regular all purpose and white whole wheat flour, salt, applesauce, maple syrup, yeast, and warm water.

First, shred some apple.

IMG_2437.jpg
IMG_2444.jpg
IMG_2448.jpg
IMG_2449.jpg

Applesauce, shredded apple, maple, yeast, and a little water get mix up and let to sit for a few minutes to activate yeast. Then the salt gets mixed in, along with all the flour. Stir until dough forms. Dough should be slightly sticky, ut not wet. IF wet, add a handful more flour. To dry, add more water.

Dump the dough onto a floured surface, cover your hands in flour, and knead dough for about 5 or so minutes, adding more flour as needed to keep dough from sticking, until the dough is a nice and cohesive texture.

Nice looking dough. Now roll dough into a ball.

IMG_2467.jpg
IMG_2470.jpg

Place dough in a clean wet or oiled bowl and cover with a damp cloth for one to one and a half hours or until dough doubles in size.

Dump dough onto floured surface.

Cut dough into 3 equal pieces and roll out into long longs.

IMG_2483.jpg

Braid logs together. You can stop here bake it this way or…

After placing it on a parchment lined baking sheet, tuck the ends of the braids underneath each other and make it like this. Either way. And once you have the dough on the baking sheet, brush a little water or plant milk on top and let dough rest for 15 minutes of so while the oven preheats.

IMG_2497.jpg
IMG_2506.jpg

Before oven and after oven. Classy, right?

Then for shin and soft crust, rub warm loaf with some plant butter.

And for the hard part. Let it cool before slicing it. Ok sure, a little warm is fine, but wait at least 20 minutes (an hour would be best) and then eat you some bread.

Eat you some bread. That’s a t-shirt right there.

Happy Fall friends!

-C


Yeasted Appley Applesauce Bread

makes pretty one loaf

  • 2 cups all purpose flour

  • 1 1/2 cups white whole wheat flour plus more for kneading

  • 1 cup unsweetened room temperature applesauce

  • 1 large or 2 small apples ( about 2/3 cup shredded apple)

  • 1/4- 1/2 cup warm water

  • 1 tablespoon maple syrup or honey

  • 2 teaspoons active yeast

  • 1 teaspoon salt

  • 1 tablespoon or so plant milk or water

  • 1 tablespoon plant based butter (optional for rubbing on finished bread)

Grab the apples and shred them until you have 2/3 cup shredded apple. In a large bowl, mix together the applesauce, shredded apples, yeast, 1/4 cup warm water, and sweetener.and let yeast activate for a few minutes. Add in salt, the all purpose flour and the 1 1/2 cups white wheat flour. Stir together until dough forms. The dough should be a little bit sticky so if the dough seems to dry, add in 1/4 cup more warm water. If it seems really wet, add in a handful more flour.

Dump dough out onto a well floured surface and knead for about 5 minutes adding a little bit of flour to the counter as needed to prevent it from sticking. Once dough is cohesive in texture, roll into a ball and place into a clean wet or oiled bowl. Cover with a damp towel and allow the dough to double in size. Should take between an hour and an hour and a half.

Once dough doubles in size preheat oven to 400

Dump risen dough back onto a well flour counter. Cut the dough into 3 equal sizes and roll each piece into long logs about 20 inches or so long. Place each roll next to each other and braid. Grab a baking sheet and line with a piece of parchment paper. Sprinkle with a bit of flour and place braided dough onto sheet, either as a braid or if you want, like I did, wrap the braid around itself into a rounded braid situation. Tuck ends into each other and under the loaf. Brush the top gently with a little plant milk or water and let rest for about another 15 minutes or so.

After the rest, place dough into preheated oven. Bake for 35-45 minutes (Less if left long braid, more if wrapped braid) or until the top is a deep golden brown and when tapped on the bottom, it sounds hollow. Also can use an insta read thermometer and check temperature. You want it to reach 190 degrees.

Once bread is baked, remove from oven. If you want the top to stay a little crispy, don’t do anything but let it cool. For a softer, shinny crust, rub the top while it is still warm with some plant based butter.

Let bread cool completely before cutting.

Then eat it like you would eat bread. Any and every way.

Store cooled loaf in a airtight bag on counter for 2-3 days but if not eating that fast, slice and place into freezer. That way you can pull out individual pieces and toast as you want.

In bread, Dairy Free, fall, fruit, Vegan Tags Yeasted Appley Applesauce Bread, Yeasted Bread, sandwich bread, bread, whole wheat bread, King Arthur flour, yeasted, plant based, vegan, apple, applesauce, fresh, baked, fall, simple, easy
Comment

Beet Chips

August 31, 2019 Colleen Stem
IMG_1570.jpg
IMG_1518 2.jpg

When your sister drops off 50 lbs of beets, on top of the 50 lbs that you have to harvest that are growing in your garden, what do you do?

Well chips of course.

Yeah, chips. That’s right. When I got home from camping on Monday and there was a humongous pile of beets sitting next to my front door, I am not going to lie, I was a little shocked. I mean there wasn't just a few little ones. These beets were freaking huge, like the size of my arm, and so many. But pretty much right after my initial shock I knew what needed to be done. First, eat a few roasted, second, roast extra to freeze for later, and lastly, make a few bunches of chips.

Have you ever had beet chip? They are amazing. Crispy, crunchy, tasty as all heck. If you like beets, even in the slightest, you will love these. If you hate beets, well maybe don’t? Either way, beet chips are the best chip. Wha't’s not to love? Pink, and chippy. Sweet, and salty. And then you add the fact that making beets into chips is a good way to get your veggies in and that you can eat a whole bowl full and feel zero guilt because you are just eating beets. Plus making beets into chips is a good way to use up any extra beets you might have laying around or that have been dropped off at your front door.

These chips, once they are made, will not last long. So when you do make them, know you will probably be making them again soon there after. Me, I have still have to harvest all my garden beets so beet chips are happening again soon. Real soon (like this afternoon!)

To the beets!

The stuff. Beets (these are Formanova beets but any variety works) salt and pepper ,and oil.

Ok so you need to cut these bad boys reallllllly thin. Like 1/15th a inch. So, what I am saying is, use a mandolin. If you don’t have one, a knife will do, but you are going to have a hard time getting them as thin as you need to and all of them consistent so baking is going to be a little more tricky so maybe you should just go borrow or invest in a mandolin.

Grab baking sheets, oil, and salt and pepper. You can either dump the oil directly onto the pile of sliced beets and really toss to make sure each one has been coasted or do what I did which was I drizzled oil into my hands and rubbed each sliced beet between my oiled hands before placing on the sheet.

After you get them on there, single layered with no overlapping, sprinkle tops with a pinch of salt and pepper.

On the way into the oven.

IMG_1552.jpg

After the oven. Baked for about 18 minutes. You really have to watch after the first 13 or so minutes to make sure you catch them at the perfect time. Crispy, but not burnt.

IMG_1550.jpg

A side by side shot. Crazy shrinking will happen!

IMG_1540.jpg

Oh man, so delicious. And so pretty!.

Let the chips cool before eating, you know, so you don’t burn your tongue. Plus they crisp up a wee bit more.

IMG_1600.jpg

Once cooled, pile them into bowl, and then eat them. And eat them all. They are only beets after all. And you won’t be able to stop yourself anyway. Ha

-C


Beet Chips

Makes enough for an evening of chip eating for 1-2 people

  • 2 Large beets (think softball sized)

  • a tablespoon or two of oil (I used grape seed but really any would work)

  • salt and pepper

Note. Making these without cutting with a mandolin will be a pain in the ass. It can be done, but if you have a mandolin, use it.

Preheat oven to 350

With a mandolin, slice the beets about 1/15 inch thick. (No need to peel the beets unless you want to.) Once beets are all sliced, either drizzle them all with a tablespoon or so of oil and toss until all are coated. OR what I did and found worked really well was drizzled oil into my hands and rubbed each beet between my oiled hands as I was placing them on the baking sheets. Either way.

Now place oiled beets, single layered, without overlapping, on baking sheets. Sprinkle with a pinch of salt and pepper and place into oven. Bake for about 13 minutes without worrying then start to check every minute or so until the beets are a deep golden brown and crispy ,which will be between 15-20 minutes. Also, even though you cut them all the exact same thickness, some might crisp up faster so you should remove done chips as they happen. Once they are done, place on a rack to cool. And then do another batch. And not, they do crisp up a tiny bit more as they cool.

Once chips are cool and crisp, eat.

Store uneaten (how did you not eat them all?) chips in an air tight container. If you notice that they turned a bit chew, just place them back into oven while preheating oven to 300 then turn oven off and let sit in there for a few minutes.

In 5 ingerdients or less, crackers and chips, quick and easy, snack, Vegan, Vegetables Tags Beets, Baked chips, Beet Chips, chips, veggie chips, veggies, plant based, vegan, food, recipe, gluten free, heathy, snack, baked, not fried, simple
Comment

Basic Socca

May 11, 2019 Colleen Stem
IMG_8294.jpg
IMG_8315.jpg

I am obsessed. For real. That might seem like a strong statement for a feeling about a food, but right now, it is truth. I spend more time then I want to admit thinking and drooling over Socca, which is, to those who do not know, the most basic chickpea flour pancake-y bread thing. Chickpea flour, water and salt. Cooked fast under the broiler in a screaming hot skillet. That is it. And it is amazing. Depending on how you make it, it can be creamy and soft or more cracker like with some crisp crunch to it. Either way, it is just so freaking good. Of course, what I am dreaming about regarding it is not just plan basic socca (which I have made 3 times in the past 3 days) but different flavored soccas (I have experimented with lot of seasoning, and they are all A+) with all sorts of different topping and using it in all sorts of different ways. But for now, I wanted to keep basic so we all know how good simplicity is. We will go from here.

There is no stopping me. There is no stopping the socca.

Now to my new favorite food, the socca.

IMG_8234.jpg
IMG_8238 2.jpg
IMG_8240 2.jpg

Chickpea flour, salt and water. That is it. Mix it all up.

IMG_8252.jpg

Batter all smooth and now in need of a rest. Half an hour or up to a day of rest is good.

IMG_8261.jpg

Now to cook the socca. You need to use something oven safe like cast iron. The trick here is to preheat the skillet while you are preheating the oven. Crank oven to 450 with the skillet in oven and once the oven reaches temp, turn oven over to a high broil. Let the skillet get really hot for another minute or two then remove skillet from oven (carefully!!!) and give it a splash of oil. Don’t preheat the skillet with oil in it or else it will start to smoke and get gross.

IMG_8266.jpg

Now that you got a nice hot and oiled skillet, grab the rested batter and pour half of it in. Tilt skillet around to coat bottom then stick skillet back into oven under broiler and cook for 4-8minutes. ( It depends on your broilers strength and your preference for blisters)

Out from the broiler. Cooked and slightly blistered. I went easy on this one. The next one got a few more blisters.

2 soccas, one a little thicker then the other. One a little more blistered then the other. Both in my belly.

So many Soccas to come.

So. many. Soccas.

-C


Basic Socca

makes two 10 inch soccas

  • 1 cup chickpea flour

  • 1 cup room temperature water

  • 1/2 teaspoon salt

  • olive oil for pan

Mix chickpea flour, salt and water together into a bowl until smooth. Let mixture rest for at least half an hour or up to a day.

When ready to make the socca, preheat oven to 450 with a 10 inch oven safe skillet (I used cast iron but any oven safe dish would work) in oven.

Once oven reaches temp, turn oven over to broil and place skillet under it for a minute to really heat the skillet. Carefully, with oven mitts, remove hot skillet from oven and brush or pour a smidge of oil into the hot skillet to coat bottom. Pour in half the batter and tilt around until bottom is coated then place skillet back into oven under broiler and cook for 4 -8 minutes or until the socca starts to blister. (it kind of depends on your broiler so keep a close eye on it) Remove from oven and slip socca onto cutting board. Sprinkle with salt and pepper. Drizzle with olive oil if you like. Then all you do is cut and eat.

Left over socca can be stored in fridge and reheated in oven or toaster.

Note. IF you want a slightly thicker socca, use a 8 inch skillet. For a thiner, more cracker like socca, pour in 1/3 of the batter at a time (you will end up with 3 instead of 2)

In 5 ingerdients or less, appetizers, biscuits and such, bread, Dairy Free, grain free, Gluten Free, pulses, beans, Vegan, snack, side dish Tags Socca, Chickpea flour, gram flour, besem flour, pulses, protein, vegan, gluten free, dairy free, crepe, wrap, bread, tortilla, crust, simple, easy, sweet or savory, beans, Italian
Comment

Banana Oat Smoothie

April 6, 2019 Colleen Stem
IMG_7190 2.jpg
IMG_7170 3.jpg
IMG_7159.jpg

It’s a smoothie. And no, we have never really been smoothie people in this house, but what can I say, sometimes smoothies happen, especially when you have about 20 ripe bananas in the fruit bowl with no room in the freezer and no need for 7 loafs of banana bread.

So I smoothied. And I like it (a lot).

This is a smoothie of simplicity. Nothing fancy. Simplest of simple. Straight to the point. And all sorts of good.

You might think, does this simple smoothie you speak of taste very good? Yes, yes indeed it does. It is all sorts of fantastic. Basically if you like creamy, nutty, oaty, bananery things, you will like this. And it’s a perfect breakfast, snack, dessert, or just wanting a little treat like thing that is not garbage food. A smoothie of all smoothies with the most basic ingredients. And takes about 15 seconds to whip up. Can’t complain about that.

To the smoothie goodness!

IMG_7097.jpg

The stuff. A ripe banana, some old fashion rolled oats, a pinch of salt, water, and a smidge of maple syrup if you want it.

IMG_7114.jpg

Everything goes into blender.

And blended until smooth. Hence the word smoothie.

Pour it into a cup (or if you are feeling primal, drink it straight from the blender… it’s totally cool)

And done.

A banana oat smoothie.

Let the good time roll!

-C


Banana Oatmeal Smoothie

makes 1 smoothie

  • 1 very ripe banana

  • 1/3 cup raw old fashion oats

  • 1 1/2 cups water

  • pinch of salt

  • a tablespoon or two of any sweetener you like (optional)

  • a pinch of cinnamon (optional)

Place everything into a blender and blend until smooth. Pour into a cup, sprinkle with cinnamon if you wish, and drink right away.

In 5 ingerdients or less, breakfast, Dairy Free, drinks, fruit, Gluten Free, quick and easy, Raw, snack, Vegan Tags Oats, old fashion oats, oat milk, banana, banana oat smoothie, Oatmeal, smoothie, simple, done in seconds, fresh, vegan, gluten free, dairy free, plant based, snack, breakfast, drink, dessert, healthy, protein, fruit, raw
Comment
← Newer Posts Older Posts →
 

https://thelovelycrazy.squarespace.com/config#/|/about/

Me. Food Maker.Food eater. Woo HOO!

STEM+NODE  SMALL BATCH AND ONE OF A KIND POTTERY

stem+node ceramics


____________________

Subscribe

GET NEW POSTS IN YO EMAIL

You are AWESOME!!!


@thelovelycrazy 2014-2021