• stem+node ceramics
  • HOME
  • Food Recipes
  • About
  • Contact
Menu

The Lovely Crazy

Street Address
City, State, Zip
Phone Number

Your Custom Text Here

The Lovely Crazy

  • stem+node ceramics
  • HOME
  • Food Recipes
  • About
  • Contact

Chocolate Pear Cake

August 15, 2020 Colleen Stem
IMG_9833.jpg
IMG_9880.jpg

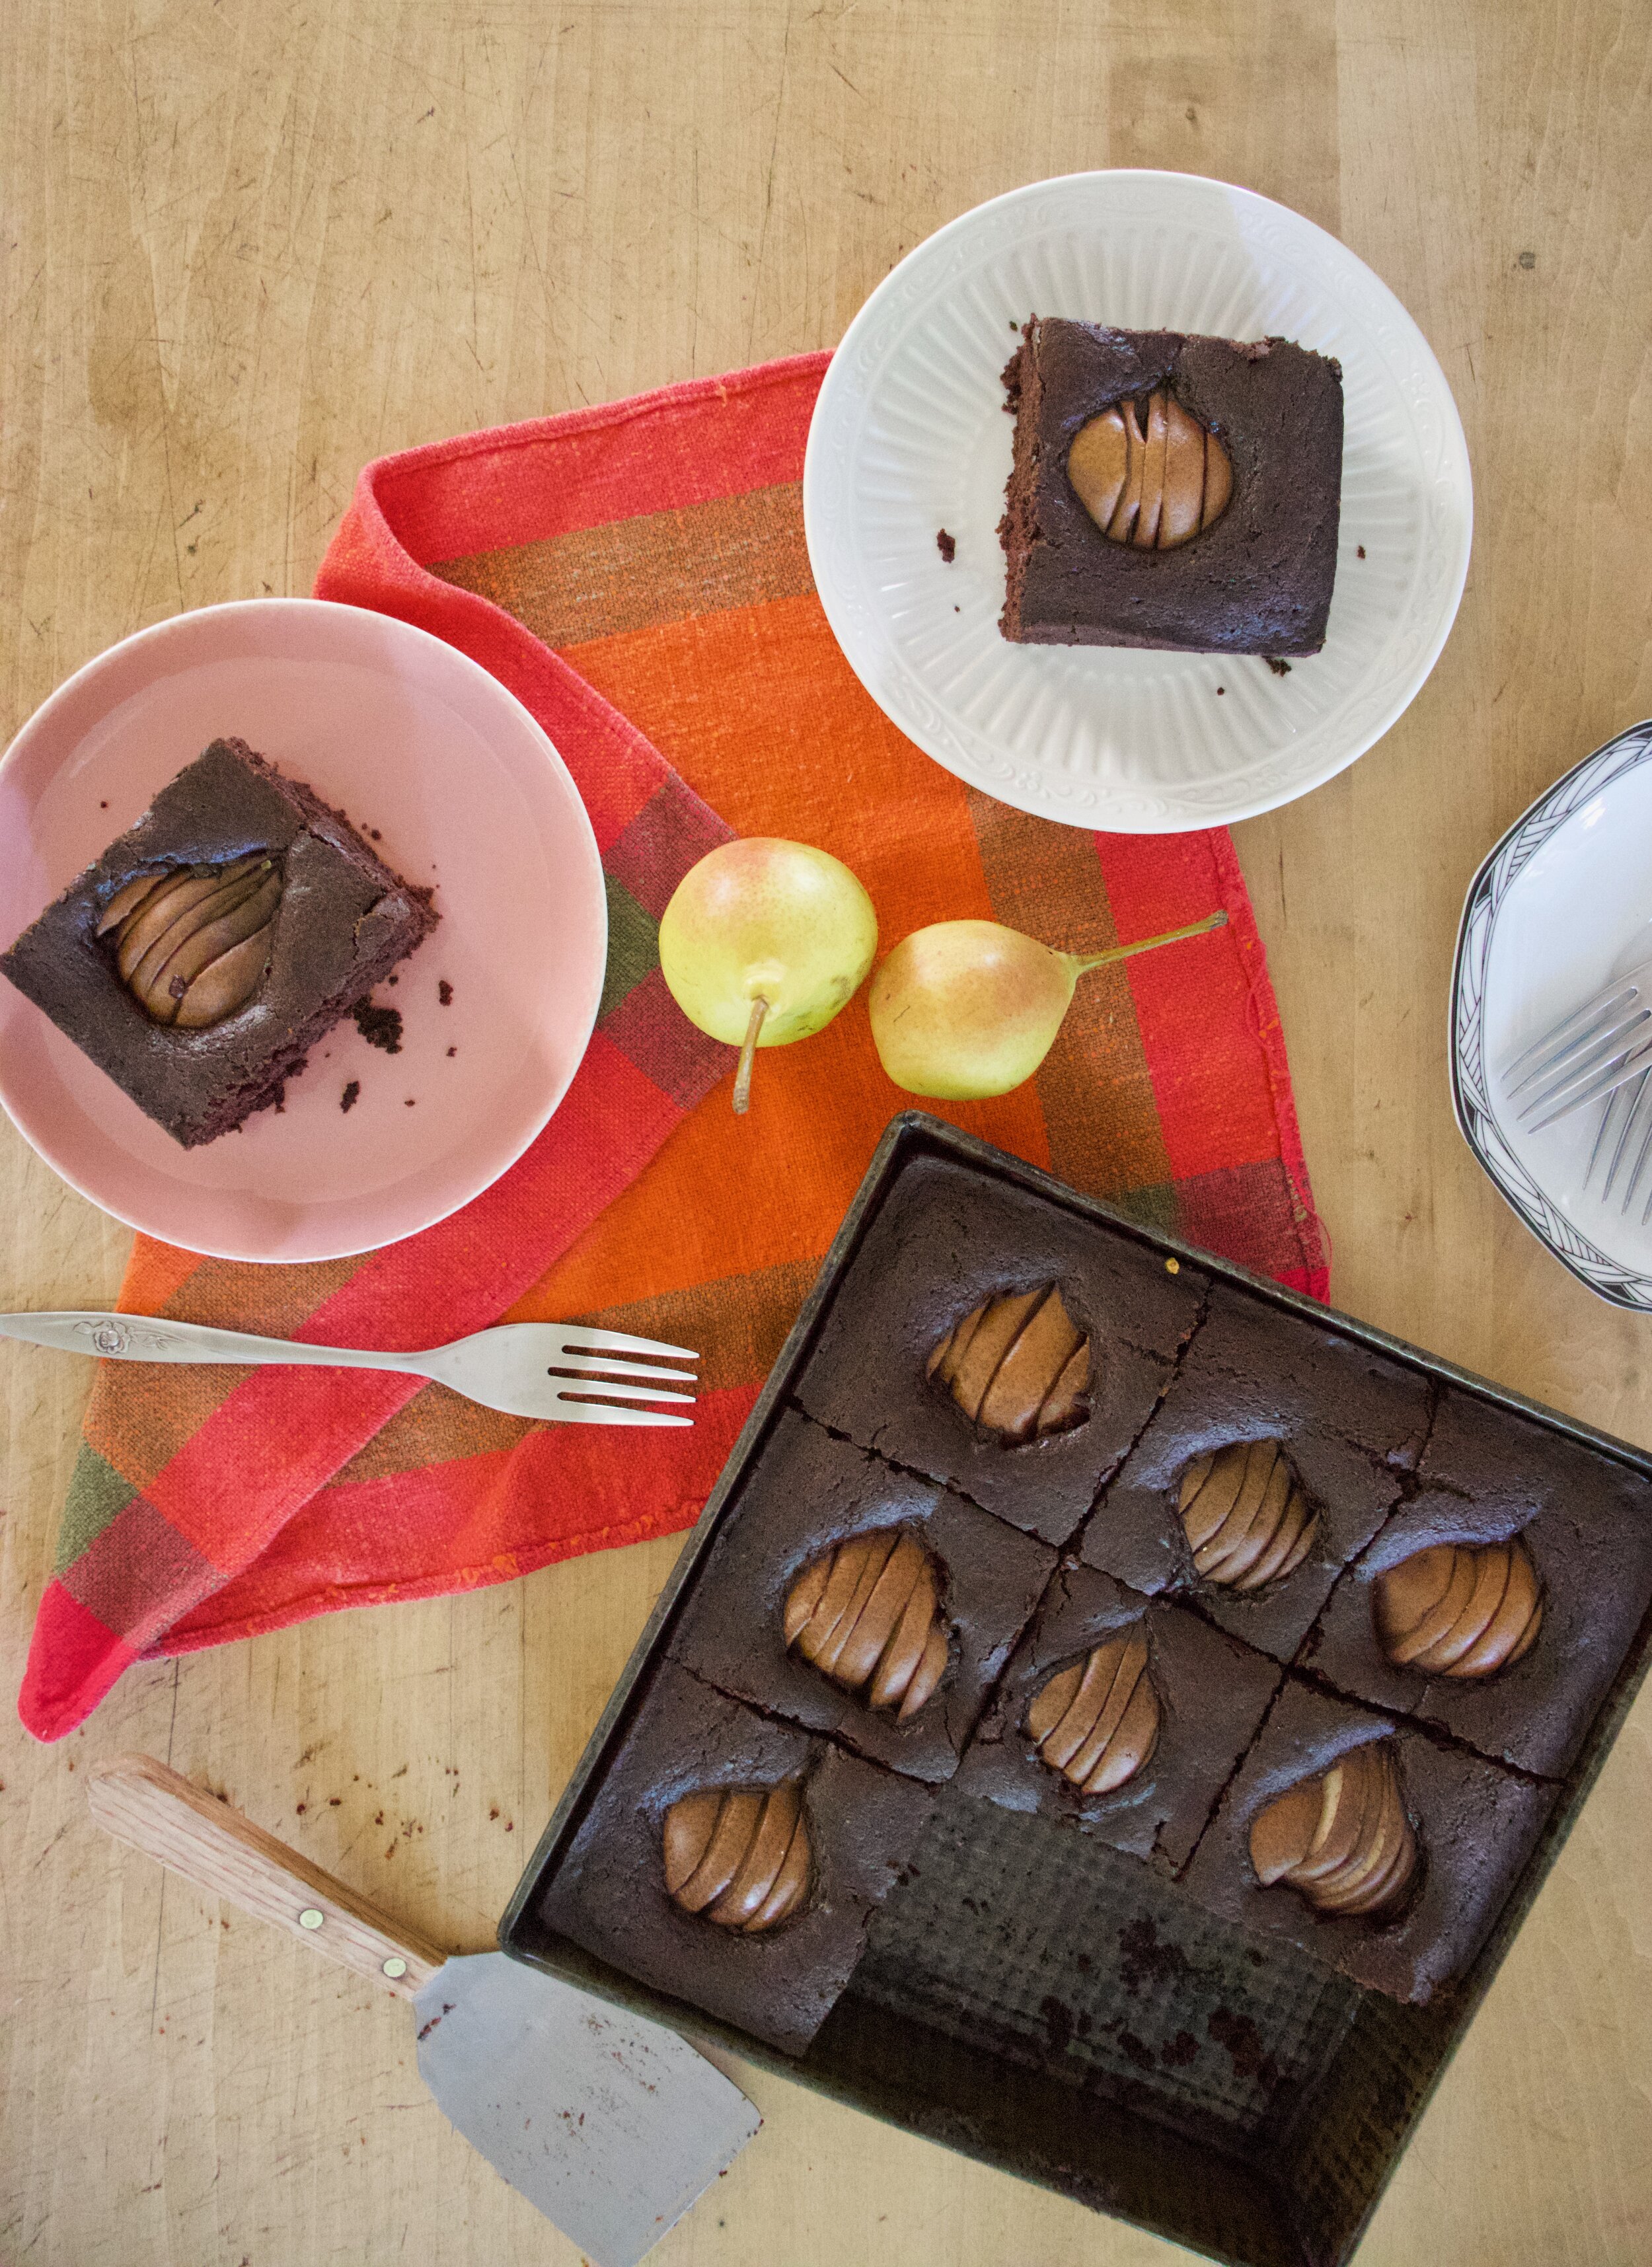
I just love a pretty cake and this cake sure is pretty.

It is a chocolate cake with pears sunken into it. A cake made of necessity because I had (and still do) a giant bowl of pears on the counter that need to be eaten. I love the pears, they are delicious, but I can’t possible eat all of them before I end up having to just sauce them all. (I think most of the rest are gonna be sauce) Plus it is finally not stupid hot out and I am getting that cool weather, hang at home with a sweater on, all the apples and pumpkins, fall time feeling that included the itch to bake things. That feeling, it’s coming on strong and I’ll be honest here, I am soooo over summer. Bring on the fall!

Also, note about cake. Because each piece has half a pear sunken into it, I would there by think that this cake might actually be considered a health food. (hehehe) Yeeeah, no, but it is good. The mr already ate half.

Now to the cake!

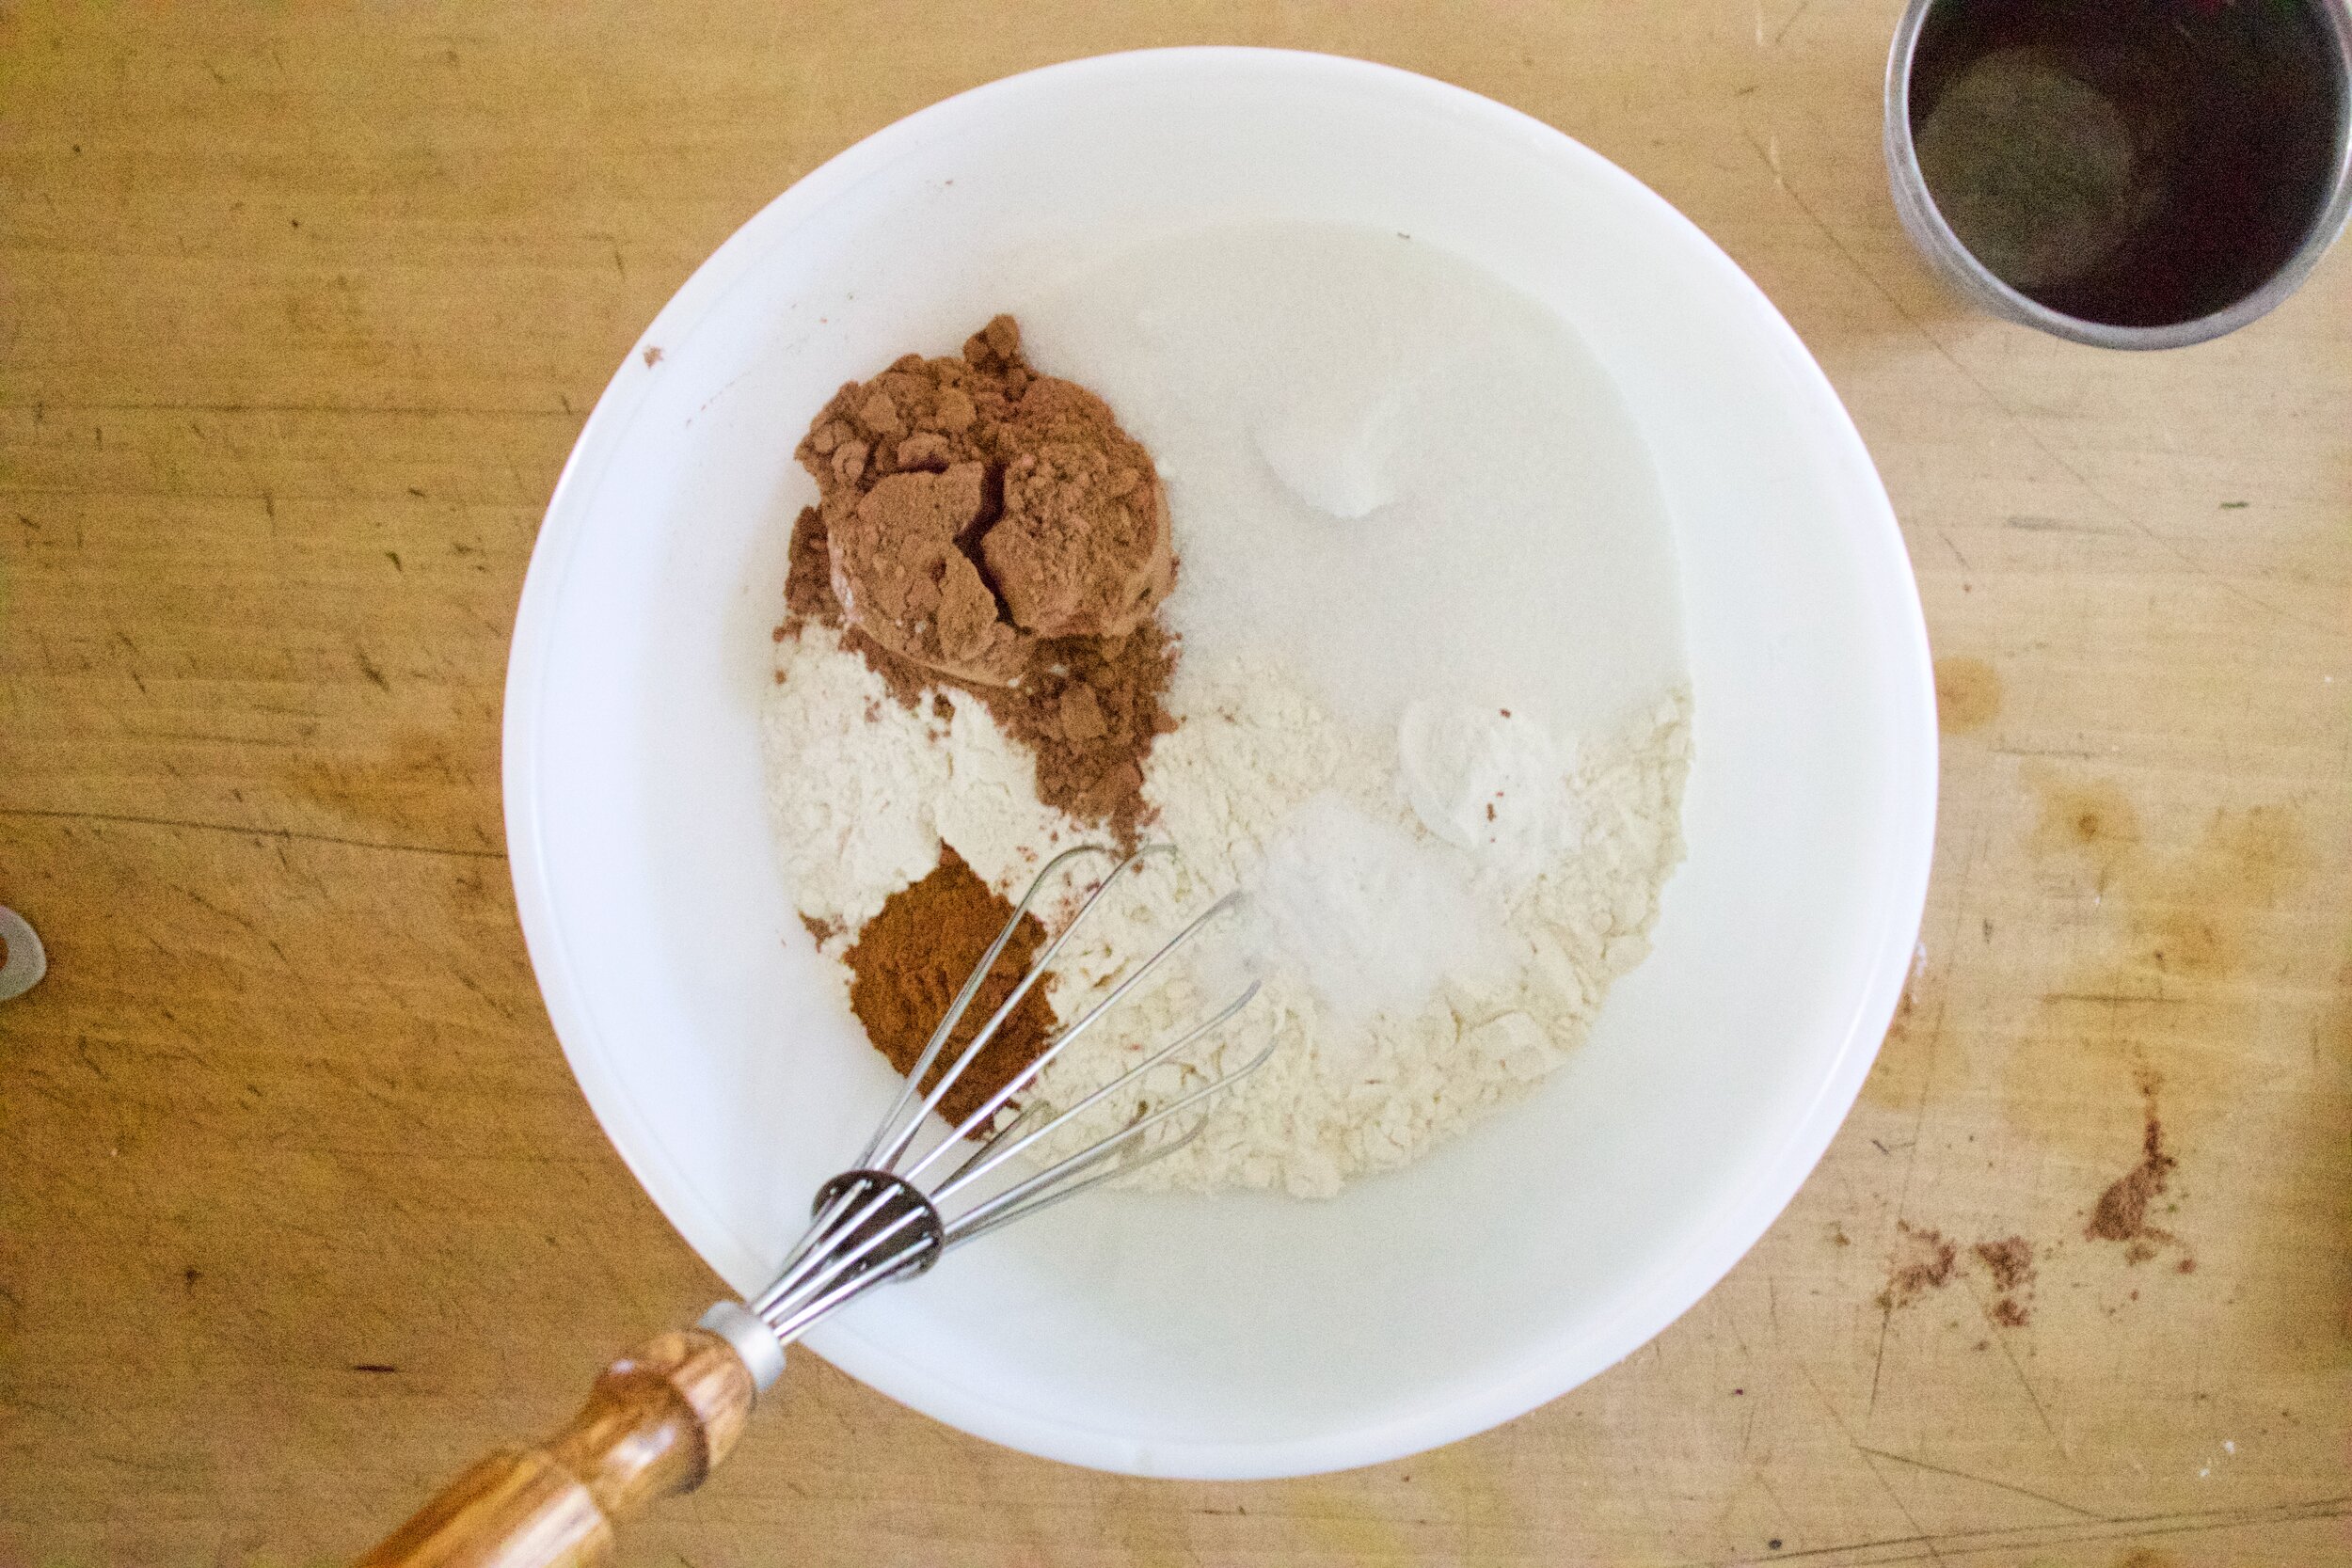
The stuff. In the bowl there is flour, cocoa powder, baking soda and powder, salt, and cinnamon. Also need brewed coffee, sugar, oil, vanilla, apple cider vinegar, and some little pears.

IMG_9751 2.jpg
IMG_9754 2.jpg
IMG_9765.jpg

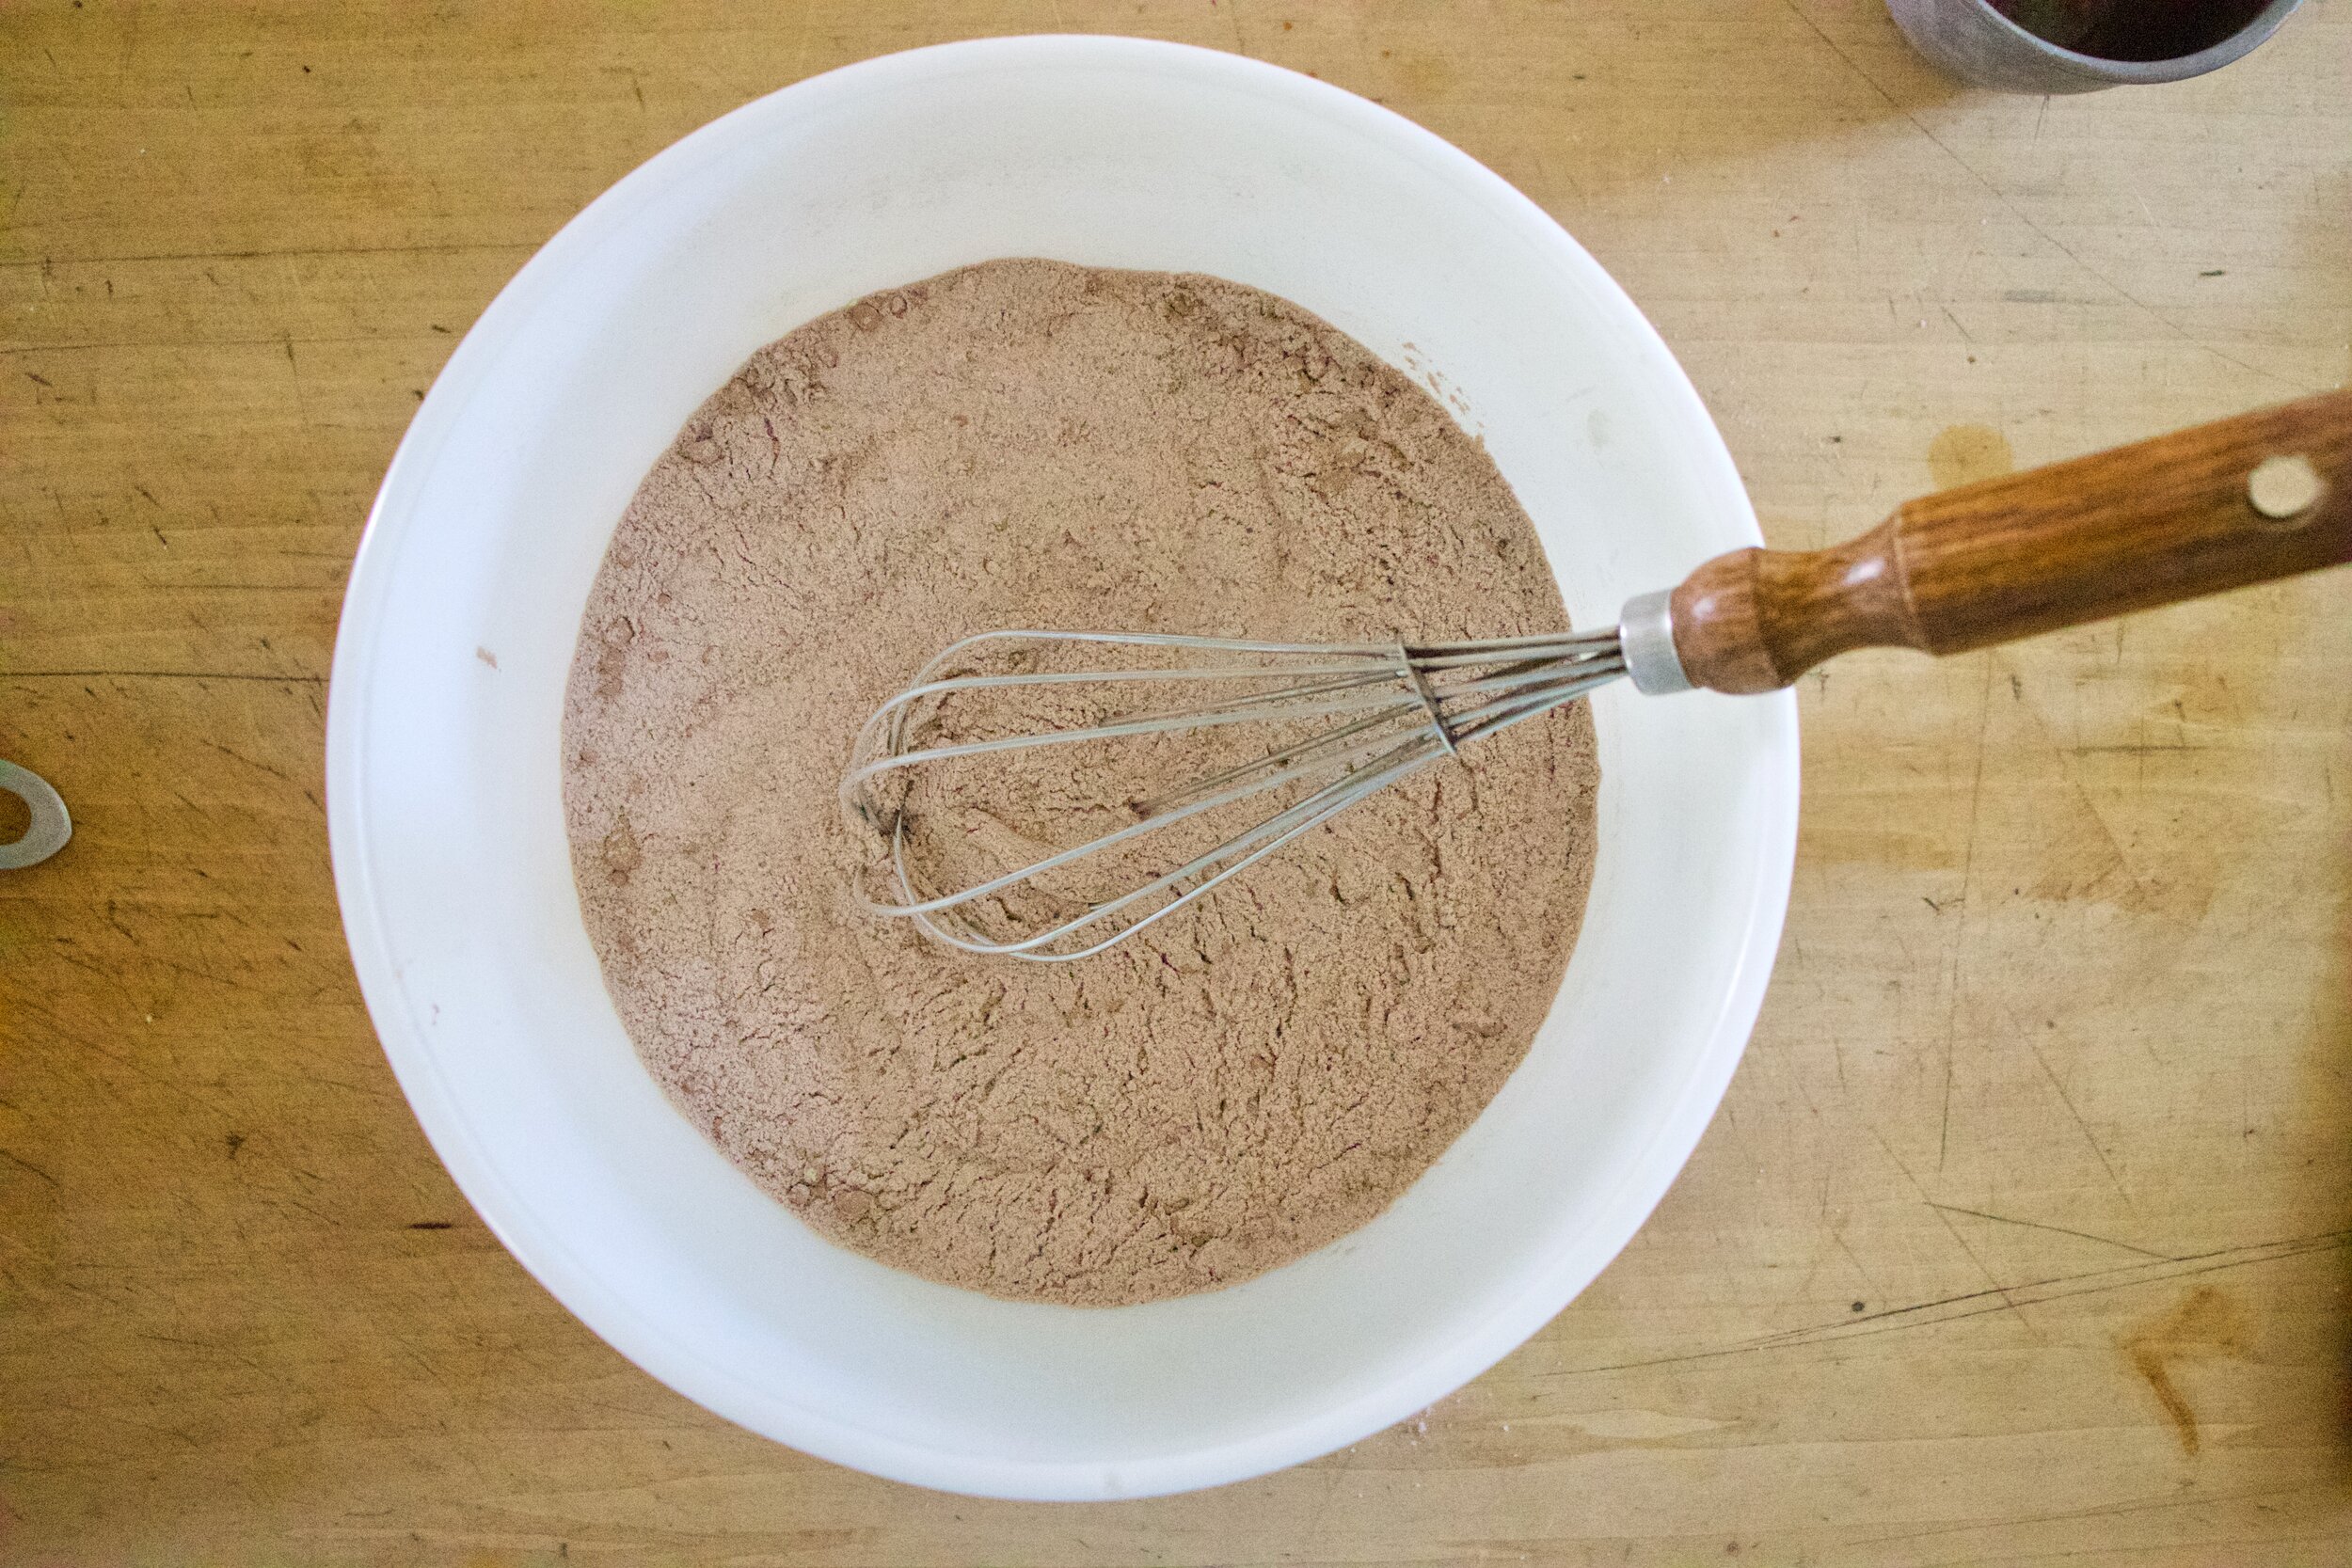
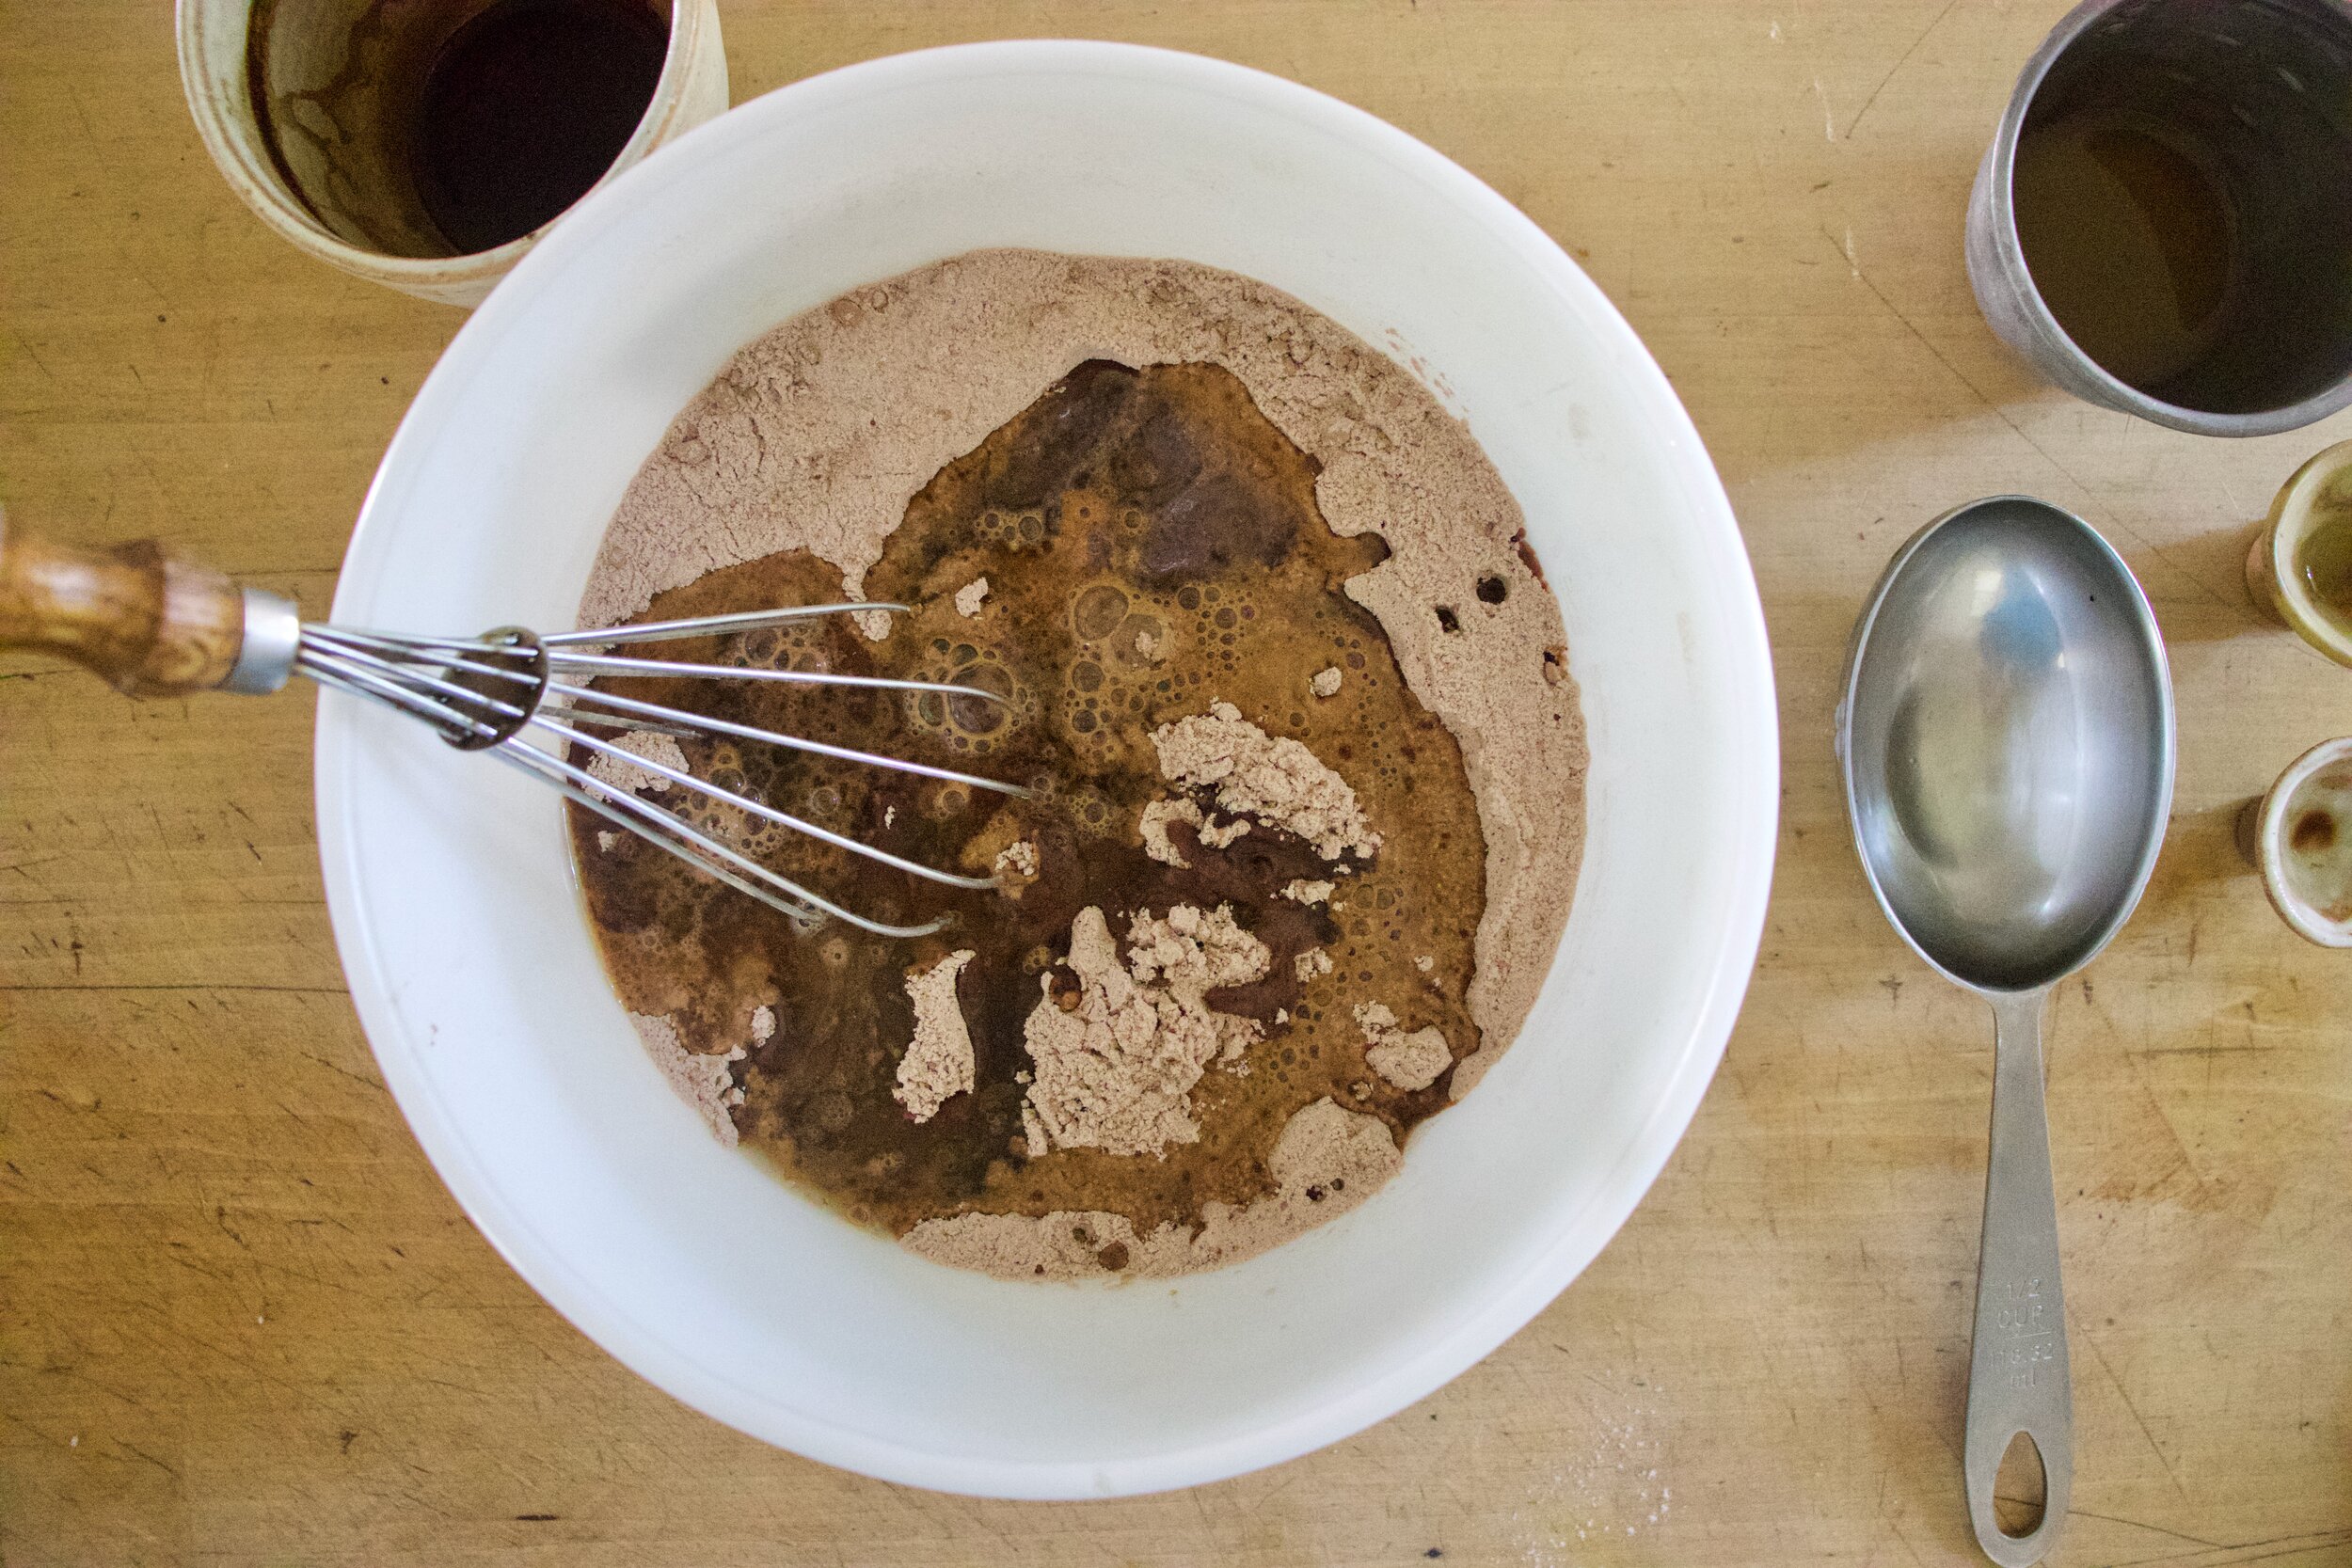
Make cake bater. Whisk together all the dry until really really mixed and there are no clumps then add in all the wet.

Mixed and ready batter.

IMG_9776.jpg
IMG_9780.jpg

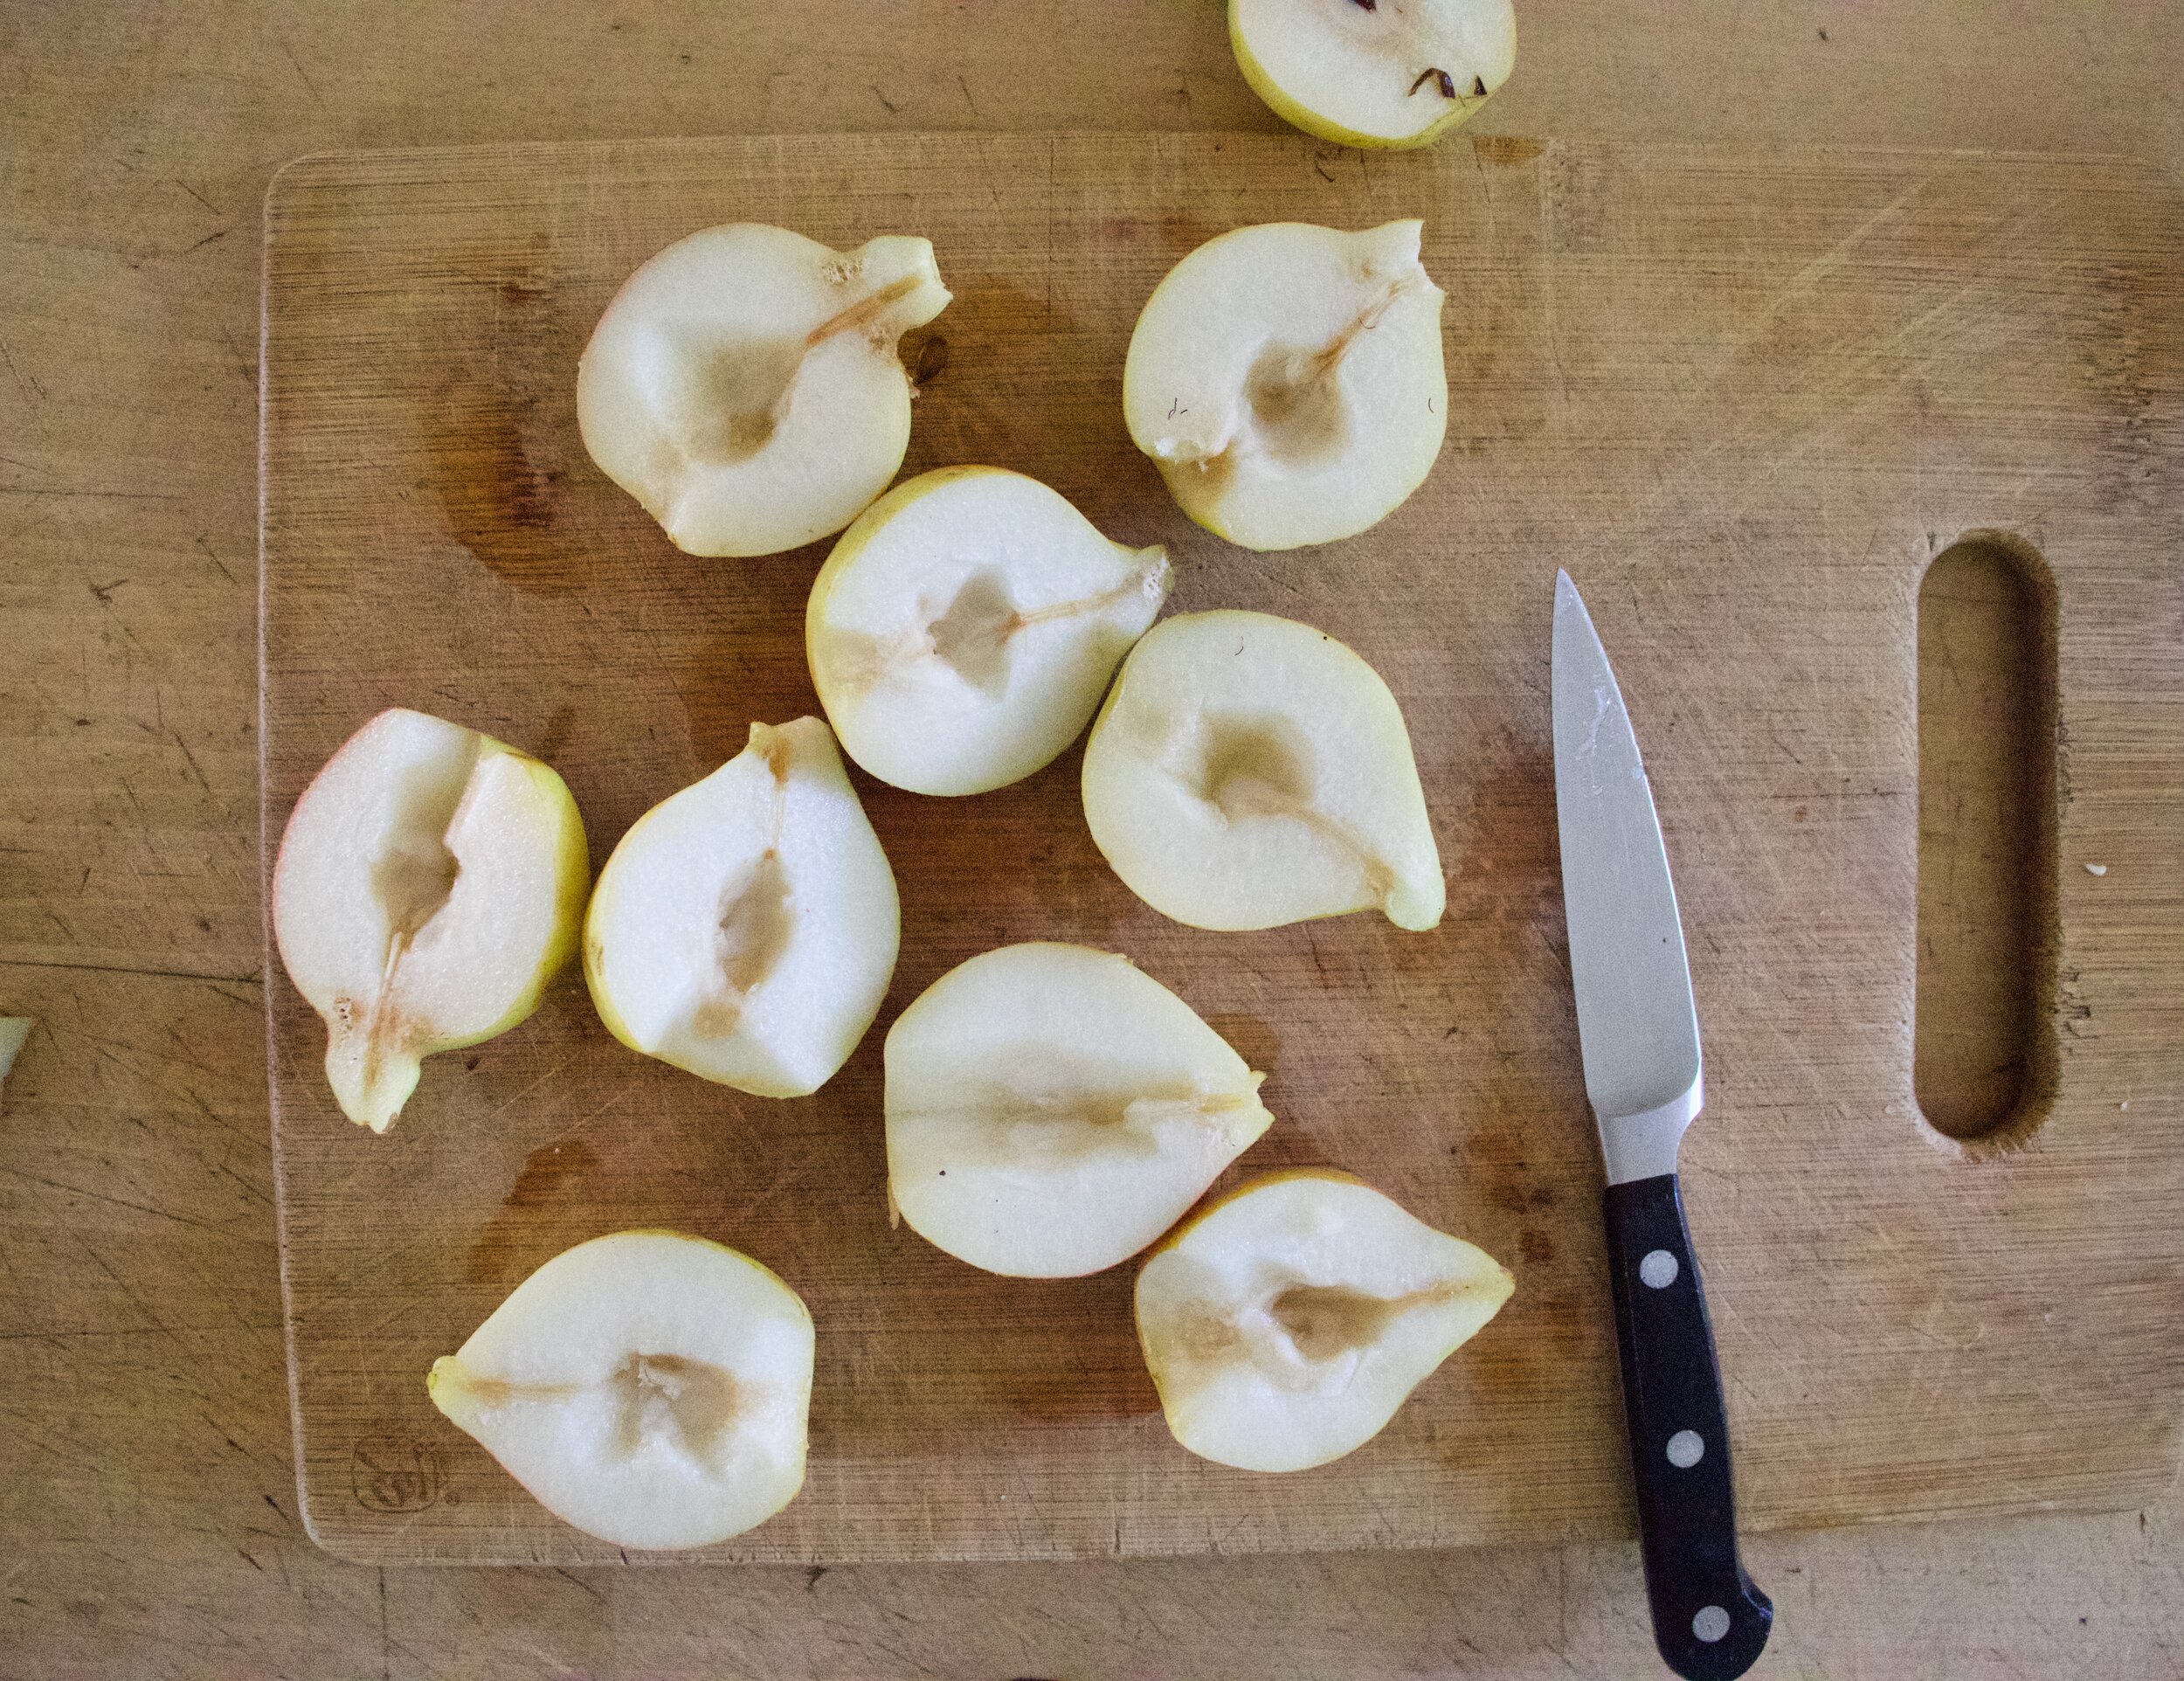
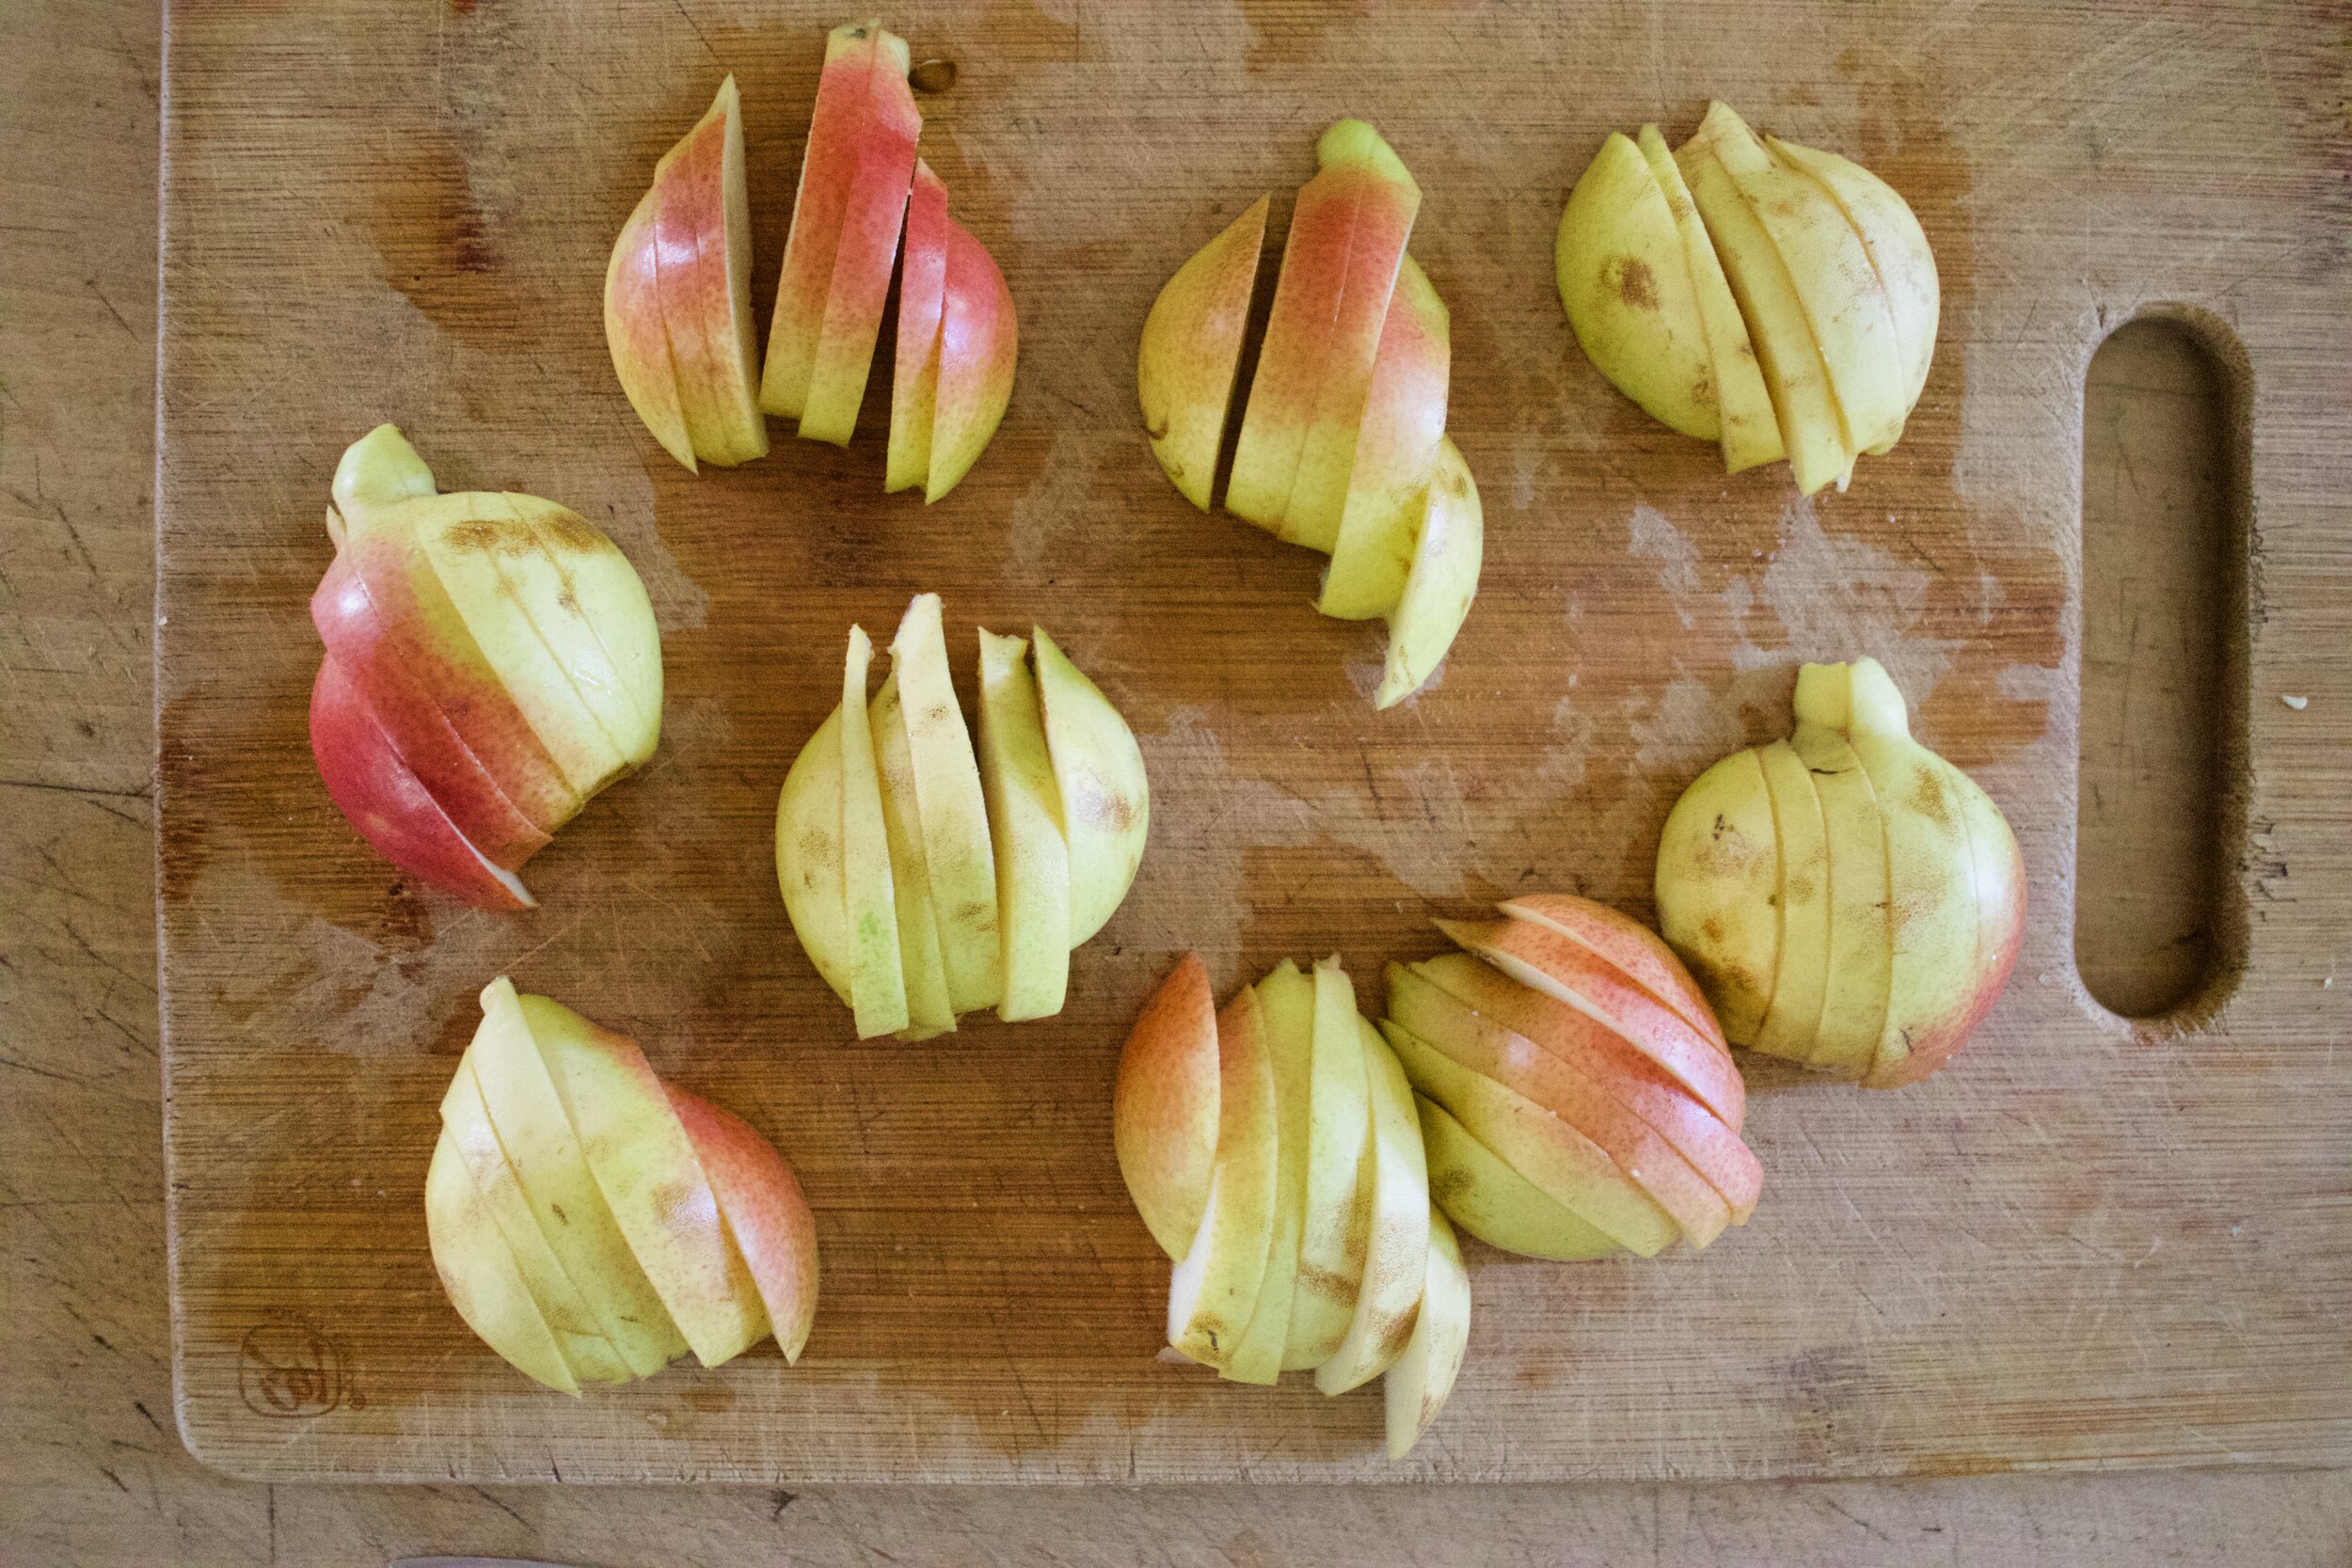
Now cut the pears in half and remove the stem and seeds. Slice each half into 1/4 inch thick pieces but keep each sliced pear together.

And sure, some people might say, should I peel the pears? And the answer is no, you should not, but you can if you want. But don’t. Unless you want to.

Place the sliced cut havles cake down into the batter. Make them look pretty.

Then into the hot oven it goes to bake.

Wow wow! So pretty! Now let it cool a bit.

IMG_9816.jpg

When cooled off, cut into pieces. Each piece gets a pear.

Cake on plate, grab a fork, and eat.

-C


Chocolate Pear Cake

  • 4-5 small pears (like Forelle Pear or another smaller variety)

  • 41 3/4 cups all purpose flour

  • 1/3 cup cocoa powder

  • 1 cup white sugar

  • 1 1/2 teaspoon baking powder

  • 1 teaspoon baking soda

  • 1/2 teaspoon salt

  • 2 teaspoon cinnamon

  • 1/2 cup neutral flavored oil

  • 1 1/4 cups hot coffee

  • 2 tablespoon apple cider vinegar

Preheat oven to 350

Start with cutting up the pear. Cut each pear in half, remove all seeds and the stem, then slice each half into 4-5 1/2 inch thin pieces, keeping the pieces of each half together.

Grab a big bowl and dump in the flour, baking powder and soda, cinnamon, salt, cocoa powder, and sugar. Whisk well until completely combined and there are no clumps of cocoa of flour. Now add in the oil, vanilla, coffee, and vinegar and mix until just combined. Pour batter into a well greased pan. (use a 9x9 or 8 inch round)

Grab cut up pear halves and place halves, cut side down into the batter. 3 across and 3 down, or just any way that you think looks pretty. And once you got your pears in, place the pan into the oven. Bake for 28-32 minutes or until you get a clean fork when poked for doneness.

Remove from oven and let cool for a bit on a wire rack. Once cooled, cut it up and eat it

Left over cake is good covered at room temperature for a day or two but should be sorted in fridge, covered, for up to a week.

In Vegan, cake, Dairy Free, fruit Tags Chocolate Pear Cake, vegan, pears, cake, chocolate cake, fruit, fall, plant based, oil cake, dairy free, dessert, bake feed, homemade, recipe, easy, fast, delicious
Comment

Chocolate Pudding Parfaits

March 28, 2020 Colleen Stem
IMG_6922 2.jpg
IMG_6939.jpg
IMG_6847.jpg

Pudding is comfort. Pudding is simple. Pudding is just that, nothing but pudding. And if you add some graham cracker crumble, well you got yourself a pudding parfait. And a pudding party of sorts, if you need one.

Now do you, like me, think about grade school when you see pudding? Or how about Billy Madison. Oh hell yeah, definitely watching Billy Madison, in grade school, with a snack pack. HA. Those were some days right there. And with all the littles being homeschooled these crazy days, I figured why not bring in a bit of the grade school feeling into the routine and make some pudding for an after lunch or after “school” snack. For the routine purposes and also as a form of a bribe. Yes. You can bribe your children with pudding. Or your partner. The mr got his pudding too, just after he dealt with the recycling on the porch.
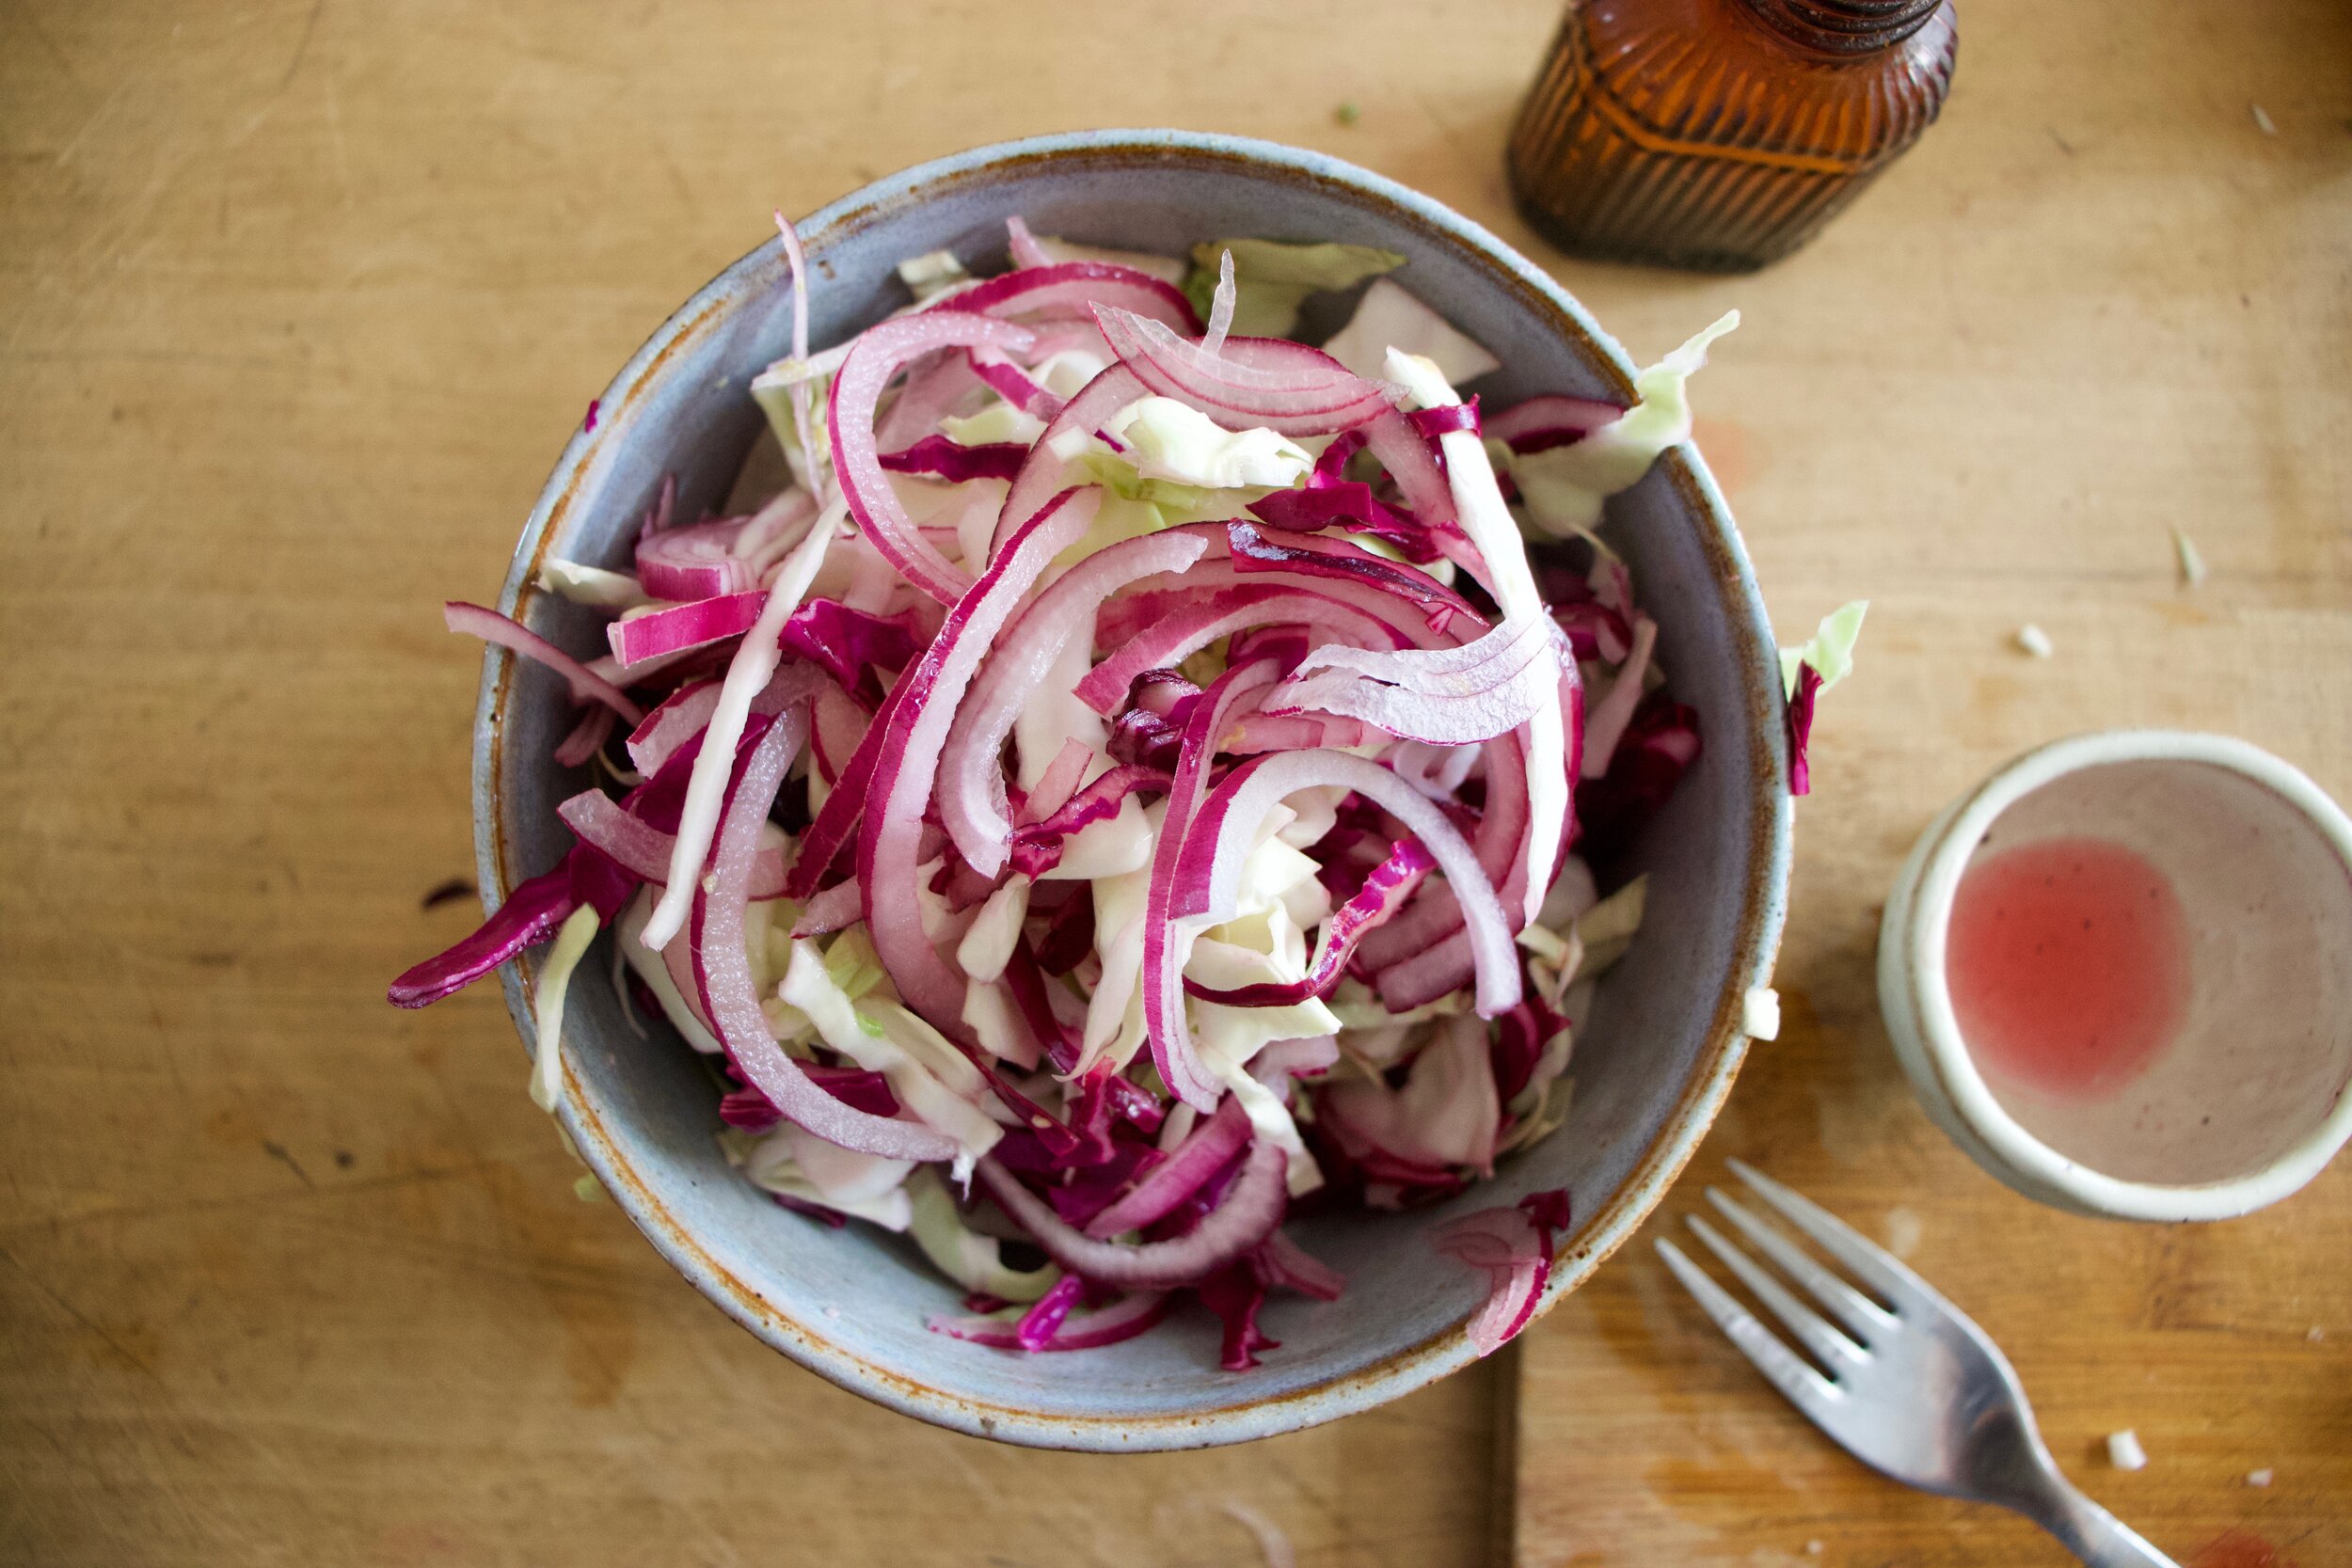
And plus. Oat milk. You got a stash? Yeah? Well use it in this pudding. It will make you glad you panicked bought 10 cartons and hid them under your mattress. Right next to all the canned beans of course.

Now to the pudding!

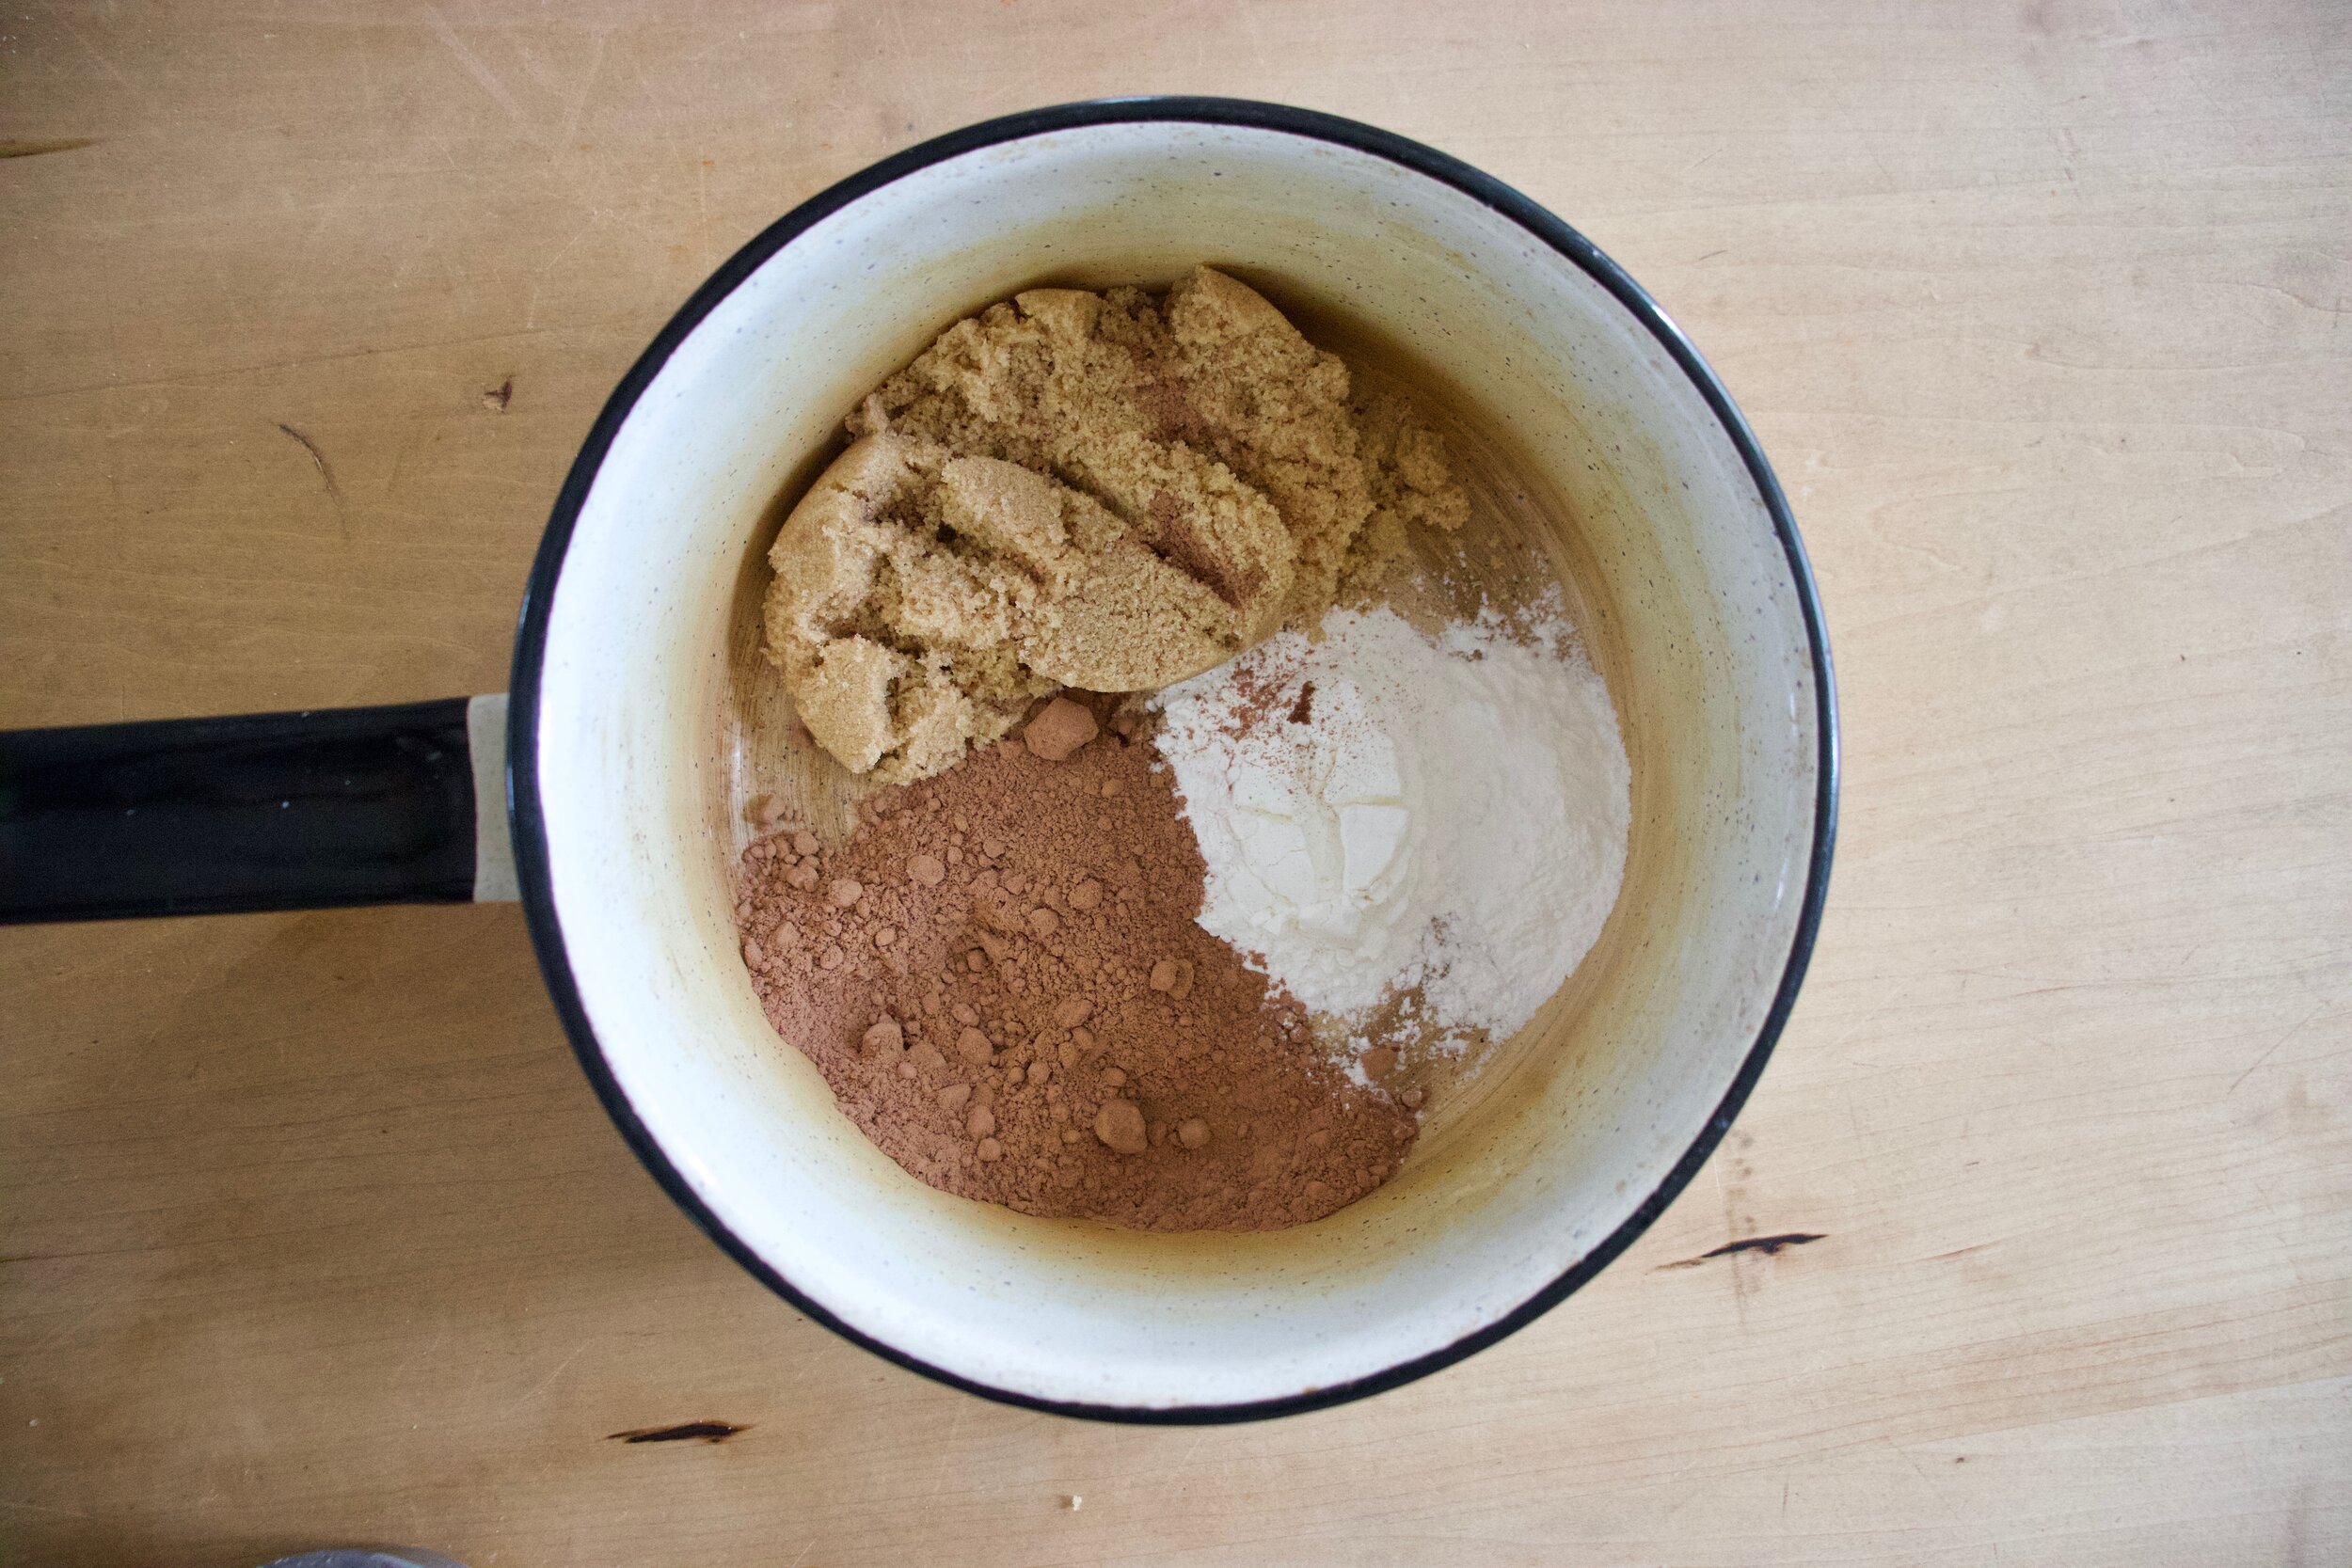
The stuff. Oat milk (use any milk you want or have), cocoa powder, brown sugar, corn starch, brewed coffee (optional), vanilla extract, graham crackers, coconut oil, and a little salt.

IMG_6794.jpg
IMG_6801.jpg
IMG_6806.jpg
IMG_6810.jpg

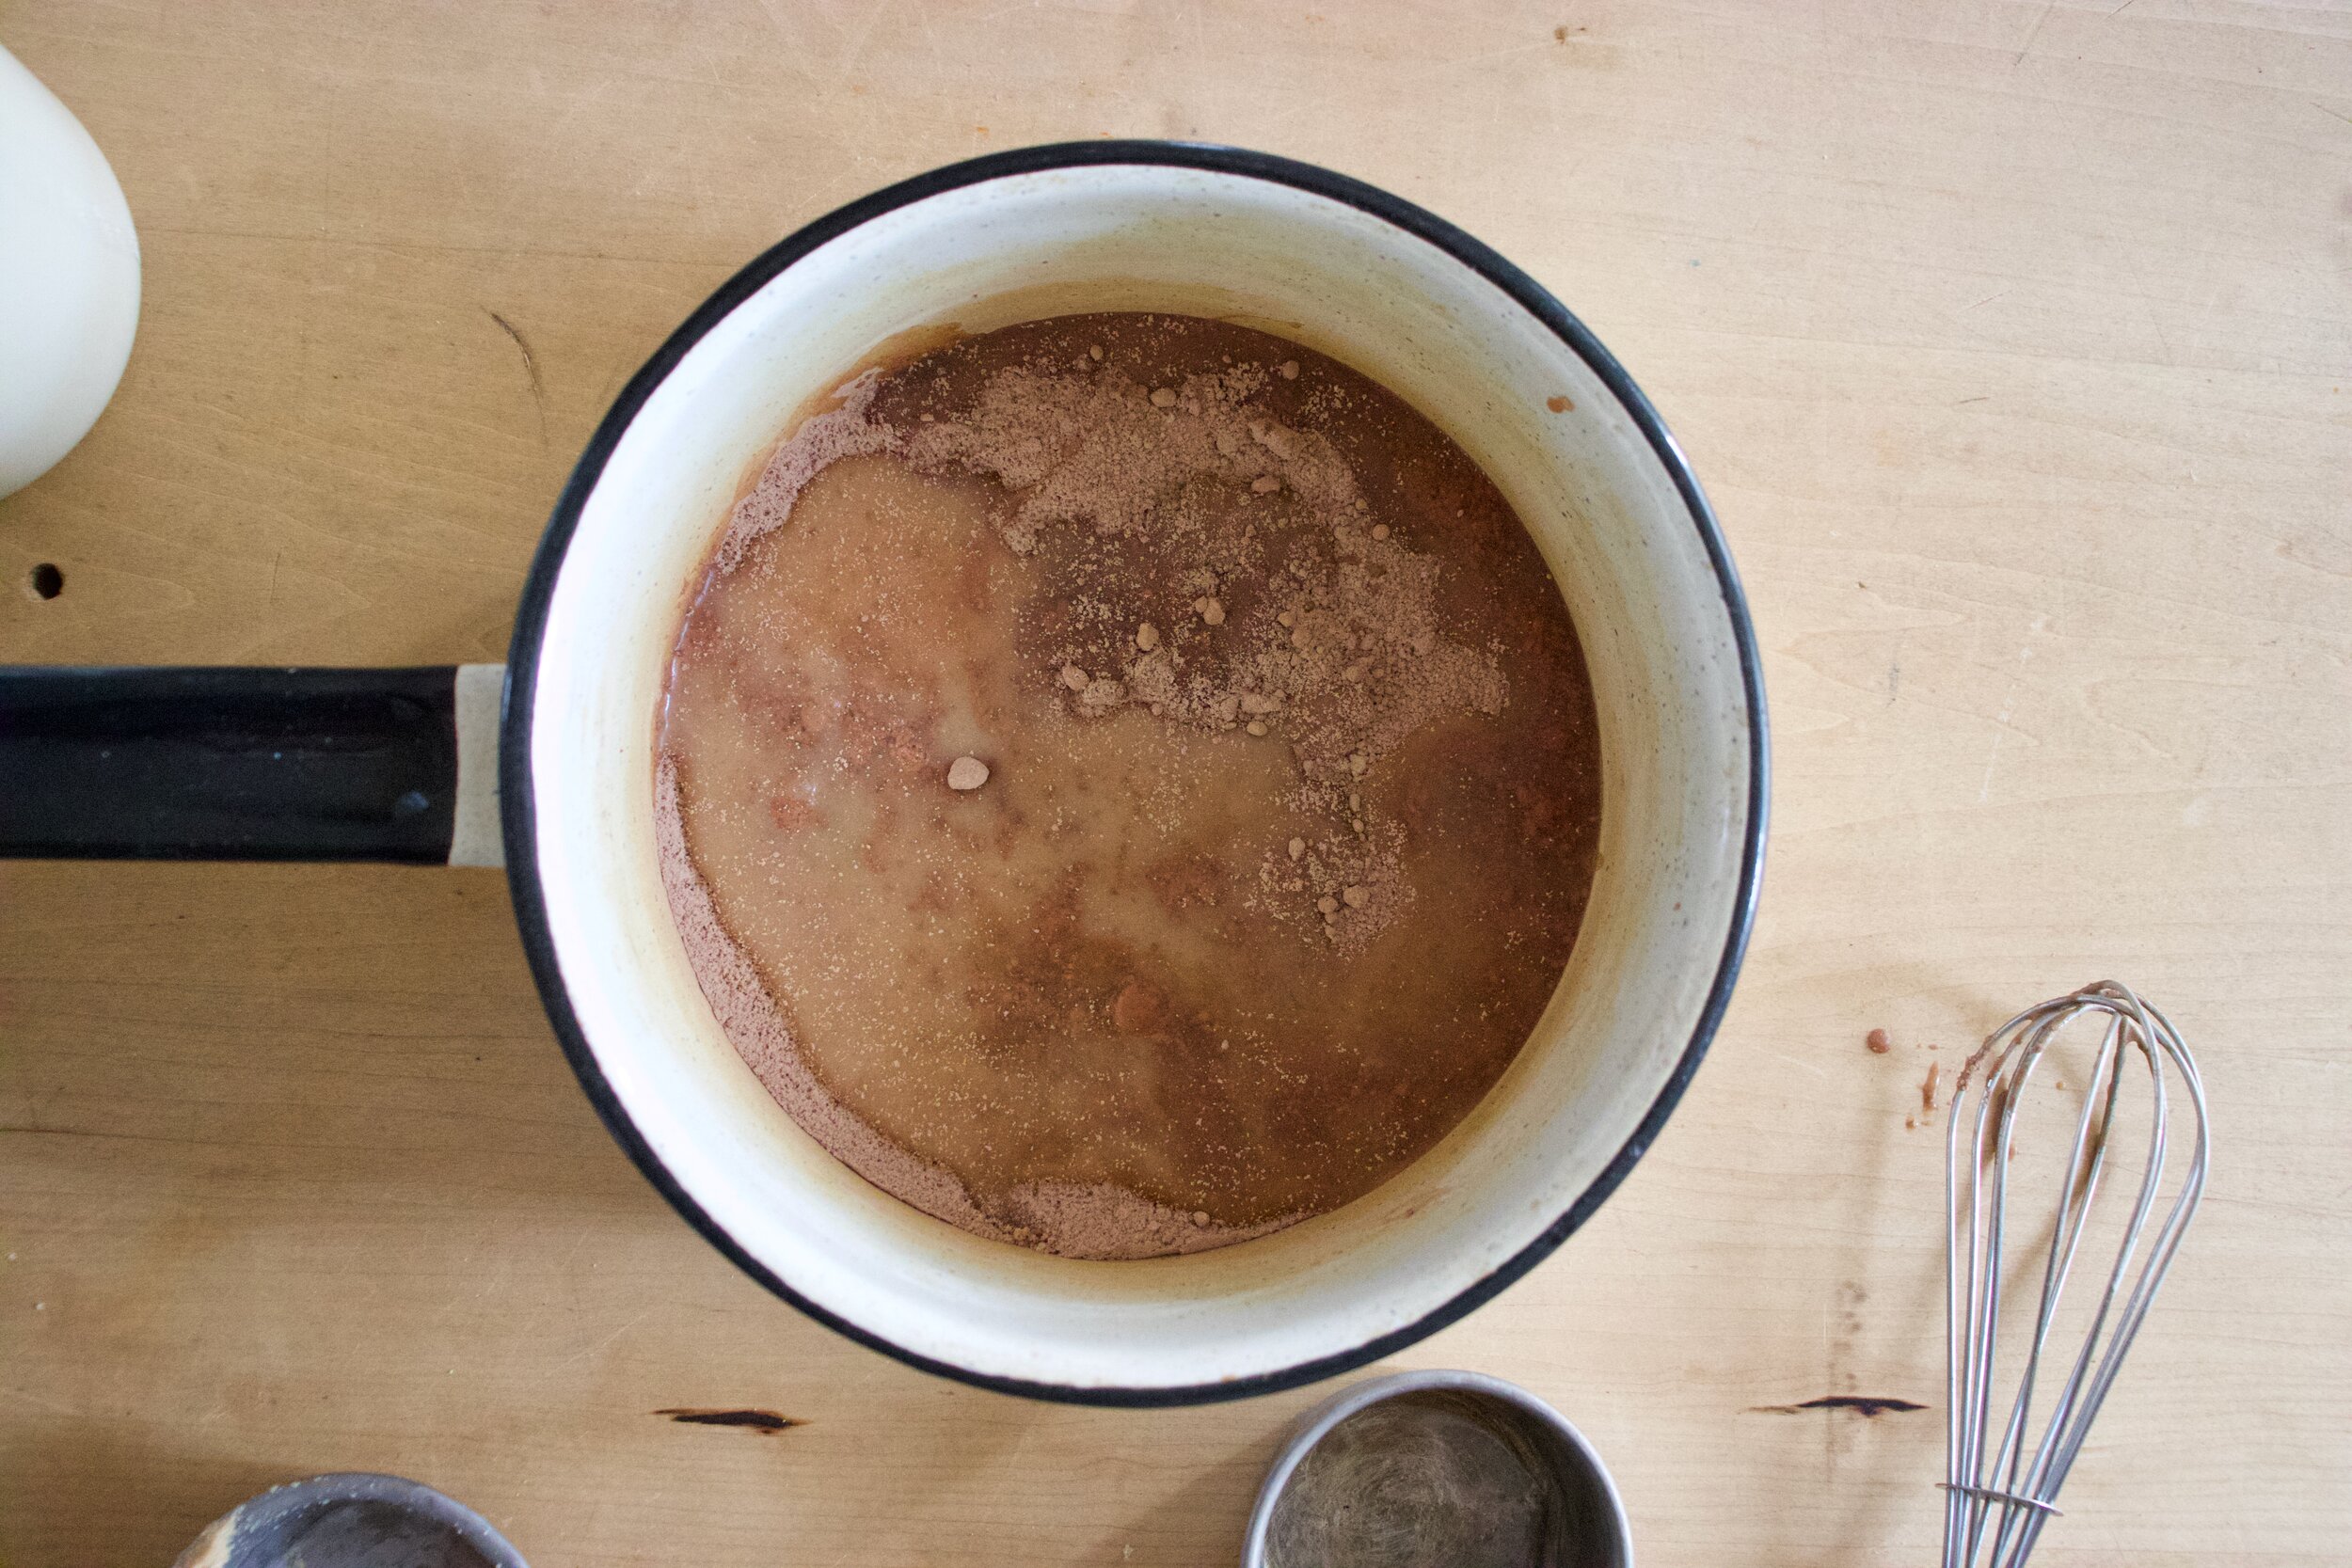
Start with a pot. Mix in the cocoa powder, brown sugar, and corn starch, and pinch of salt. Add in a little milk and coffee if using and mix around until its a thick paste and everything is incorporated.

IMG_6818.jpg

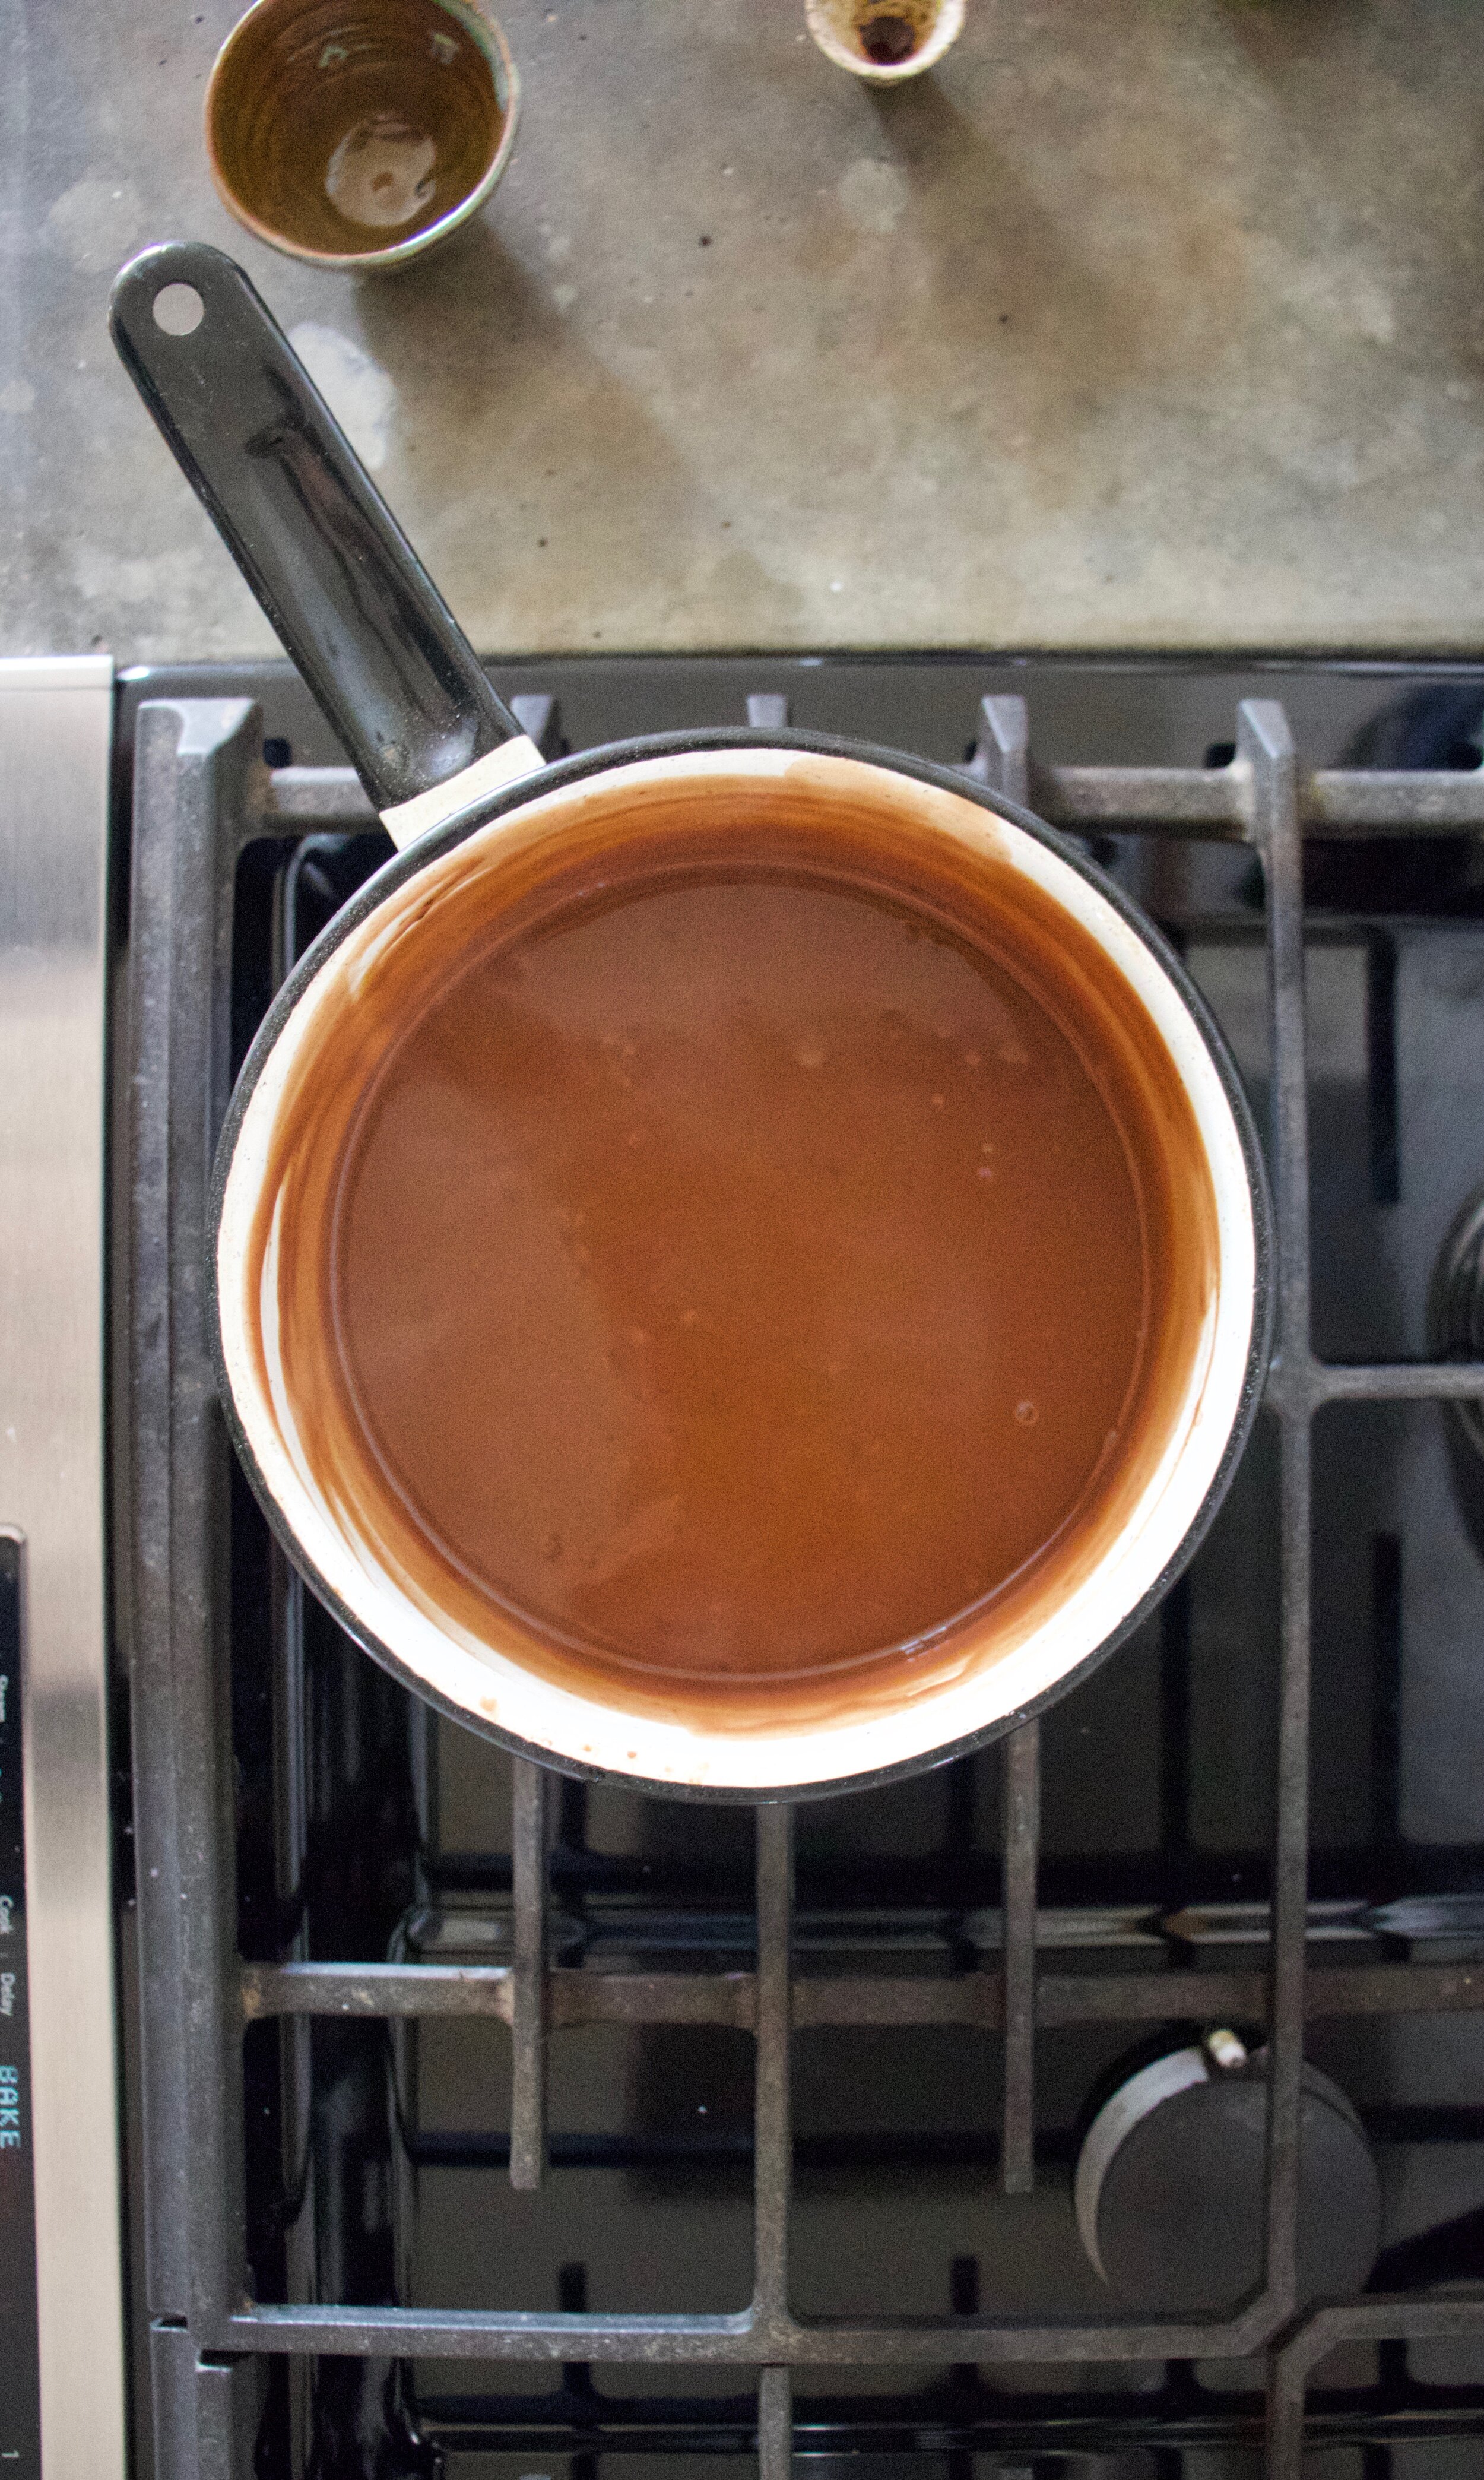
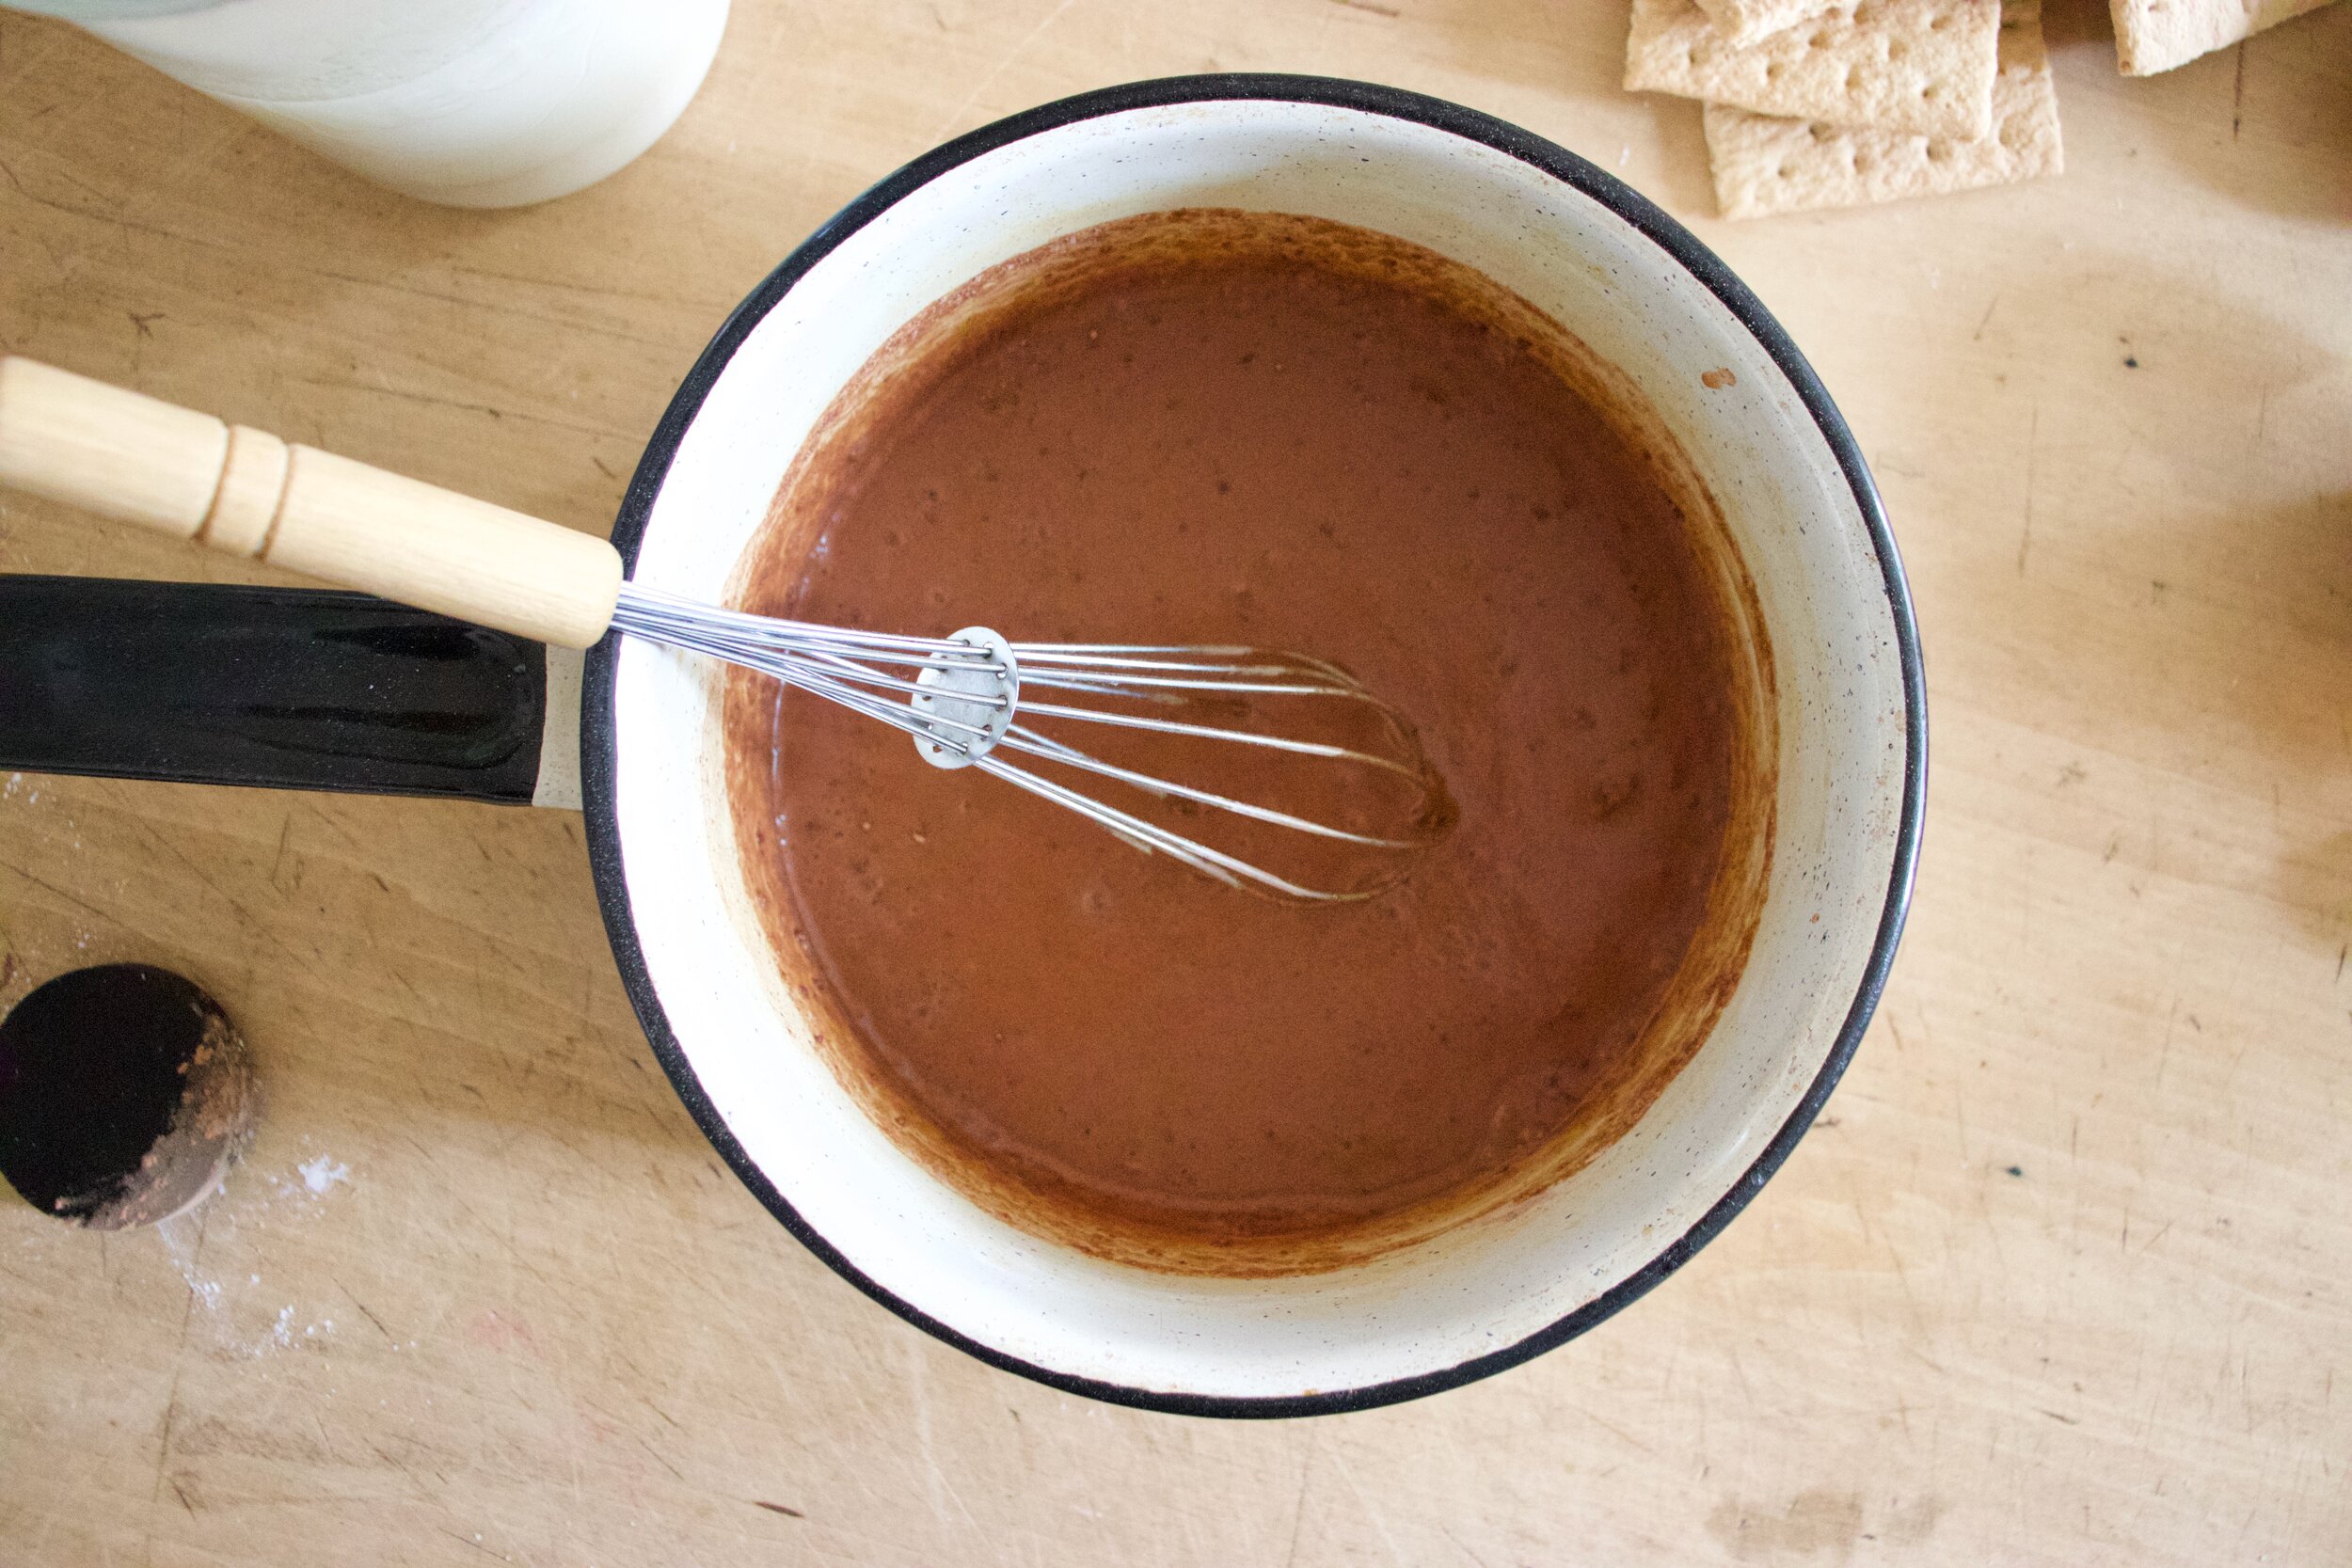
Now add in the rest of the milk and place on medium heat on the stove. Heat up for about 3ish minutes and once it starts get hot and you see a bubble or two, start whiskingand don’t stop. Whisk all around pot, all over the bottom, so no spot start to burn. Whisk whisk whisk, until it thickens to pudding consistency. Should take 3-5 minutes.

IMG_6818.jpg

Once thick and pudding like turn heat off and add in the vanilla and chocolate chips. Whisk until completely melted and incorporated.

Silky and smooth. Hot pudding.

IMG_6852.jpg

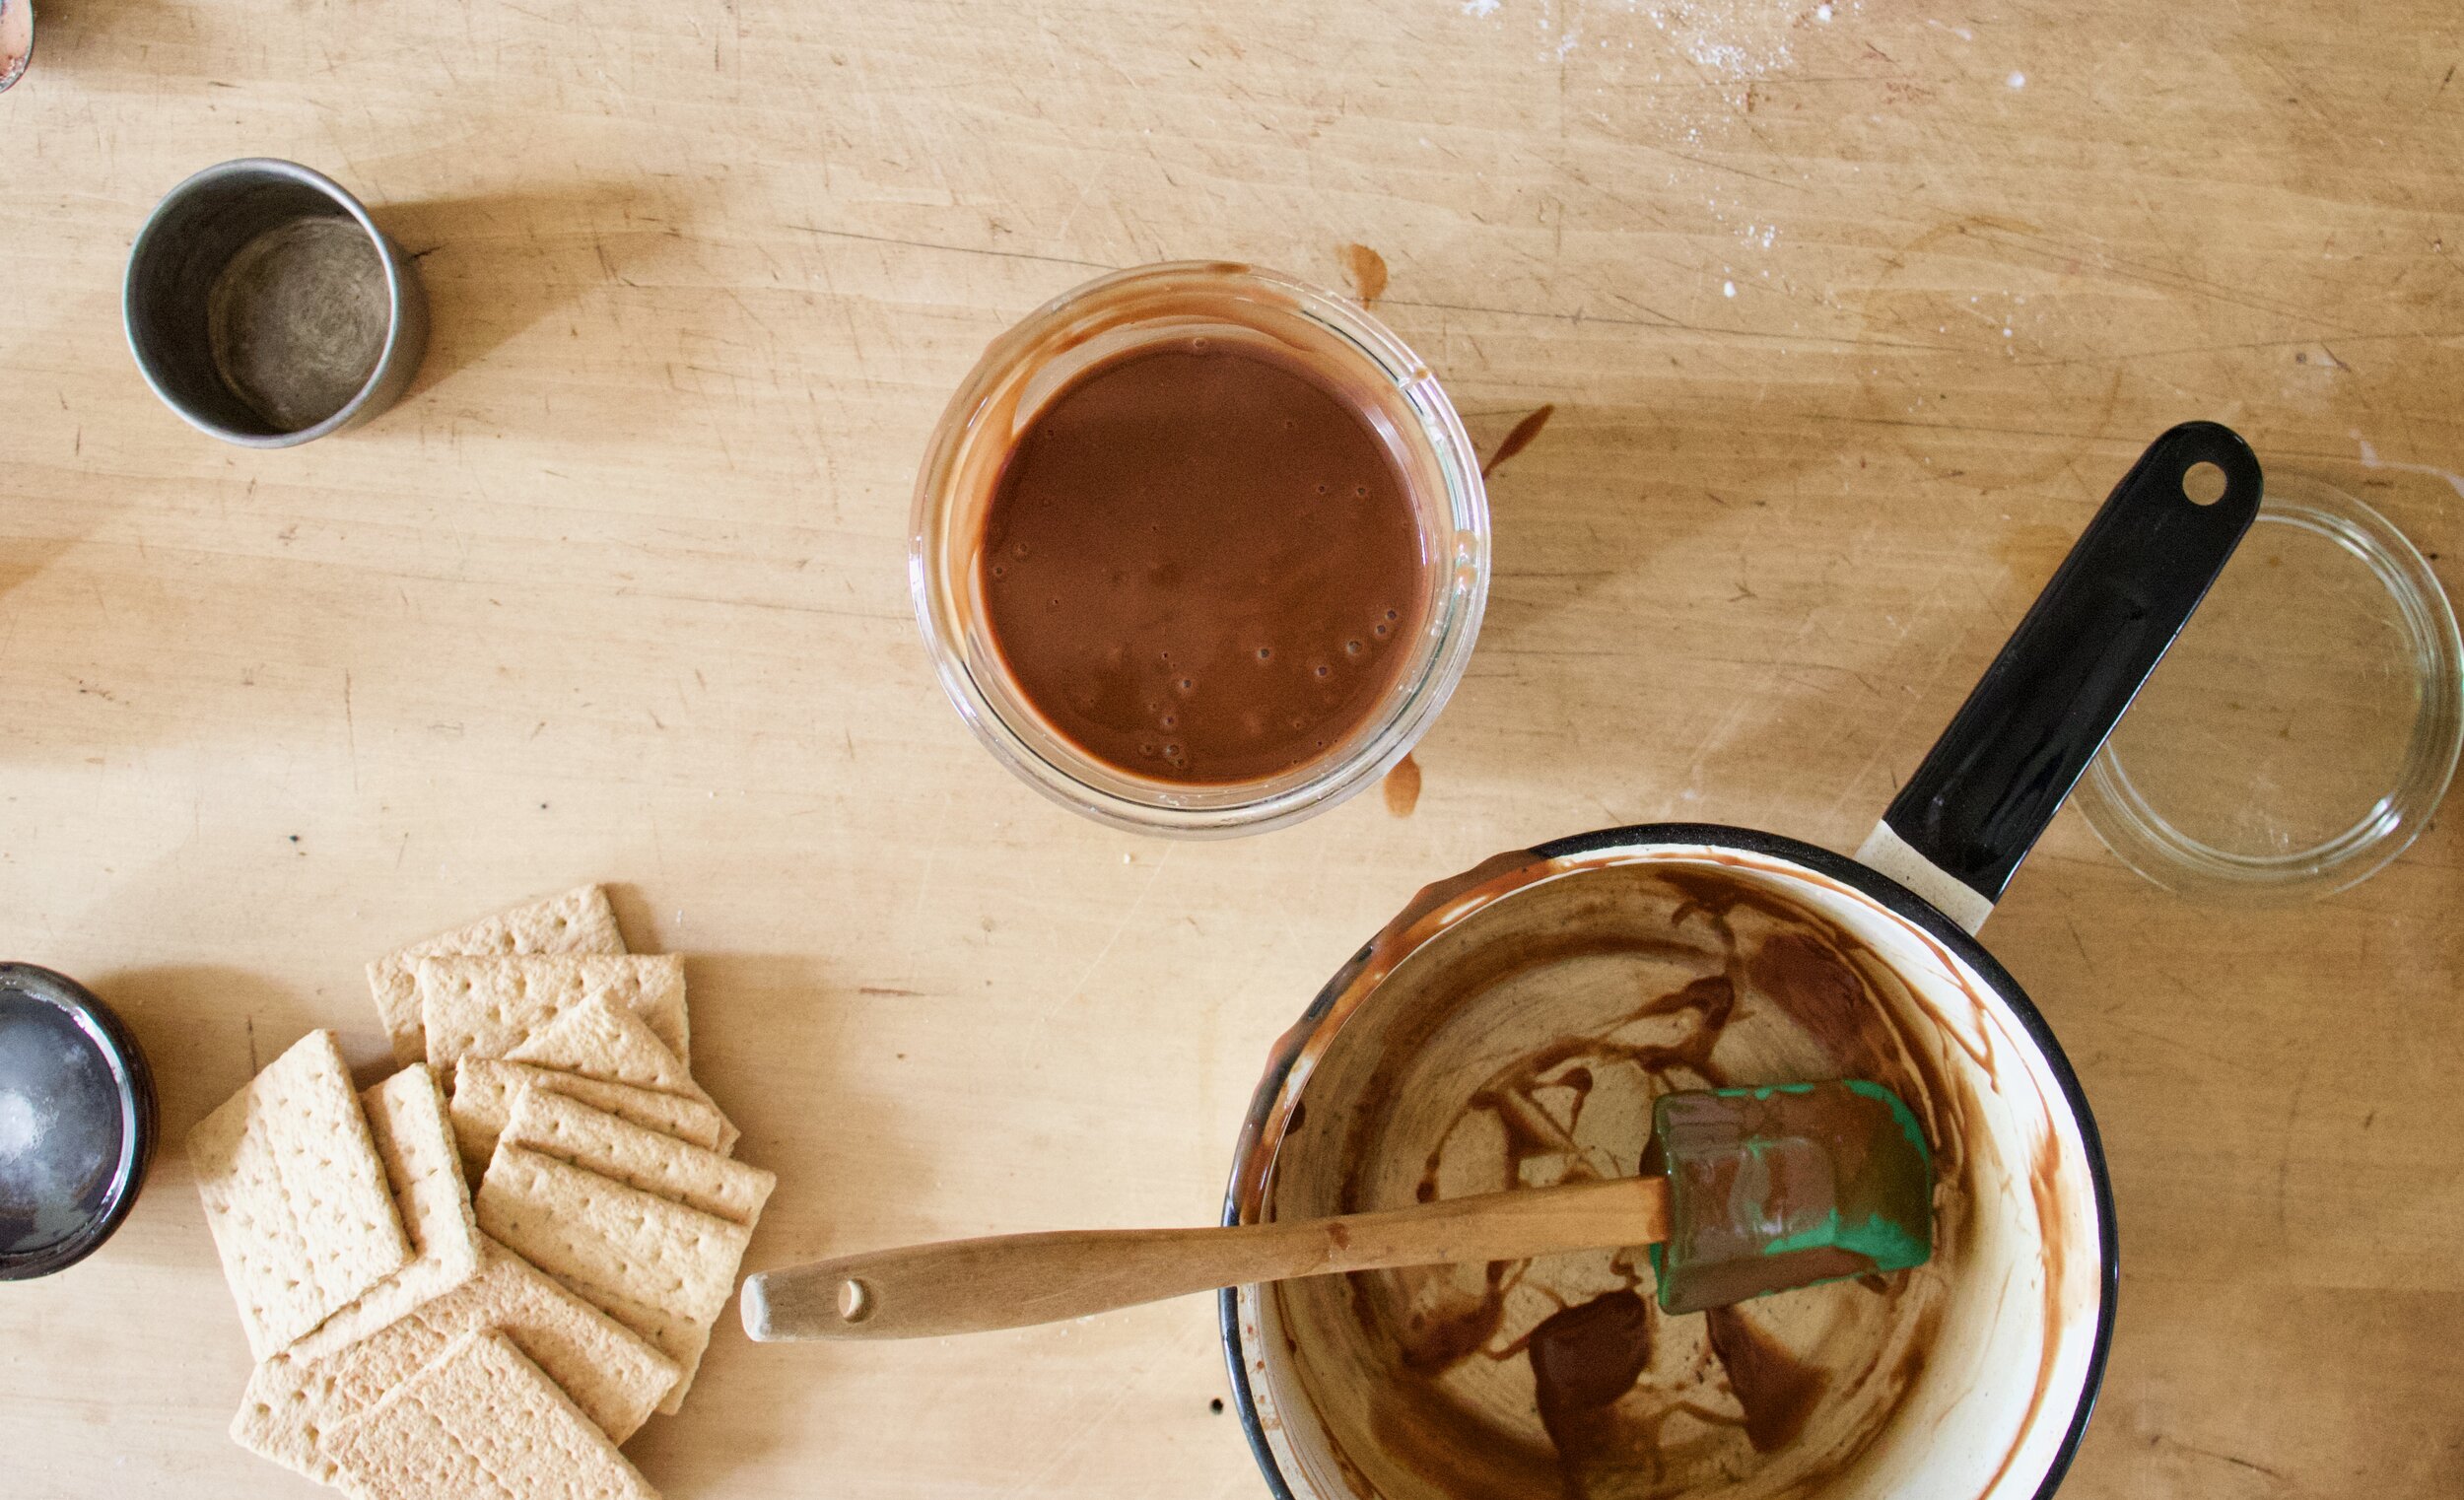
Pour the pudding into a jar or bowl and place into the fridge to set. 1- 2 hours.

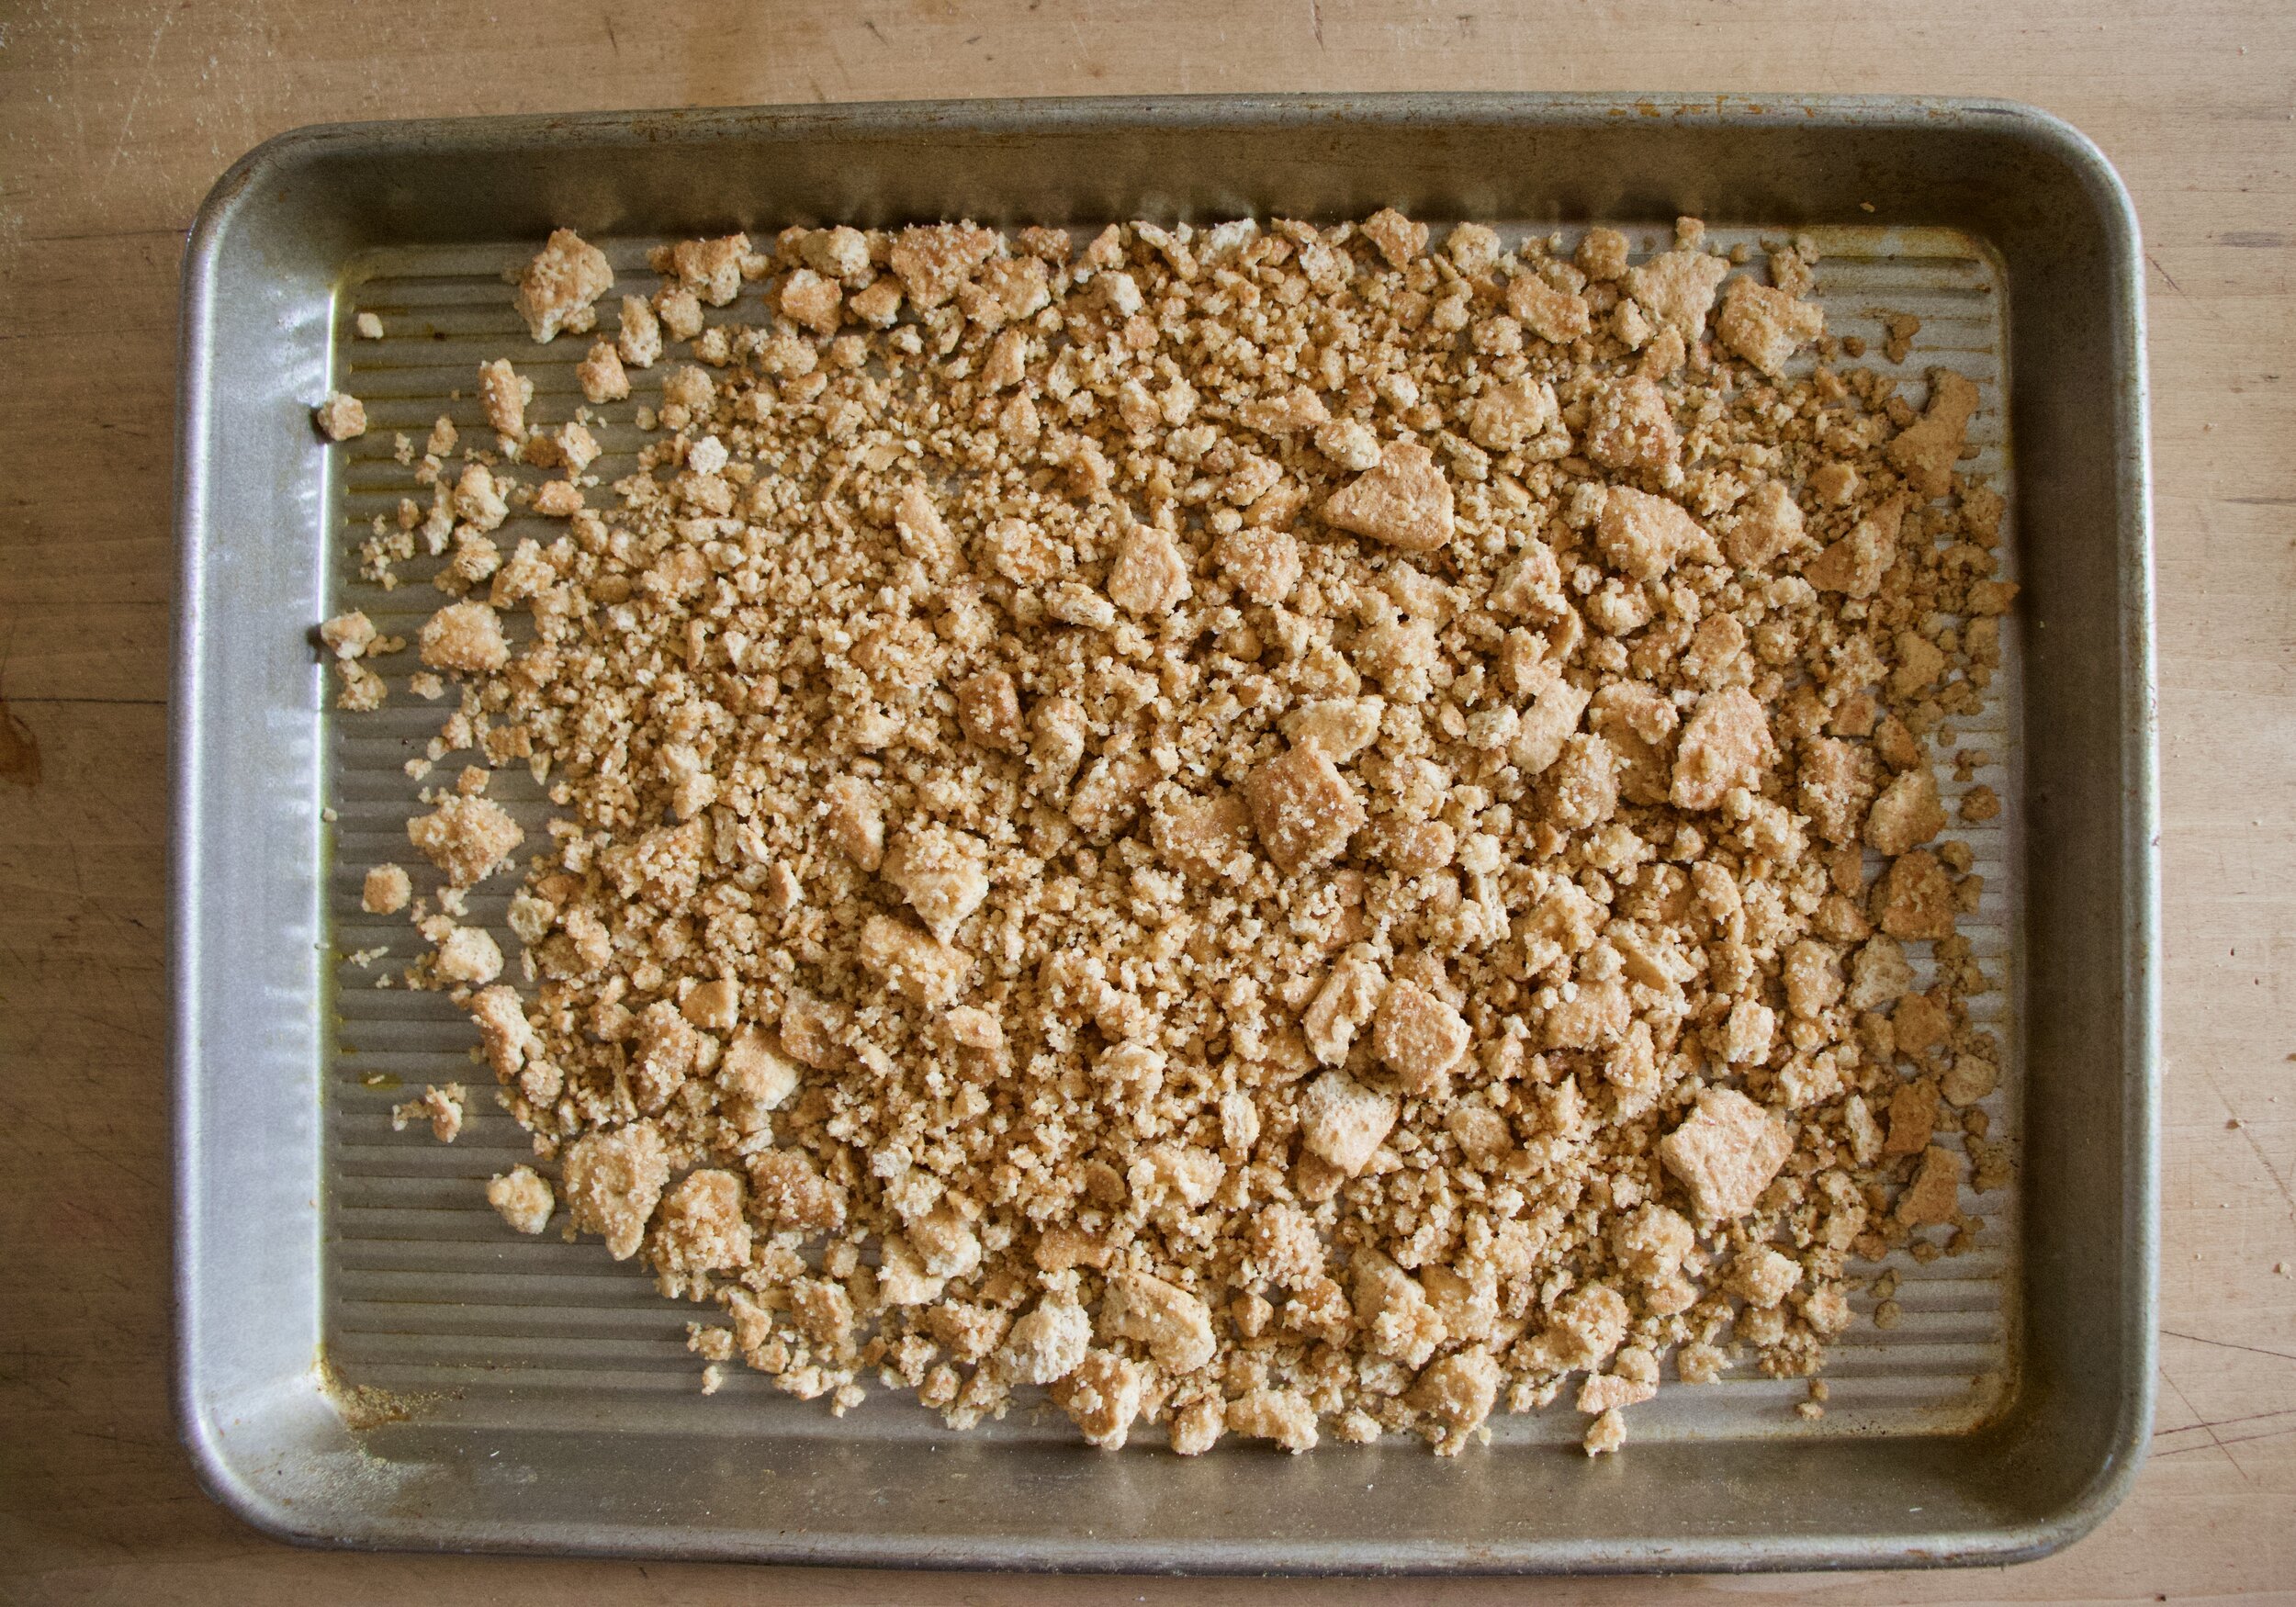
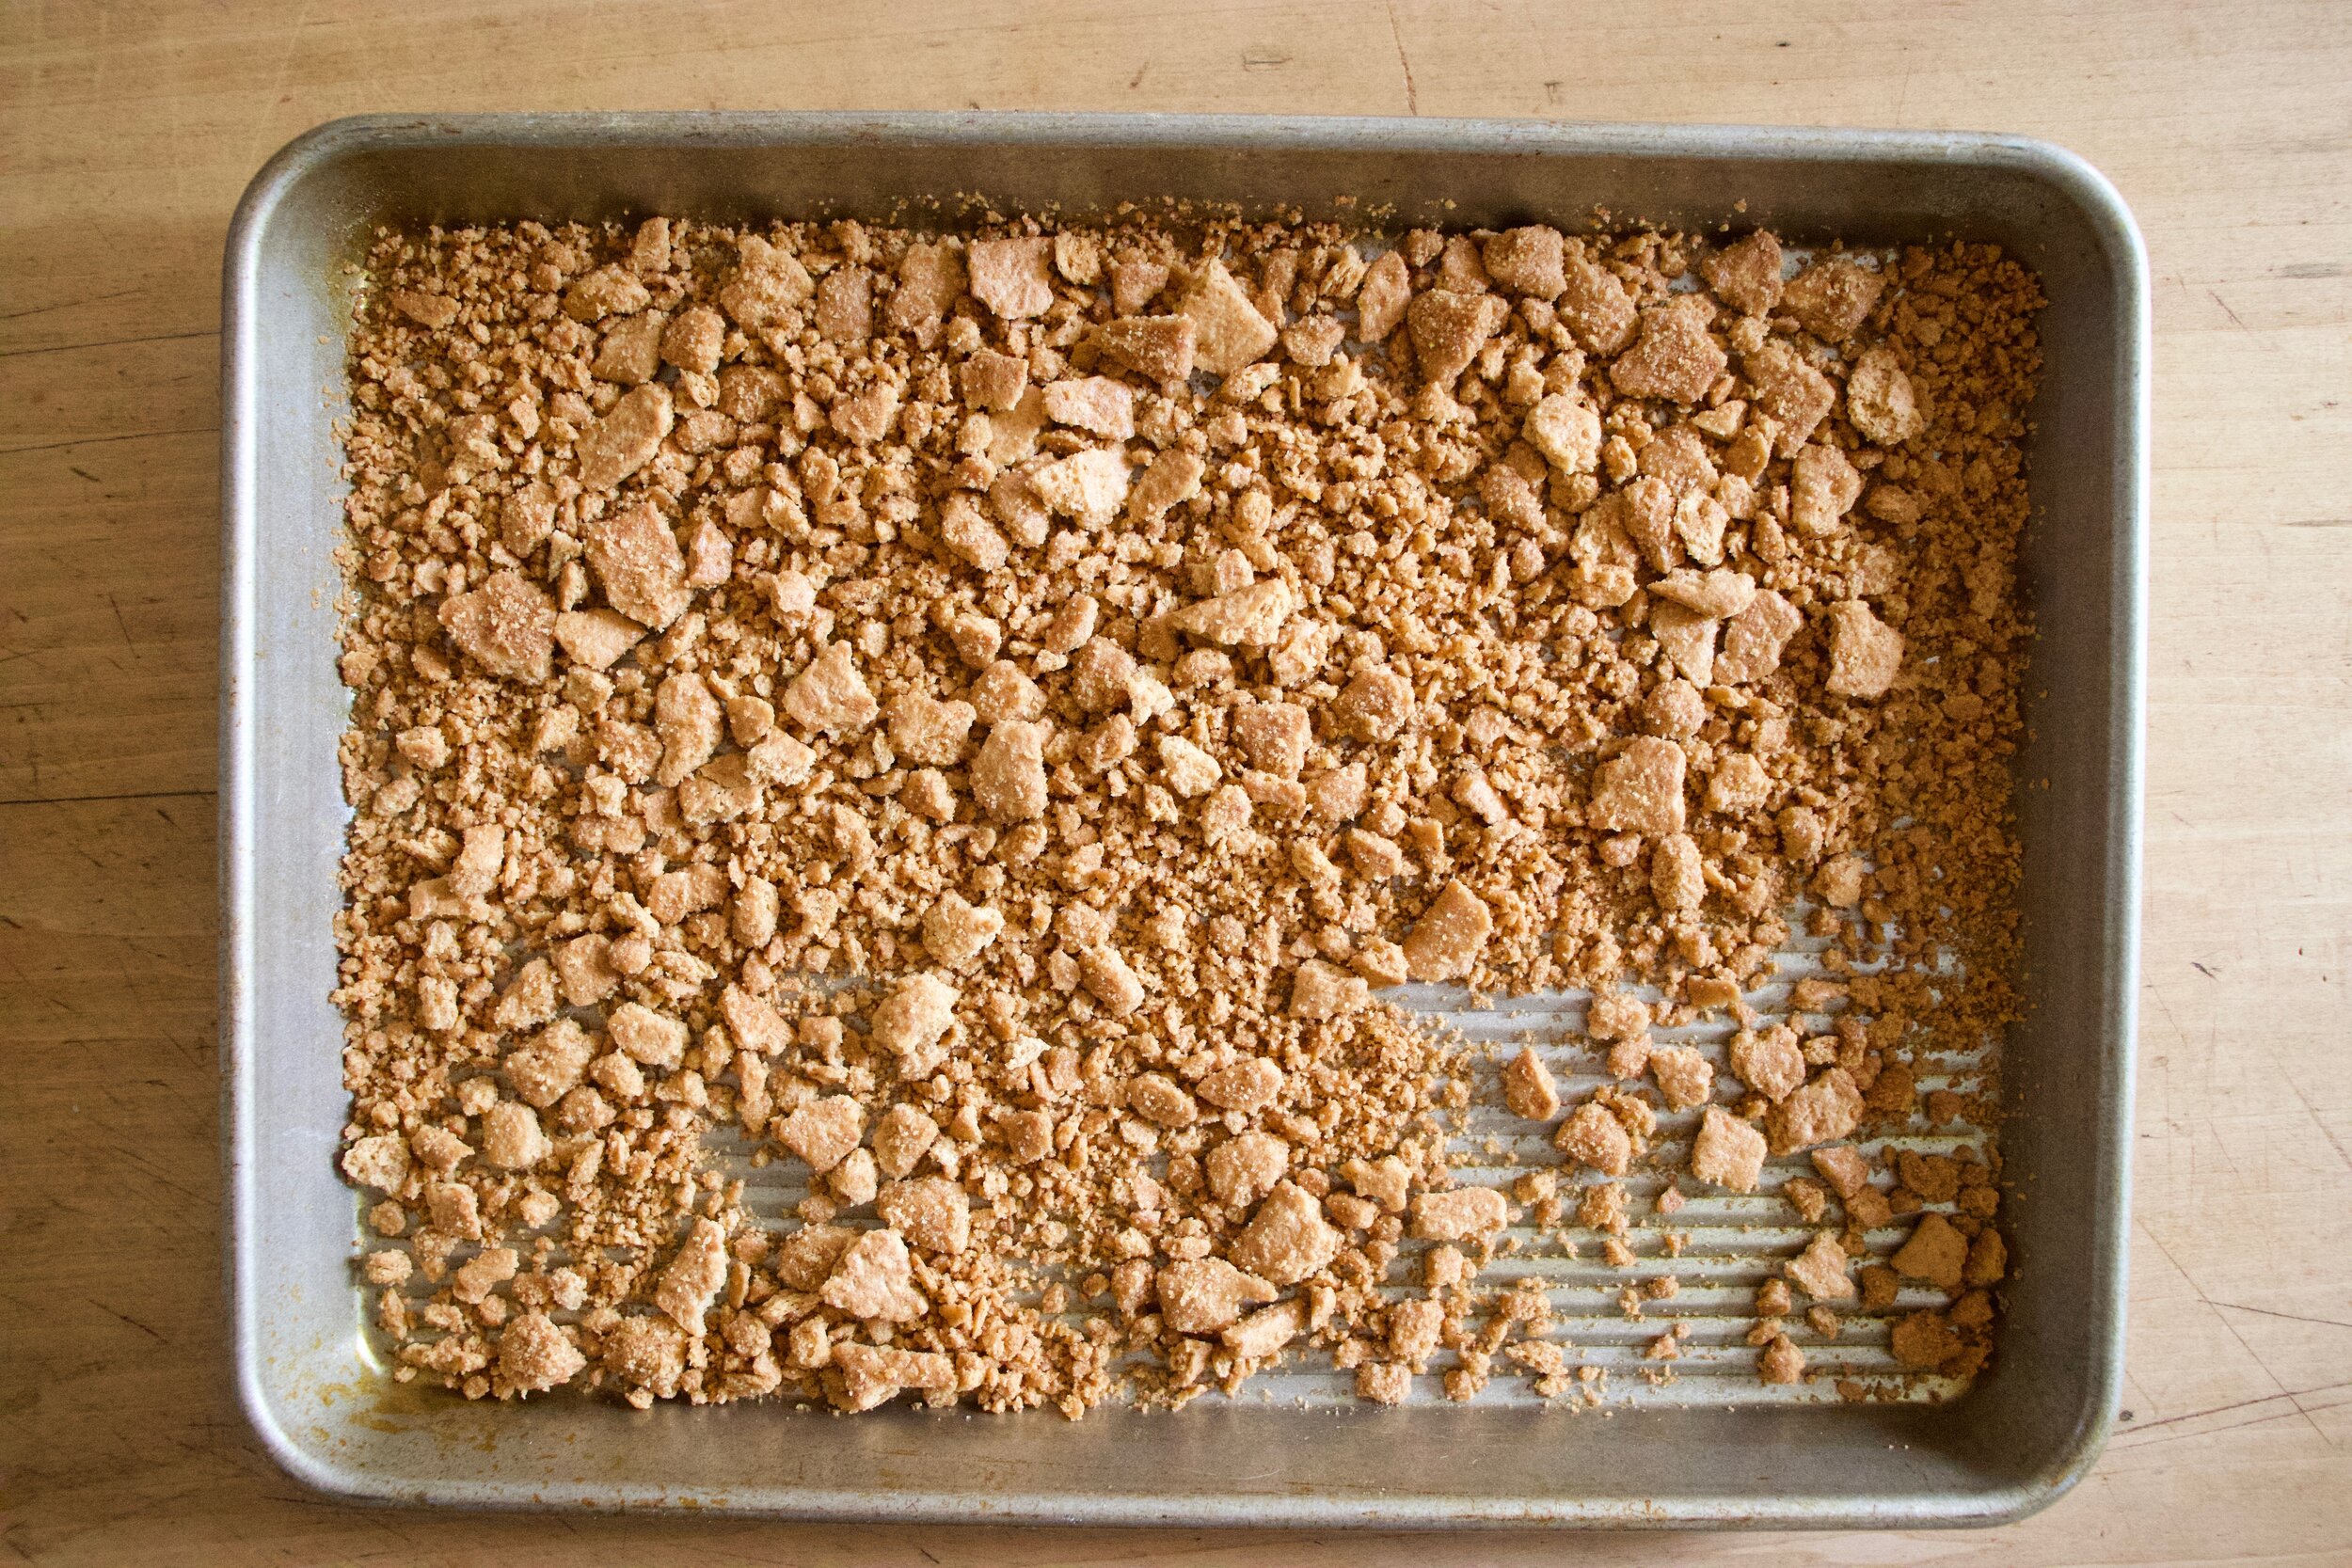
In the meantime, graham cracker crumble. Smash up the crackers into a bowl, (big chunks are good) and add in the melted coconut oil and a tablespoon of brown sugar.

Mix around until evenly incorporated

IMG_6894.jpg
IMG_6896.jpg

Dump the crumbs onto a baking sheet and stick into the oven to toast up for about 10 minutes.

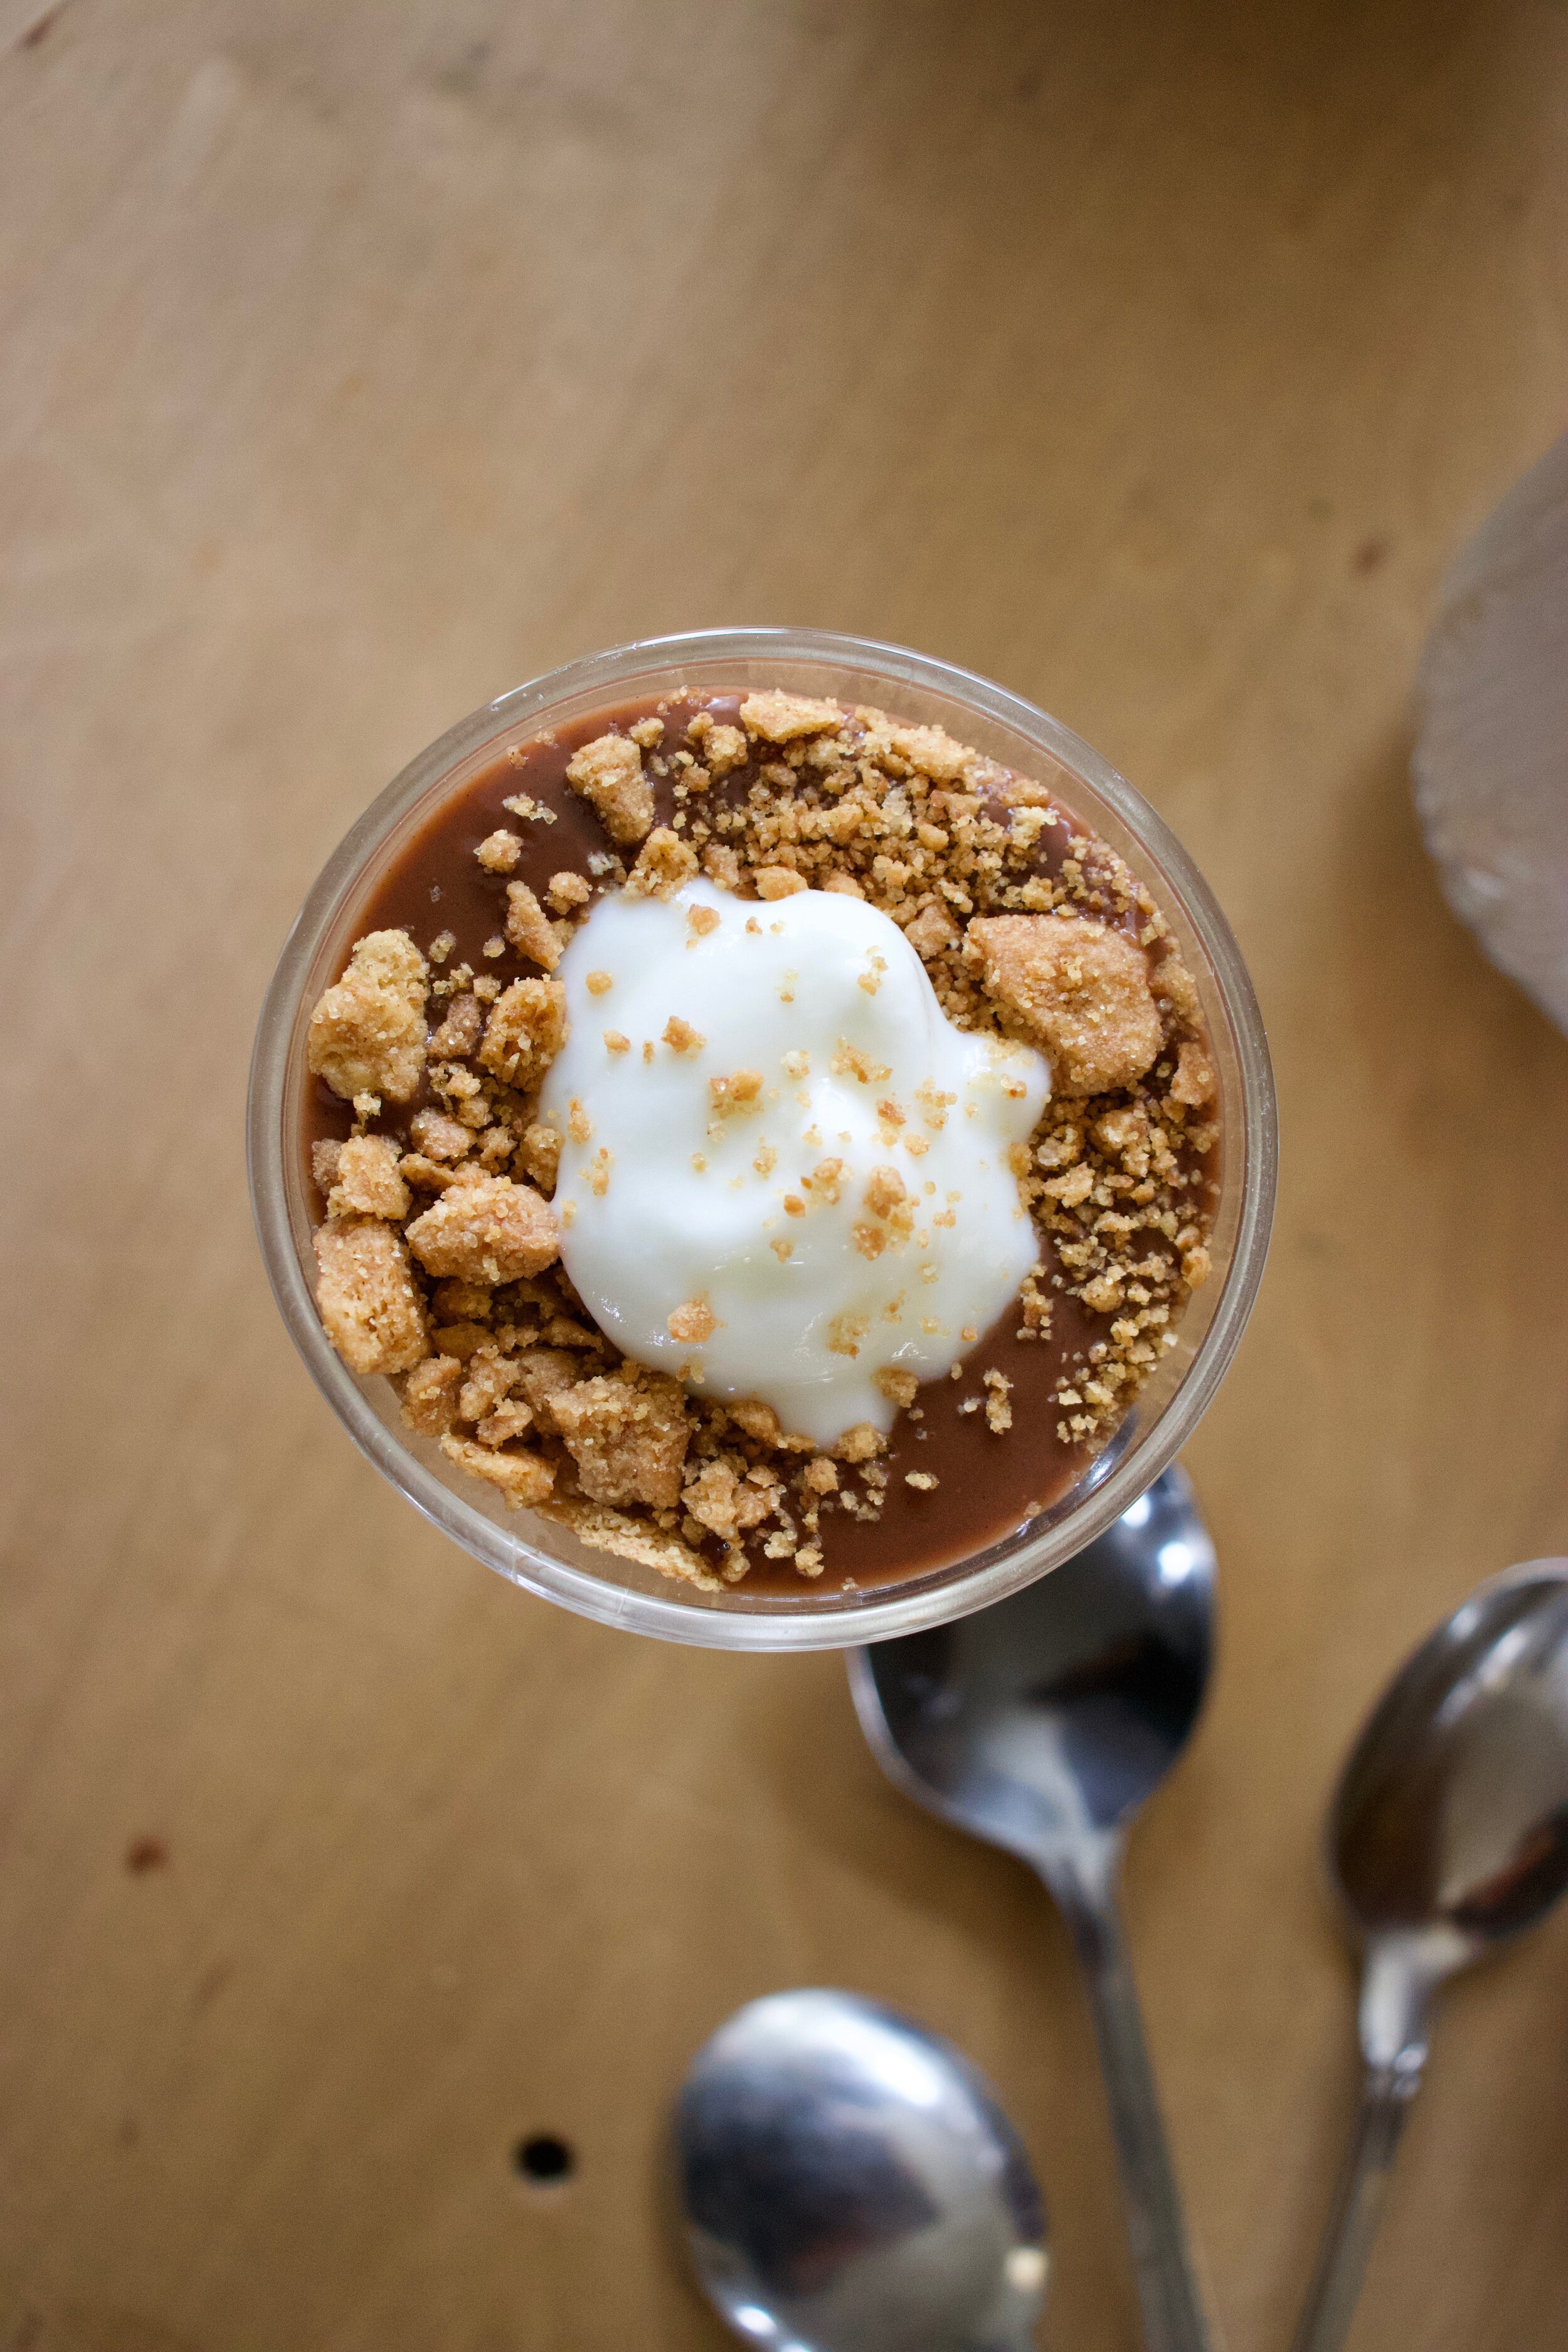
And now you assemble. Graham crumble on a vessel, topped with pudding, more crumble, and whatever whipped cream, yogurt, ice cream situation you might want to top it with.

IMG_6928 2.jpg

Pudding. All for you to eat.

-C


Chocolate Pudding Pie Parfaits

make 4-6 serving

  • 2 cups oat milk (can use any milk you have on hand)

  • 1/3 packed cup brown sugar

  • 2 tablespoon brewed coffee (optional but makes it a little more deep and chocolatey)

  • 3 tablespoon cocoa powder

  • 1/3 cup chocolate chips

  • 2 tablespoons cornstarch

  • pinch of salt

  • 1 teaspoon vanilla extract

    For Graham Cracker Crumble

  • 6 full sheets of package of graham crackers

  • 2 tablespoon melted coconut oil or vegan butter

  • 1 tablespoon brown sugar

In a medium size pot mix together the cocoa powder, brown sugar, corn starch, and a pinch of salt. Add in the coffee if using, and about 1/2 cup of milk. Mix until all the ingredients are evenly incorporated and the mixture is kind of pasty. Place pot on stove on medium heat and add in the rest of the milk . Let mixture heat up for a few minutes and once it starts to warm, start whisking. Whisk consistency until the mixture heats up and thickens to a pretty thick pudding consistency. Remove from heat, add in the chocolate chips and vanilla and keep whisking until the chocolate completely melts it.

Pour pudding into a jar or bowl and place into the fridge. 1-2 hours to cool and set.

In the meantime make the graham cracker crumble. Preheat oven to 350. Crush up crackers into a bowl (some big chunks are good) and mix in the brown sugar and melted coconut oil. Mix around until the crumbs are evenly moisten. Dump the crumble onto a baking sheet and place into oven for about 10 minutes or until the crumble is a nice deep golden brown. Remove from oven and let cool.

Once the pudding is set and the crumble is toasted, it is time to assemble. Scoop some crumble into a bowl or jar, add in some pudding, then top with more crumble. If you want, top with a dollop of something creamy like whipped cream, yogurt, or even ice cream.

Eat.

IF there is pudding and crumble left over, store the pudding I the fridge (will last a few days) and the crumble separately at room temperature in a airtight container.

In desserts, Sweets, Vegan Tags Chocolate Pudding Parfaits, Pudding, vegan, oat milk, plant based, gluten free, quick and easy, kid friendly, dessert, recipe, snack pack, dairy free
Comment

Butternut and Beet Tacos

March 7, 2020 Colleen Stem
IMG_6533.jpg
IMG_6527.jpg

There come a point every year, about this time actually, when all of a sudden I am not exactly sick of, but maybe a little bored with the same roasted root situation. Don’t get me wrong, I love root veggies. I deeply love them all and will gladly keep on eating them for a few more months (it is only March after all so I am looking at at least 2 more good months of roots) but again, a little bored. So instead of just the usually roasted situation, we still roast but then, THEN, we taco them!. And we are not mad about it.

These tacos. Super easy and they bring out the best in roasted beets and butternut squash. Pilled in a tortilla (corn or flour, or not tortilla at all. Your choice) with some almond cream and topped with a crispy, crunchy, cabbage and onion slaw. A meal worth making any night or saving for a fun mid winter taco party. Or both because let face it, if you have a fridge like mine, it is packed with beets (and rutabagas, and turnips, and parsnips). And you probably have 4 butternut squash in your pantry too right? (Again, not mad about it.)

Now to the tacos!

The stuff. Some butternut squash, a few beets, shredded cabbage, half an onion, red wine vinegar, blanched and soaked almonds, a couple cloves of garlic, a little water, a lemon, salt and pepper, taco seasoning, an avocado, and tortillas.

IMG_6363.jpg
IMG_6368.jpg

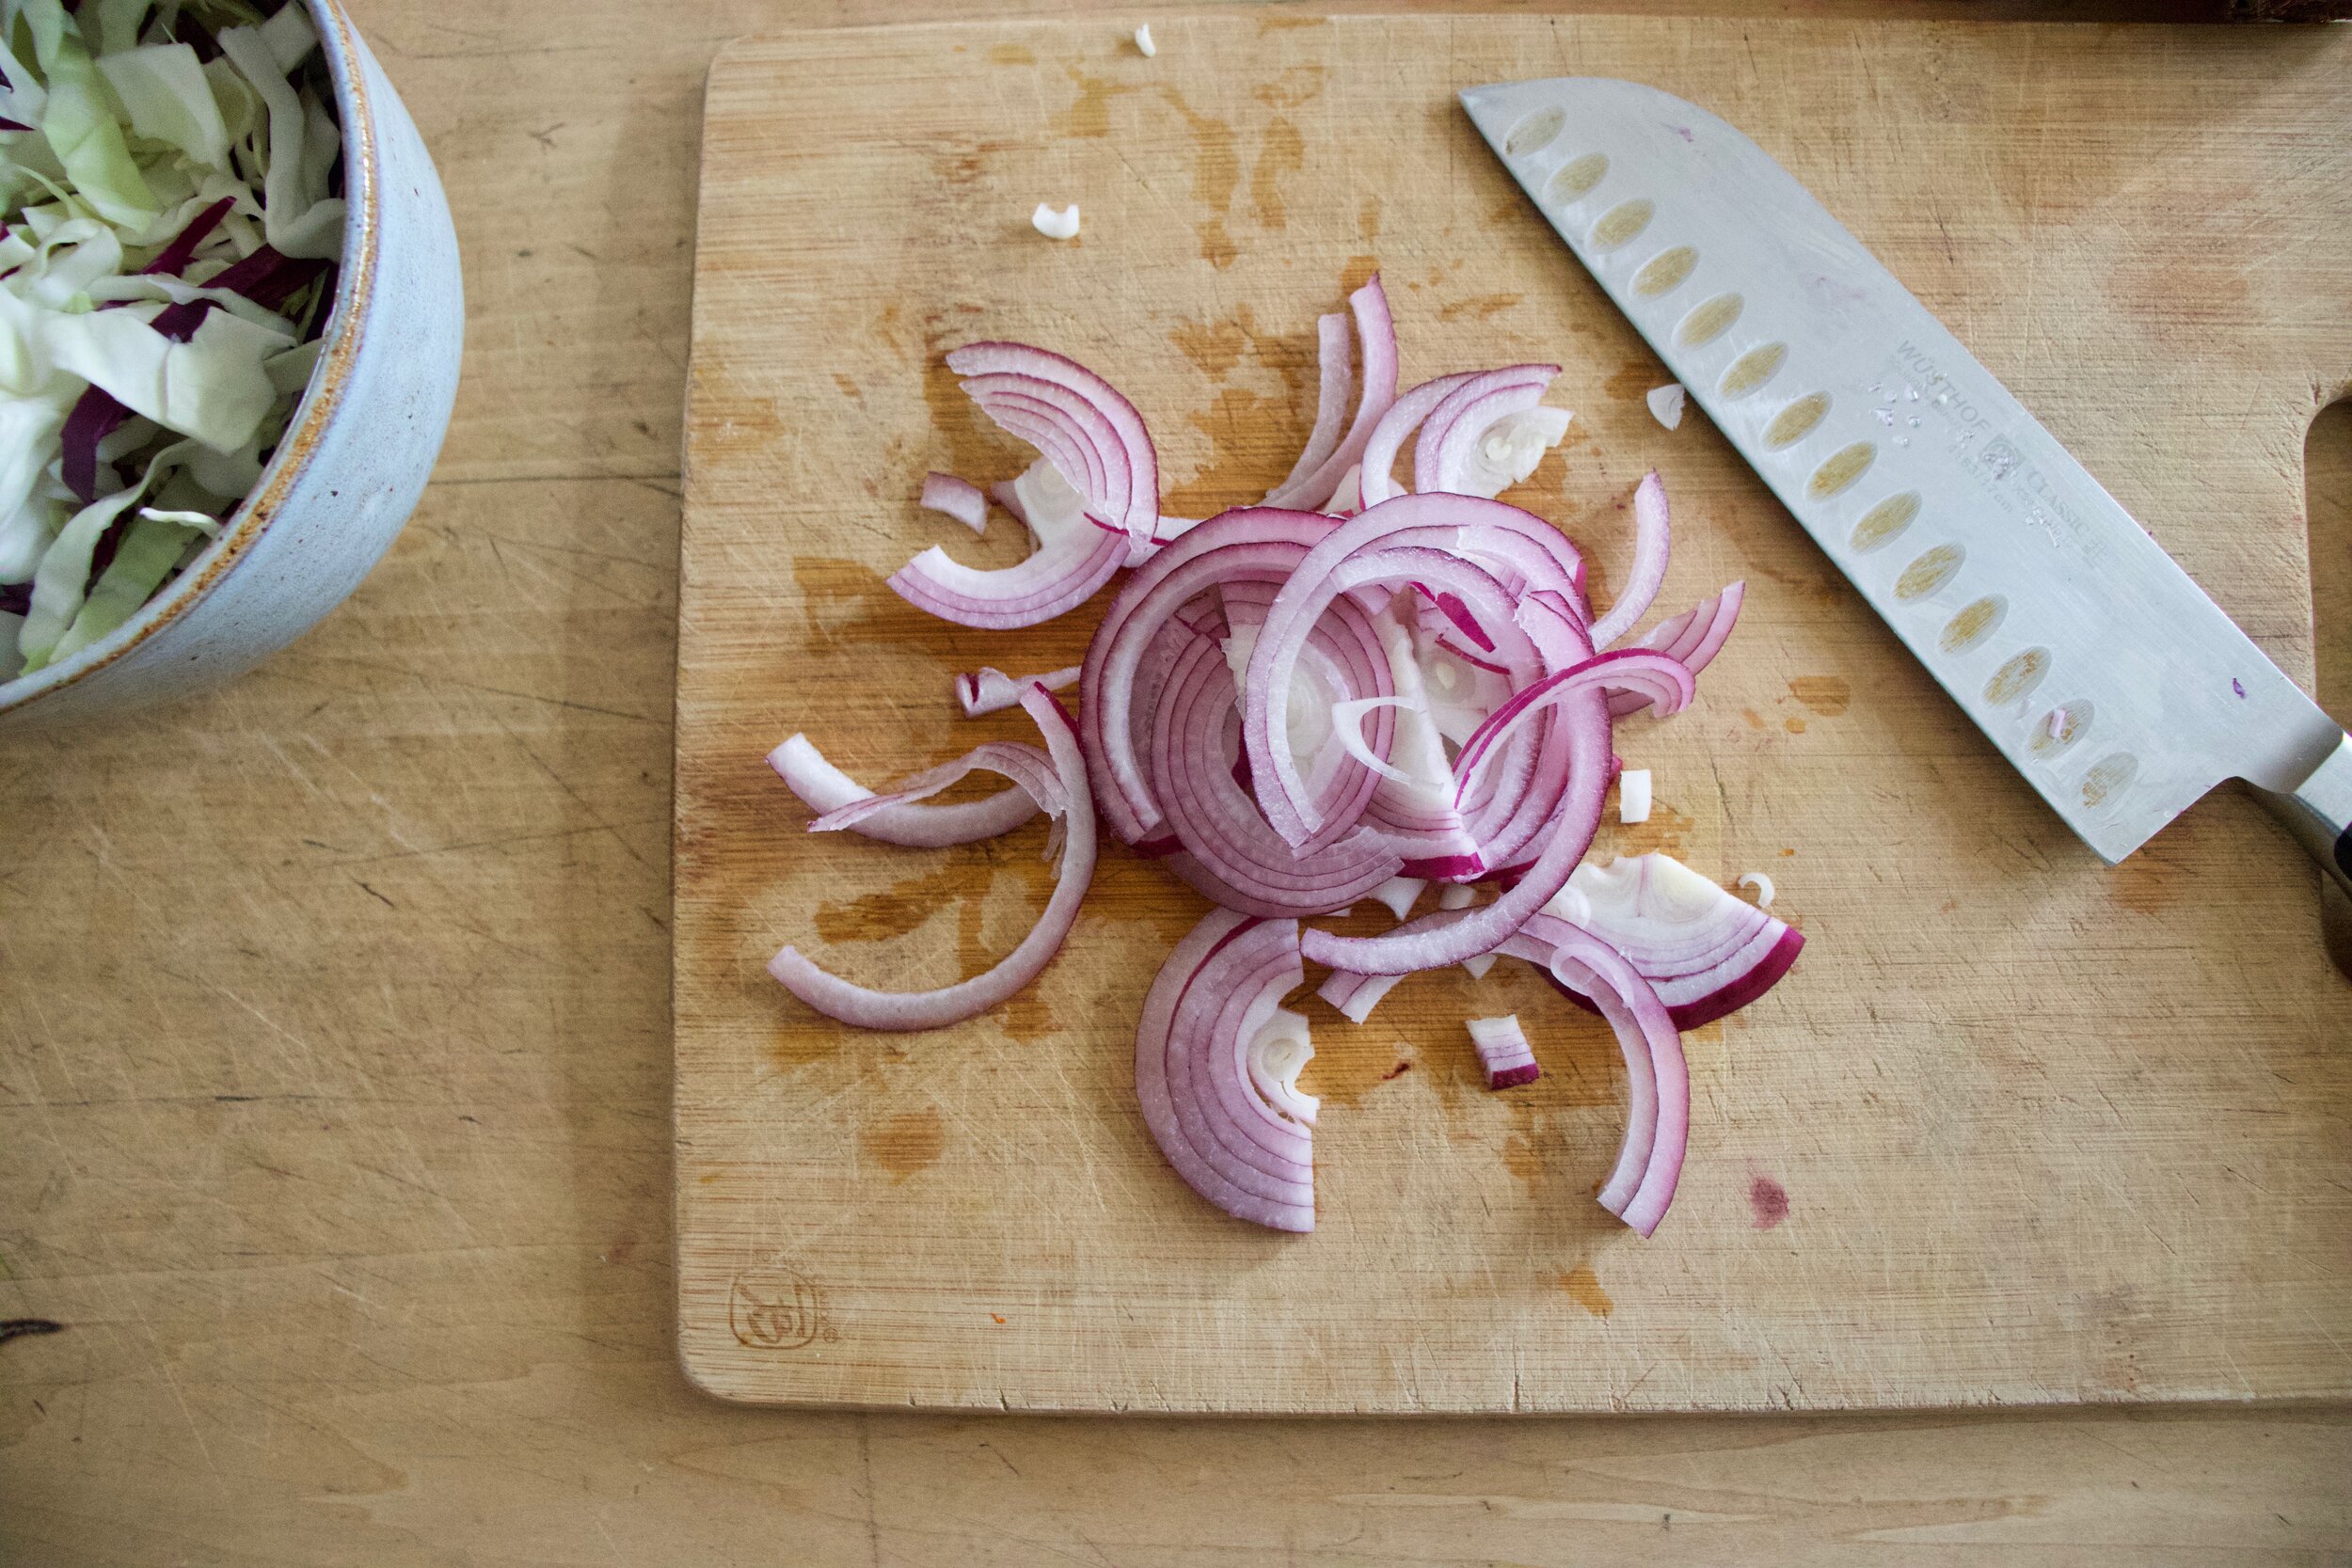
Thinly slice the onion and toss it into a bowl along with the shredded cabbage, a pinch of salt, and the red wine vinegar. Really mix it up and then set aside.

Cut up the squash and the beets. 1/2 inch cubes are a good size.

Place the cut up squash and beets on a baking sheet. Drizzle with a touch of oil then really toss around with all the tacos seasoning.

Now into the oven to roast.

IMG_6397.jpg
IMG_6403.jpg

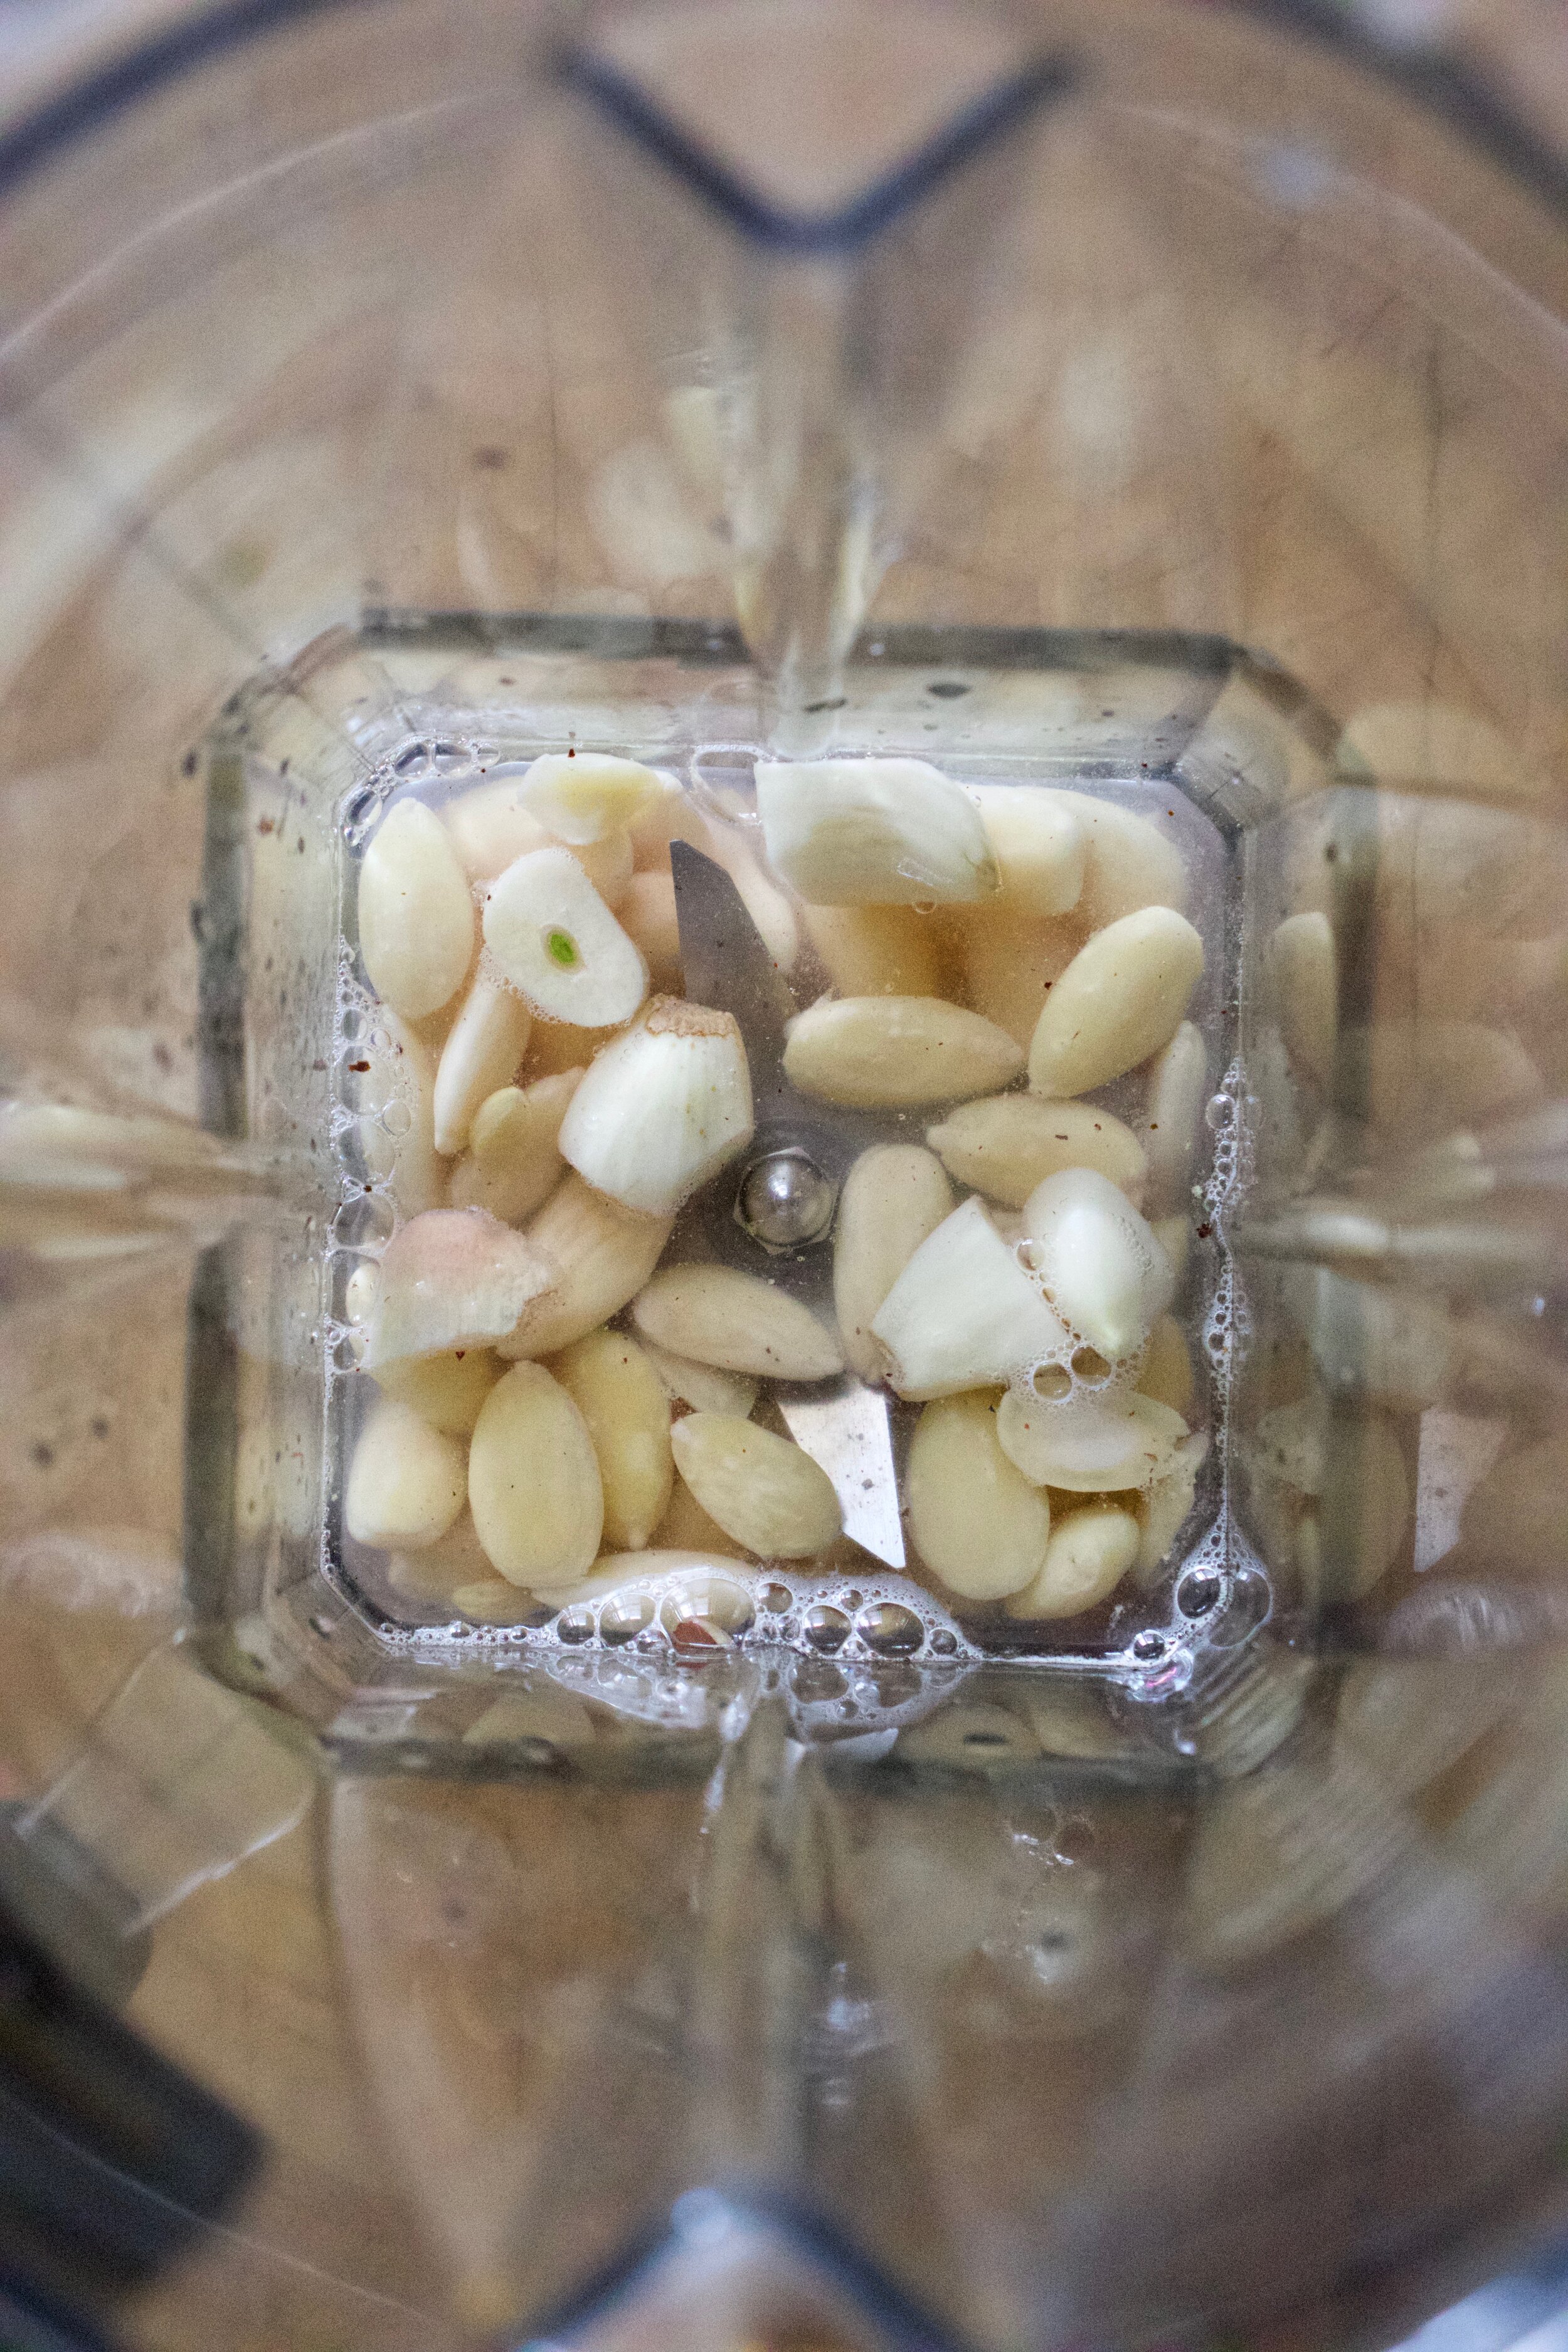
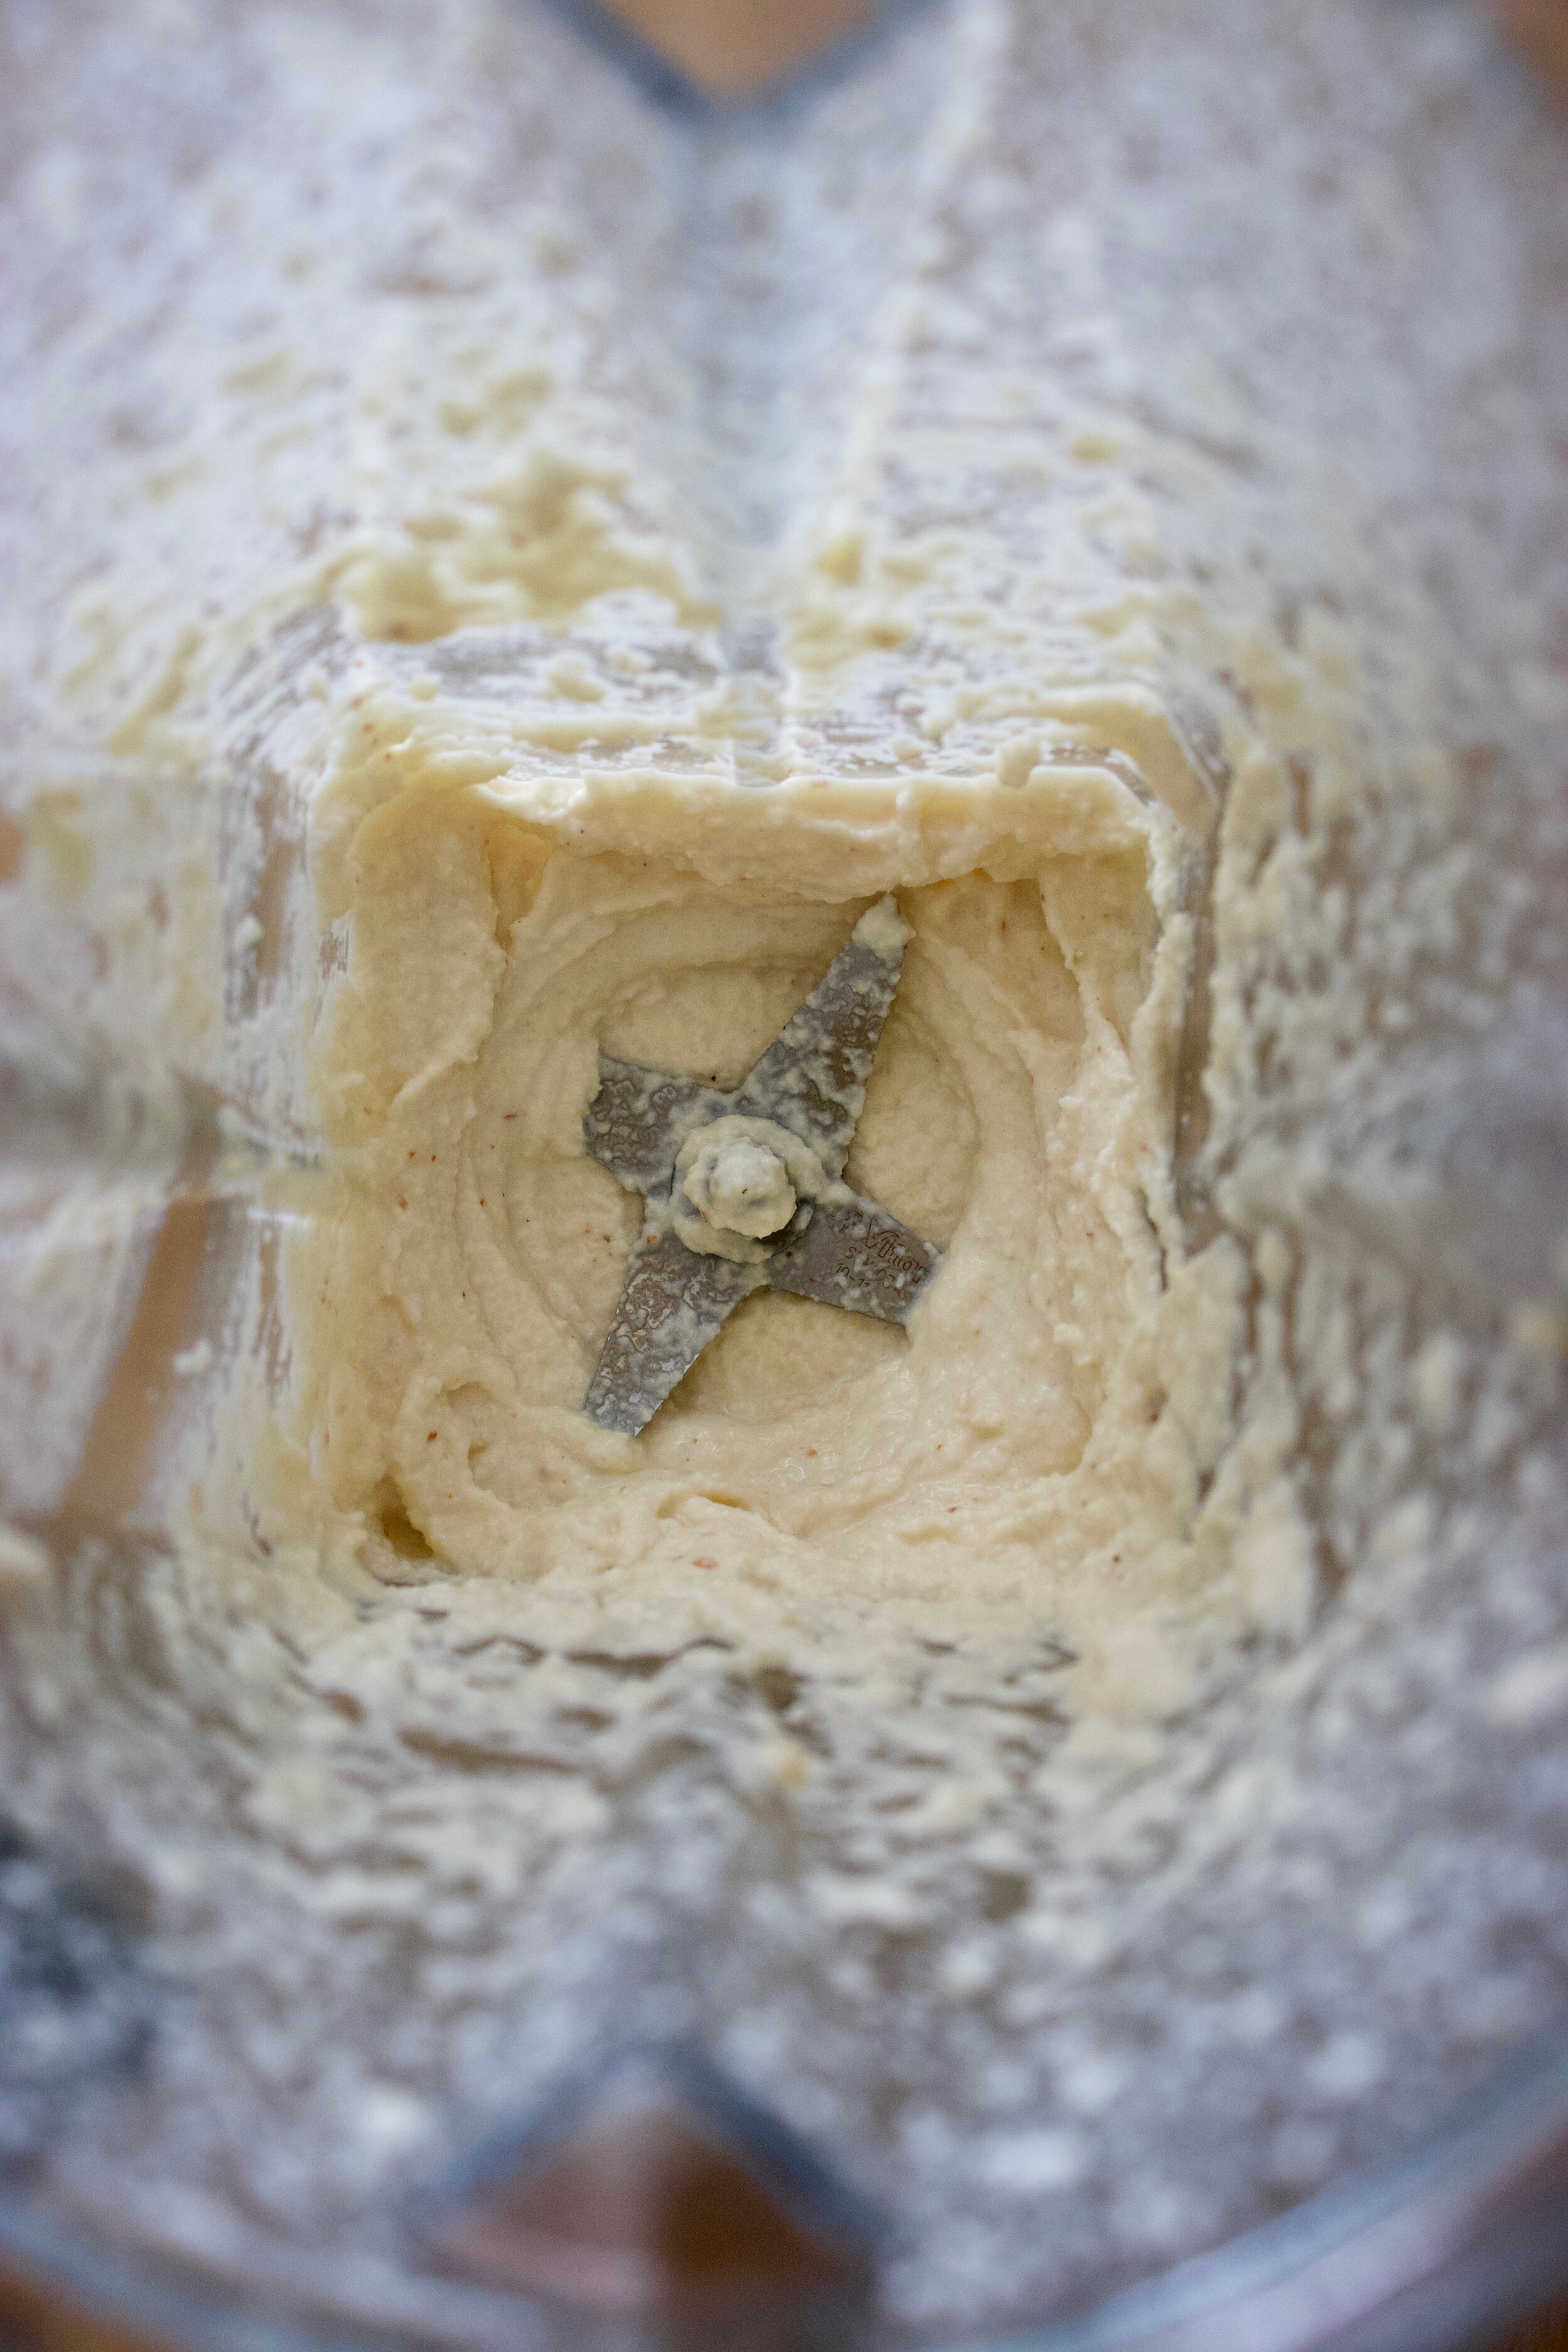
Almonds, garlic, salt and pepper, a little water, and juice of lemon, go into blender and blended until nice and smooth.

Oh almond cream. I could eat this entire bowl just like this, but don’t do that. You need it for the tacos.

IMG_6410.jpg

Roasted and ready.

IMG_6419.jpg

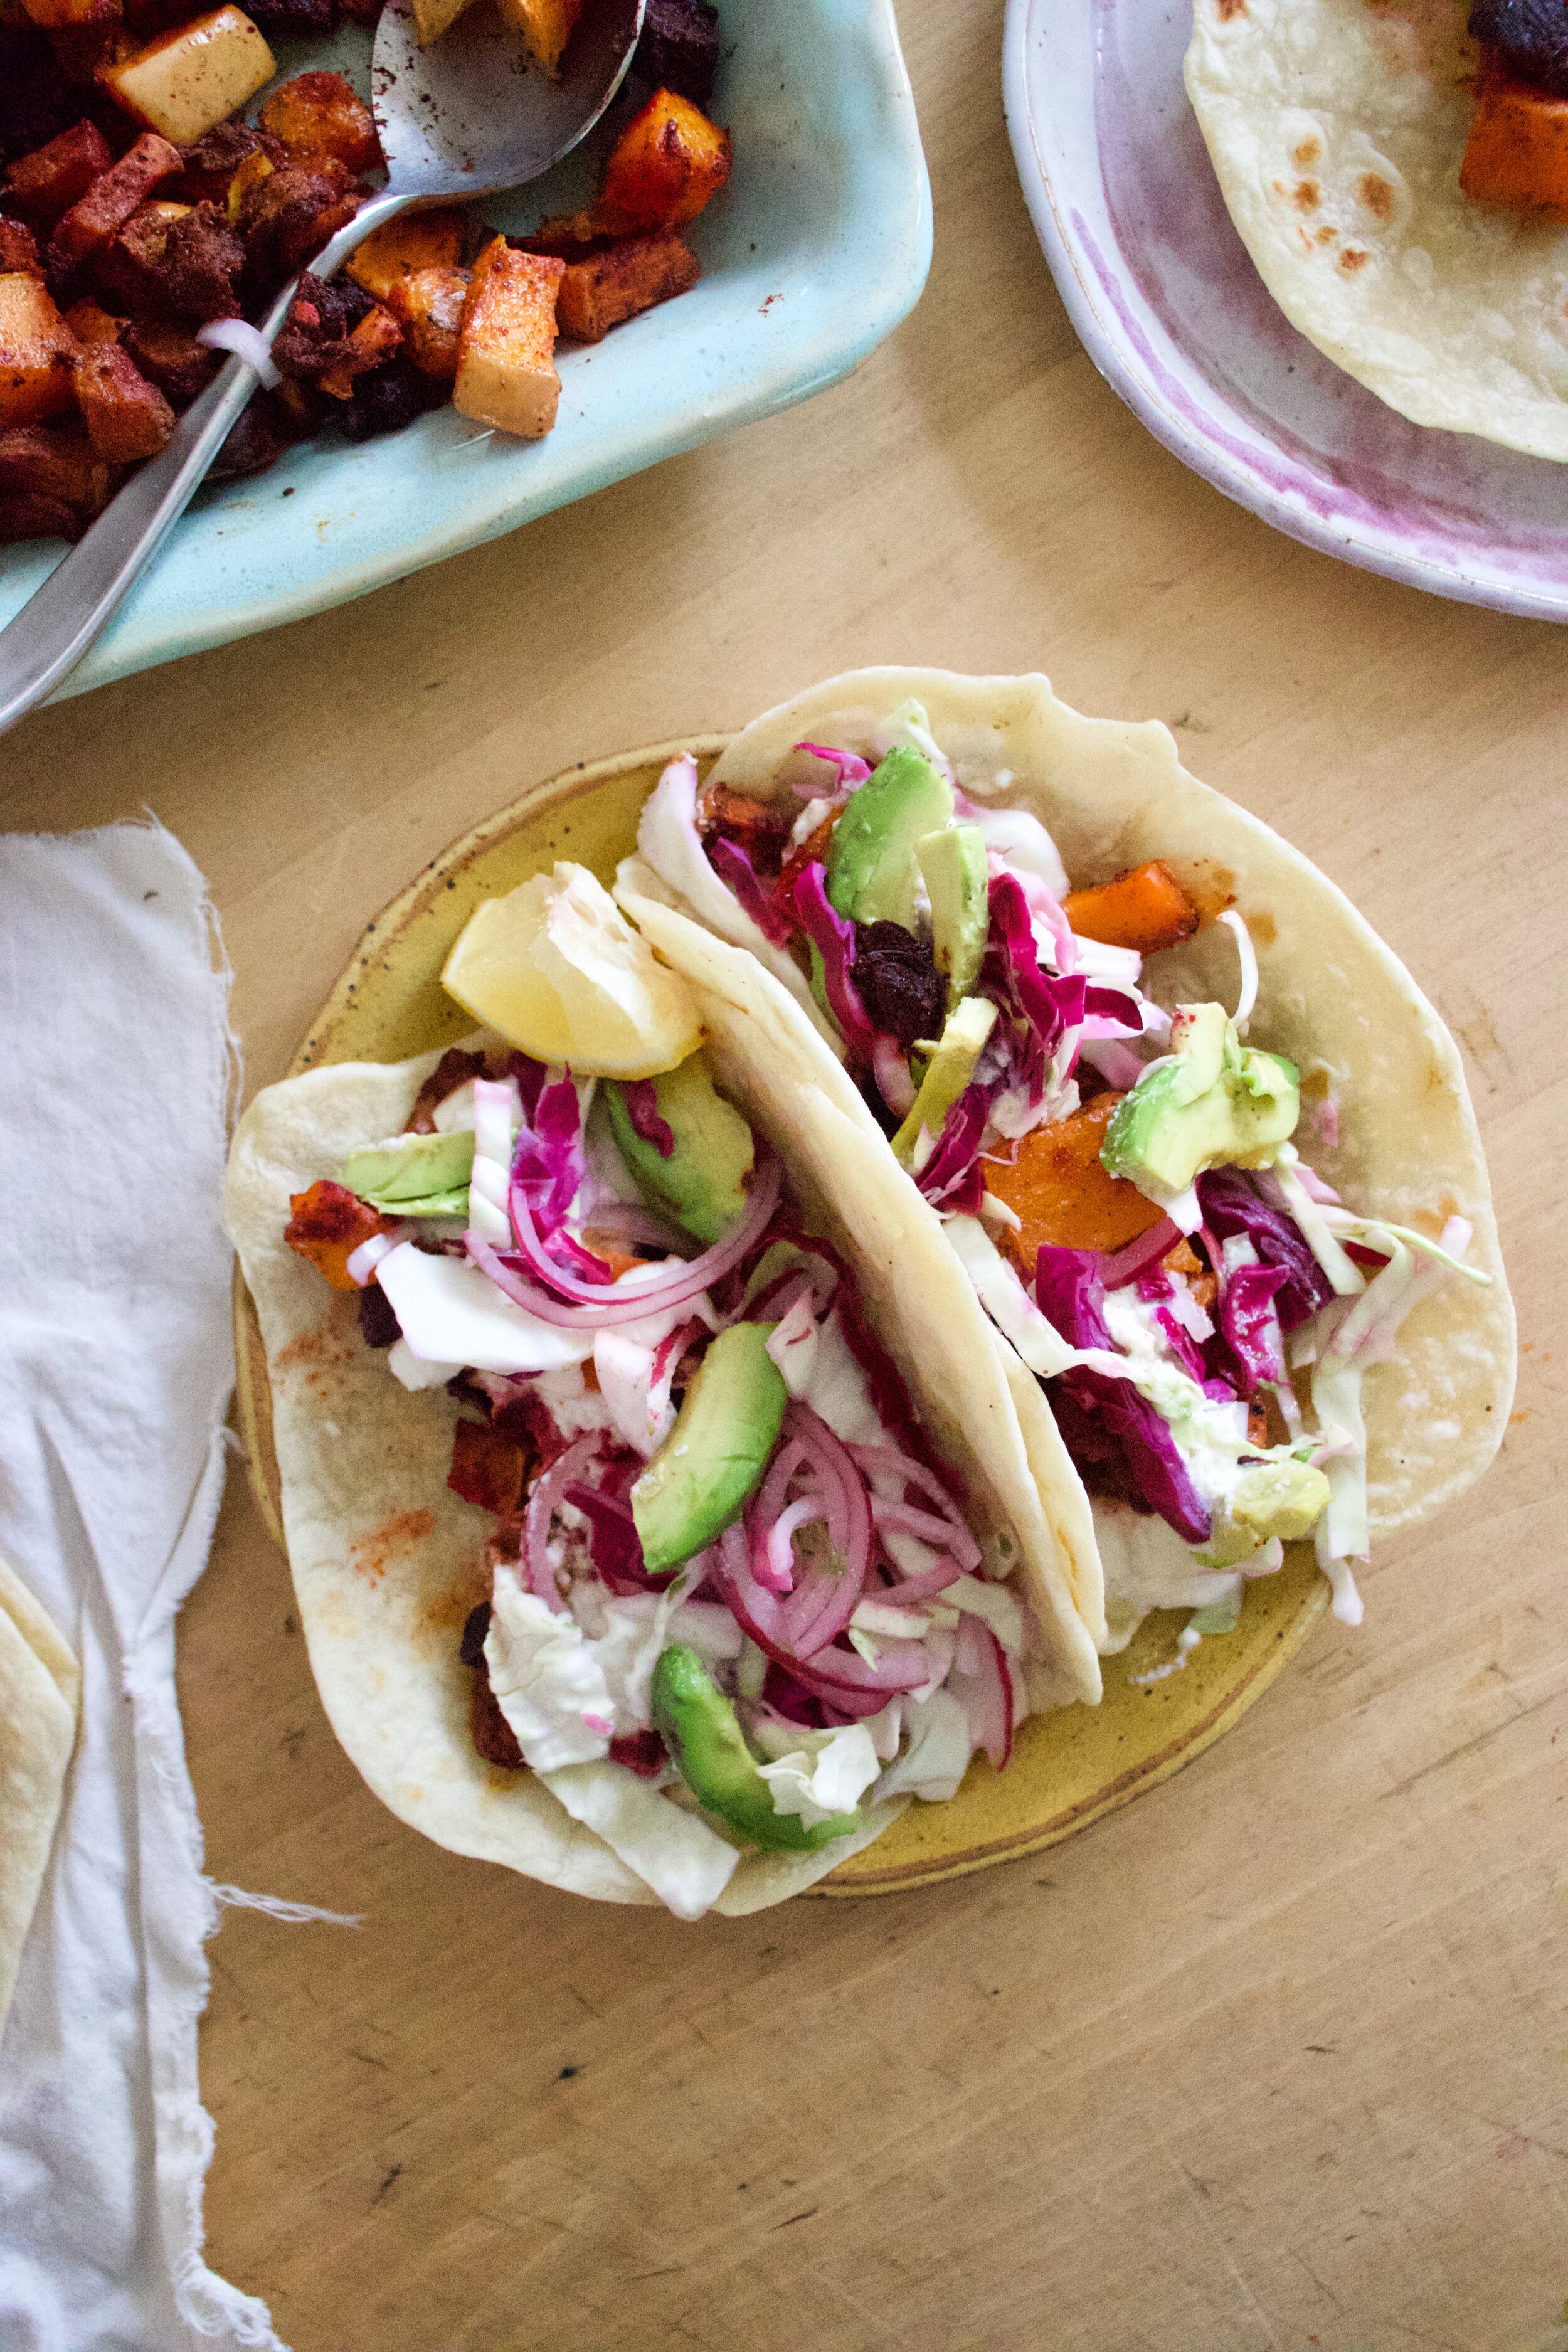
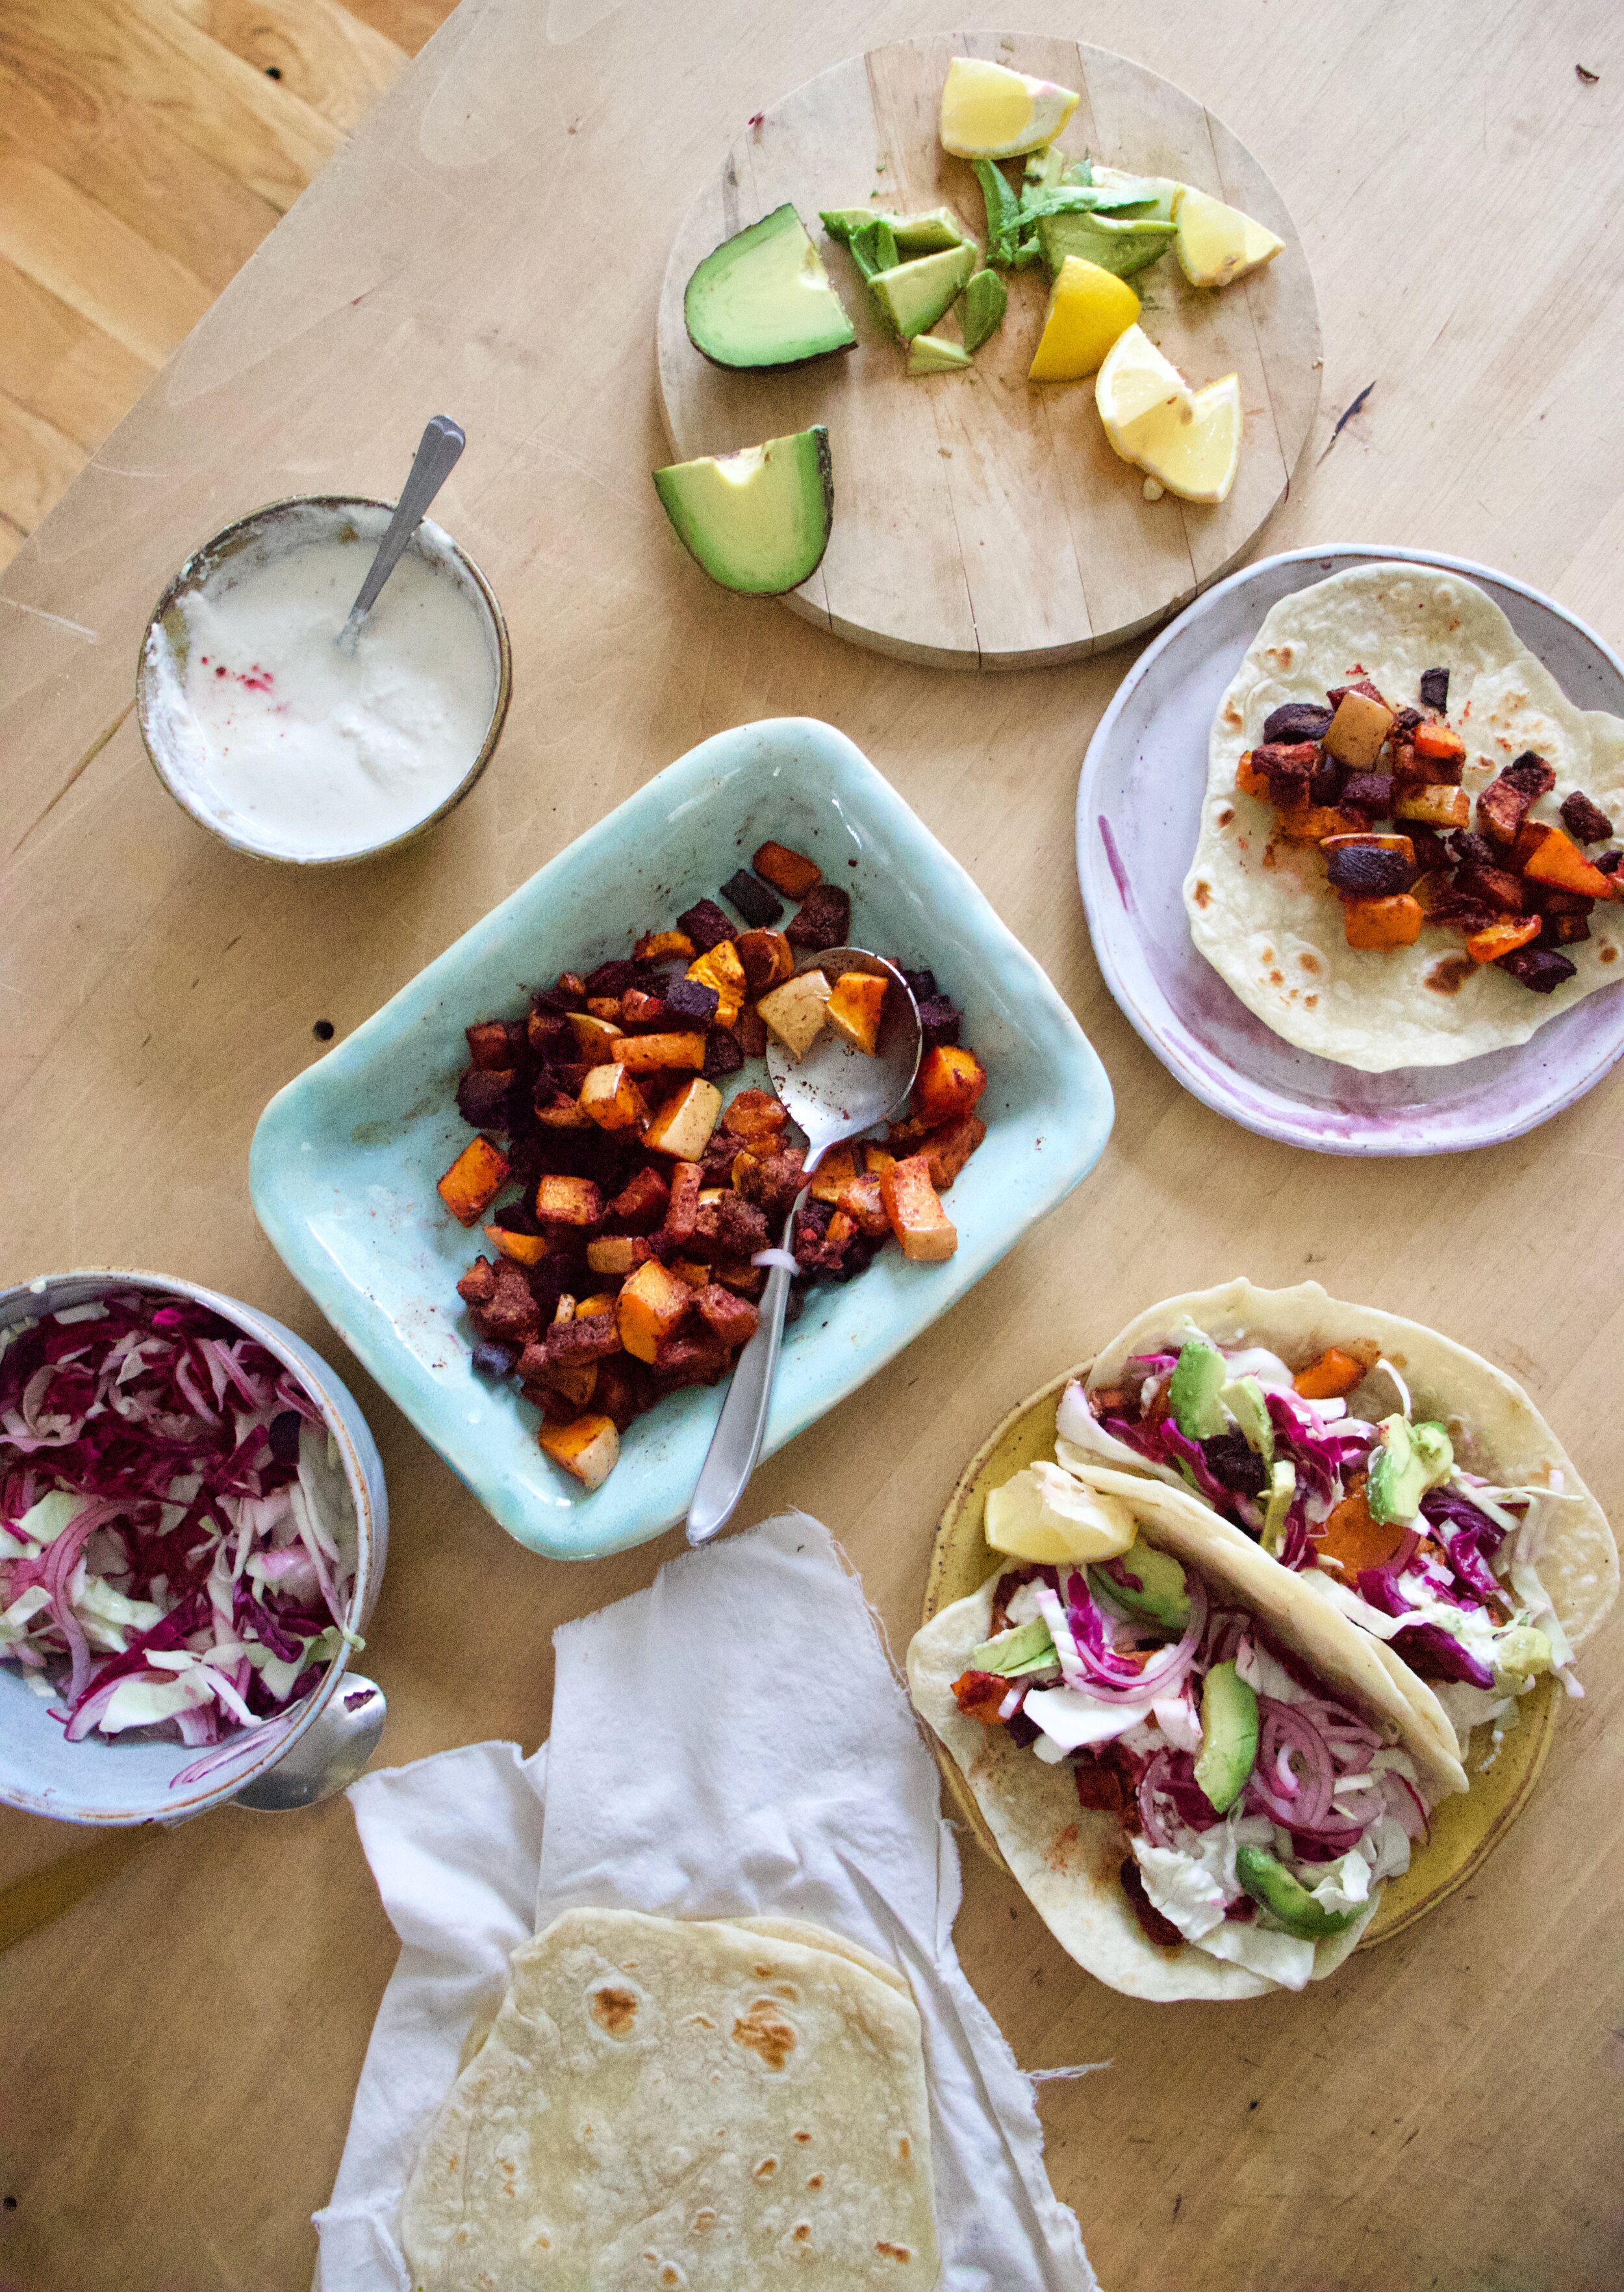
Now it’s taco time. You have your roasted squash and beets, almond cream, quick pickled crispy cabbage and onion slaw, tortillas (store bought or hand made), and avocado. Lemon or lime wedges are also a plus.

And then you make a taco. Roosts first, almond cream next, slaw on top of that, finished off with avocado. Squeeze on the lemon and into you mouth it goes.

-C


Butternut and Beet Tacos

makes 6-8 tacos

  • 2 1/2 cups diced beets (2-3 large beets should do it)

  • 2 1/2 cups diced butternut squash (peeled or not, up to you)

  • 3 tablespoons taco seasoning or (1 tablespoon each cumin and chili power plus 1 teaspoon each paprika, garlic powder, and onion powder. And a pinch or red pepper flakes)

  • 1/2 cup blanched almonds (soaked in hot water for an hour or so)

  • a lemon

  • 1/2 cup - 3/4 cup warm water

  • 2 cloves garlic

  • salt and pepper

  • Splash of oil

  • 3 cups shredded cabbage (red, green, or a mixture of both)

  • 1/2 an onion

  • 3 tablespoons red wine vinegar

  • avocado for serving

  • at least 6 small or medium sized flour or corn tortillas

Preheat oven to 450

Grab cabbage and onion. Thinly slice the onion and toss into a bowl with the shredded cabbage. Add a good sprinkle of salt and toss along with the red wine vinegar. Set aside but give it a good toss again before serving.

Dice up butternut squash and beets into 1/2 inch cube pieces. Place on baking sheet with a drizzle of oil and toss around along with the spice blend. Place into oven to bake for about 30 minutes.

While that’s roasting, strain almonds of soaking water and place into blender along with the 2 cloves garlic, the juice of the lemon, and 1/2 cup water. Blend until smooth. Add in a pinch of salt and pepper and blend. If the mixture is to thick, add in more water to thin it out. You want it to be like a sour cream consistency.

And when the squash and beets are nice and tender, remove from oven.

To assemble tacos.

Scoop some of the roasted beet and squash mixture onto a tortilla, add a good dollop or two of the almond cream, then top with some of the cabbage and onion slaw. Top it of with some sliced avocado and serve with a wedge of lemon or lime.

In dinner, entree, grain free, Nuts, Vegan, Vegetables, winter squash, taco Tags Butternut and Beet Tacos, vegan, tacos, squash, almond cream, cabbage, avocado, dinner, grain free, gluten free, healthy, plant based, taco seasoning, food, recipe
3 Comments

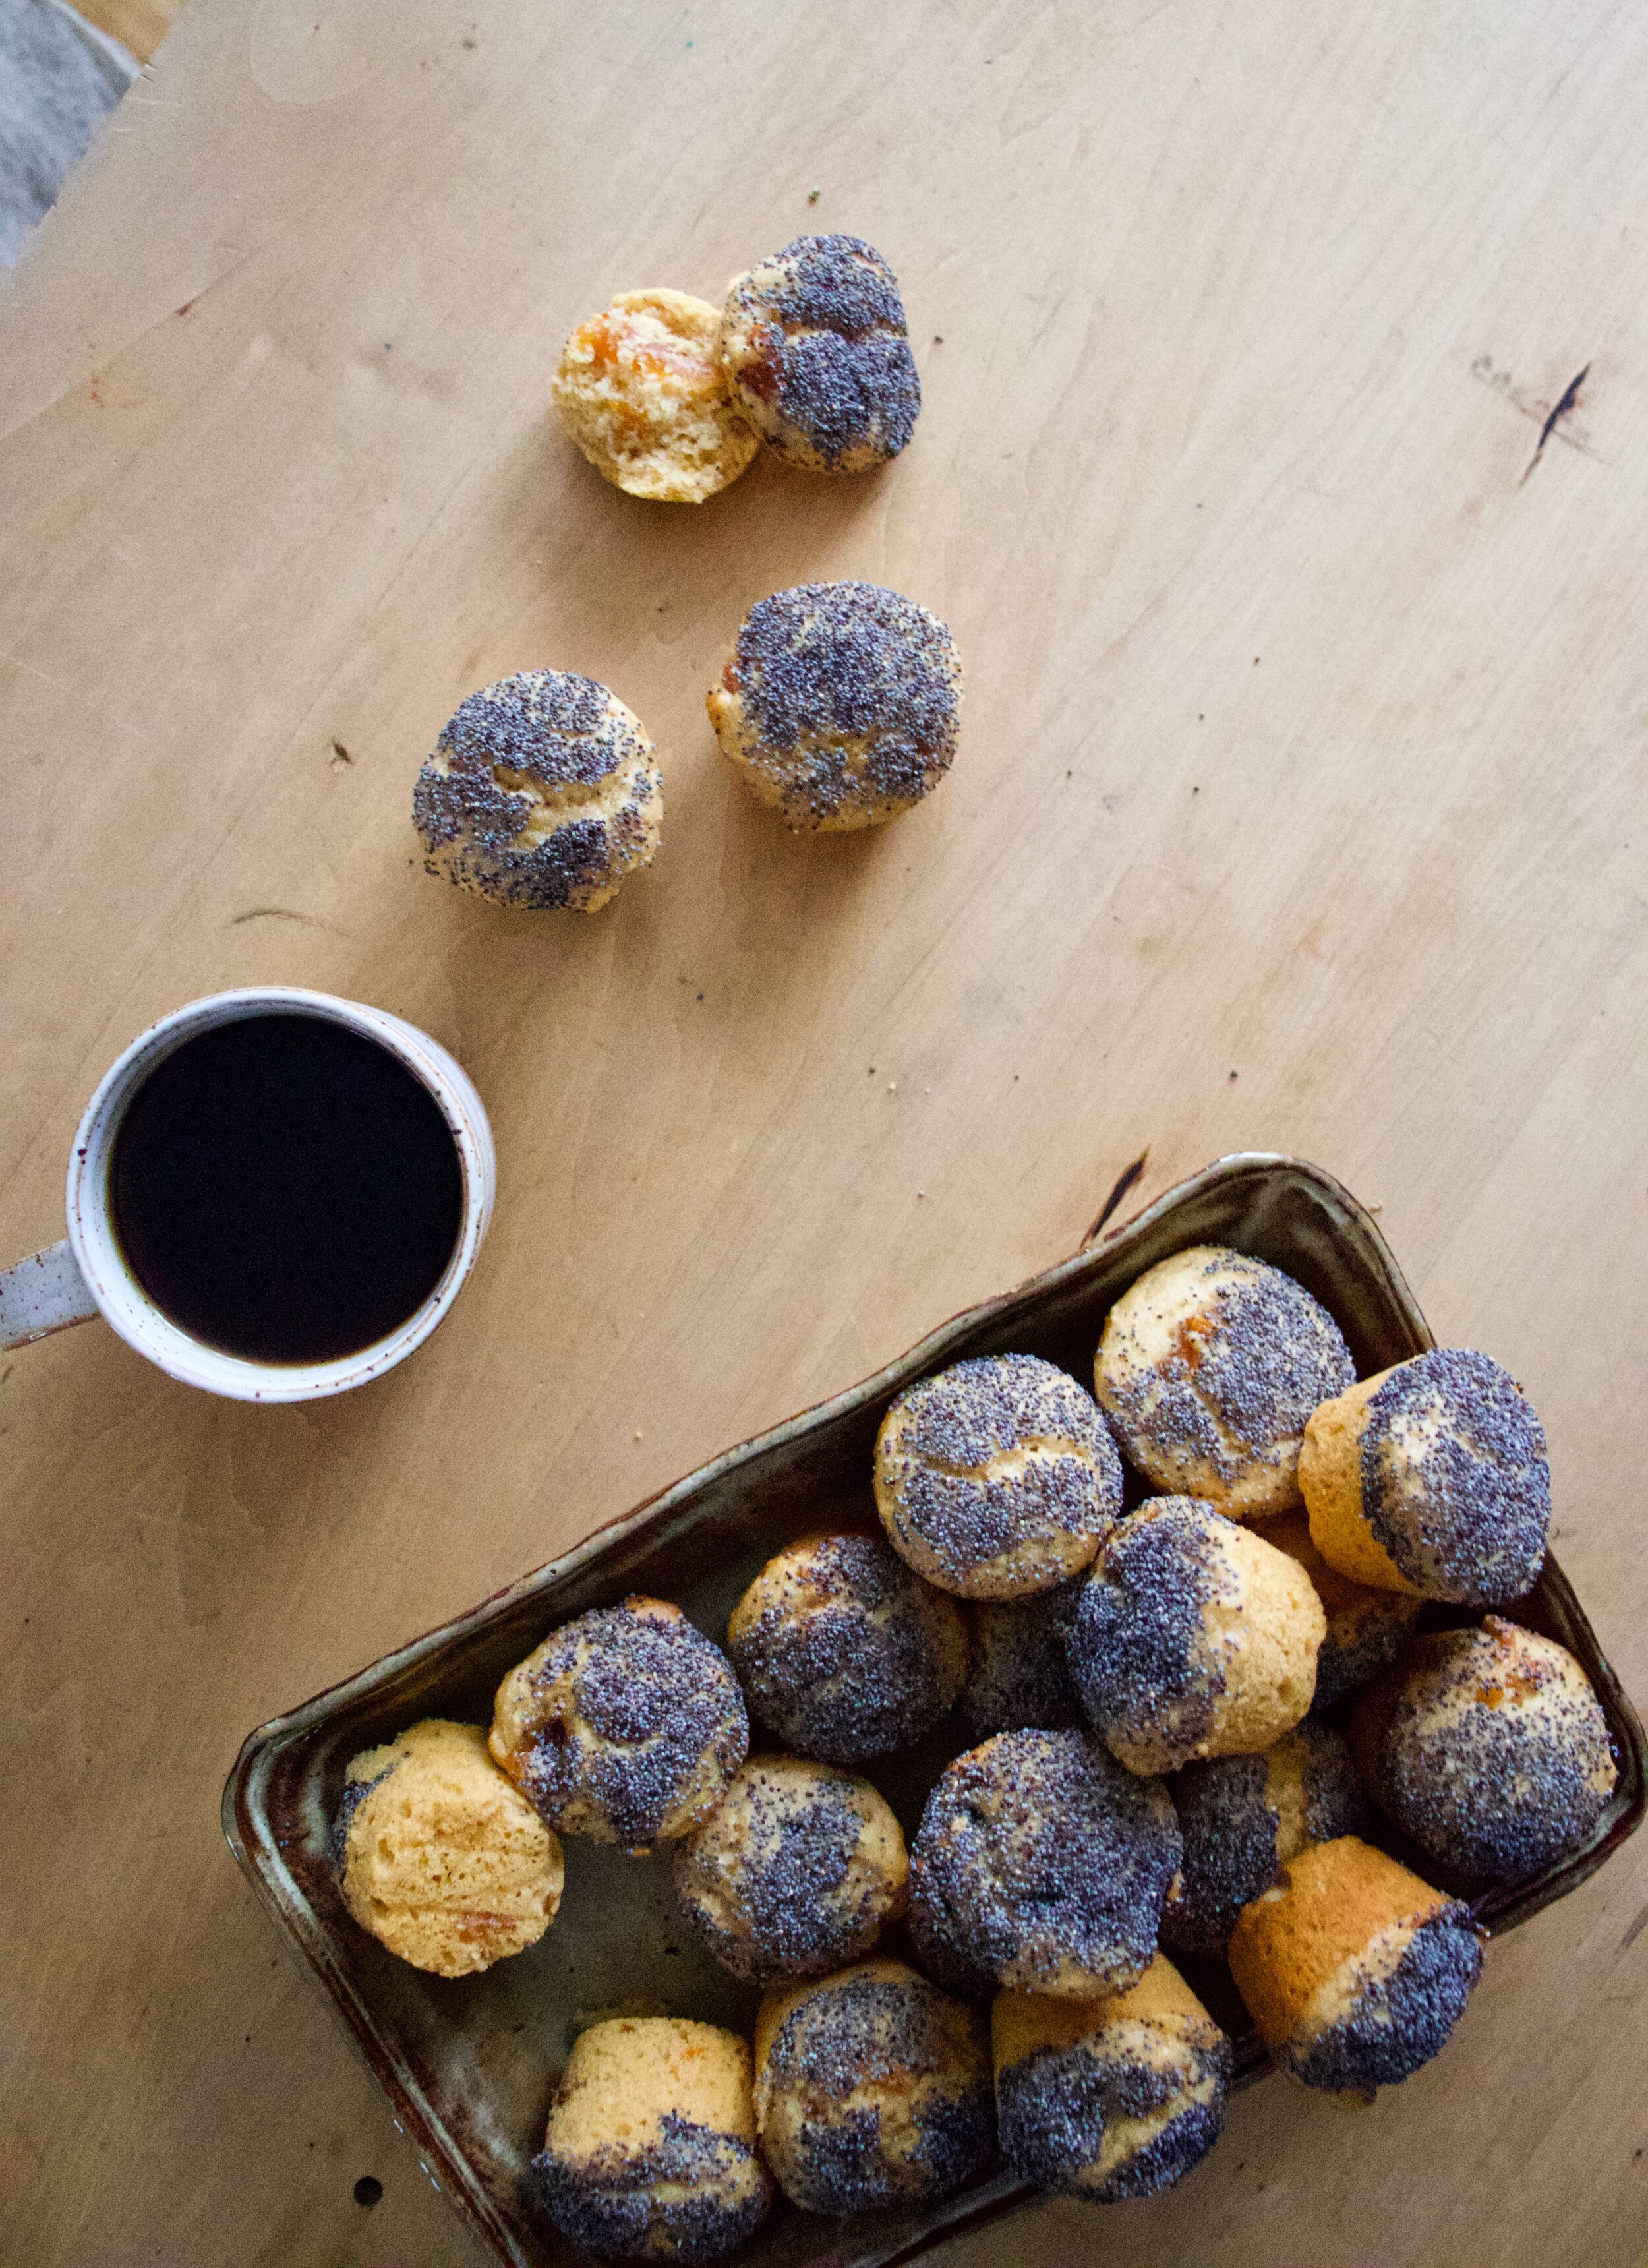
Poppy seed Crusted Apricot Jam Muffins

January 11, 2020 Colleen Stem
IMG_4908.jpg
IMG_4949.jpg
IMG_4917.jpg

Mid week, I was doing a little pantry cleaning/ inventorying of what I had and needed when I came upon not one, not two, or even three. No, six. SIX, jars of jam. And there are 2 that are already opened in the fridge. I don’t know why, but knowing that there was that much jam in the house made me a little uneasy. Six unopened jars is about 3 jars past my comfort zone. Sure there are so many things you can do with a jar of jam (jelly, preserves, and marmalade included) and now that I am thinking about it, is one of the reasons why I bought a few jars a while back. Then there was Christmas and I think we got at least two jars as gifts so it’s not all my fault, but still, that is just too many jars of jam. Right there I needed to get rid of at least one jar. So muffins. Jam muffins, with poppyseed crust because it’s pretty and nobody ever complains about poppy seeds, or at least they don’t until after they eat them and have poppy seeds stuck in their teeth all day. But that is just our mouths way of saving a little for later, am I right? HA

Anyway, a quick and simple muffin recipe for all of you people out there that might have a jar or two too many of jam in the fridge or pantry (I used apricot but any flavor(s) would work) and could use yourself a tasty little muffin situation. I mean who doesn’t want a tasty muffin?

To the muffins.

IMG_4798.jpg

The stuff. In the bowl is white and white whole wheat flour, baking powder and soda, and salt. Also have apricot jam, oil, almond milk, apple cider vinegar, and orange, and some poppy seeds.

Grab a zester and zest the orange into the bowl with all the dry stuff. Whisk to combine.

IMG_4805 2.jpg

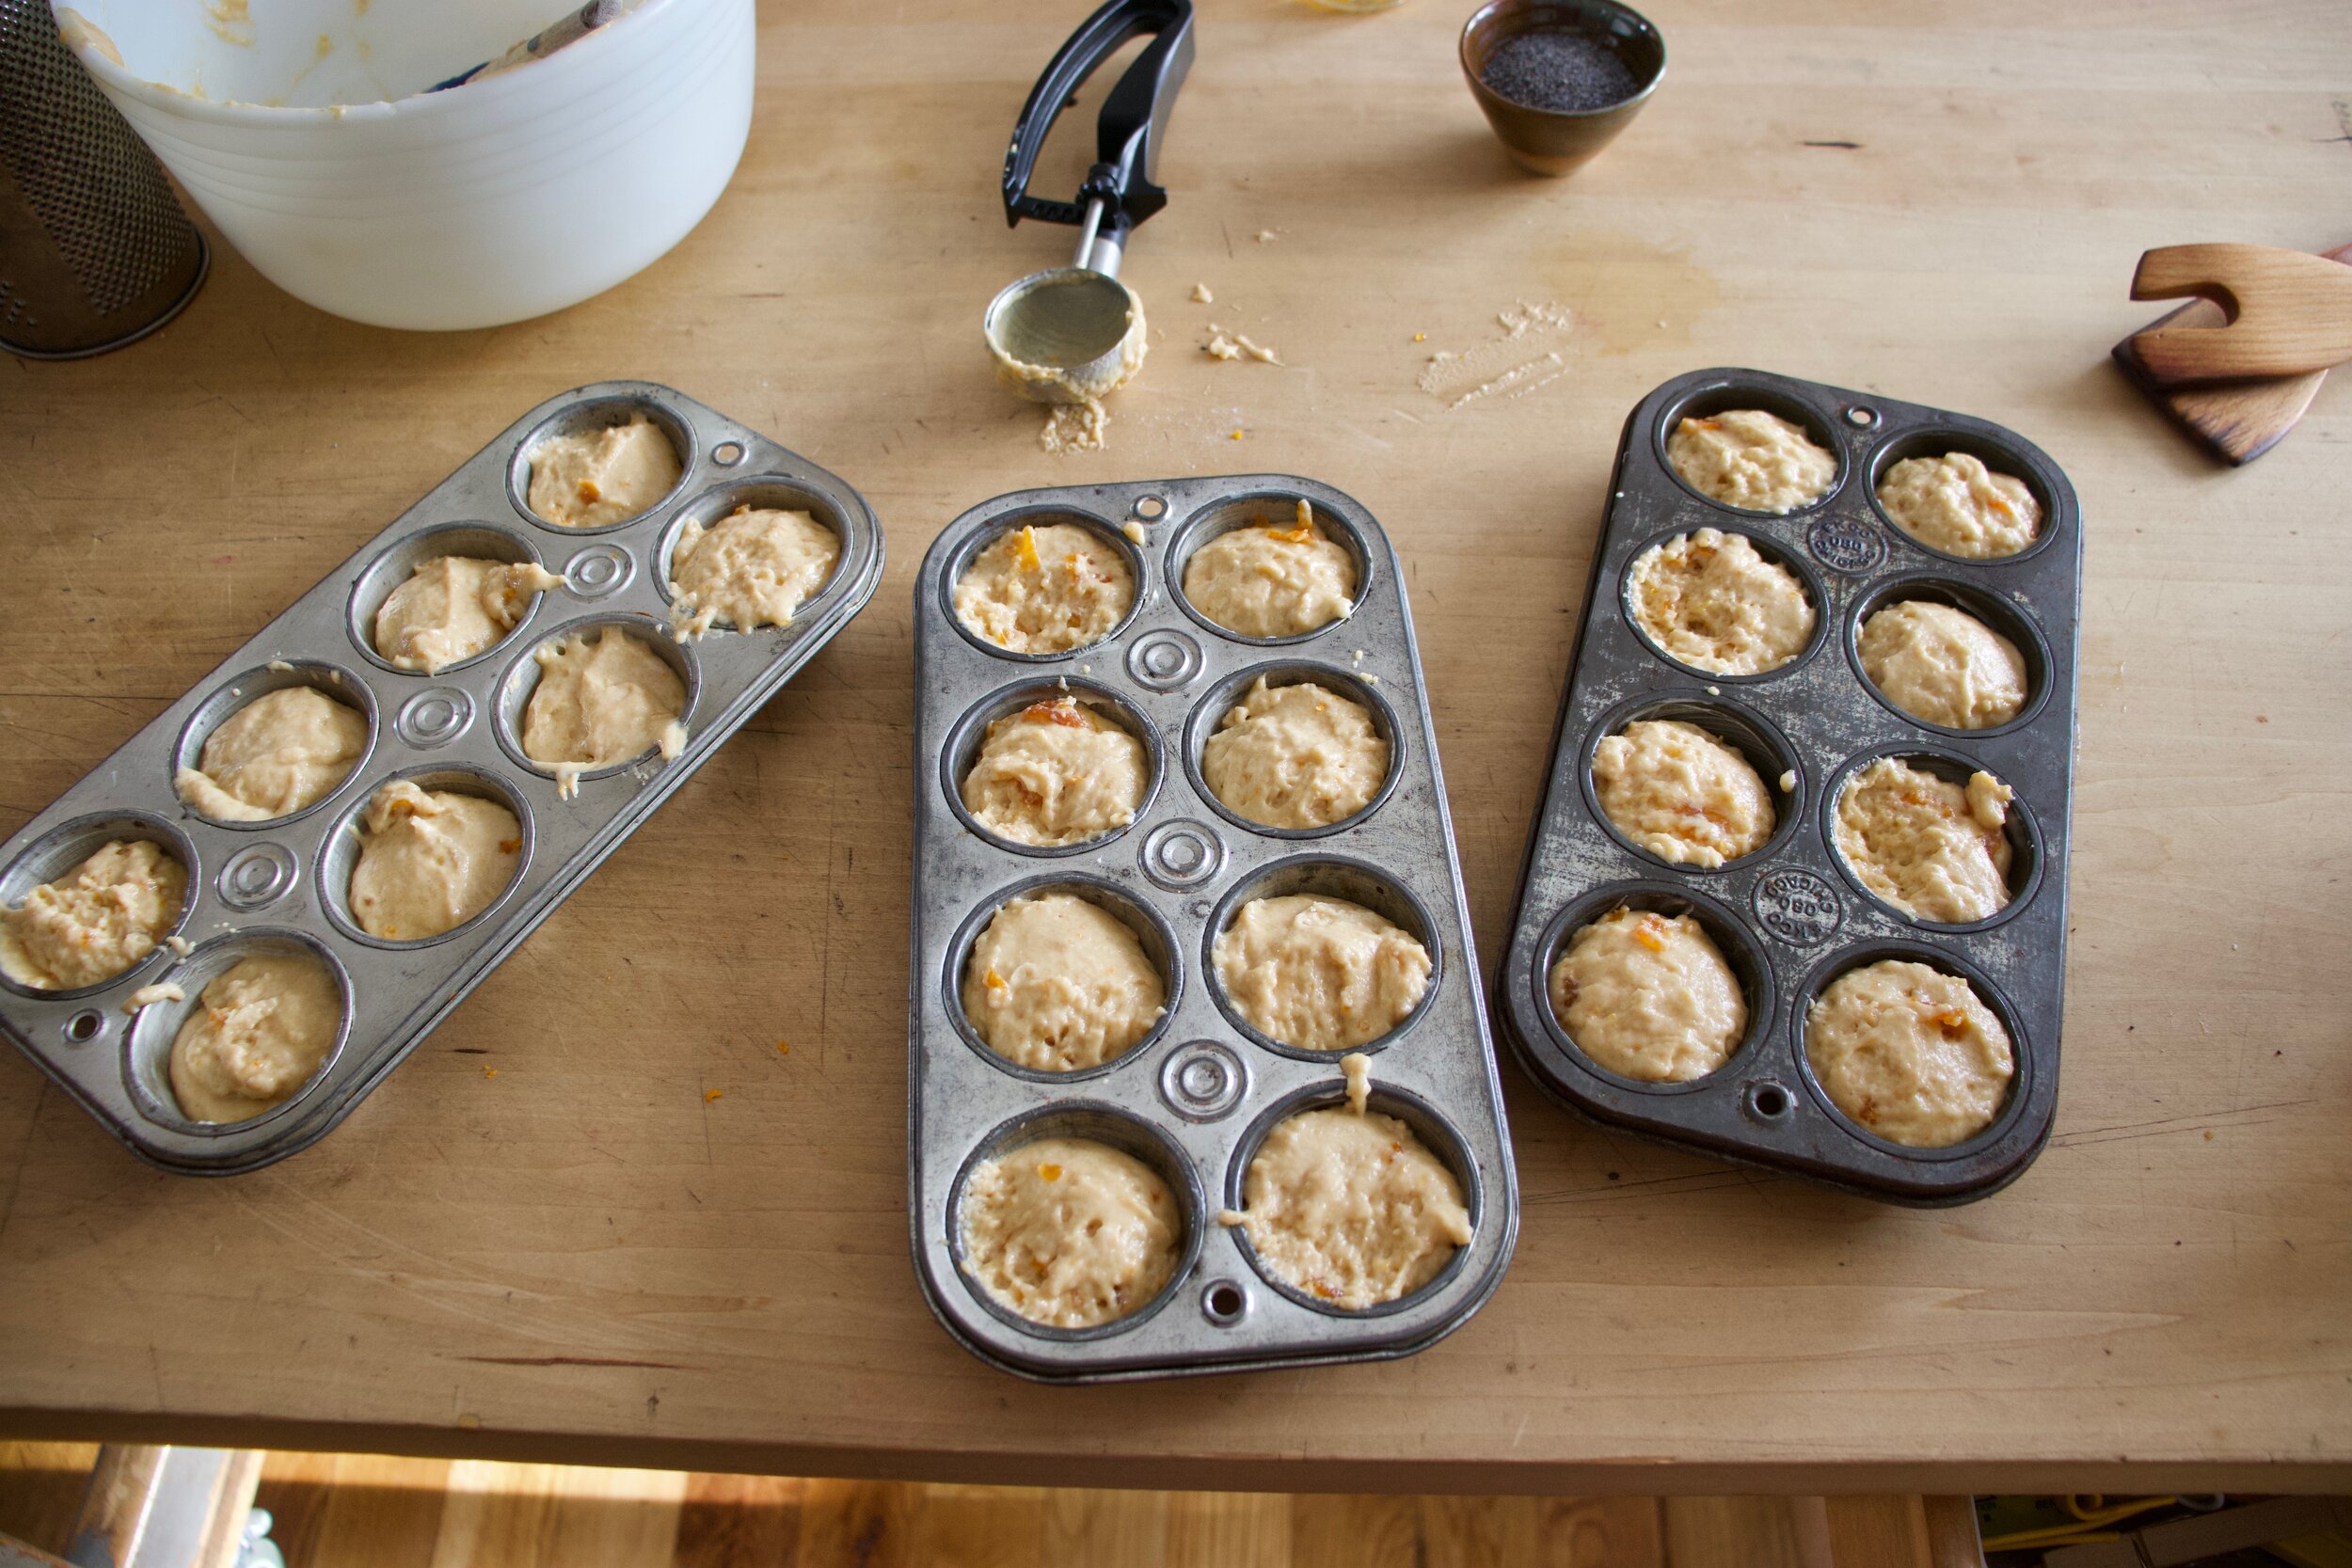
Jam, oil, milk, and vinegar. All on top of dry. Whisk that up until just combined. No over mixing. You will get tough (not in a good way) muffins.

IMG_4812 2.jpg

Apricot muffin batter.

IMG_4816.jpg
IMG_4822.jpg

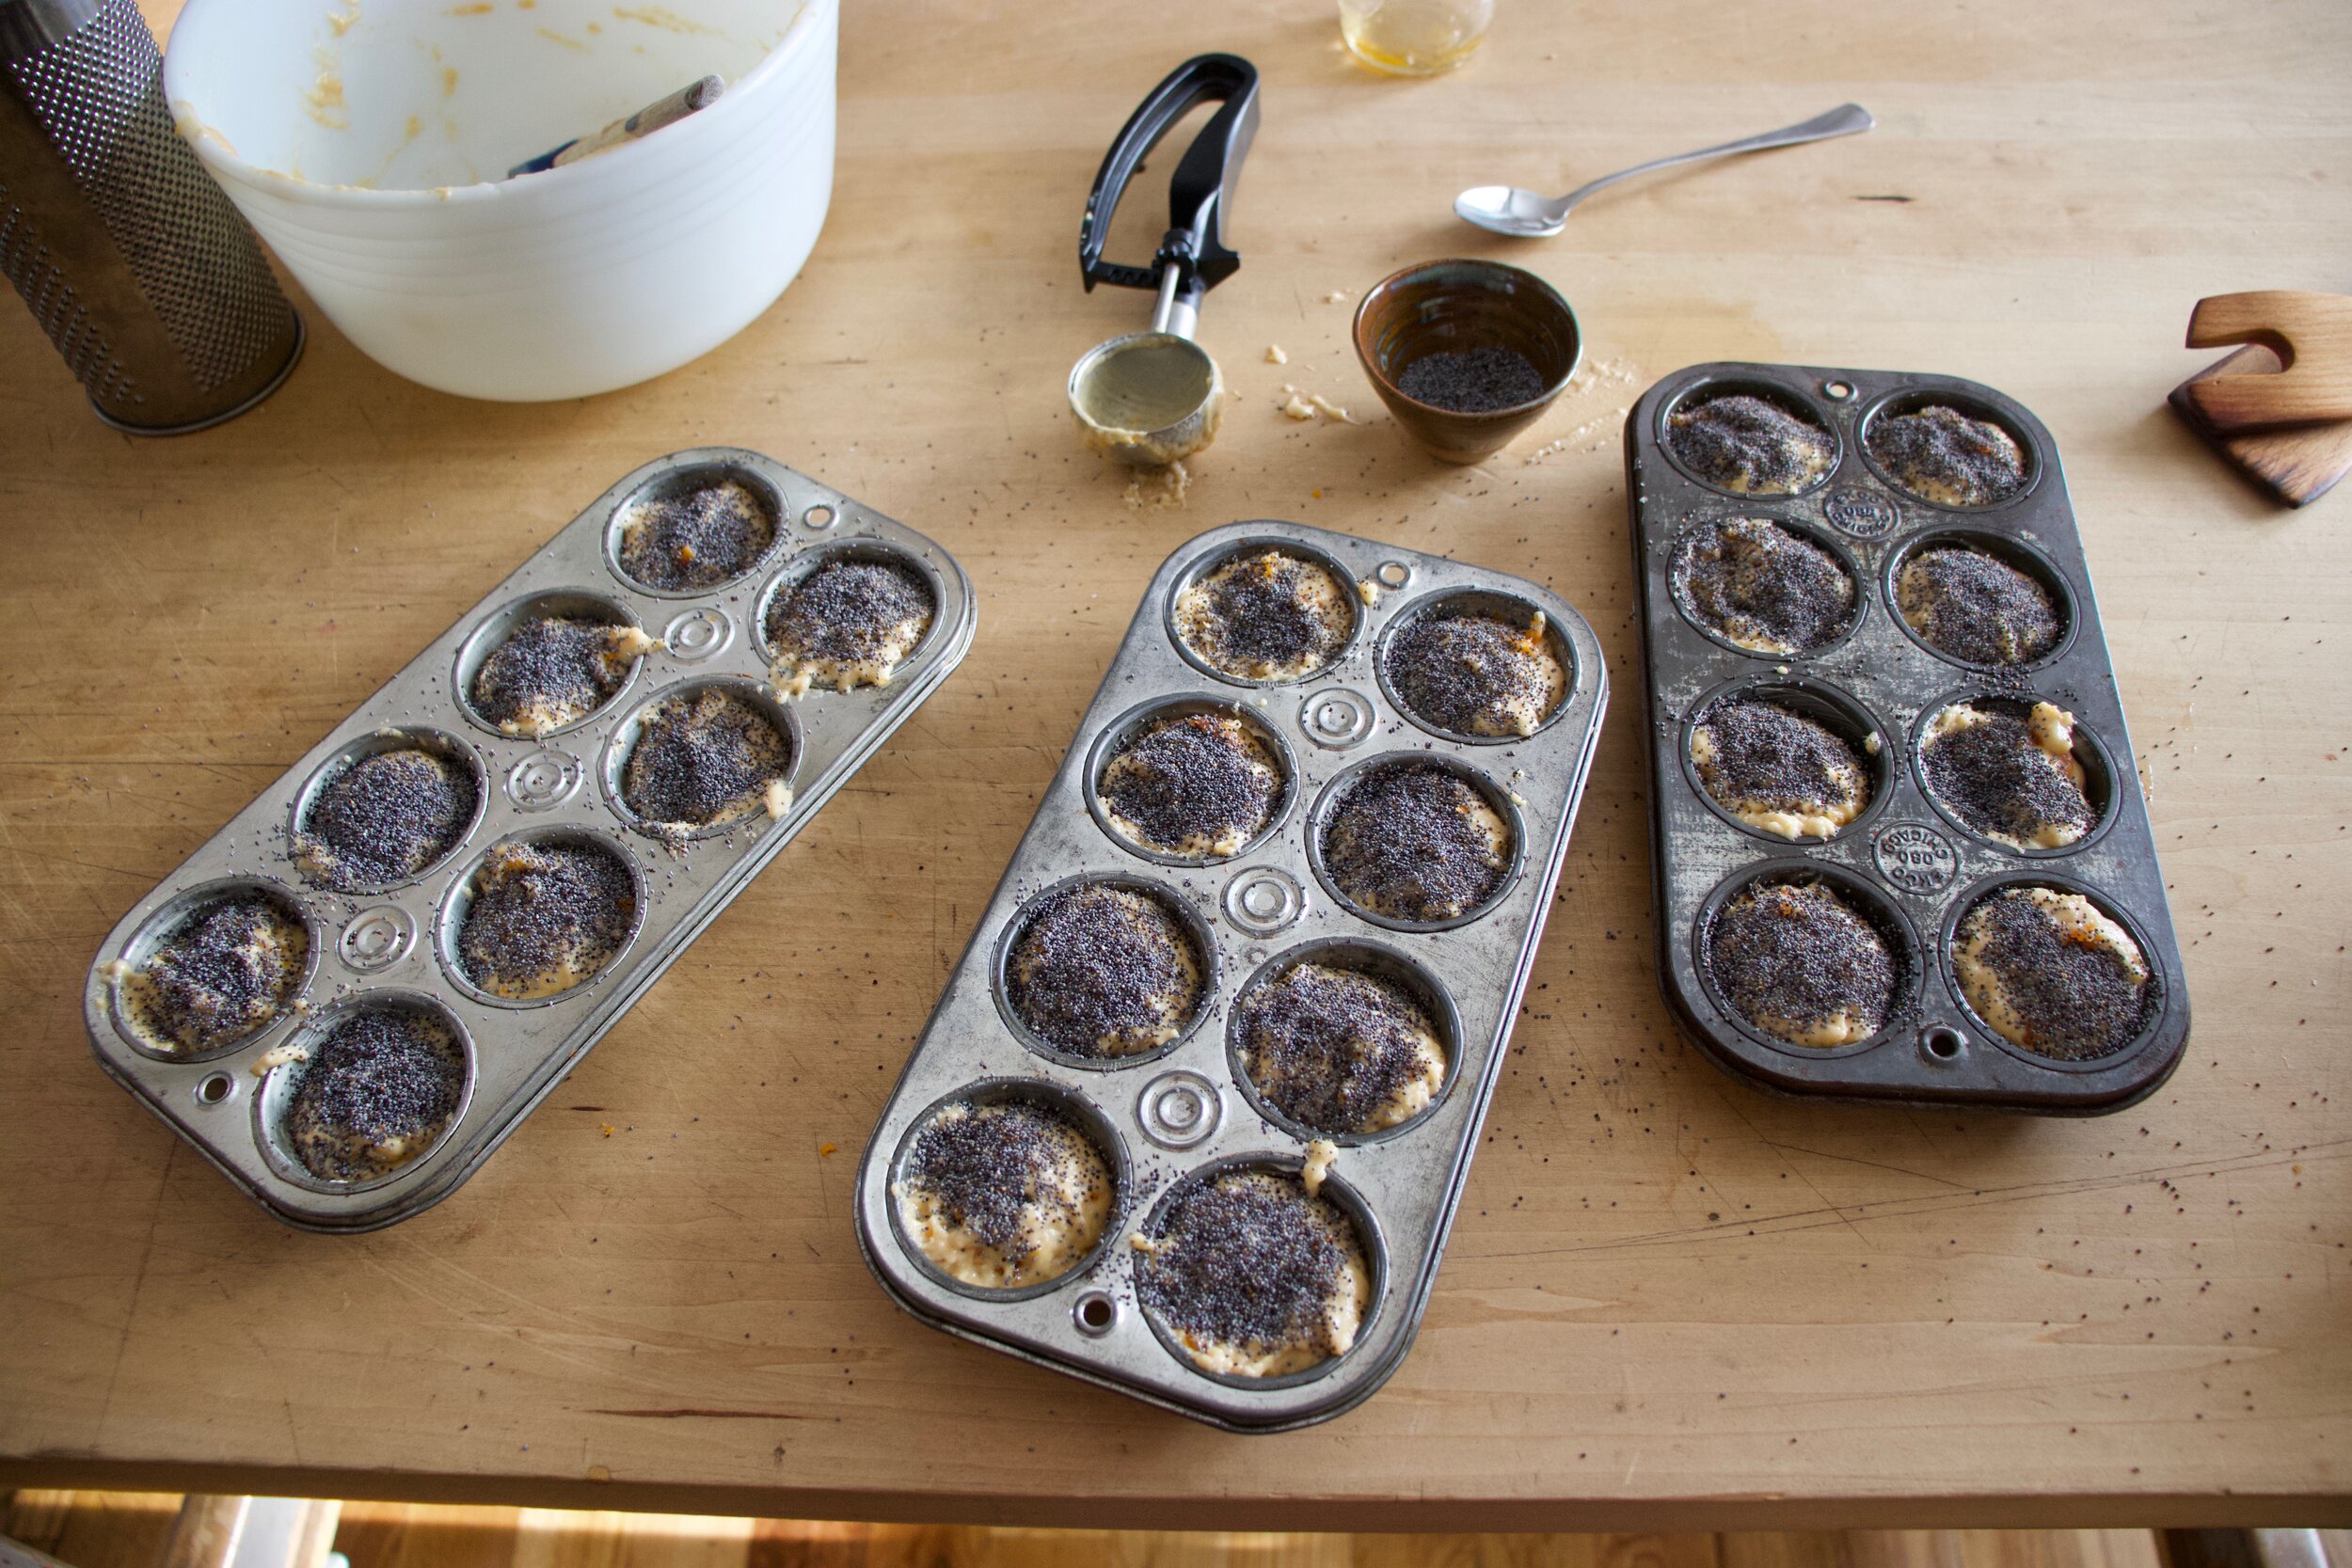
Scoop into well greased muffins tins then cover the tops with poppy seeds.

Ready for that hot oven.

IMG_4854.jpg

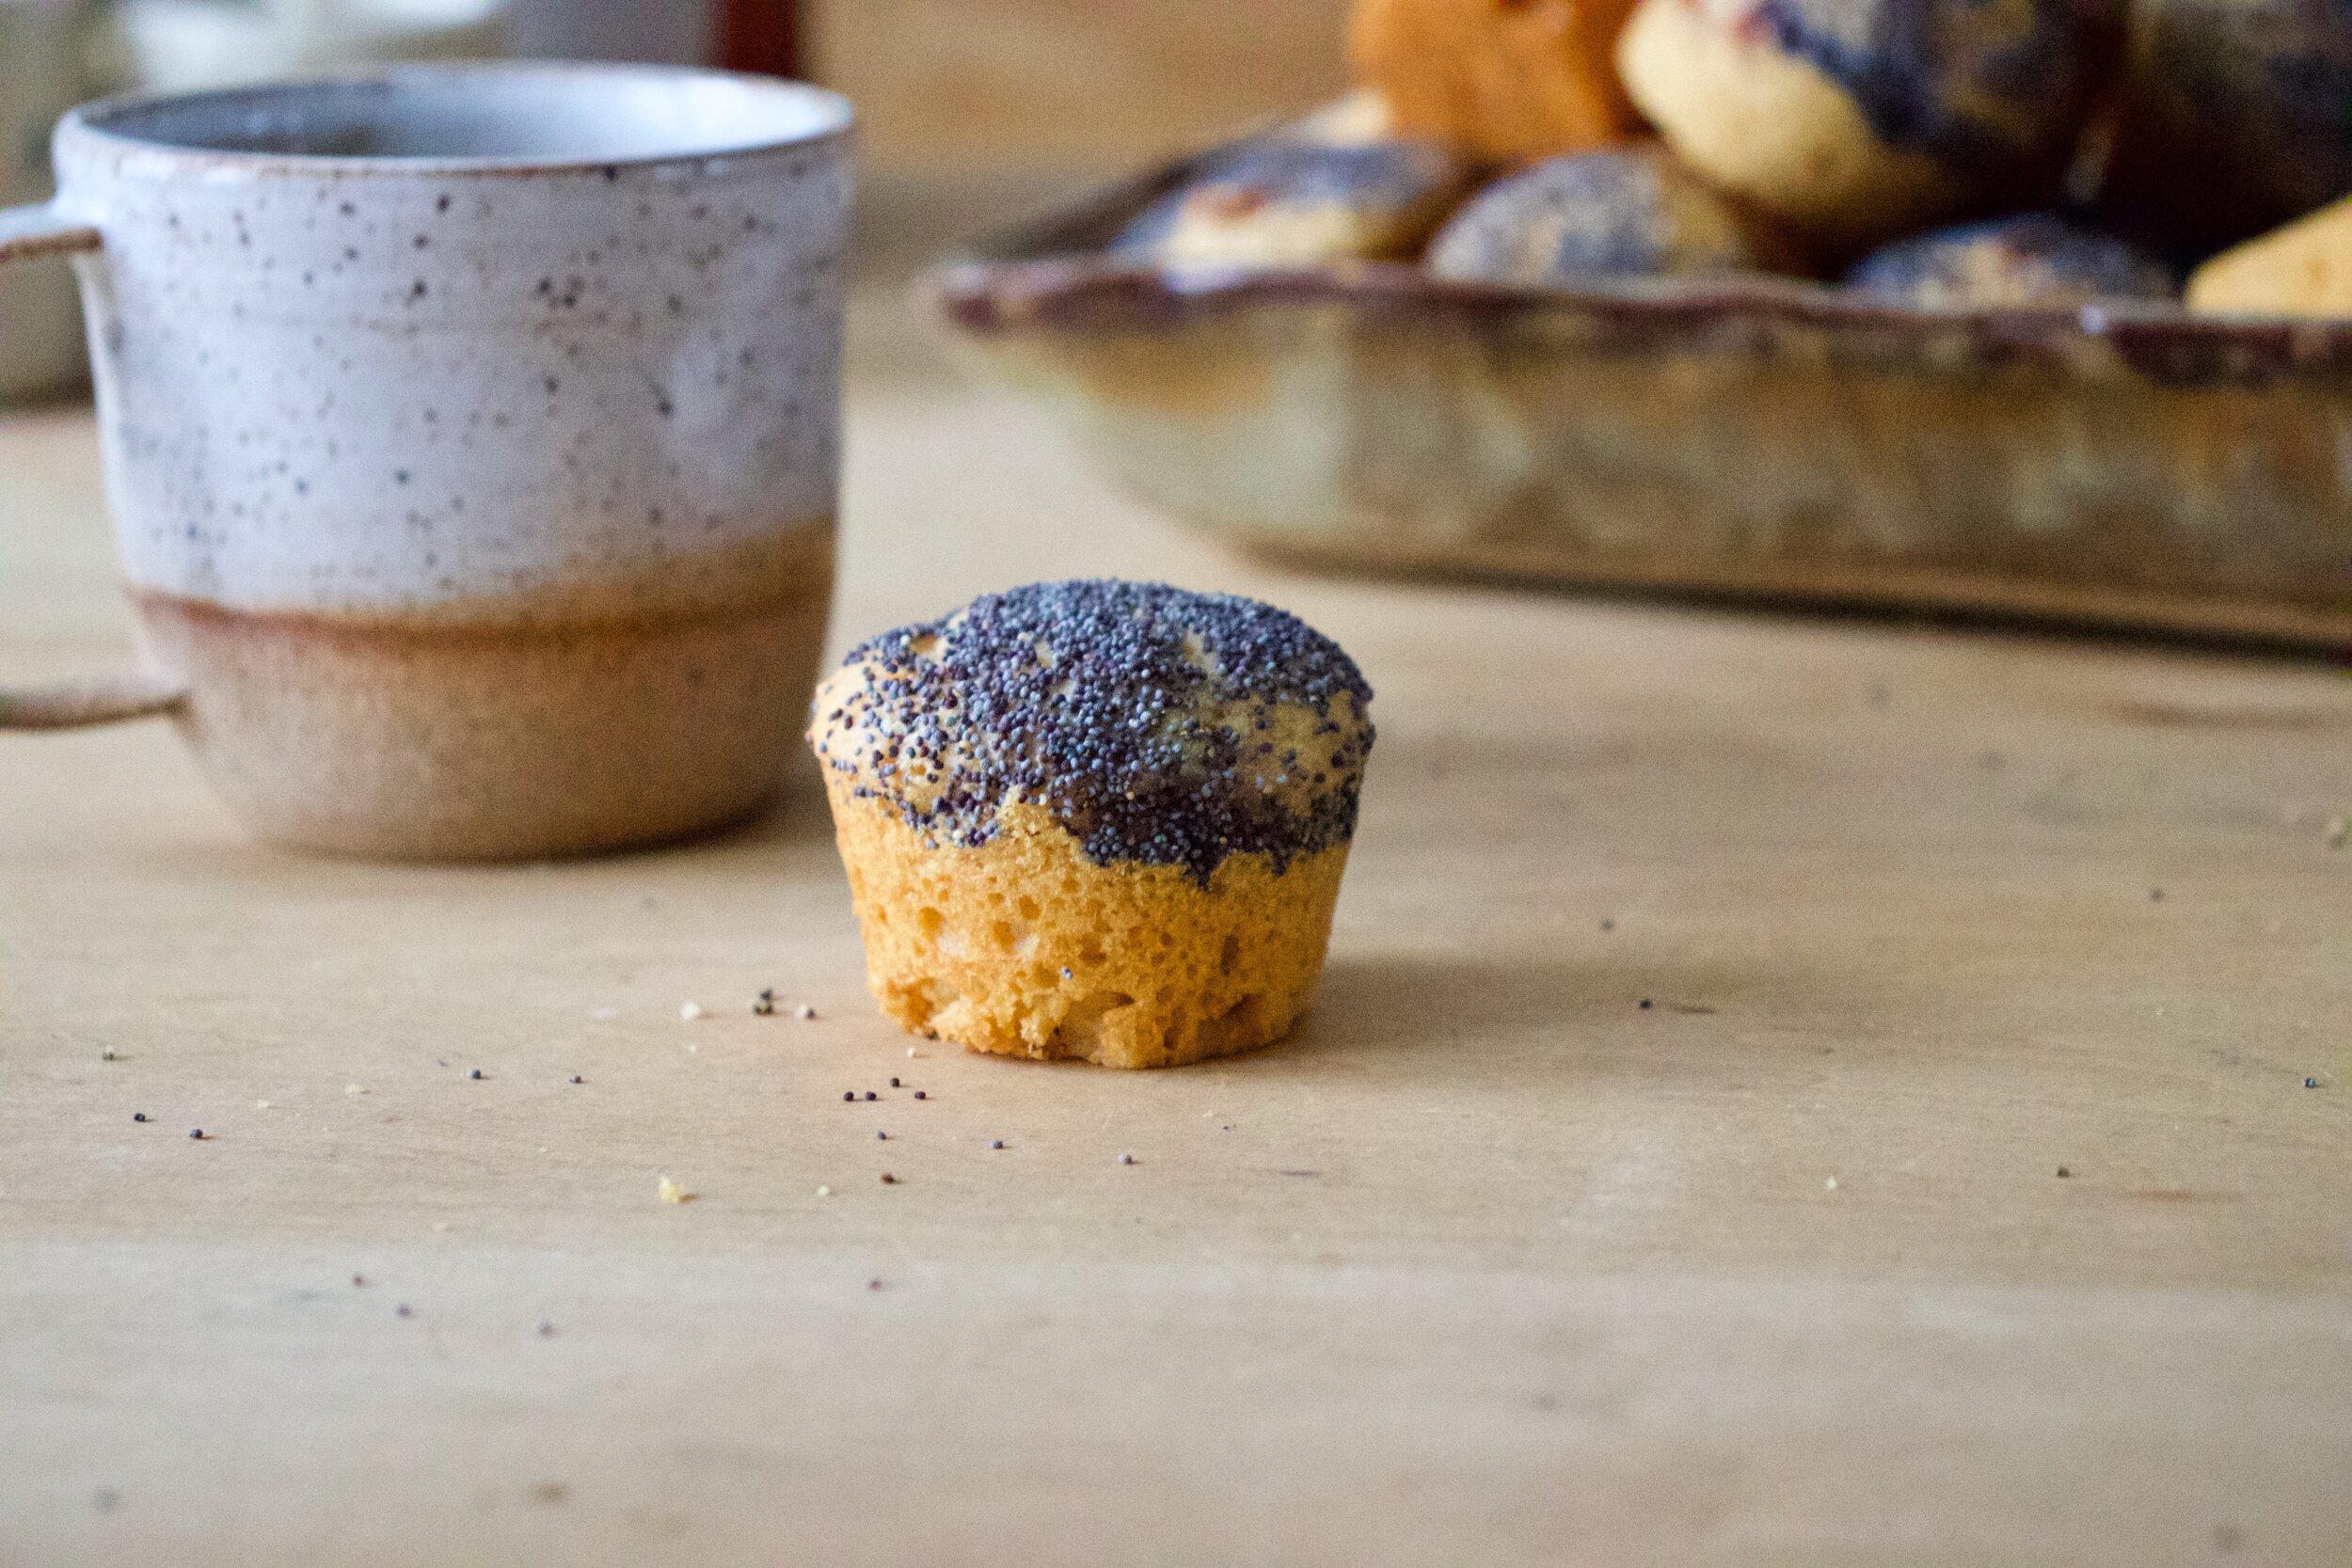
And out of the oven, looking all pretty like.

IMG_4894.jpg

Pop those muffins out of the tins and cool on a wire rack for a bit. And by all means, don’t wait until they are completely cool.

Now eat you a warm muffin and if they are mini, grab a few. You can’t just eat one mini muffin, that is just crazy.

-C


Poppy seed Crusted Apricot Jam Muffins

Make 12 normal size muffins or 24 mini muffins

  • 1 cup all purpose flour

  • 1 1/4 cups white whole wheat flour

  • 2 teaspoon baking powder

  • 1/2 teaspoon baking soda

  • 1/2 teaspoon salt

  • 1 cup plant milk

  • 1/3 cup neutral oil

  • 1 tablespoon apple cider vinegar

  • zest of an orange

  • 1 heaping cup apricot jam or preserves (can sub in any flavor you like)

  • 1/3 cup poppy seeds

Preheat oven to 350

In a large bowl whisk together the flours, salt, baking powder and soda, and the zest of the orange. Add in the oil, milk, jam, and vinegar and whisk until just incorporated. Scoop batter into well grease muffin pans (12 regular or 24 mini) then cover the tops with poppy seeds. Pop into hot oven and bake until risen and a tester comes out clean when one is poked. For mini muffins, check after 13 minutes, for normal muffins, after 16 minutes.

Once baked, remove from oven and pop out of pans when cool enough to handle. Place on a wire rack to cool completely or just start eating them warm.

Store left over muffins in an airtight container for 3-4 days at room temperature. They also freeze well.

In breakfast, Vegan, sweet breads and muffins, quick and easy, Dairy Free Tags Poppy seed Crusted Apricot Jam Muffins, Vegan, Vegan muffins, poppyseeds, jam, breakfast, fast, easy, no fuss, plant based, dairy free, home made, fresh, baker, recipe, delicious, king Arthur flour
2 Comments

Fresh Corn and Oat Fritters

September 7, 2019 Colleen Stem
IMG_1926.jpg
IMG_1794.jpg
IMG_1803.jpg

Corn is the name of the game, and this game I won!

The mr doesn’t much like to eat corn. But I do. And this time of year I get like 10 ears of corn every week from farm share, which is a lot of corn for one person to have to eat every week and sometimes I just can’t do it. So every now and then I make something that I think the mr will tolerate, if not like, to get him to help me eat the stash of a hundred ears or corn that I have going on in the fridge.

These fritters helped me with that and I think with all the future corn that I will get from the farm. They are soooo good! The mr liked them! As for me, I couldn't stop eating them and almost didn't want to share because they we just so dang good. Sweet fresh corn, nutty and slightly chewy oats. Scallions. And that’s pretty much it. So fresh and clean and yummy tasting. A summertime fritter situation that takes corn to a place where even the corn hater likes it.

Although who the hell hates corn? I know one person. One. And I live with him. Weirdo.

Anyway, to the fritters!

IMG_1710.jpg

The stuff. Fresh sweet corn, old fashion rolled oats, and a few scallion. Also some ground flax seed, water, baking powder, salt and pepper, and a little oil.

IMG_1722.jpg
IMG_1725.jpg

Start with oats. Add most of what we need to a blender and blend until it becomes oat flour.

Then the corn. Remove the kernels from the cobs. Best way is to hold corn in a large bowl and cut downward. Don’t want corn flying all over the place!

IMG_1740.jpg
IMG_1744.jpg

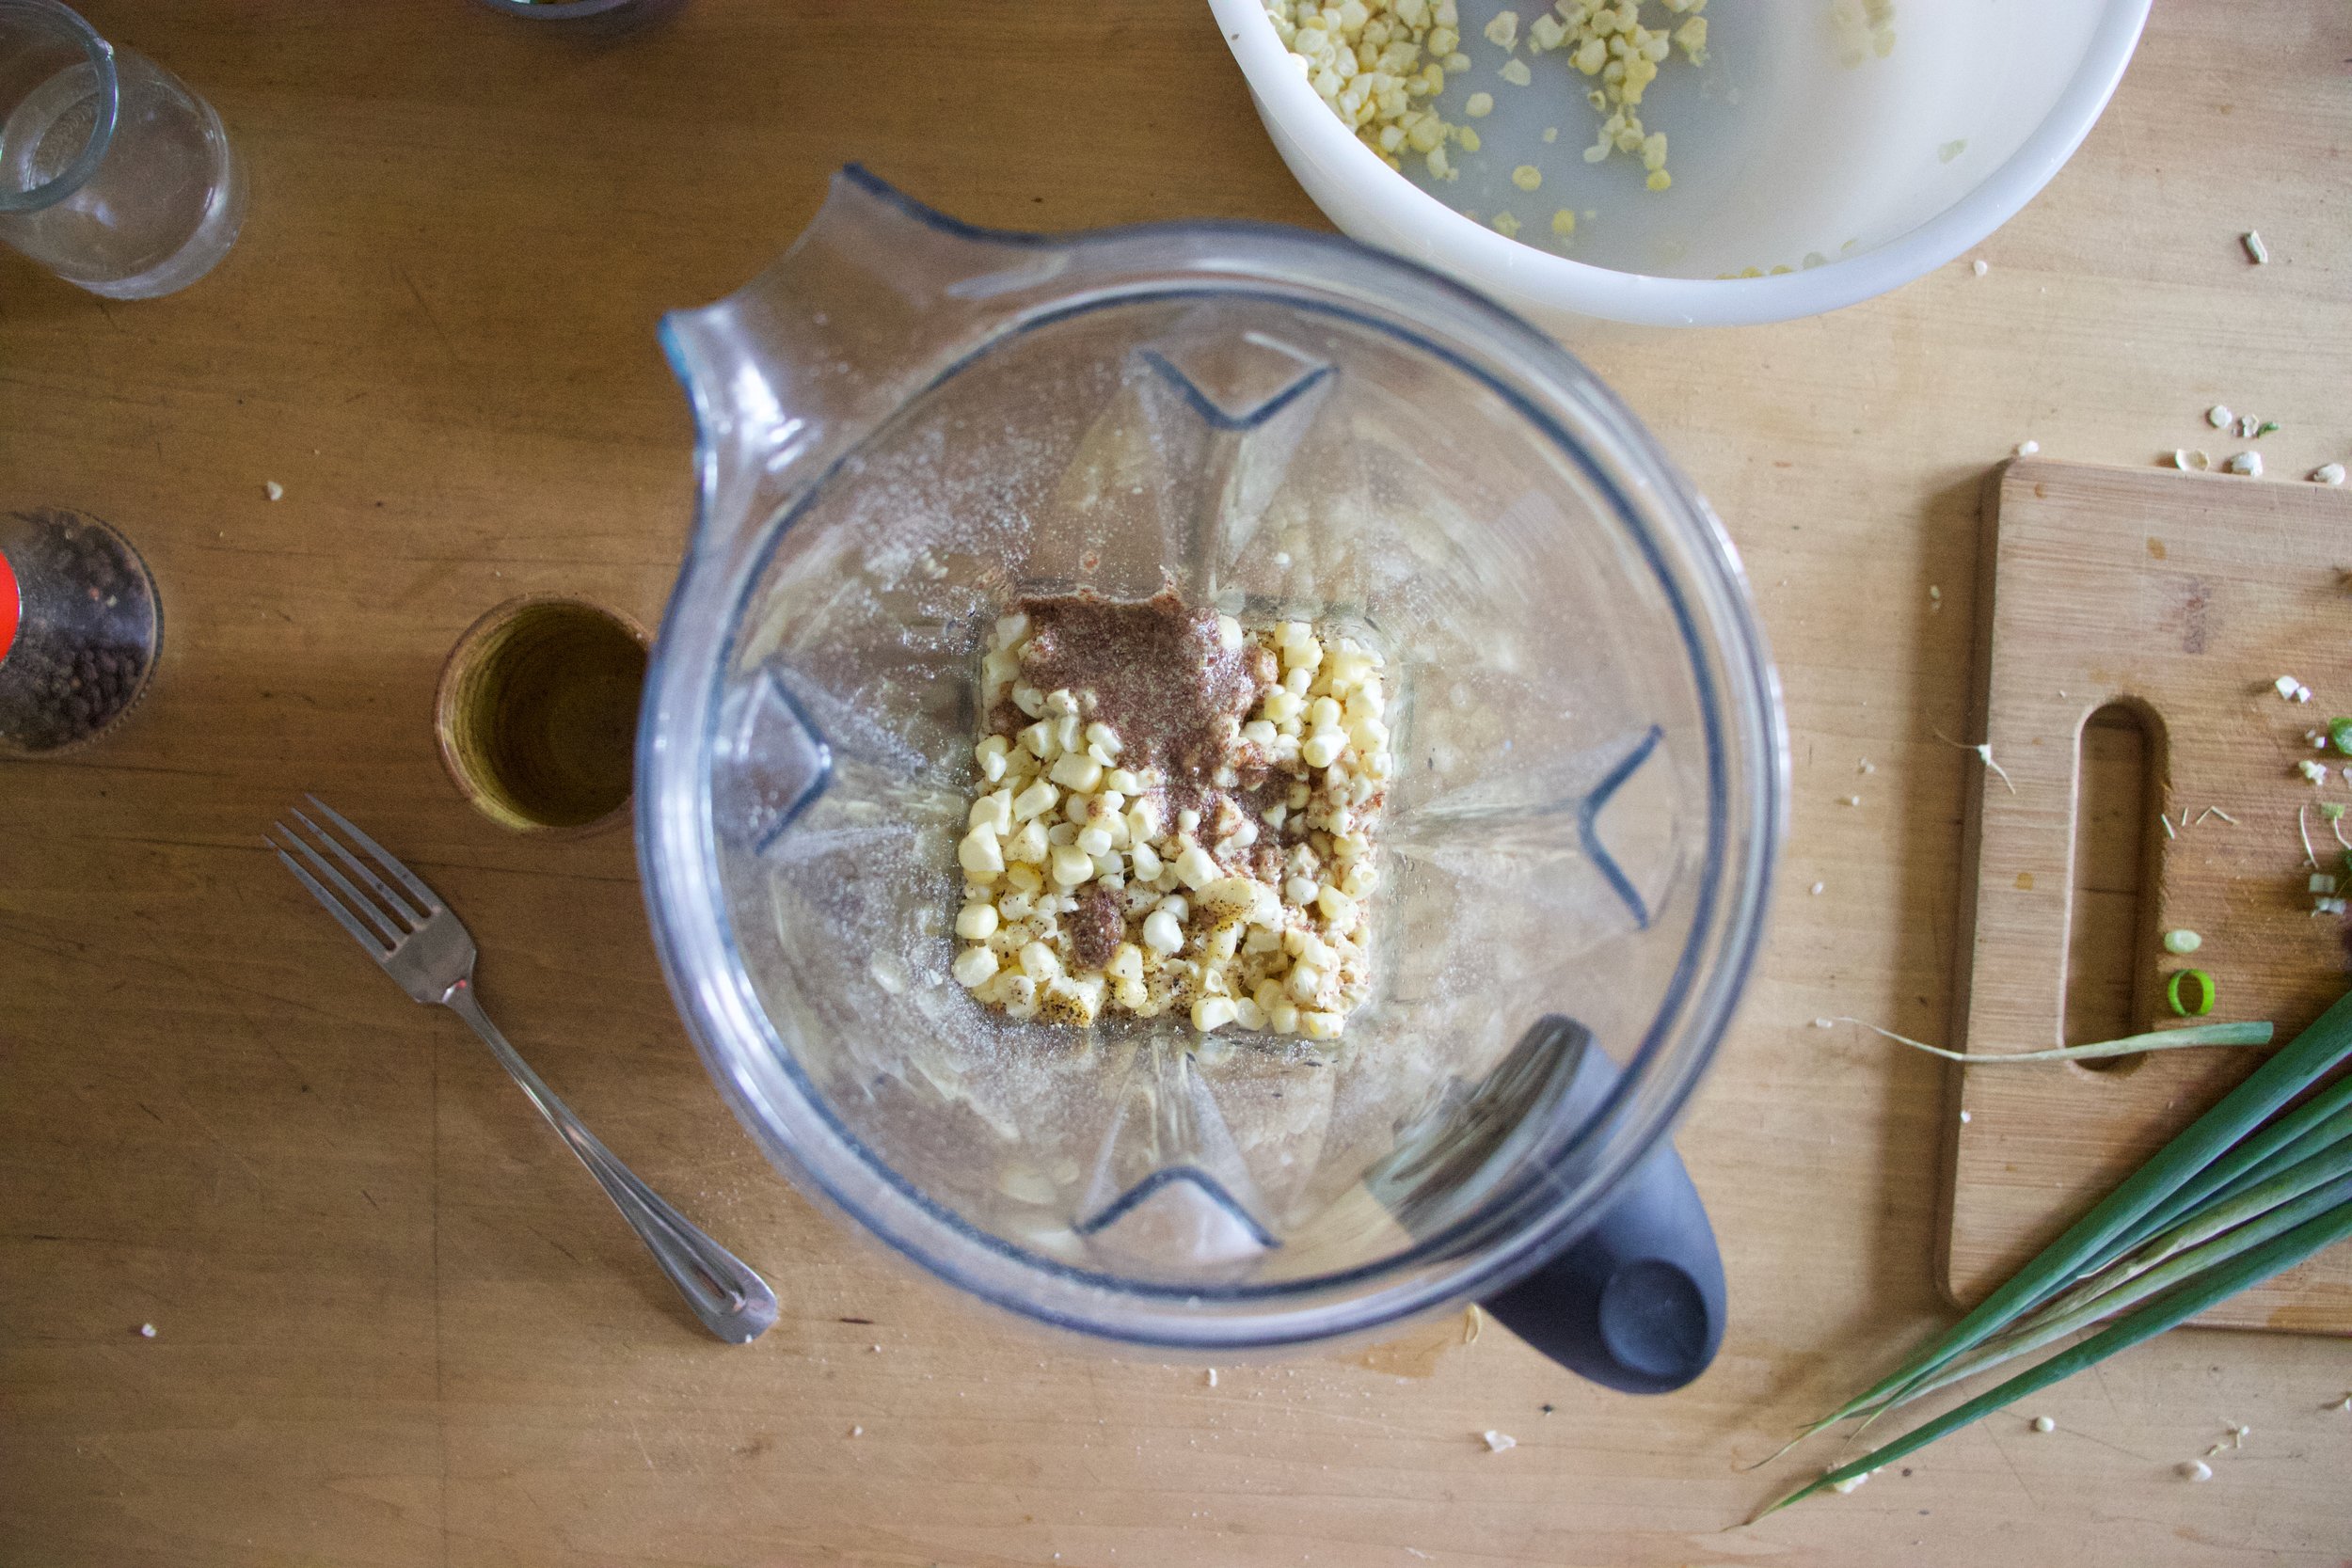
Add most of the corn you just cut off the cob to the blender with the oat flour, along with with flax and water. Blend until smooth.

IMG_1732.jpg

Chop the scallions into thin and tiny pieces.

IMG_1750.jpg

Now dump the contents of the blender into a bowl, add in the scallions, the baking powder, and the extra oats and corn. Mix it all up and then let the batter rest for a few minutes (like 10) so the oats have a chance to really absorb all the liquid.

IMG_1773.jpg

And then to cook them. Heat a lightly oiled skillet to medium high heat. Once skillet is hot, drop scoops of batter into it. Cook for 3-4 minutes or until the bottom is a nice deep golden brown. Flip and cook the other side the same.

Fritters be cookin!

IMG_1794.jpg

When fritters are done cooking, place them on a wire rack. So they don’t get soggy.

And then serve them right away. I ate mine with fresh salsa. Definitely the way to go. So GOOD!

Now eat your corn.

-C


Fresh Corn and Oat Fritters

makes about 12 fritters

  • 3 ears fresh corn ( about 1 1/2 cups of kernels)

  • 1 1/2 cups rolled oats (gluten free if needed)

  • 1/2 teaspoon baking powder

  • 2-3 scallions

  • 1 tablespoon flax meal

  • 3 tablespoons water

  • salt and pepper

  • a little oil for skillet

Combine water and flax meal, mix and set aside.

Place 1 cup of oats into blender or food processor and blend for about a minutes or until the oats are a fine flour.

Grab corn and remove from cob. Best way to do this is to place corn vertically in a big bowl and cut downwards so the bowl catches all the kernels. Cut enough corn until you have about 1 1/2 cups of kernels. Also, garb scallions and chop into very small, thin pieces.

Add in a cup of the corn, the flax and water mixture, baking powder, and a pinch of salt and pepper. Pulse or blend until completely combined and the mixture is mostly smooth.. Dump mixture into a bowl and add in the remaining corn, chopped scallions, and oats and mix together. The mixture should not be runny, but also should not be dry enough to pack together. If the mixture seems too dry and tight, add in a tablespoon or two more or water. To wet, add in a small handful of oats.

Once batter is mixed, set aside for about 10 minutes to rest.

Grab skillet and place on medium high heat. Add a touch of oil to pan and make sure it evenly coats the bottom. Once pan is preheated, add scoops batter into pan (about 2 tablespoons each). Cook first side for about 3-4 minutes or until dark golden brown, then flip and cook the other sides for another 2-3 minutes until a dark golden brown. Remove from pan and either place on a wire rack or a plate. ( I recommend a wire rack just to keep them from getting soggy.)

Serve right away. Fresh salsa goes amazingly with them!

Any left overs can be stored in fridge and reheated in the oven.

In Dairy Free, Vegetables, Vegan, summer, Gluten Free, grains Tags Fresh Corn and Oat Fritters, fritters, vegan, gluten free, corn, oats, dinner, snack, plant based, food52, food, recipe, farm fresh, healthy, easy, summer, dairy free
2 Comments
← Newer Posts Older Posts →
 

https://thelovelycrazy.squarespace.com/config#/|/about/

Me. Food Maker.Food eater. Woo HOO!

STEM+NODE  SMALL BATCH AND ONE OF A KIND POTTERY

stem+node ceramics


____________________

Subscribe

GET NEW POSTS IN YO EMAIL

You are AWESOME!!!


@thelovelycrazy 2014-2021