• stem+node ceramics
  • HOME
  • Food Recipes
  • About
  • Contact
Menu

The Lovely Crazy

Street Address
City, State, Zip
Phone Number

Your Custom Text Here

The Lovely Crazy

  • stem+node ceramics
  • HOME
  • Food Recipes
  • About
  • Contact

Roasted Cranberry Parsnips

December 23, 2017 Colleen Stem

I am spicing up my snack time these day, going an extra step and actually preparing a little something rather then just eating a pound of carrots. Yes yes, a pound of carrots is a great snack, but there are so many other fantastic veggies awaiting my belly and I can only accommodate  so much at once. So today the carrots had to wait, it's time for the parsnips. 

After I made this and was eating it with all smiles and glee, I had the mr take a taste to see what he thought. What I learned is that If you do not like parsnips then you will not like this dish. But if you are awesome and do like parsnips, well then you will like this. But I guess if you like parsnips but don't like cranberries then you might actually not like this either.

So what I guess I am saying is if you like parsnips and cranberries, you will freaking love this. And this, these cranberry roasted parsnips, are great as a snack or as  a fantastic accompaniment to any meal that you will be serving anytime soon. It's quick and easy and delivers in all sorts of good ways, if you like cranberries and parsnips. 

IMG_8969.jpg

The stuff. Parsnip. fresh (or frozen) cranberries, a little maple syrup, olive oil, and salt and pepper. 

IMG_8971 2.jpg

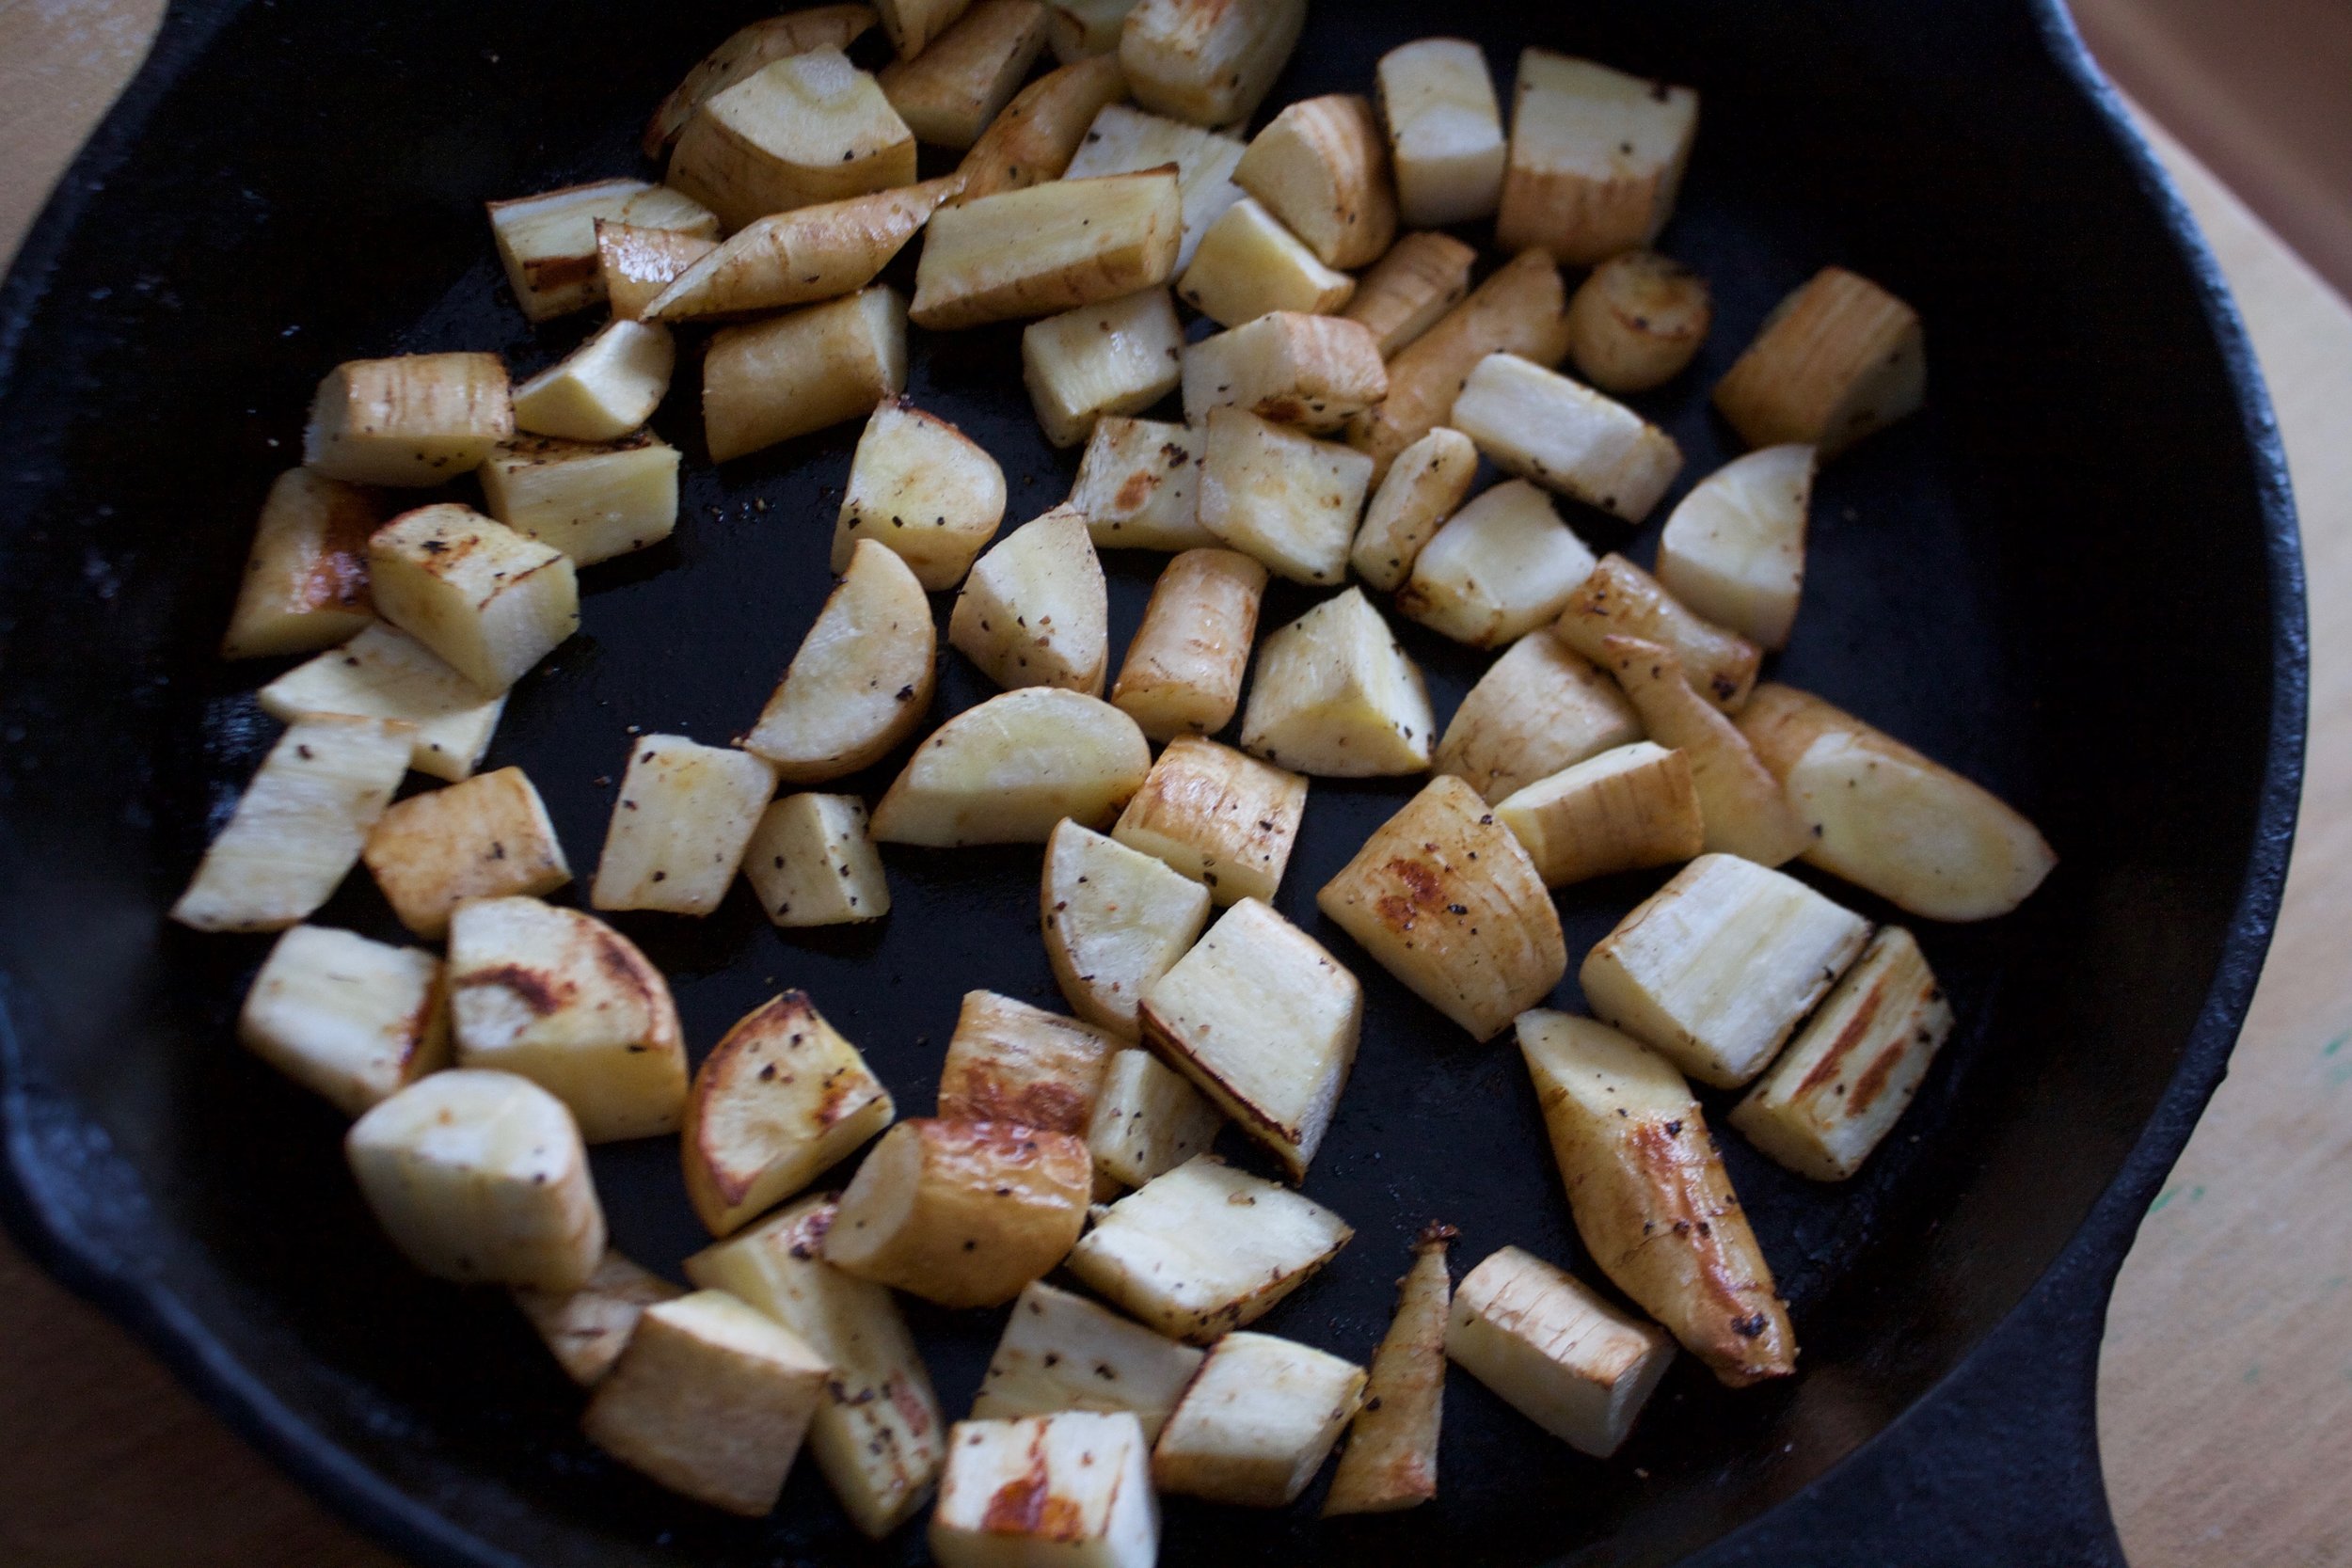
Keeping it simple and just chopping the parsnip up into mouth sized pieces. If you are a peeler, go ahead and peel those parsnips first. Me, never a peeler. 

A little trick I have learned when roasting veggies is to roast them in a really hot cast iron pan. What I usually do is preheat the oven and while I am doing that I preheat the pan on the stove top. It gets hot fast and the veggies roast better when tossed into a hot pan. You can also preheat whatever dish you are using in the oven while it preheating. Whatever works for you. 

So parsnips Into a cast iron pan (or any oven safe dish) tossed with just a touch of olive oil and salt and pepper. 

IMG_8983.jpg
IMG_8984.jpg

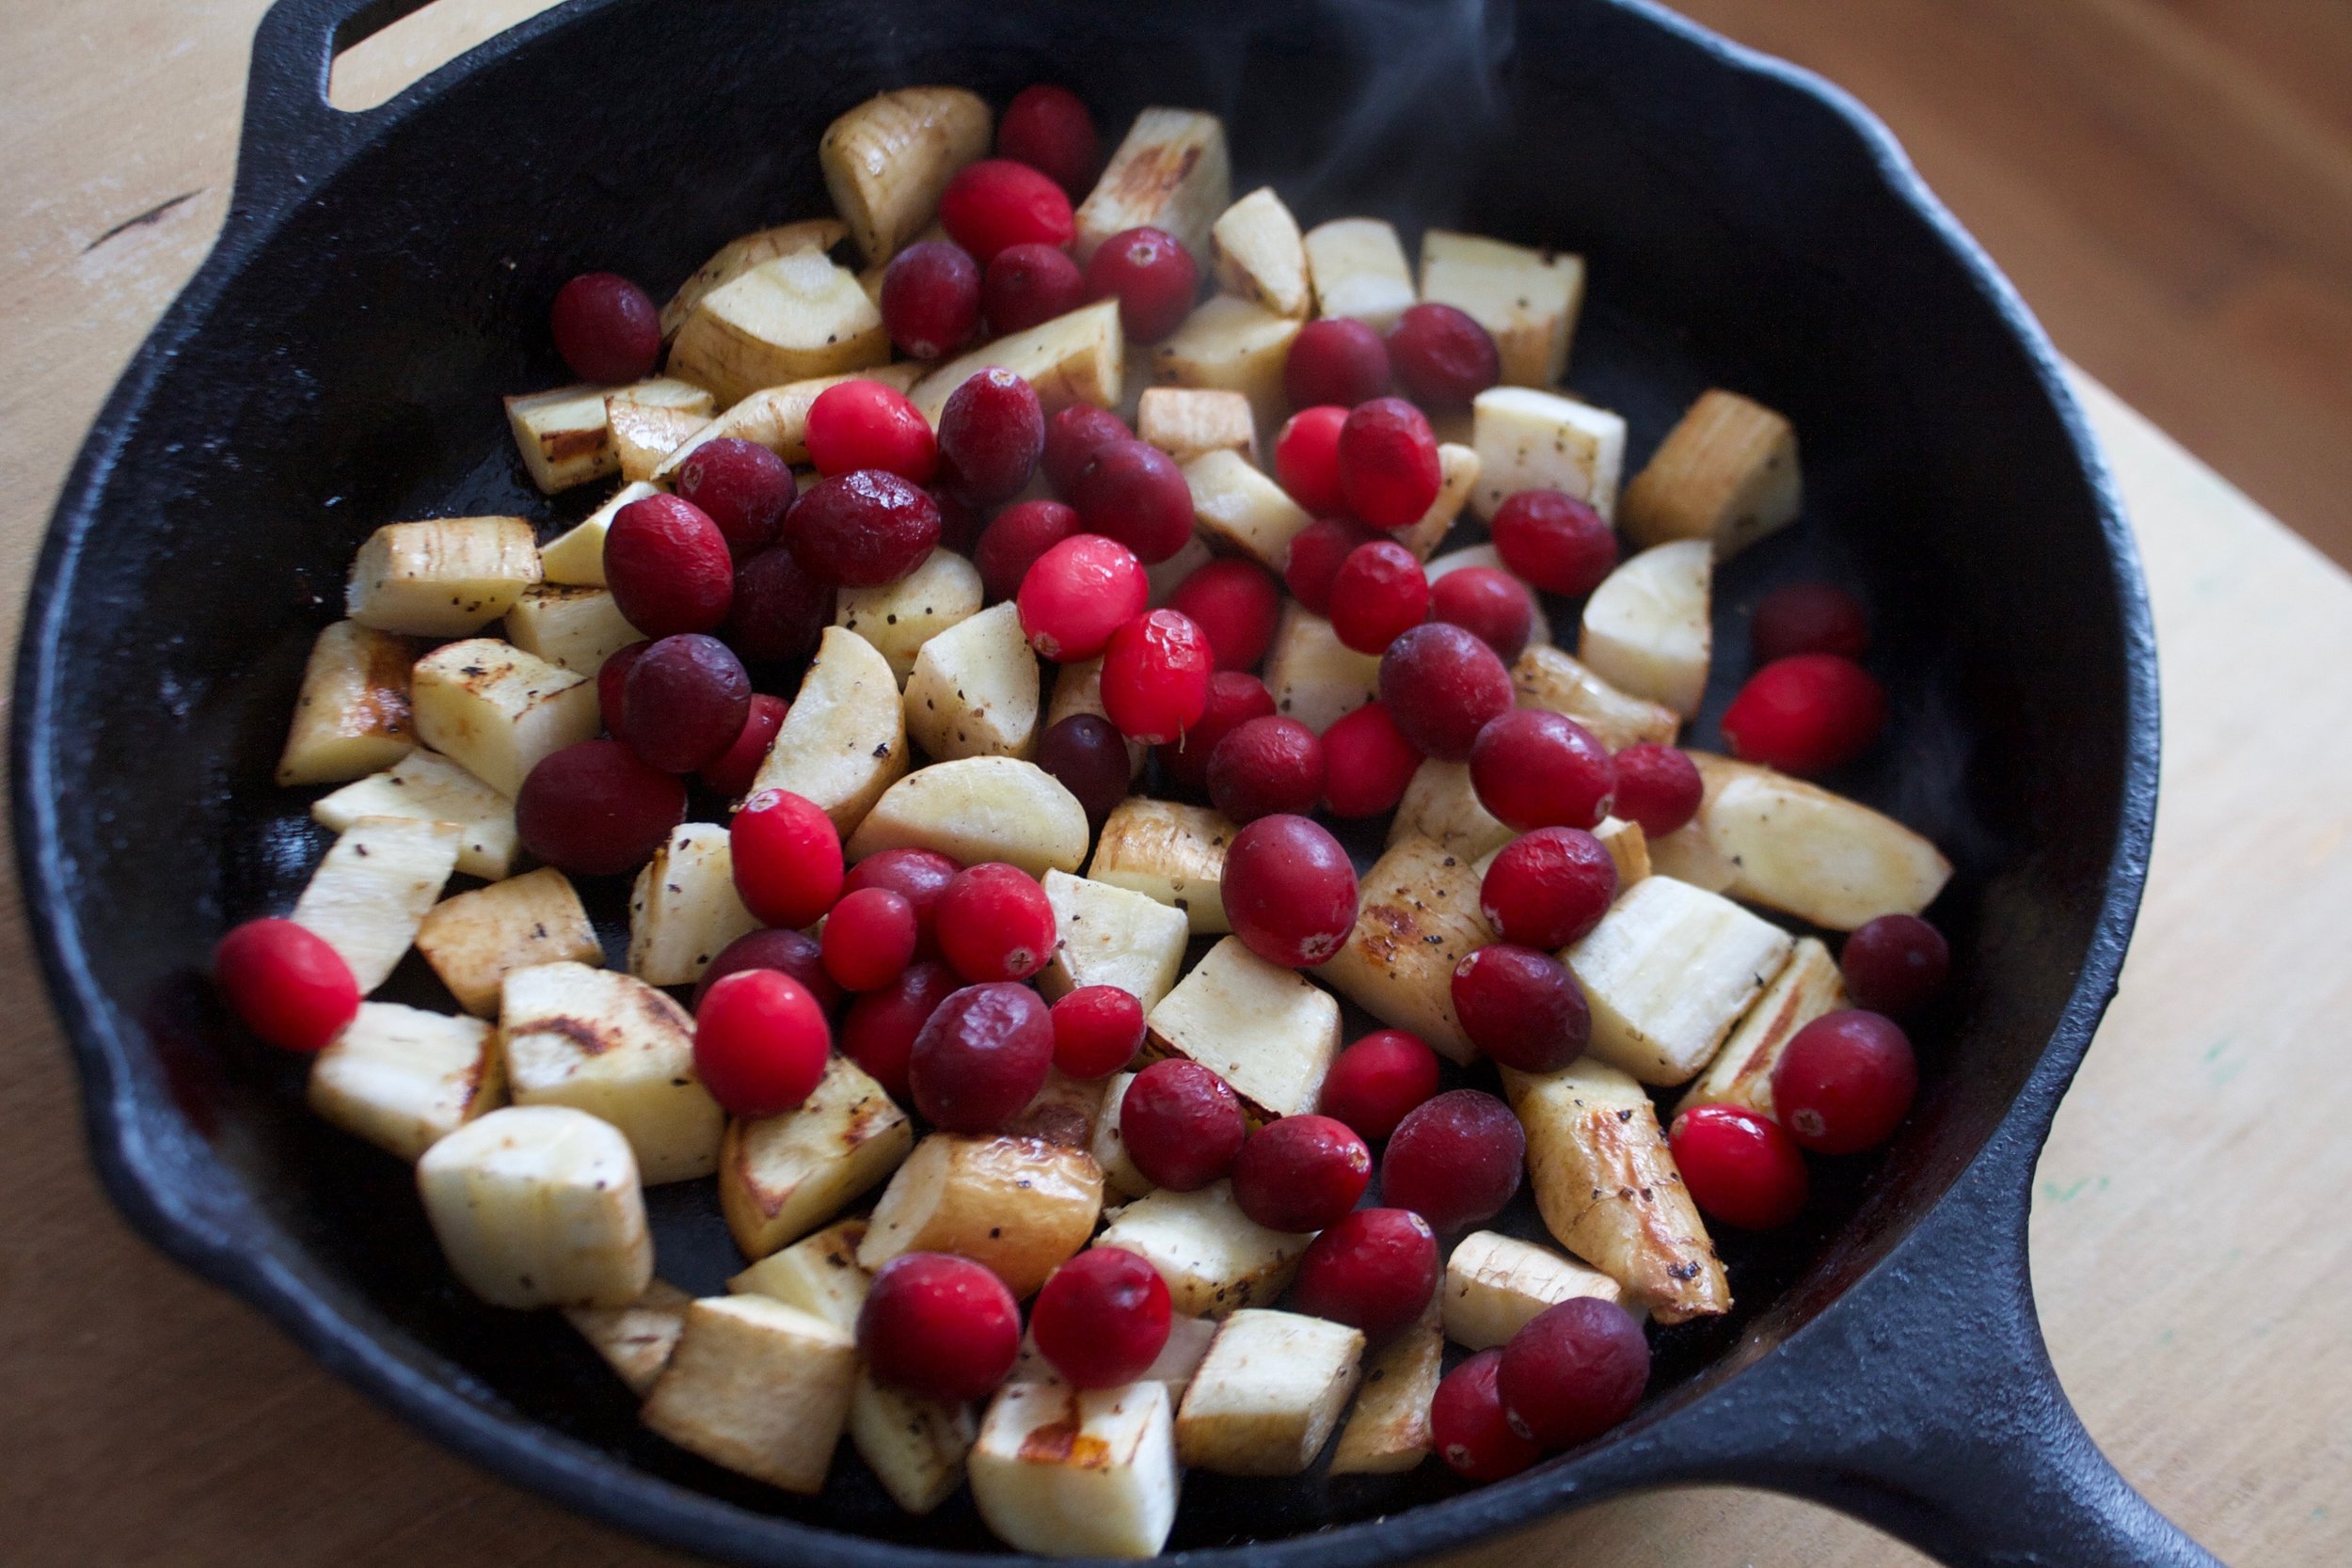
Parsnips cook pretty fast so after about 15 minutes check for doneness. Once they are for tender and browning, toss the cranberries into the pan and keeping roasting.

Once the cranberries are all roasted and bursted and nice, remove the pan from the oven and immediately drizzle with a touch of maple (just a touch or else it will be too sweet) 

IMG_9005 2.jpg

There you go. Simple, fast, and oh so delicious. 

Have an awesome weekend! 🥋🤾🏻‍♀️🎄☃️ (interrupt those any way you see fit)

-C


Roasted Cranberry Parsnips

serves about 4 as a side dish  or makes for 2 good snack bowls

  • 3-4 large  parsnips (but really as many as you want)
  • 1 cup fresh or frozen cranberries
  • 1 teaspoon to 1 tablespoon maple syrup (the more the sweeter it will be)
  • olive oil
  • salt and pepper

Preheat oven to 425

Grab whatever pan or oven safe dish you are using and  preheat either place it in the oven while its preheating of if you can place it on the stove, get it really hot on a high flame.

Grab your parsnips and chop into about an inch sized pieces (or a good size that will fit into you mouth. Feel free to peel the parsnips first if you want to. Once the oven and pan are preheated, drizzle the parsnips with a tiny bit of olive oil and toss with salt and pepper. Place onto really hot pan and stick into oven.  Roast for about 15-20 minutes or until the parsnips are golden brown and fork tender. Remove form oven and toss in the cranberries. Place back into oven for about another 10 minutes or until the cranberries start to burst and get soft. Remove again and drizzle with a teaspoon of maple syrup (or more if you like it sweeter) 

Serve right away. 

In 5 ingerdients or less, quick and easy, salad, side dish, snack, Vegan, Vegetables Tags Roasted Cranberry Parsnips, side dish, snack, vegan, gluten free, grain free, plant based, healthy, vegetables, parsnips, roasted veggies, simple, easy, 5 ingredients
Comment

Butternut Chickpea kale coconut casserole topped with hazelnuts

December 9, 2017 Colleen Stem
IMG_8680.jpg
IMG_8712.jpg

Casseroles are a winter staple. So versatile, easy to make, can feed a few or feed a crowd, and best part is you can stick one into the oven and and kind of forget about it for a while. On a cold day having the oven on is always welcome, and timing with these things, well you can keep it in the oven for a little while longer then it needs because the worst thing that will happen is that it will get a little more crispy, and that is only an added bonus because the crispy bits are the best.  And what I really love about casseroles is left overs. If you are smart you make it bigger then needed so you have some left over to either eat the next day or freeze for a meal later. Leftover casseroles are the best. 

This casserole is a nice, hearty, stick toy your bone with our feeling heavy and gross casserole. Coconut milk and butternut squash give a creaminess, chickpeas for protein and goodness, kale because, and hazelnuts for a nice yummy crunch. All the flavors pair well together and also pair well with many different types of seasonings. I was going to go curry, then I was thinking rosemary, but ended up keeping it simple without any spices which was really nice because the flavors were all rich and clean. But really, you could go a bunch of different ways with this because its a casserole and thats what casserole do. 

IMG_8585.jpg

The stuff. You will need a can of chickpeas, a can of coconut milk (I used light coconut), some kale, an onion, and a butternut squash (you will only need about 3 -ish cups cubed so your squash doesn't need to be as big as mine was). Also need some garlic, raw hazelnuts, olive oil, coconut flour, and salt and pepper 

IMG_8590.jpg
IMG_8605.jpg

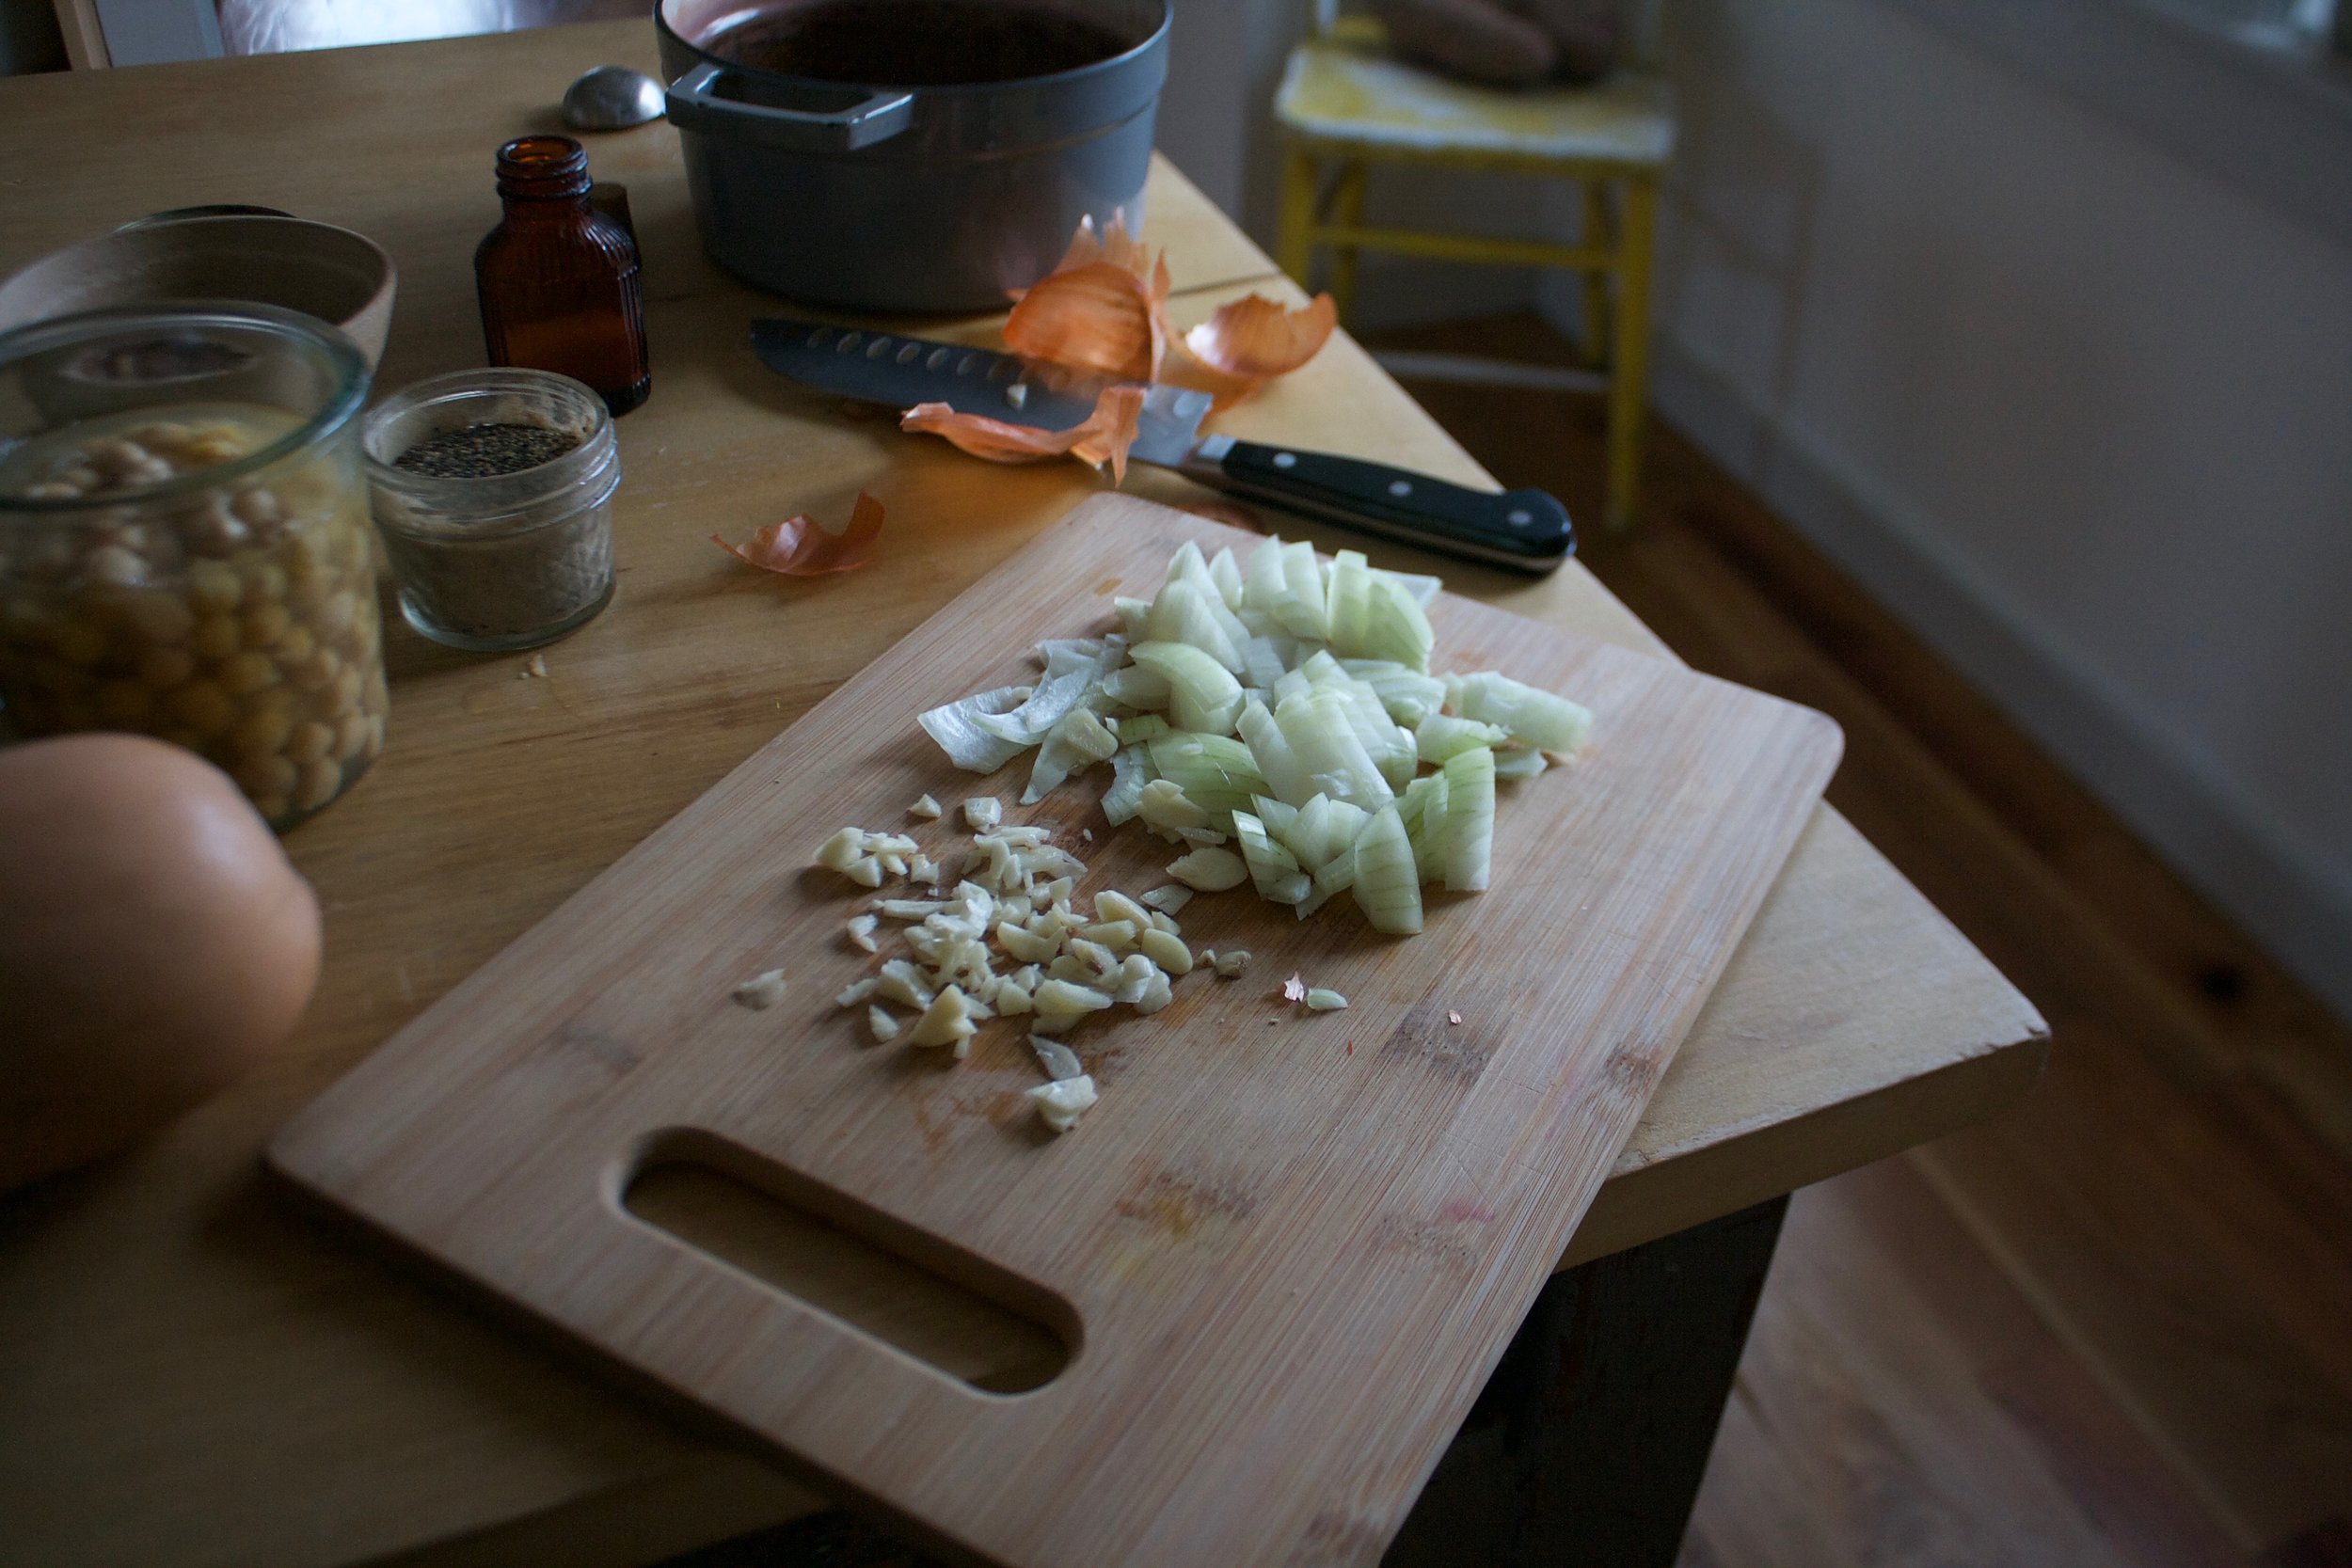
Start by chopping the onion into small pieces and mincing the garlic. Add to a big pot with a little olive oil and get it on a medium heat to start to cook it all down. 

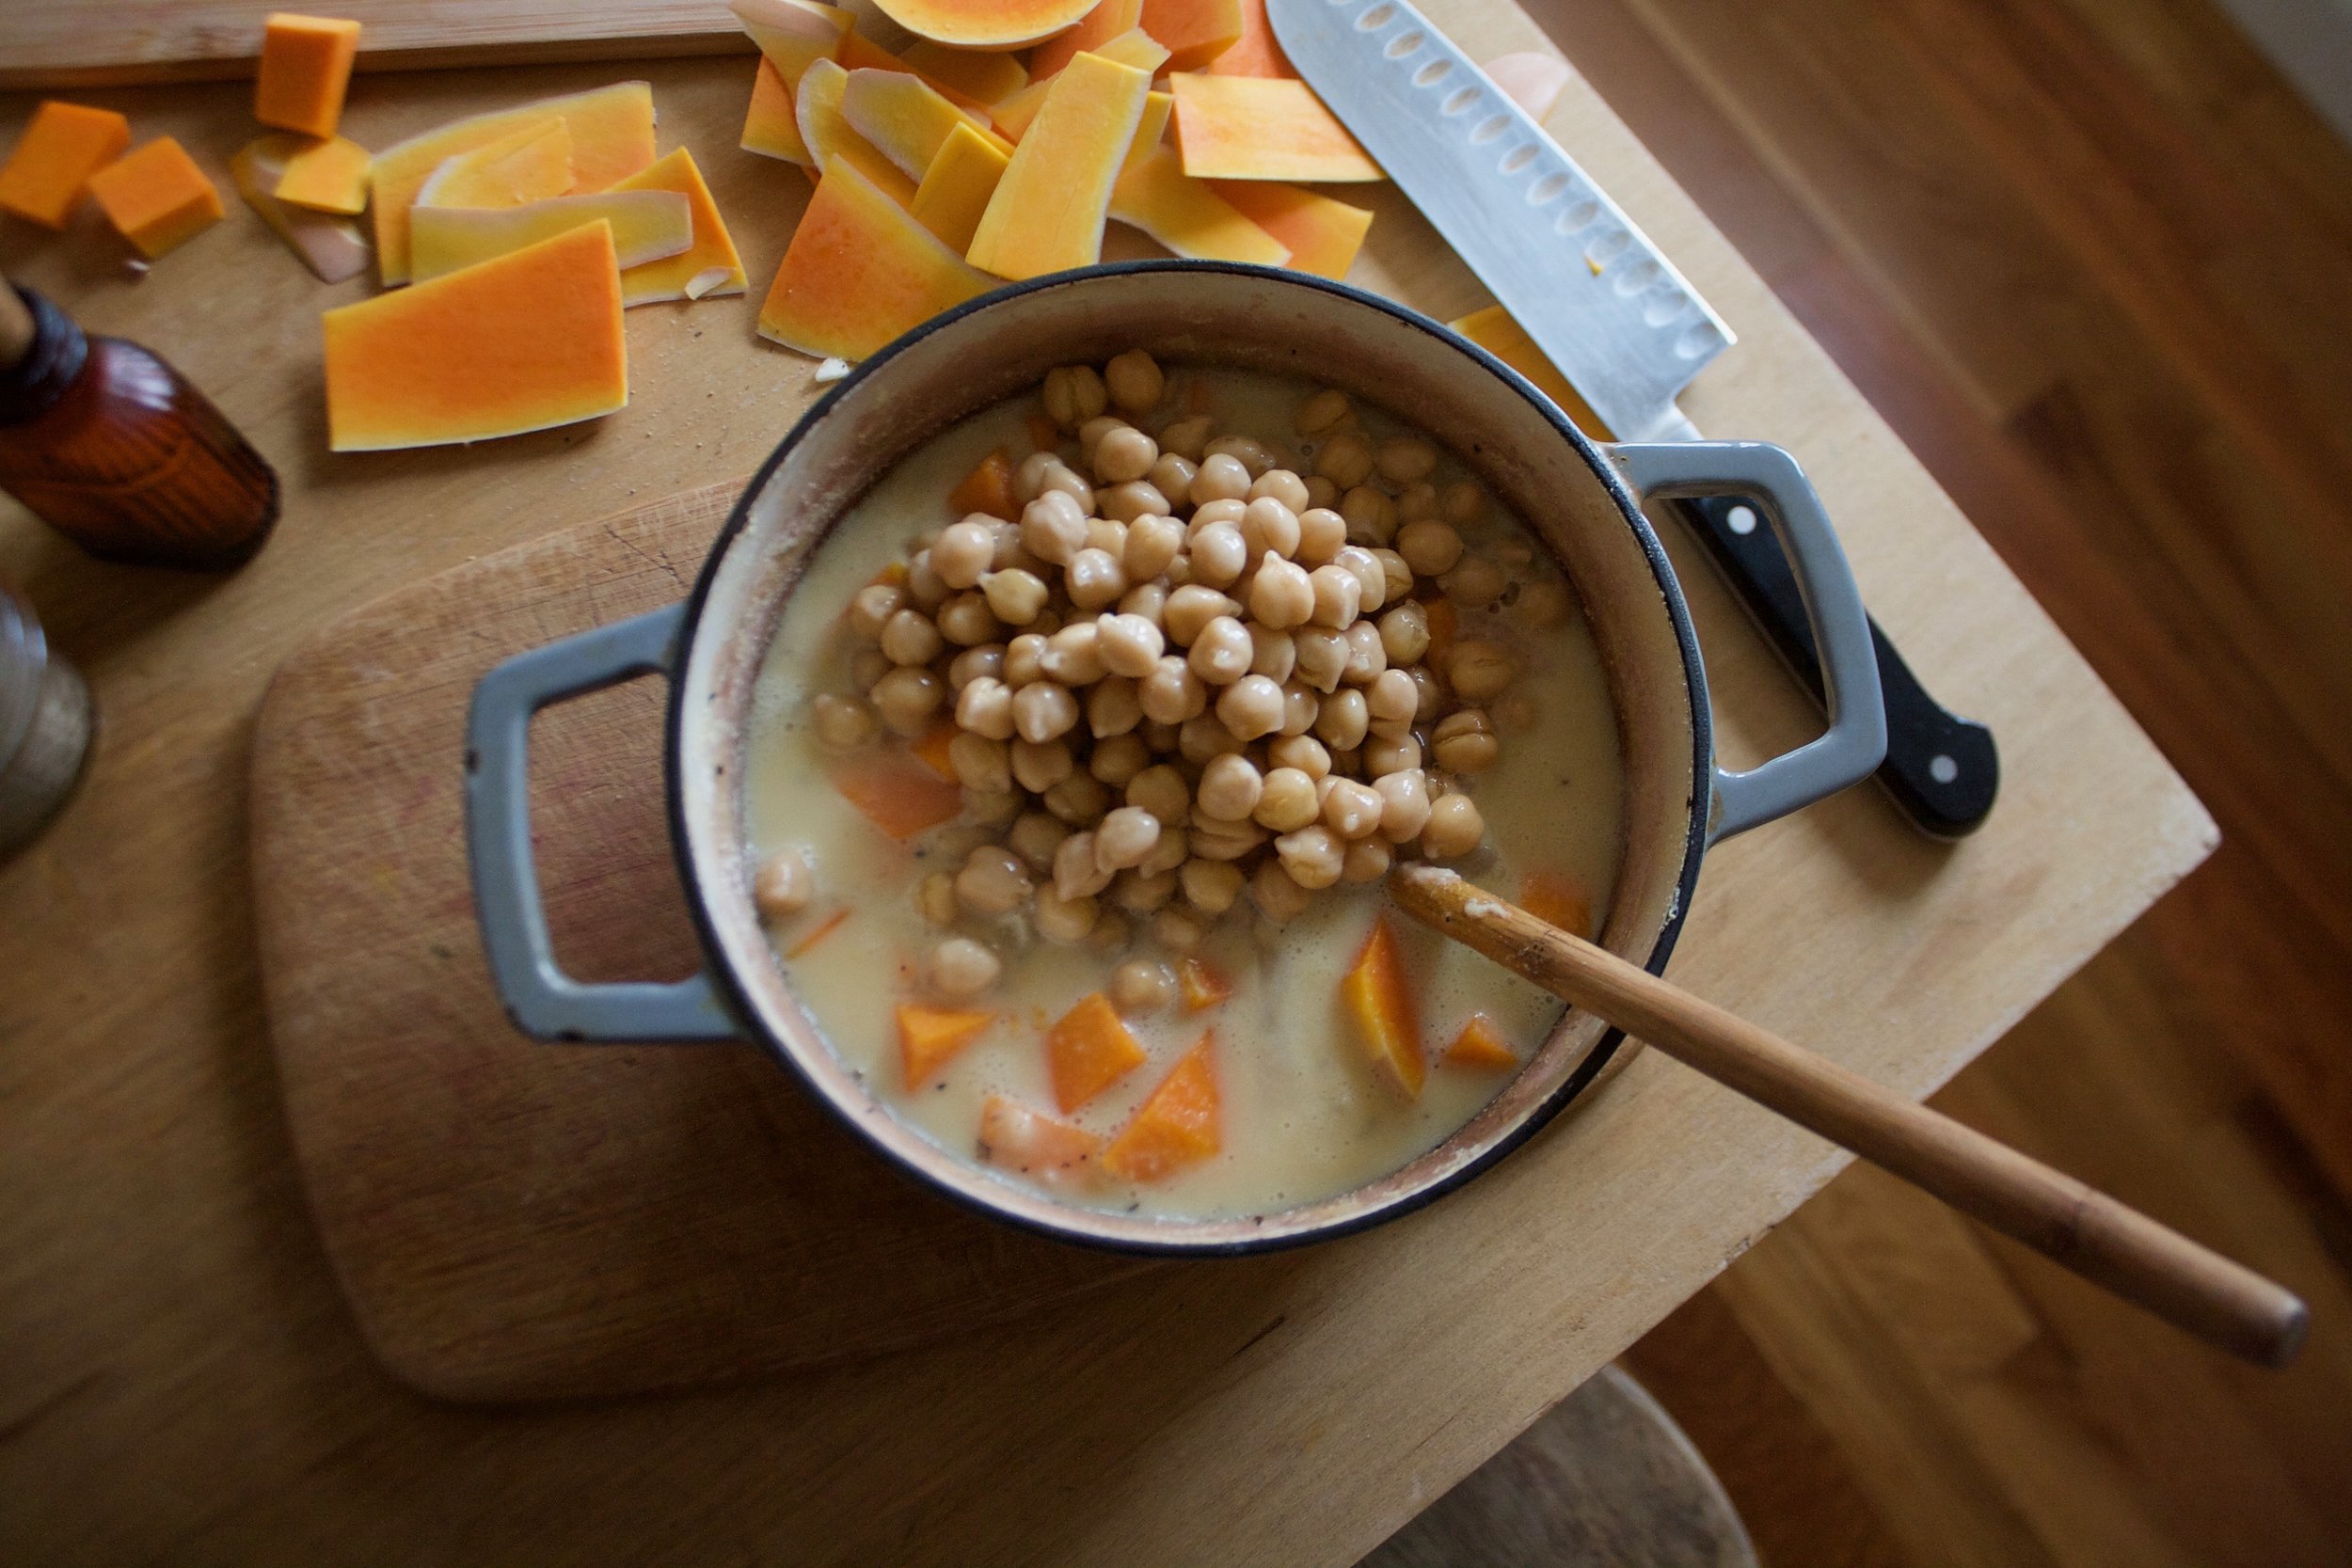
While the onions and garlic are cooking,  cube the squash. You probably only need the neck, so cut the bottom off (save for later) and peel the skin (also save for later , for soup or stock). Cut the peeled squash into mouth sized cubes. 

IMG_8608.jpg

And by the time you are done with the squash, the onion and garlic have had enough time cooking. Add in the can of coconut milk and the coconut flour. Stir in the flour and bring the pot to a boil, then turn heat down to medium again and let cook for a few minutes until it starts to thicken a bit.

IMG_8615 2.jpg
IMG_8619.jpg

Remove from heat and add in the squash, the chickpeas, and salt and pepper. Mix it all around.

IMG_8623.jpg

Pour directly into the casserole dish filled with kale and give that all a good mix around.

Level it all out and top with the chopped hazelnuts.  Now into the oven it goes. 

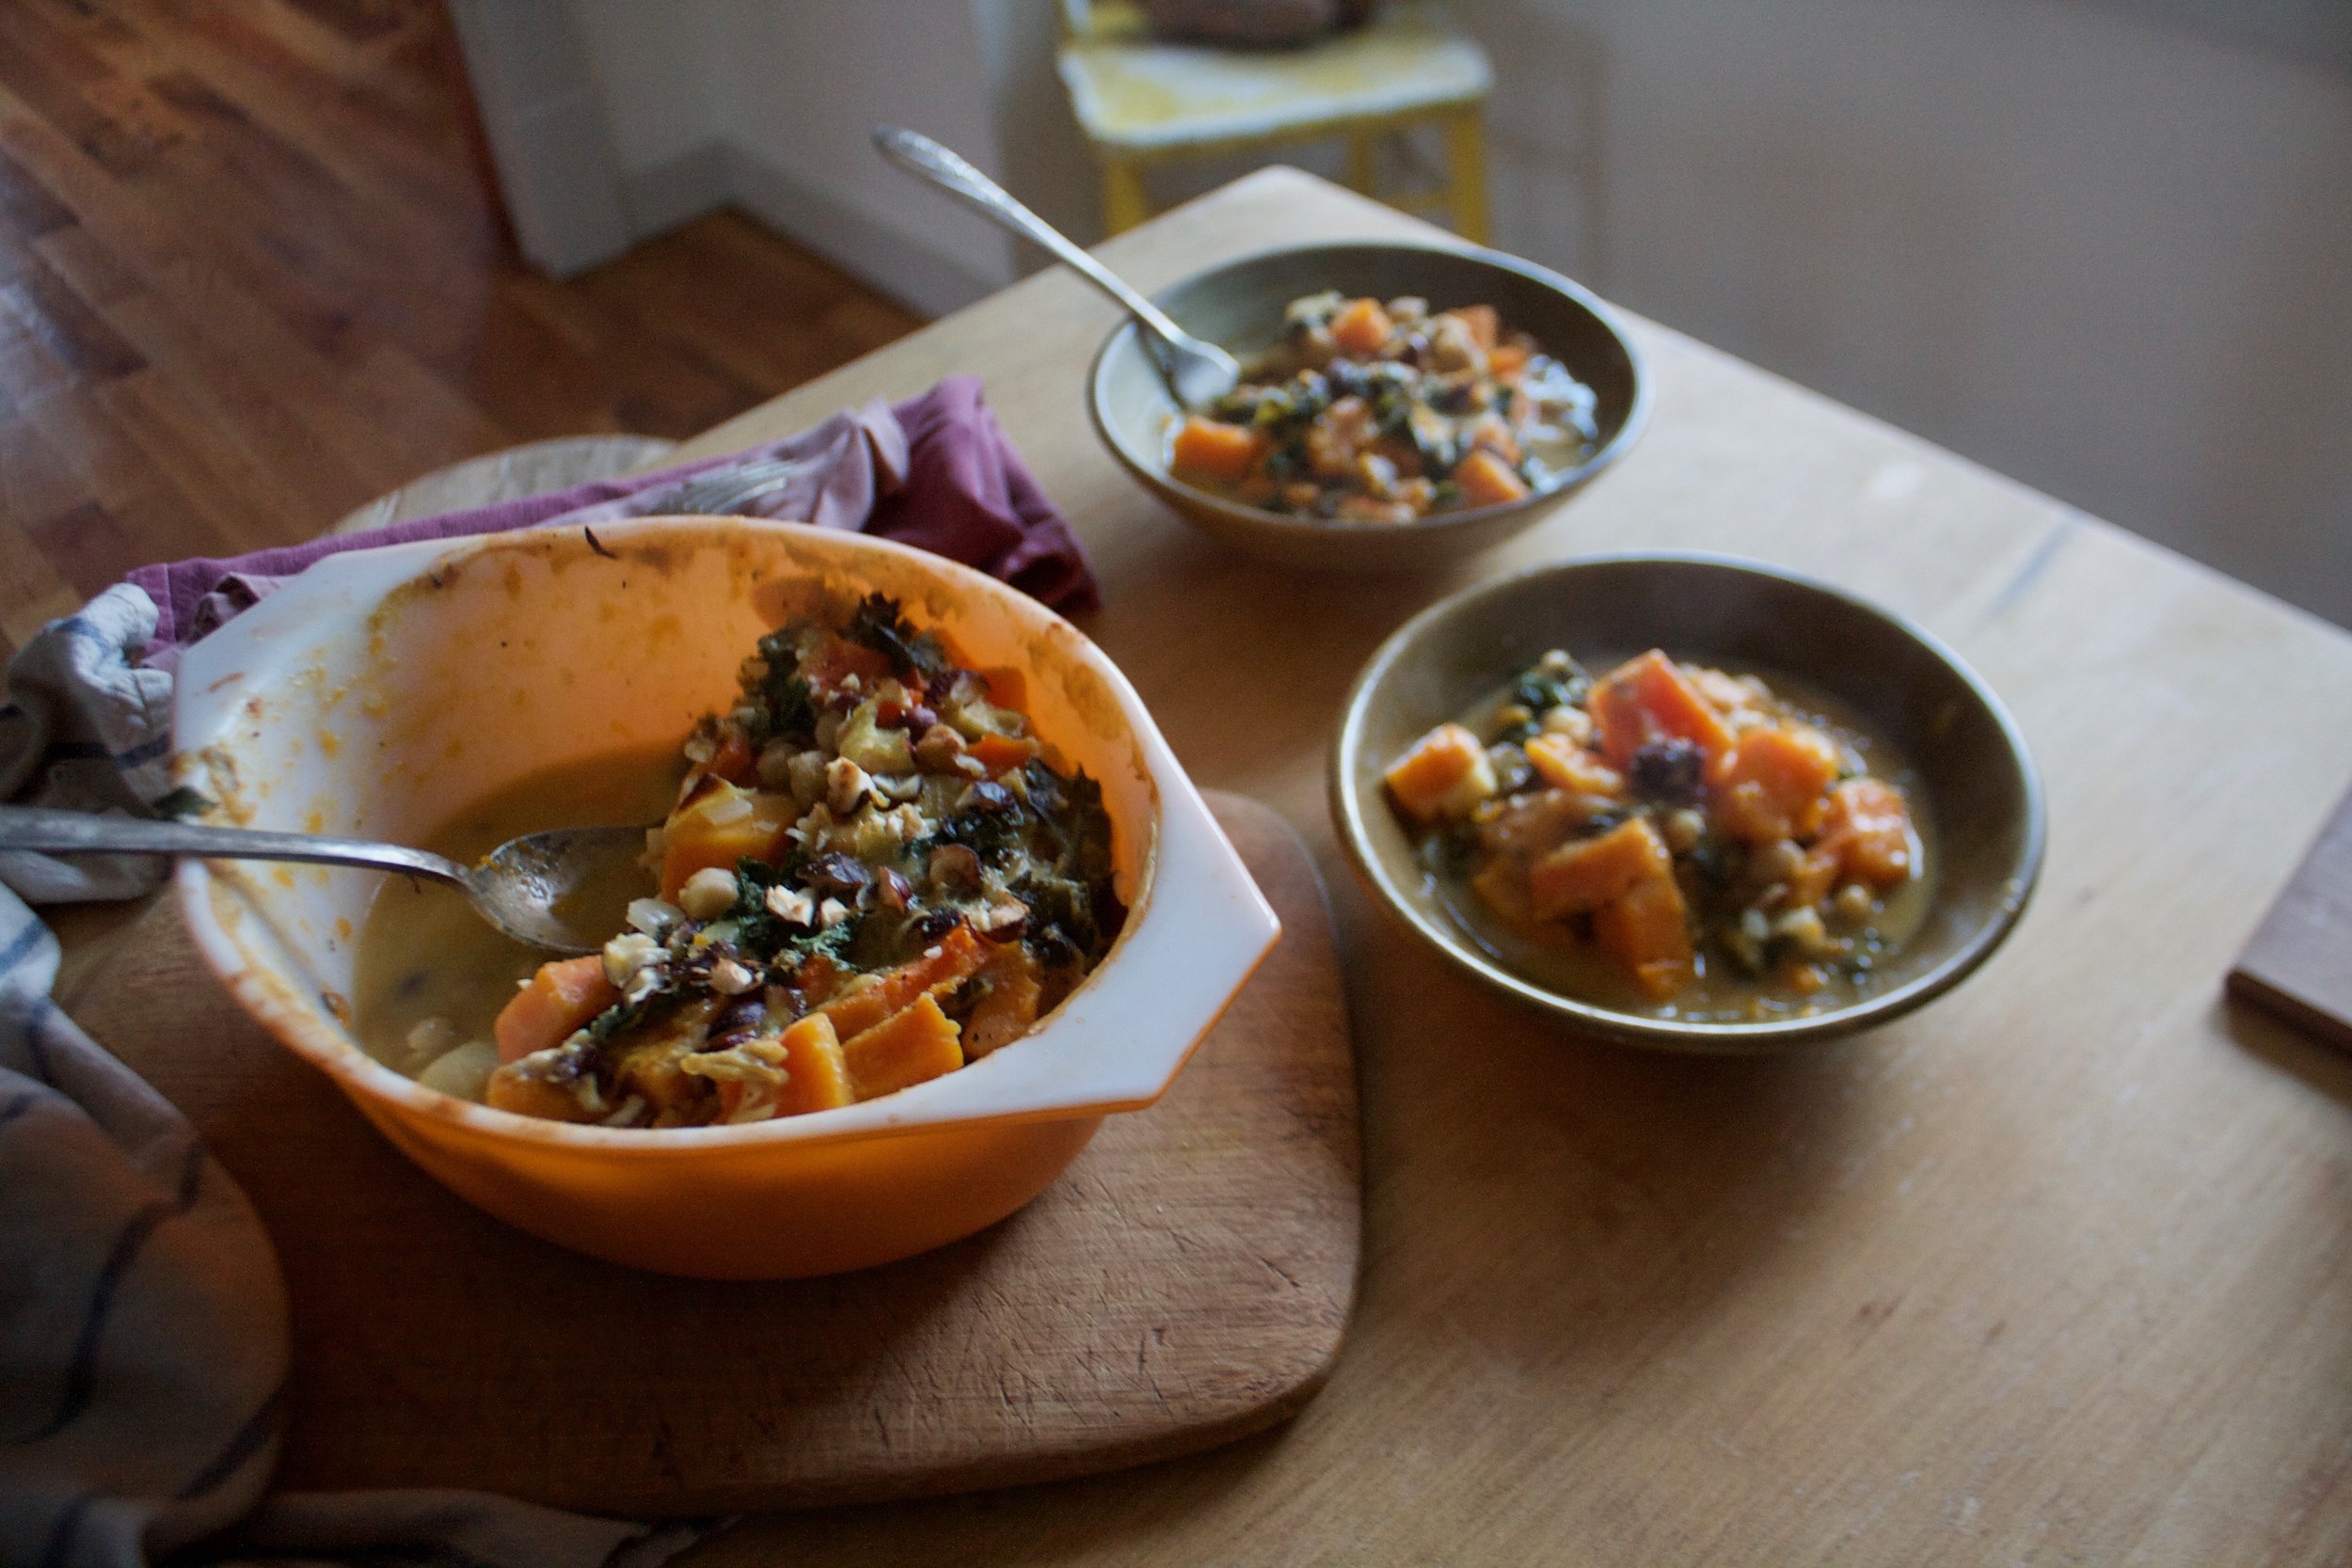
And hour or so later, you have yourself a casserole ready for for your face.

Grab a bowl and dig on in.

-C

P.S. We realized as we are eating that a really goof vinegary hot sauce or lime juice are perfect addition to this dish. So do that. 


Butternut Chickpea Kale Coconut Casserole Topped with Hazelnuts 

serves 3-5

  • 1 can light coconut milk
  • 1 can chick peas drained 
  • 3 ish cups cubed butternut squash
  • 1/2 bundle of kale (like 5 big handfuls chopped up)
  • 1/2 cup chopped raw hazelnuts
  • 1 onion
  • 2 tablespoons coconut flour ( can sub regular flour)
  • 4-5 cloves garlic
  • olive oil
  • salt and pepper 
  • Either vinegary hot sauce or a lime wedges (optional for serving)

preheat oven to 375

Start by chopping the onion into small pieces and mincing the garlic. Add to a large pot with a tablespoon of olive oil and place on a medium heat to start cooking. 

While the onions are going, peel and dice your squash. The easiest way to do this is to cut the neck off and then peel that. (save the peels and the base for soup) Dice the peeled squash into mouth sized cubes and set aside.

Once the onions are lightly cooked, whisk in the canned coconut milk and the coconut flour. Bring mixture to a boil then return to a medium heat. Cook for about 5 minutes or until the milk starts to thicken a bit. Add in the squash, the chick peas, and a teaspoon of salt and pepper. Mix together. Add in the chopped up kale and mix that it then dump it all into 3 quart casserole dish. Level it out and top with the chopped hazelnuts. Place the casserole into the oven and bake for 1 hour ( or a little longer for the crispier crunchy parts. 

Once you remove from oven, let sit for 5-10 minutes to set up and then call it ready. 

Serve with hot sauce and or lime wedges.

Any left over is great for a meal  within then next few days or frozen for a meal down the road 


In winter, vermont, Vegetables, Vegan, pulses, one pot meal, grain free, Gluten Free, entree, dinner, Dairy Free, casserole, beans Tags Butternut Chickpea kale coconut casserole topped with hazelnuts, vegan, gluten free, grain free, casserole, hot dish, pulses, plant based, dinner, entree, serves a crowd, icf, intervale community farm, local, nuts, easy, winter meals, squash, protein, vermont, vegetables, roots
Comment

Maple Mustard Roasted Cabbage with Almonds

November 18, 2017 Colleen Stem

There is something about purple cabbage that makes me feel like I need to share it. It sounds weird , especially because I eat about a head of cabbage a day, but that is green cabbage. I barely buy purple cabbage because it cost twice as much and I really like green , but at farm share when you get to pick what color you want, I alway pick the purple. ( Side note. I used to call it red cabbage but have since stopped because it is very clearly purple and calling red just doesn't make any sense) 

I also feel the need to do something a little more the chopping it up and eating it raw. So I make a little fancy. pretty, almond crunchy mustard type thing because that's what I was feeling and I figure the mr would like it too. Note that I ended up using half a green and half  the purple because color is nice and also I ended up eating the other half of the purple before I could share it. But I caught myself before eating it all to may face and was proud of myself for thinking of others.  

This dish is good, really really good. . It has roasted cabbage which is alway great, but slathered with maple mustard and crunchy almonds.. it's just freaking fantastic in all the ways. It also happens to be super easy to prepare and with minimal ingredients. It makes for a great side dish, a main dish, and is great for sharing during the holidays that are just around the corner. Or if you are like me, not sharing and eating all afternoon long. (I did save some for the m for dinner because I am so nice) 

IMG_8141.jpg

The stuff. Cabbage, red or green or a bit of both, stone ground mustard, maple syrup, almonds and pepper.

Easy peasy. Cut the cabbages about an 3/4 inch thick and lay them on a baking sheet. Pop it into the oven once it's preheated.

While thats going on, mix some maple with the mustard and chop up the almonds.

IMG_8176.jpg

After about 25 minutes, pull the cabbage out and flip them. Cover the top with maple mustard and sprinkle on the almonds. Stick the cabbage back into the oven and bake another 10-15 minutes, or until it's roasted to your taste preference (I like it really roasted) 

IMG_8195.jpg

Just look how pretty it is. 

IMG_8201.jpg

Serves from a baking sheet but would look so lovely on a nice plater, you know, if you want to be extra classy. 

This cabbage situation is all of it. 

Have a great weekend and hope the Thanksgiving planning goes smoothly. 

-C


Maple Mustard Roasted Cabbage with Almonds 

Makes about 6-8 slabs


  • 1 head of cabbage (red or green or half of both)
  • 1/4 cup stone ground mustard
  • 2 tablespoon maple syrup 
  • 1/3 cup raw almonds 
  • pepper to taste. 

Preheat oven to 425

Slice cabbage into thick slabs about 3/4 inch thick. Try to get them roughly the same thickness so they roast evenly.  Lay the cabbage on a baking sheet, not overlapping, and stick into the oven once it's preheated. Bake for 25 minutes or until the bottoms of the cabbage are crispy.

While cabbage is roasting, mix mustard and maple  together and roughly chop the almonds.  

After  the 25 minutes, grab the cabbage from the oven and flip each piece. Cover the tops with the maple mustard and sprinkle on chopped almonds. Place back into the oven for another 10-15 minutes  and roast until the cabbage is as crispy as you like it.

Remove from oven, sprinkle with good pepper, and serve. Extra maple muastd is welcomed to some. Any left over (but there won't be any) is great eaten cold before bed  or tossed onto a salad for lunch the next day. 

In Vegetables, Vegan, side dish, Savory, quick and easy, Paleo, Nuts, grain free, Gluten Free, dinner, Dairy Free, appetizers, 5 ingerdients or less Tags Maple Mustard Roasted Cabbage with Almonds, Cabbage, maple mustard, almonds, side dish, thanksgiving, holidays, vegan, gluten free, paleo, simple, grain free, plant based, vegetables, vegetarian, dinner, nuts
Comment

Rhubarb Coleslaw

June 3, 2017 Colleen Stem

There seems to be a misconception about rhubarb., that it is only good to eat if it's in a pie. I have offered many a people a few stalks over the past few weeks but everyone says that they don't want to make a pie (but I could make one for them) My response is always "make your own damn pie!" and "do you really think that pie is the only way to eat rhubarb?" They answer with yes. Oh my oh my people, your missing out.

So here I am telling you that rhubarb does not need to be made into a pie (but is great made into a pie) Rhubarb is so much more then that and can be used in all sort of sweet things, but also all sorts of savory things too. Like this slaw. Mixing some fresh rhubarb into an ordinary bowl of veggies brings a nice bright tart freshness that taste like spring and all things good.

And if you, like me, have a shit ton of rhubarb growing in the yard, you find all sorts of great ways to eat it up.

Rhubarb coleslaw. Keeping things fresh.

The stuff. Rhubarb, cabbage, a couple carrots ans an onion. Apple cider vinegar, salt and pepper, a lemon and some honey to round it all out.

Start by heating up the vinegar. This can be done on stove or in the microwave... I used the microwave (one less dish) Once the vinegar is good and hot, mix in the honey until it dissolves

Thinly slice the rhubarb stalks then cut into short pieces.

Rhubarb goes into bowl to get the fist soak of the warm vinegar.

Julienne or finely chop the cabbage, onion, and carrots into pieces that you think will fit into your mouth nicely.

All those veggies join the rhubarb in the bowl. In goes the zest and juice of lemon and some salt and pepper.
Toss it all around.  And let sit. 20 minutes, 3 hours, or overnight. This is one of those salads that tastes better with a time.

But you can eat it whenever because it will taste good whenever.

Enjoy the weekend, eat some rhubarb.

-C


Rhubarb Coleslaw

  • 2-3 stalks rhubarb
  • 1 small or half or a large head of cabbage
  • 1 small red onion
  • 2 carrots
  • 1 lemon
  • 1/3 cup apple cider vinegar
  • 1 tablespoon honey or agave
  • salt and pepper

Place vinegar in a microwave safe dish and heat for about 2 minutes. Or you can also heat it in a pot on the stove. Place hot vinegar in a large bowl and mix in the honey until it's fully dissolved.

Slice the rhubarb stalks thin and short. Place rhubarb into warm vinegar, mix around and set aside. Shred the cabbage, thinly slice the onion, and julienne or thinly slice the carrots and cut into short pieces. Place all this good stuff into the bowl with the rhubarb. Add in the zest and juice of the lemon and sprinkle with about a teaspoon each of salt and pepper. Toss it all around and let it sit for at least a 20 minutes so all the flavors meld together. Serve cold or at room temperature.

Tastes even better made a day ahead and places in the fridge.

In Gluten Free, grain free, quick and easy, Raw, salad, side dish, summer, Vegan, Vegetables Tags Rhubarb Coleslaw, Rhubarb, Coleslaw, vegan, side dish, gluten free, summer, raw, fresh, plant based, vegetable, easy, grain free
1 Comment

Spaghetti Squash with Roasted Beet Sauce

February 13, 2016 Colleen Stem
IMG_9270.jpg
IMG_9264.jpg

Are you ready for this weekend? You know what's coming right? Yup, another arctic blast. -30 degree temperatures, windchill warnings and local news forecasters warning of dangerously cold conditions. "Don't go outside , your face will freeze off"

Oh yeah, and Valentine Day.

What are your thoughts on the V day? The mr and I, well we could kind of care less, but at the same time, we like the excuse to spend the day together, traditionally going for a hike with the pup (not this year... we would die) and just spending the day together being sweet (pretty much the same way we spend any days off together) We don't get fancy with dinner dates or overly large stuffed animals. No boxes of chocolate, bottles of champagne or fancy undies.  We keep it caj, maybe a sweet hand made card covered in glitter (never a store bought.) a stop for a good cup of coffee and an afternoon trip to the plant store to by a new pretty house plant (1. I really hate red roses and 2. I would much rather get a house plant then flowers that will die) But honesty, we just use V day as an excuse to not work and spend the day together, being left alone, eating whatever we want and doing whatever fun stuff we want.

This dish was kinda inspired by being so pretty bright pink, but also it was just what I wanted to eat for dinner. Spaghetti squash doesn't get as much play as it should. Sure it's not the most sweet and nutty of the squashes, but it has a really nice subtle flavor that makes it a fantastic base for pretty much anything. And the beet sauce. Again, it's such a pretty color, but beside that, I can't get enough of them. I love me some roasted beets (way better then any chocolate or sweet treat)

I could lie to you and say that this is the dish that I will be making for me and the mr on Valentines day, but no,this dish already happened this week and the mr got into it, but would rather eat his favorite meal (pizza) for dinner.  And I will be eating the left over beet sauce with carrot sticks (this beet sauce id for real.. topped with a little yellow mustard... I could eat it for life)  then make a hugmongo batch of popcorn covered in peanut butter. We wiil sit on he couch and watch a lot of Netflix (still working my way through the fresh prince) and maybe a cute Wes Anderson movie. I will be in bed by 9.

But don't mind us old folks here. Go for it. Do up the Valentines Day. Make a pretty dish of food for your sweetheart, or if alone, make it for yourself, especiallyif you are hanging by your lonesome. Valentinesday is about being happy and this dish will make you happy, whether or not you plan on sharing it.

The stuff. One spaghetti squash big enough for at least 2 people (I love left overs so maybe big enough for 4), 2 largish beets, a a small onion. Also grab a clove of garlic of 4, a lemon, the salt and pepper, and some olive oil. Optional, but a very nice addition is a handful of tasted walnuts.

Quick and crank up the oven (make sure you take out the cast iron you left in there from last night), then stick the squash, beets and onion into the hot oven to roast. I stuck them all on a baking sheet and left them completely whole, but if you want, you could chop the beet and onion into chunks and drizzle with oil or you could wrap the beets in foil and bake them that way but really, why go through all that when you can just not? And don't bother peeling them.(unless you think you must.. but you really really don't need too)

And same for the squash. You could cut in half and roast it that way, but again, why when you don't need to.

So anyway, roast the beets and onion until fork tender. And the squash as well (check by stabbing with a fork) All my stuff roasted up pretty much perfectly at the exact same time, but it really depends on the size of your stuff. So check after 40ish minutes.

And once you pull that roasted stuff from the oven, let it cool just enough where you can handle it. Chop the onion into a couple chunks, the beets into smaller chunks and slice the squash in half length wise and set aside.

IMG_9221.jpg
IMG_9237.jpg

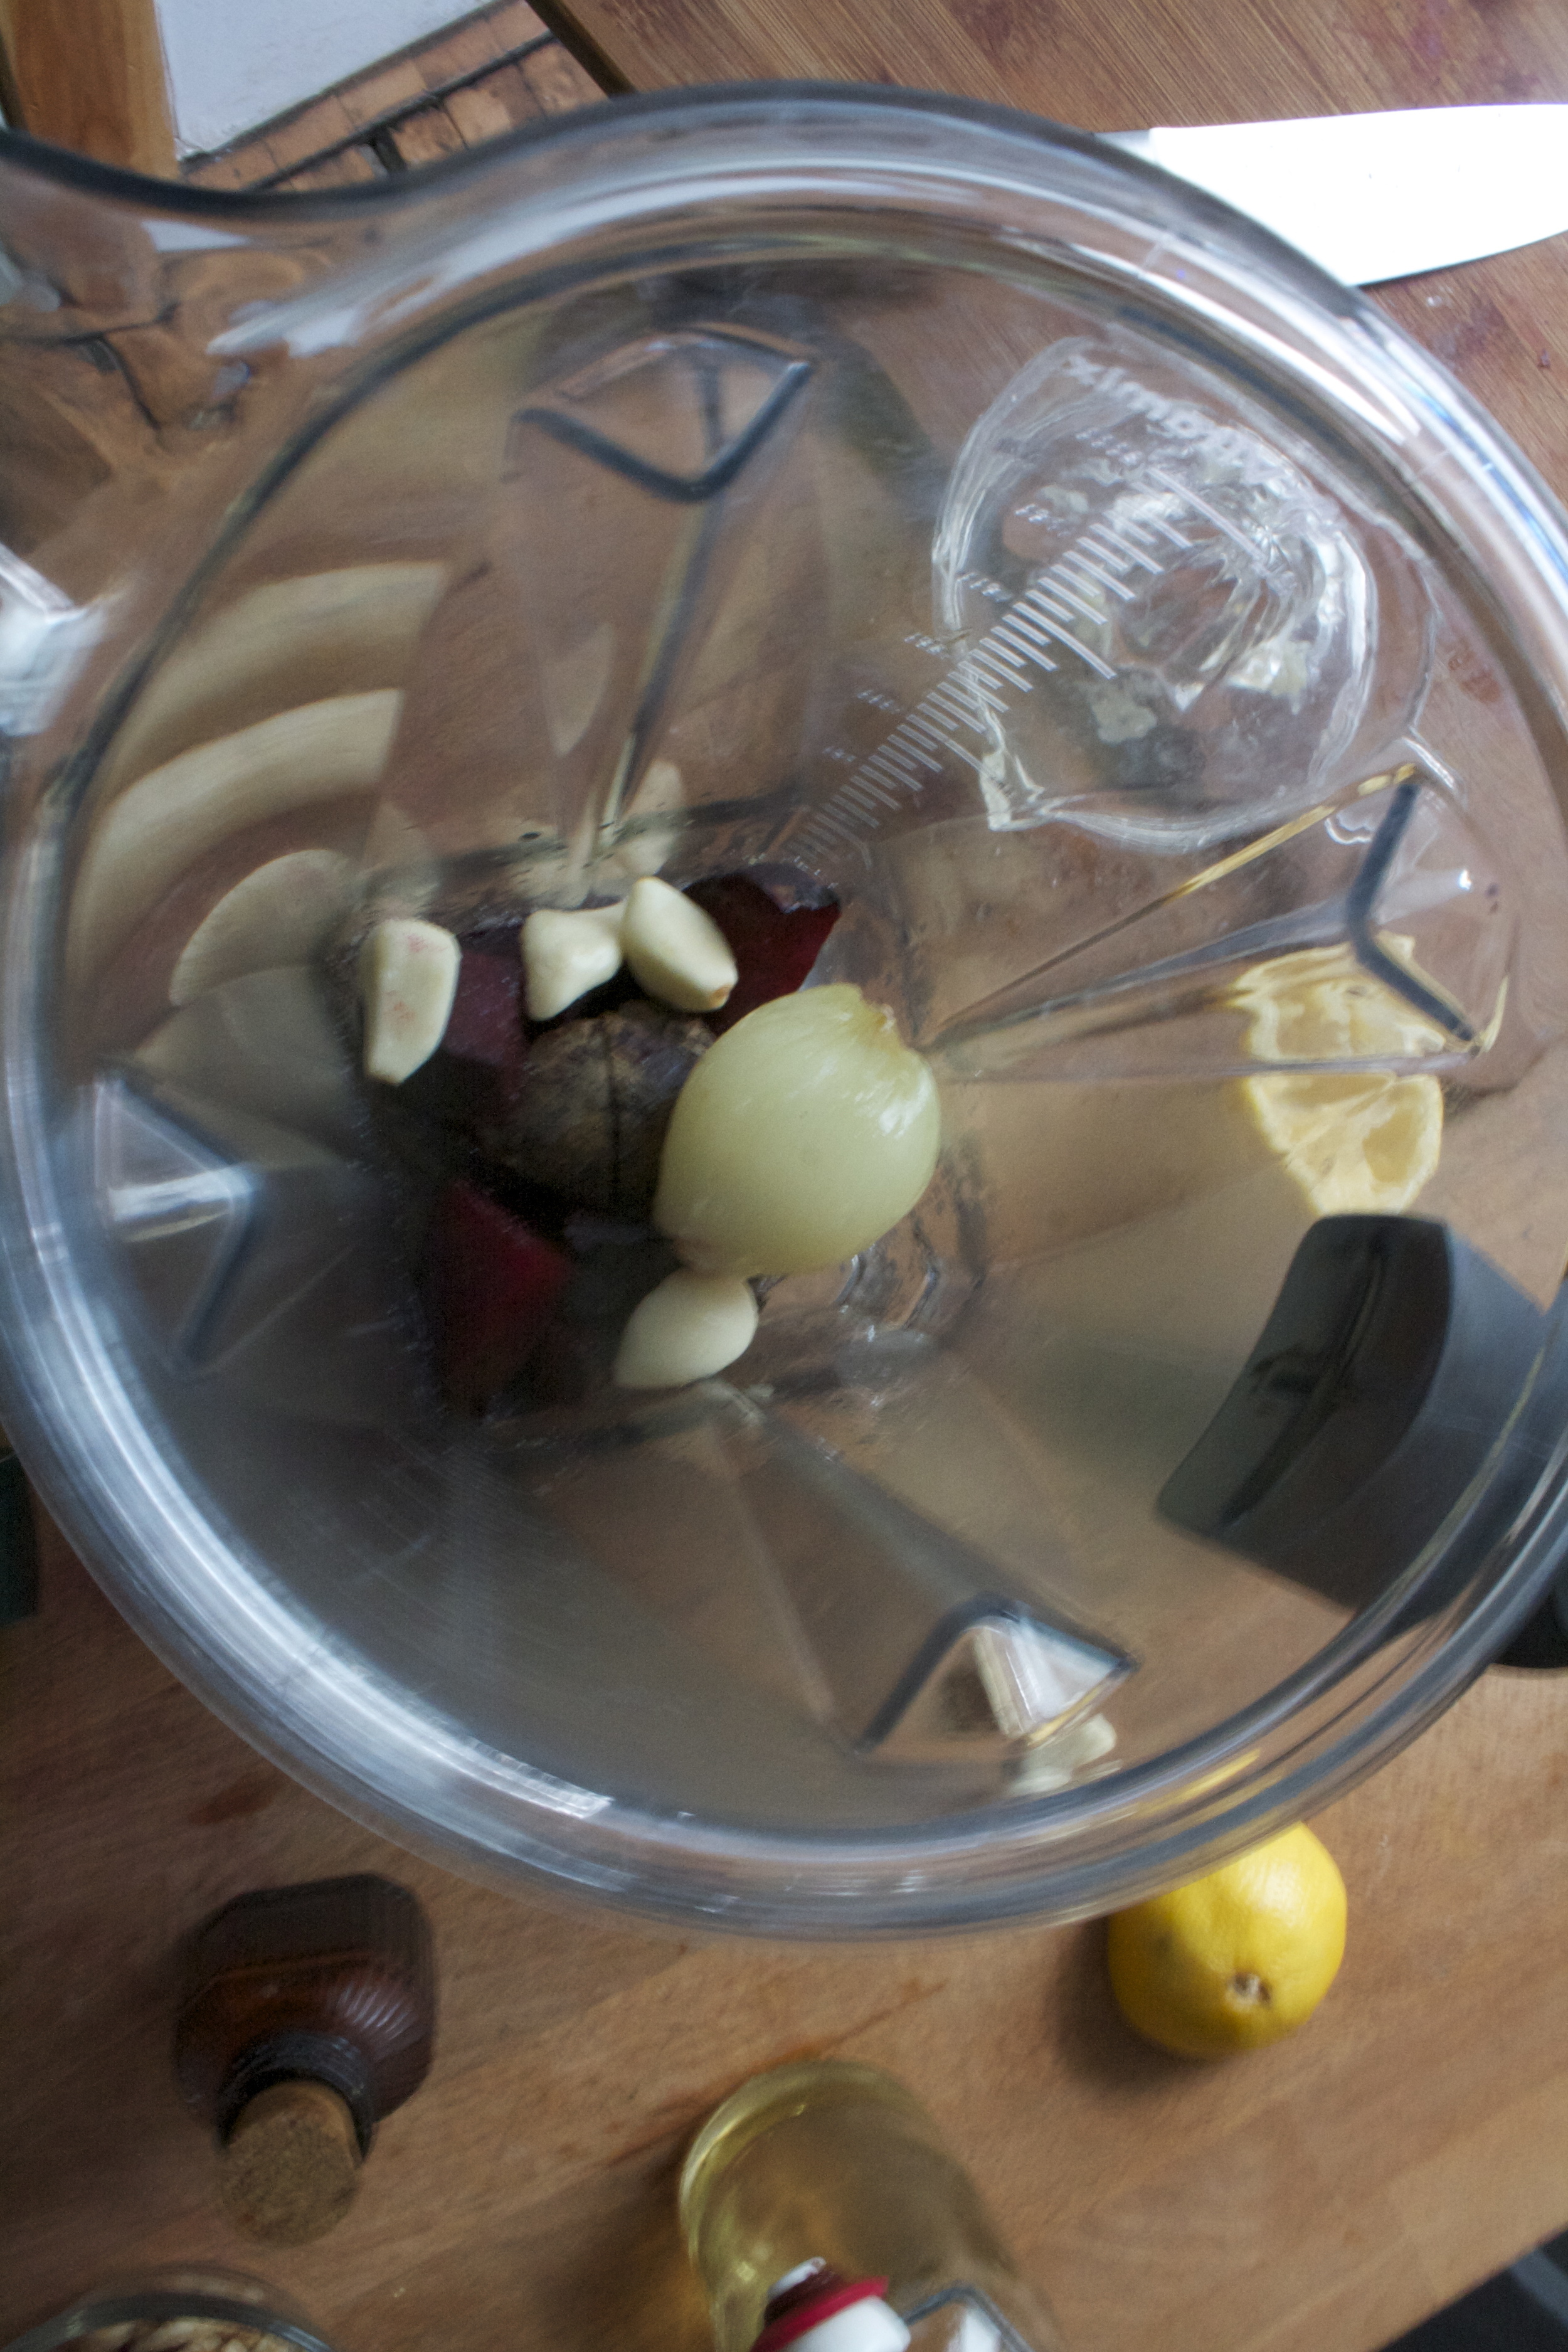
Grab a blender and toss in the onion, beets the juice of the lemon (start with half) apinch of salt, a few pinches of pepper, and a clove or 2 of garlic (ok, I love raw garlic and used a lot. If you do not like the taste of raw garlic, just toss it with a little oil and stick into the oven with the beets for about 10 minutes. Or you could omit the garlic entirely)

Once all the stuff is in the blender, turn it on. Drizzle in about a tablespoon or two of olive oil and blend until a nice smooth sauce has formed. Taste, season with more salt and pepper if needed. Add the other half of lemon if you think it needs it. You can also add a bit of water to thin it out more.. if you want

So now the squash should be cool enough to handle. Scoop out the seeds and with a fork, scrape up into spaghetti!

IMG_9250.jpg
IMG_9269.jpg

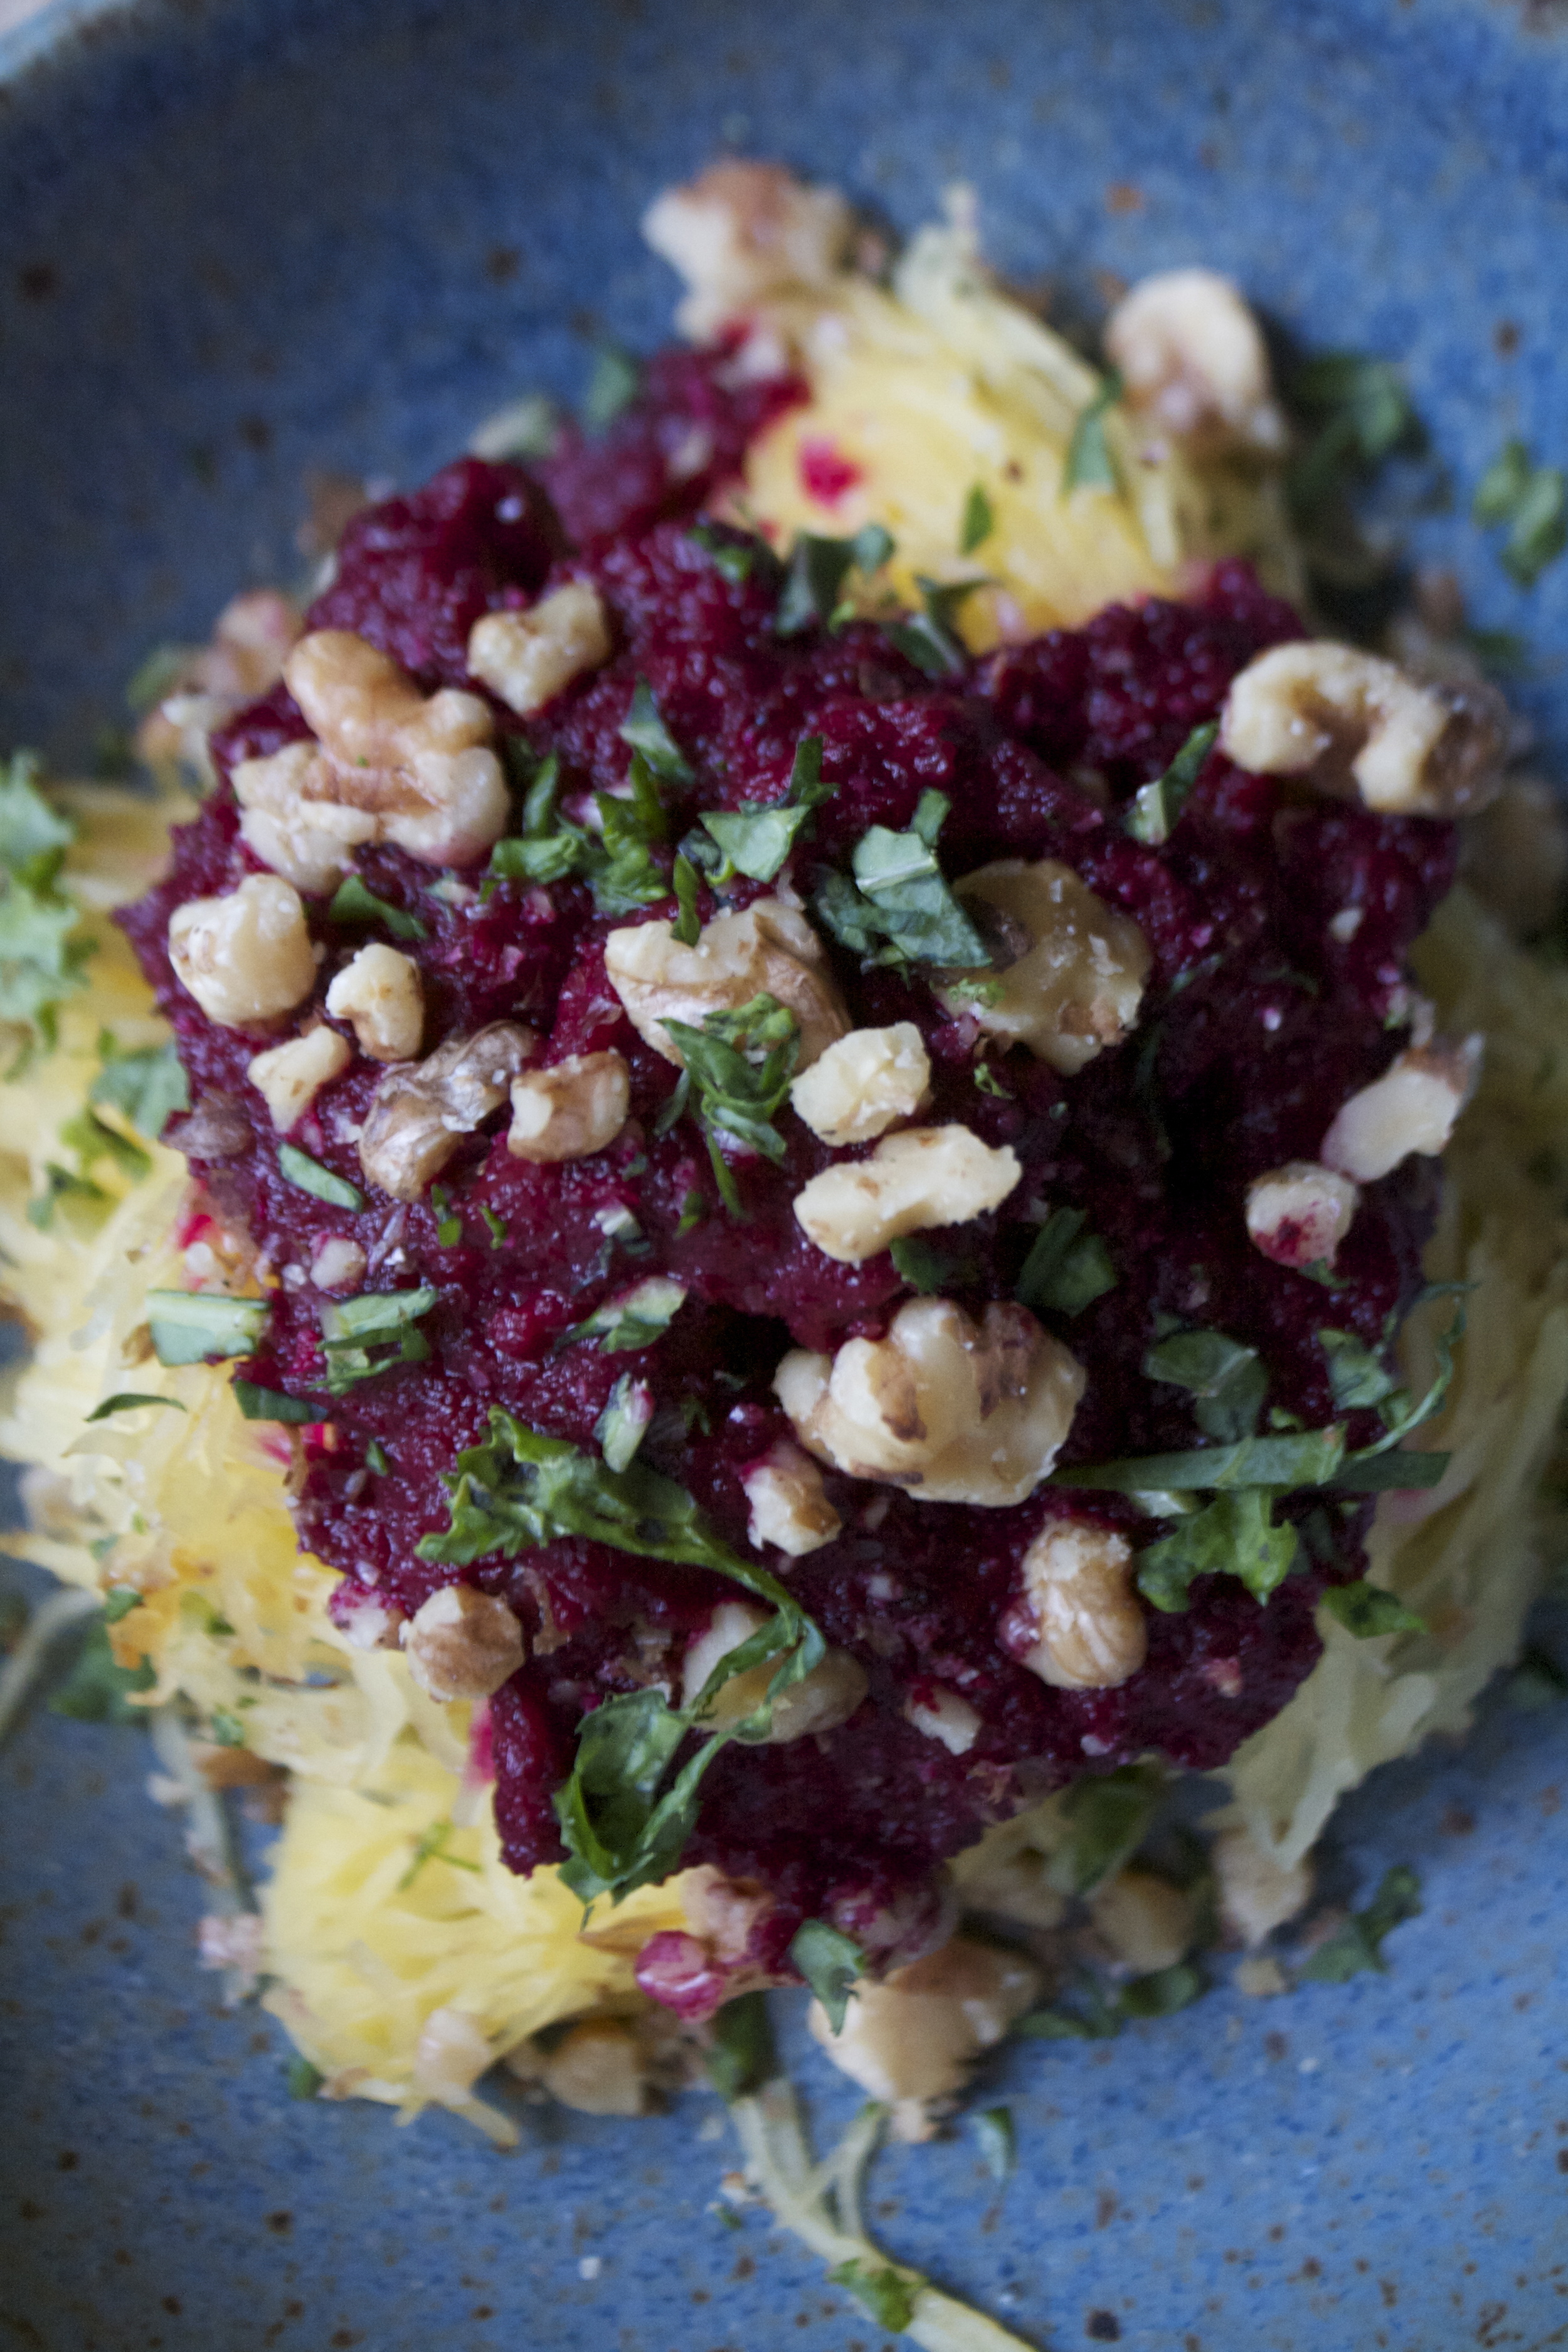
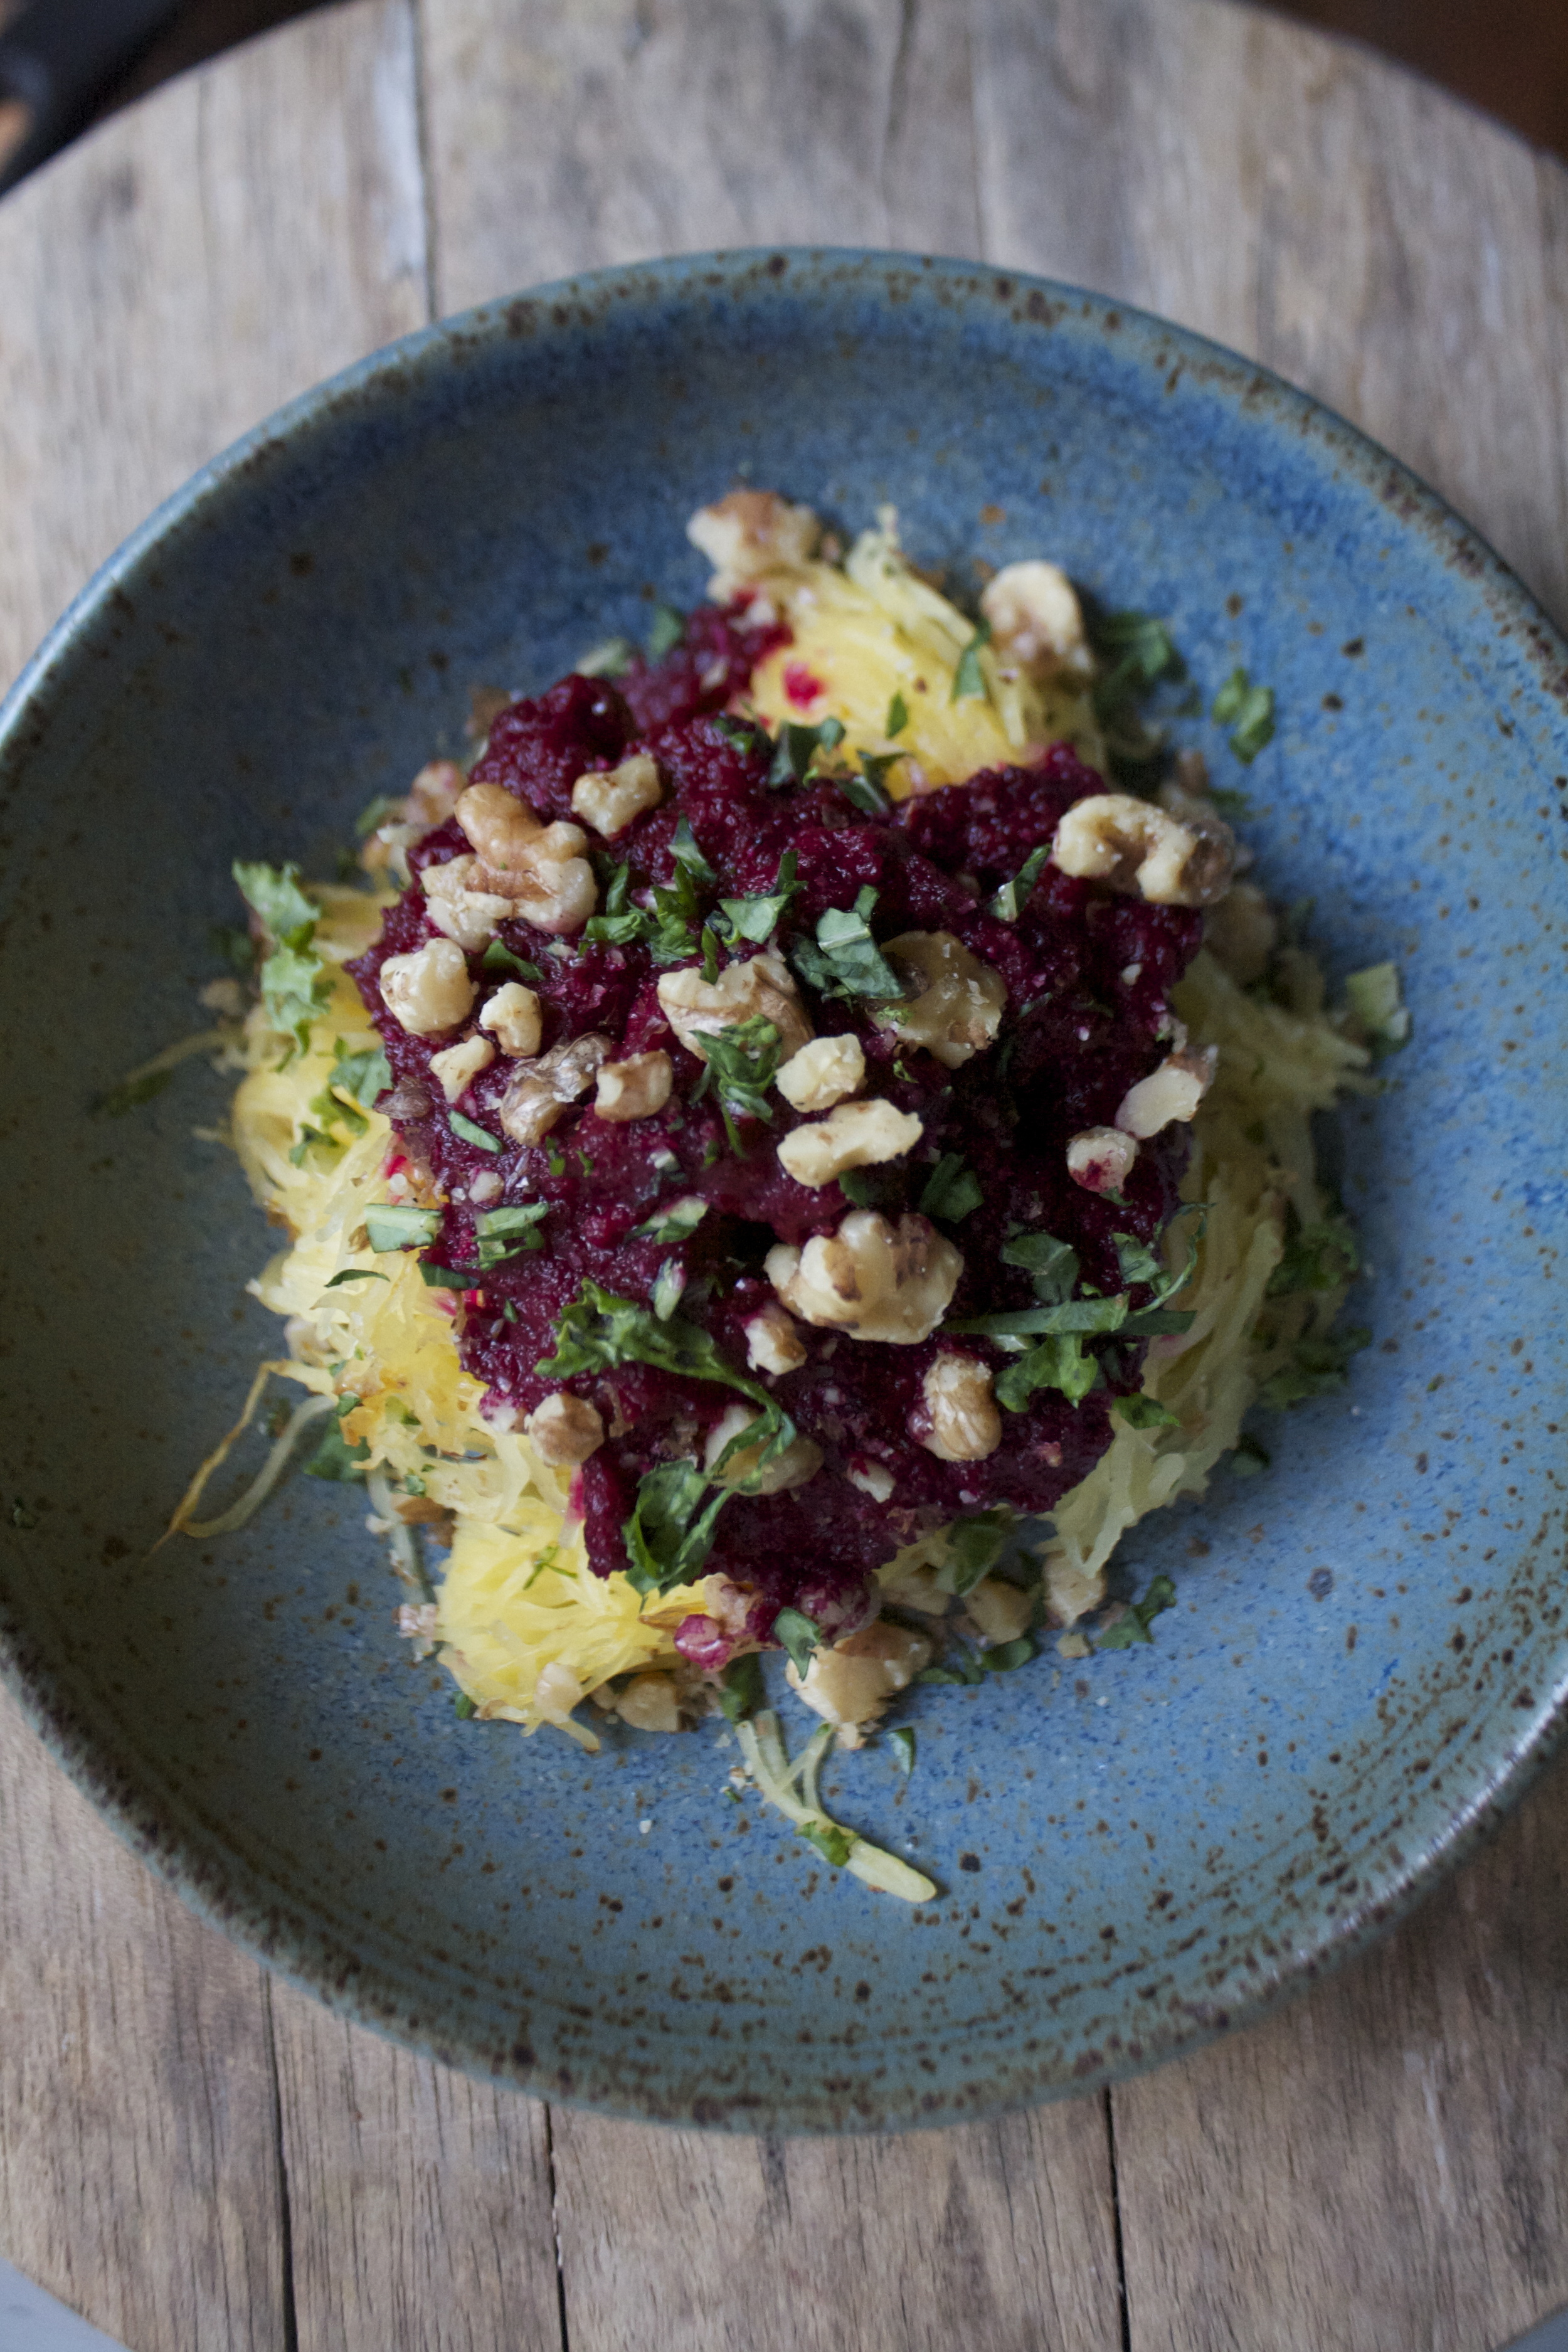
Heaps of squash go into bowls then topped with a generous mound of beet sauce. Topped with some roughly chopped toasted walnuts, a sprinkle of pepper and some bits of green stuff (I just diced up some kale)

Look at that. So pretty, so pink and all ready to go. Dinner for 2 with a good bit of left overs for later!

Happy weekend! And Happy Valentines Day if you do it, or if you don't!

-C


Spaghetti Squash with Roasted Beet Sauce

makes 3-4 servings


  • 1 medium sized spaghetti squash
  • 2 large beets
  • 1 small onion
  • 1 lemon
  • 2-4 cloves garlic
  • handful of toasted walnuts (optional)
  • olive oil
  • salt and pepper to taste

Note. You might want to thin out sauce out a bit without the use of a ton of oil. Go ahead and add a little water. Also, I used raw garlic in mine, but some people might not like it raw. Just toss a few cloves of garlic in a bit of oil and stick into the oven for 10-15 minutes with the other stuff to give it a little roast. OR just omit.

Preheat oven to 425.

Stick the onion, beets and squash onto a baking sheet, drzzle the beet and onion with a tiny bit of oil and stick the sheet into the oven. Roast everything until fork tender which should take around 45-50 minutes. (depending on the size of your produce, some thing might take longer or shorter, so just check after 40ish minutes)

Once everything is roasted, let the beets and onion cool just enough to handle and cut into chunks and toss into a blender. Add in the garlic, the juice of the lemon, a few drizzles of olive oil and a pinch of salt and pepper. Now turn blender on and blend until smooth.

And the squash. Cut the thing in half and remove the seeds.  Then with a fork, scrap the squash from the skin into spaghetti like strands.

Place squash into bowls, sprinkle with salt and pepper, add a drizzle of oil if you want and top with a good hearty heap of beet sauce. Top with more cracked pepper and a few chopped walnuts and maybe add a little something green, you know, to make it pretty.

Serve warm with love and a fork.. your lips might turn pink with beet love.


In Vegetables, Vegan, Savory, sauce, recipes, Paleo, holiday, grain free, Gluten Free, Dairy Free, dinner, entree Tags Spaghetti squash, Spaghetti Squash with Roasted Beet sauce, roasted beet sauce, vegan, gluten free, paleo, clean eating, plant based, healthy, dinner, entree, Valentines Day, veggies, simple dinner, grain free
7 Comments
← Newer Posts Older Posts →
 

https://thelovelycrazy.squarespace.com/config#/|/about/

Me. Food Maker.Food eater. Woo HOO!

STEM+NODE  SMALL BATCH AND ONE OF A KIND POTTERY

stem+node ceramics


____________________

Subscribe

GET NEW POSTS IN YO EMAIL

You are AWESOME!!!


@thelovelycrazy 2014-2021