• stem+node ceramics
  • HOME
  • Food Recipes
  • About
  • Contact
Menu

The Lovely Crazy

Street Address
City, State, Zip
Phone Number

Your Custom Text Here

The Lovely Crazy

  • stem+node ceramics
  • HOME
  • Food Recipes
  • About
  • Contact

Soft and Fluffy Oatmeal Wheat Dinner Rolls

November 23, 2019 Colleen Stem
IMG_3788 2.jpg
IMG_1440.jpg

What’s up with dinner rolls? Do people eat them all year round, like on a Tuesday in the middle of March or maybe a nice blue sky sunny day in July? Is that a weird question? But seriously, think about it. Dinner rolls, at least in my world of people, are pretty much only eaten in and around Thanksgiving and Christmas. Huh. Kind of strange seeing that dinner rolls are bread which everyone eats all the time and are basically made specifically for dinner (although can and should be eaten for breakfast and lunch as well) which most people eat. Every. Single. Day. Well, whatever the reason, it’s weird. So yes, I am making these here dinner rolls now at the traditional holiday time but I think as of now, I am going to start making them all the time. It’s going to be my new thing. Fourth of July dinner rolls. Yup.

And so yes, we need dinner rolls right now for the holiday food feasts and these dinner rolls are the perfect accompaniment to any and all dinners. They are nice and fluffy and all dinner roll like, just as any good roll should be, but also slightly more nutty and soft and healthy because oats and wheat flour and homemade which is always the best.

And if you are like, hell yes I am a dinner roll person and hell no I am sticking to store bought cause that is that and how it’s done, well hey, no judgment here. I made these for my people for our family Thanksgiving, (which is happening today at my house. There are going be so many people) and I know that everyone will love and be happy to eat them, but I too also bought some of those super white, take and bake ones that I know if I don’t have on the table next to these gorgeous and amazing rolls, that I will probably get punched in the face. So we will have both. And then at dinner I can bask in the glory of all the comments about how much better my rolls are then the store bought ones. (Secretly why I am having both. Fishing for compliments. HAHA!)

Now to those soft and fluffy dinner rolls!

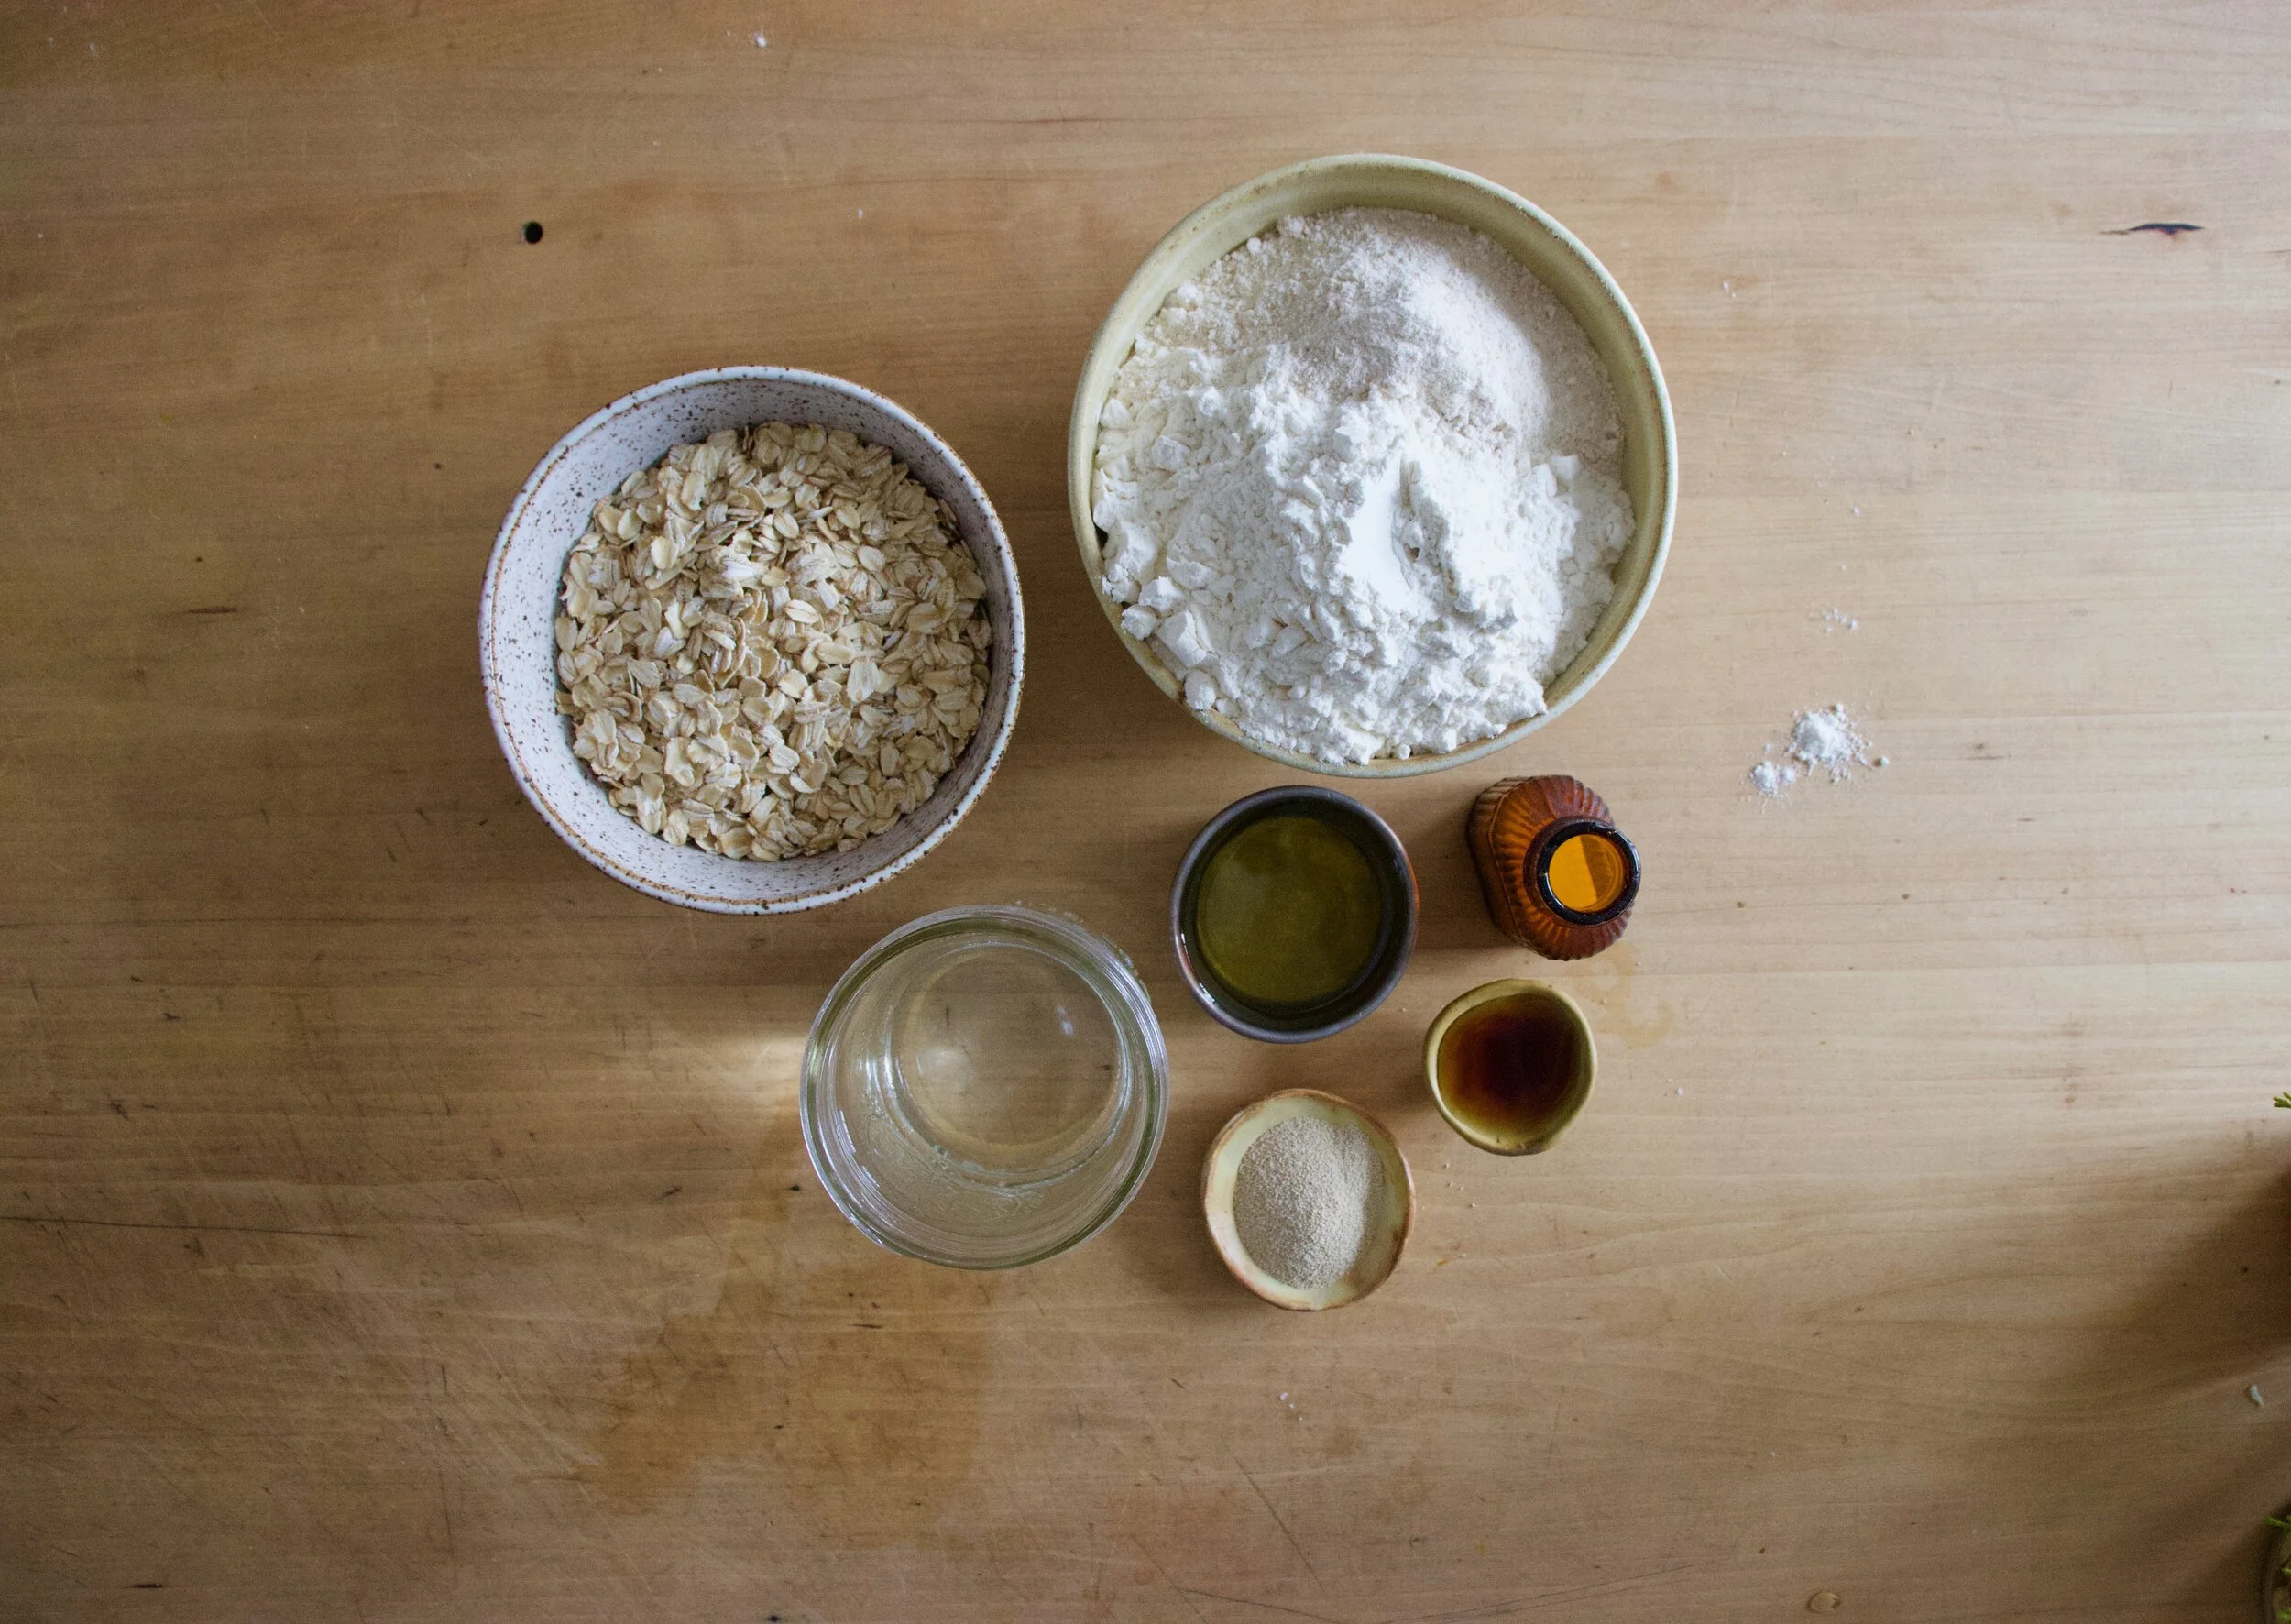
The stuff. Old fashion oats, all purpose and white whole wheat flour, yeast, oil, water (hot and room temperature), maple syrup, and salt.

First, take the boiling water and pour it over the oats. Mix them and let them soak and cool for 10 or so minutes.

IMG_3715.jpg
IMG_3720.jpg
IMG_3722.jpg
IMG_3725.jpg

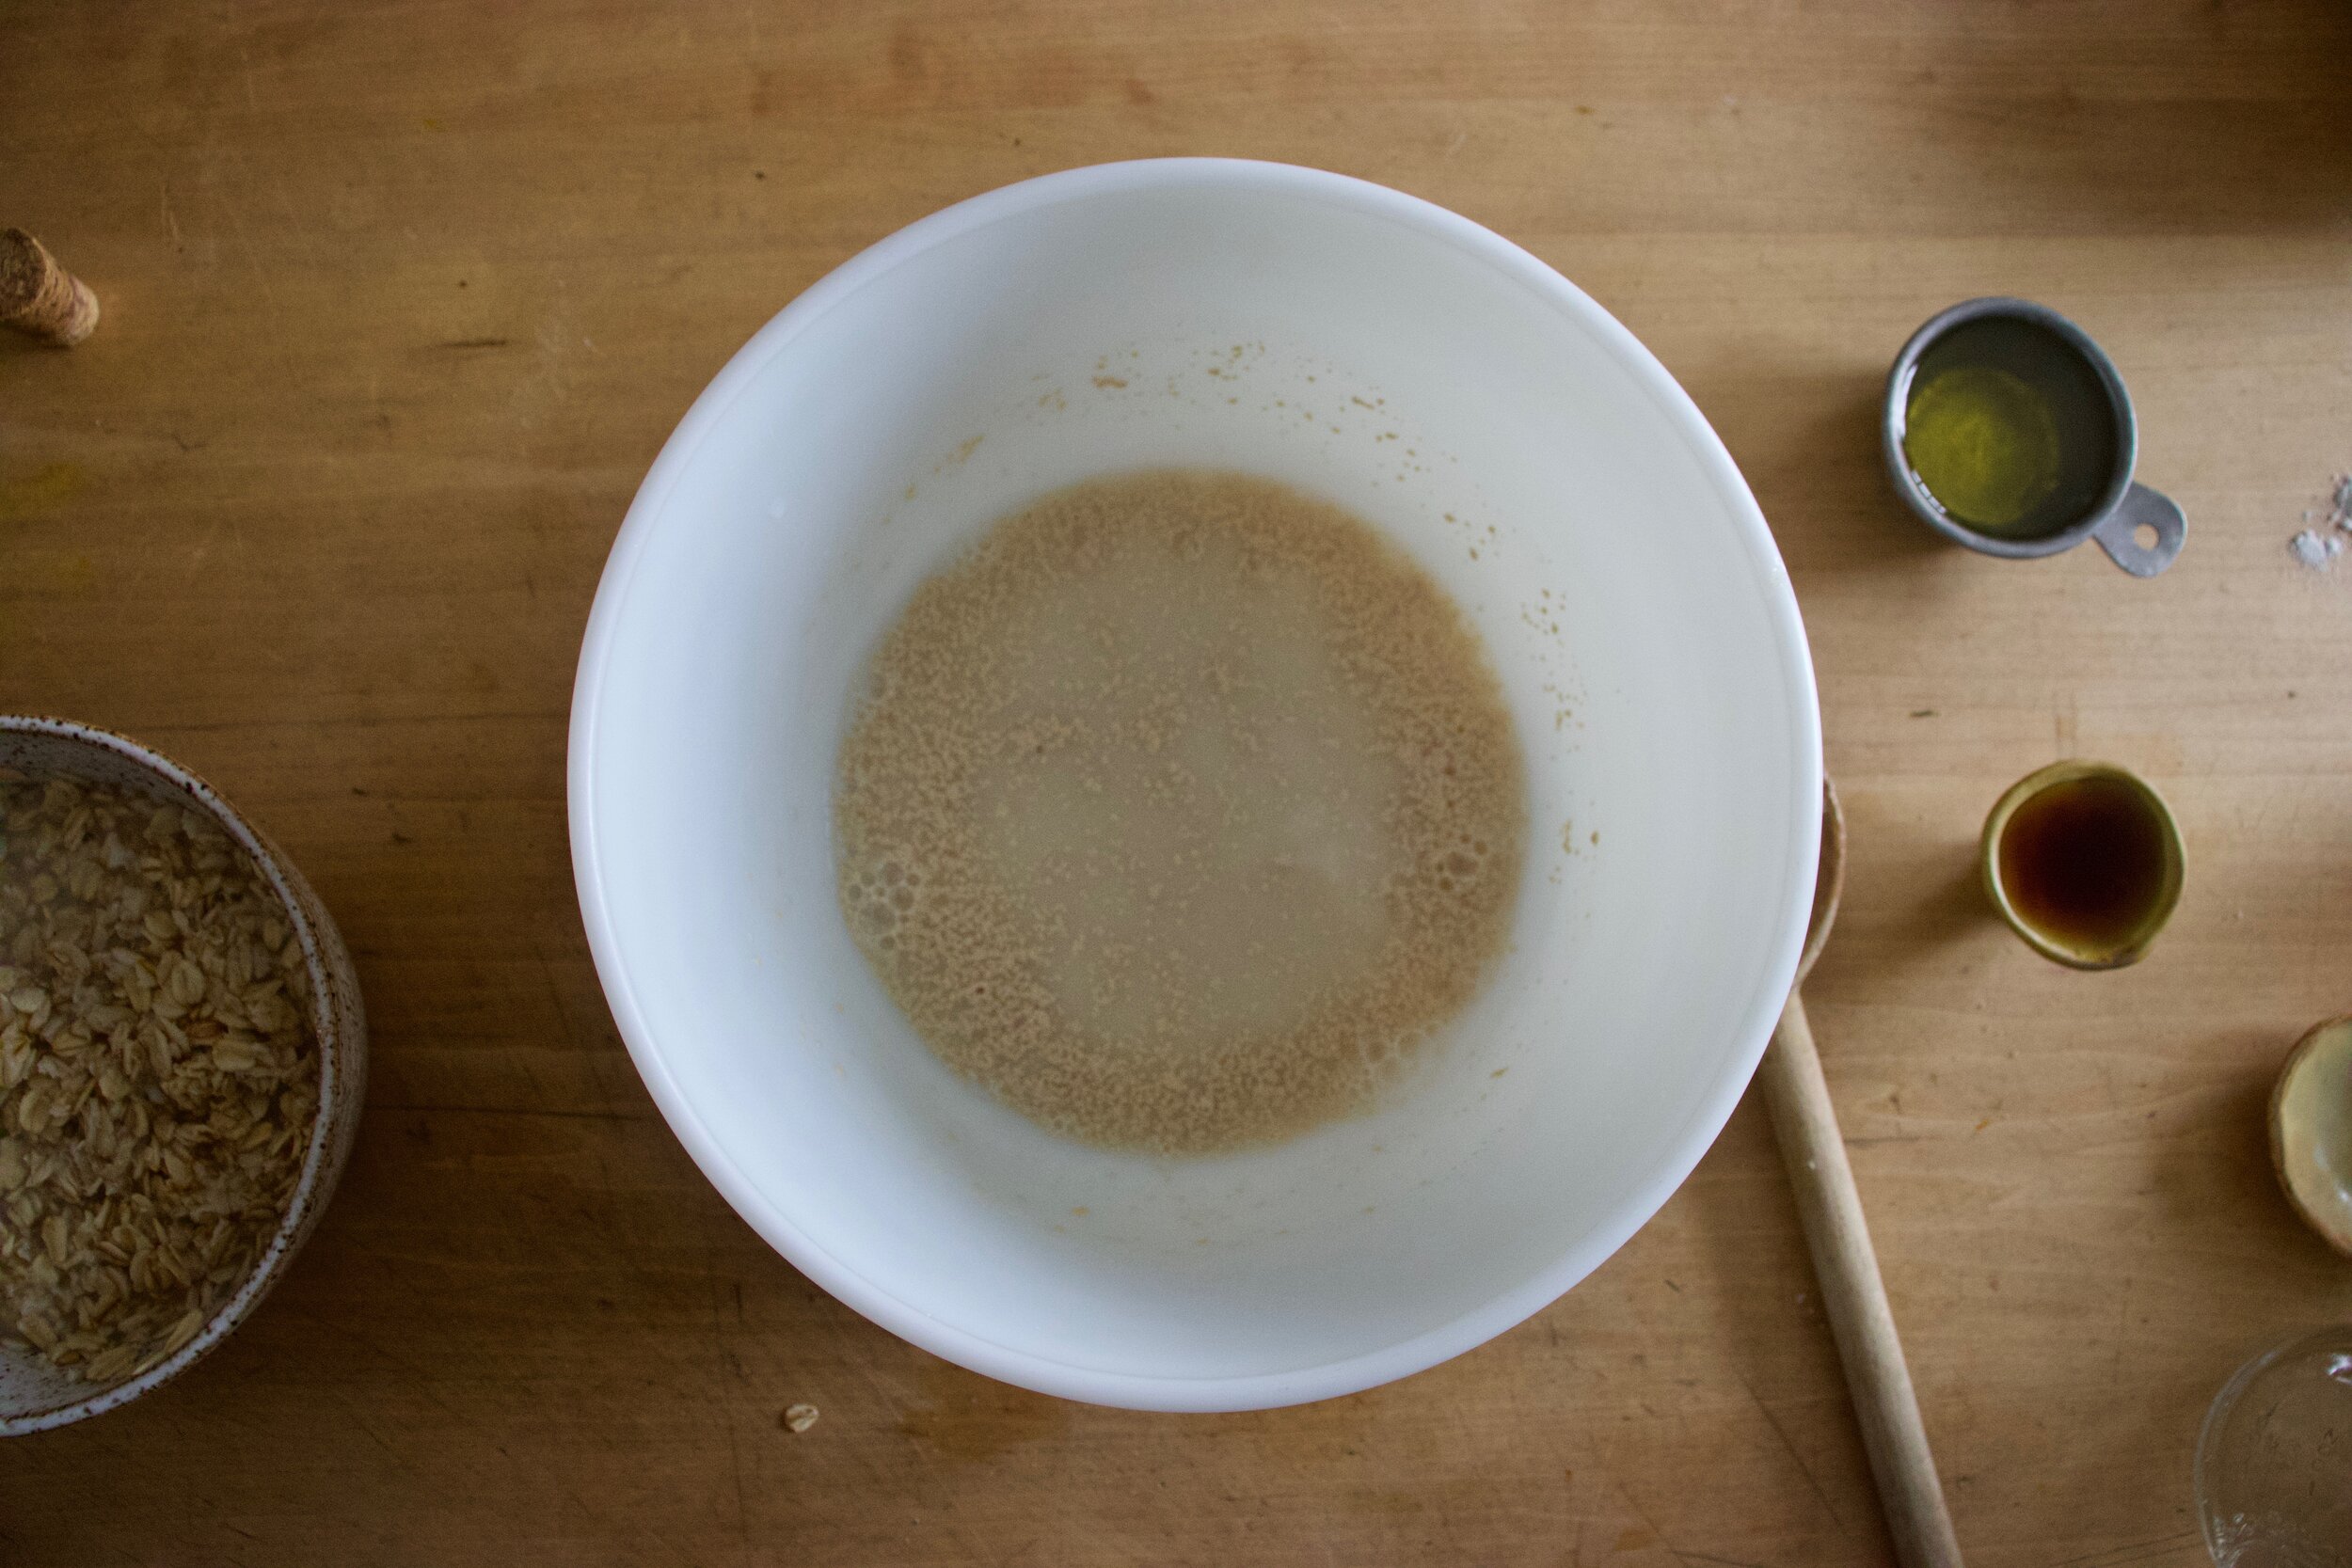
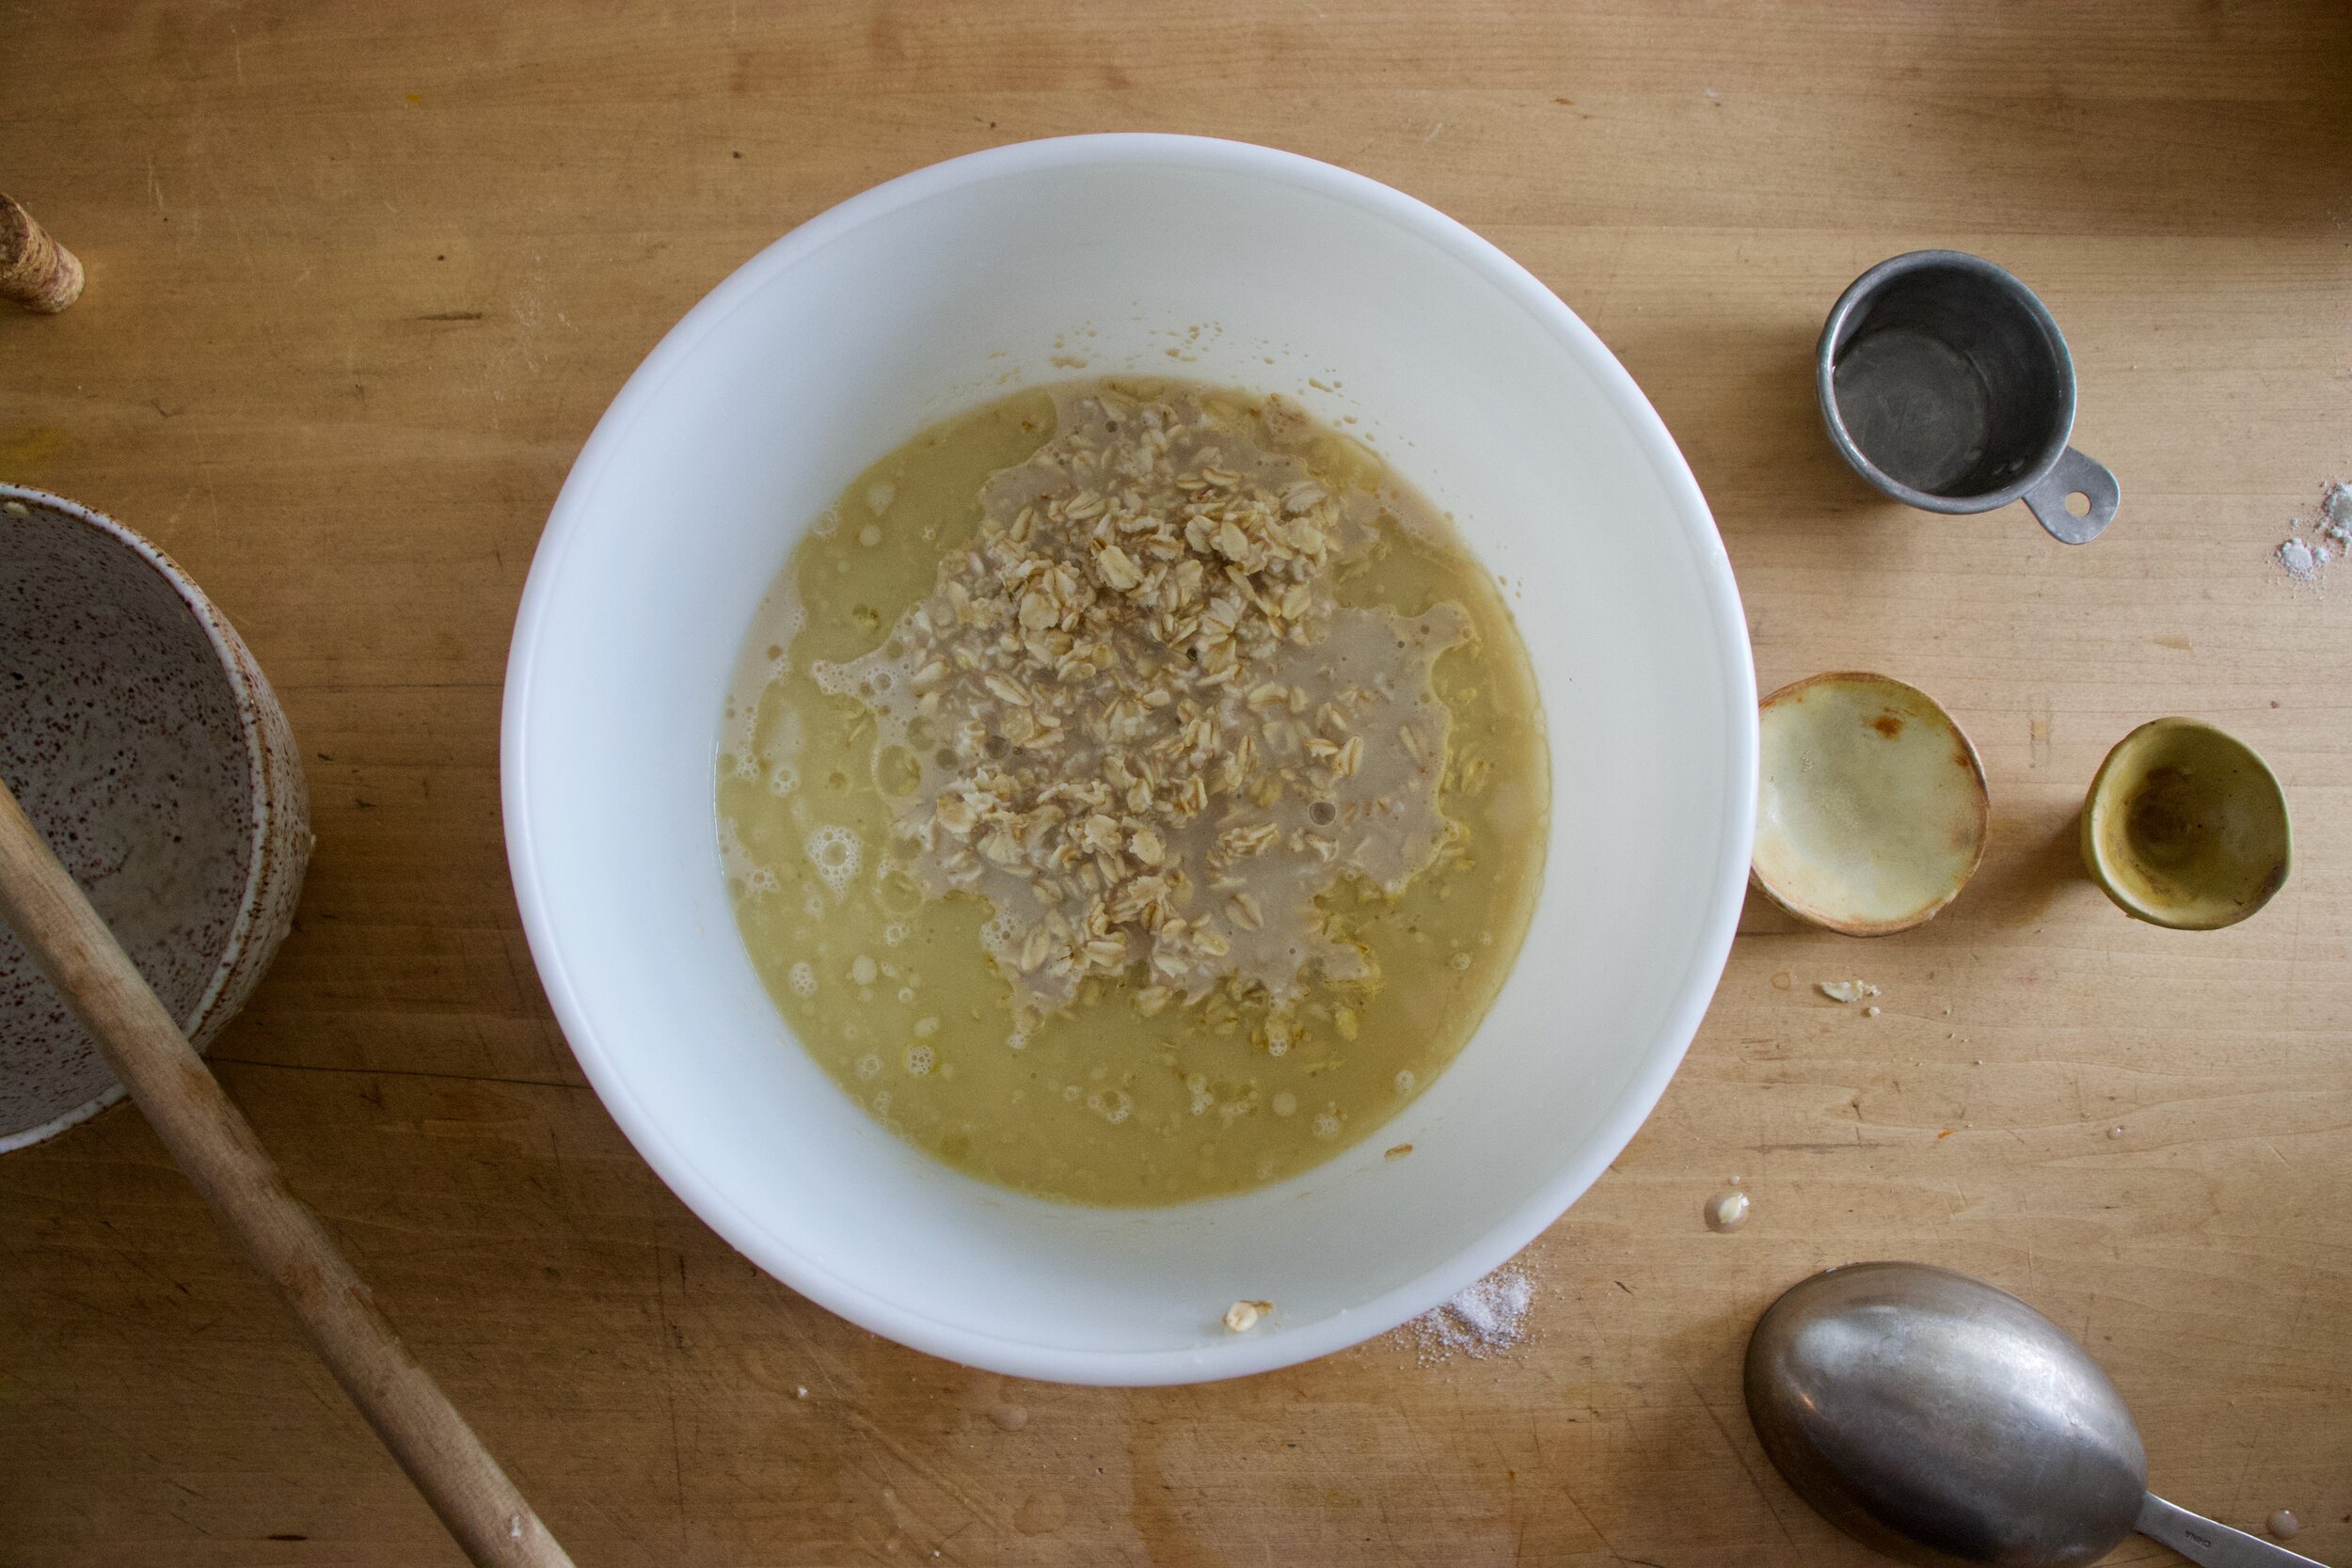
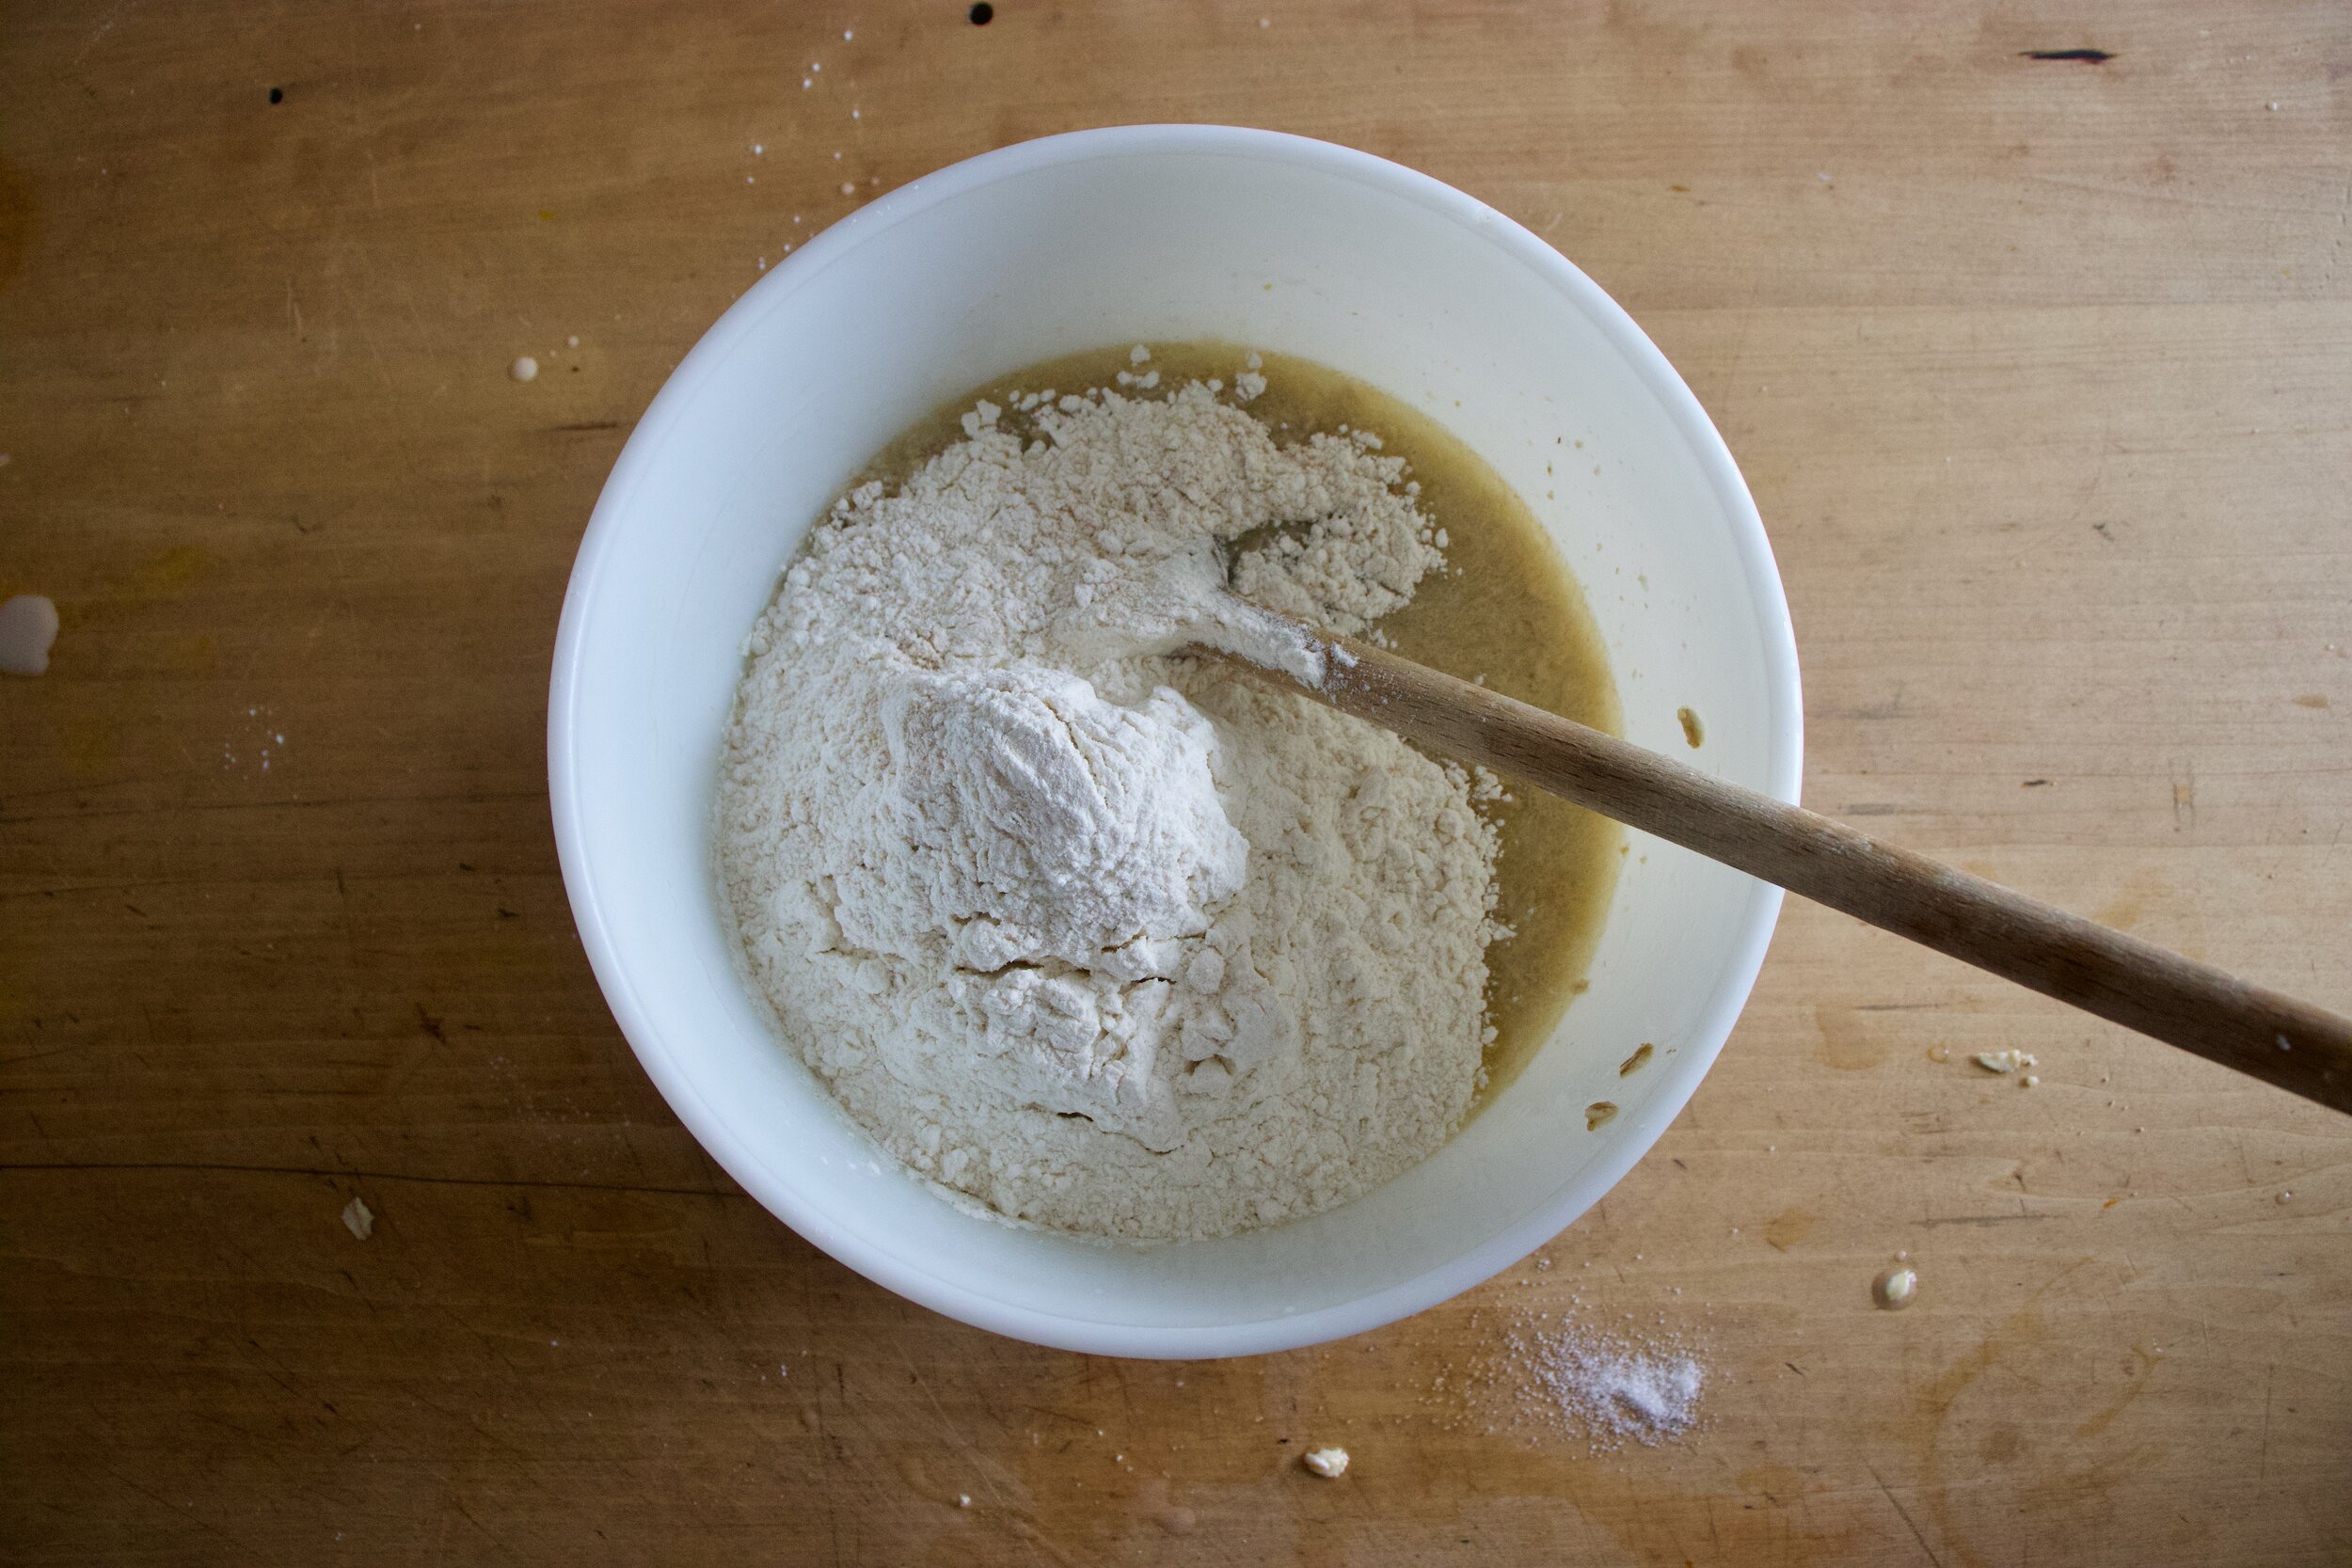
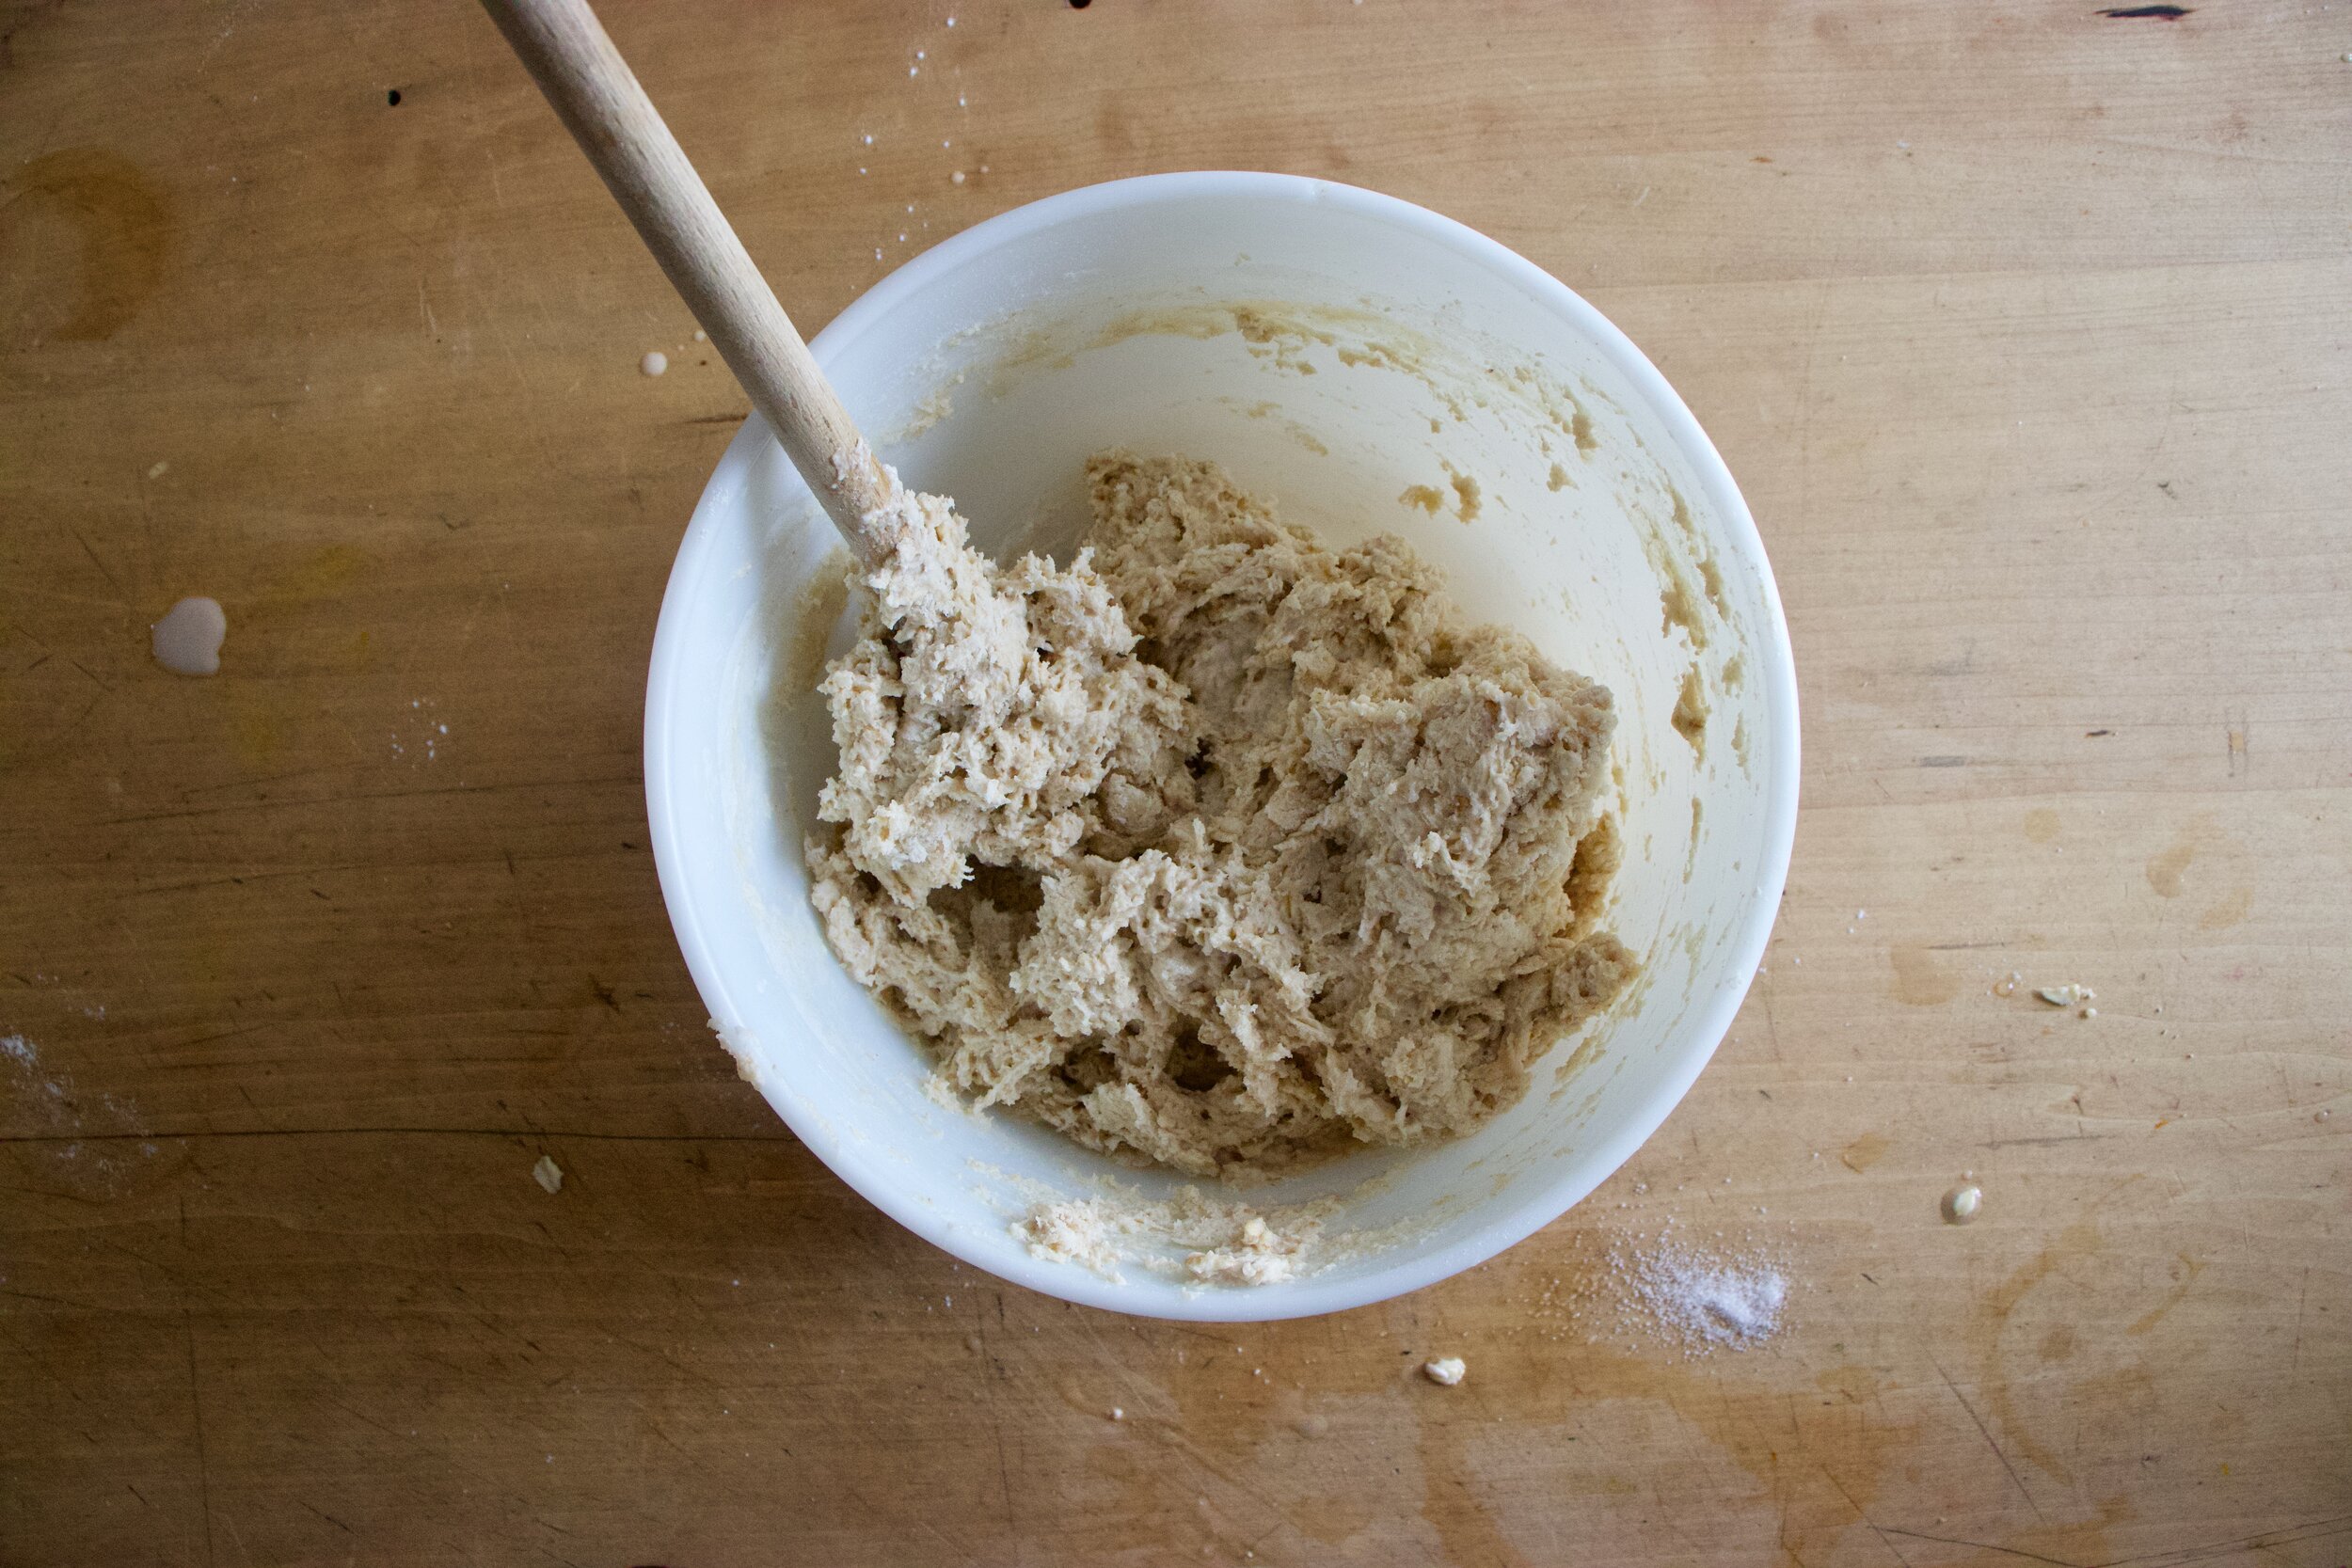
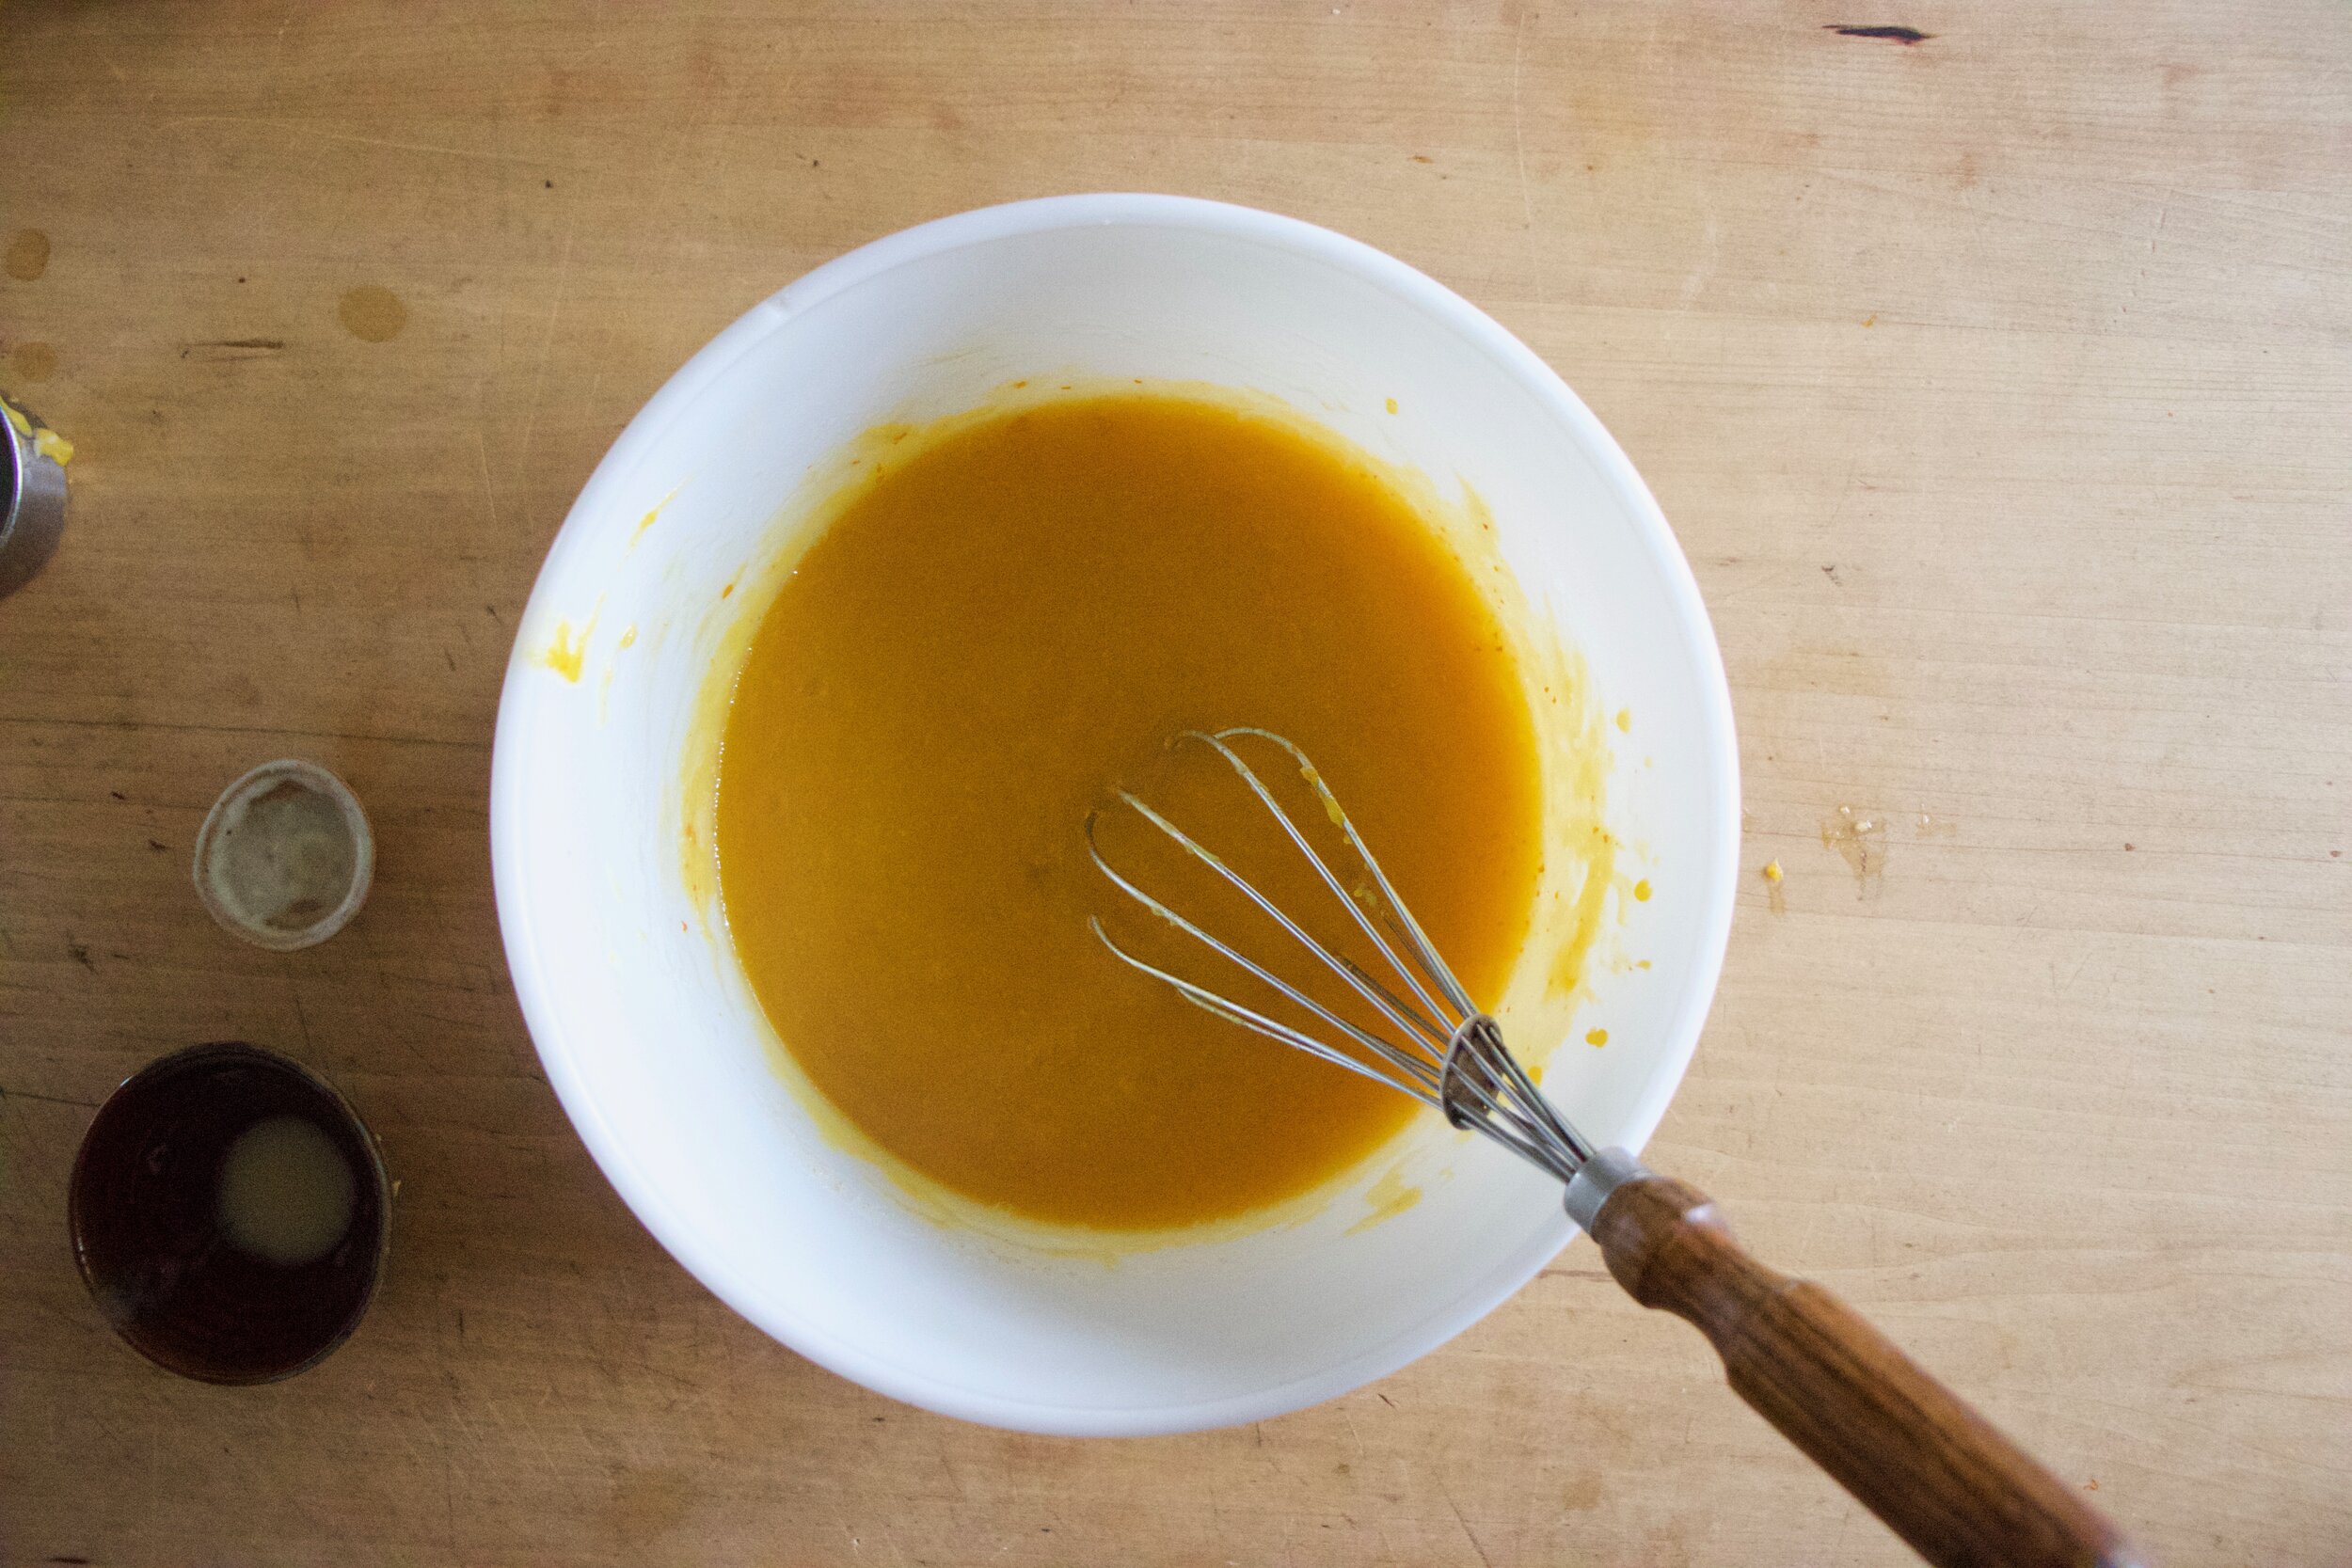
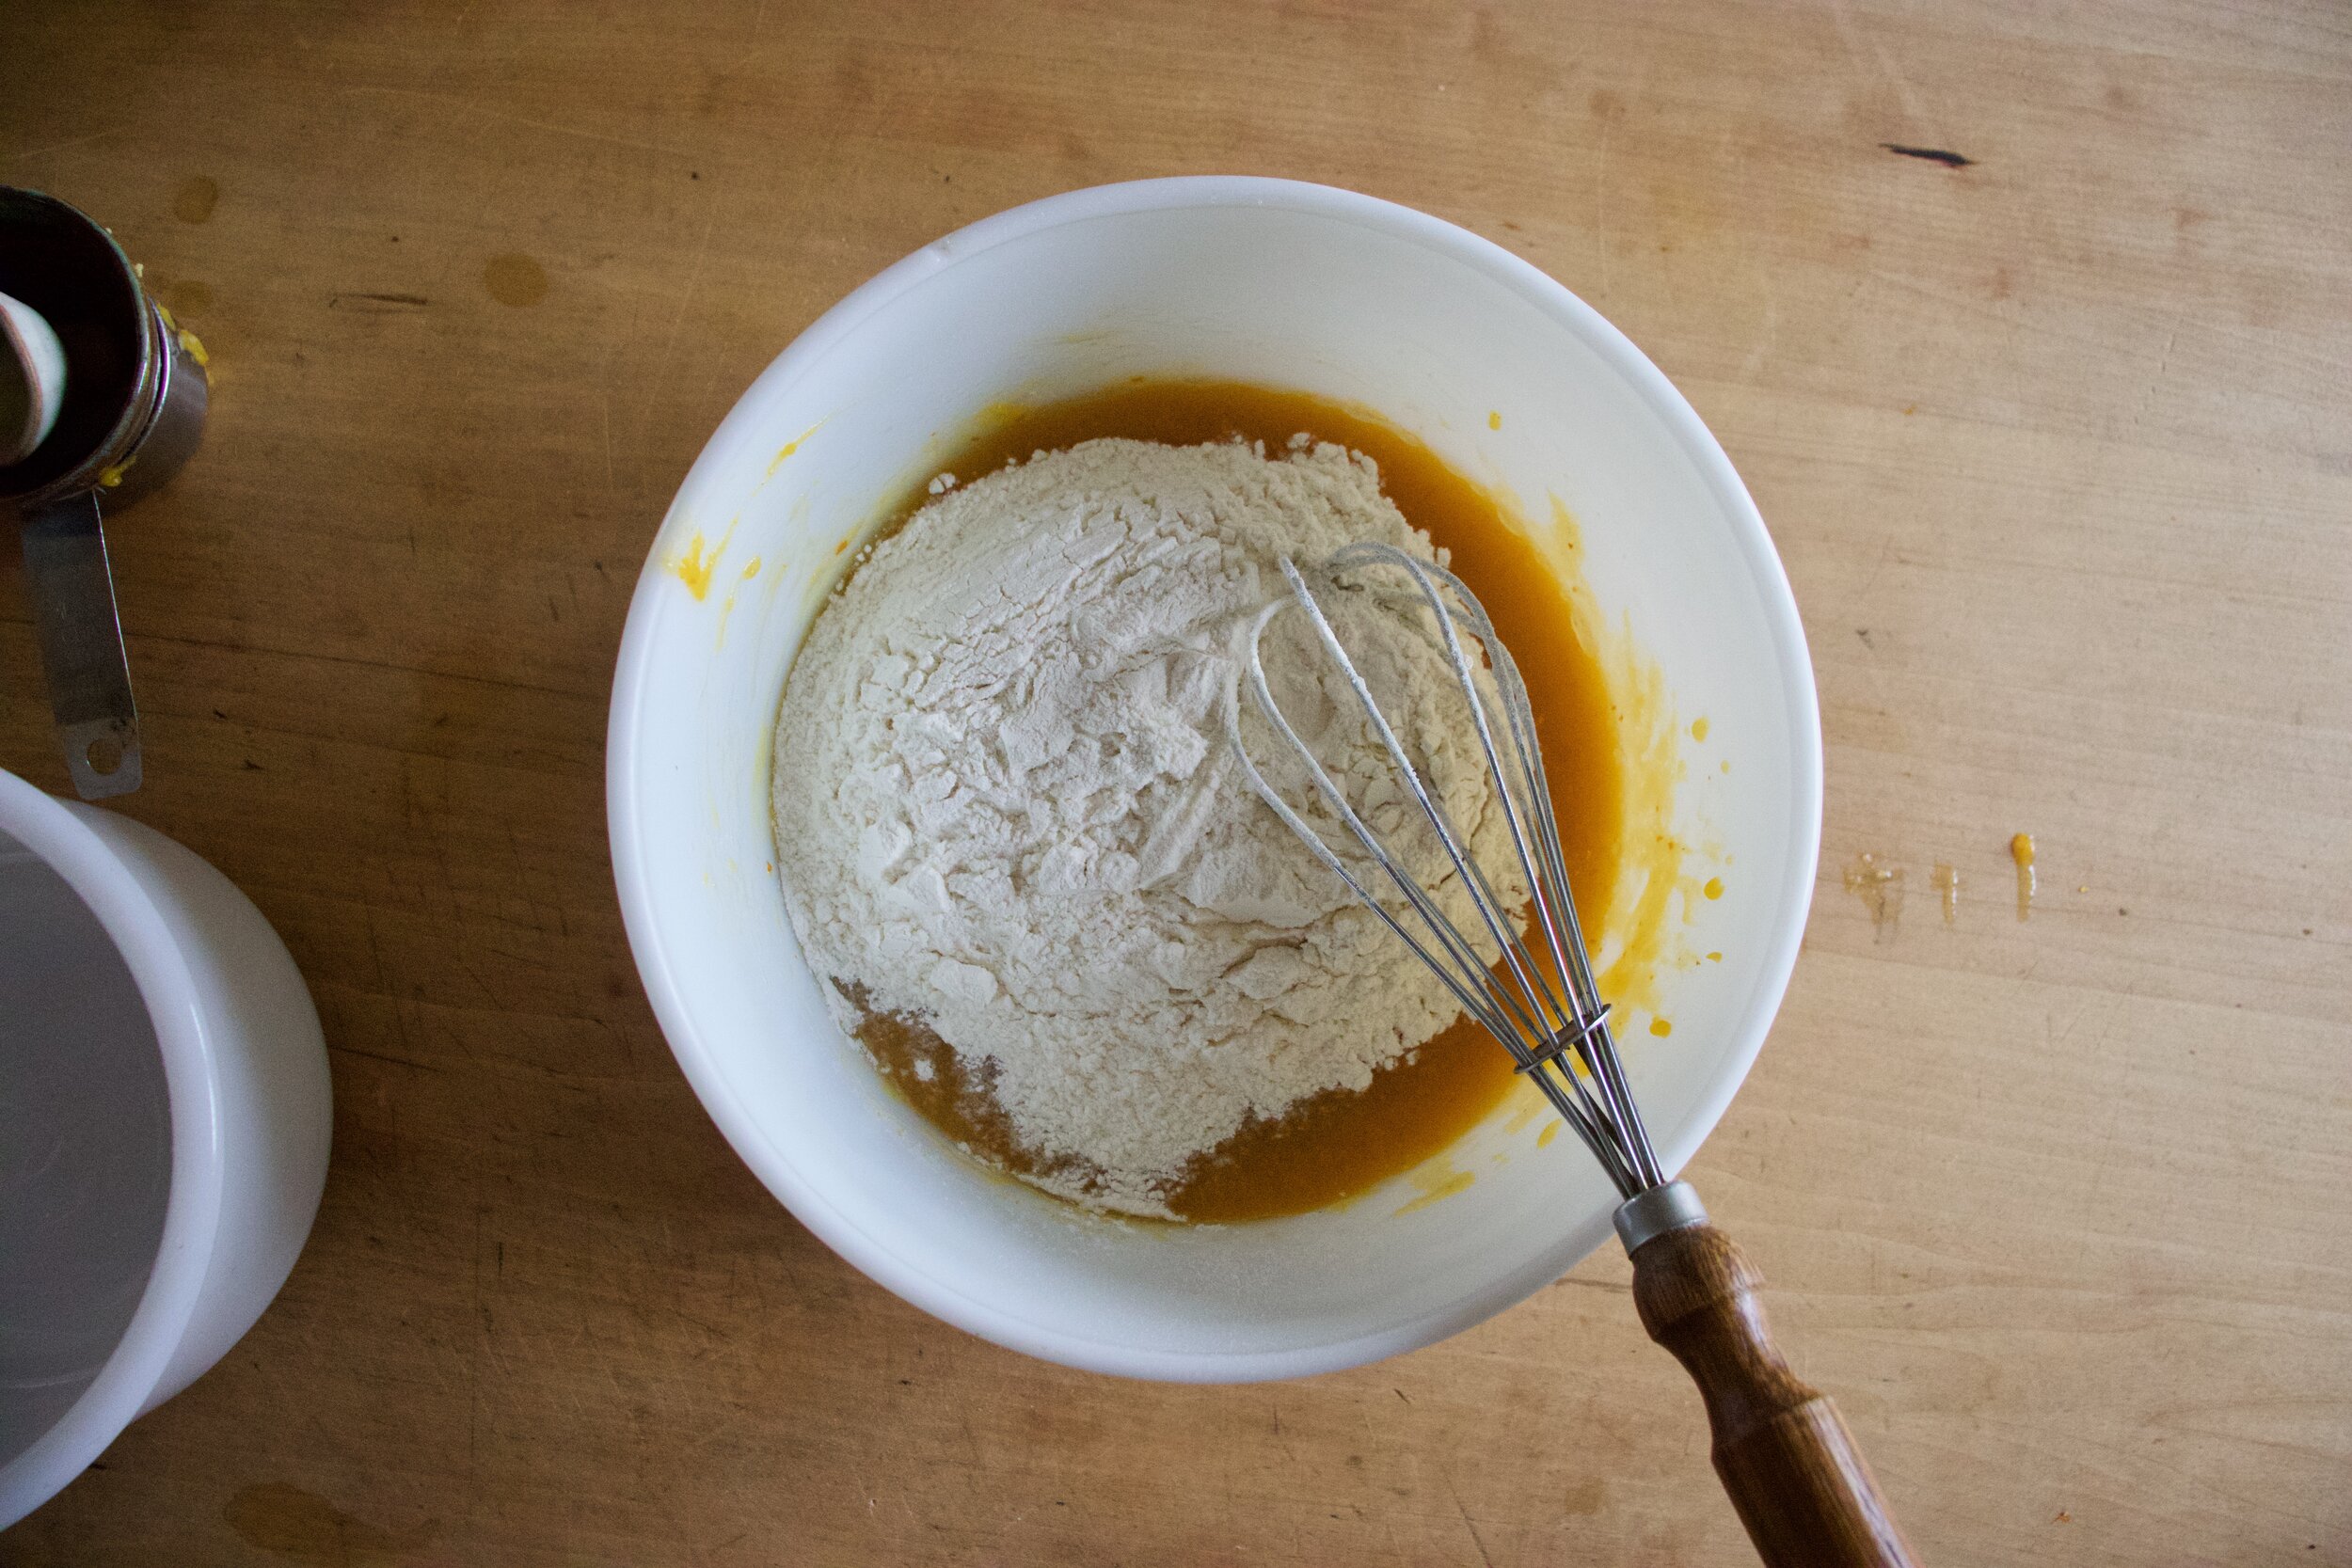
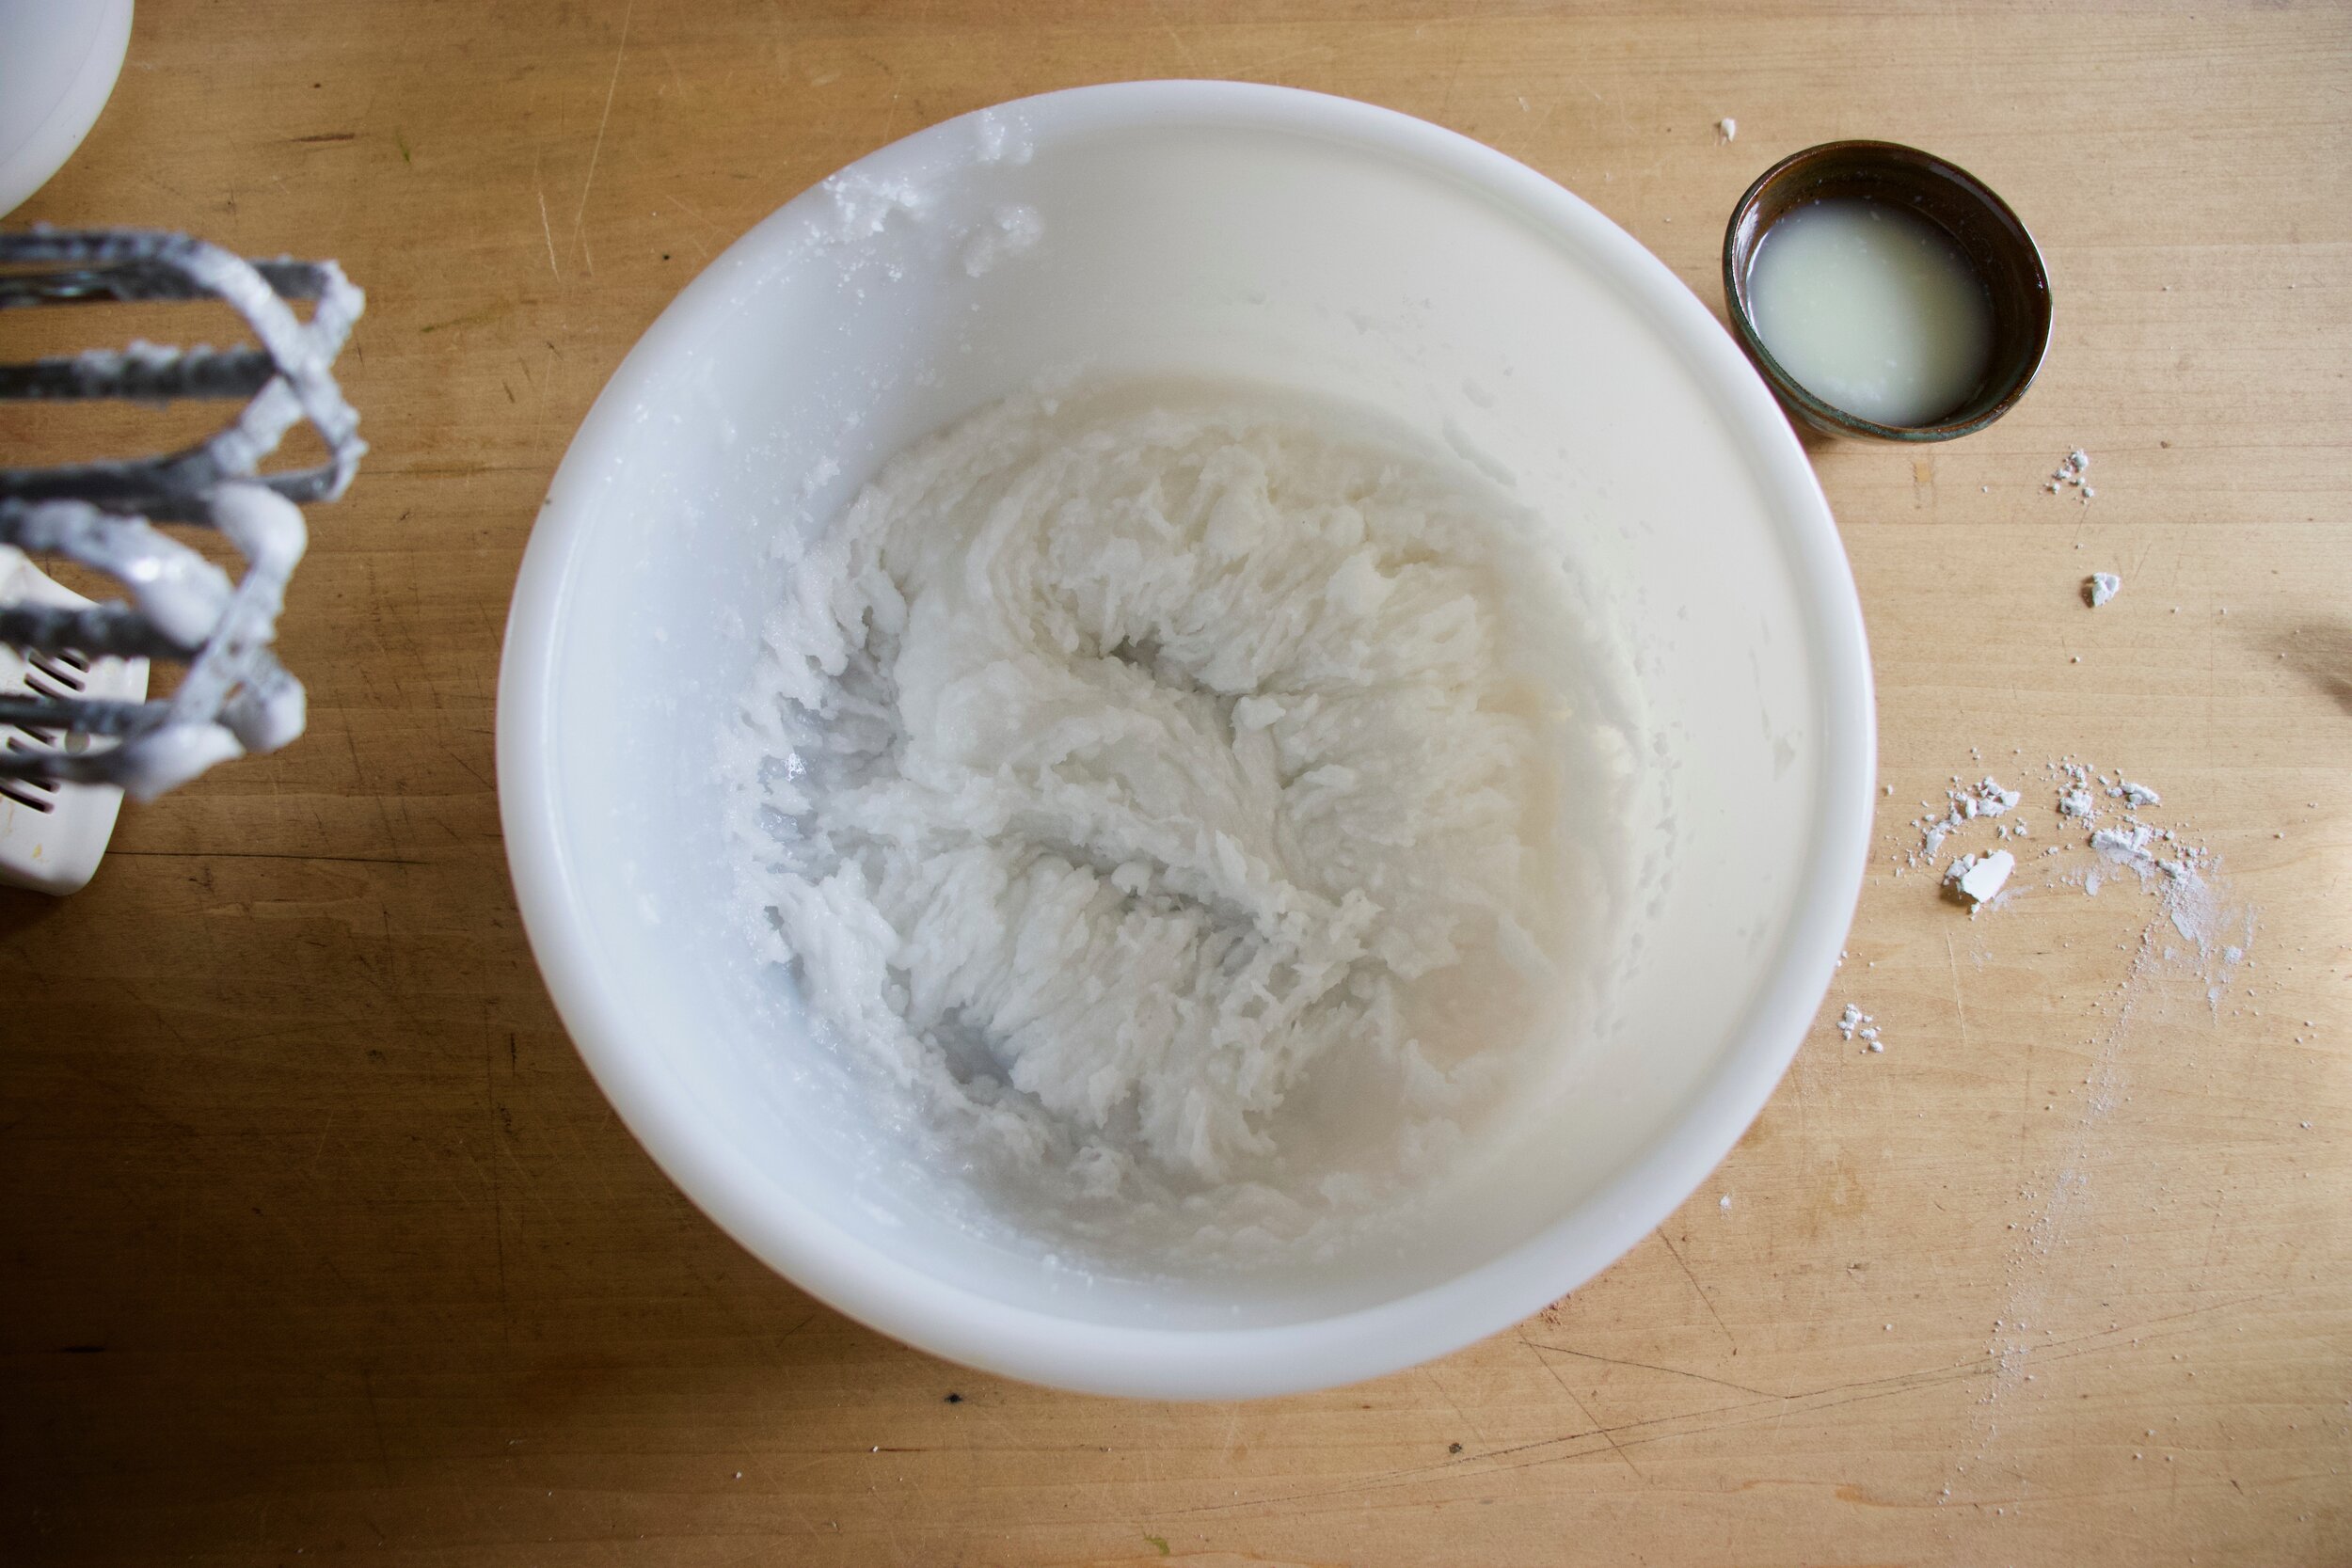
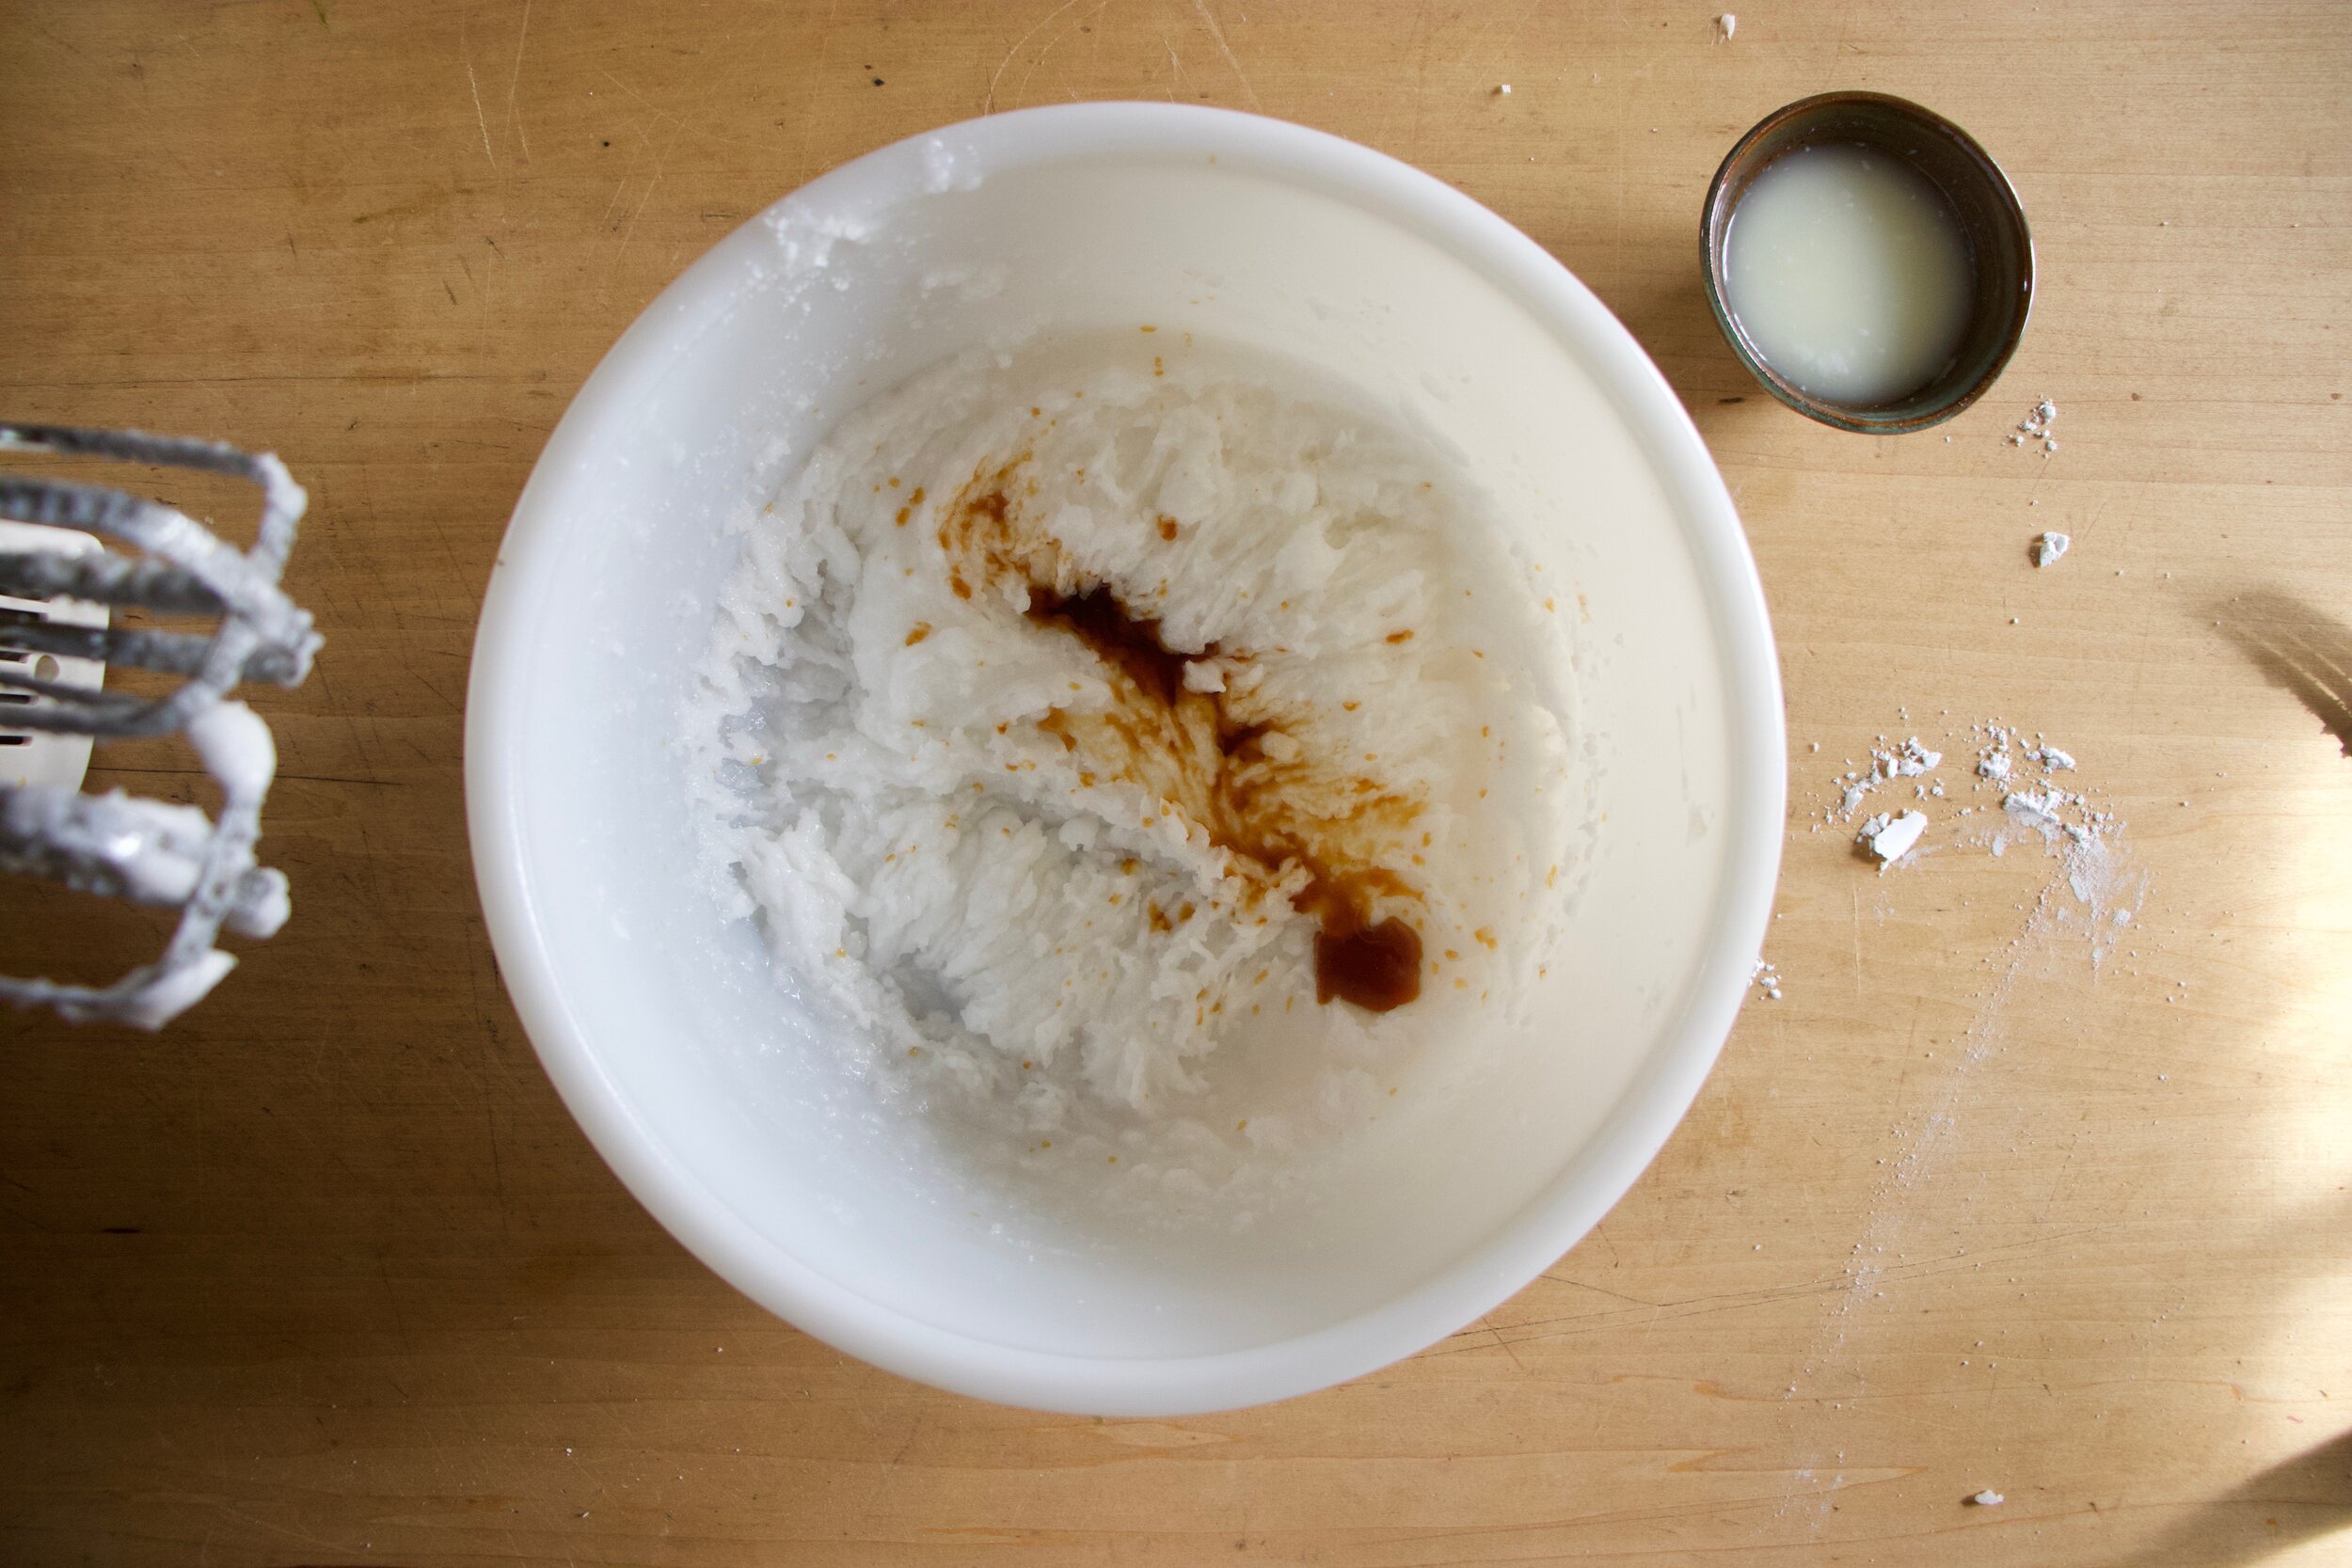
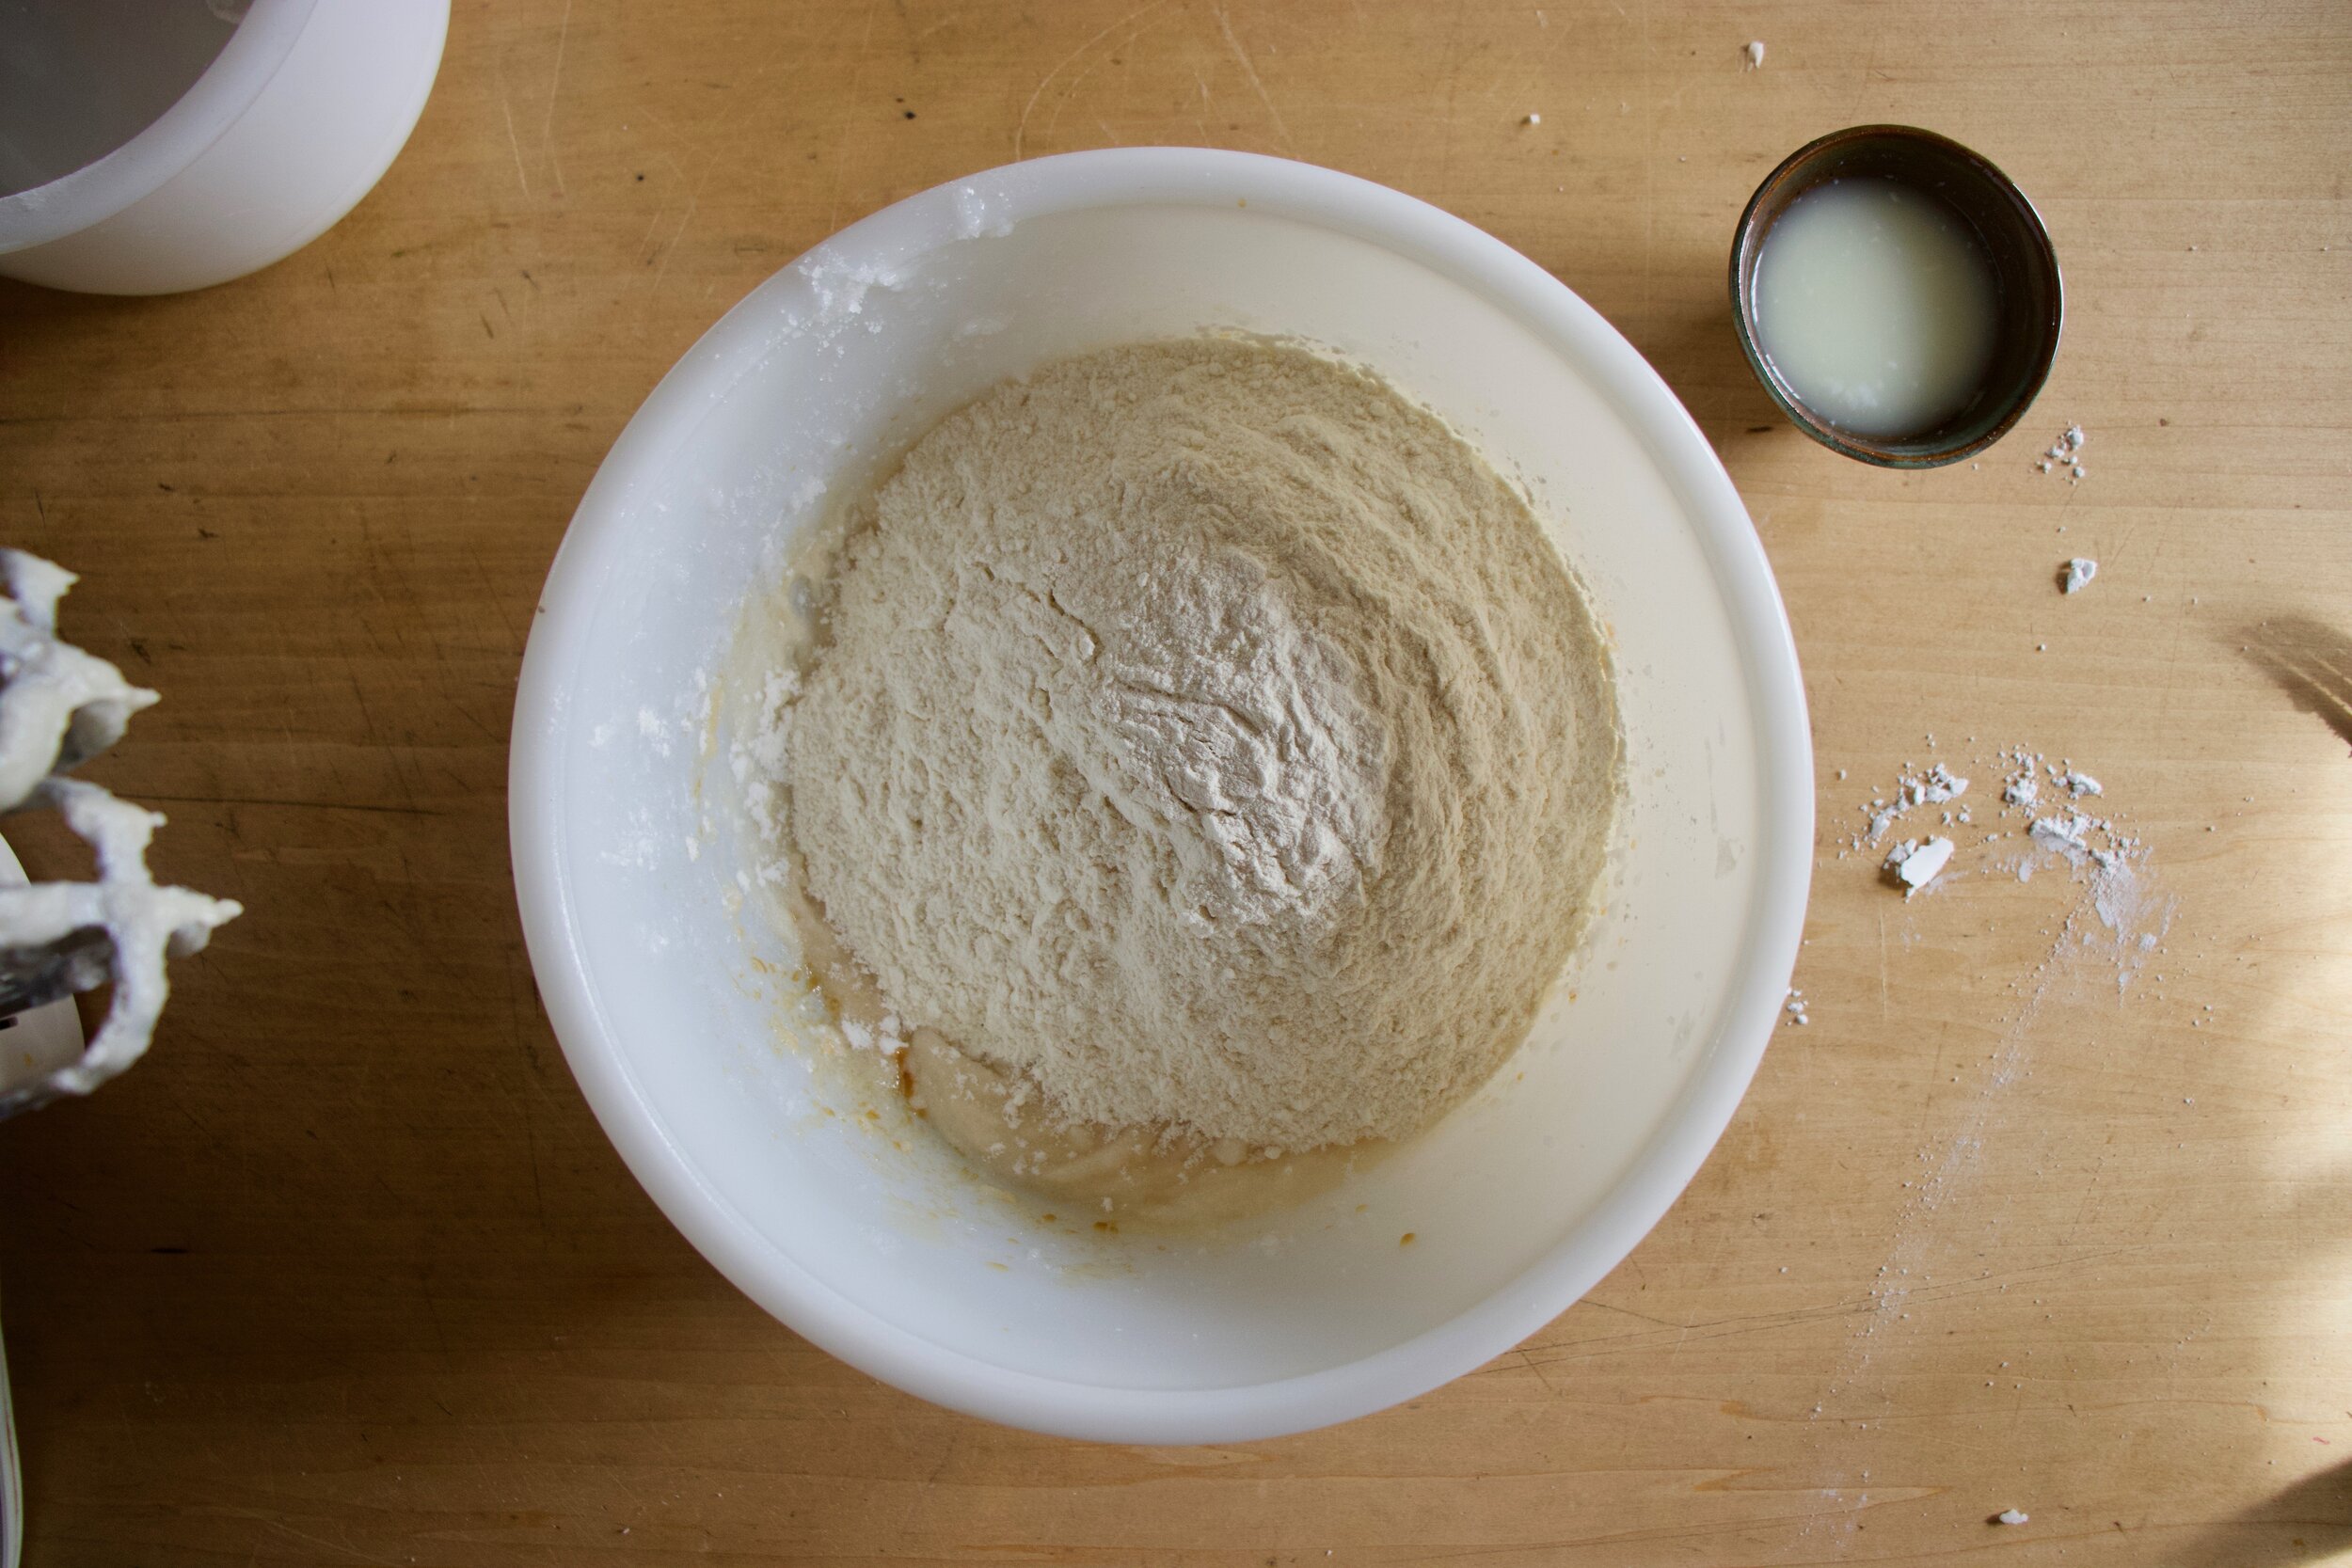
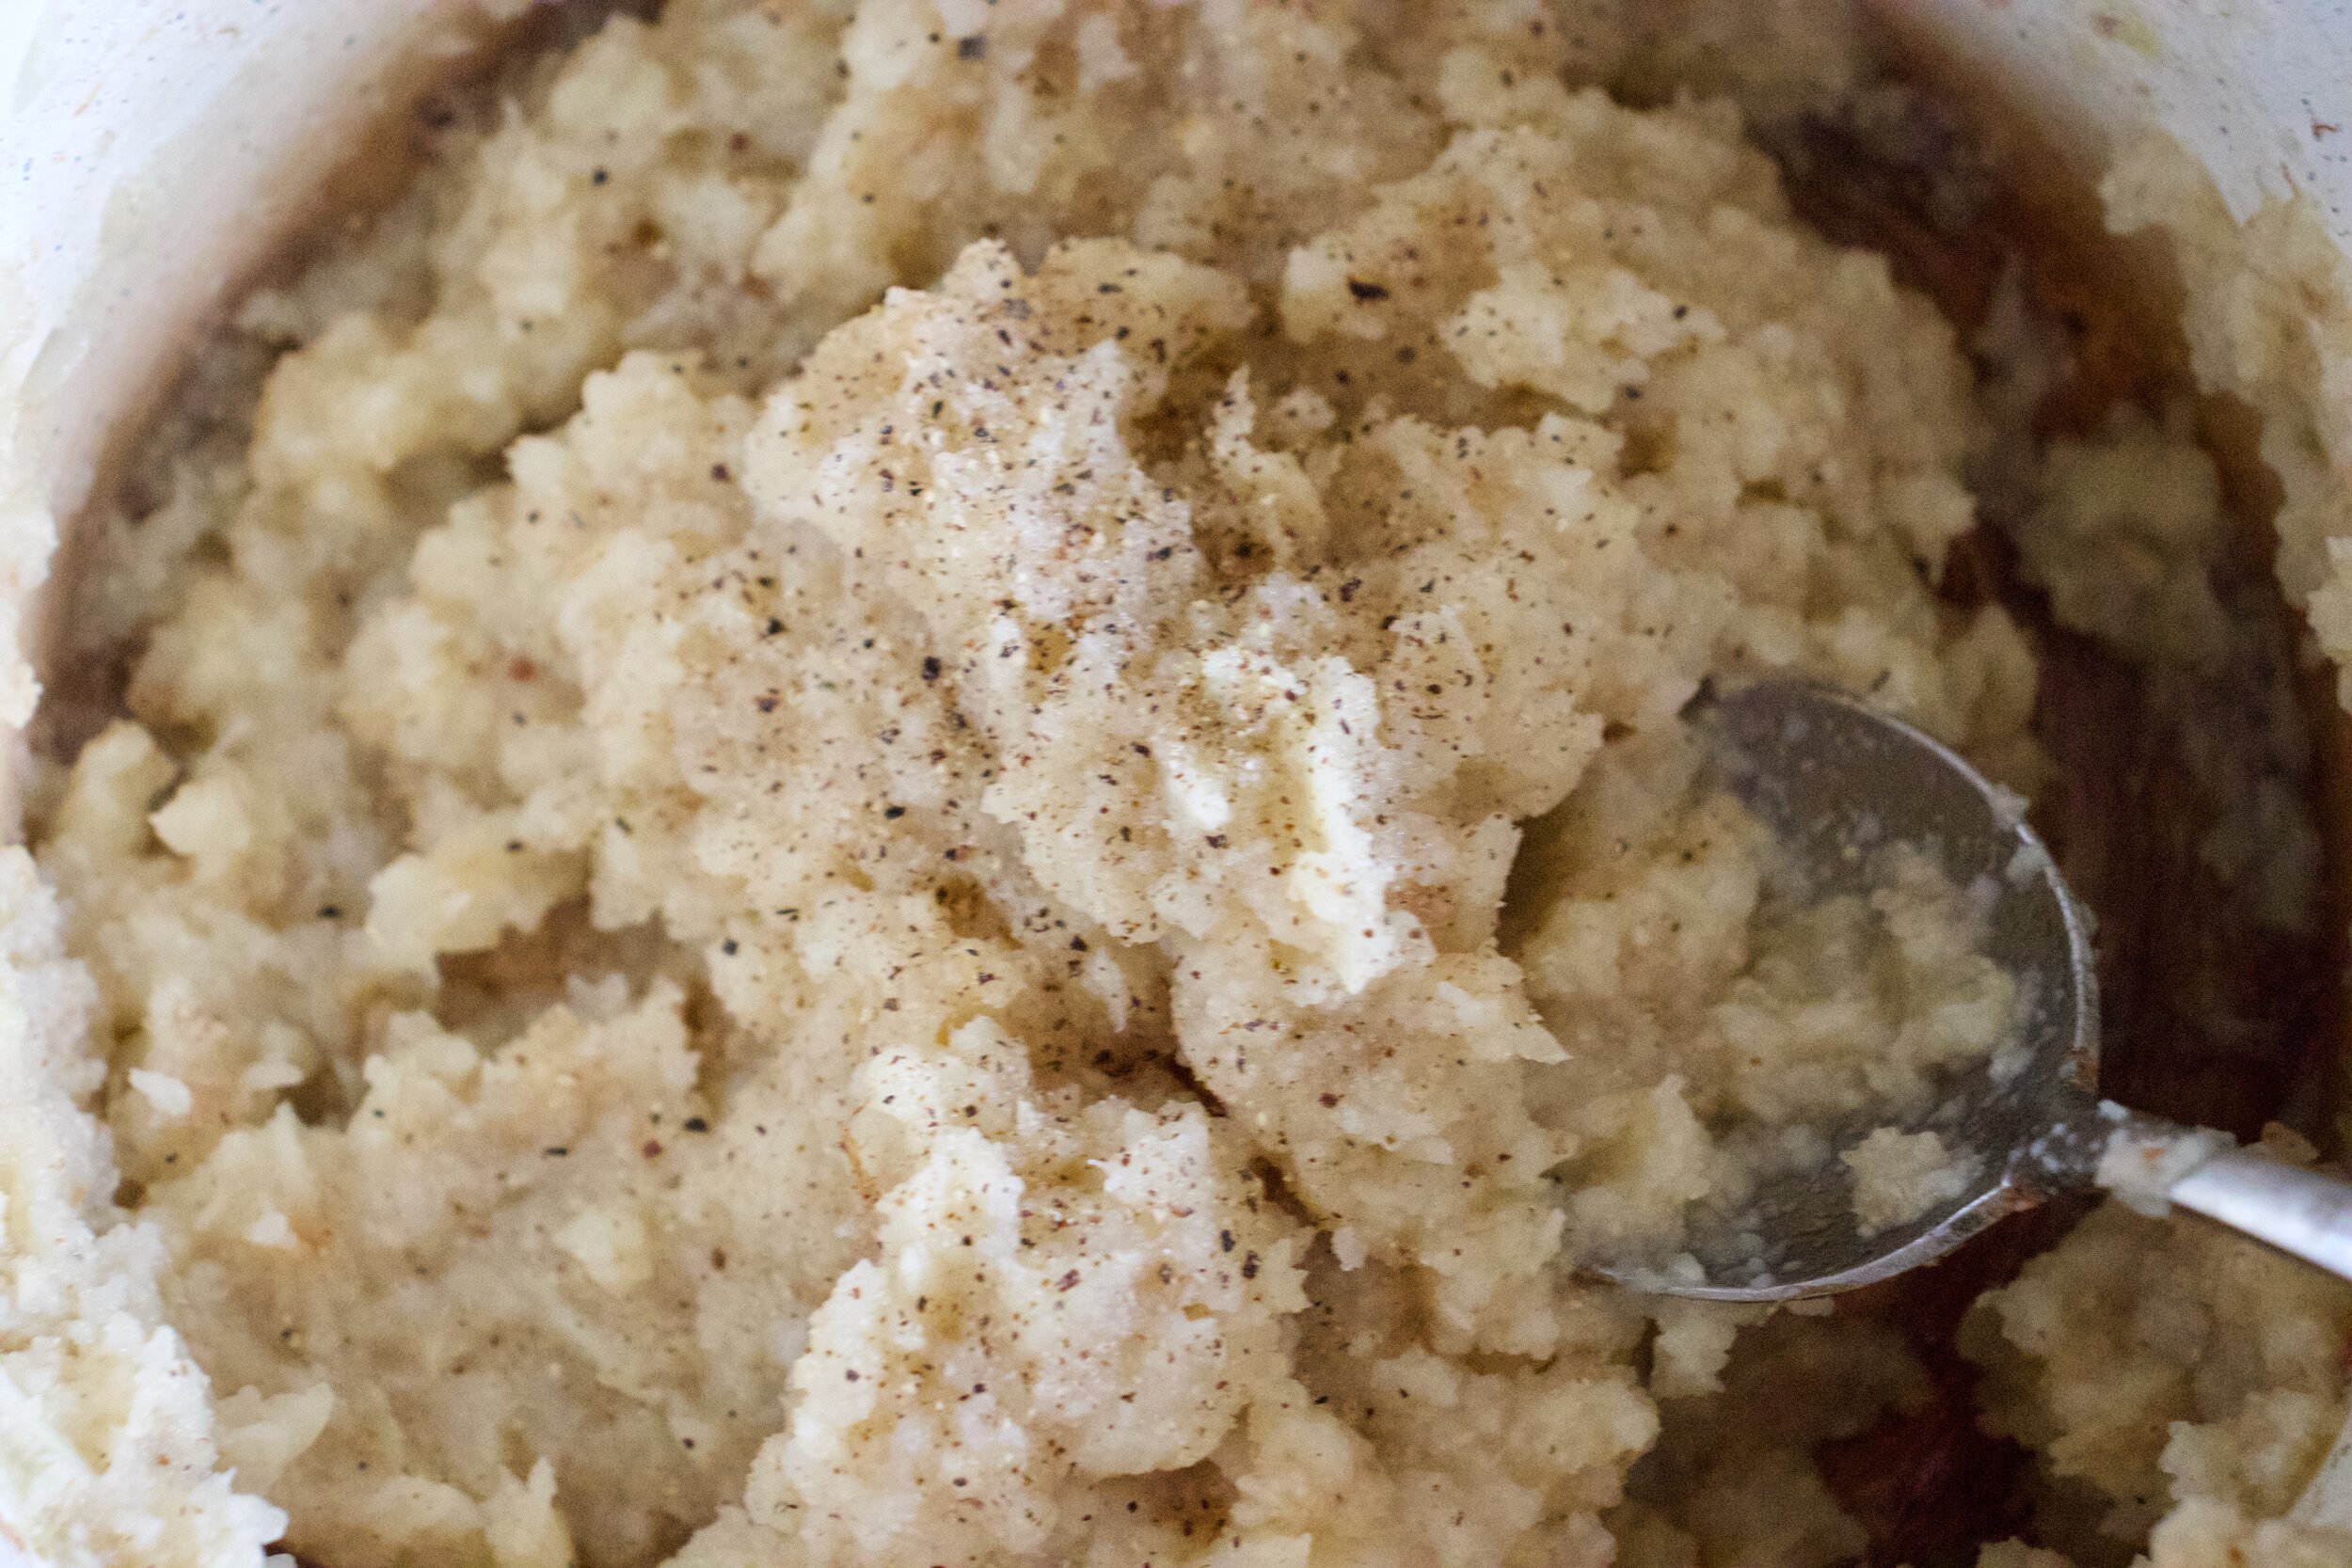
While oats are soaking, add the room temp water to a big bowl with the yeast. Once the oats are soft and cooled off a bit, add them to the yeast mixture along with the oil, and maple. Mix together. The add the flours and mix until combined.

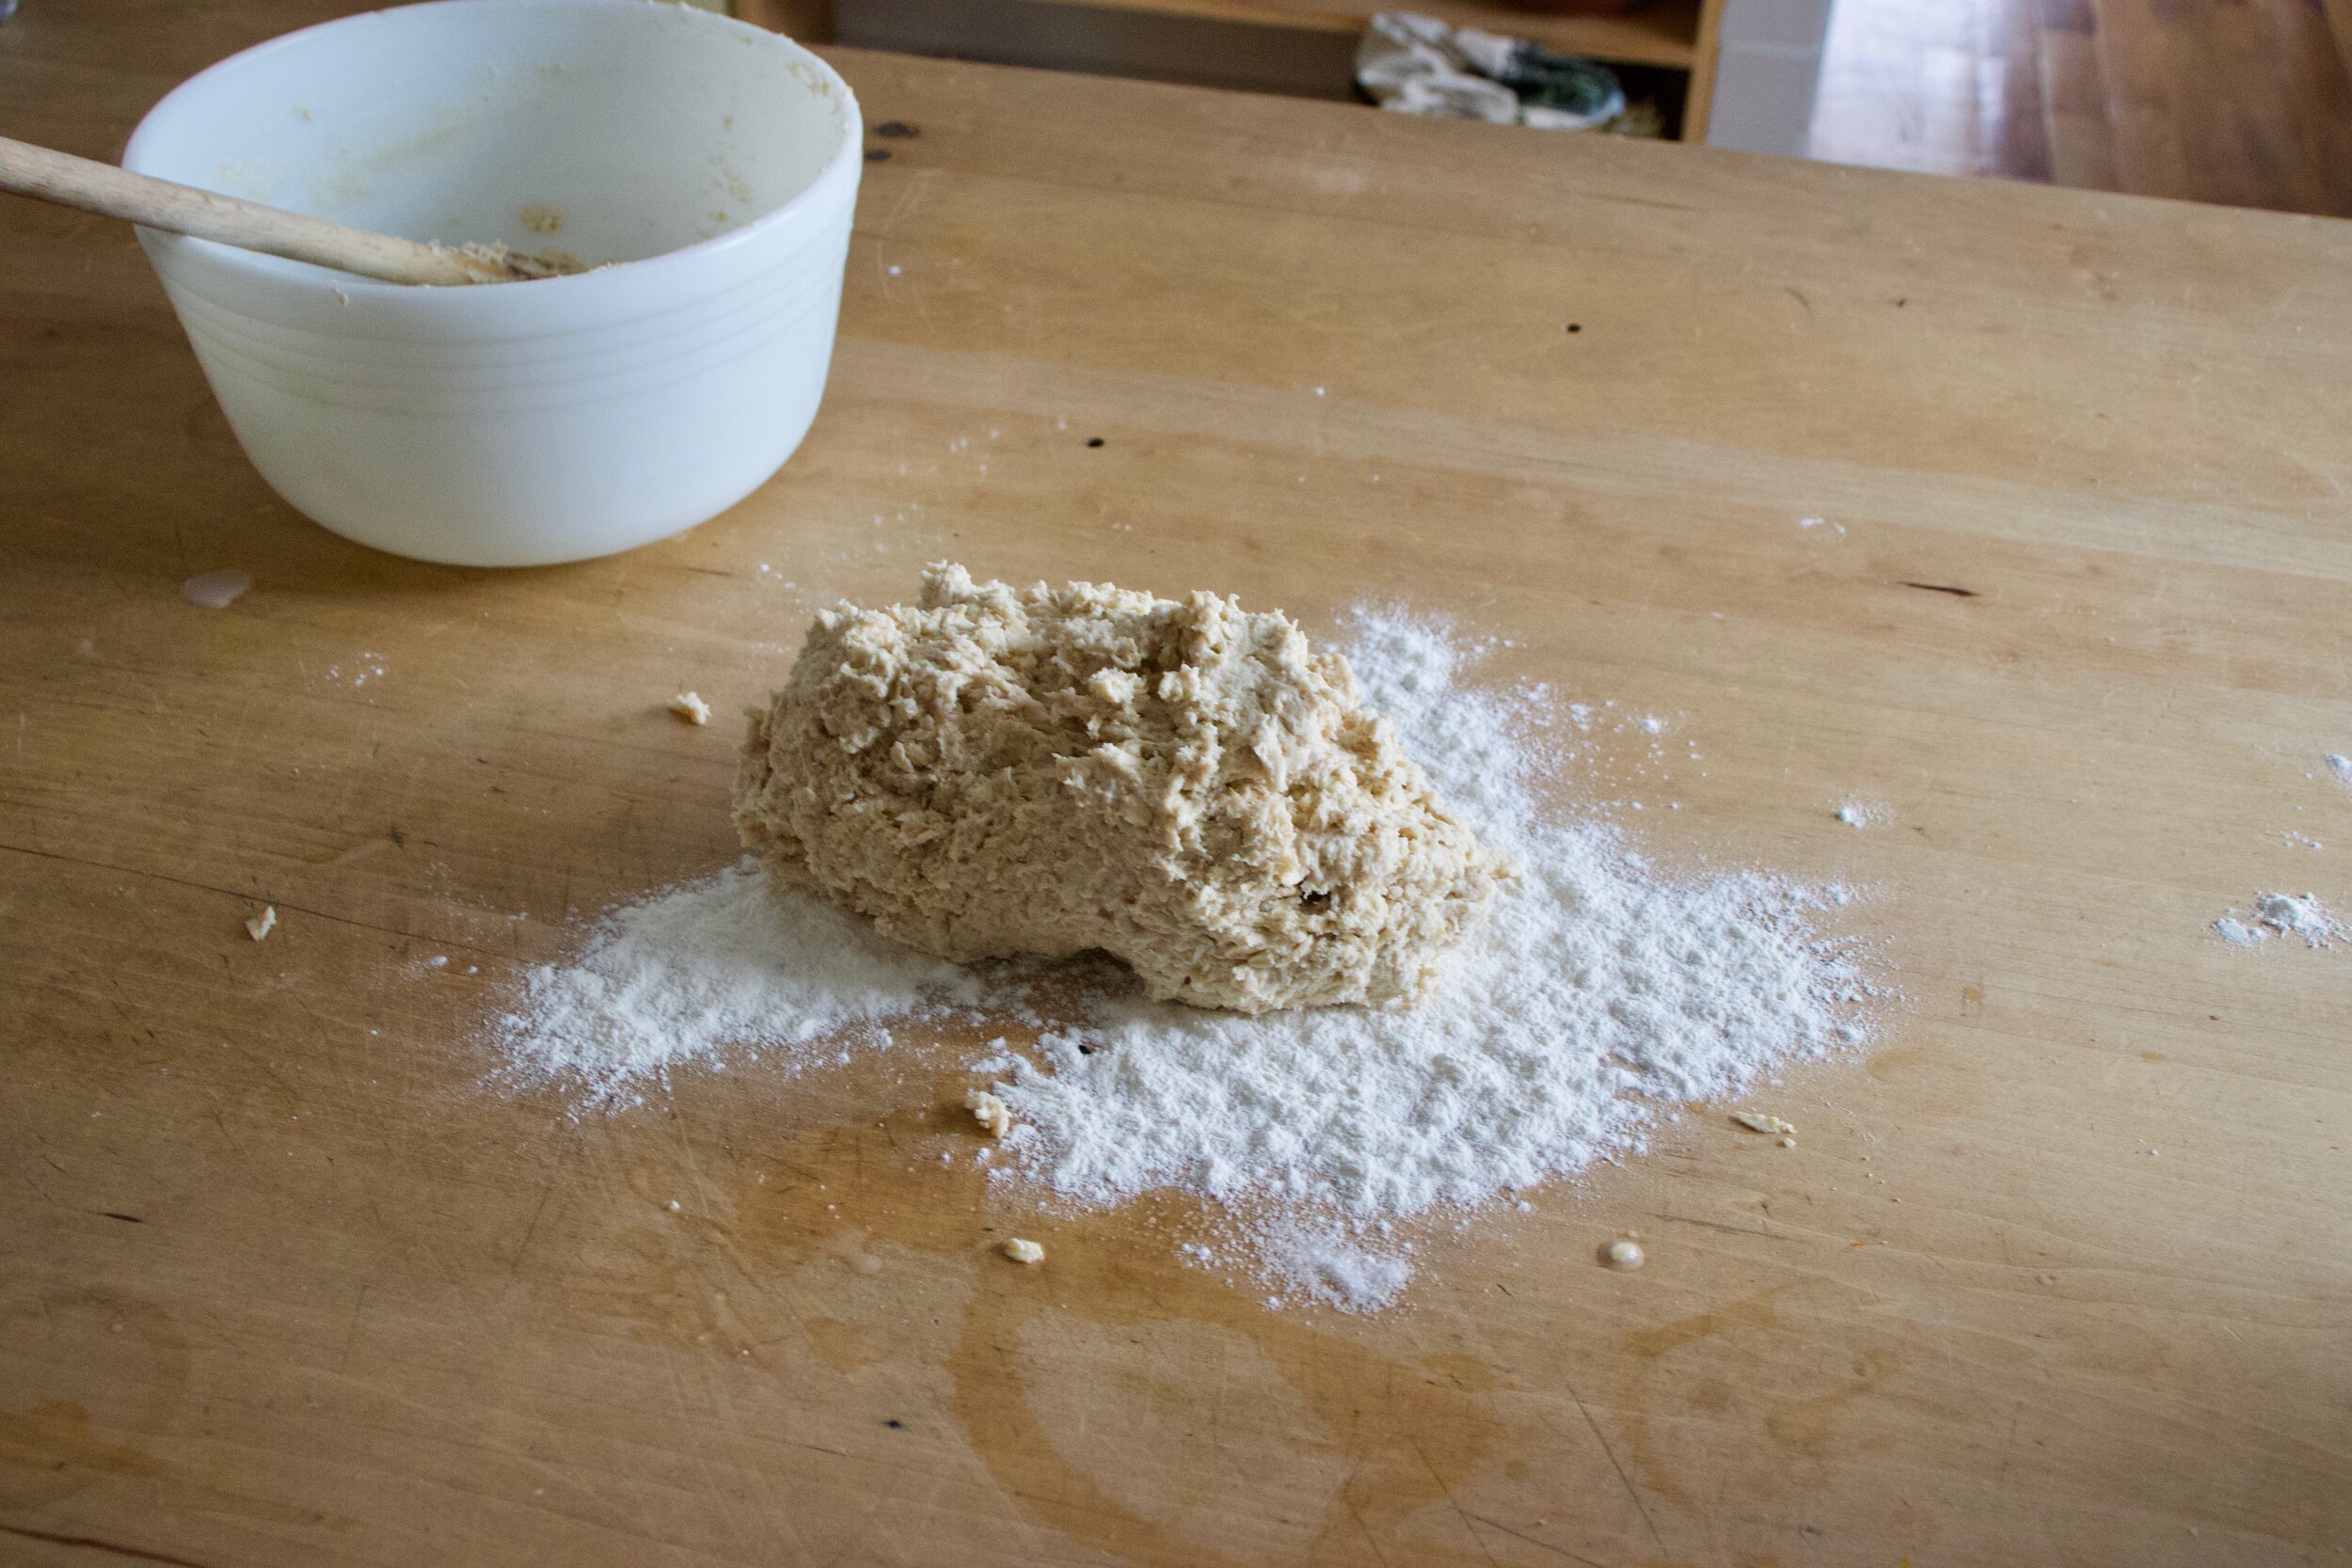
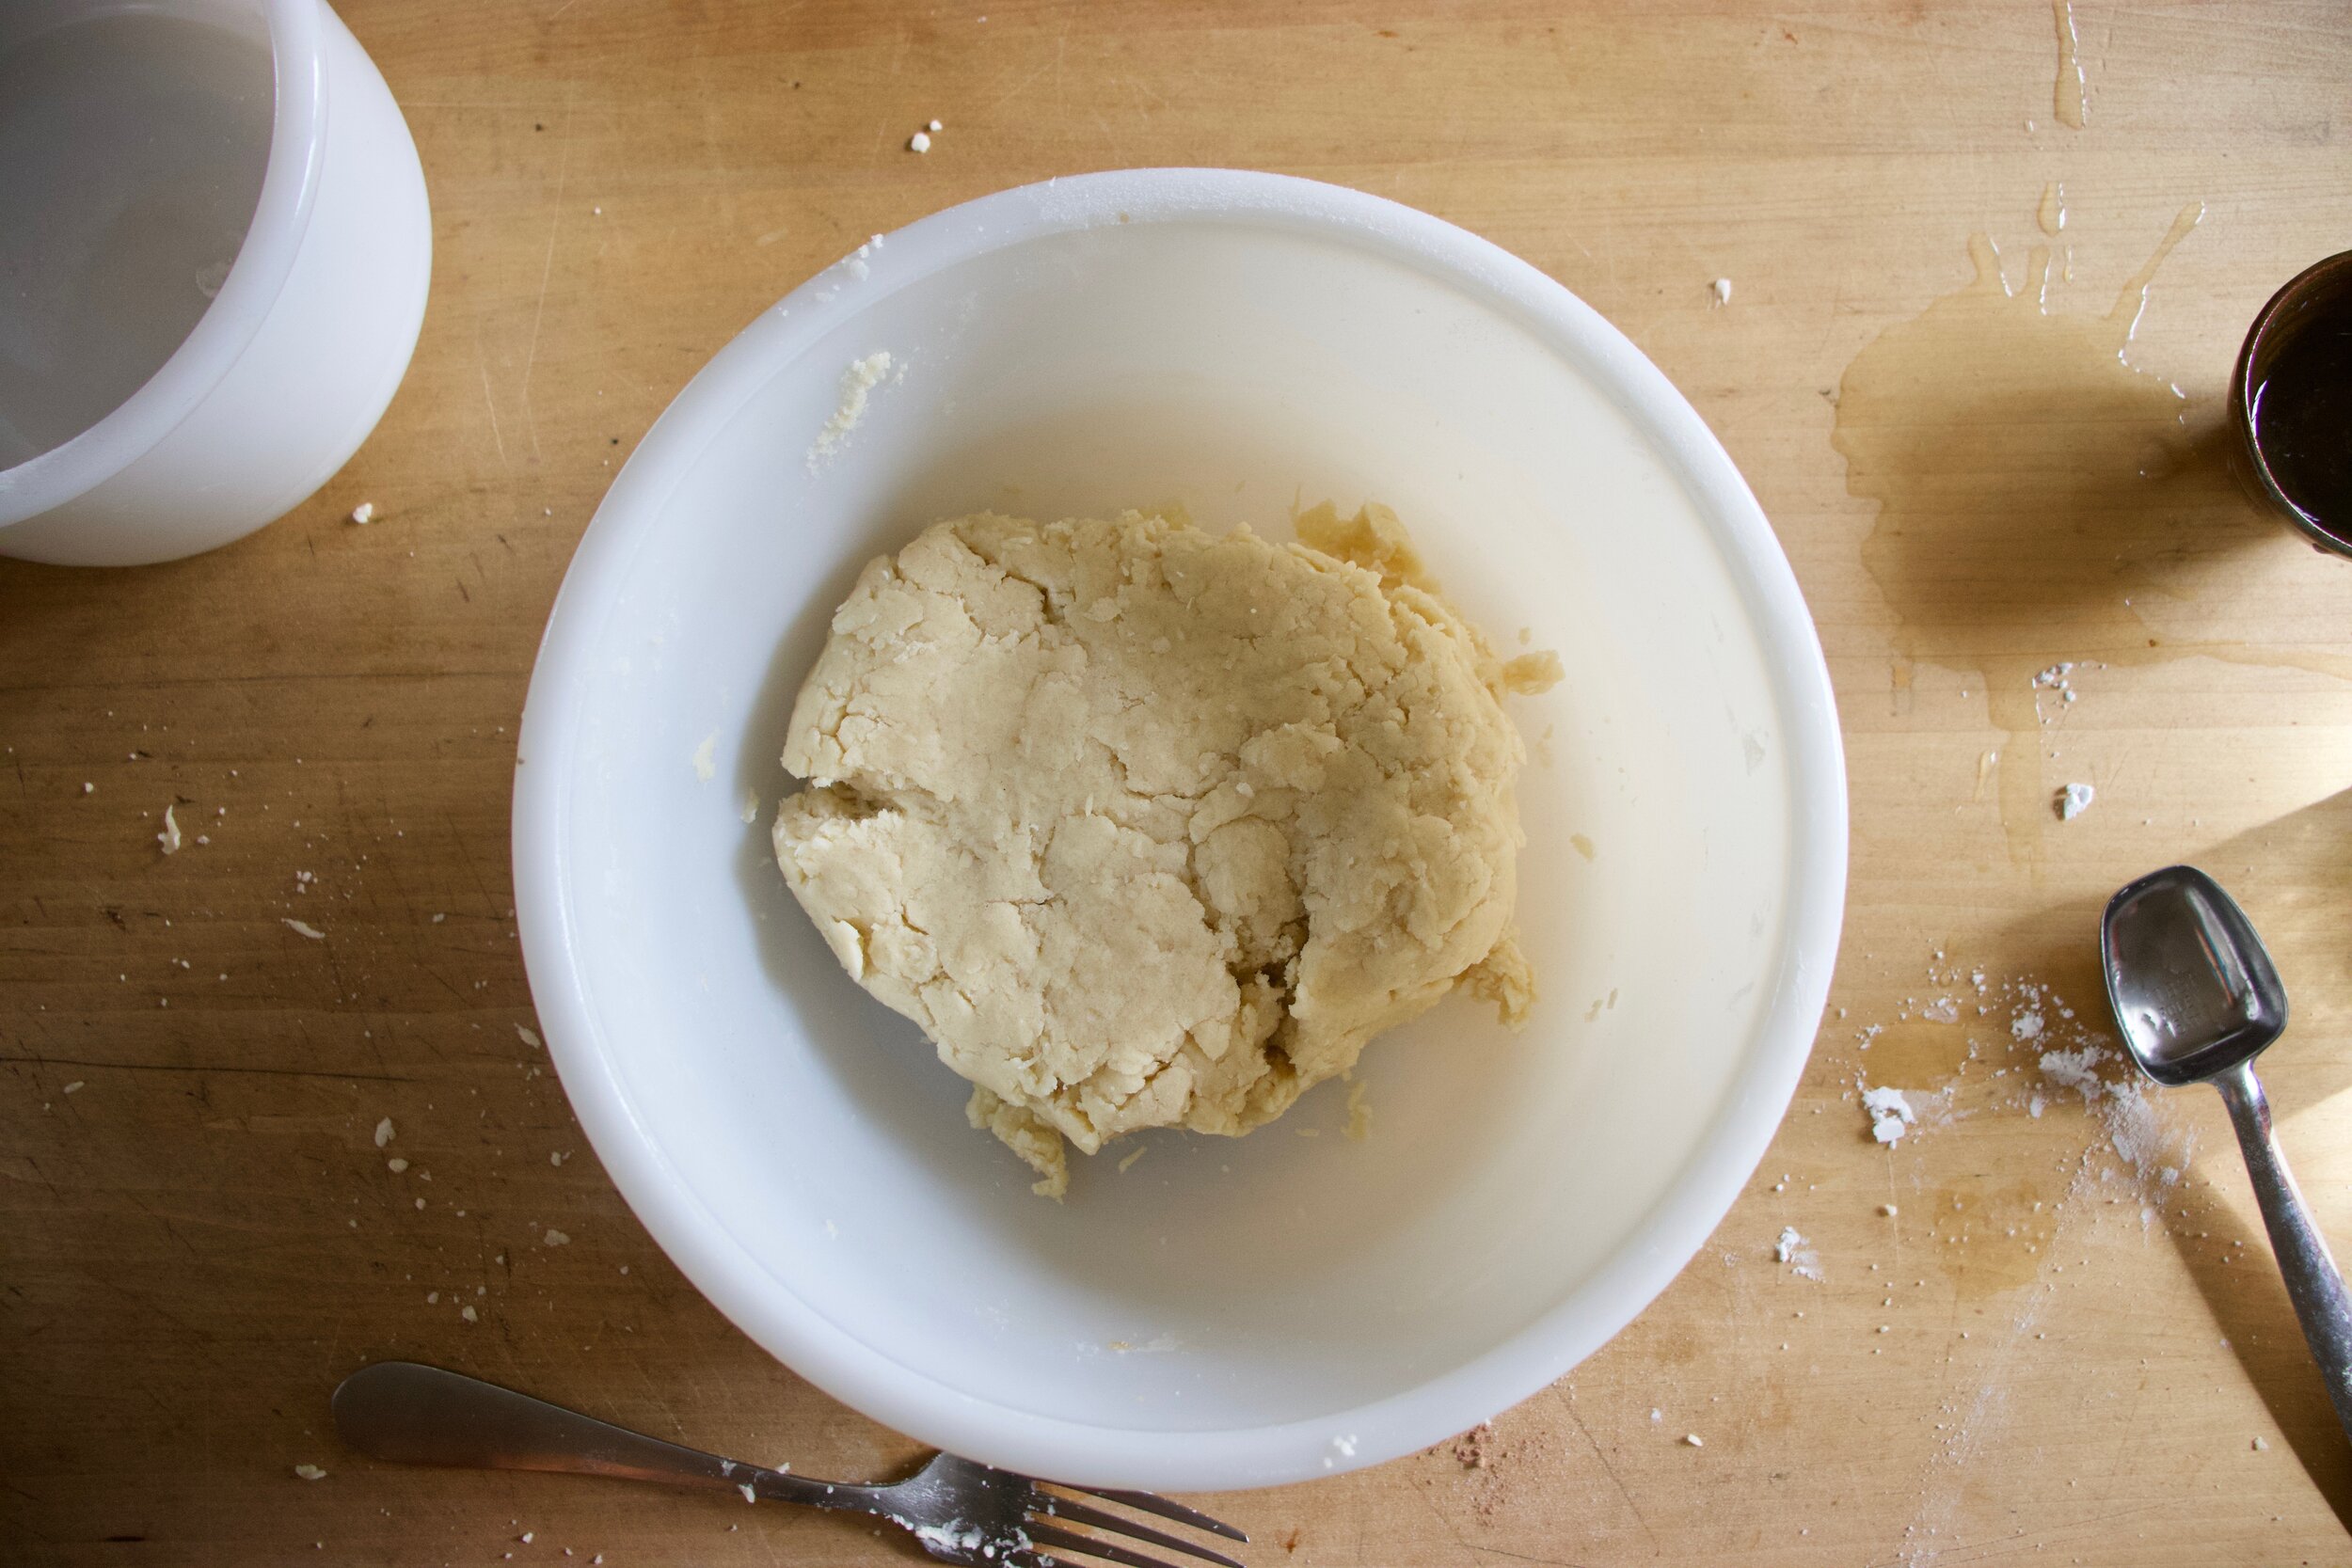
Dump dough onto a floured surface and knead for about 3-5 minutes, adding a little more four as needed to keep from being to sticky, but don’t over flour. The dough is and should be a little tacky.

Soft and supple. Kneaded and ready.

IMG_3745.jpg
IMG_3746.jpg

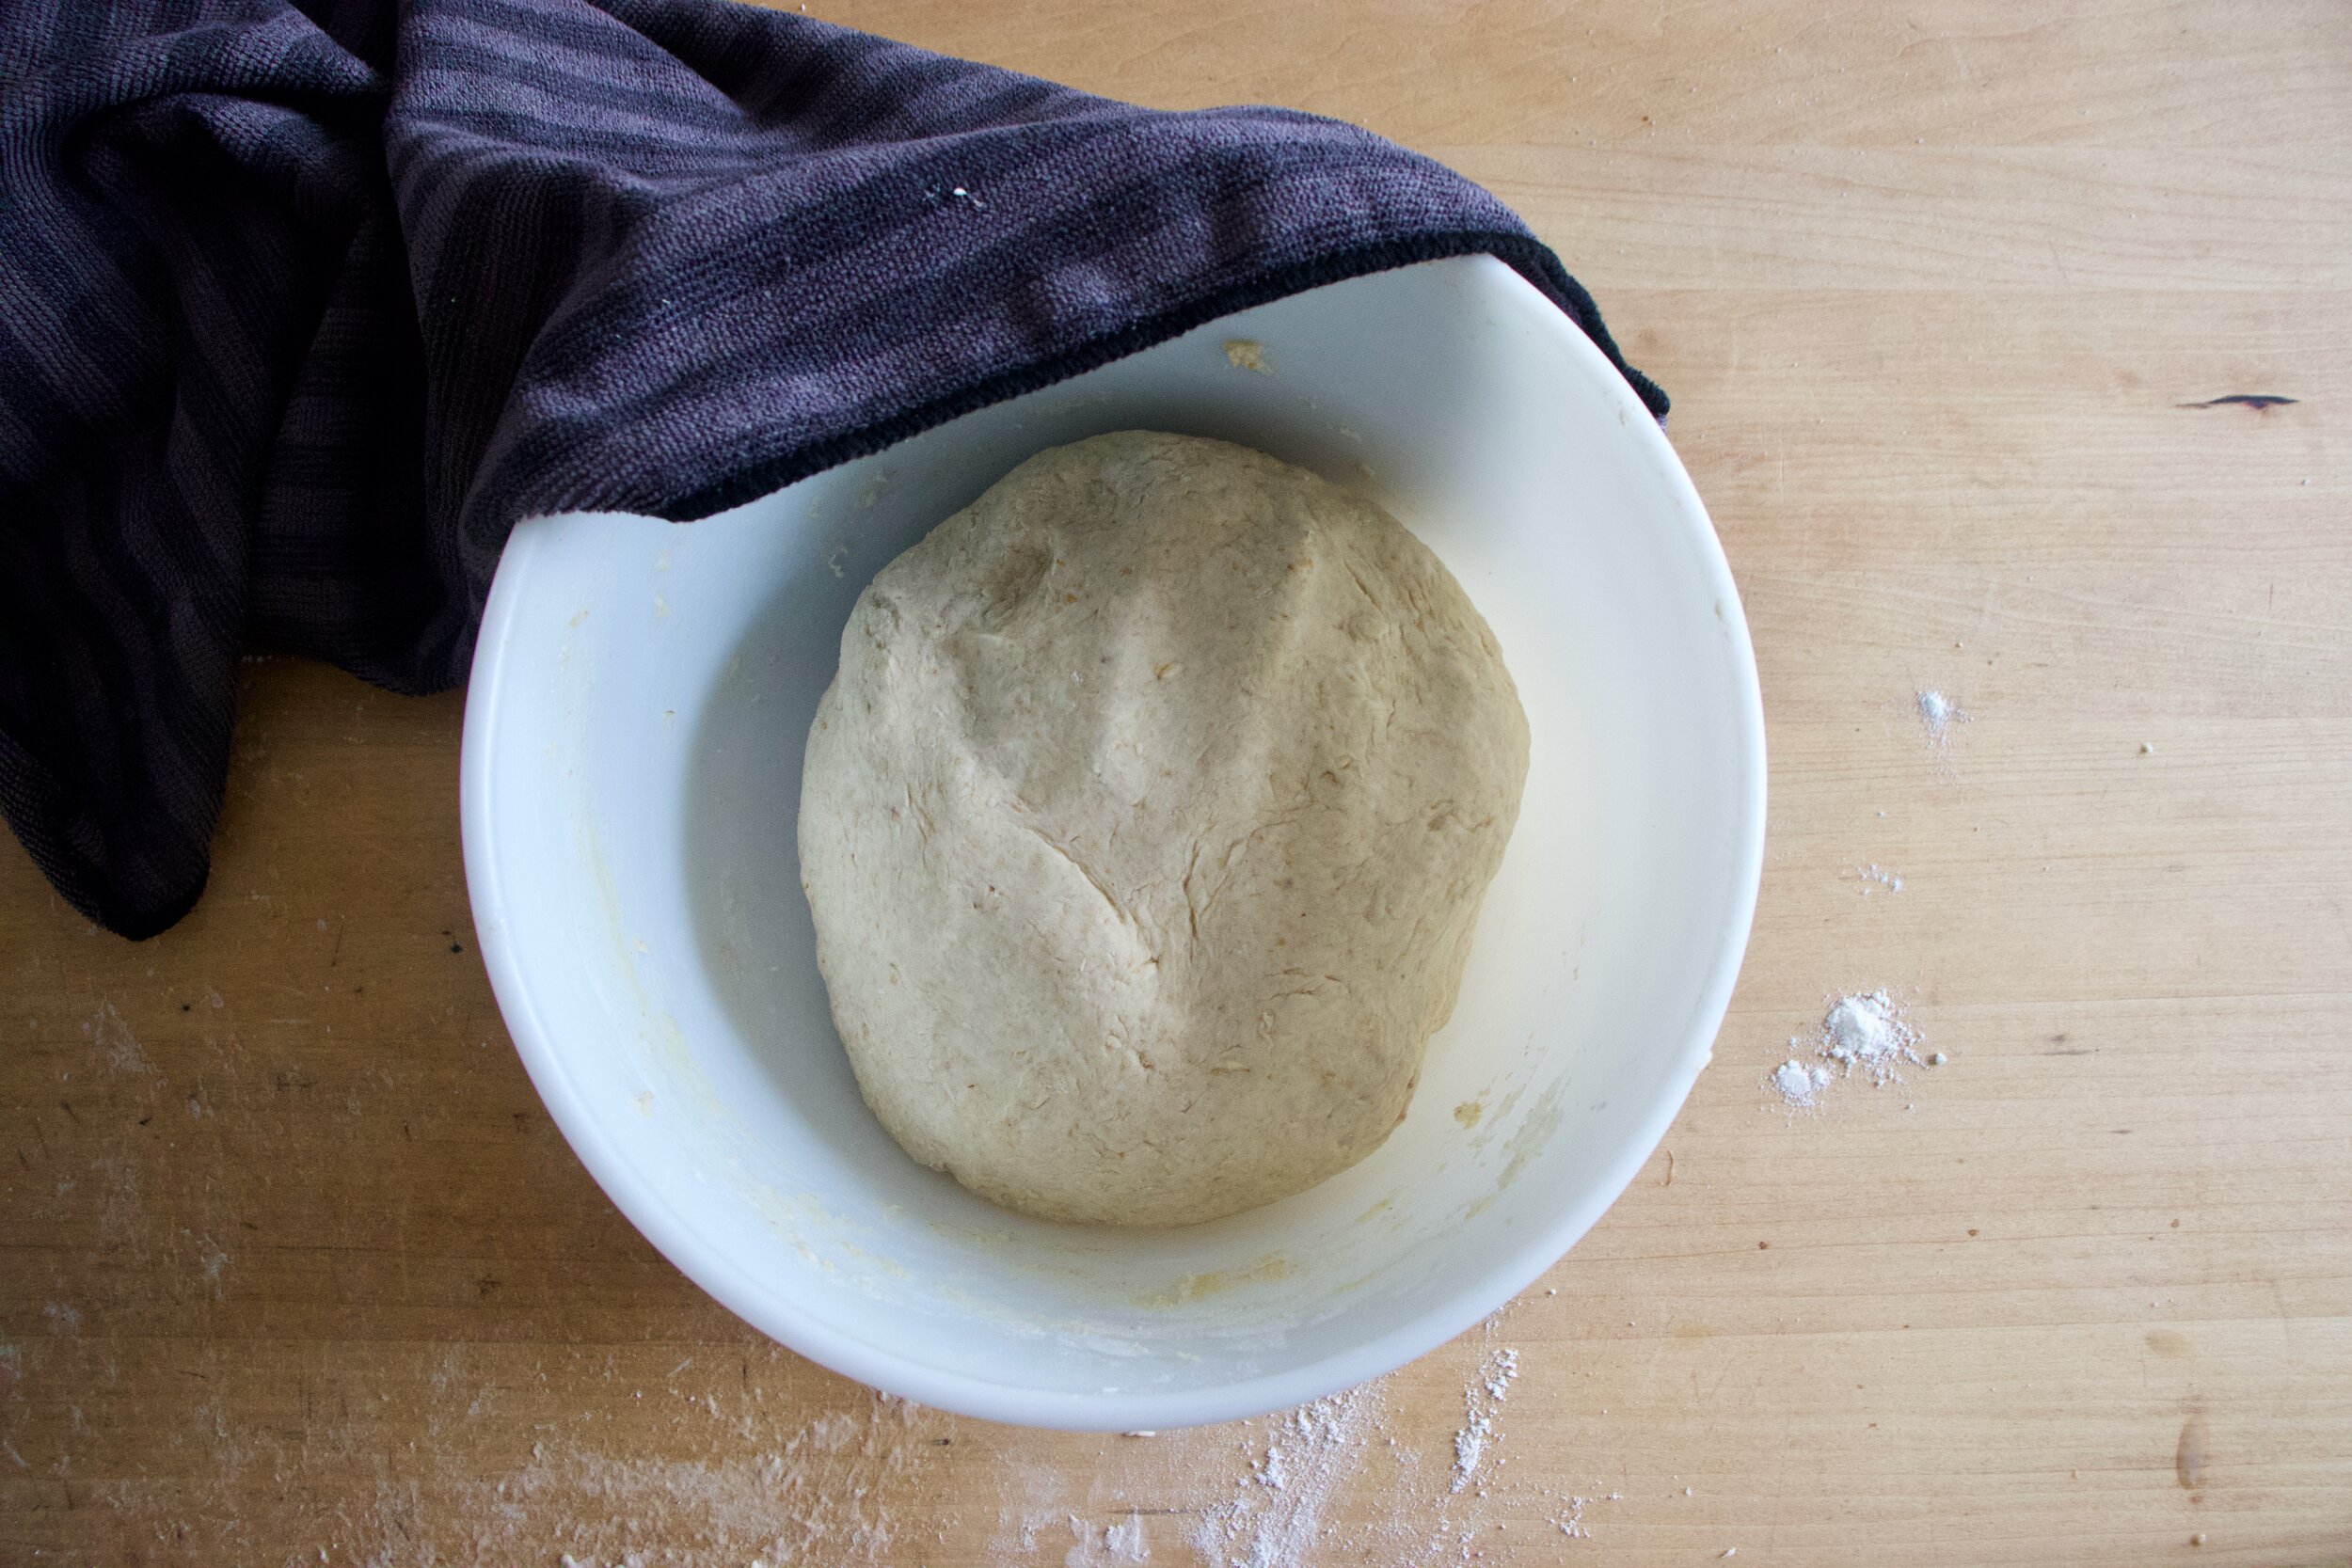
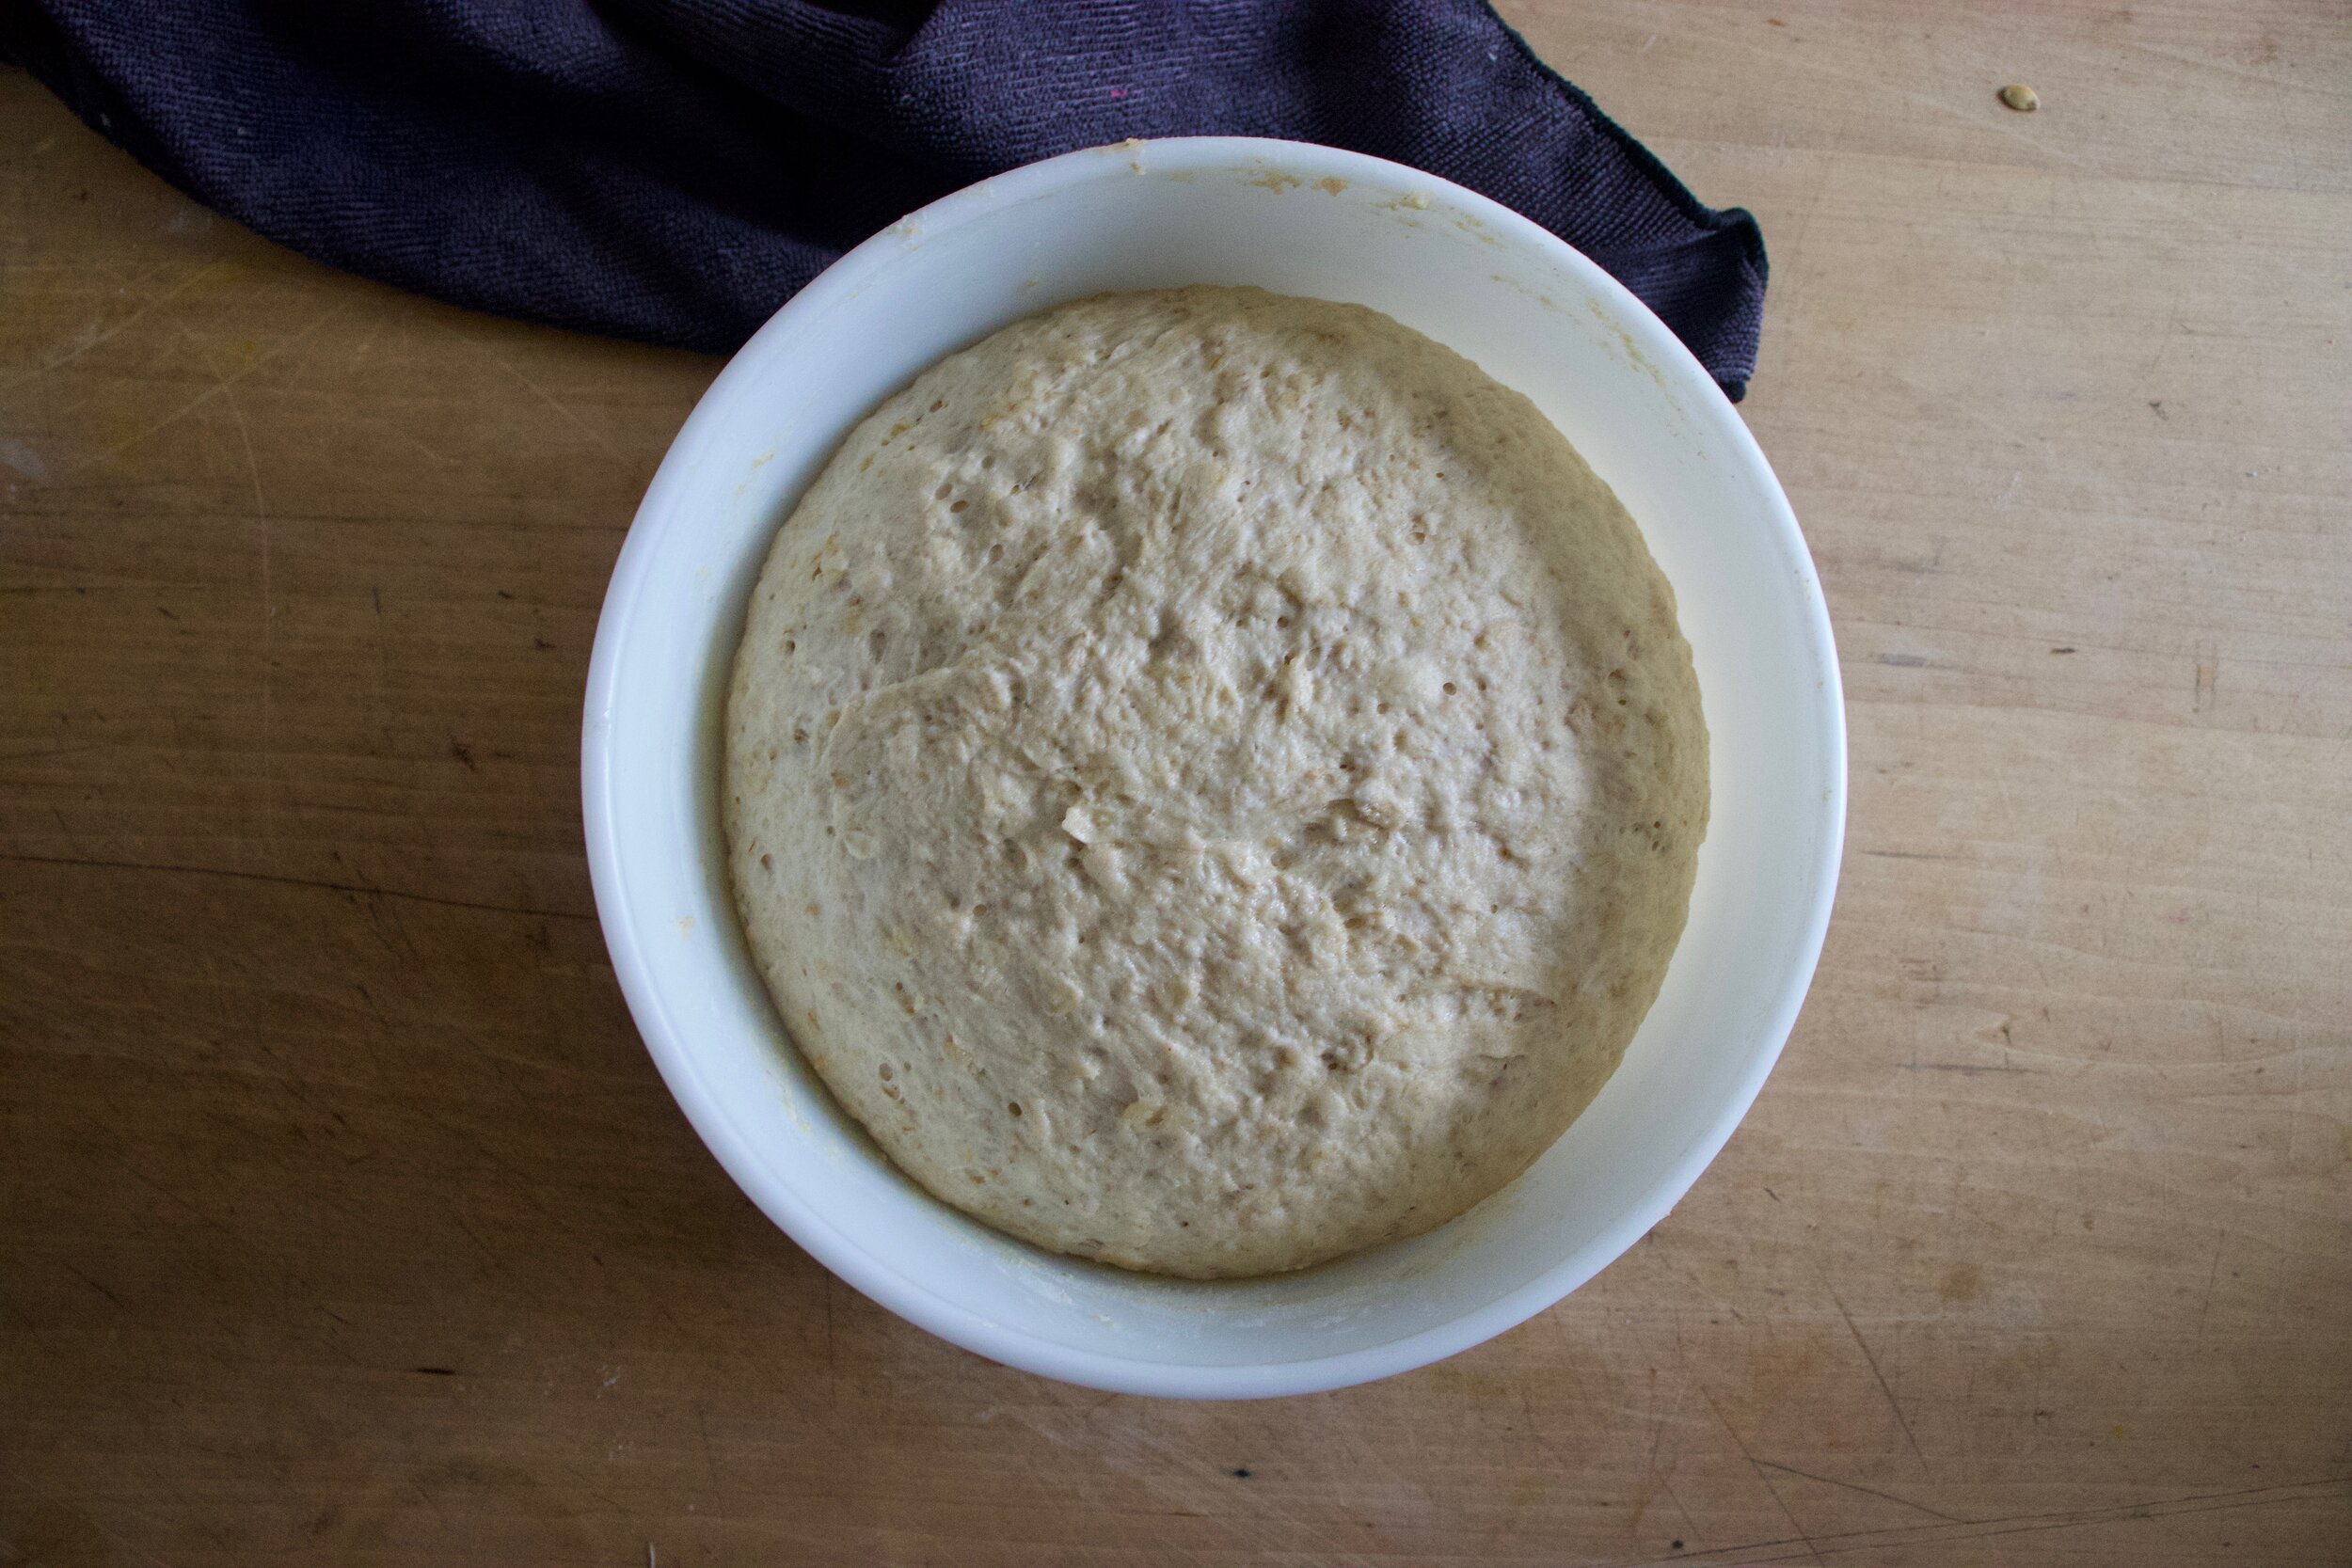
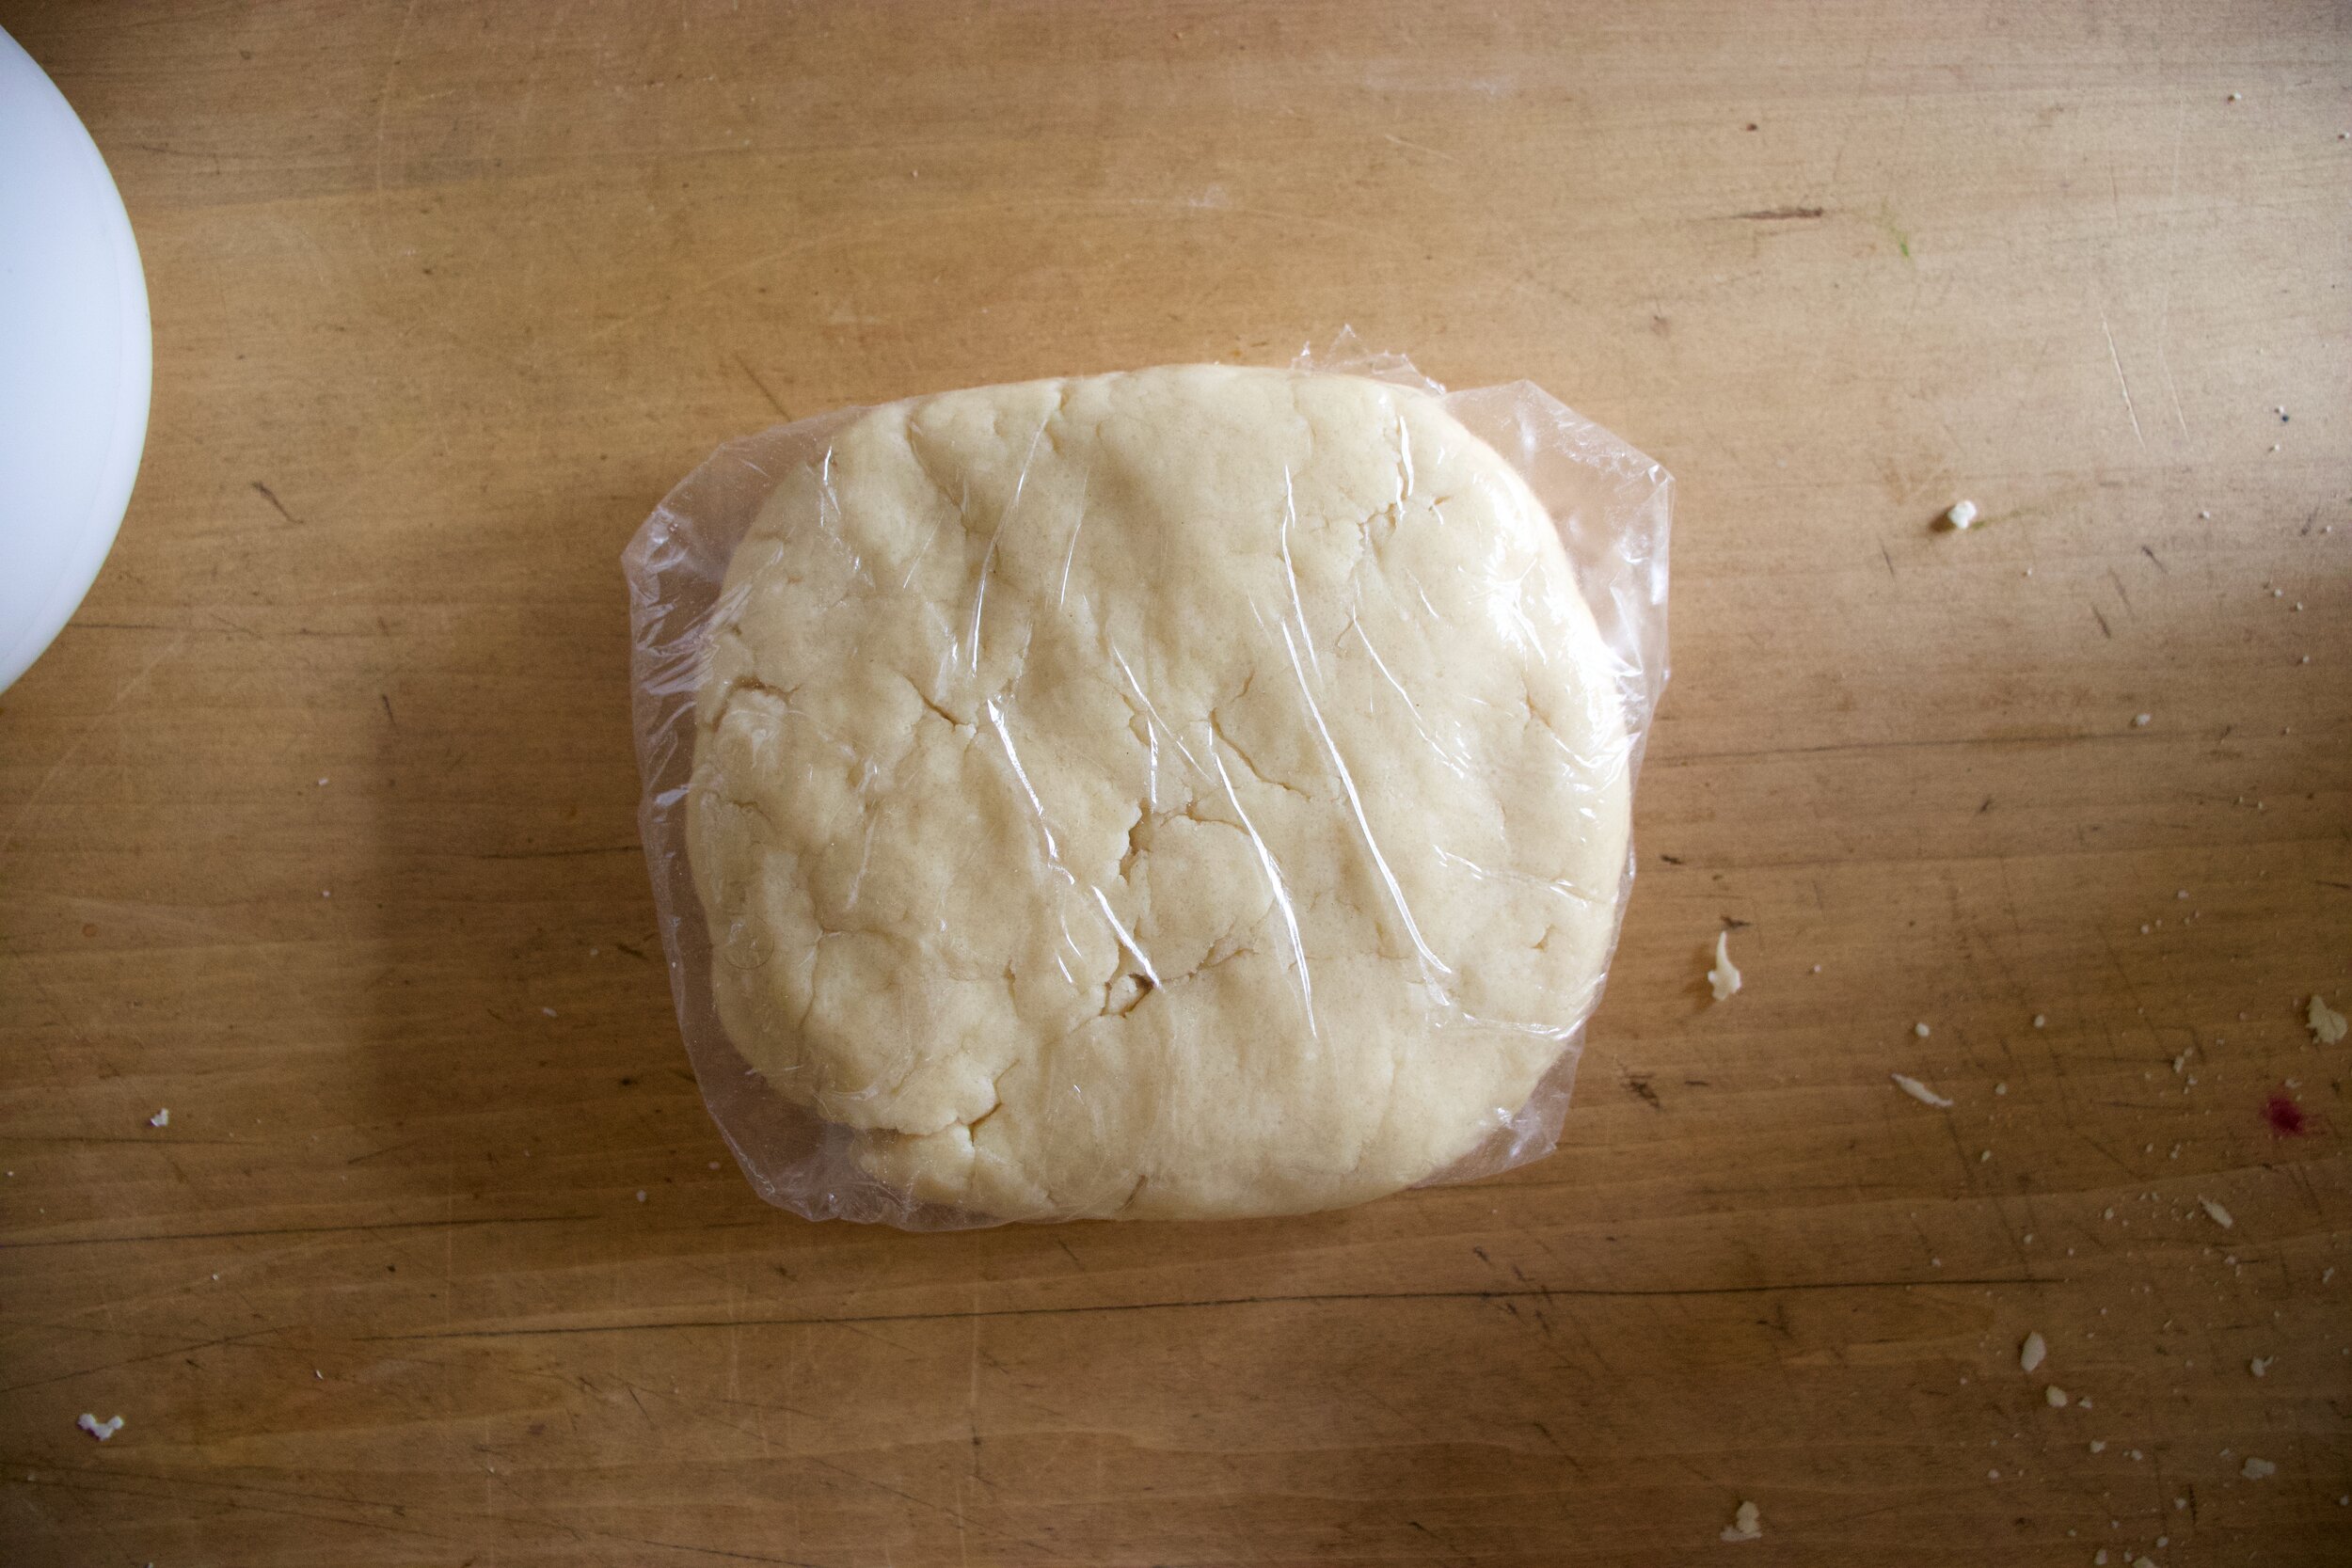
Place the dough back into the bowl and cover with a damp towel. Leave alone and let rise for about an hour or until it doubles in size.

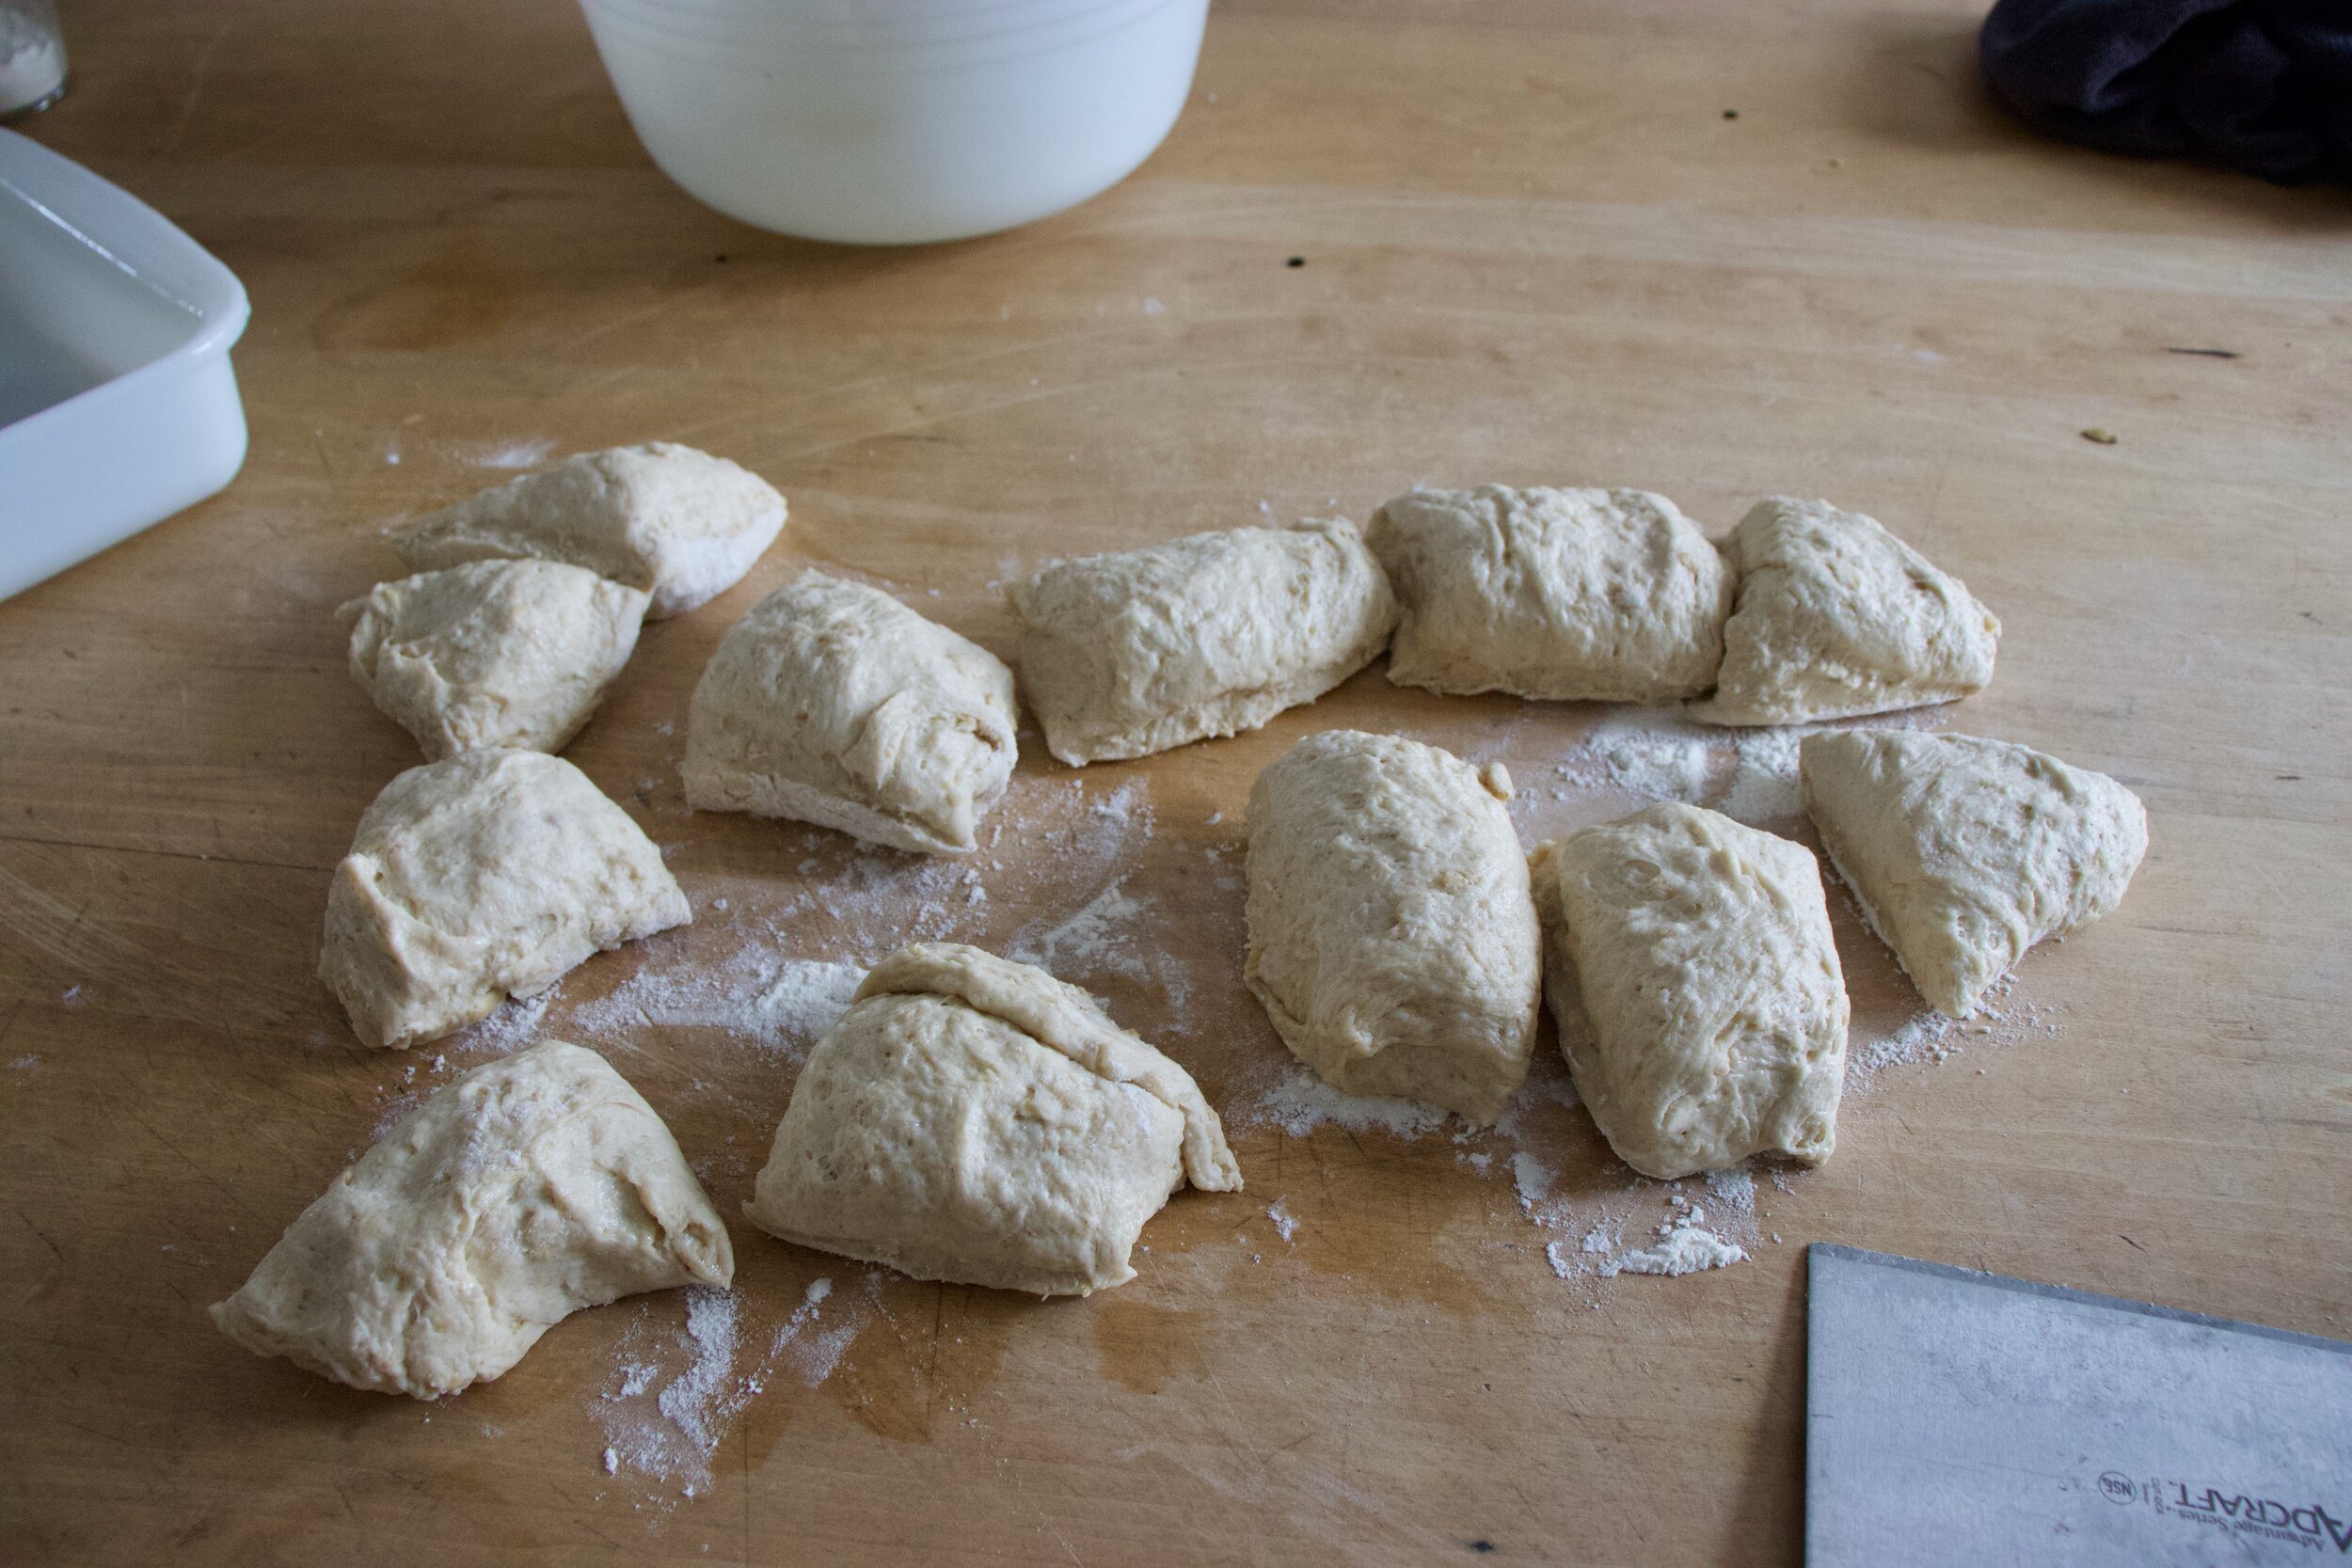
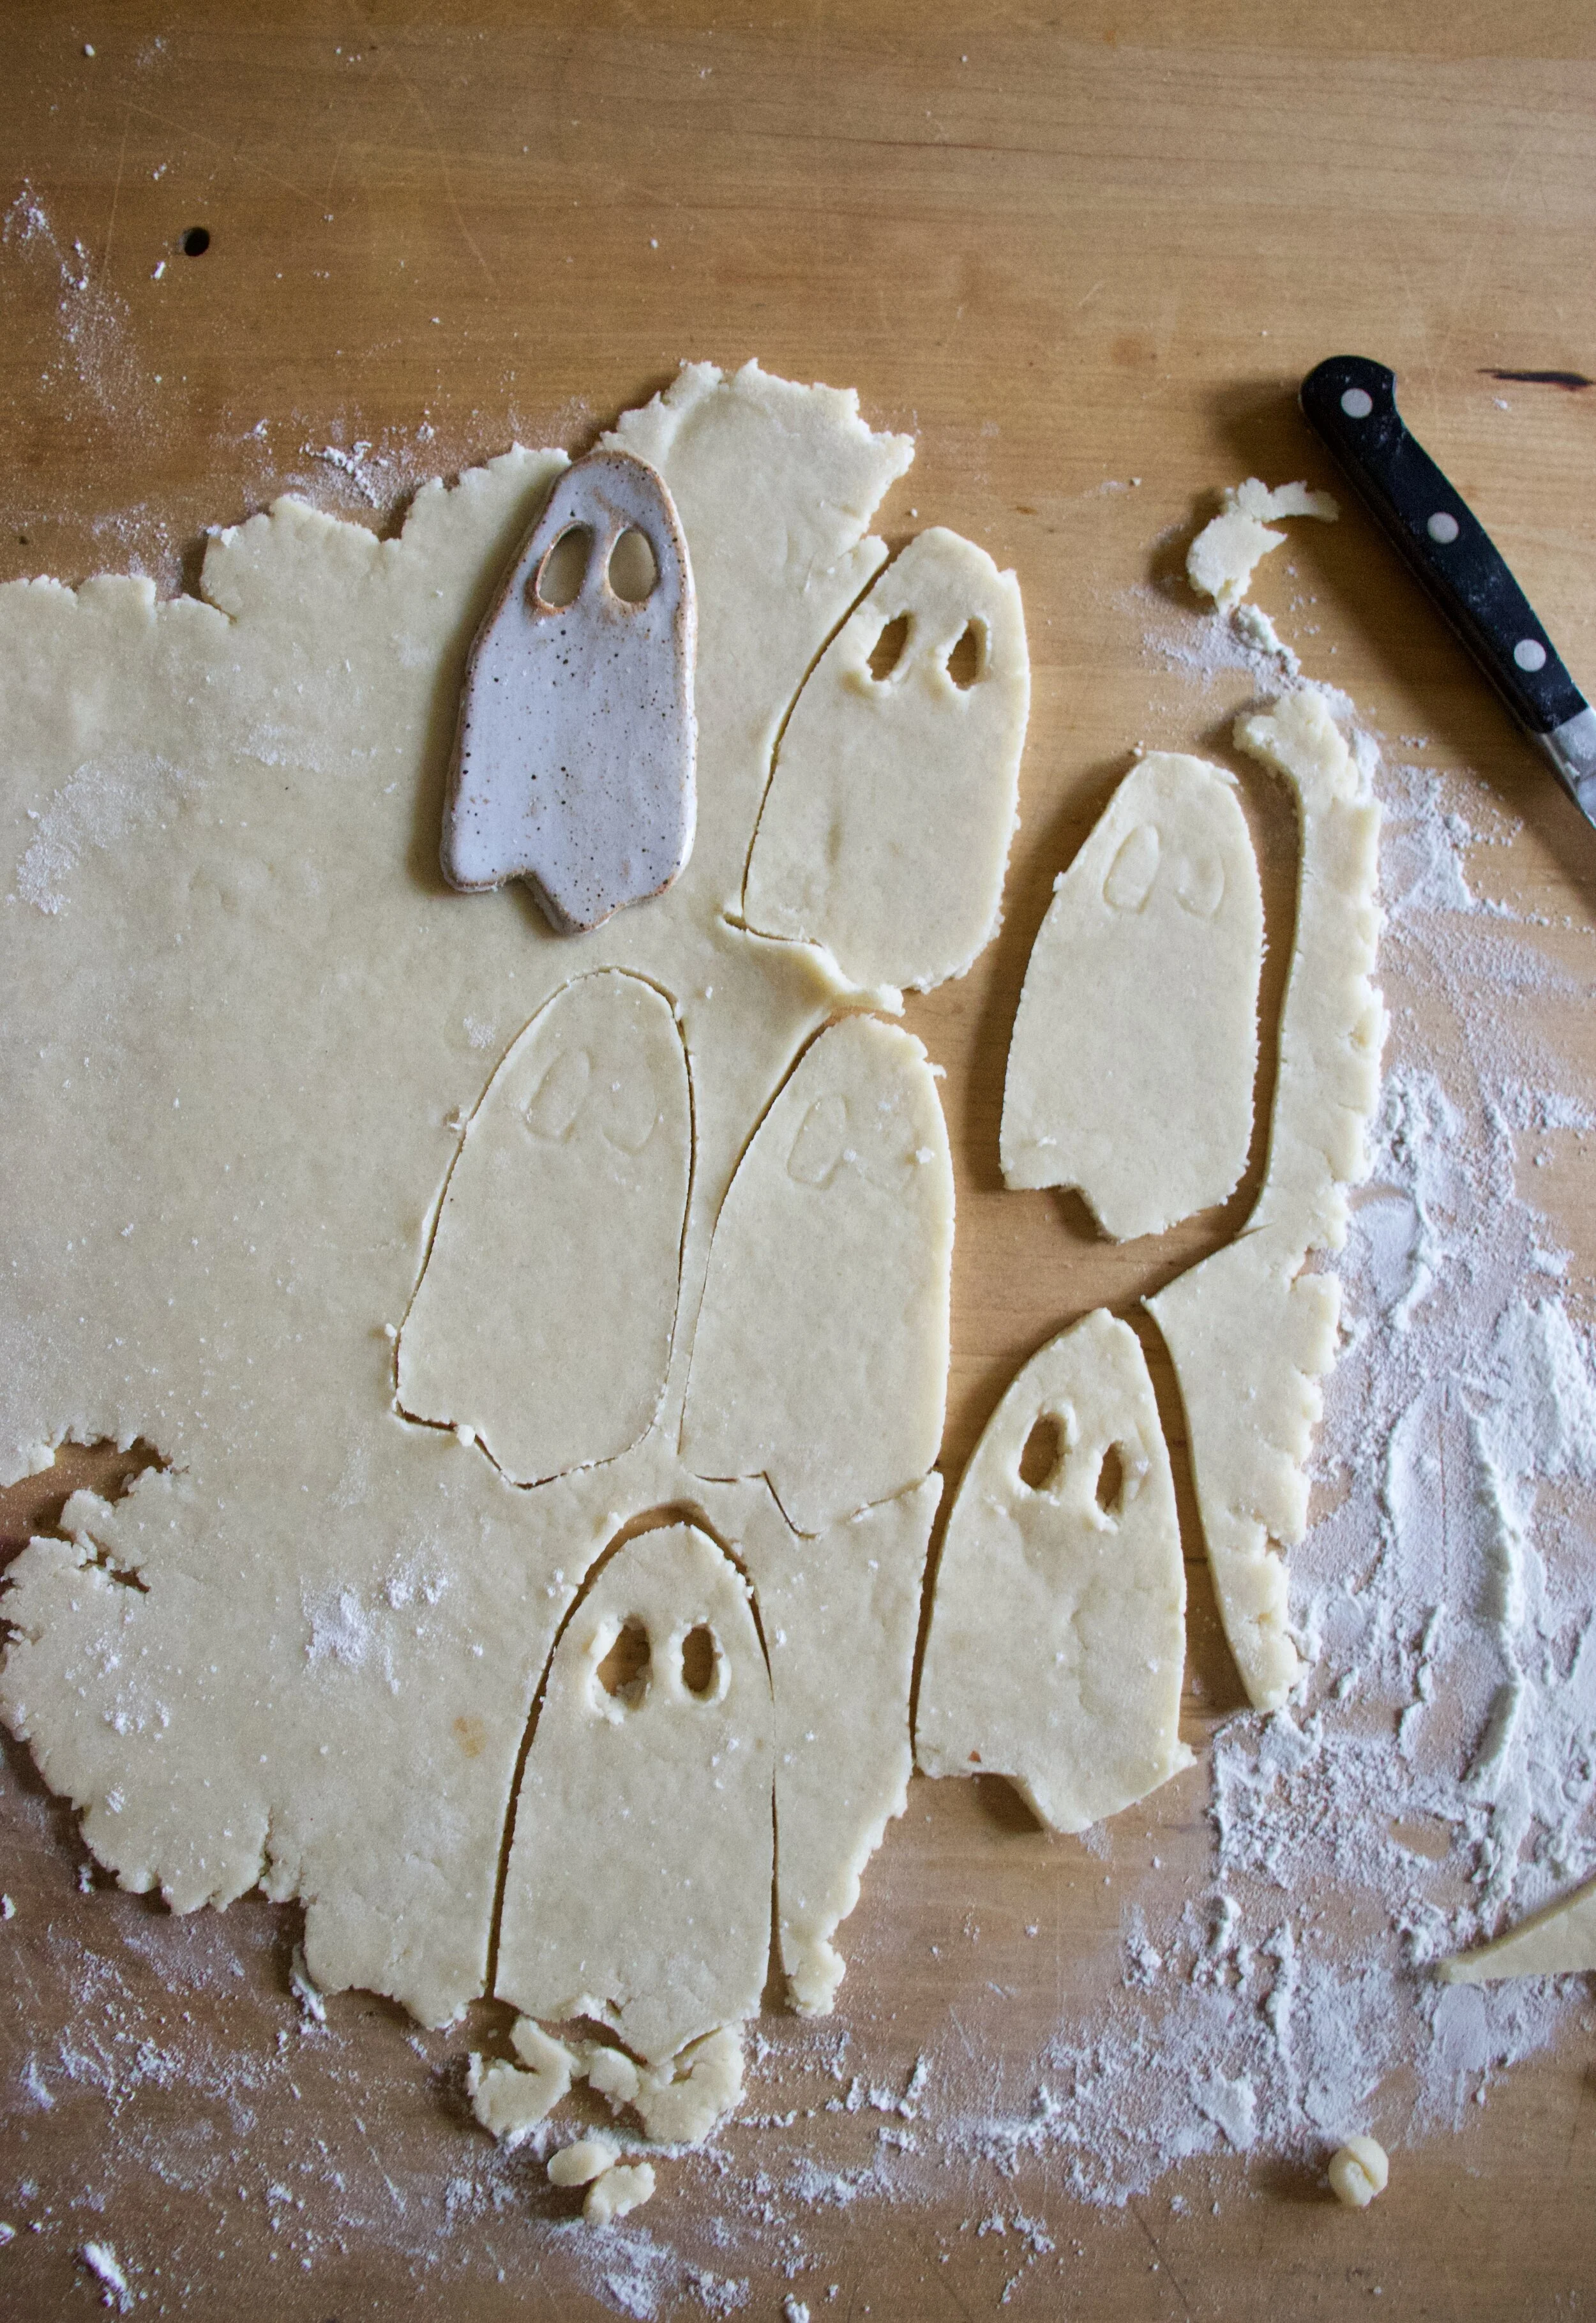
Once the dough doubles, dump out onto a lightly floured surface and cut into 12-16 equal sized pieces .

IMG_3758.jpg

Roll each roll into a roll shape and place them in a lightly greased baking dish. Cover for another 15-20 minutes to let rest and rise a little more.

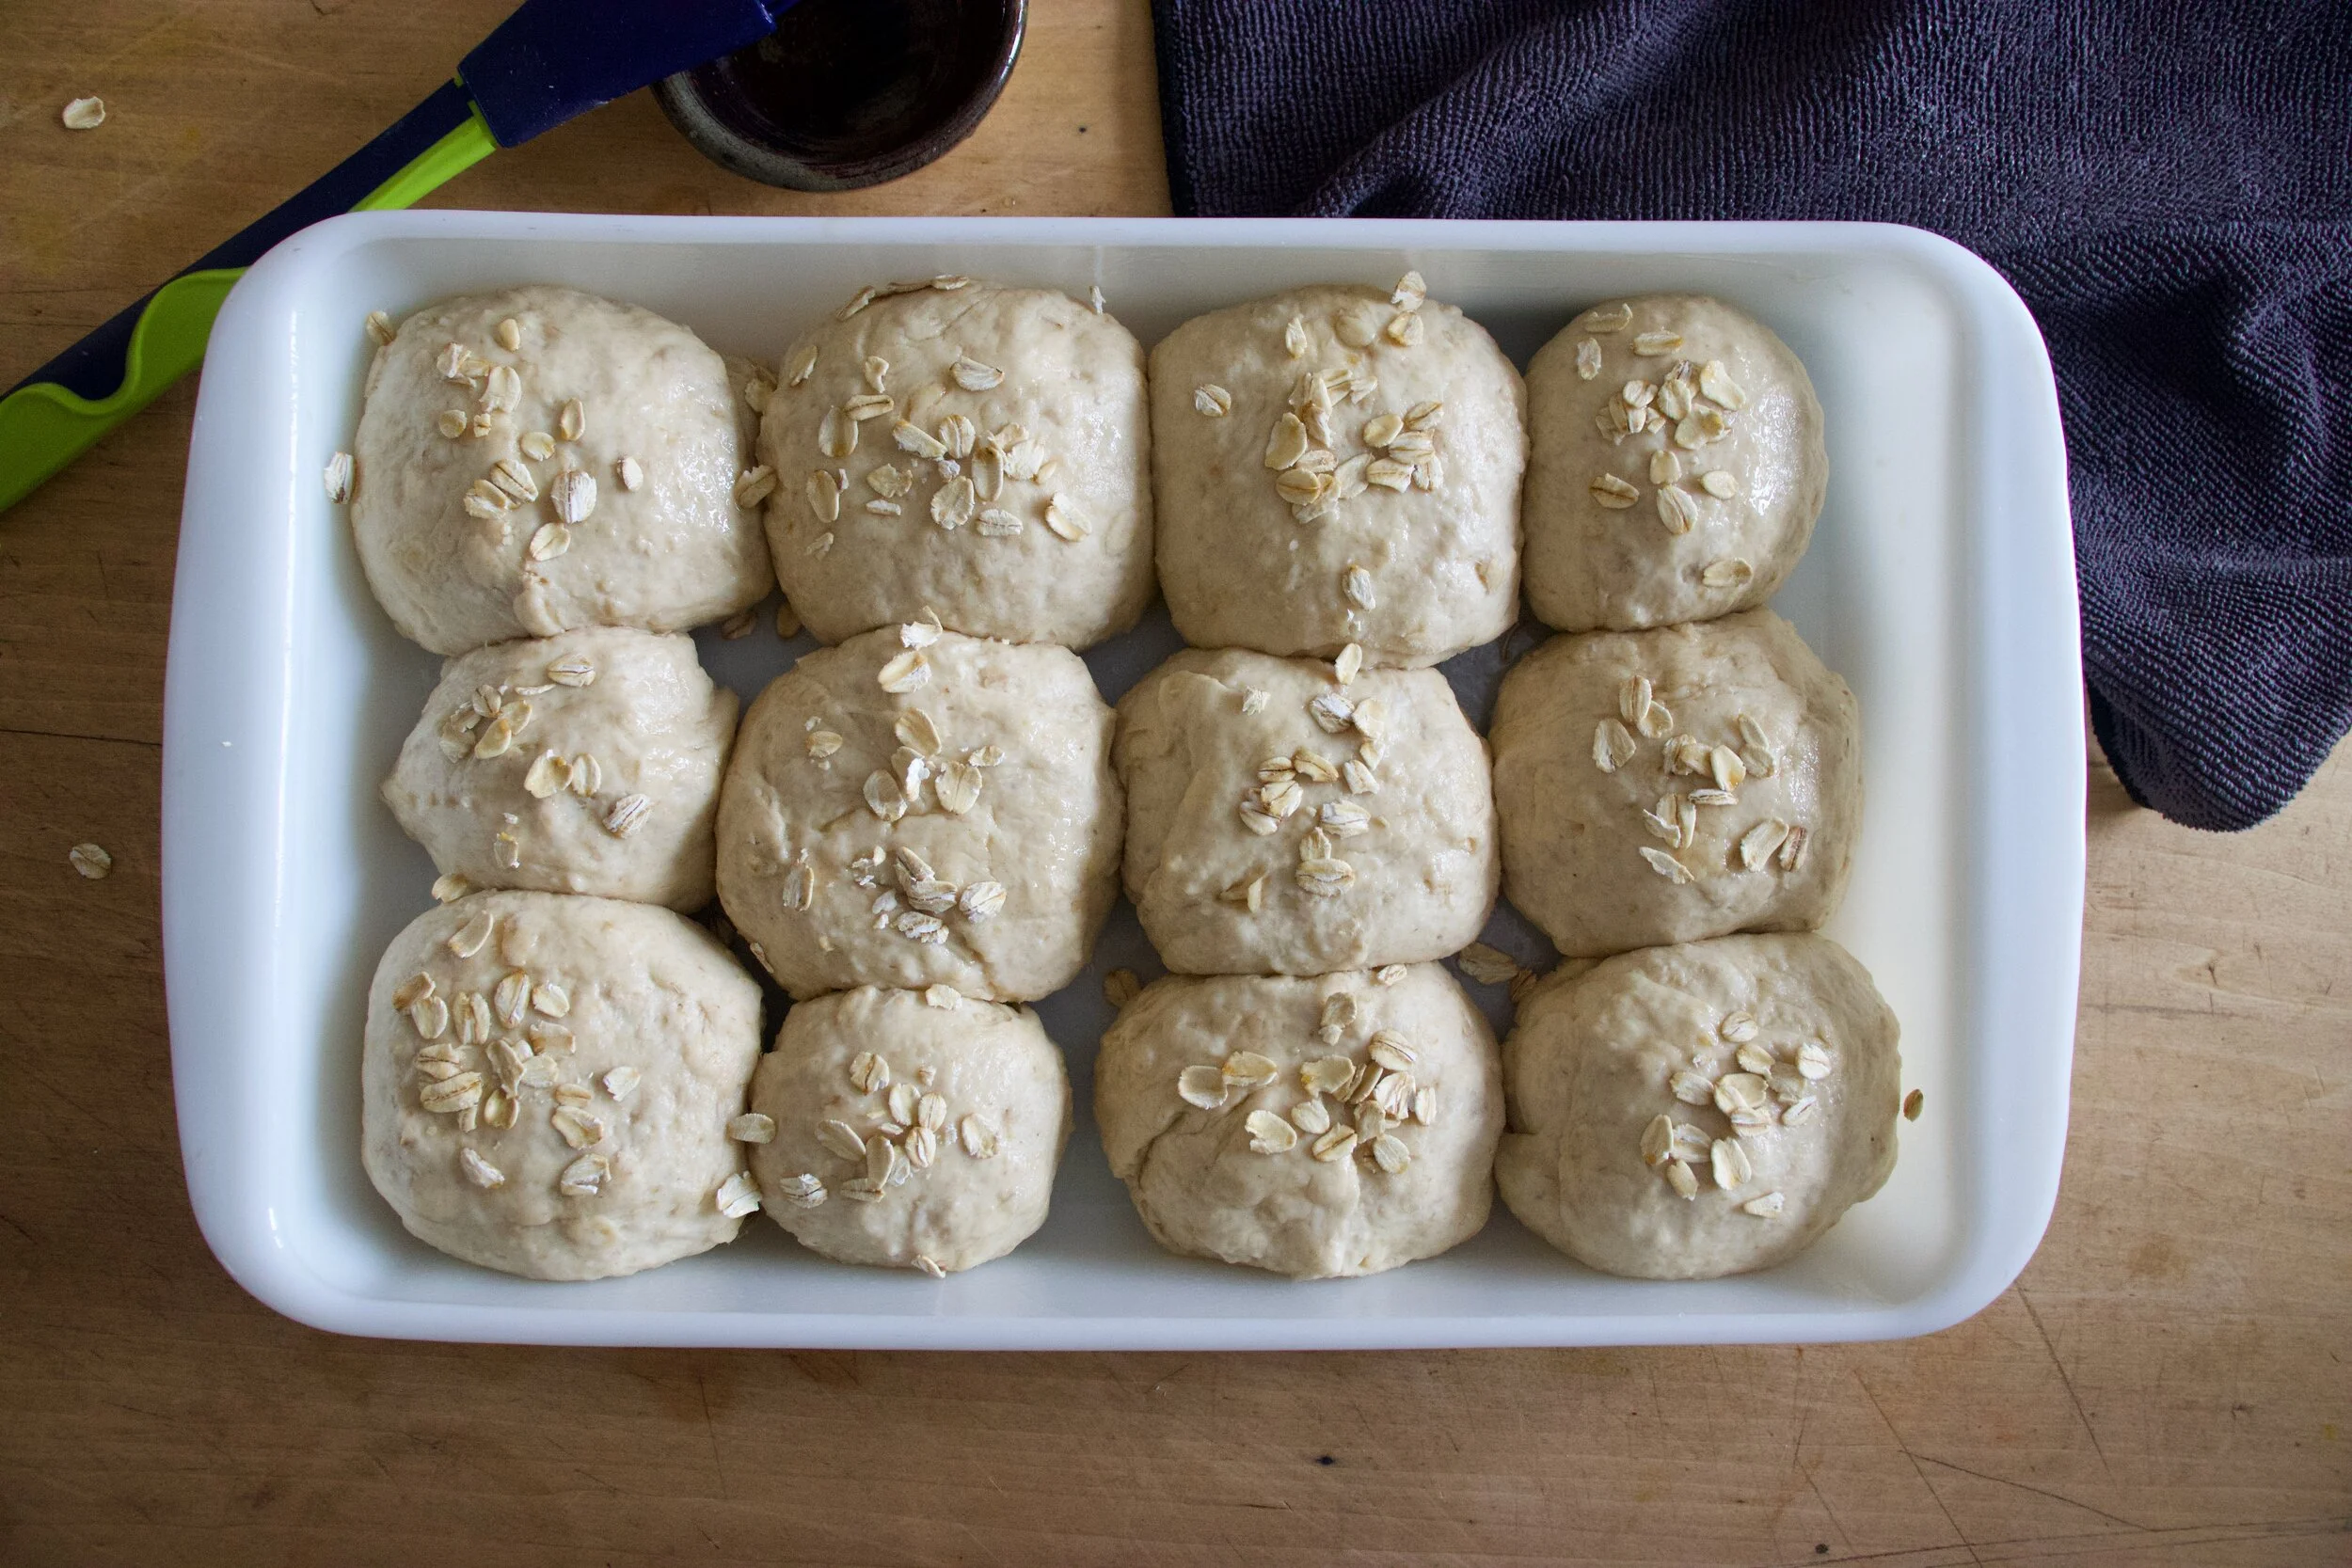
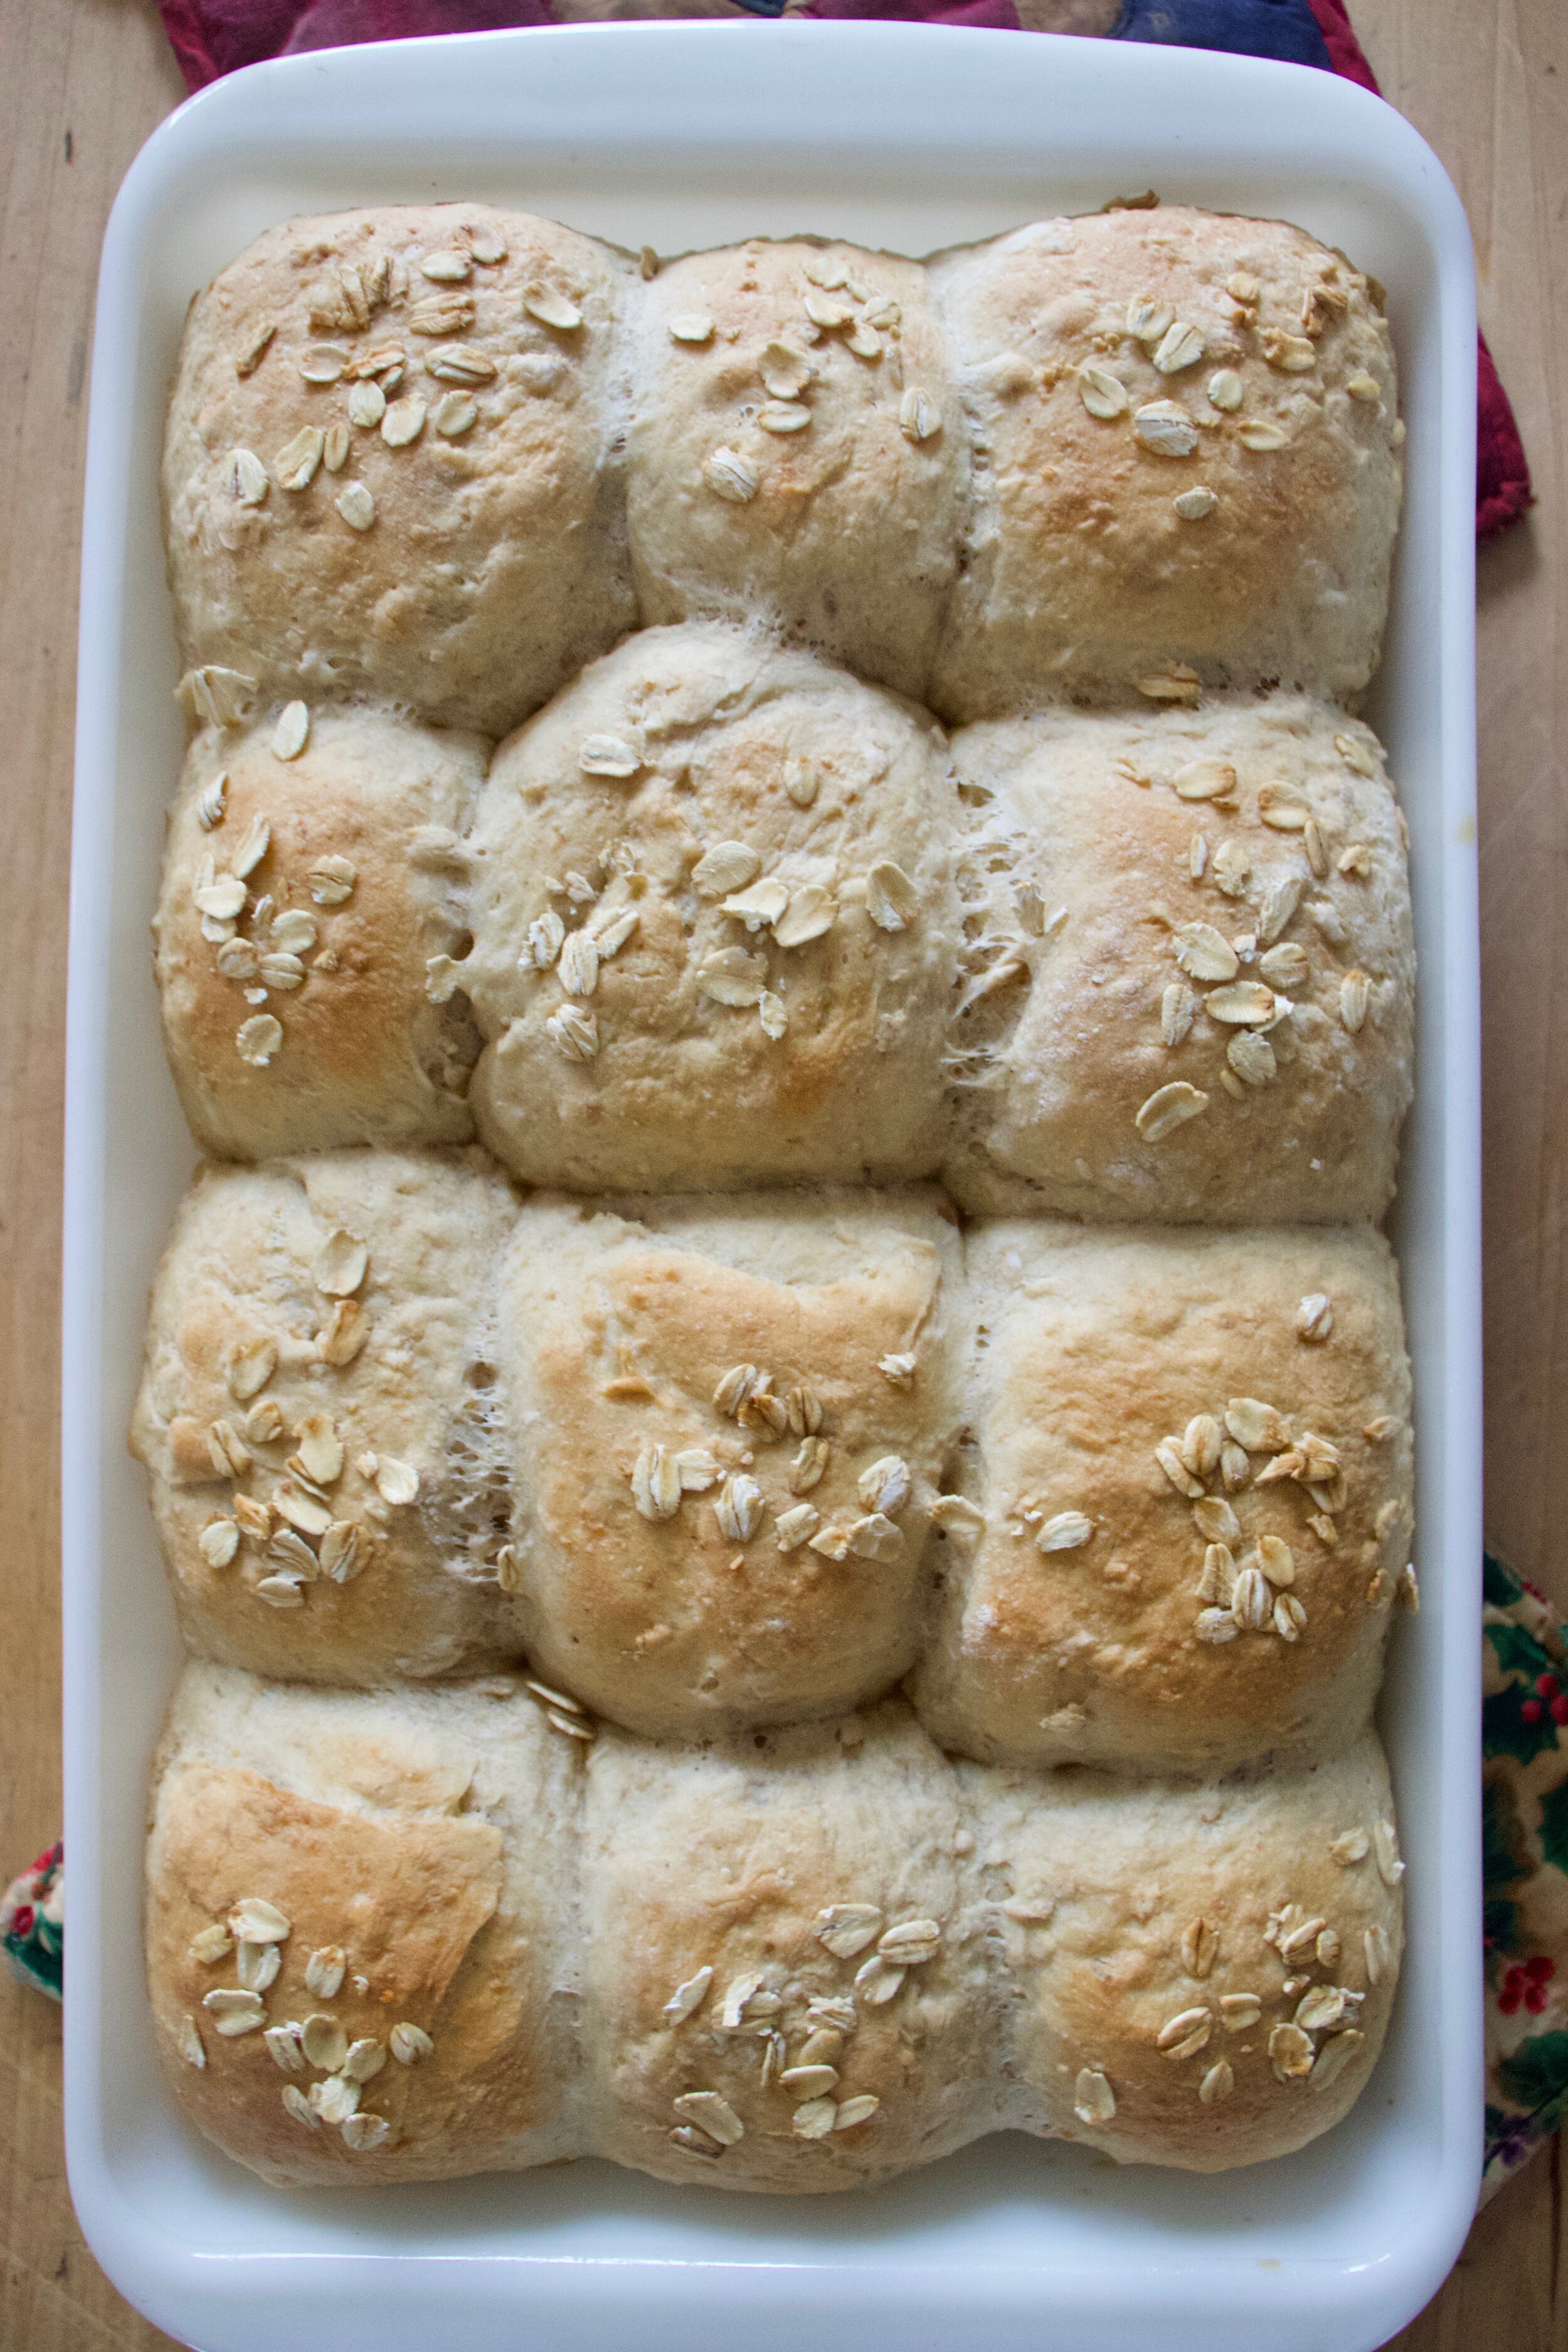
Rolls risen again, just a little plumper. And now right before you place them in the oven, brush tops with a maple/water mixture and sprinkle with a few oats. To look pretty. And into the oven they go, 30ish minutes, until nice and golden brown.

IMG_3788.jpg

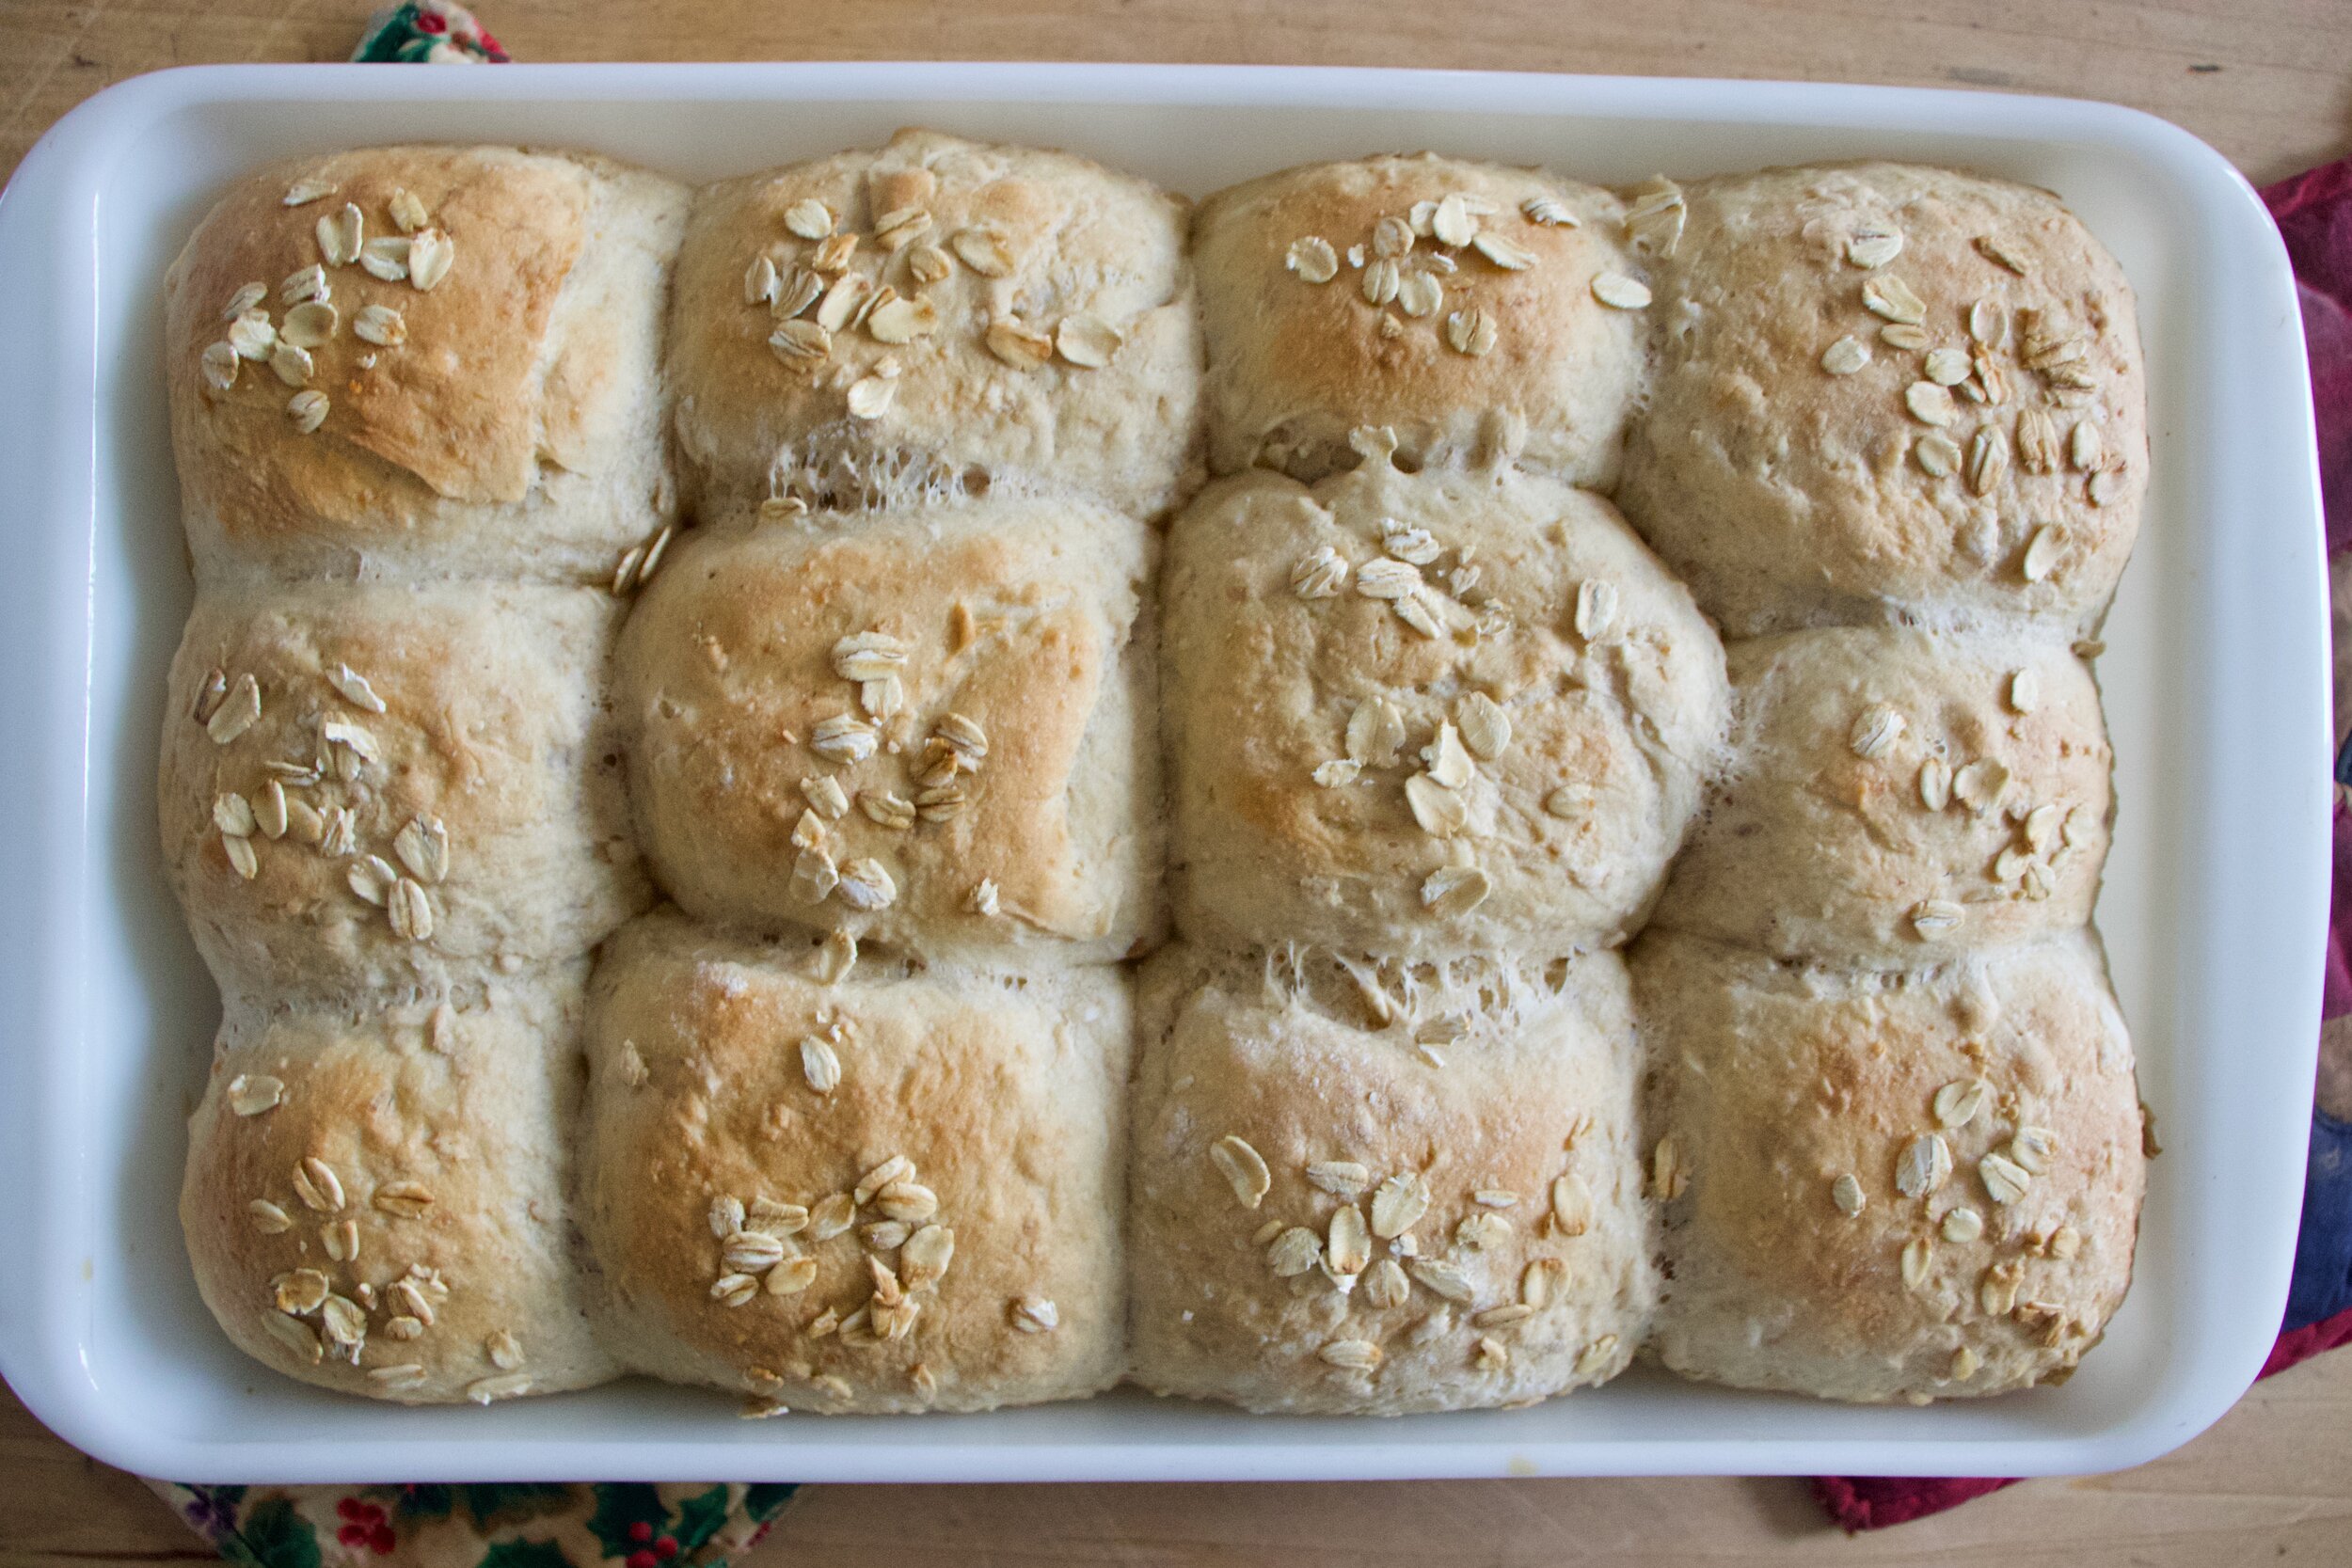
Baked to golden dinner roll perfection.

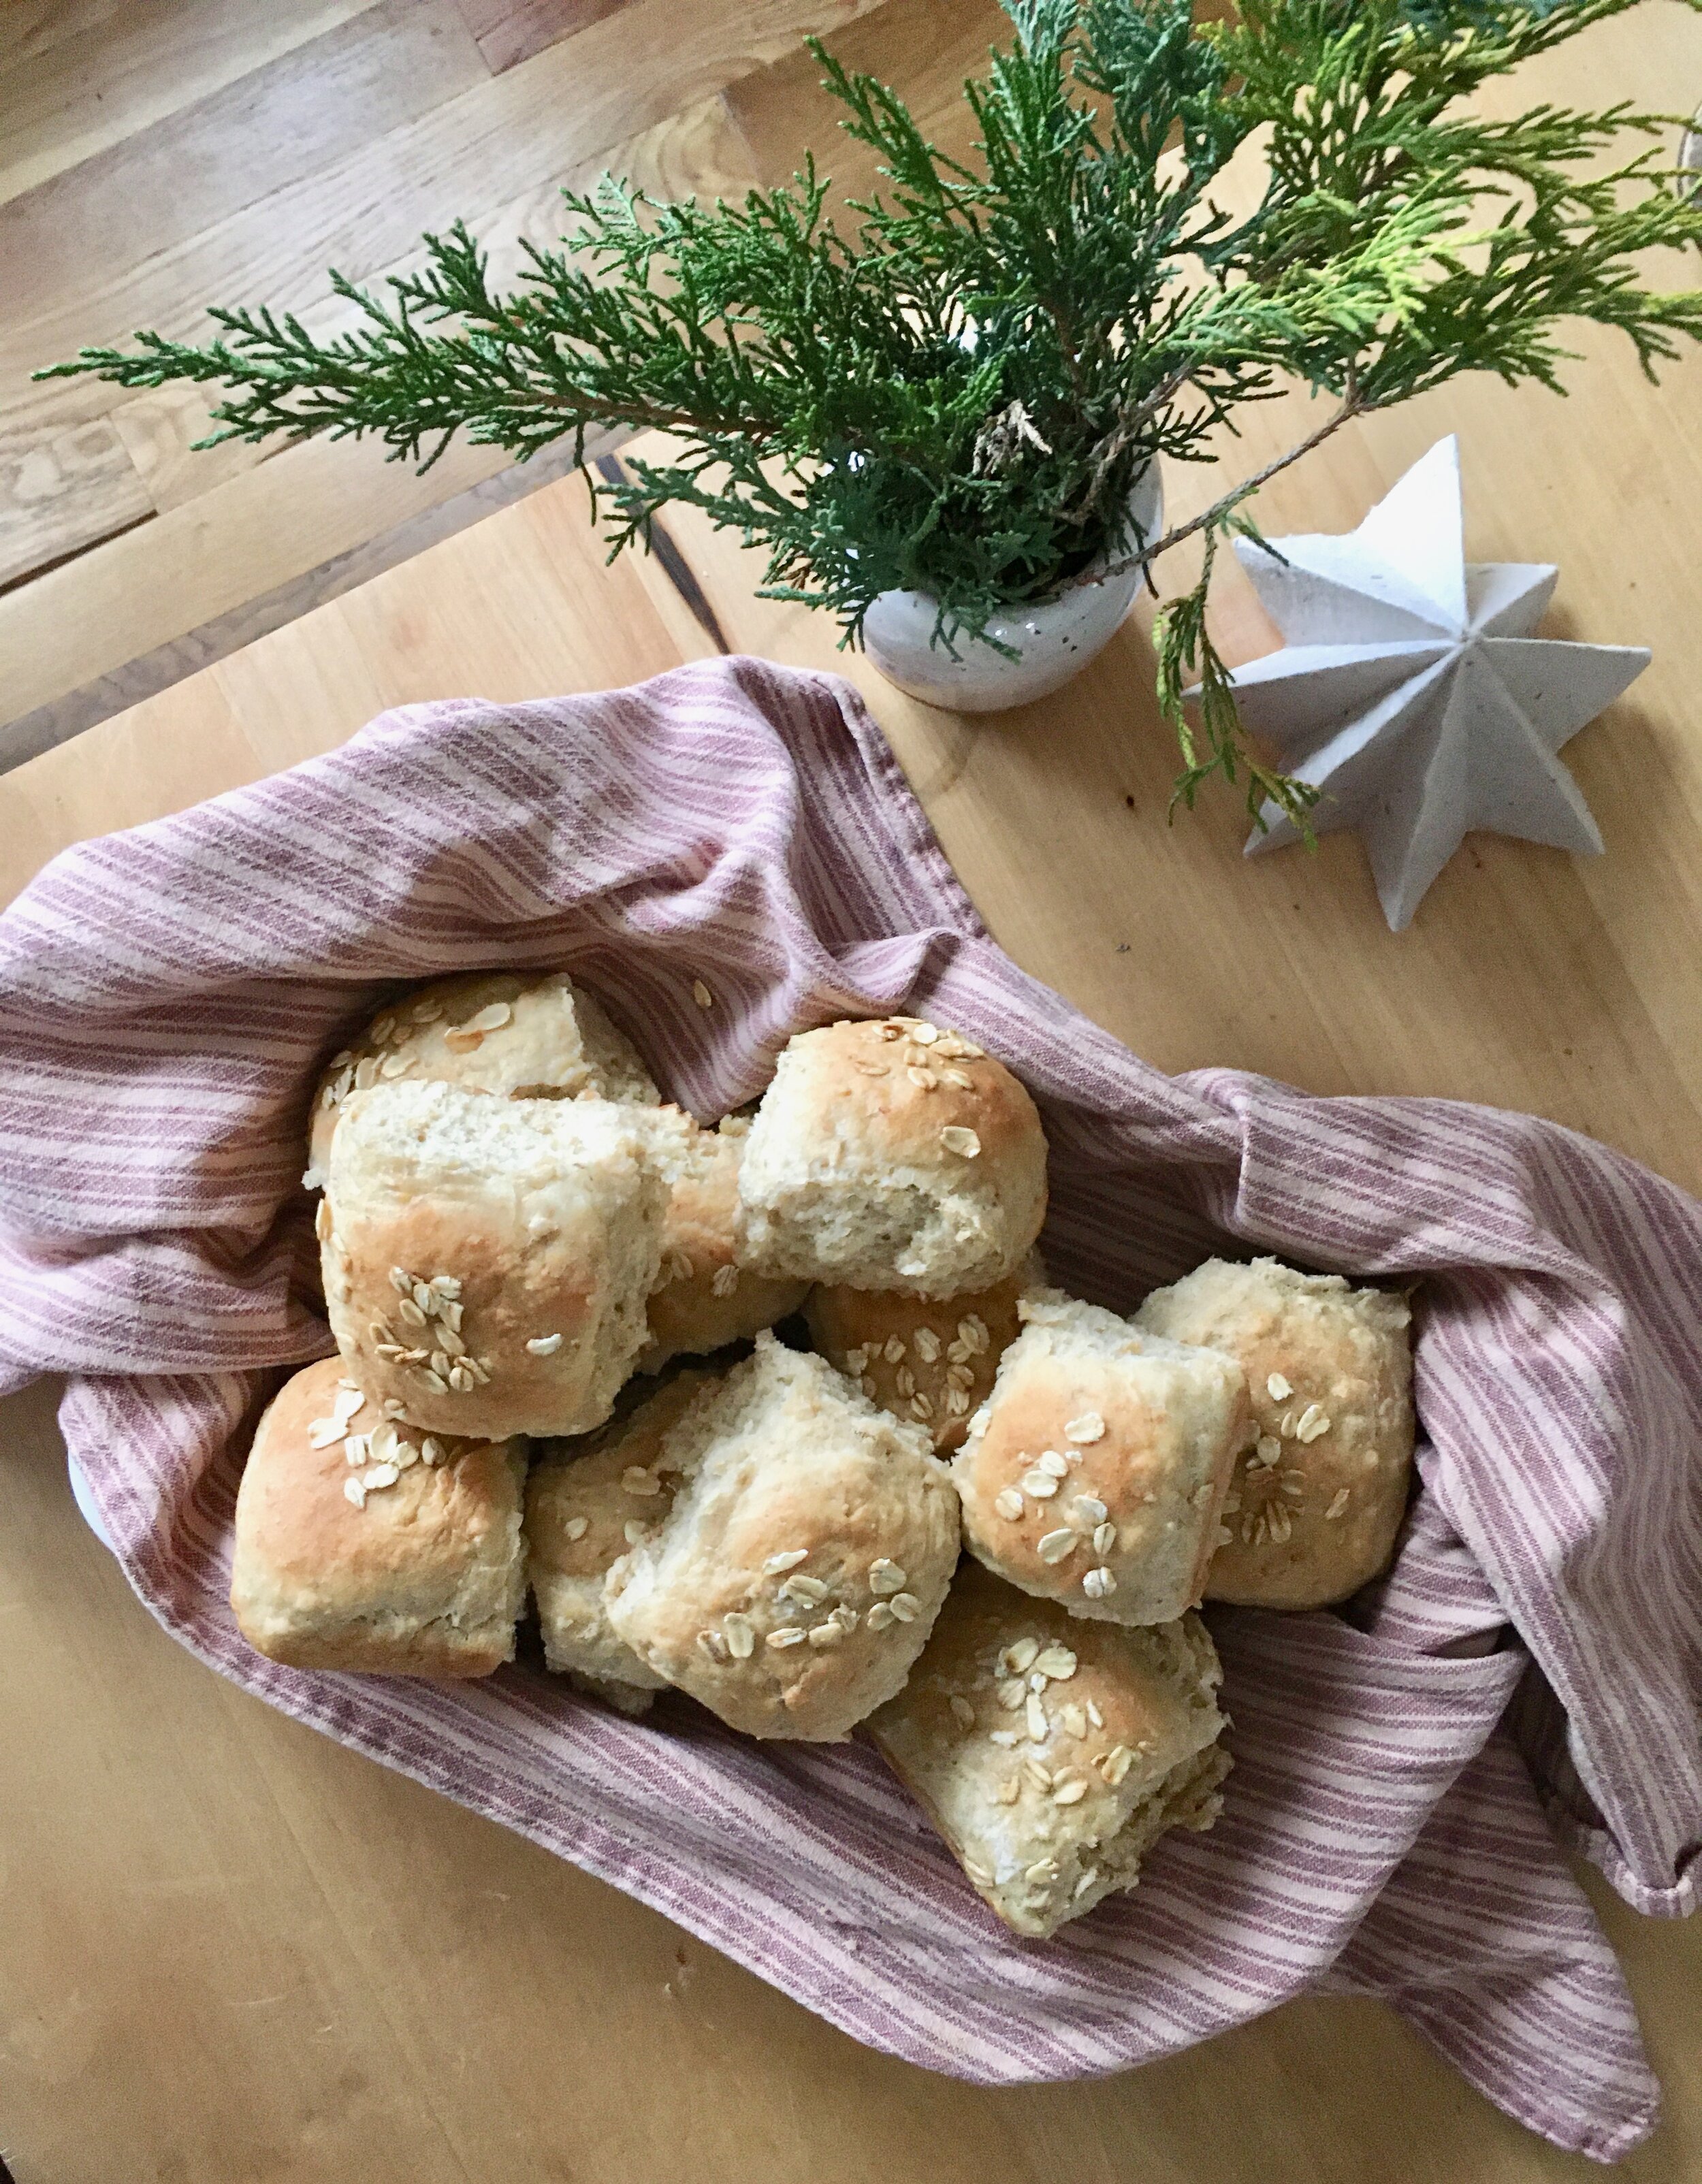
And there you have it. Soft and fluffy dinner rolls. Warm out of the oven, looking and smelling like all the good things that you want and need.

And can, and should, be made now and all year round.

-C


Soft and Fluffy Oatmeal Wheat Dinner Rolls

makes 12-16 rolls

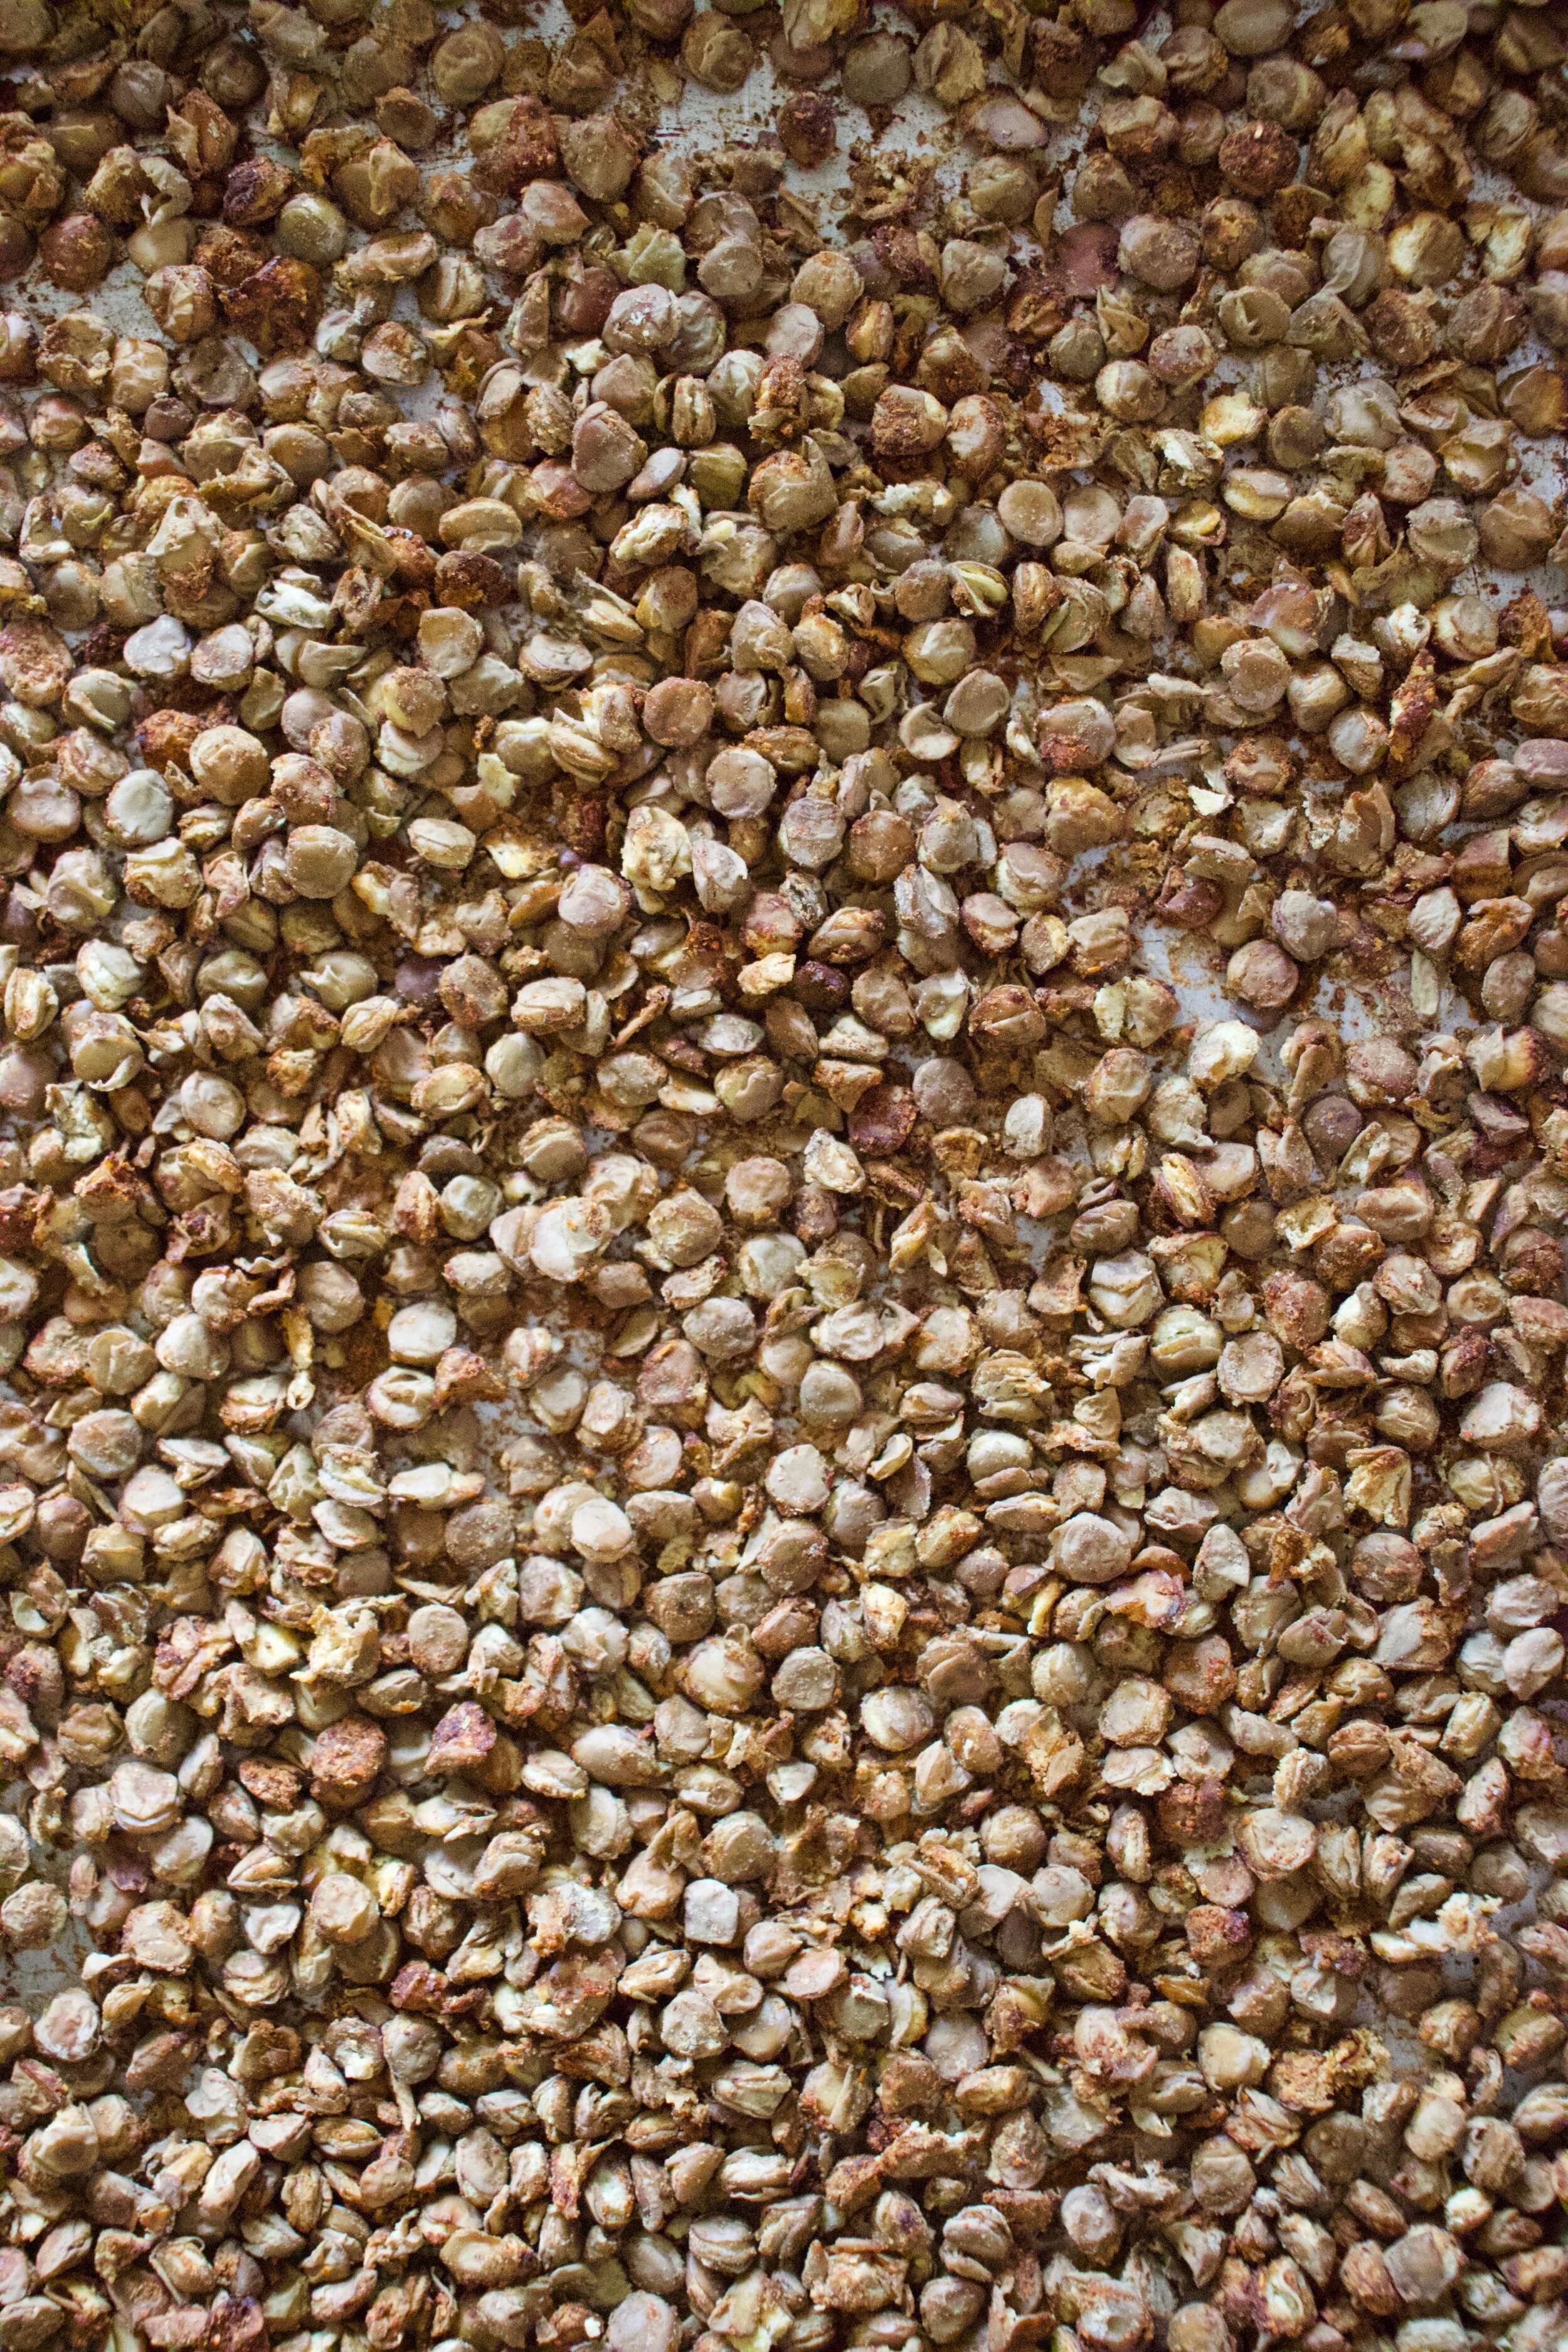
  • 1 1/2 cups old fashion oats

  • 2 cups all purpose flour plus more for kneading

  • 1 1/2 cups white whole wheat flour

  • 2 cups boiling water

  • 1 cup room tempature water plus 2 tablespoons for brushing tops

  • 2 teaspoons salt

  • 2 tablespoons maple or honey

  • 2 teaspoons yeast

  • 1/4 cup neutral oil

In a bowl, mix oats with boil water and let sit and soak for about 10 minutes. In the meantime, in a large bowl, mix the room temp water with the yeast and 1 tablespoon of maple and mix. Once oats have soaked and cooled to a point that they are not super hot, but still just warm, mix them in with the yeast mixture. Add the salt and oil and mix then and both the white and white wheat flour. Mix until combined. The dough is going to be sticky, but that how is should be. Dump the dough onto a lightly floured surface and knead for 3-5 minutes, adding a little flour as needed to keep from sticking too much, until dough is nice and uniformed in texture. Place dough back into big bowl (after you clean it out and lily oil it) and cover with a damp towel. Place somewhere warm for about an hour until it doubles in size.

Once dough has doubled, dump out onto a lightly floured surface and with a knife of dough cutter, cut into 12- 16 equal sized pieces. Roll each piece into a ball, pinching any ends together and place them into a 9x13 inch baking pan. Once all pieces are in, over and let rest for another 15 minutes.

While dough is resting again, preheat oven to 350.

After the dough has rested, and right before you place them in the oven, mix 1tablespoon of maple with about 2 tablespoons warm water and brush the tops of the rolls. Sprinkle with a handful of oats and then place them into the oven to bake. 30-35 minutes, until they are a nice golden brown.

Once baked remove from oven and let cool to a reasonable temperature and serve.

These can certainly be made a few days ahead of time of eating. Just remove baked rolls from pan and let cool completely then place the into an airtight bag. To reheat, just place on a baking sheet and stick in a hot oven until warm.

In bread, Vegan, holiday, grains, Dairy Free Tags Soft and Fluffy Oatmeal Wheat Dinner Rolls, Vegan, rolls, dinner rolls, easy, whole grain, whole wheat, holiday, bread, king Arthur flour, thanksgiving, oatmeal, healthy, plant based, home made, yeasted bread, dairy free
Comment

Carrot Ginger Falafel With Tahini Cabbage slaw

November 2, 2019 Colleen Stem
IMG_3399.jpg
IMG_3442.jpg

If you are a falafel fan, as I am, then this one is for you. Carrot ginger falafel. Oh yes. Warm and spicy and carroty and all the things that are good, packed into a chickpea ball of mouth sized proportions. When I thought of it it sounded good, When I made it and ate it, it was everything and more I could have asked for in a freaking fantastic falafel. As for the tahini cabbage slaw, I might just be making it in my house every dang day. Super easy, super tasty, goes with the falafel like whoa but is just as good eaten on it’s own. Eaten together the pair make every inch of mouth space happy. A happy mouth space, what more can you ask for?

To the falafel!

The stuff. Cooked chickpeas, carrots, a piece of fresh ginger, tahini, soy sauce, cabbage, an onion, a few cloves of garlic, red wine vinegar, some cumin and red pepper flakes, a lemon, chickpea flour, salt and pepper, and oil.

IMG_3272.jpg
IMG_3276.jpg

Start off by chopping the carrots into small pieces. Then cut half of the onion into small pieces. Rough chop the garlic and the ginger as well. No need to peel ginger unless you really want to.

Place it all into food processor and pulse until a small crumble.

IMG_3287.jpg

Carrot onion garlic ginger mixture.

IMG_3299.jpg
IMG_3310.jpg

Dump mixture into a skillet with a splash of water. Add in the cumin, chili flakes, and a good pinch of salt and pepper and cook on the stove for 5-8 minutes until the crumble softens and becomes fragrant.

Dump carrot ginger mixture back into food processor along with the chickpeas, chickpea flour, and the juice of the lemon. Puree until smooth.

IMG_3335.jpg

Carrot ginger falafel mixture. Now stick it in the fridge. For a little while to a day, just to let it set up a bit.

IMG_3340.jpg

And in the mean time you can make the slaw. Shred cabbage and cut up onion all nice and thin.

IMG_3348.jpg
IMG_3358.jpg

Dump tahini, soy, vinegar, and a few tablespoons warm water into bowl and mix until creamy and good.

IMG_3363.jpg

Toss in that cabbage and onion. Now you have tahini cabbage slaw.

IMG_3375.jpg

Now to cook falafel. Grab the batter, scoop into balls then smoosh into disks. Place in a light oiled skillet and brown each side a nice golden brown.

IMG_3389.jpg
IMG_3392.jpg

After browning, place on a baking sheet. Once all the falafel has been browned, place the baking sheet into the oven to finish up cooking. 20 minutes or so and you got yourself falafel.

Then eat it. Falafel topped with tahini cabbage slaw. That is how it’s done, with or without wraps or pitas or whatever your want. Just as it is. Falafel, cabbage slaw, into mouth.

Good things friend.

-C


Carrot Ginger Falafel With Tahini Cabbage slaw

serves 3-4 people or makes 14-16 falafel balls

  • For the falafel

  • 2 cups cooked chickpeas drained

  • 3-4 carrots (around 2 cups diced)

  • 1/2 of a red onion

  • 2 inches fresh ginger

  • 2-3 cloves garlic

  • 1 teaspoon cumin

  • 1/2 teaspoon chili flakes

  • 1/3 cup chickpea flour (can sub in oat flour if needed)

  • juice of a small lemon

  • salt and pepper

  • For Tahini Cabbage Slaw

  • 1/2 head red or green cabbage (about 3 cups shredded)

  • 1/2 of a red onion

  • 3 tablespoon tahini

  • 1 tablespoon soy or liquid aminos

  • 2 tablespoon red wine vinegar

  • a few tablespoons warm water

Grab carrots and red onion. Chop carrots into small chunks and cut onion in half. Cut one half into chunks. Place in food processor. Take the ginger and cut into small chunks (you don’t need to peel it) and peel and slice garlic and cut into small pieces. Add that to the food processor. Pulse the mixture into a very small crumble then dump the mixture into a skillet with a splash of water. Add in the cumin, chili flakes, and a good pinch of salt and lots of pepper, and place on medium heat and cook for 5-8 minutes until soft and fragrant. Once cooked, scoop back into food processor along with the chickpeas, chickpea flour, and the juice of the lemon. Turn on and and puree until smooth, stopping when needed to scrap down the side. Then either dump mixture into a bowl or leave in the container you processed it in and place in fridge for 1/2 hour to a day.

When ready to cook, preheat oven to 400.

After letting the dough sit for a bit, remove from fridge. Grab skillet and lightly oil it and place on medium heat. Take a cookie scoop or just a spoon and scoop balls of falafel into your hand and roll them around so they are packed together. Smoosh then balls a little into disks and place into hot skillet. Let cook until bottom is golden brown then gently flip and cook the other side until browned. Place cooked falafel on a baking sheet. Once you have browned all the falafel, place into oven to bake for about 20 minutes or until the falafel has firmed up to your liking.

To make the tahini cabbage slaw. Shred cabbage and cut the remaining half of red onion into thin pieces. Place tahini, soy, vinegar, and 2 tablespoons warm water into a big bowl. Mix together until light and creamy. If the mixture seems to thick, add another tablespoon of warm water. When happy with consistency, add in the cabbage and onion and toss around until everything is coated.

Now when the slaw is made, the falafel is cooked, you eat it. Serve with warm pita or wraps or a bed of greens or nothing. Just slaw on top of falafel. And FYI, this whole shebang can be eaten hot or cold or anywhere in between.

In Vegetables, Vegan, pulses, grain free, Gluten Free, entree, Dairy Free, beans Tags Carrot ginger Falafel, falafel, cabbage slaw, tahini, vegan, gluten free, dairy free, vegan dinner, beans, pulses, vegetables, healthy, plant based, spices, diner, food, easy, make ahead, vegetarian, everyone will eat, food restrictions, grain free
Comment

Chocolate Marbled Pumpkin loaf Cake

October 26, 2019 Colleen Stem
IMG_3258.jpg
IMG_3204.jpg
IMG_3182 2.jpg

When I was a kid, every once in a while my mom would buy those Entenmann’s marbled loaf cakes, (she still might) and I loved them. Chocolate and vanilla swirled into every slice. Super moist and rich with the soft, fluffy top. I would cut a big slice, toast it, then smother it in peanut butter.

Now when I see these cakes, well honesty, I think they kind of look sad. A cake such as a marbled cake, should not be squashed into a box, stacked away on some display case. No cake should have to deal with that. Cakes should be made then oohed and awed at from the comforts of home, only boxed if 100% necessary like in the case of bringing to a friend or giving as a present. Basically, what I am saying is don’t buy pre-made cakes friends, make the cake at home yourself. The cake will like you better for it.

Anyway, I just was thinking about those cakes and my childhood in general and it made me want to make a quick cake all marbled because of the nostalgia and also, I mean, marbled cakes are pretty pretty and why the heck not. And because it is pumpkin season I had to go with pumpkin and chocolate instead of vanilla and chocolate because we all know it was the right thing to do.

Pumpkin spices, rich chocolate. Two flavors in one bite. Who could complain? I don’t think my 10 year old self would have. I think she would have eaten the whole damn loaf (toasted with peanut butter of course).

Nw to the chocolate and pumpkin loaf cake..

The stuff. Flour, baking soda, baking powder, salt, pumpkin puree, brown sugar, white sugar, oil, almond milk, cocoa powder, pumpkin pie spices, coffee, and apple cider vinegar.

IMG_3089.jpg
IMG_3092.jpg
IMG_3097.jpg
IMG_3110.jpg

Quick and easy. Oil and sugars get a good mix in a big bowl then in goes the pumpkin puree. Mix that in with the milk and apple cider vinegar. Ina separate bowl, mix the flour baking soda and powder and salt. Mix the dry into the wet.

Base mix.

IMG_3125.jpg
IMG_3136.jpg

Split the mix in half (eye ball it) and add the spice mix to one bowl and the cocoa and coffee to the other. Mix them until the new ingredients are incorporated. You will then have a chocolate batter and pumpkin spice batter.

Grease a loaf pan then layer dollops of each of the batters into the pan until both batters are gone.

IMG_3148.jpg
IMG_3153.jpg

Before the oven and after of the oven.

Place cooked loaf on a wire rack to cool. Really. It needs it. Just wait a least 15 minutes, you can do it.

And then you cut into the load, marvel at the marble, and then eat it.

Two flavors, one mouth.

-C


chocolate Marbled Pumpkin Loaf Cake

makes 1 loaf

  • 2 cups all purpose flour

  • 1/3 cup cocoa powder

  • 1 1/2 cups pumpkin puree

  • 1/2 cup white sugar

  • 1/3 cup brown sugar

  • 1/3 cup neutral flavored oil

  • 1 tablespoon apple cider vinegar

  • 1/4 cup plant milk

  • 2 tablespoon coffee (or water if you don’t have coffee)

  • 1 teaspoon baking soda

  • 1 1/2 teaspoon baking powder

  • 1/2 teaspoon salt

  • 1 heaping tablespoon pumpkin pie spice or 2 teaspoon cinnamon 1/4 teaspoon each ginger, nutmeg, allspice, and clove

Preheat oven to 350

In a large bowl, mix together the white and brown sugar with the oil until combined and there are no chunks of sugar. Add in the pumpkin puree and the milk and vinegar and mix until incorporated. In a separate bowl, mix together the flour, baking powder, baking soda, and salt. Add the dry mixture to the wet and gently mix until just combined. Scoop half of the batter (eye ball it) into other bowl. Add the pumpkin pie spices to one bowl and fold it into batter until incorporated. Add the cocoa and coffee to the other batter and fold it in until incorporated.

Interchange scooping the batters into greased loaf pan. One, then the other, to create the marbled effect, until both batters are gone. Place pan into oven and bake for 55-60 minutes or until a tester comes out clean.

Remove pan from oven and pop bread out and place on a wire rack to cool.

Cut a slices, eat, be happy.

Store bread in airtight container for 3-4 days at room temperature or just slice it up and freeze pieces.

In Dairy Free, fall, Vegan, sweet breads and muffins Tags Chocolate Marbled Pumpkin Bread, Marbled bread, vegan, quick bread, sweet bread, chocolate bread, pumpkin bread, food 52, king Arthur flour, pumpkin spice, vegan desserts, fall, pumpkin, snack, cake, dairy free, plant based
Comment

Chocolate filled Vanilla Sugar Sandwich Cookies

October 19, 2019 Colleen Stem
IMG_3080.jpg
IMG_3060.jpg

As of right now, these are by far the best cookies I have ever made. Look at them. They are SO CUTE!. Worth all the effort, seeing that I do not own a ghost cookie cutter (although I think my version of ghosts are pretty fantastic) and had to hand cut out each cookie with a knife and a ghost cutout I made a few weeks back. They make me happy just looking at them. That right there is saying something. And I don’t know about you and where you are, but it is getting pretty freaking cold out and I refuse to turn the heat on for a few more weeks so I do what I need to do to stay warm. If that means turning on the oven to bake cookies, then so be it. I have a feeling I am going to be making a few more batches of cookies before the months over. HA! (For reals though.)

These cookies are more or less a traditional sugar cookie with a chocolate ganache type filling, both with a hint of coconut flavor from the use of coconut oil. Something about the whole combination; the cookie, the coconutieness, and the chocolate that really had everyone (I gave them out a Barbs birthday party) praise my amazingness. I guess they are pretty freaking delicious.

Cute and delicious. Best kind of cookie!

And quick note. Yes these are ghosts but think of all the fun shaped sandwich cookies you could make. I am thinking moose shaped cookies next or maybe Christmas trees… Oh the possibilities!

Now, to the cookies!

The stuff. White sugar, coconut oil, flour, baking powder, salt, vanilla, almond milk, cocoa powder, and powdered sugar. For cookies and filling.

IMG_2941.jpg
IMG_2944.jpg
IMG_2951.jpg
IMG_2955.jpg

To make cookie dough. Beat toghetet the coconut oil with sugar and vanilla until smooth and fluffy. Add in all the dry ingredients and the almond milk and mix until a dough forms.

IMG_2960.jpg

Wrap dough in plastic and squish tight. Place in fridge for an hour or up to a day.

After dough has had time in the fridge, grab it and roll it out on a lightly floured surface to about 1/4 inch thick.

IMG_2986 2.jpg

Cut out cookie shapes. If you want to cut out eyes or a few different shapes, remember each cookie needs a top and bottom so even numbers folks.

Place cut out cookies on a baking sheet then into the oven they go.

IMG_2999.jpg

Bakes and ghostly! Place them on a wire rack to cool and keep baking the rest of the cookies.

IMG_2961 2.jpg
IMG_2964.jpg

While cookies are cooling, make chocolate filling. Super soft, almost melted coconut oil goes in a bowl with vanilla and gets beaten together. Add in the cocoa powder, powdered sugar and pinch of salt and kept beating slowly anding in a bit of milk until the whole shebang comes together into chocolate filling awesomeness.

IMG_2969.jpg

Ghost filling!

IMG_3034.jpg

Once the cookies are completely cooled, fill them. The filling might have tightened up a bit so if it is not spreadable, pop into microwave for like 8 seconds to get it to move. Scoop or smear equal amounts of filling onto the bottoms of the cookies and top them off with their tops.

IMG_3055.jpg

Done, and ready to eat.

Ghosts cookies for all your ghost fueled festivities.

-C


Chocolate filled Vanilla Sugar Sandwich Cookies

makes at least 16 sandwich cookies

For the cookies

  • 2 1/4 cups all purpose flour

  • 3/4 cup white sugar

  • 1 teaspoon baking powder

  • 1/2 teaspoon salt

  • 1 teaspoon vanilla extact

  • 2/3 cup soft coconut oil

  • 5 tablespoons plant milk (I used almond)

For the filling

  • 1 1/2- 2 cups powdered sugar

  • 1/3 cup cocoa powder

  • 4 tablespoons melted coconut oil

  • 1/2 teaspoon vanilla extract

  • 2-3 tablespoons plant milk

  • 1/8 teaspoon salt

Preheat oven to 350

In a bowl beat together the white sugar with the coconut oil and vanilla extract. Add in the flour, baking powder, and salt and start to mix with a spoon or fork, adding in the milk as you go. Keep mixing until completely incorporated and turns to a ball of dough. Gather together into a ball and wrap in plastic. Pat flat and place into fridge for an hour or up to a day.

To cut out cookies. Roll fridgerated dough out on a floured surface to about 1/2 inch thick. Cut out shapes, making sure to have a top and bottom for each cookie. Gather left over dough into a ball and repeat until all the dough is used.

Place cookies on a baking sheet and bake for 13-15 minutes or until they are just starting to lightly brown around the edges. Remove from oven and place on a wire rack to cook.

For chocolate filling. Beat together the melted coconut oil with vanilla. Add in the lesser amount of powdered sugar, salt, and cocoa powder. Beat on low, adding in 2 tablespoons plant milk. Beat until mixture comes together into a thick but spreadable consistency. If it seems too thick, add more milk, too thin, a little more powdered sugar.

Cookie assembly. 2 cookies at a time. A top and bottom. Spread about a tablespoon of chocolate filling to bottom cookies and pop the top on.

Eat cookies. Store what is not eaten in a airtight container for up to a week, but these ghosts will definitely not last that long.


In cookies, Dairy Free, desserts, sandwiches, Sweets, Vegan, holiday Tags Chocolate Filled Vanilla Sugar Sandwich Cookies, sugar cookies, cut out cookies, vegan cookies, vegan sugar cookies, vegan, plant based, sandwich cookies, chocolate, king Arthur flour, food 52, vegan dessert, halloween, holiday cookies, cookie swap, fall, ghost, dairy free
Comment

Celeriac Puree With Crispy Lentils

October 12, 2019 Colleen Stem
IMG_2848.jpg
IMG_2859.jpg

Every now and then I make something for me. All for me. This is one of those dishes that was not destined to be shared with anyone. That I had no one else in mind to eat besides me. No worring about what anyone else with think. Just a simple little dish that I was craving and wanting.

So I made it and man, was it so freaking satisfying. Cooking for oneself is very much a gratifying experience.

Celeriac, or also know as celery root. Have you ever had it? If not, well duder, you need to. It is in my top 3 favorite vegetables and that is saying a lot. So anyway, celeriac, has a slight celery taste, but also kind of earthy and nutty. It pairs well with anything that a potato might, but also is amazing on it’s own. Roasted, steamed, raw. Just really fantastic. And it is in season so get on it and go find yourself some.

And lentils. In my top 3 favorite foods. Made them crispy because pureed celeriac and crispy lentils just sounded right and I love me crispy things. Again, I was making this dish fo me so crispy was happening.

Together, the creamy, delicious pureed celeriac covered with a bunch of spiced, crispy lentil….Amazing. Eating it, I couldn’t have been happier. I did myself one good with this one.

I might even have to make it to share someday.

Now to the celeriac and lentils!

The stuff. A bulb of celeriac, some cooked lentils, salt and pepper, chili powder, garlic powder. mustard powder, and oil. (oil is optional)

The celeriac. Ok, so most people peel it. I actually get weird looks from people when I tell them I don't , but let me do me, you know. So anyway. Peel it if you want, or not, just cut it up into chunks.

IMG_2815.jpg
IMG_2841.jpg

Place cut up celeriac into a pot and cover with water. Place on stove on medium heat and cook until fork tender.

IMG_2816.jpg

Lentils meet spices and get mix all together. Add a pinch of salt and lots of cracked pepper too.

IMG_2820.jpg
IMG_2847.jpg

Spread now spiced lentils onto a baking sheet, pop into oven, and bake until crispy. Easy peasy.

IMG_2852.jpg

And to puree the celeriac. Strain any extra water into a cup. Season with a pinch of salt and pepper and grab the hand blender (or regular blender) and blend it, adding back in some of the strained water as needed, to get to a consistency that you like. Me, I liked it pretty smooth, but also with a little chunk. Heck, you could leave it really chunky or go all out completely smooth. Up to you. Also if you want a creamier texture, add in a teaspoon or so of the olive oil. That is a taste preference. I didn't add oil this time, but I have before. It’s good both ways.

IMG_2894.jpg

And there you have it. Add the celeriac puree to a bowl, top with crispy lentils, and garnish with something green if you want.

Then eat it.

Not going to lie. After this picture was taken, I busted out the spicy mustard and covered everything with it. And it was amazing.

-C


Celeriac Puree With Crispy Lentils

serves 1 as a meal, or a few as a side dish

  • 1 1/2 cups cooked green lentils

  • 1 large celeriac bulb (soft ball sized)

  • 1 teaspoon chili power

  • 1/2 teaspoon ground mustard powder

  • 1/2 teaspoon garlic powder

  • salt and pepper

  • olive oil (optional)

Grab celeriac and peel if you want, or just give it a really good wash. Cut into chunks and place into pot. Add enough water to just cover the celeriac and place on medium heat on the stove. Cook until fork tender.

In the mean time, mix all the spices and a good pinch of salt and lots of pepper together with the lentils. Dump them and spread them out onto a lightly oiled baking sheet. Place in oven and turn to 400 degrees (you can start cooking the lentils while the oven is preheating). Bake for about 20 minutes or until lentils are crispy.

Once the celeriac is tender, strain water into a cup and either with a hand blender or a regular blender, blend until smooth, adding in some of the poured off water as needed. You can puree as smoothly as you like or leave a few chunks.. Also, you might want to add in a teaspoon or so of olive oil for a slightly richer and creamier taste. Season to taste with salt and pepper.

Ehen the lentils are done, take them from oven. Place large amount (or all) of the celeriac puree to a bowl, cover with some (or all) of the crispy lentils and that is that. Eat away.

Serving suggestion…. Mustard. Any kind. So good.

In Dairy Free, dinner, entree, Gluten Free, grain free, pulses, quick and easy, side dish, Vegan, Vegetables Tags Celeriac Puree With Crispy Lentils, plant based, vegan, roots, vegetable, pulses, lentils, easy, gluten free, grain free, celery root, heathy, clean eating, dinner, dairy free, celeriac puree, crispy lentils
Comment
← Newer Posts Older Posts →
 

https://thelovelycrazy.squarespace.com/config#/|/about/

Me. Food Maker.Food eater. Woo HOO!

STEM+NODE  SMALL BATCH AND ONE OF A KIND POTTERY

stem+node ceramics


____________________

Subscribe

GET NEW POSTS IN YO EMAIL

You are AWESOME!!!


@thelovelycrazy 2014-2021